New Old Floors

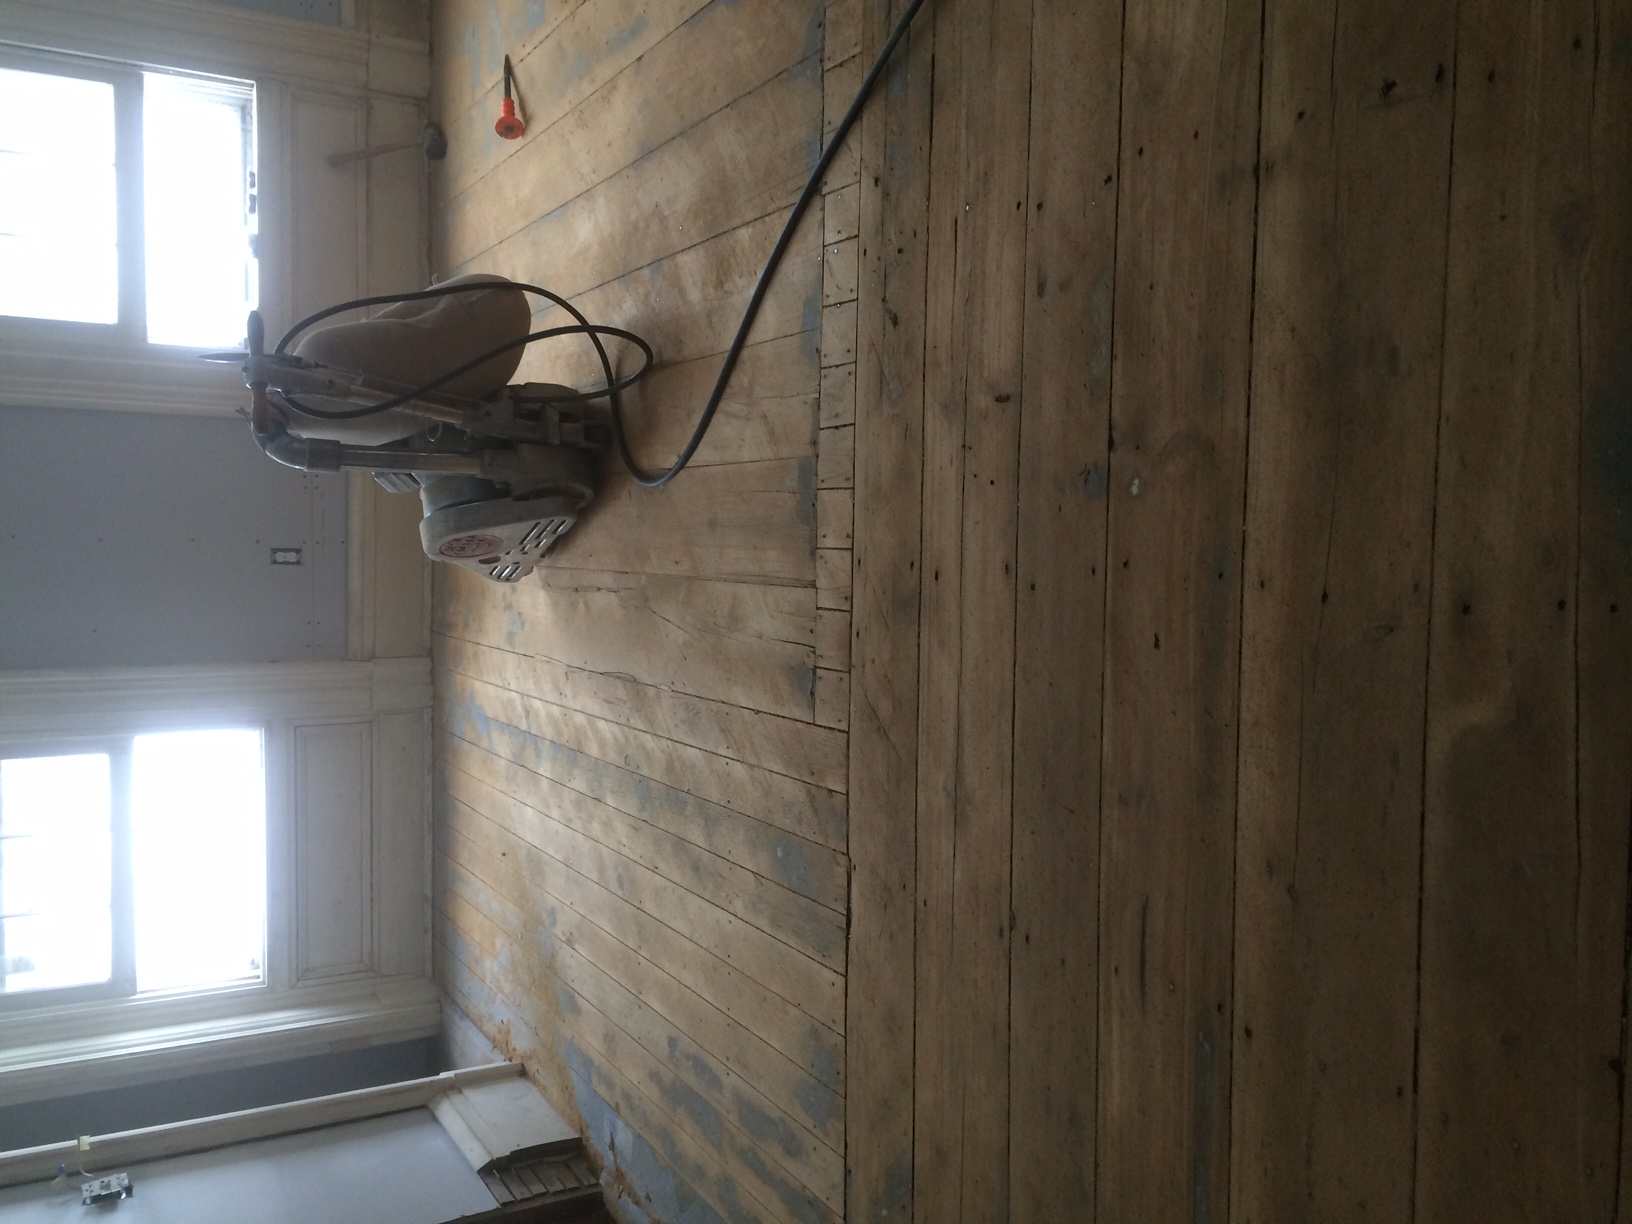
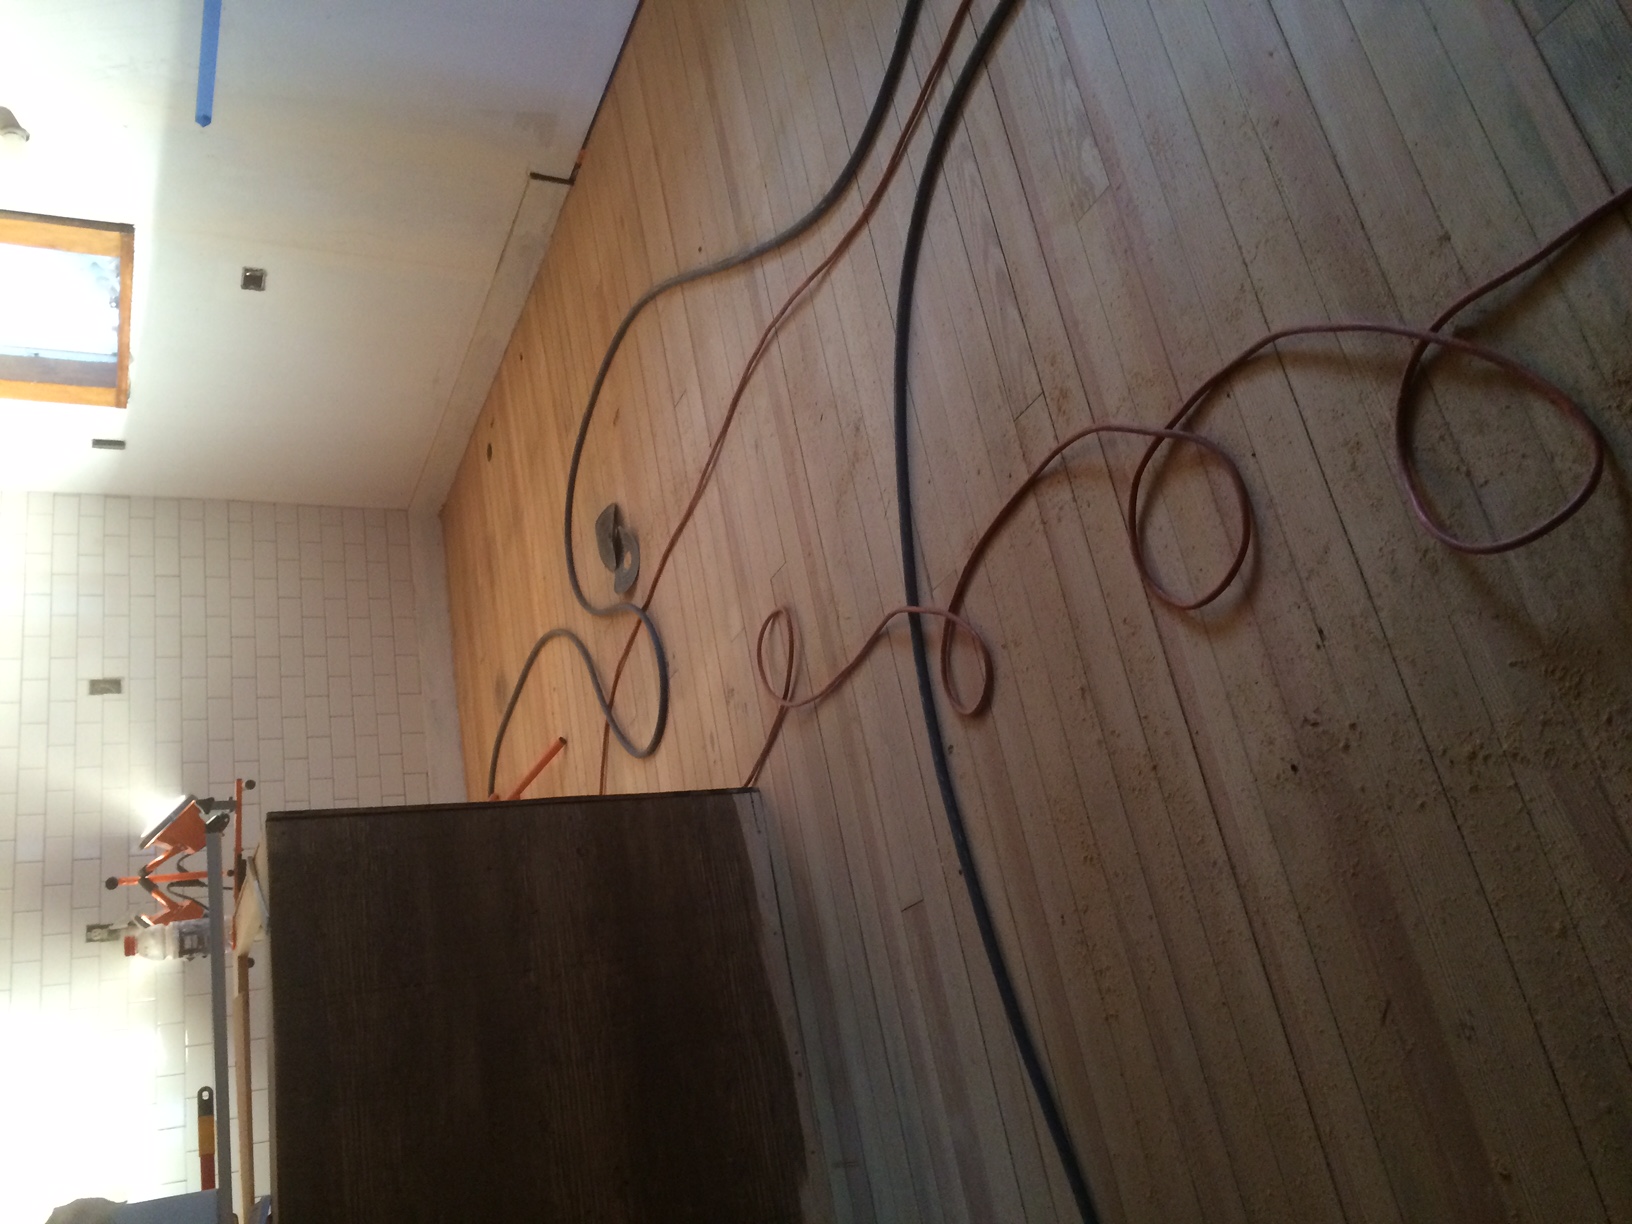
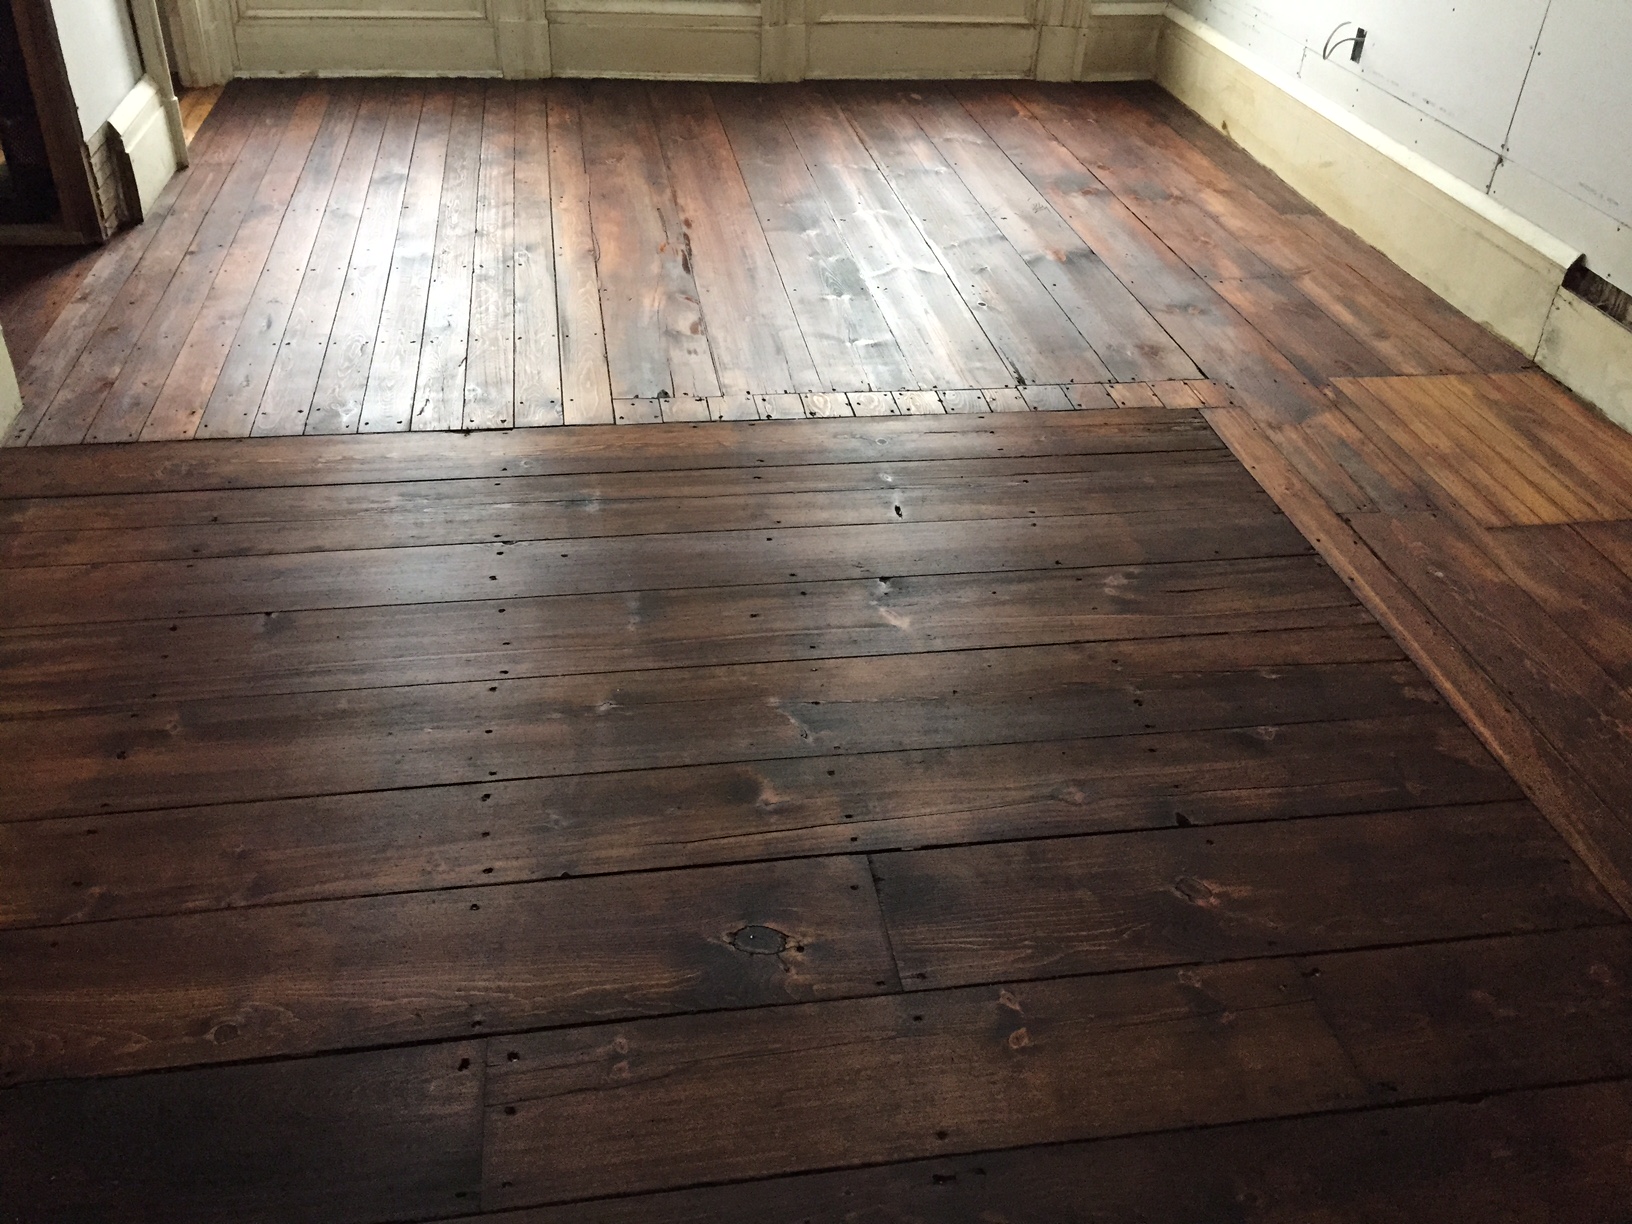
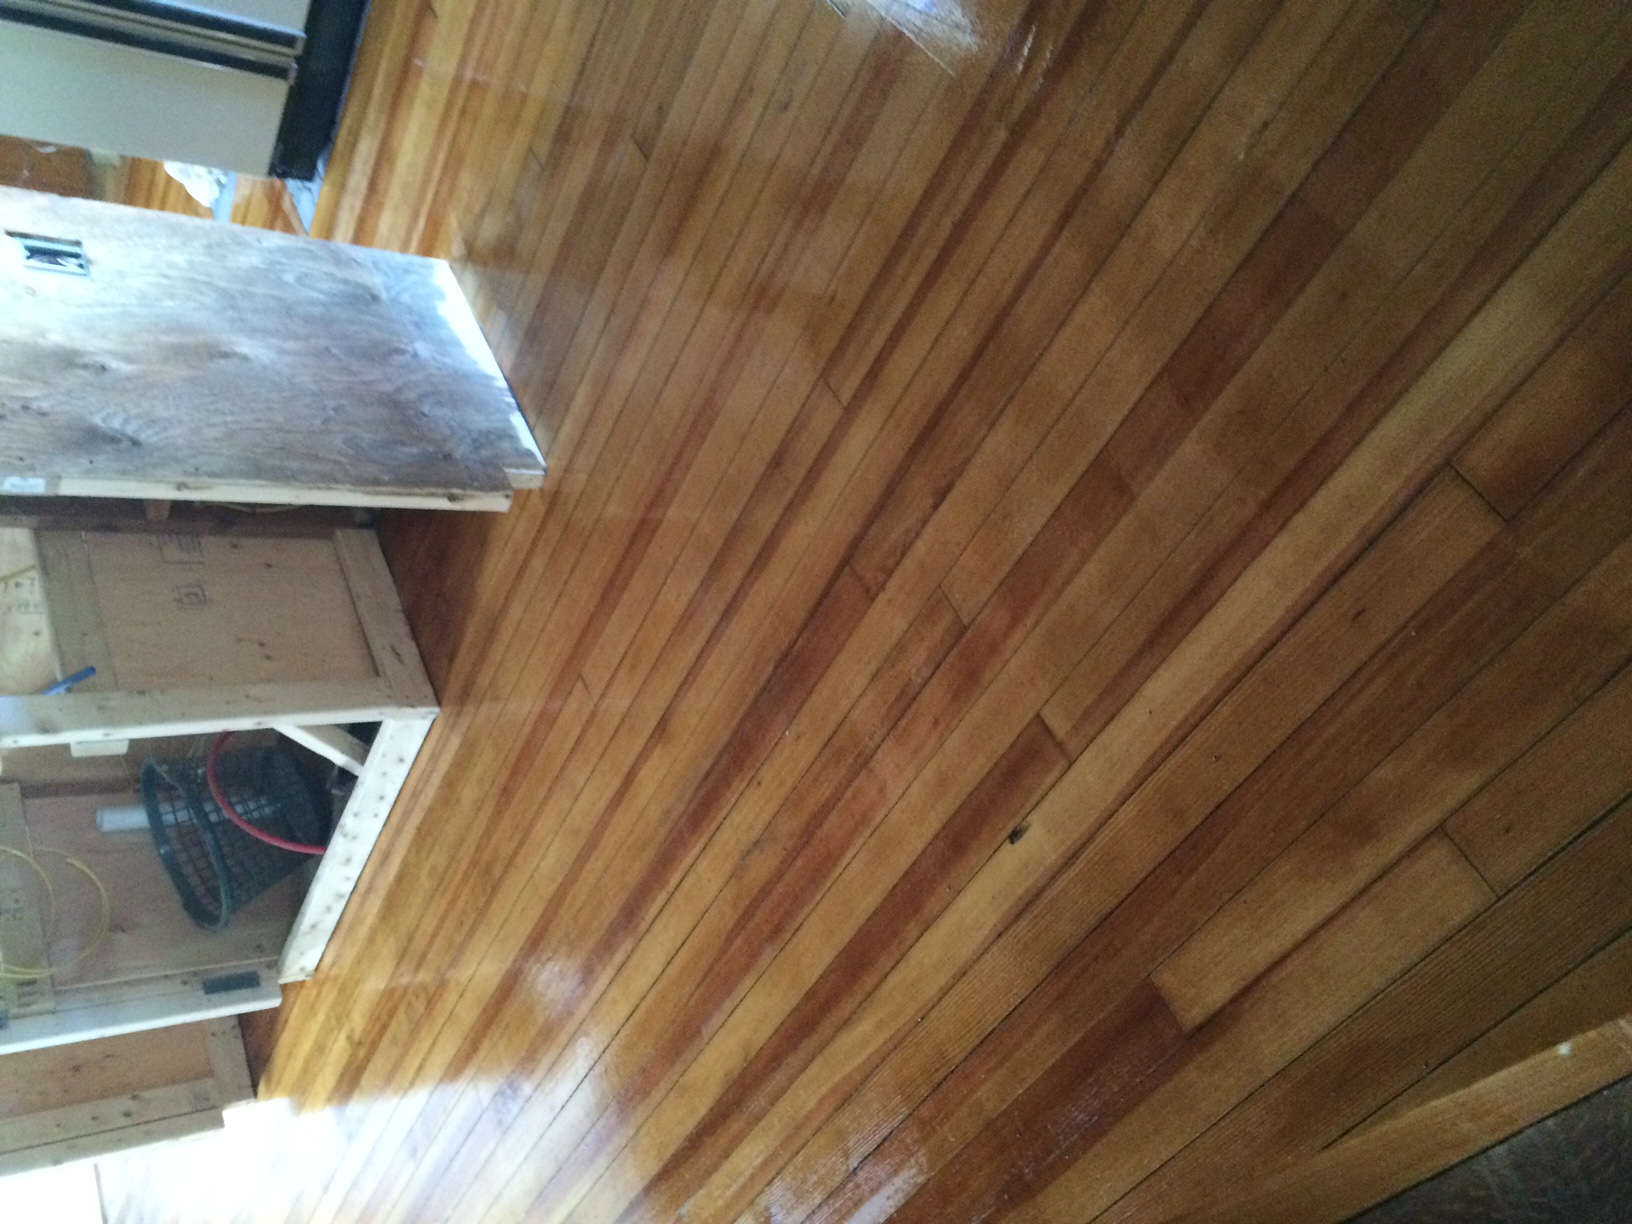
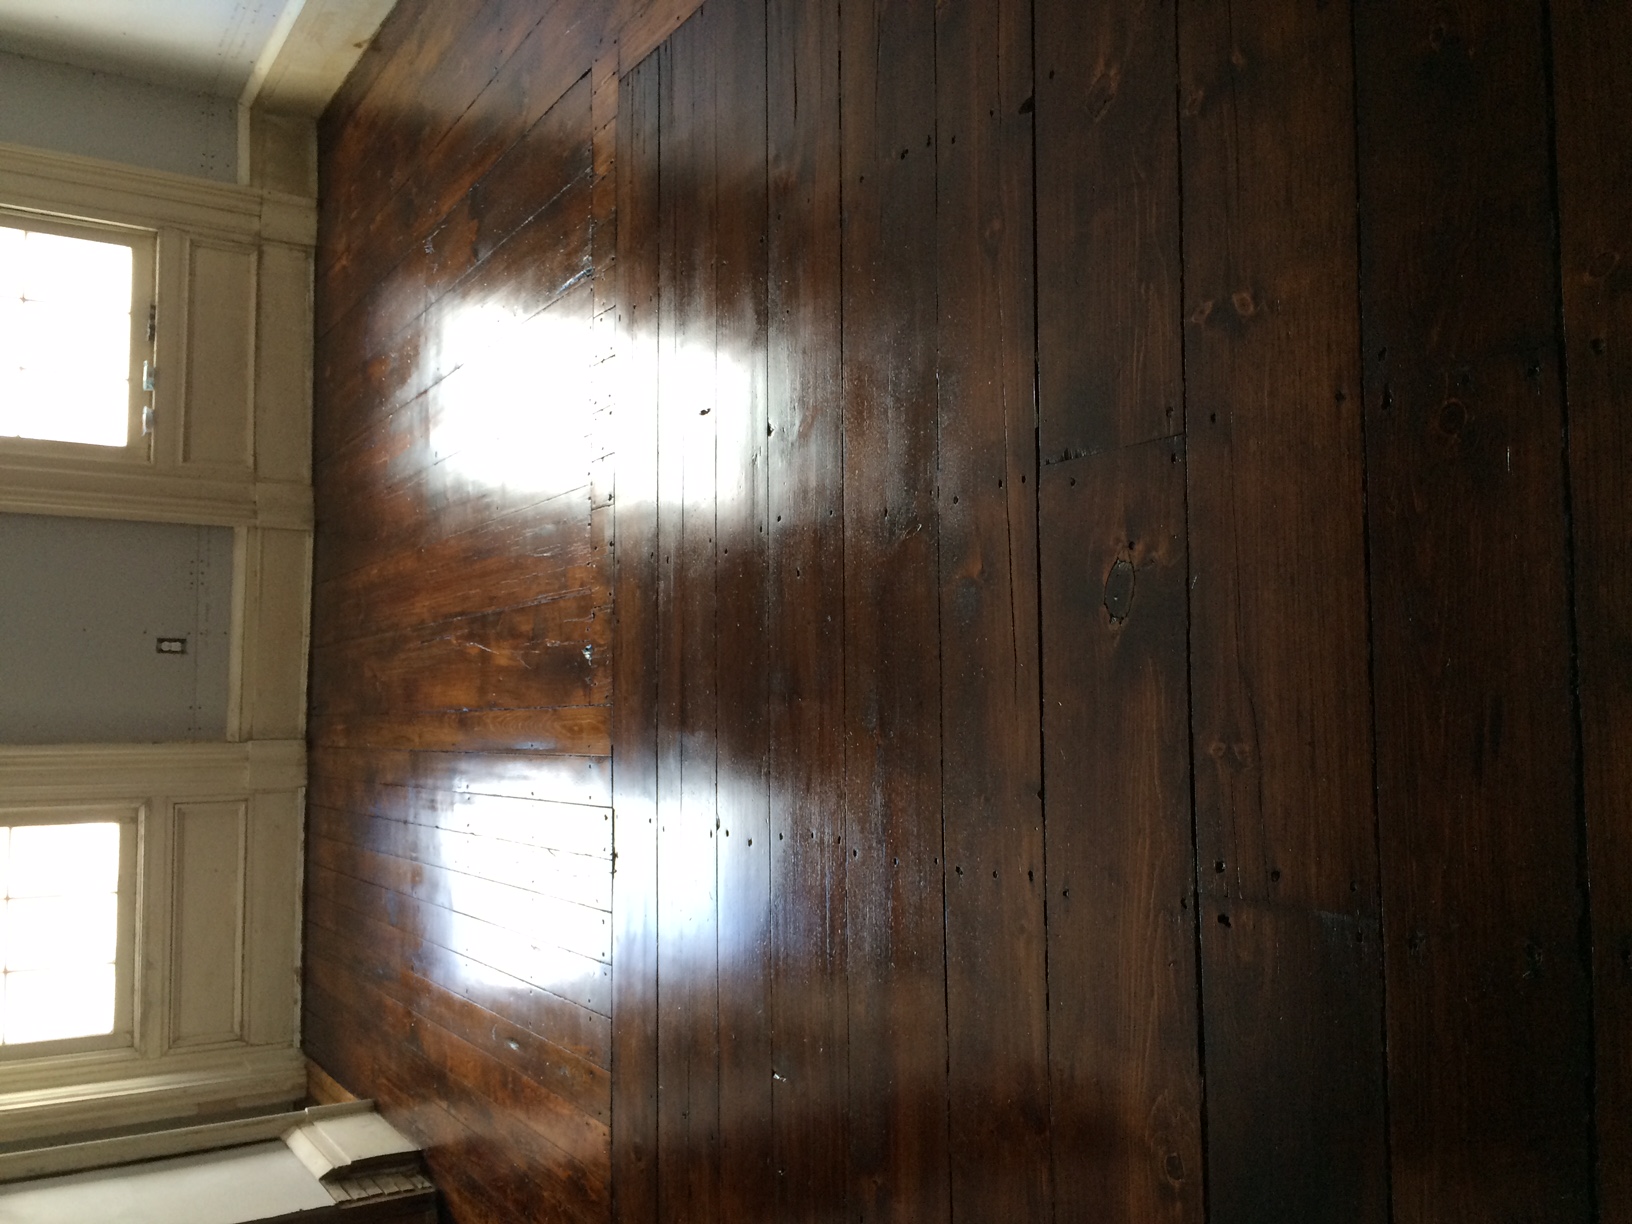
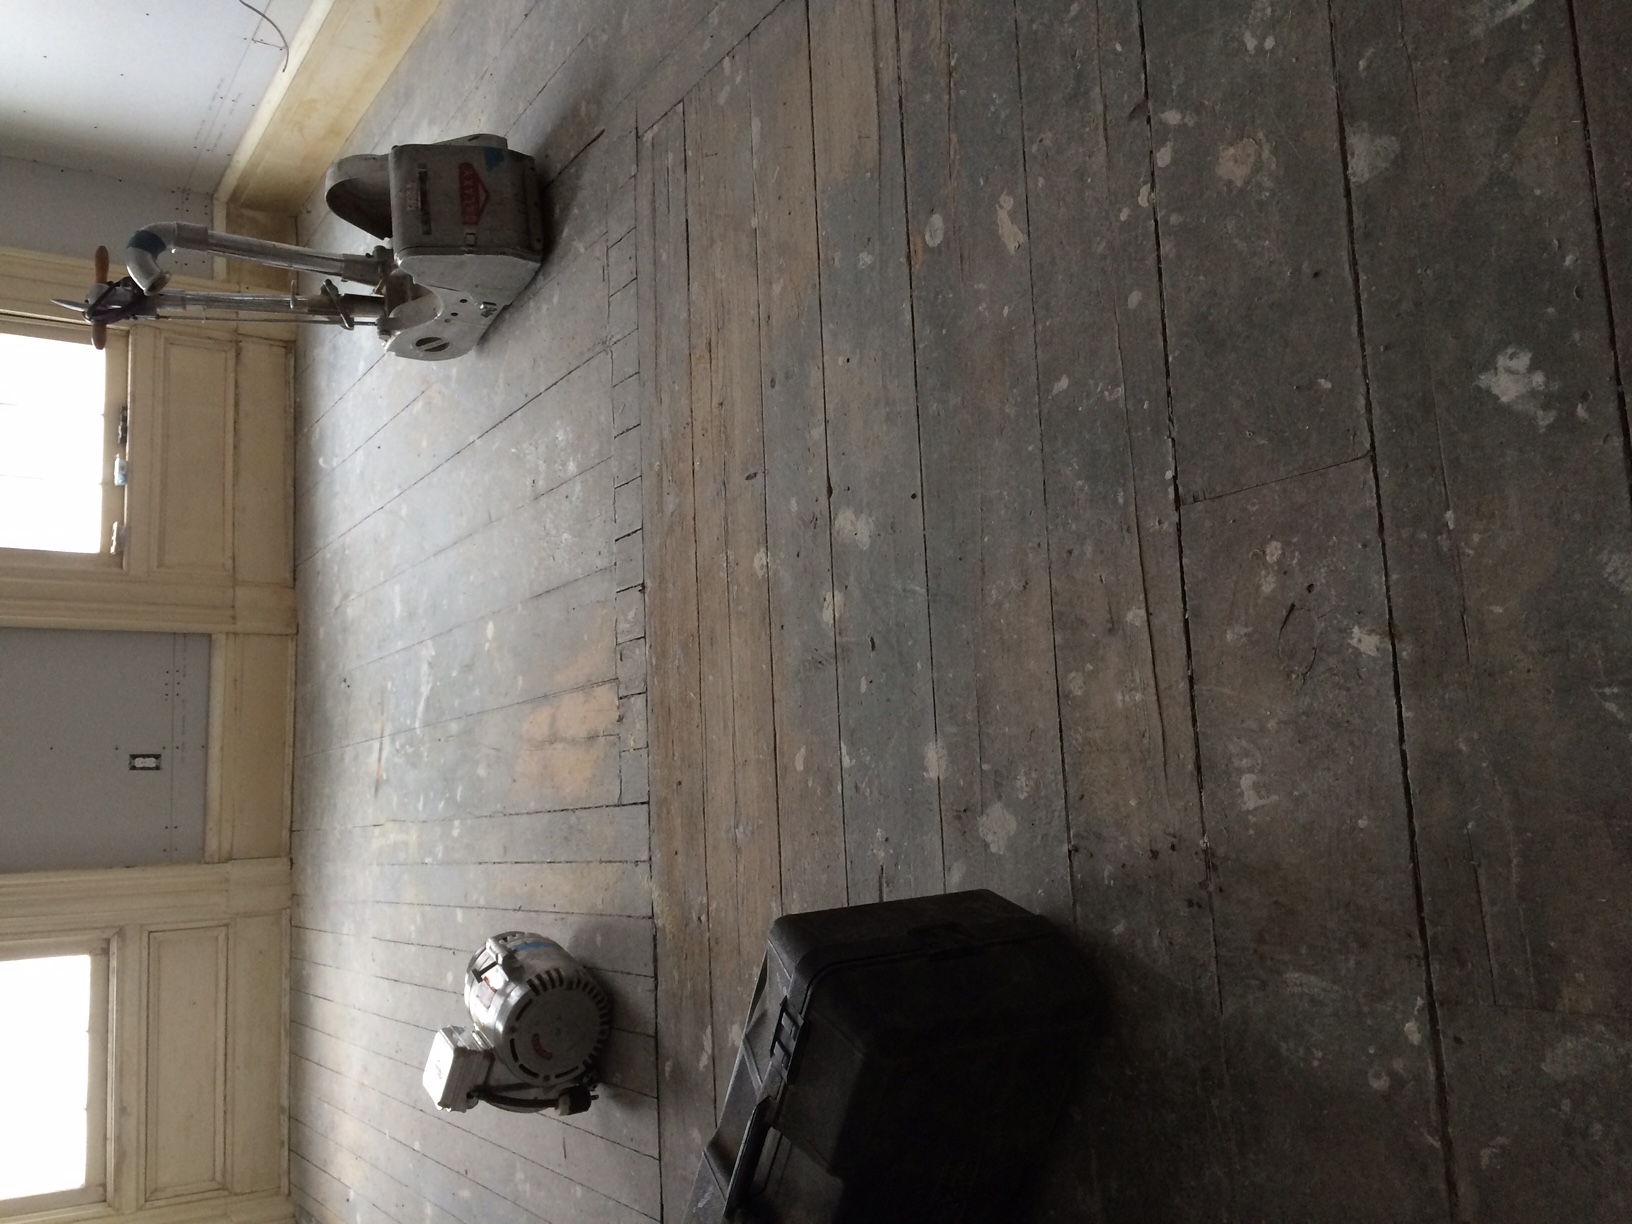
This house lacks for many things (a functioning shower comes to mind quickly) but one thing it does not lack for is copious amounts of very old wood flooring. For many of you that probably brings to mind images of wide plank boards with enough character that each plank could tell a story, and it's true, we have that. What we also have in a couple areas is vertical grain or "quarter sawn" heart pine flooring dating to the turn of the century. It is a much narrower plank, about 3" and so a very different look. We had high hopes for these floors, tempered by the fact that they have been heavily abused, stained, sanded, pummeled, dented, scraped, cut and painted….but they do tell stories. The TV room floor which does happen to be wide plank for the most part is a great example of story telling. If you walk into the room it looks just like that, a room. BUT, if you look at the flooring you will see a very clear history of the combination of two separate rooms and patching of what must have been plumbing holes in the smaller room. We went back and forth for months as to how to deal with them. Are they good enough to hand scrape? Do we have time to hand scrape? Is there enough to sand? Will we lose character? Should we just paint them? In the end the decision was to sand the floors in the kitchen (heart pine) and the TV room (wide plank old growth pine) and stain. We found a great local floor finisher who was reasonable and professional and who followed our request of "sanding without losing character", flawlessly. This sanding request is most evidenced by a step from the kitchen down to the pantry area, it has been worn down in the center by 100 years of use and he preserved that while bringing the grain back to life. With the floors sanded they looked 1000 times better than we expected, no, they aren't perfect, but they are exactly what we dared hope for. The heart pine turned out to have such beautiful natural color that we just sealed it and left it at that. The TV room floors would have also looked beautiful with a similar treatment but we wanted something dark and rich to go with the furnishings and rugs we have planned for that room. After much back and forth and custom stain attempts we ended up settling on a standard Minwax color, "Provencial" and then a satin topcoat for protection and sheen. The staining was arduous, first Carol and Semi (Ermela's mom) had to vacuum the entire room, then go over all the surfaces with tac cloths to make sure it was all clean as possible. Then they worked their way down the planks with one applying the stain and the other wiping it off with a rag. Because of the three different types/cuts of wood used in this one room they had to play with the application to wiping time for each one to keep the colors as consistent as possible. This is an example of when it is good to know what type of wood you are working with. The heart pine (yes there was some in this room used as a patch) being very dense and cut in a "quarter sawn" or rift cut was much less absorbent than the wide plank old growth pine which was plain sawn (the type of cut where you see more squiggles and patterns). Once the staining was done it was allowed to cure for a day and then the oil based satin top coat was applied. Normally we would use a two part water based sealer but we were not able to source it in the timeframe we were working with.

So, judge for yourself, what do you think of the end results?   
 

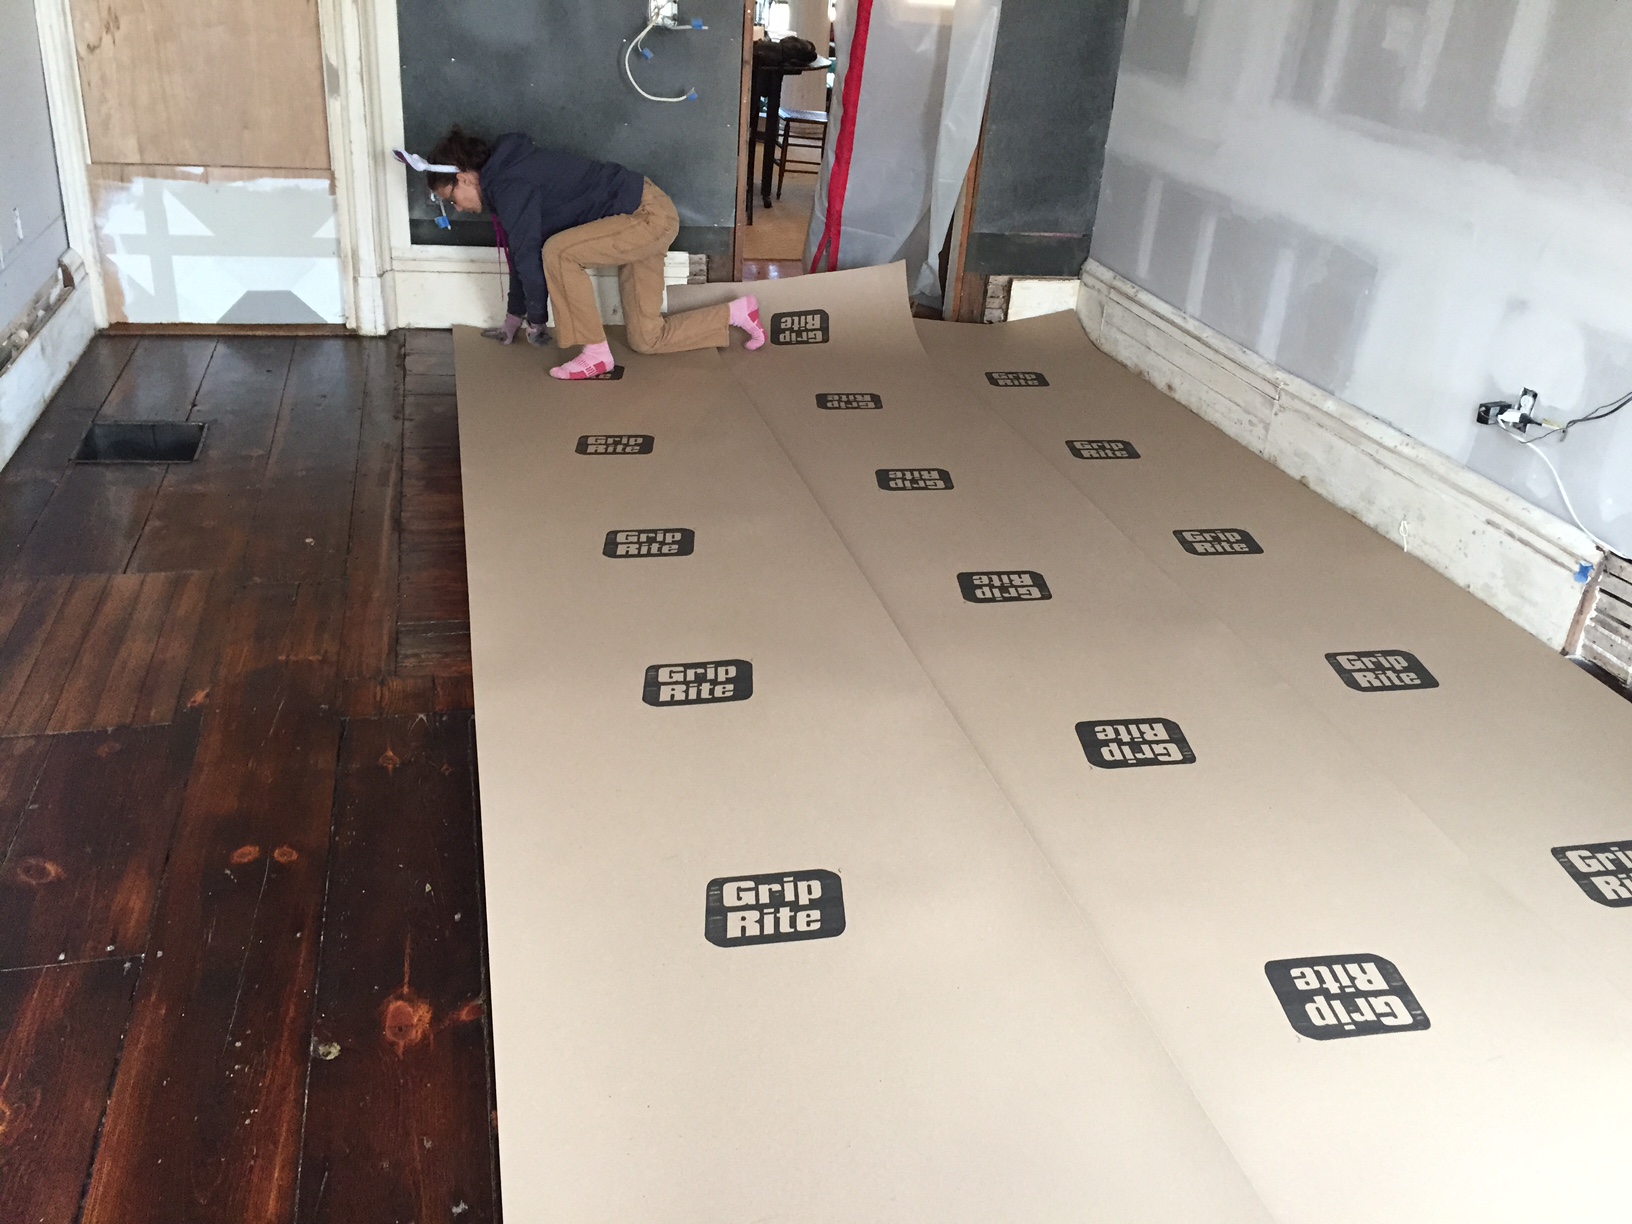
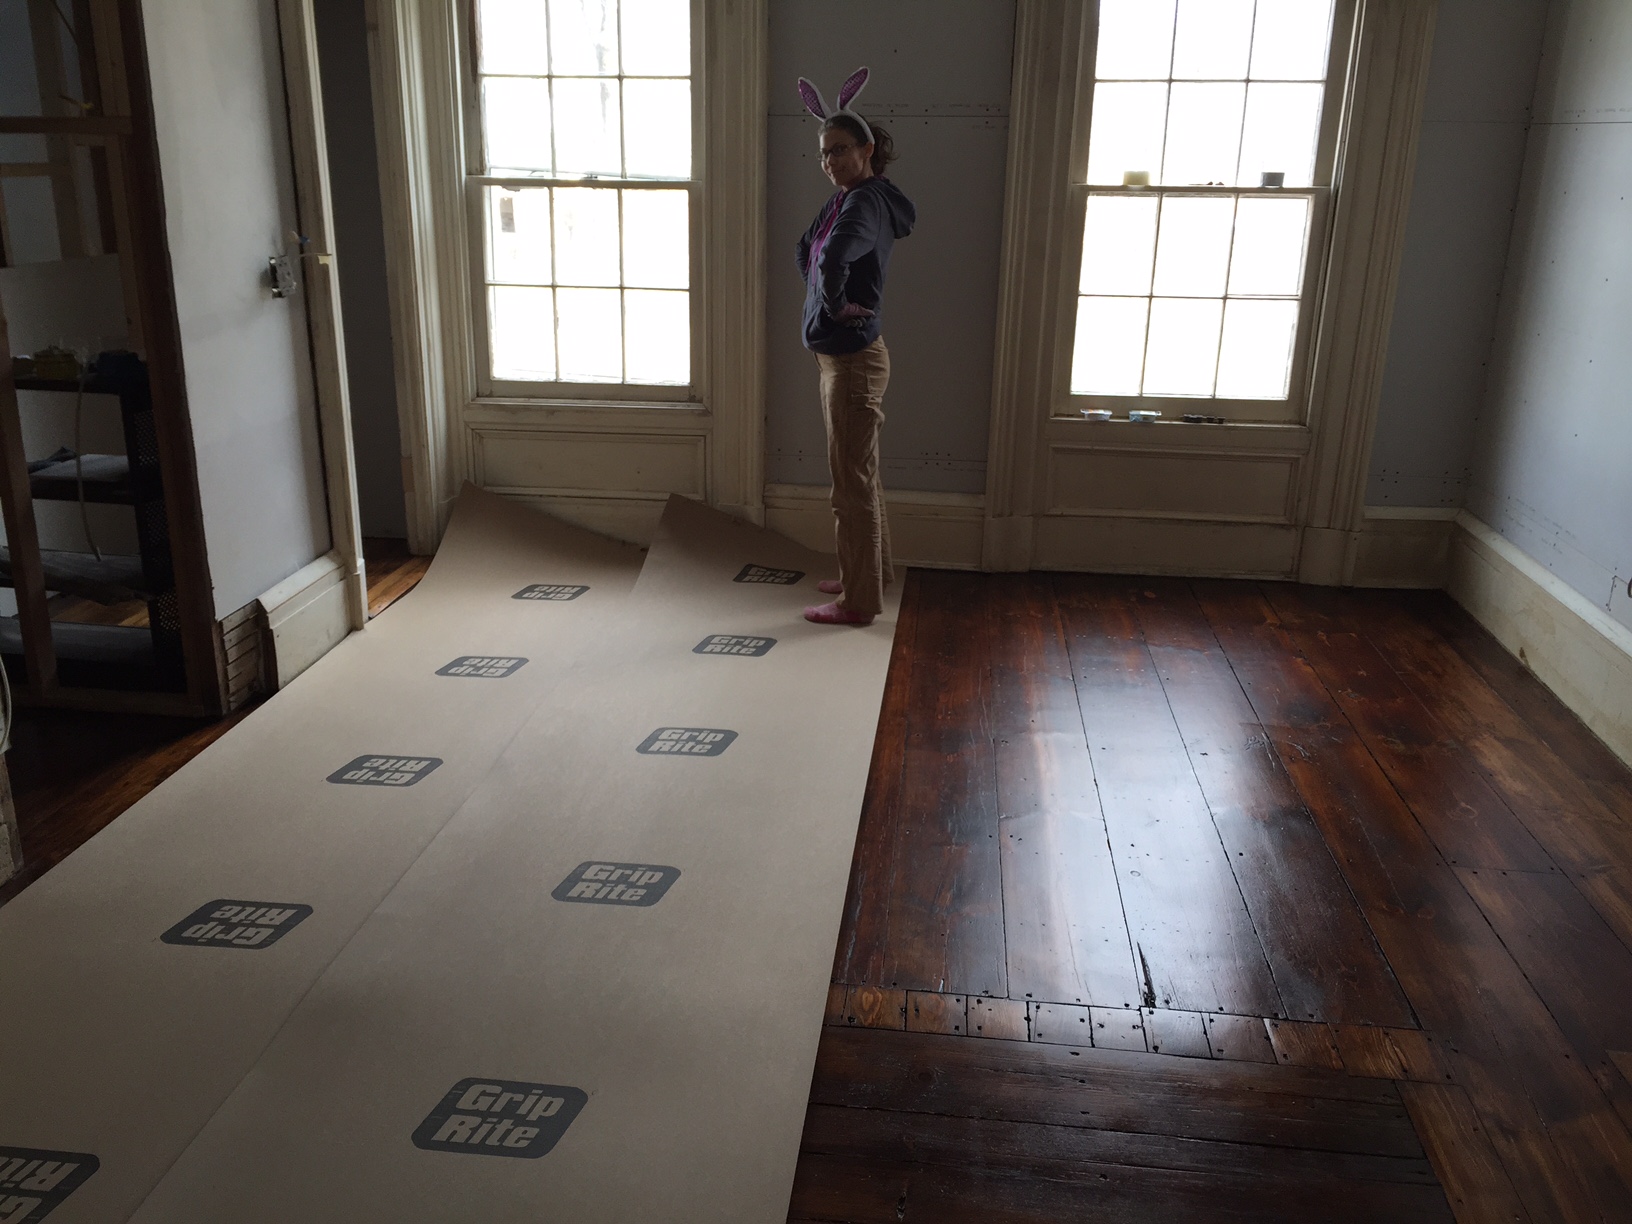
Unfortunately, we only got a couple days to enjoy the new floors. Construction waits for no man so we had to cover them up with builders board and tape the seems (for those of you who haven't guessed, we did this work on Easter). The trick now is to remember that the floors are done under the protection and that we have to be careful while moving drywall, appliances and equipment around.

Cast of Characters: Oren

Each weekend we try to coax people into coming up and hanging out and doing some manual labor. We use arguments like, "hard work is good for your soul", "it's an excellent workout", "we will feed you". It's the last one that snares the most people so we have Carol to thank for that. It is sort of understood that it's rustic at best right now, after all, the one functioning bathroom in the main house doesn't have walls (people still close the door out of habit though). Over time things will improve as each project comes closer to completion and coming up for the weekend will feel more like an escape and less like a work commune. Fortunately we do have several friends who enjoy the work now and have vision for the future.

Meet Oren:

His passing resemblance to a Serengeti warrior withstanding, he is actually a very nice guy. He is also probably the most enthusiastic manual labor participant we have. Here he is moving a +/- 500lb double wall oven: 
 

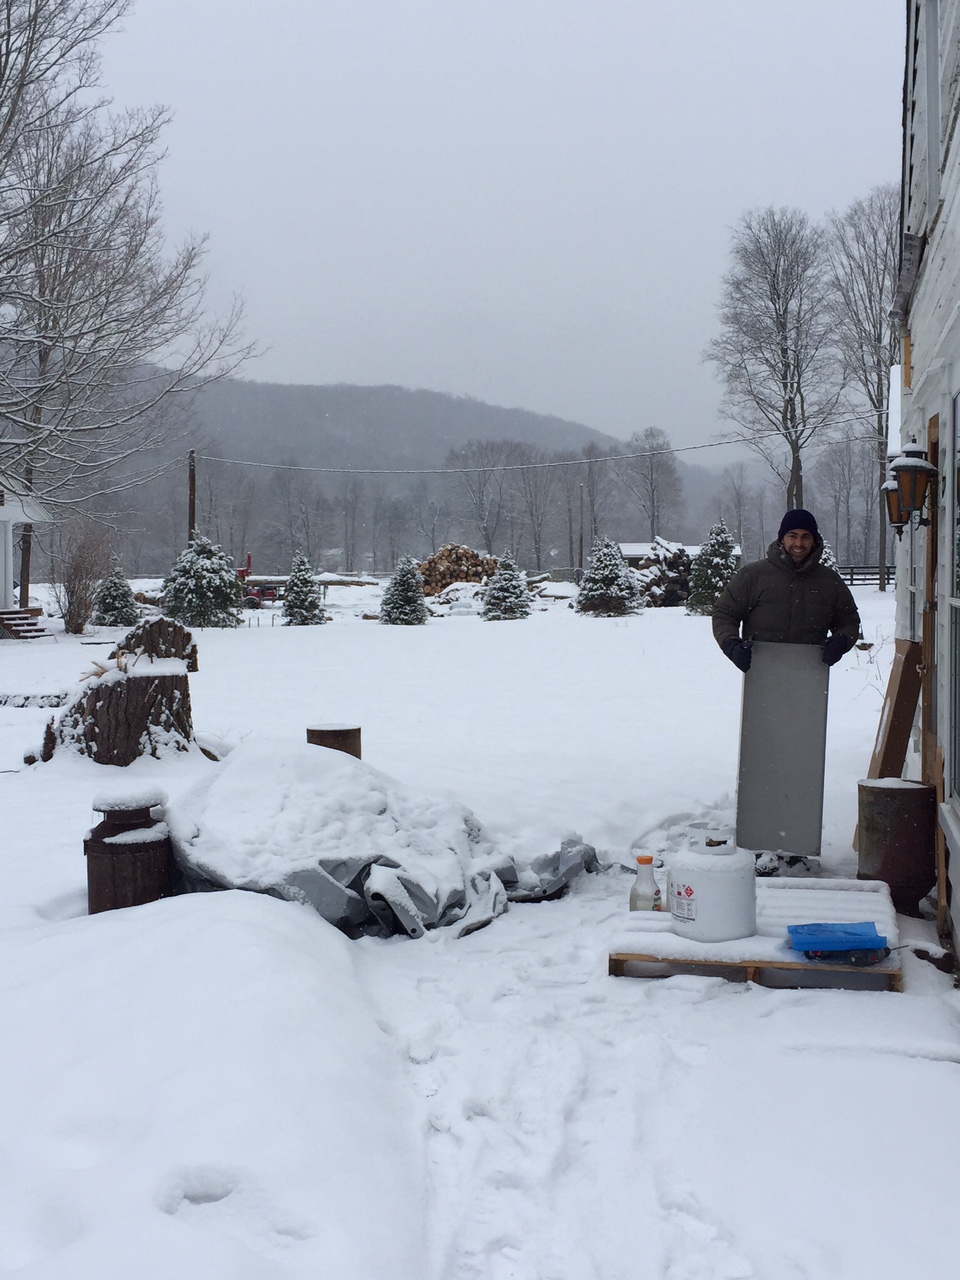
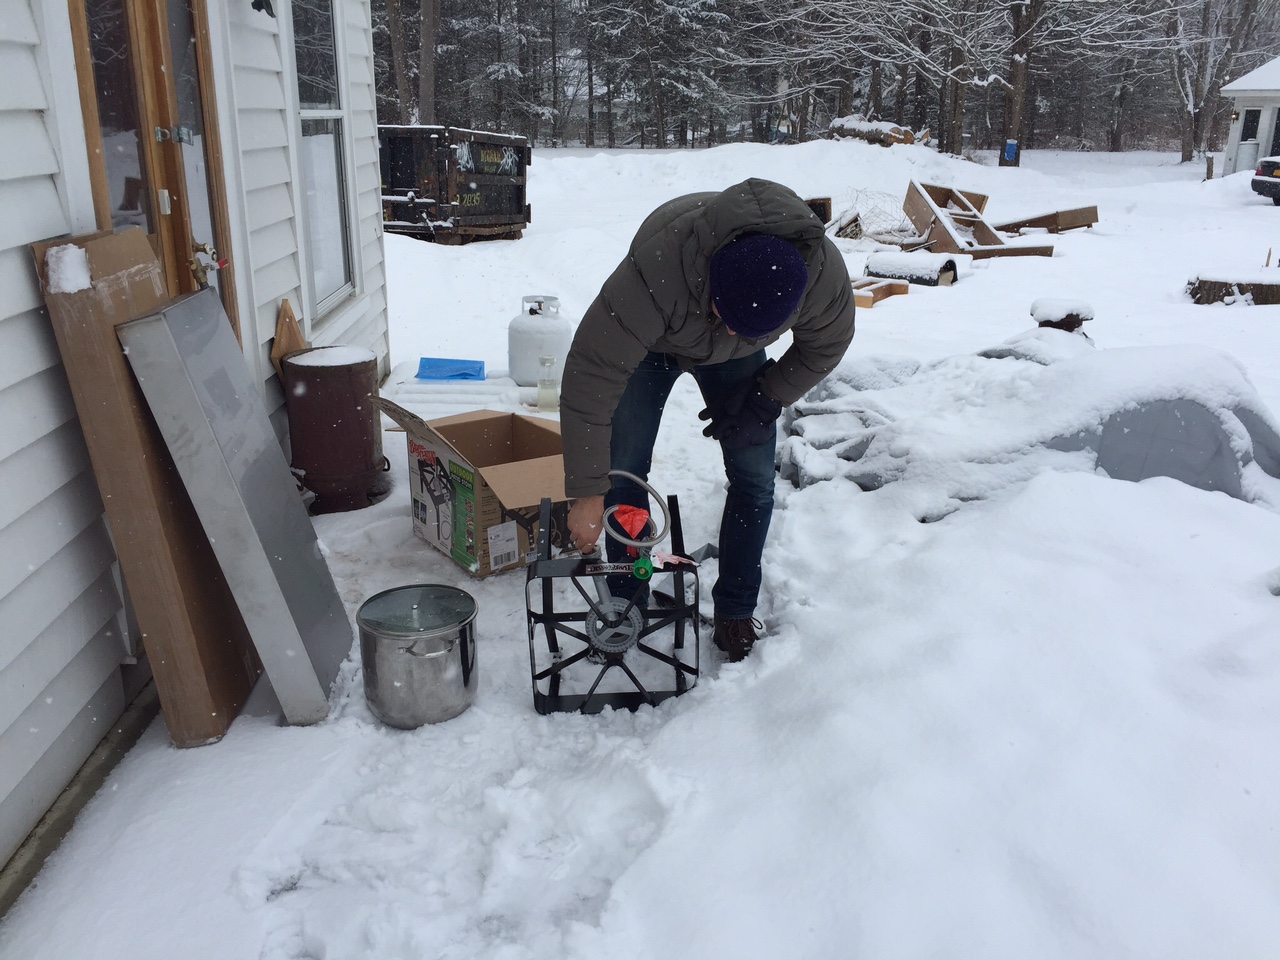
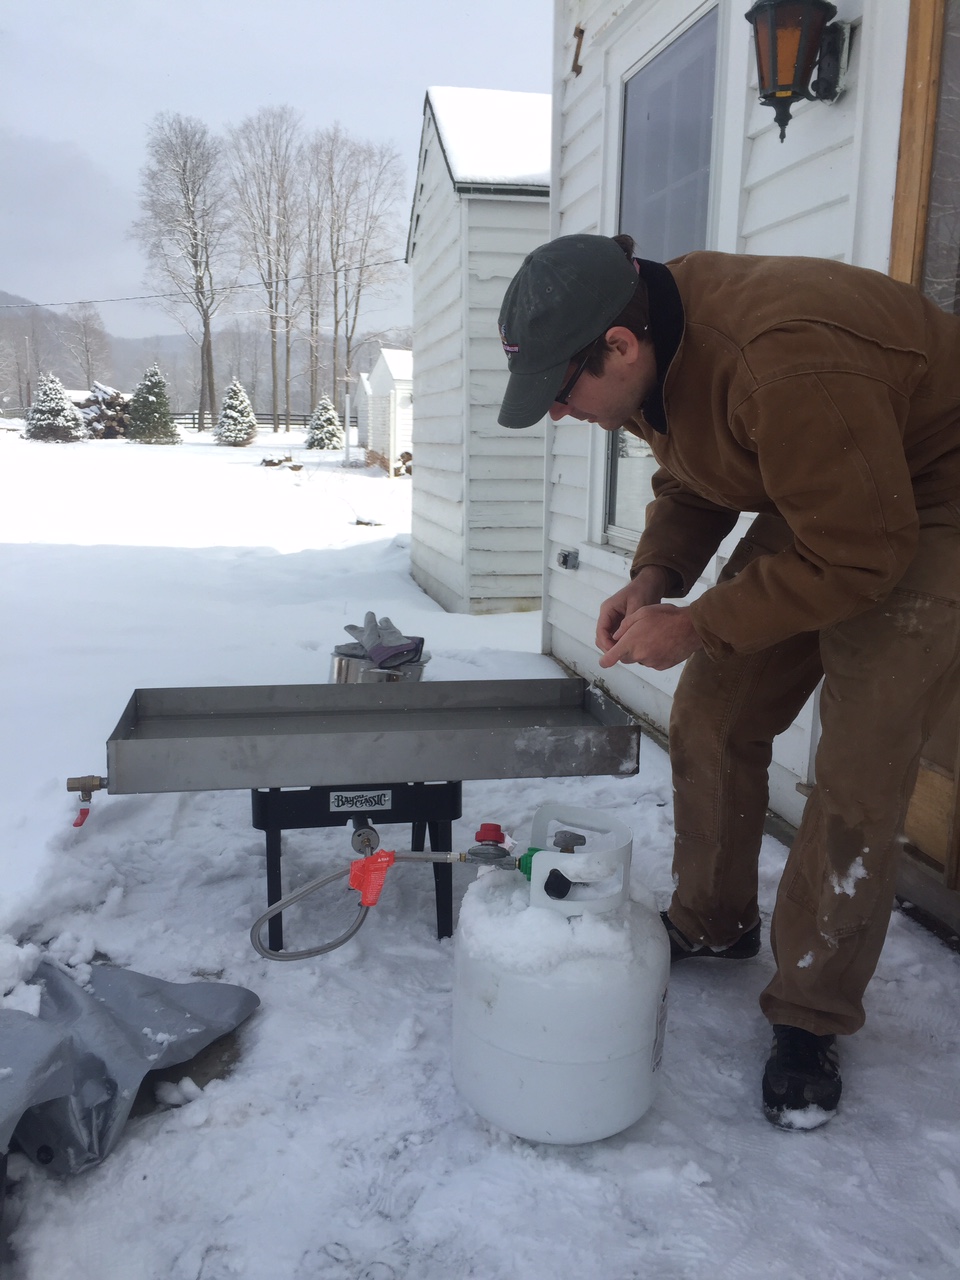
And here he is unpacking the maple sap cooking pan on a cold snowy March day:
 

Strength and muscles aside, it's his enthusiasm that we value most, getting text messages on a Saturday saying "what did you guys get done today??" is a true pleasure because, you know, we like to share the experience. So, for the record, Oren, we appreciate your contribution, enthusiasm and friendship and there is always an open door at the farm to you.

Drywalling

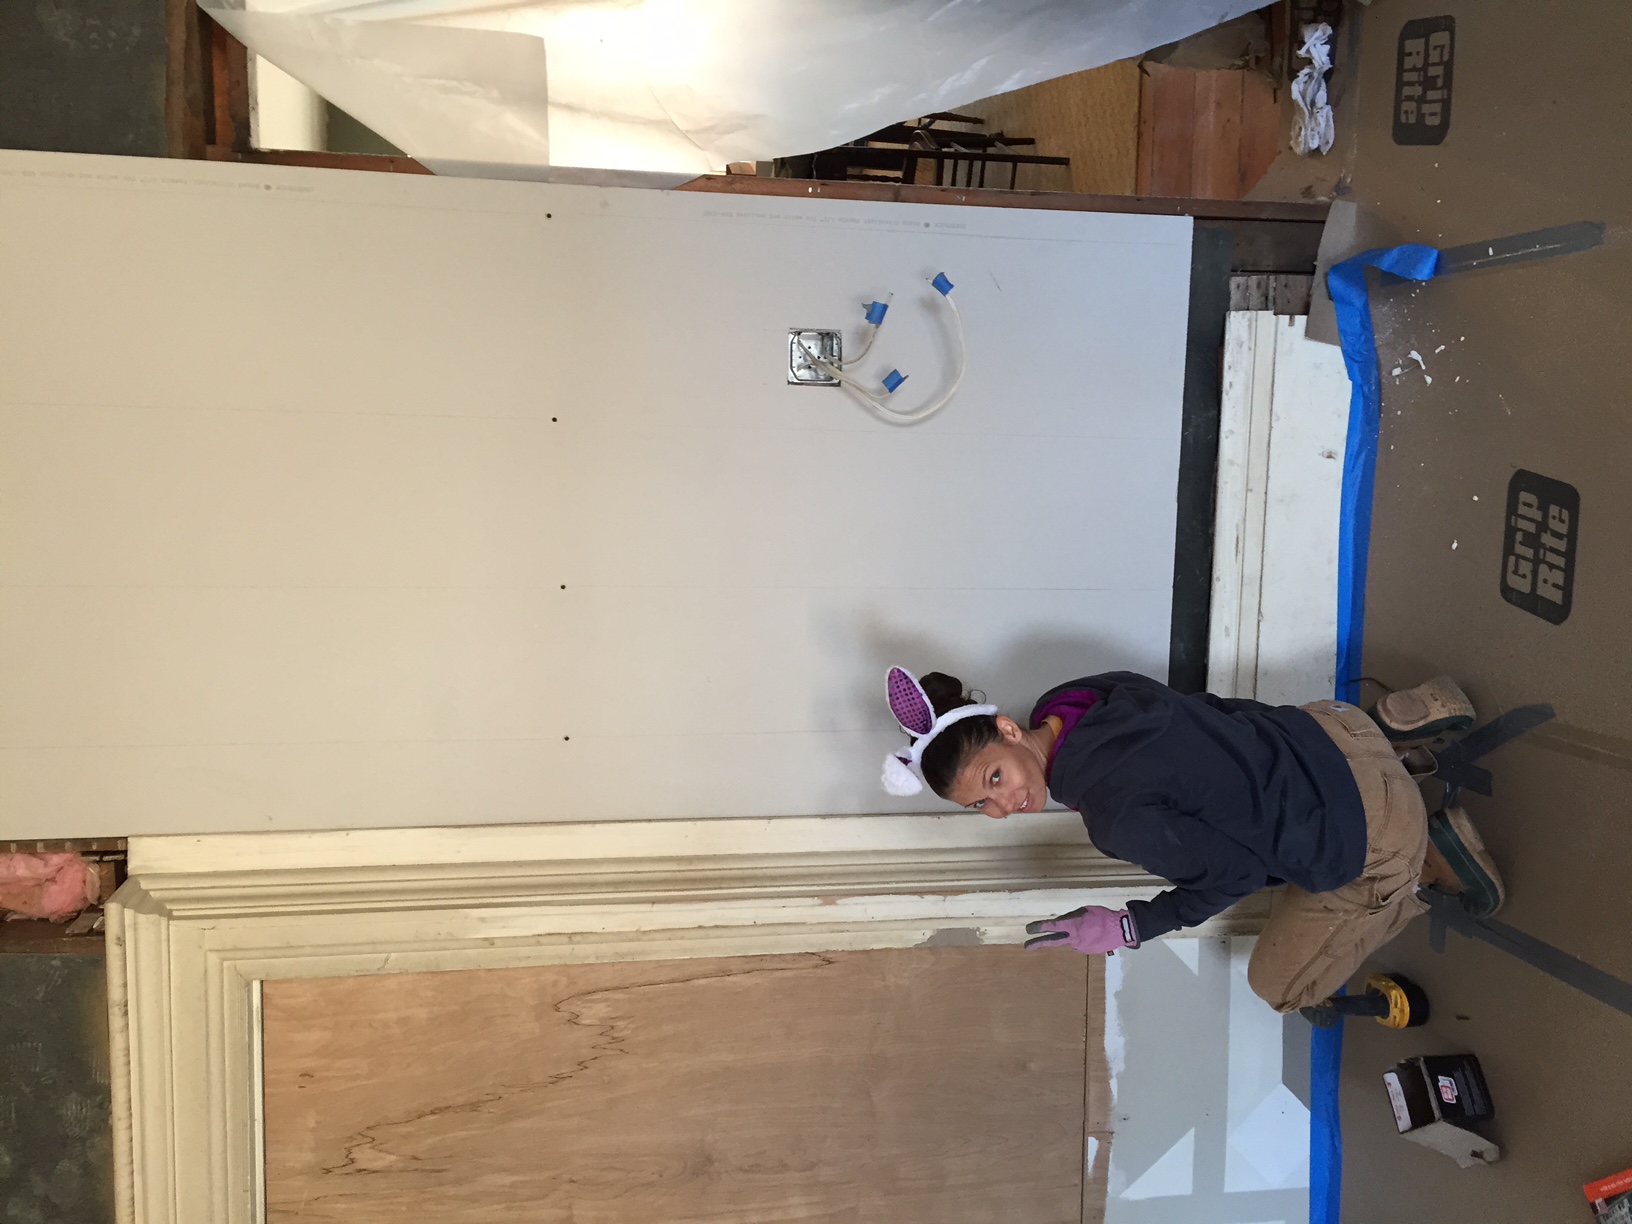
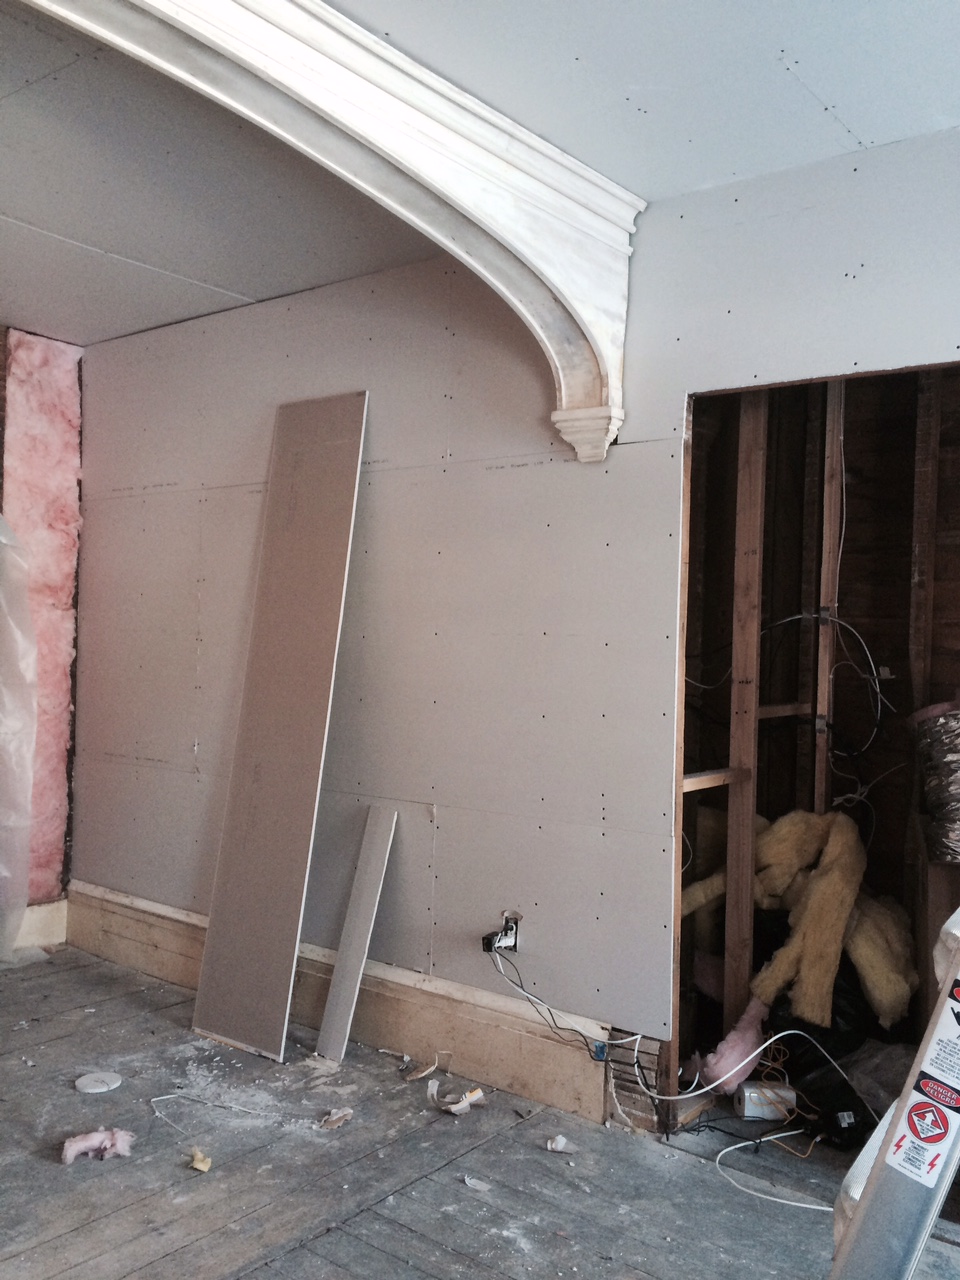
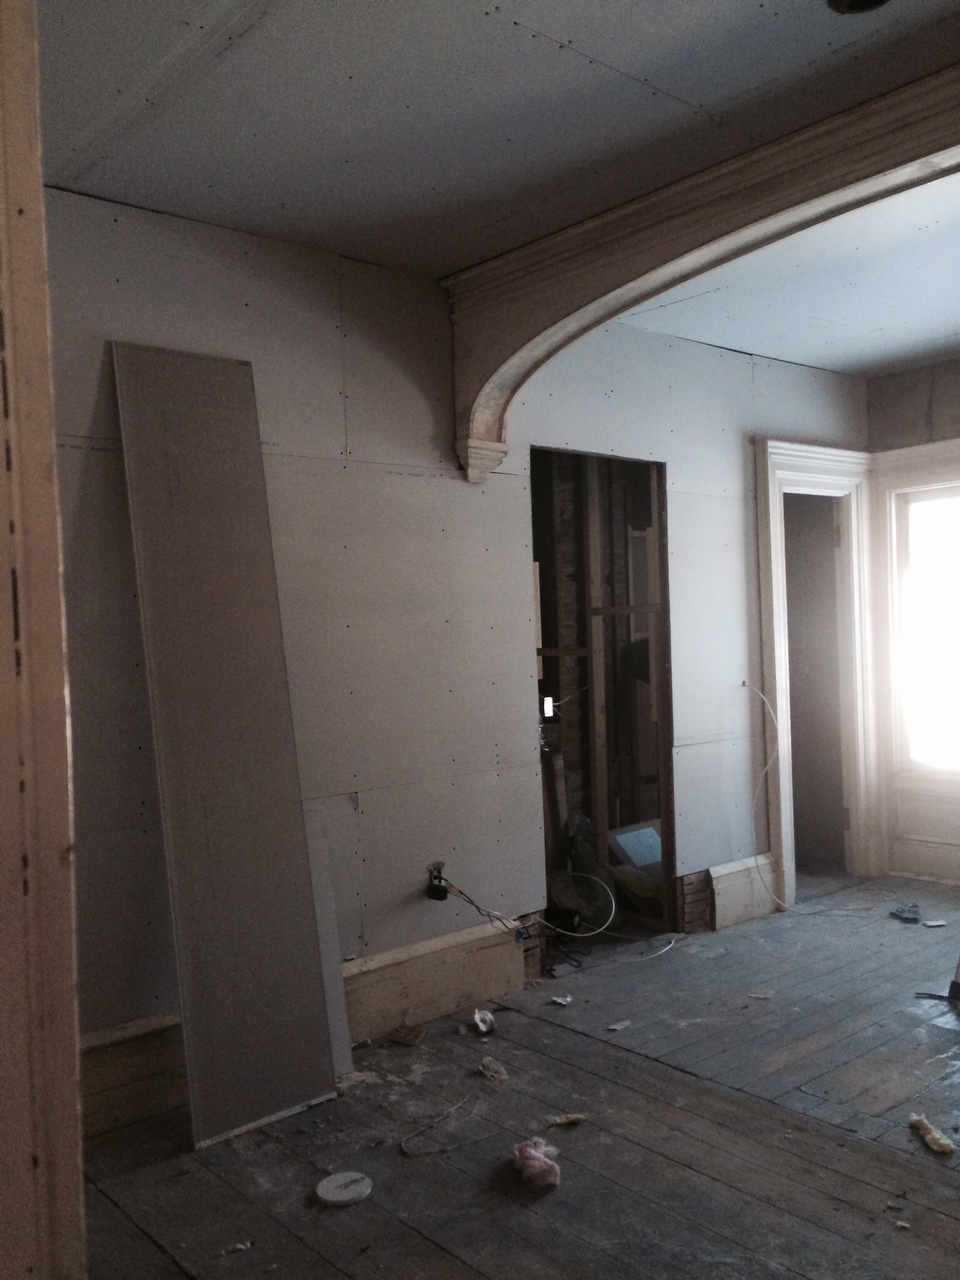
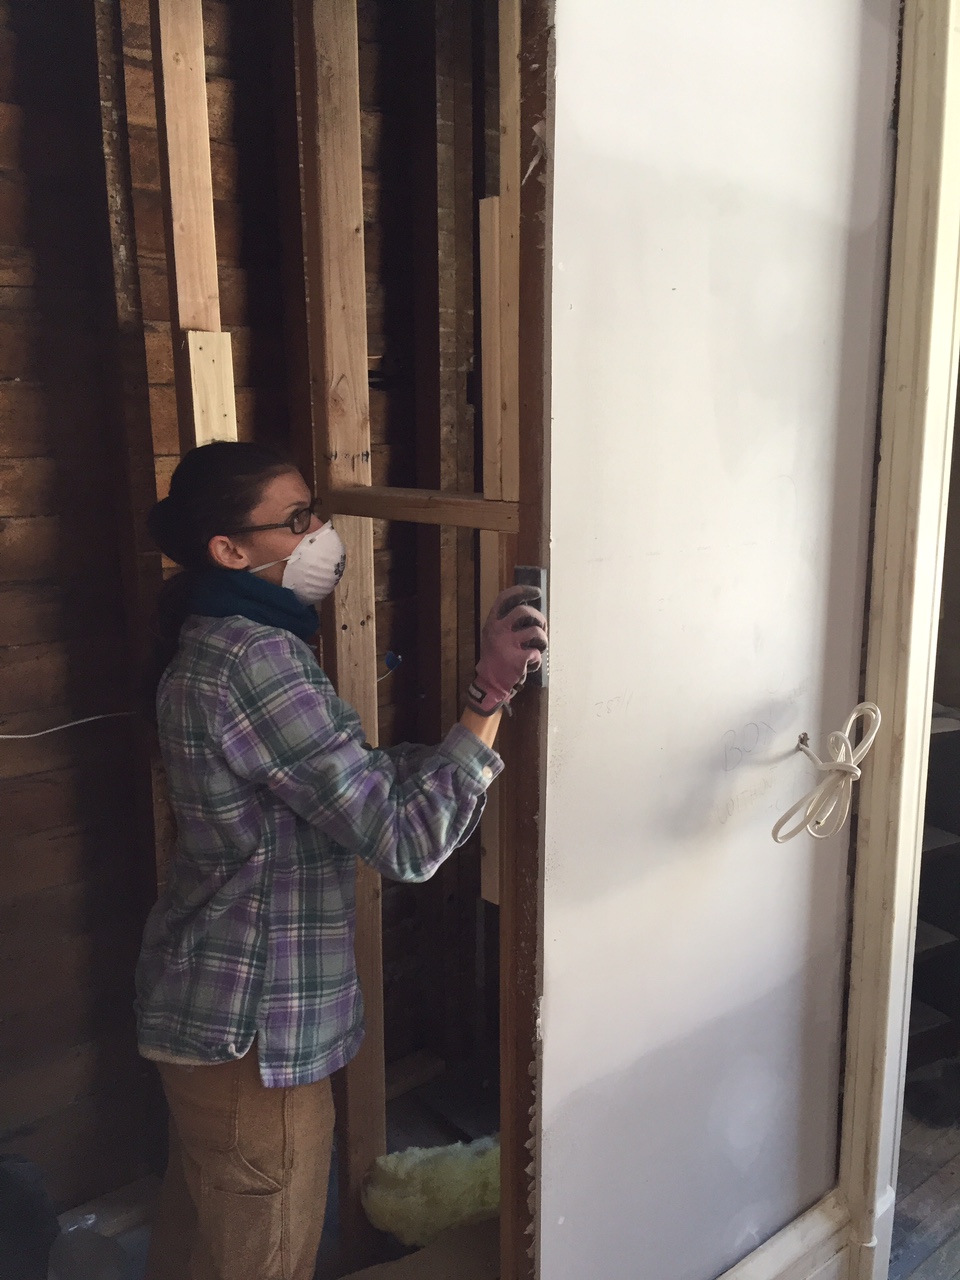
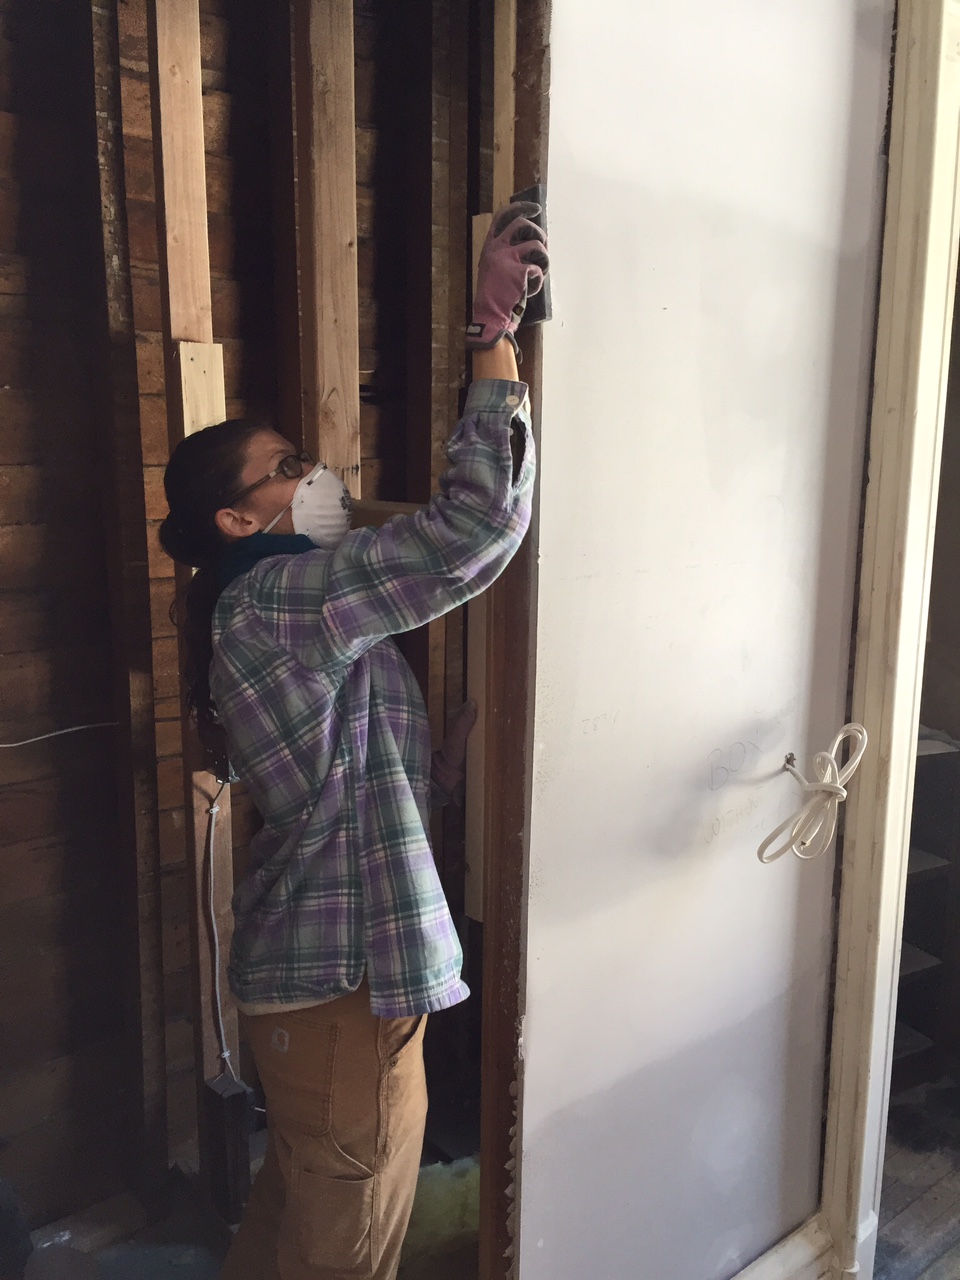
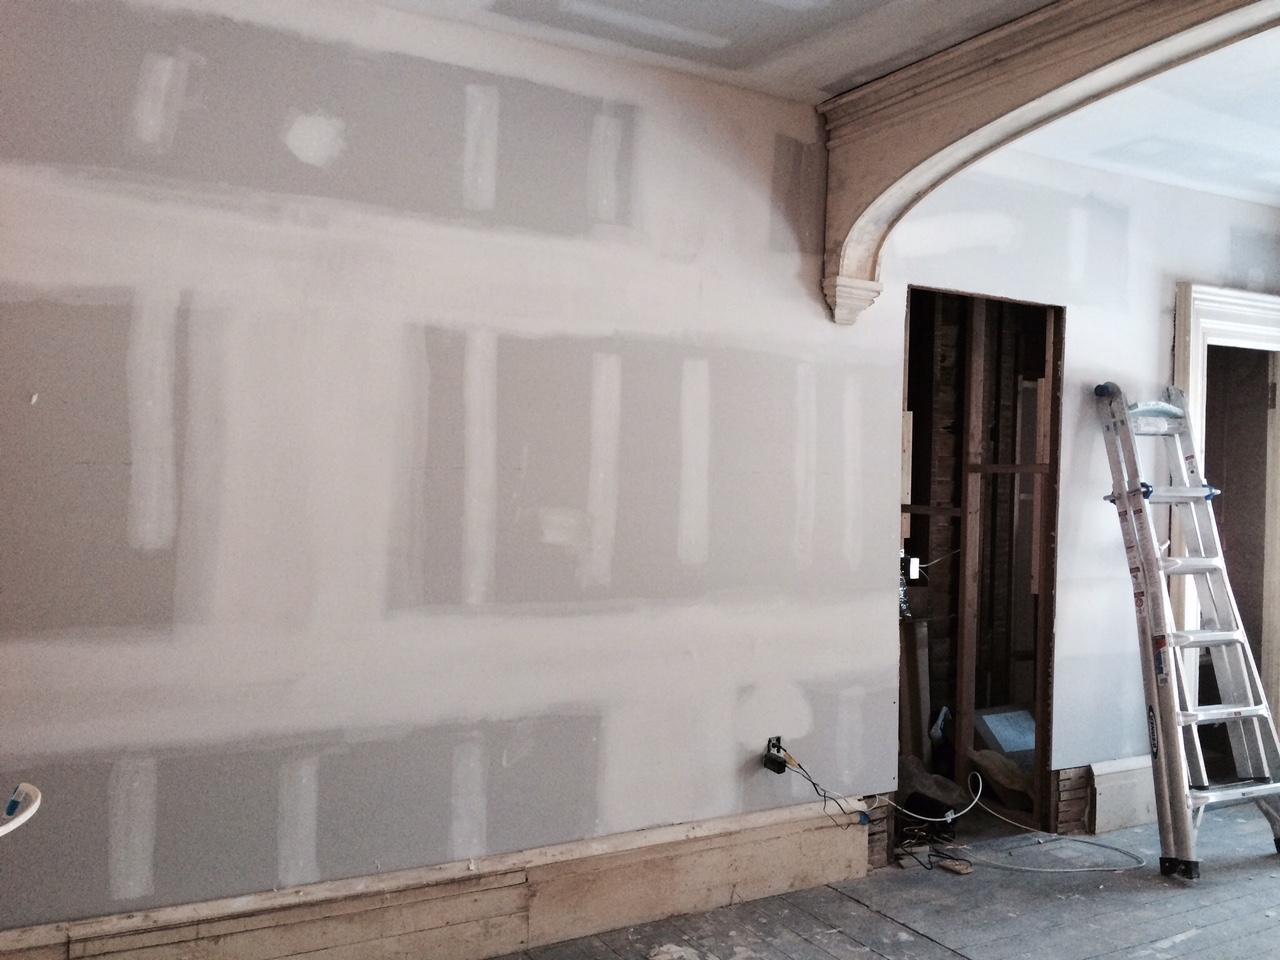
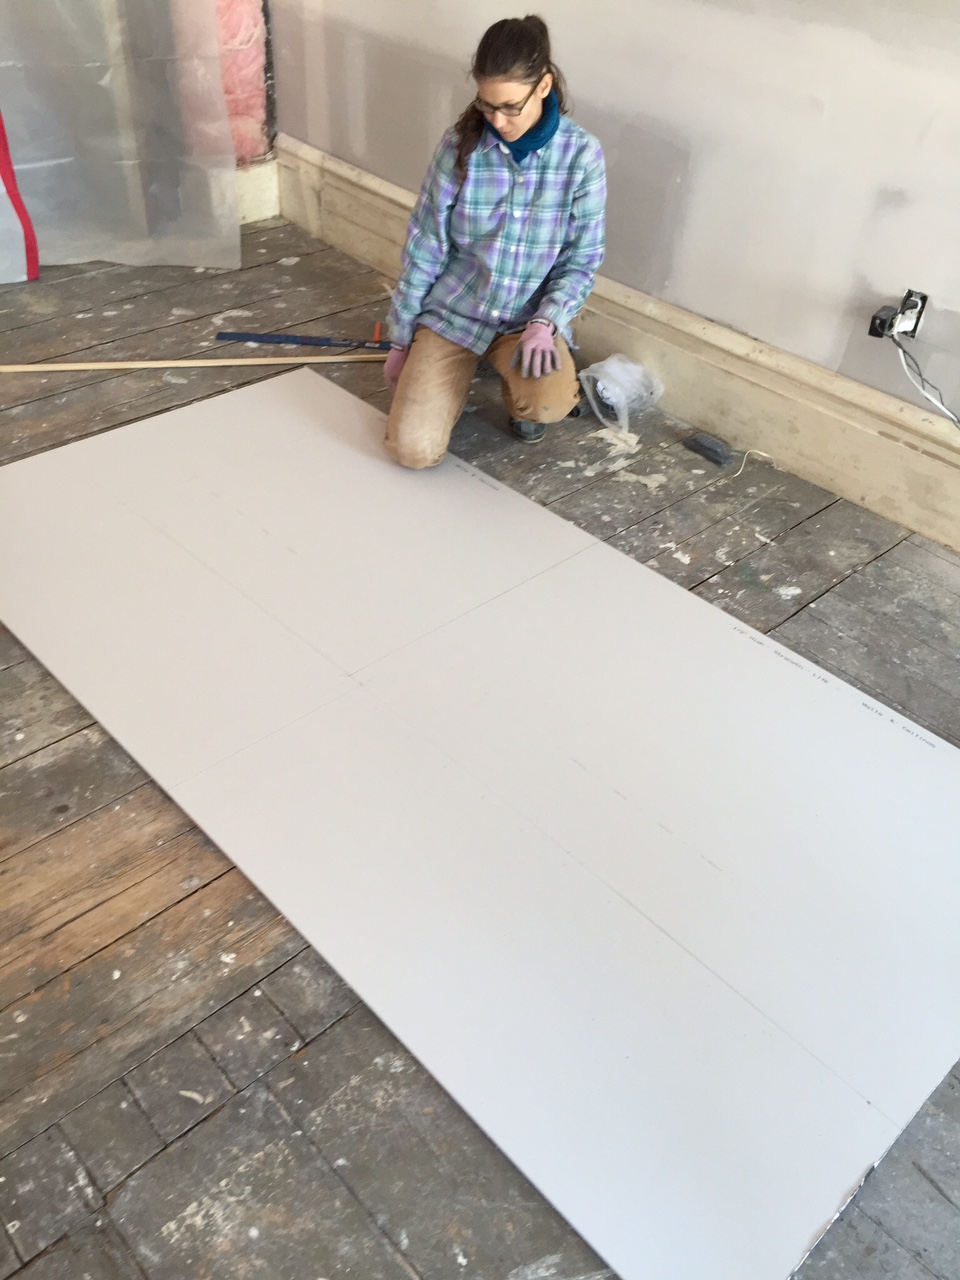
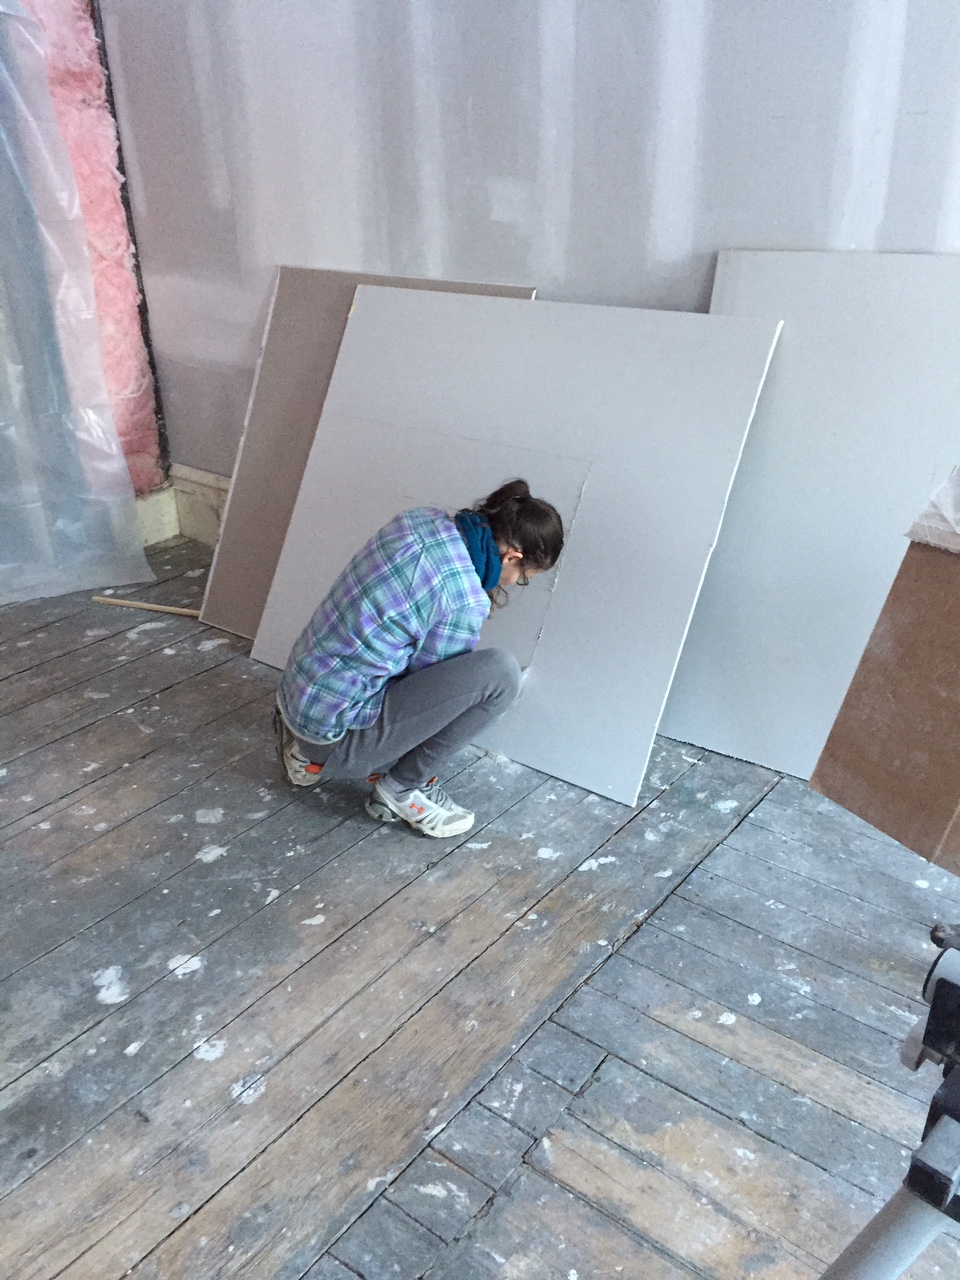
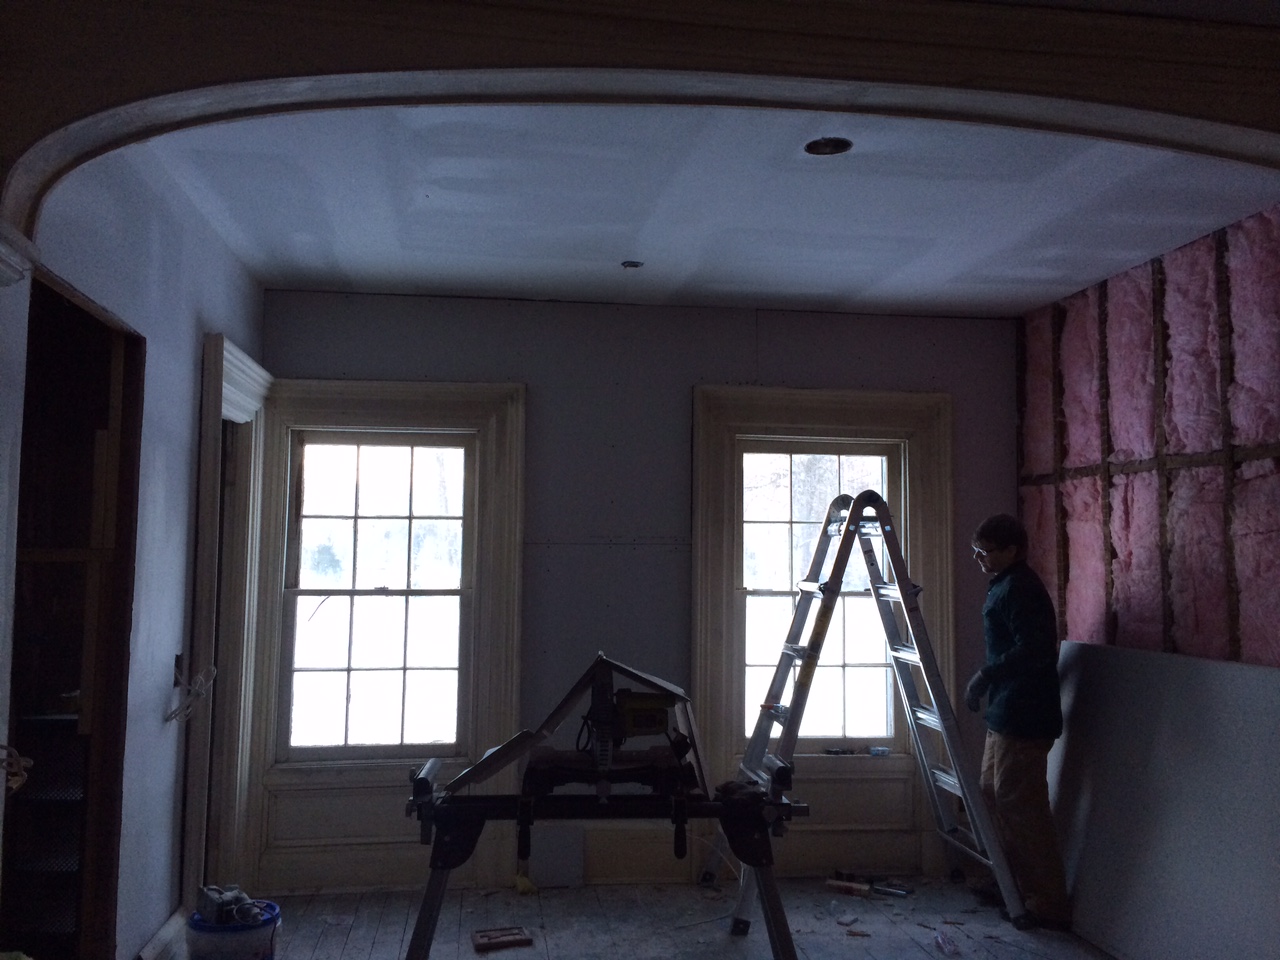
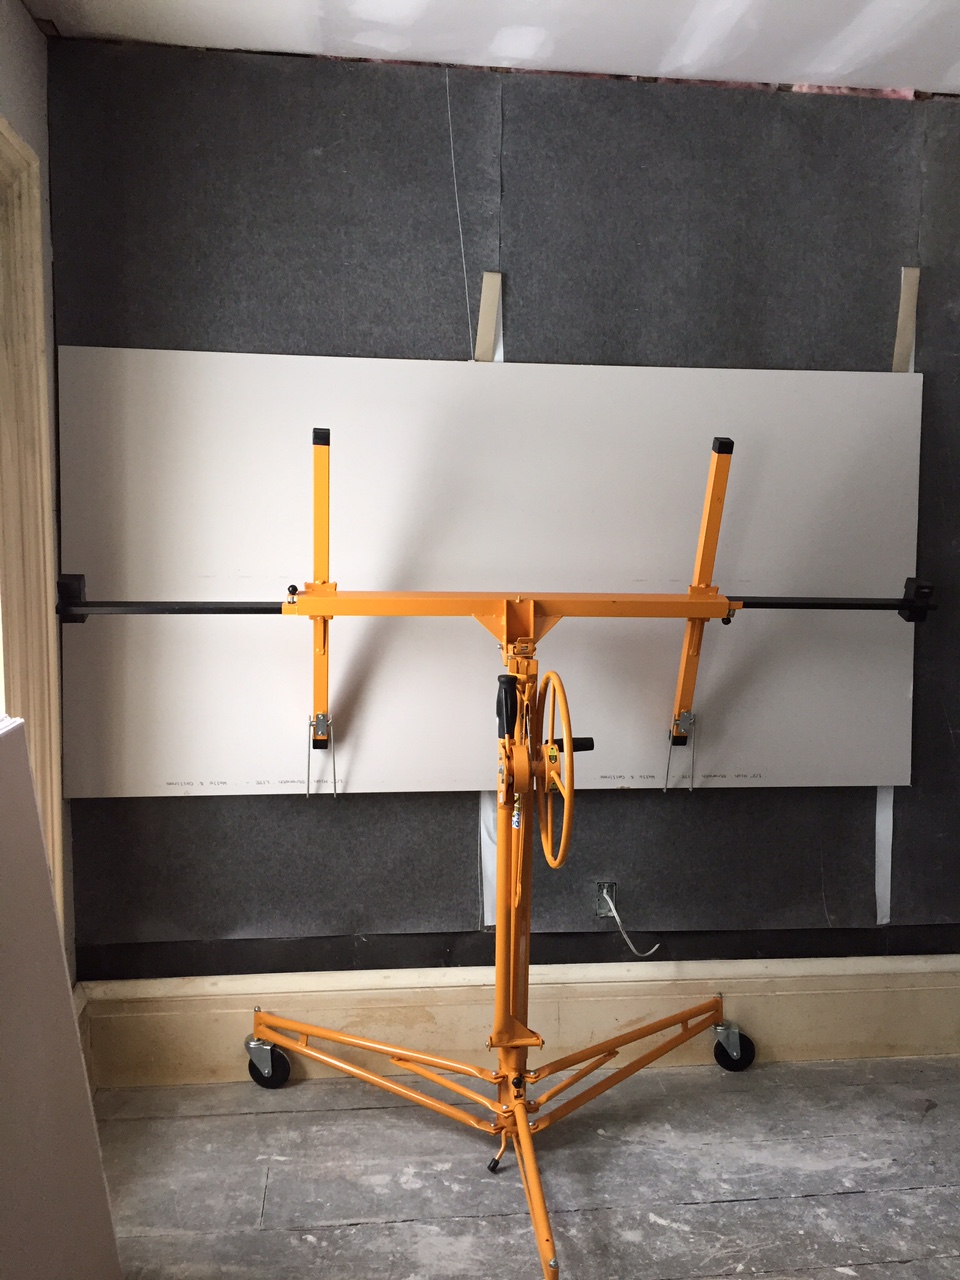
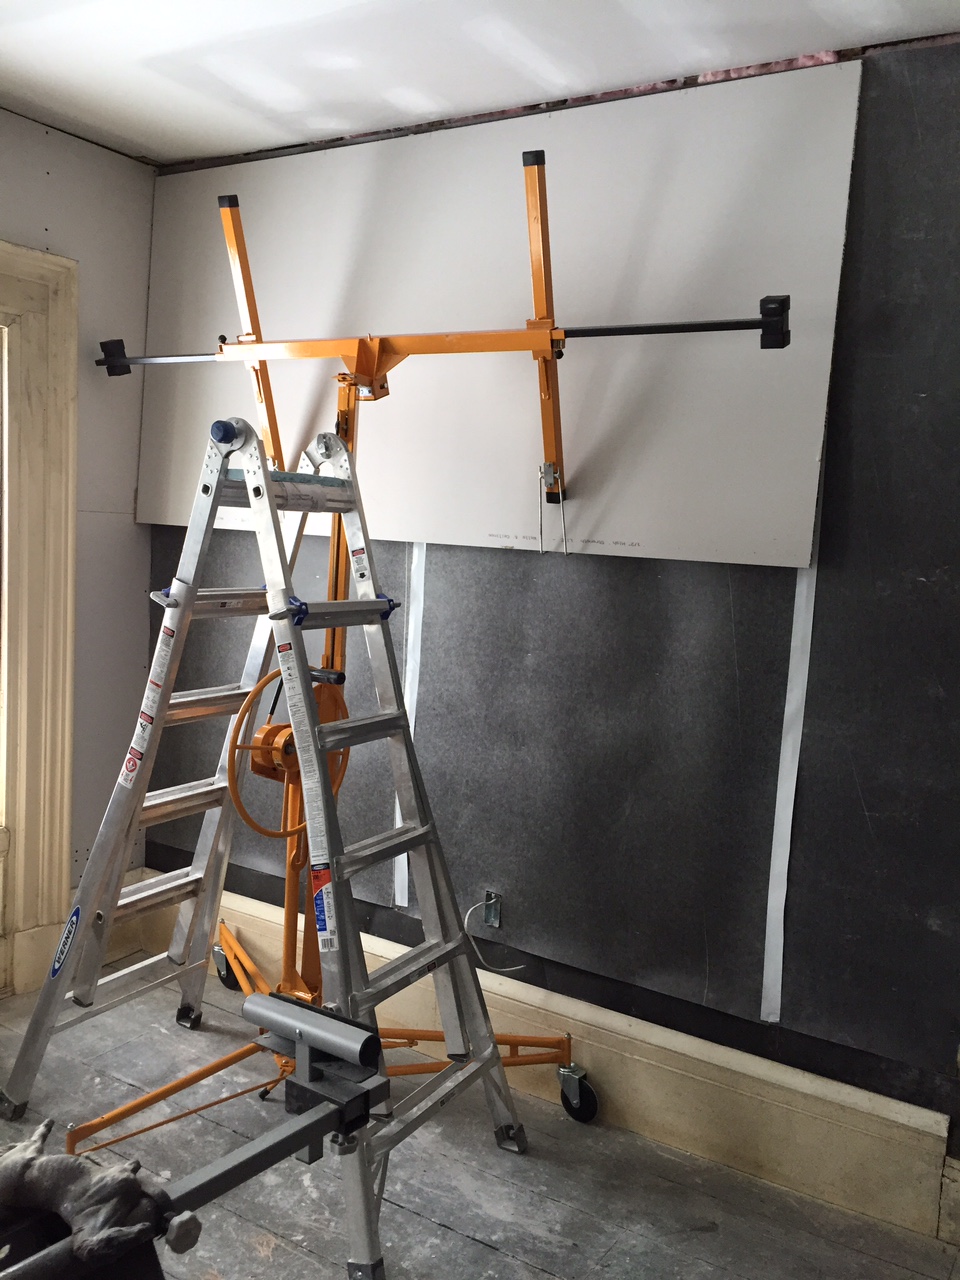
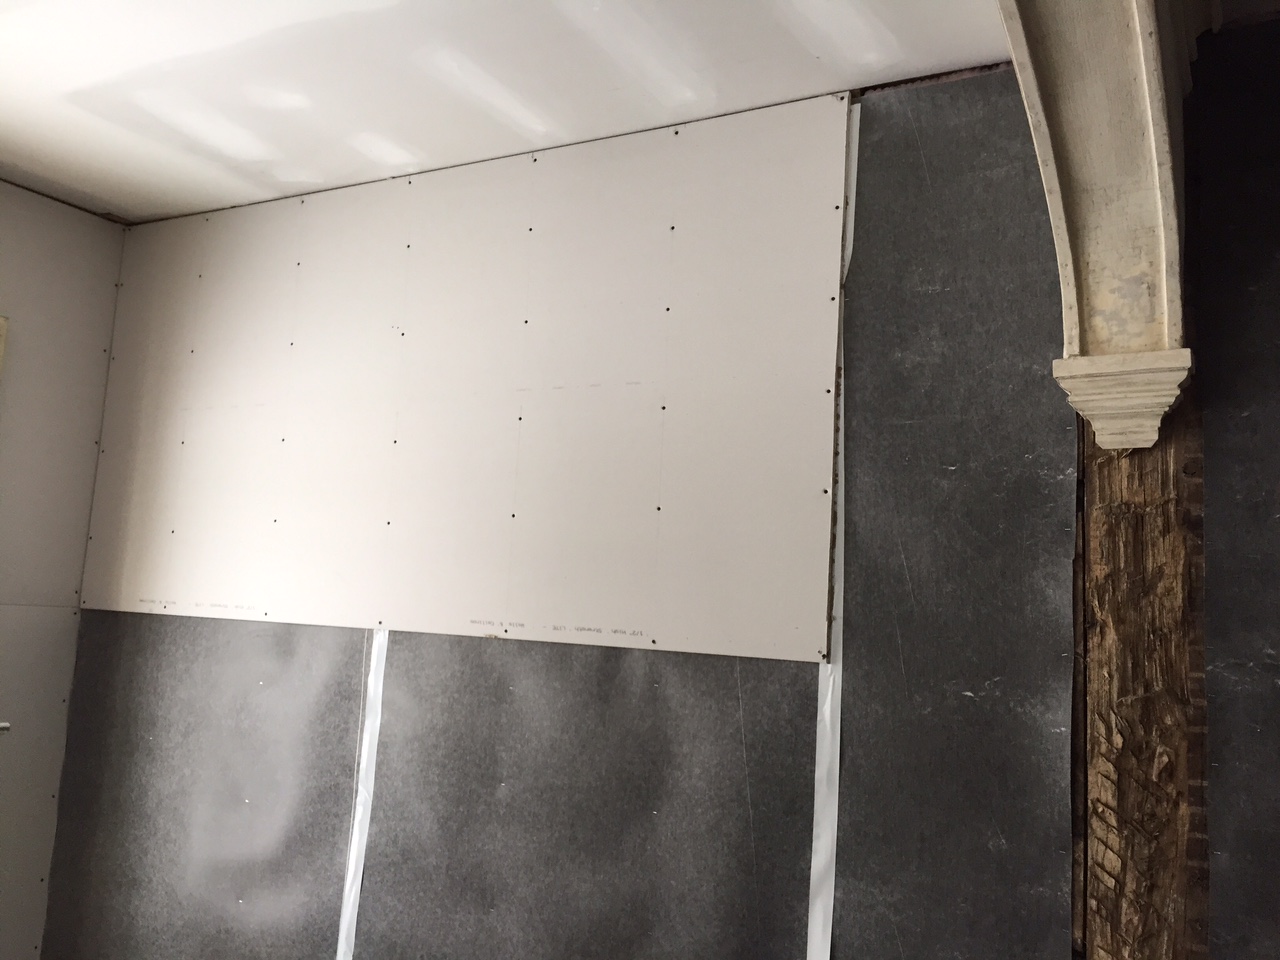
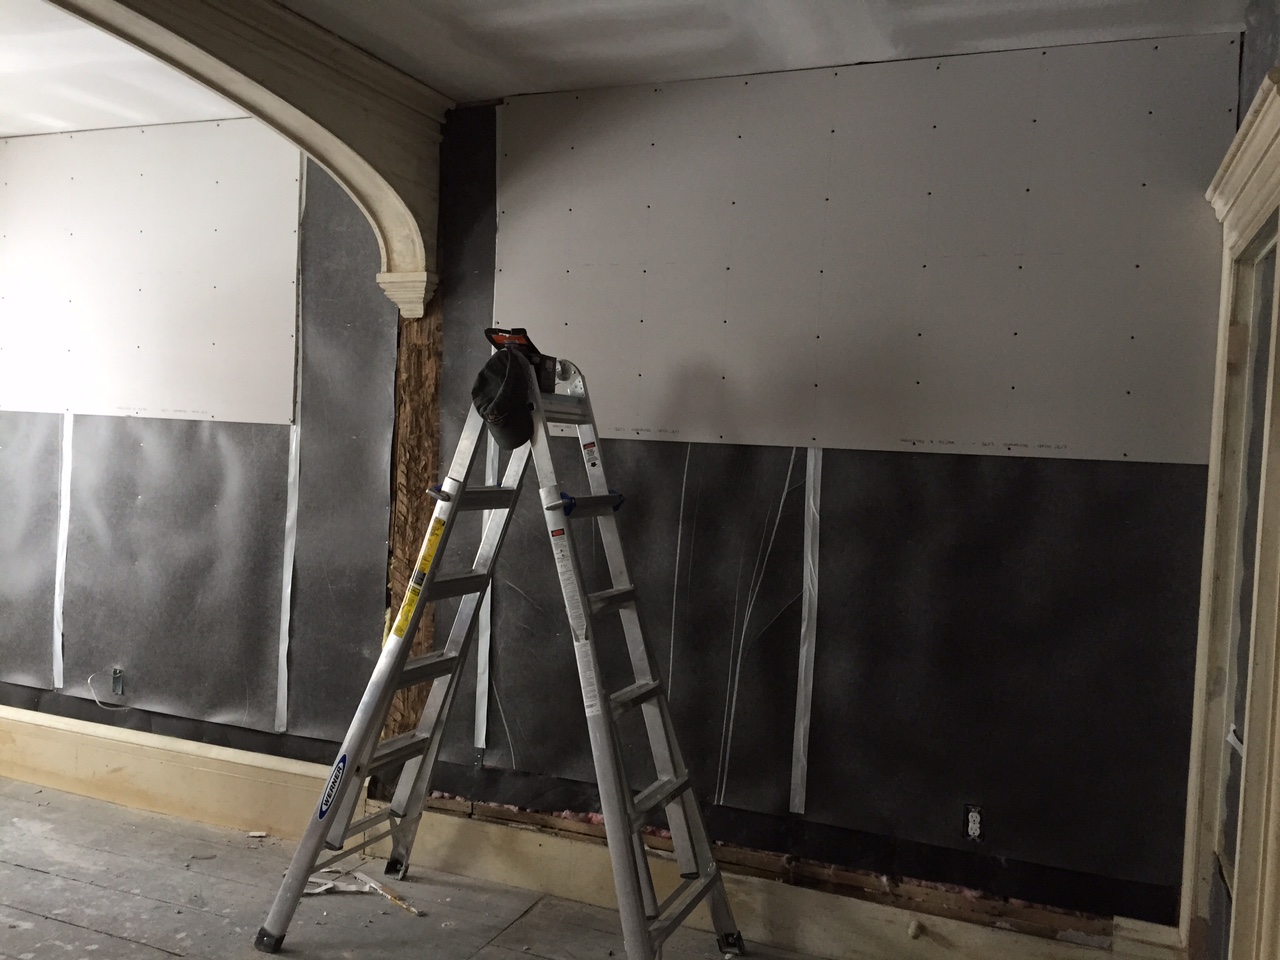
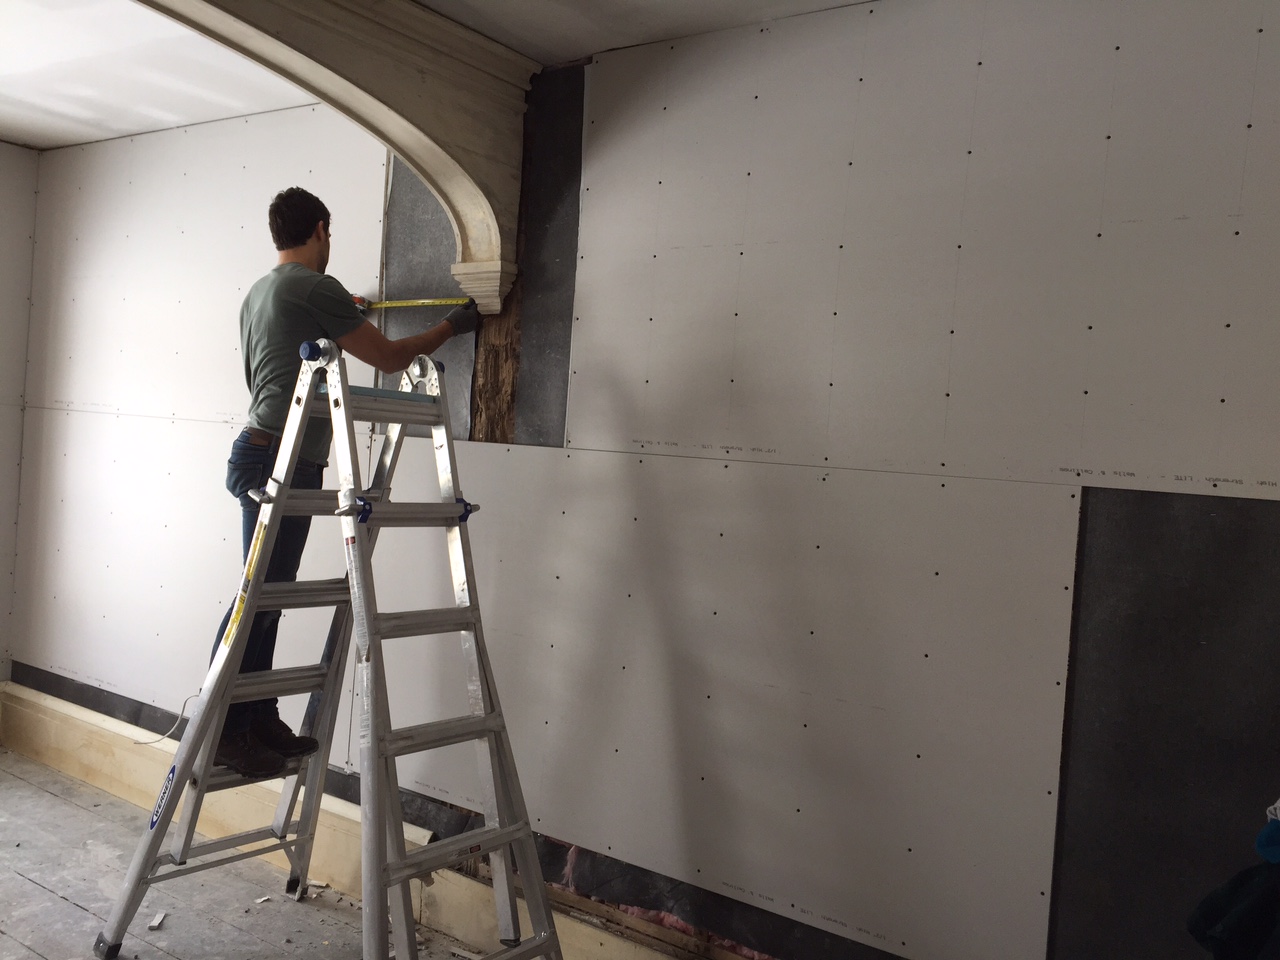
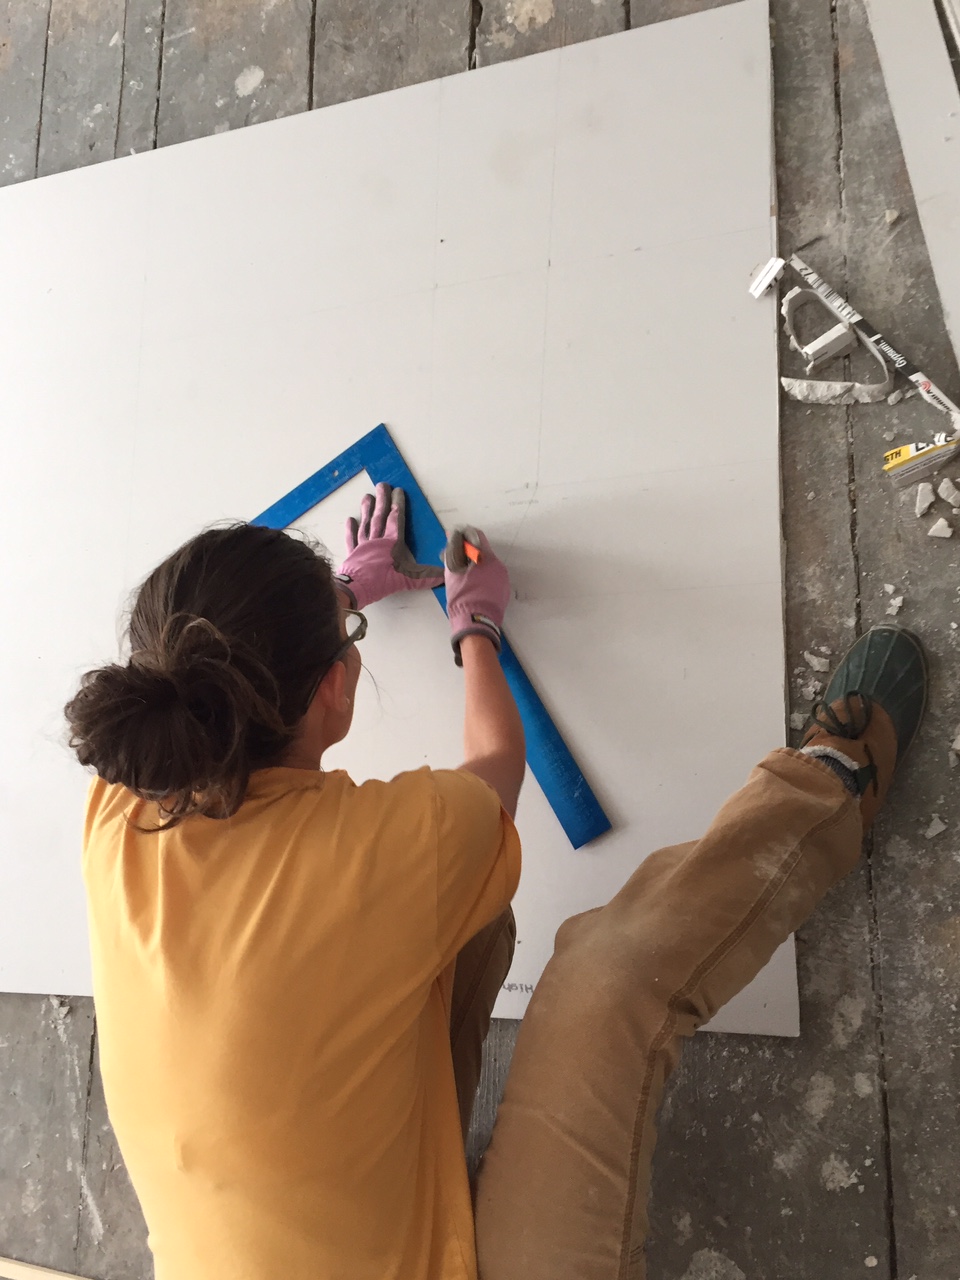
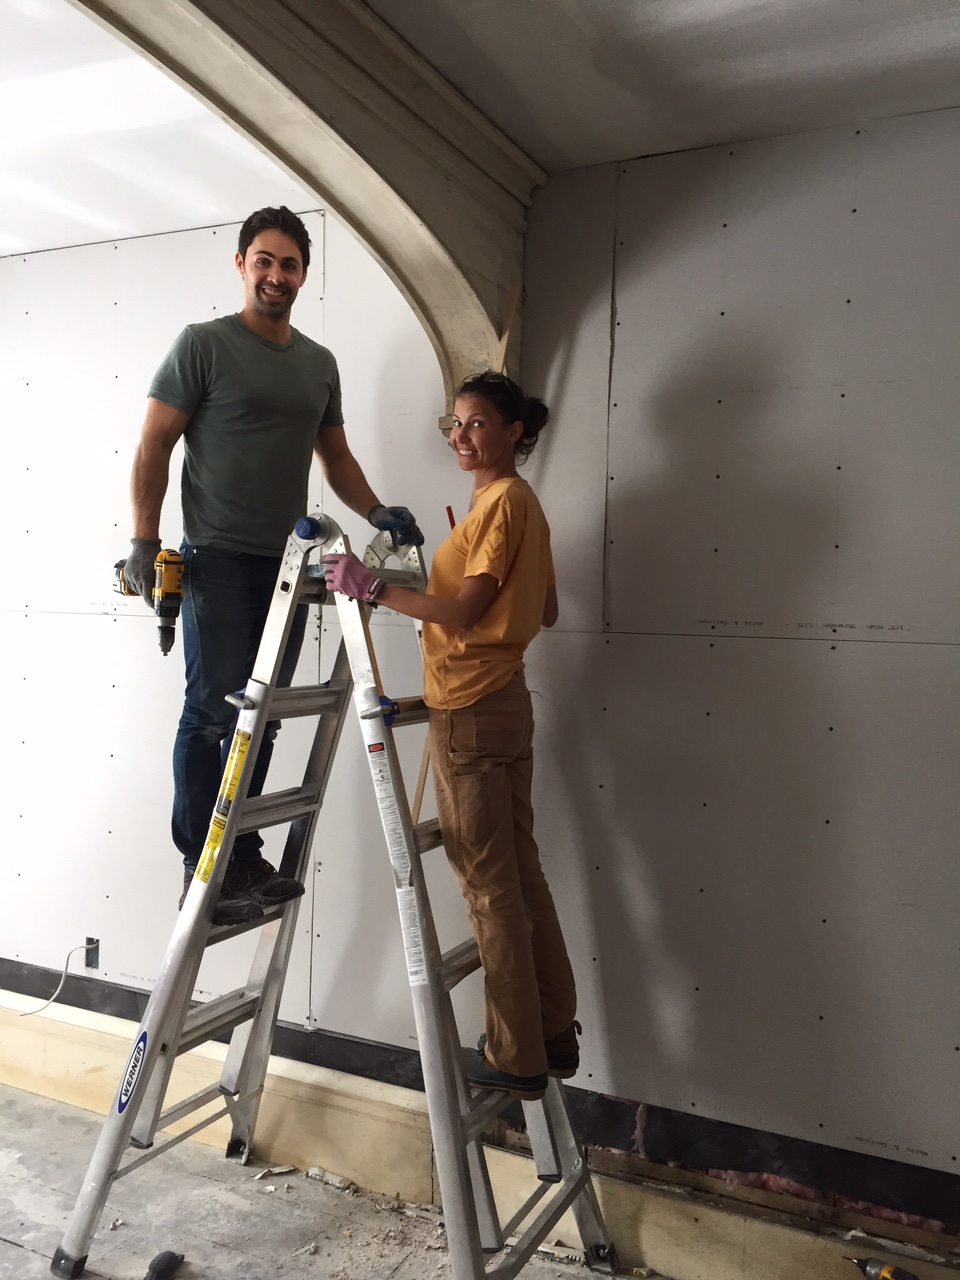
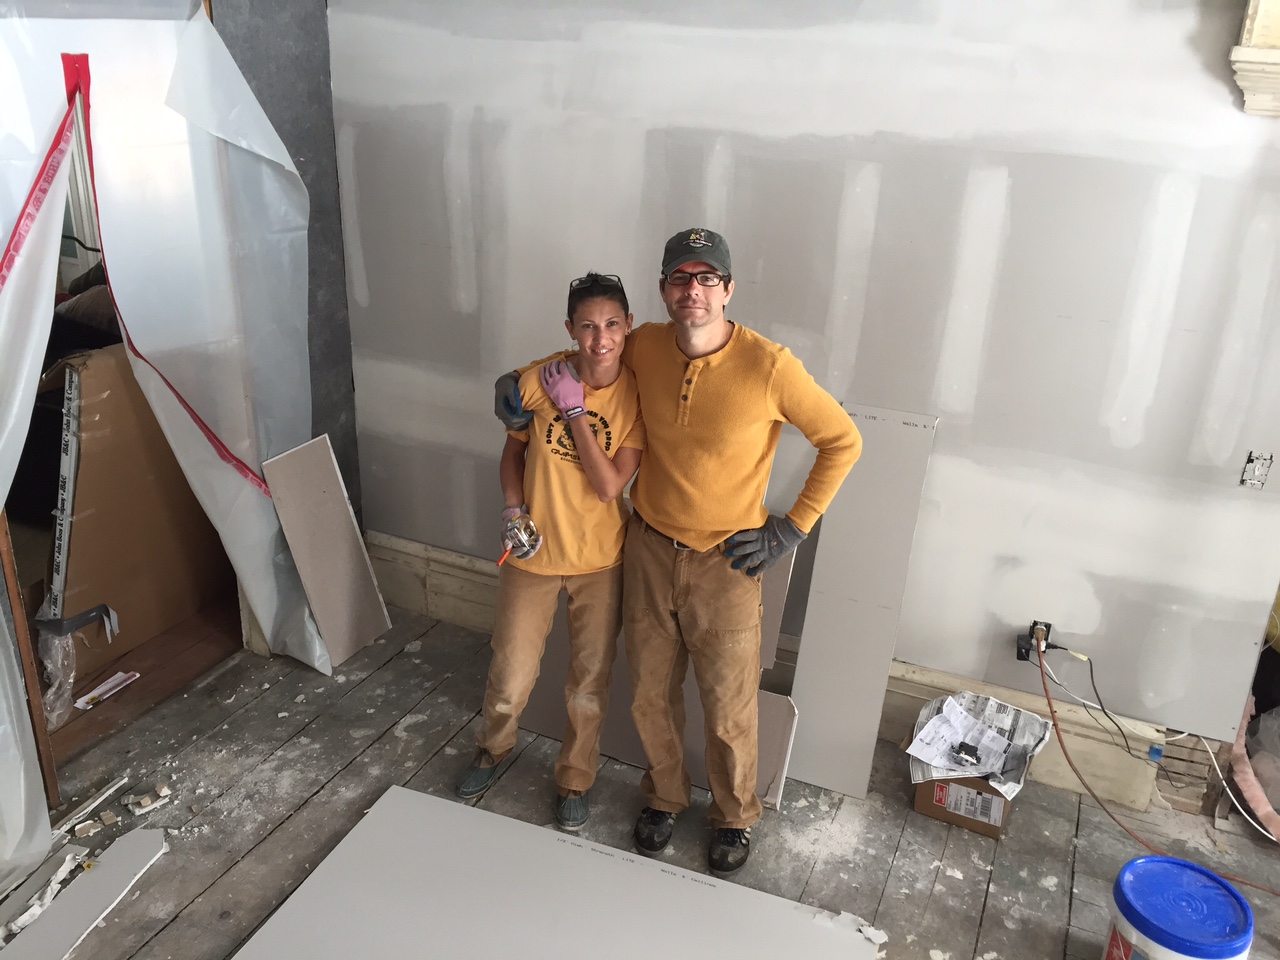
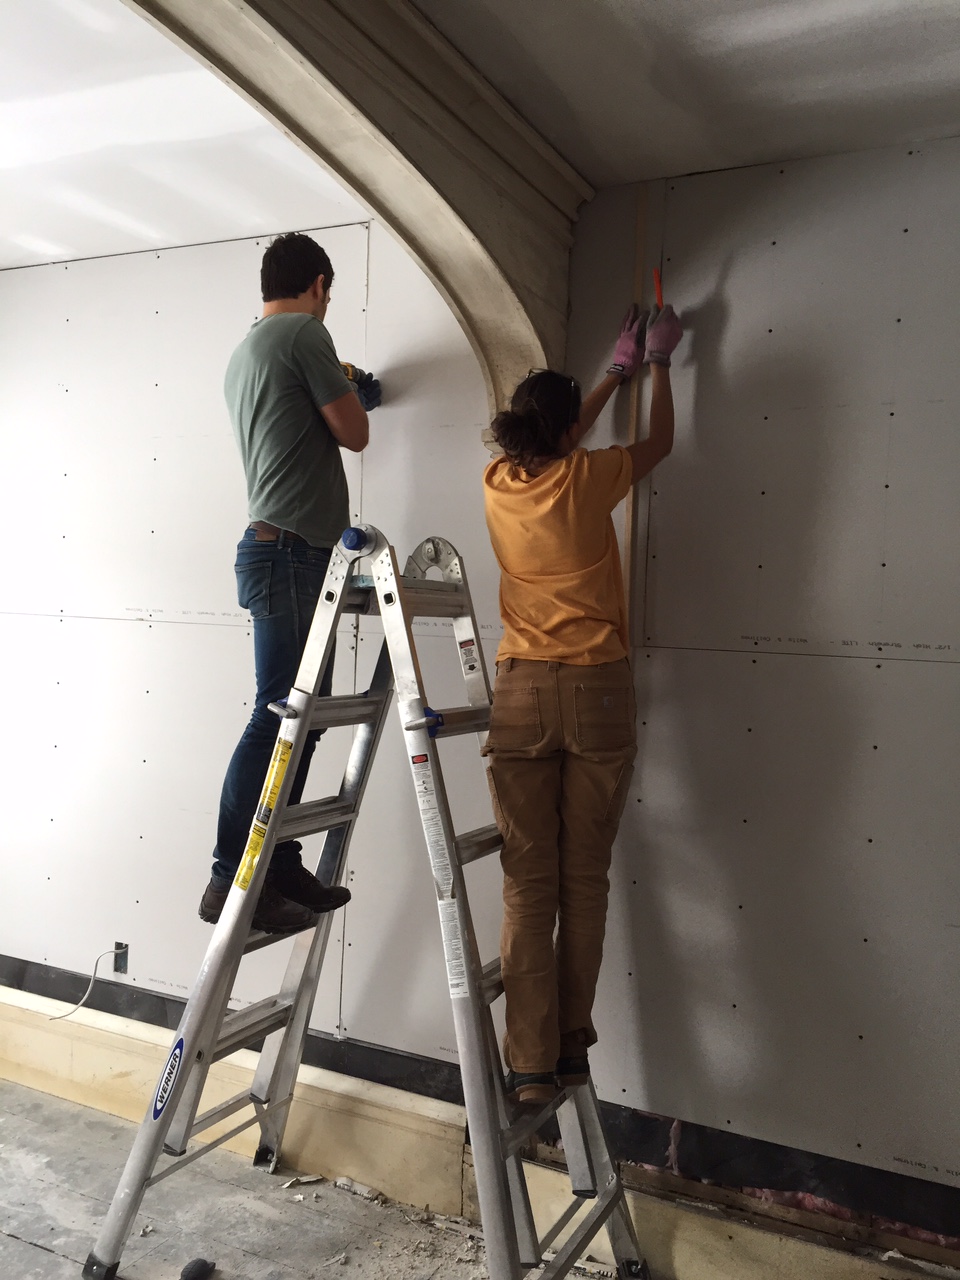
In our slow march towards TV room completion we tackled drywall most recently. Fortunately we had three things going for us. #1, Ermela is a very quick study and after a day she had the measuring and cutting down. Not an easy task in this room since we kept as much trim in place as possible; including the wonderful arch right in the middle of the room. #2, Graham got a new toy (shocking) in the form of a drywall hoist, truly a gift from the heavens. #3, our friend Oren was up and threw himself enthusiastically into the project with Ermela as his sheetrock instructor. By the end of the weekend they were a team to be reckoned with; working in tandem to put some very intricate pieces up.  
 

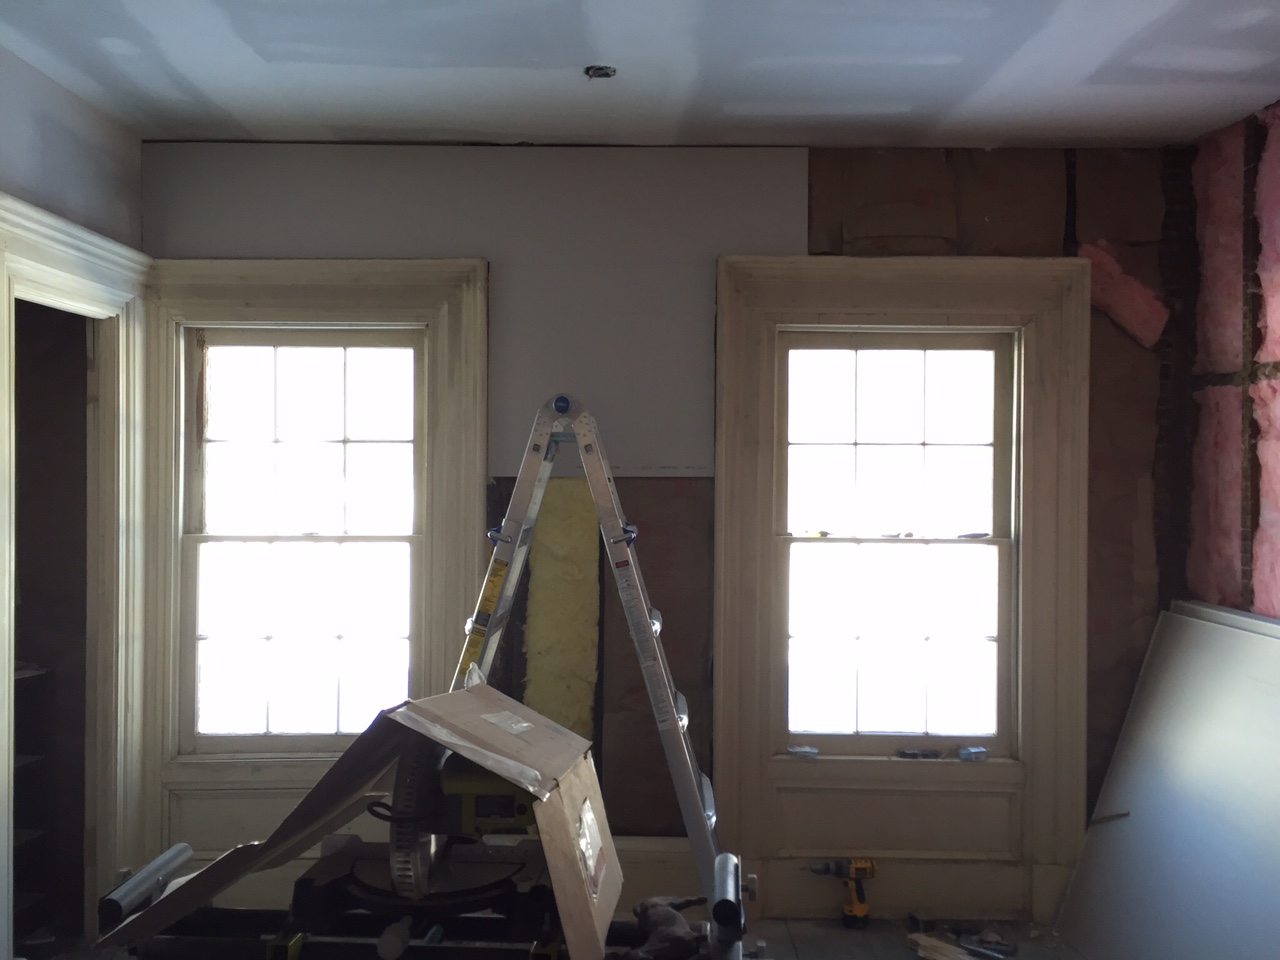
Overall drywall is really about learning rules and being able to keep a flexible mind. Most mistakes seem to be in reversing measurements from the floor to the wall, and in not planning ahead. With this house one of our biggest hurdles is that the blocking in the walls was set up for plaster, which is very different in application to drywall so we occasionally ad to add extra blocking in the walls to have something to attach the sheets to. The other headache is that the drywall is thinner than the plaster that used to be there so we will have to go around all the trim in the room and add a layer of wood to blend it all in.

With the drywall in and the walls sealed up and insulated this is now the warmest room in the house, it's really amazing considering it is the north side of the house and only has one heat register. Proof that some demolition headaches are worth it, at least that is what we will tell ourselves while watching movies curled on the couch this coming winter.
 

Sugaring Two

Well, it as been a busy month, lots of seed planting, drywalling, planning and tiling.. but we did manage to get away for almost an entire week to get a little pre-summer color. That did not slow down progress though, if anything, it made us work extra hard out of some misguided vacation guilt syndrome.

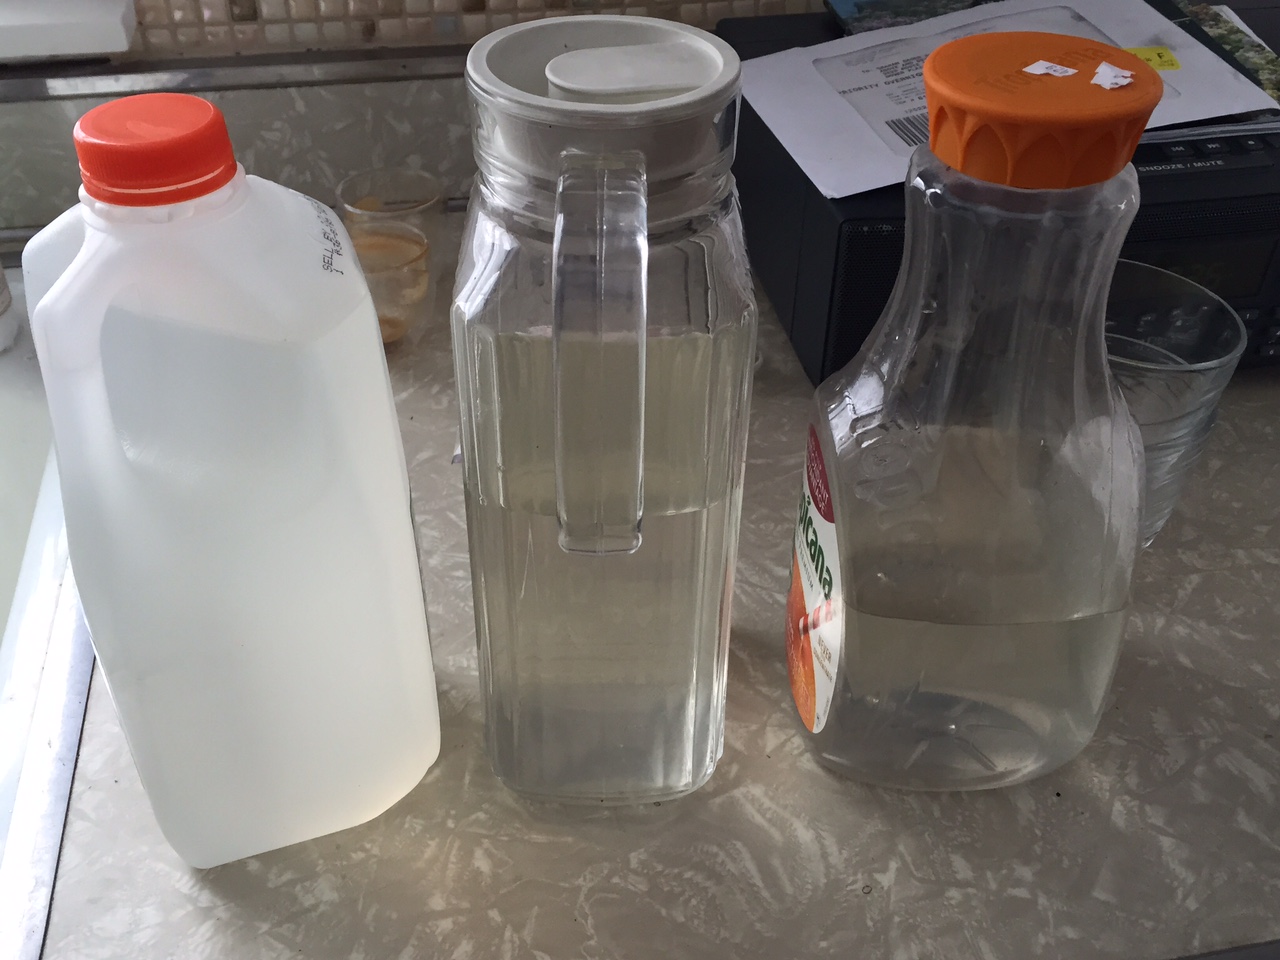
At first the weather looked like it would be perfect for the maples to run sap, but then each day saw drops in temperature and wind chills and overcast days. Such as it was we managed to get a couple days of decent sap runs to use for our inaugural sap cooking attempt. For those of you new to making maple syrup (can't imagine that is many of you) the goal is to have freezing nights and above freezing days. The warm days pull the sap from the roots up into the branches to nourish the future leaves and growth, while the cold nights cause the sap to rush back down to the roots, the tree taps catch the sap on the way up and down. We had imagined the sap would be dark like the syrup, but in reality it is clear like water and has very little taste. We have to collect 40 gallons of sap for every gallon of syrup, for this first attempt we only had a few gallons.
 

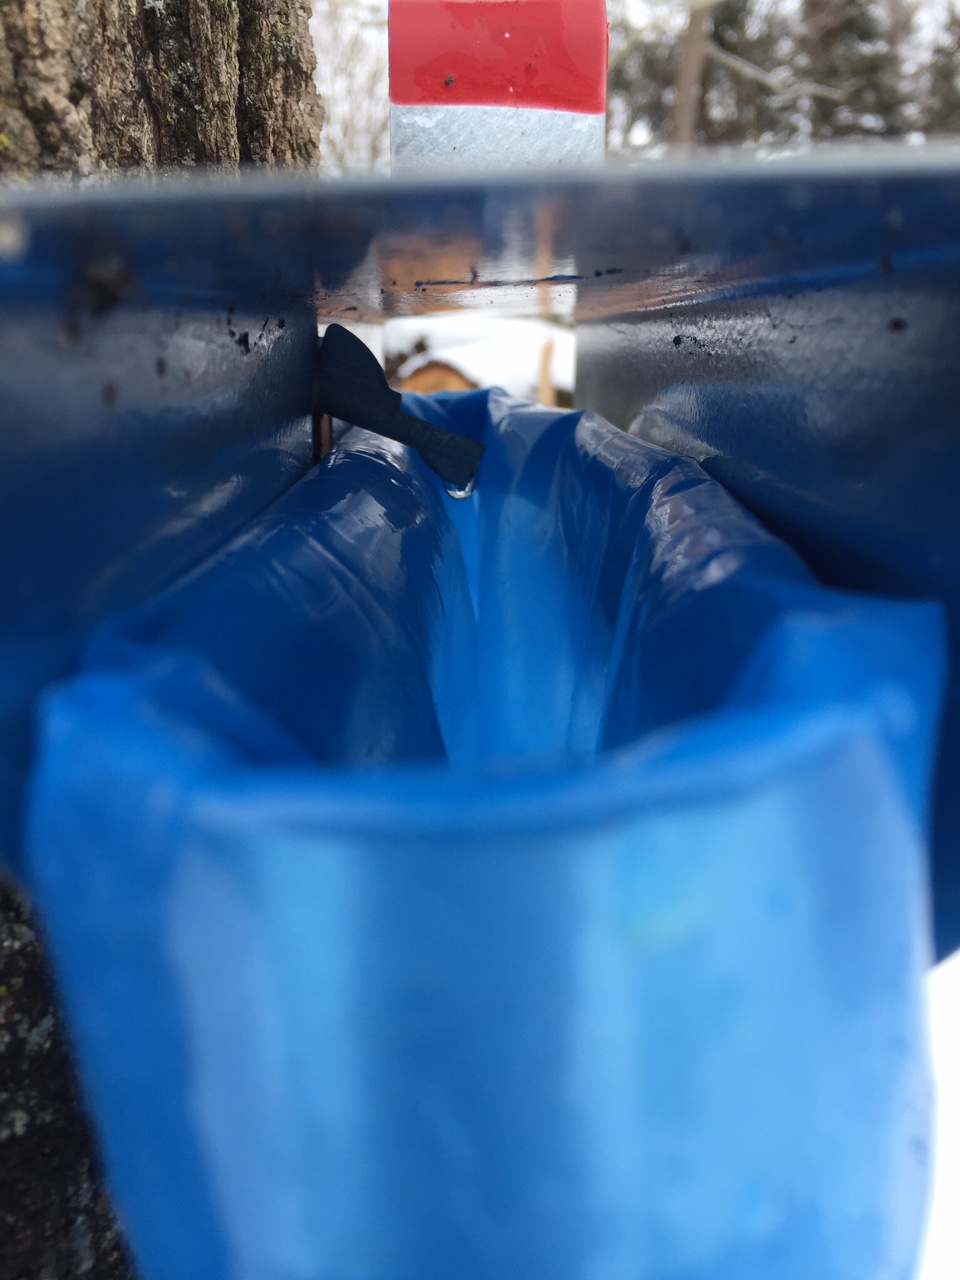
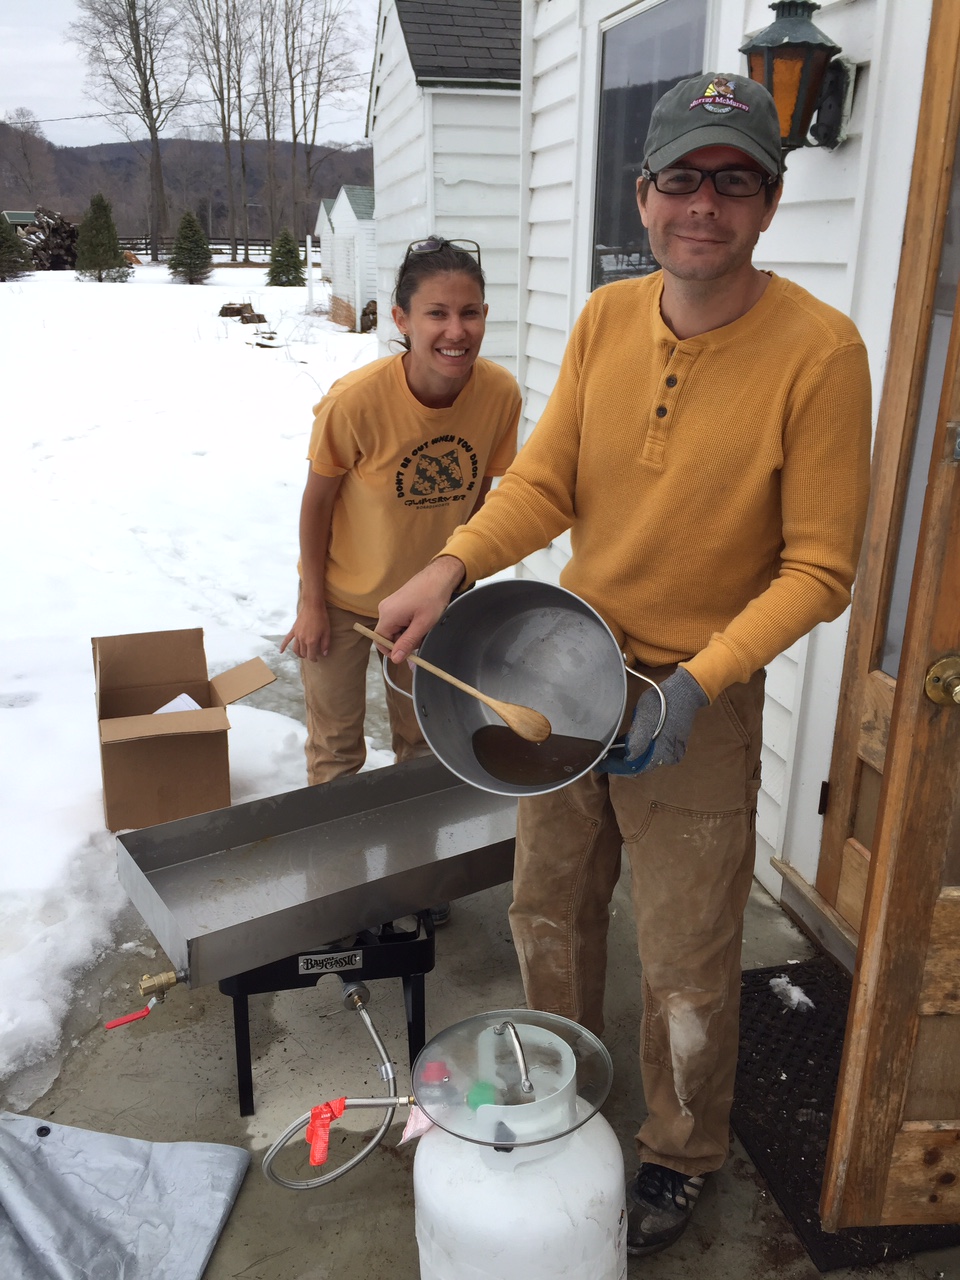
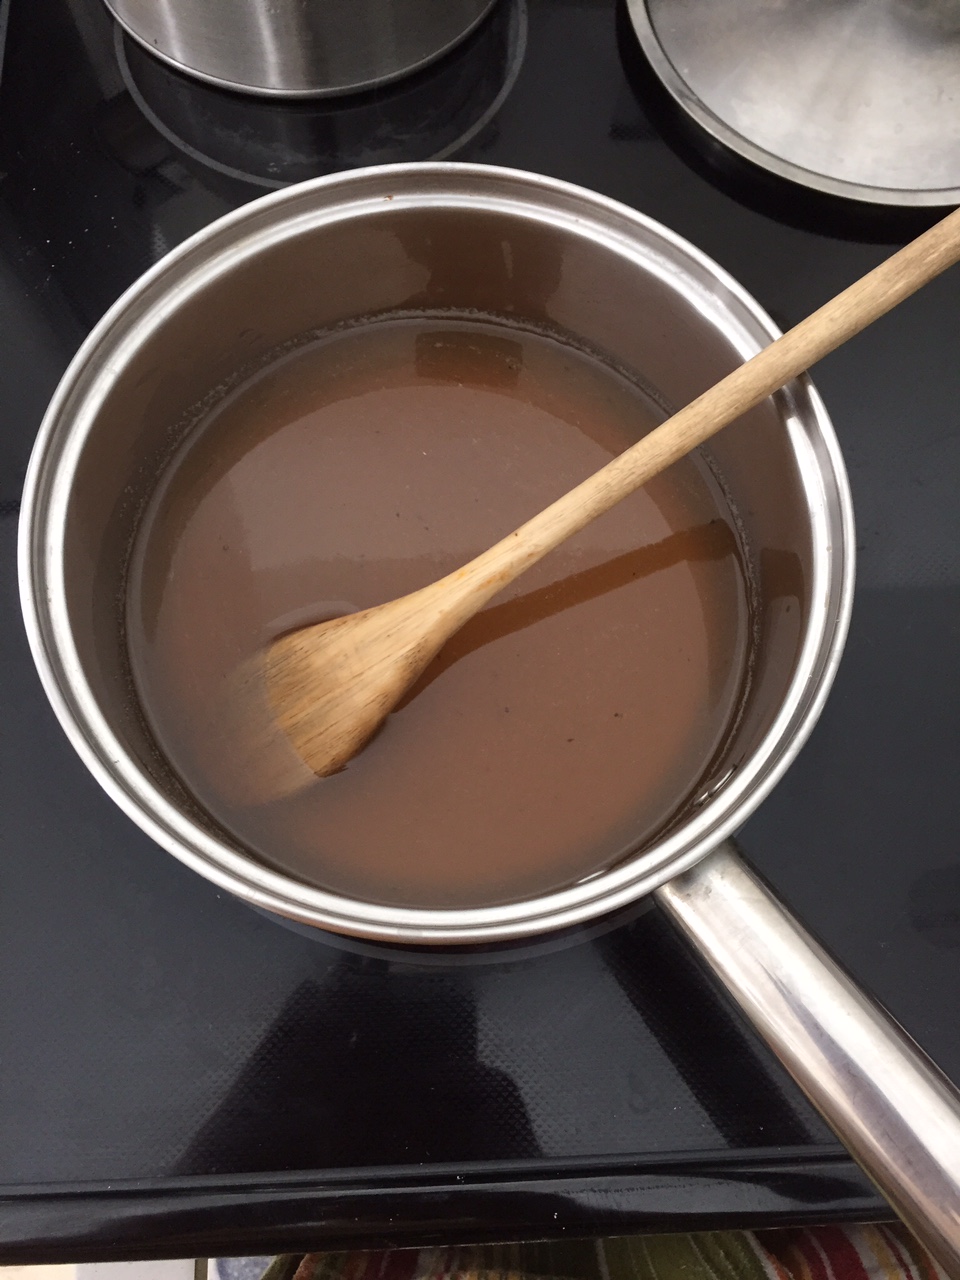
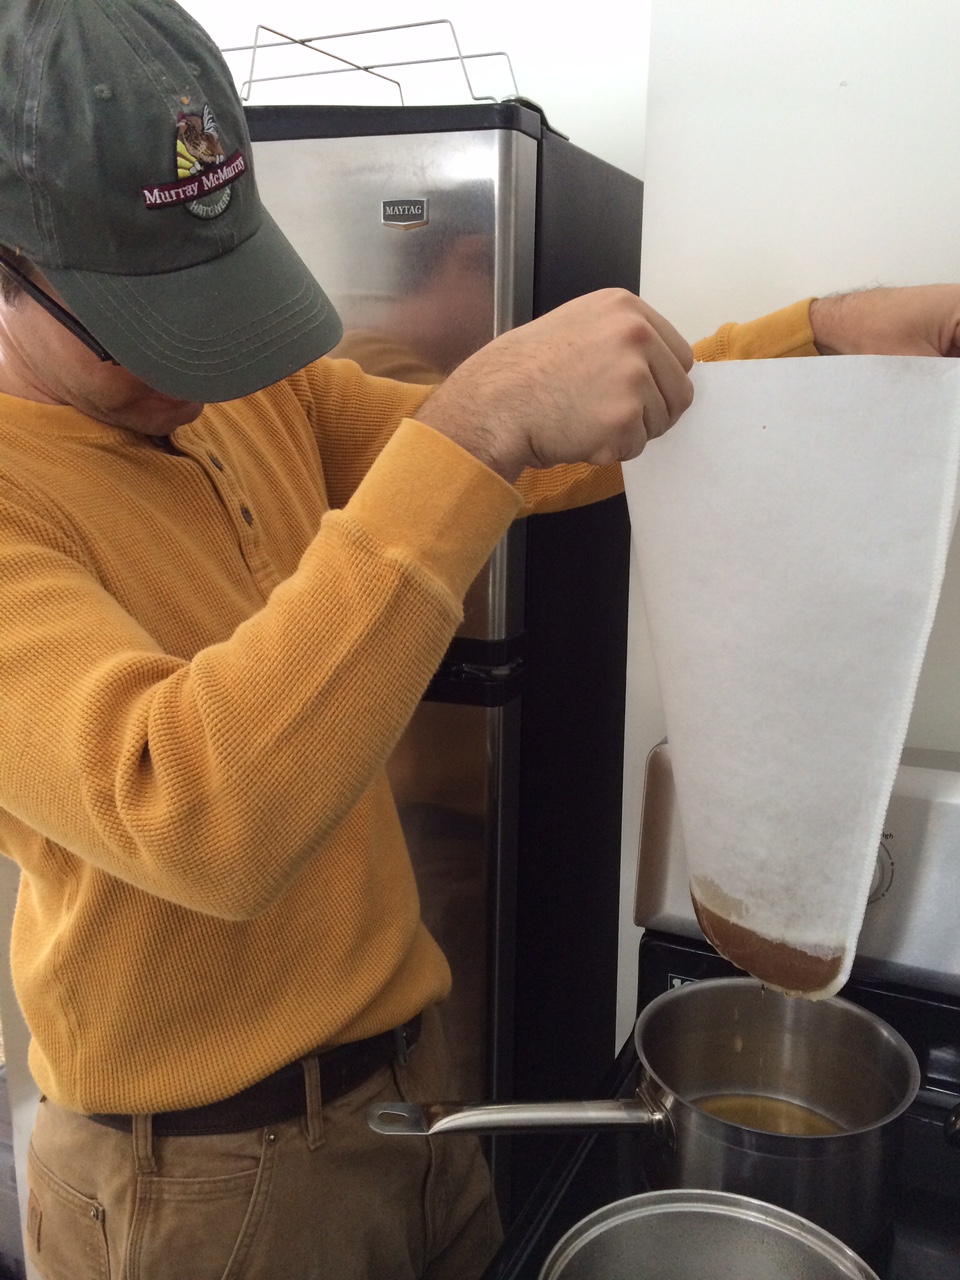
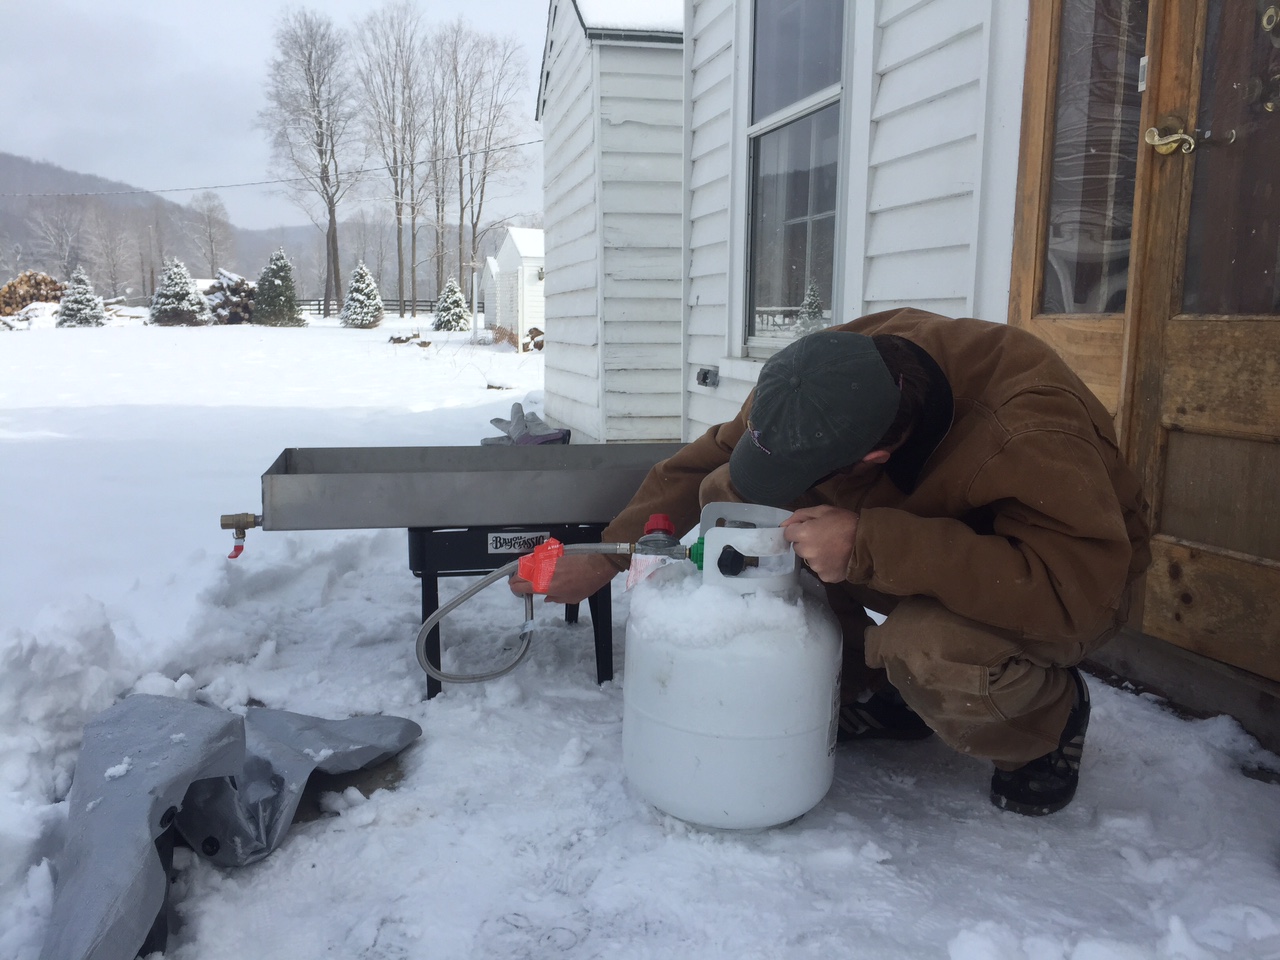
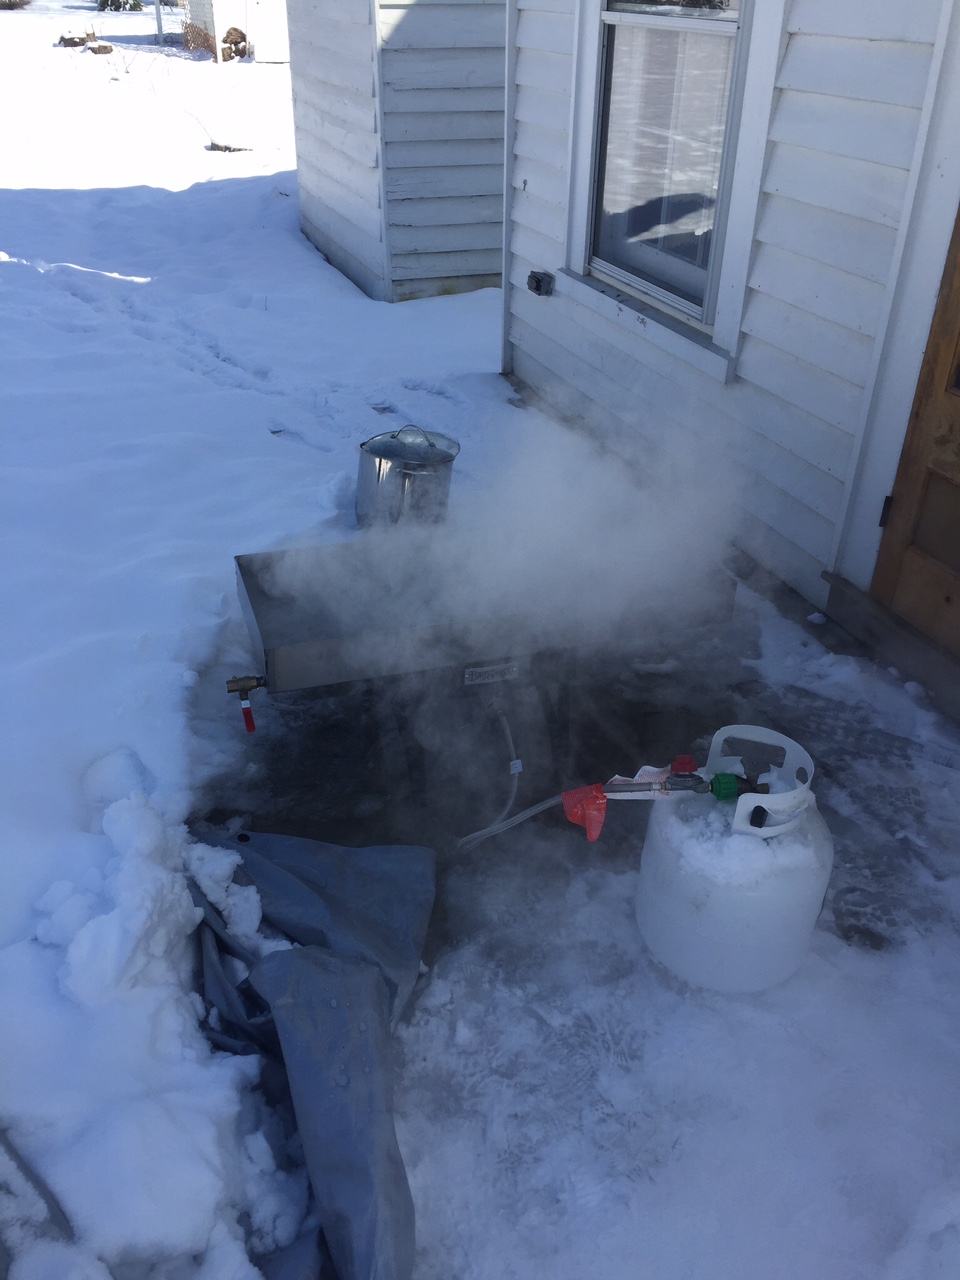
It was pretty cool to see the sap dripping in a constant drip, drip, drip on the warmest day. With the sap collected it was time to setup the cooking apparatus. Apparatus might be too fancy a term for a open flame turkey fryer burner and an oversized stainless pan, but that's what it was! (Graham's emphasis) Fortunately our friend Oren was up from the city so he helped all weekend, his enthusiasm kept us going when all we wanted to do was curl up and drink the syrup in front of a House of Cards episode. Anyways, with the pan on the burner and the tank hooked up we poured the sap in and lit the flame. The sap cooked for hours, the reason you use a big flat pan is because the amount of surface area directly relates to the evaporation rate I.E. a round deep pot takes a lot longer than a shallow pan. We kept an eye on it, Oren did so with such enthusiasm that he would run out after each sheet of drywall was put up. Once the sap cooked down a bit it started to turn a light tan color with hints of sugar, then a darker slower moving light brown, at this point it was hard not to put your finger in to taste it. It was amazing to see how little was left at this point, sad too. We opened the valve on the end of the pan and poured the brown syrup into a pot to take inside for the final cooking and fine tuning. The goal is to get a Brix level of 66, Brix is a measure of sugar content, it comes up in winemaking too (a future project). With a level of 66 there is enough sugar to prevent spoiling. It is worth pointing out that the syrup is much lighter and has a wonderful flavor at a lower sugar level, but it would not last as long and would need to be refrigerated from the get-go. Once the proper sugar level has been hit you have to filter the syrup, carefully reheat it to 180 degrees and then bottle it. Something we learned in this process is that every time real maple syrup is brought to a boil it will precipitate small granules called maple sand... something to keep in mind when cooking if you want to keep that nice smooth texture while cooking.

We ended up with a half pint, and oh how good it is, can't wait for the next batch, our goal is to have a few pints stored away for the coming year and so that we have enough to give away to friends.

Sugaring

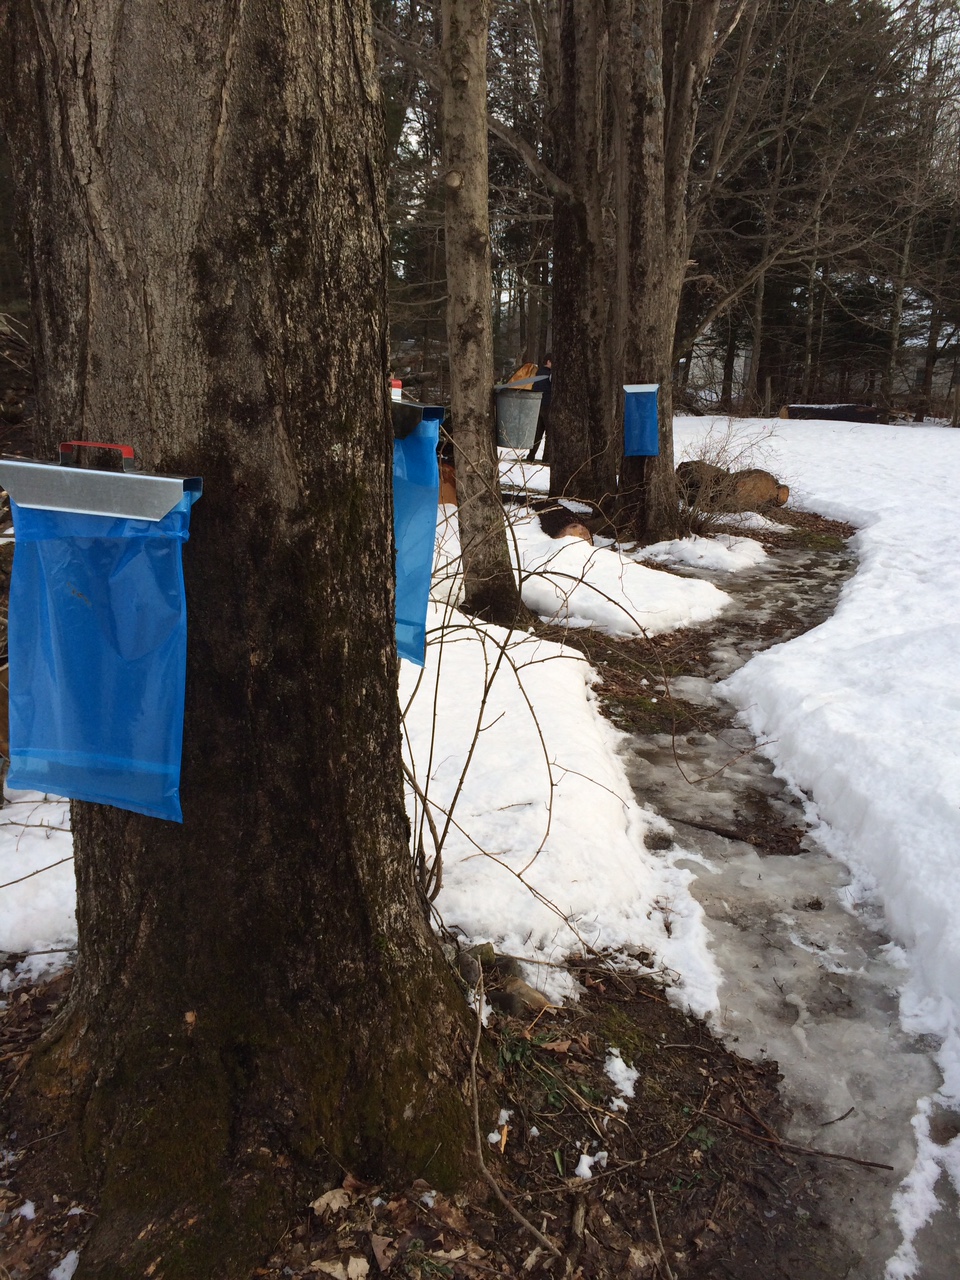
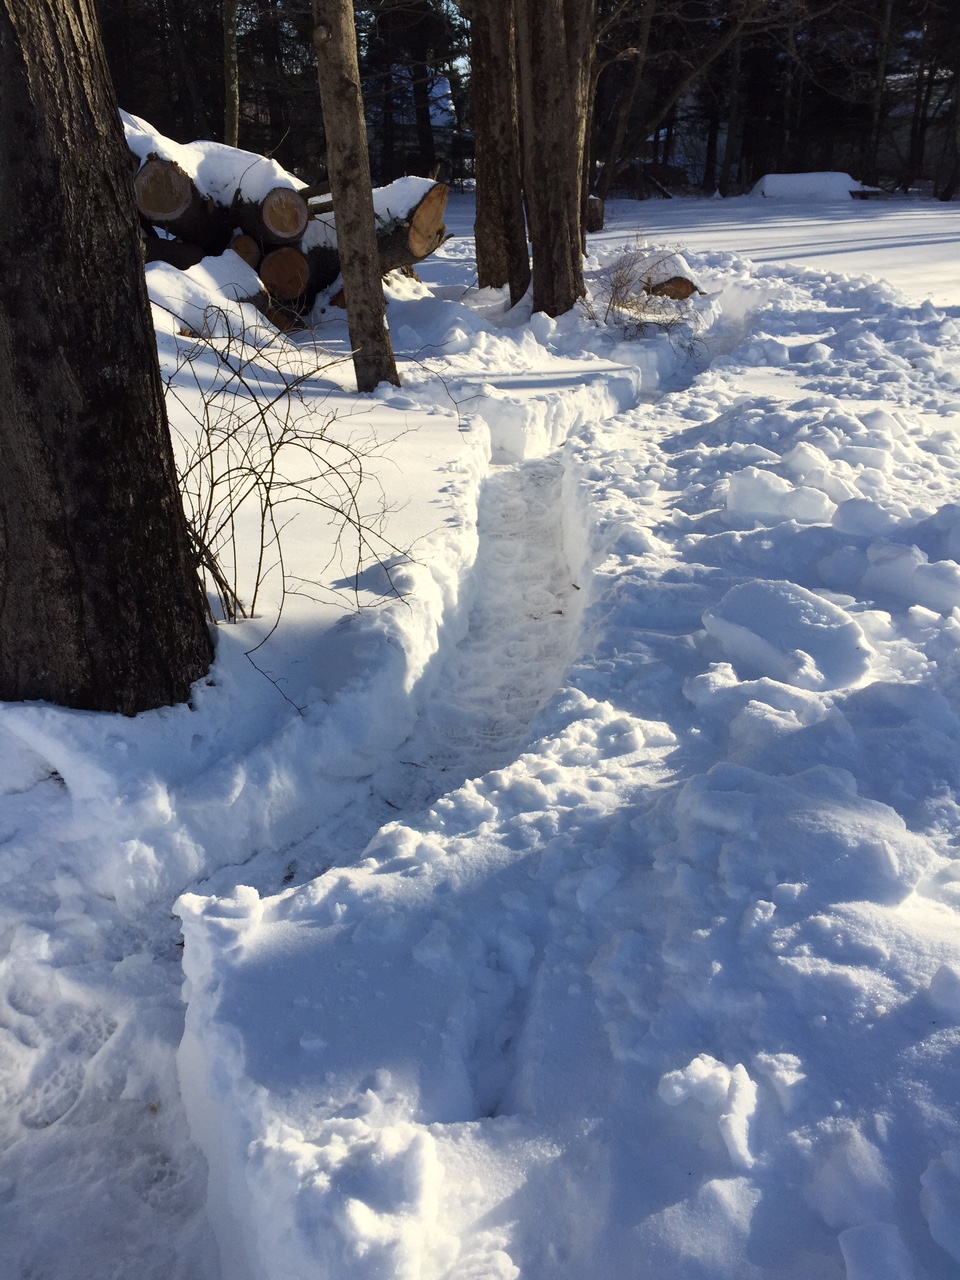
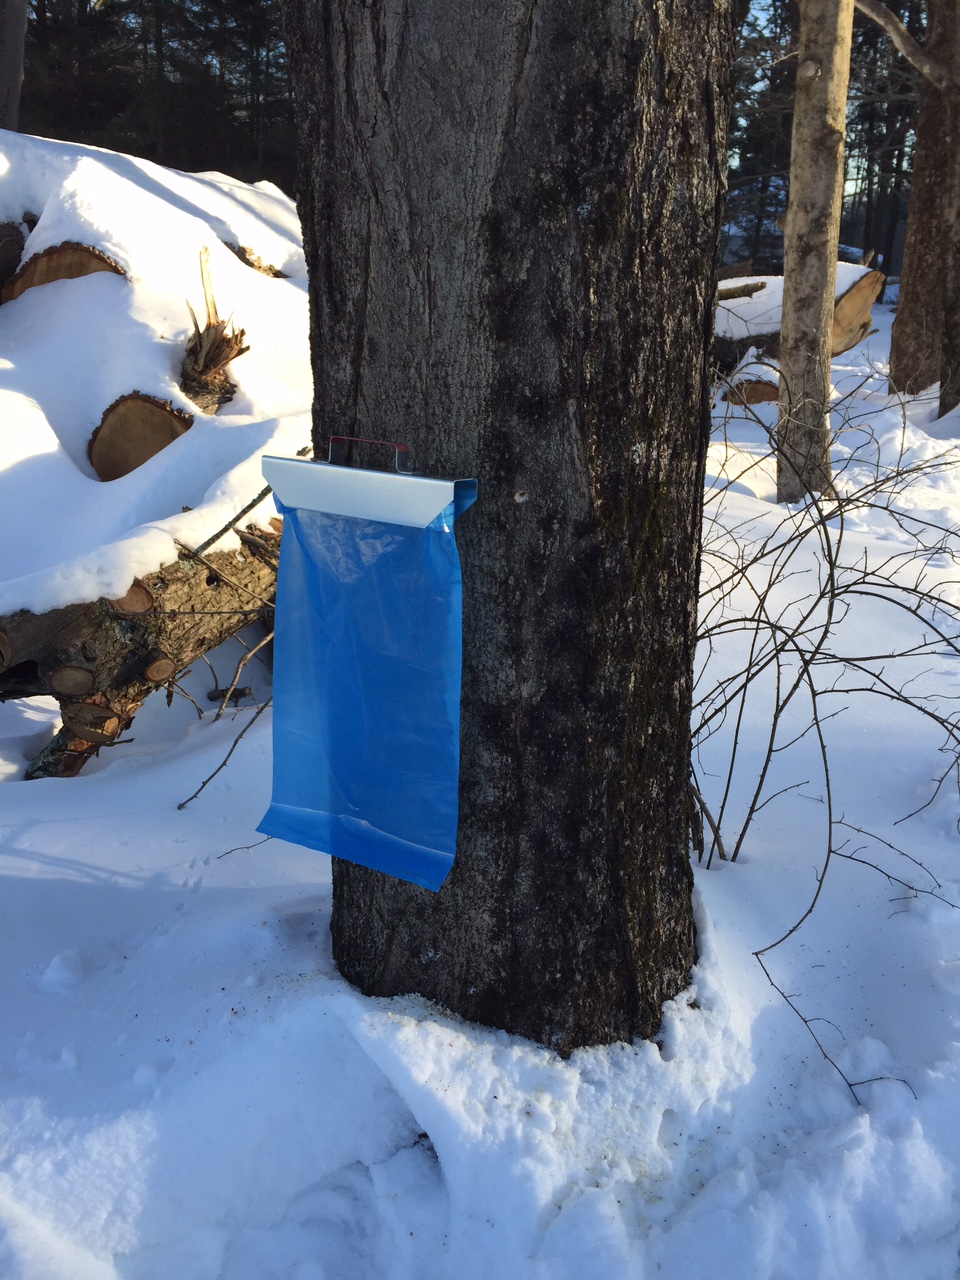
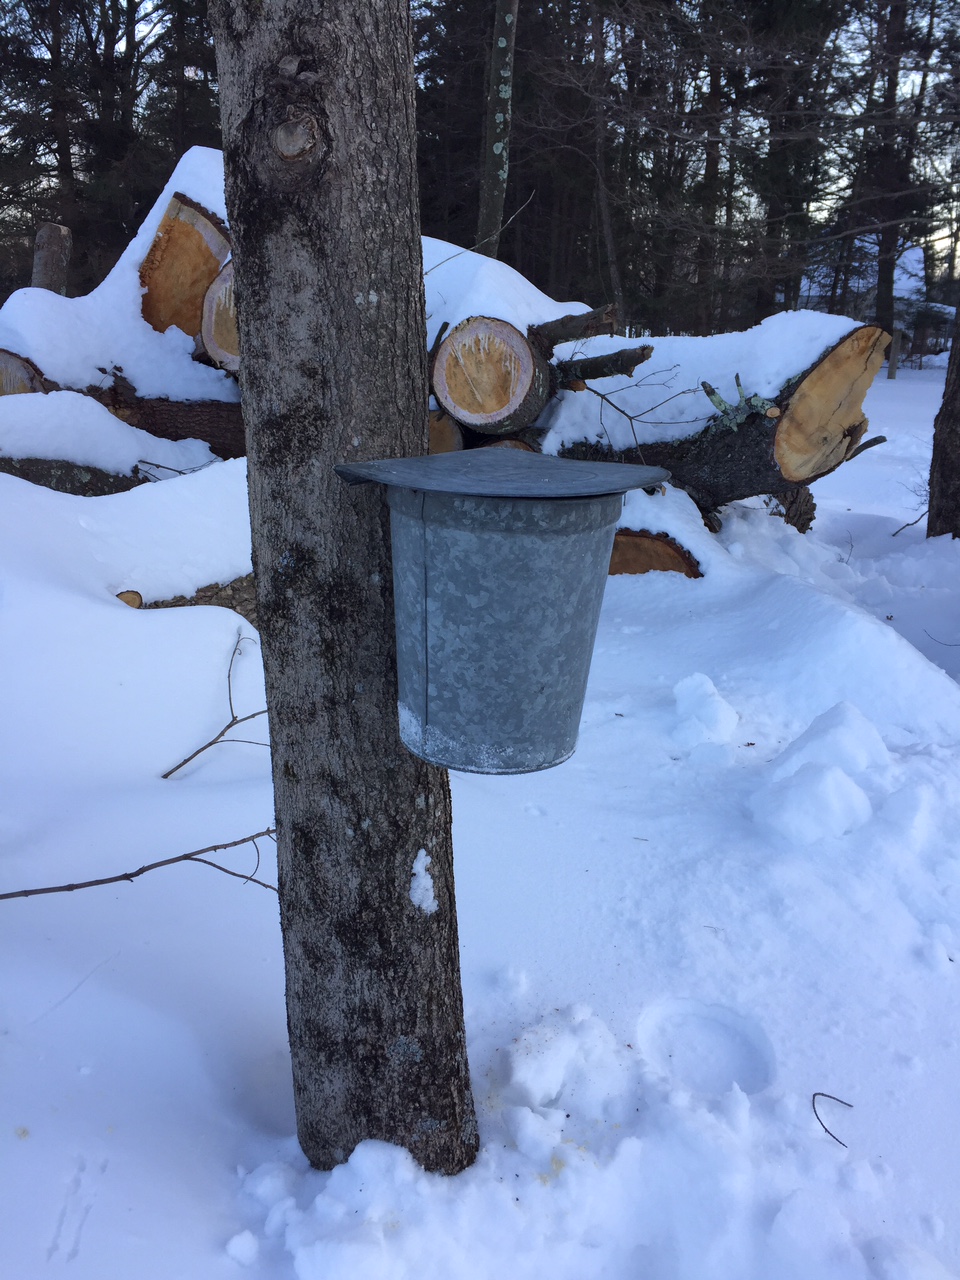
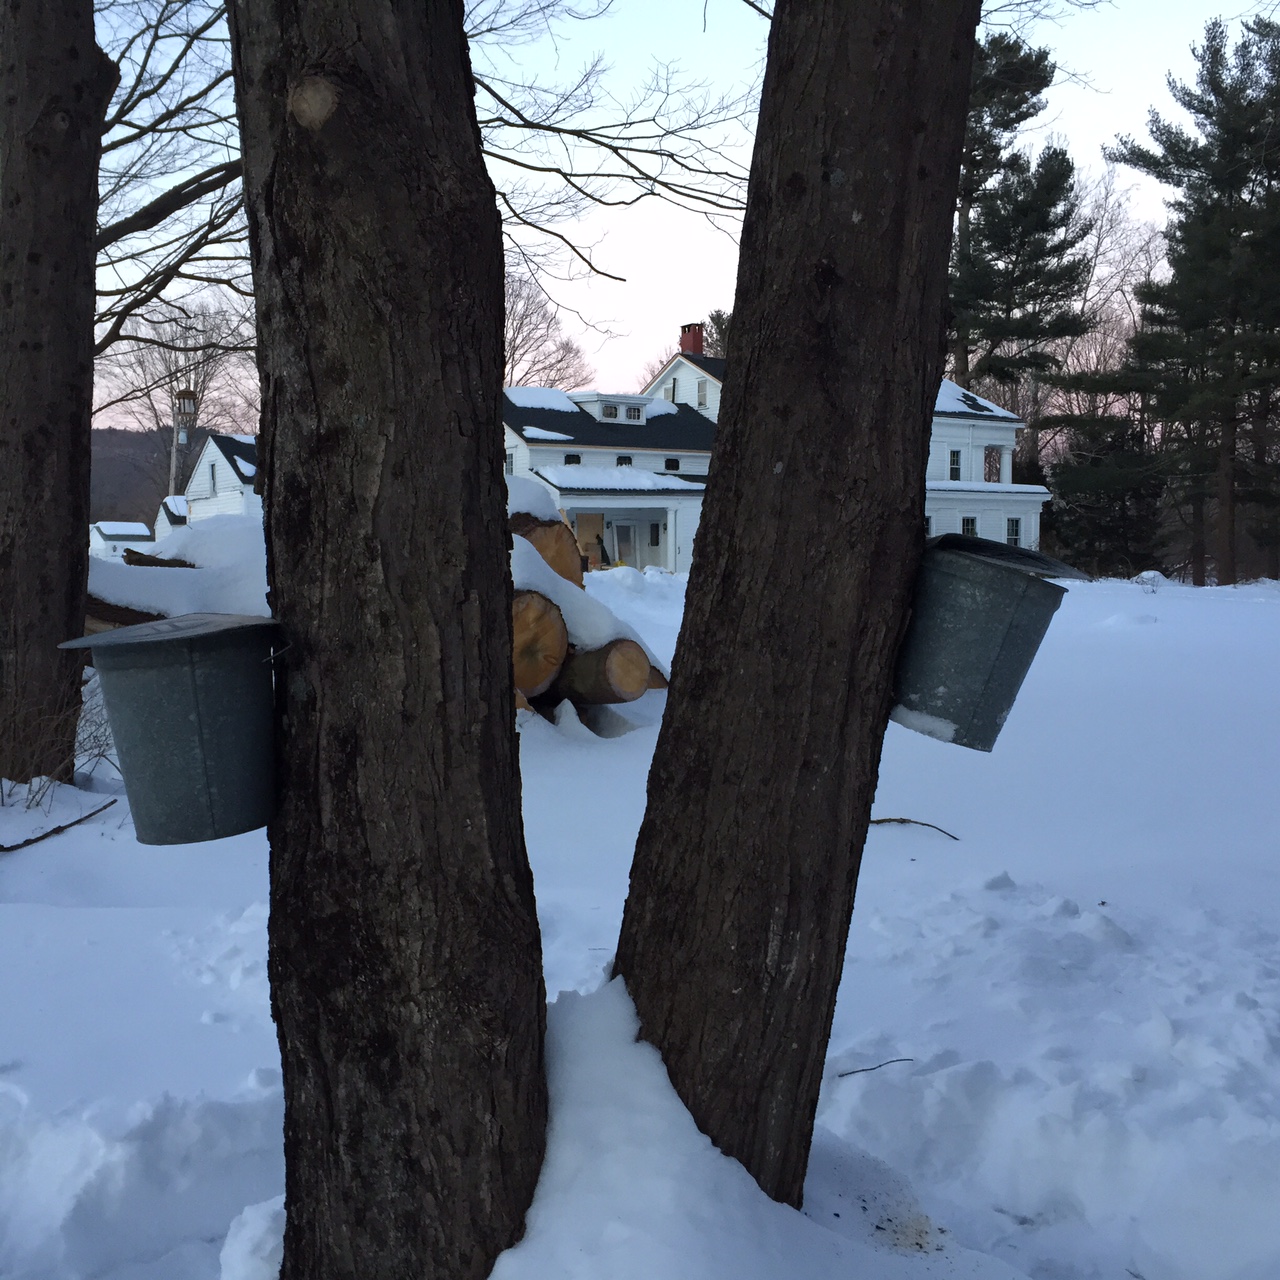
We have maple trees, lots of maple trees in fact, so it seems a natural progression that we should tap those trees and harvest our own maple syrup. Graham was so enthusiastic about this plan that he spent a good part of this last Saturday digging paths in the snow from one tree to another so that we could collect the sap. Essentially there is a 40:1 ratio, 40 gallons of tree sap equals 1 gallon of maple syrup. Graham felt that we should be collect about 80 gallons of sap to satisfy our yearly waffle, pancake, and french toast needs. The process is really quite easy, you drill a small hole in the tree, insert a tap and then hang a bucket or bag from it. The bags are more modern and less expensive, but the buckets have more of that New England feel. We opted to try both and see if there is any difference in performance.

Step one is done, now we just need some days over freezing with nights below freezing to get the sap moving.


Walking the Line

After a couple days of being stuck inside putting up drywall, cleaning and removing old plaster we had to get out and play in the snow for a bit. Given the property is blanketed under 24" of snow drifts we figured it was high time we take out the L.L. Bean snowshoes and put them through their paces. It was a great chance to see things from a different perspective, without the other season's leaves in the way.
 

Bzzzzzzzzzzzzzzzzzzzzzz

Bees, yup, we are getting bees, partially to ensure good harvests in the orchard and veggy garden but really so we can have real artisanal honey. Bees are not as easy as one would think though, they take a lot of setup and maintenance, their rewards are worth it though so this week Carol spent hours and hours assembling their future homes. Supers, frames, hives etc.. it all came in pieces and had to be put together nail by nail. She did a great job and we think the bees will be very happy come May when we pick them up and move them in!
 

Shifting Gears

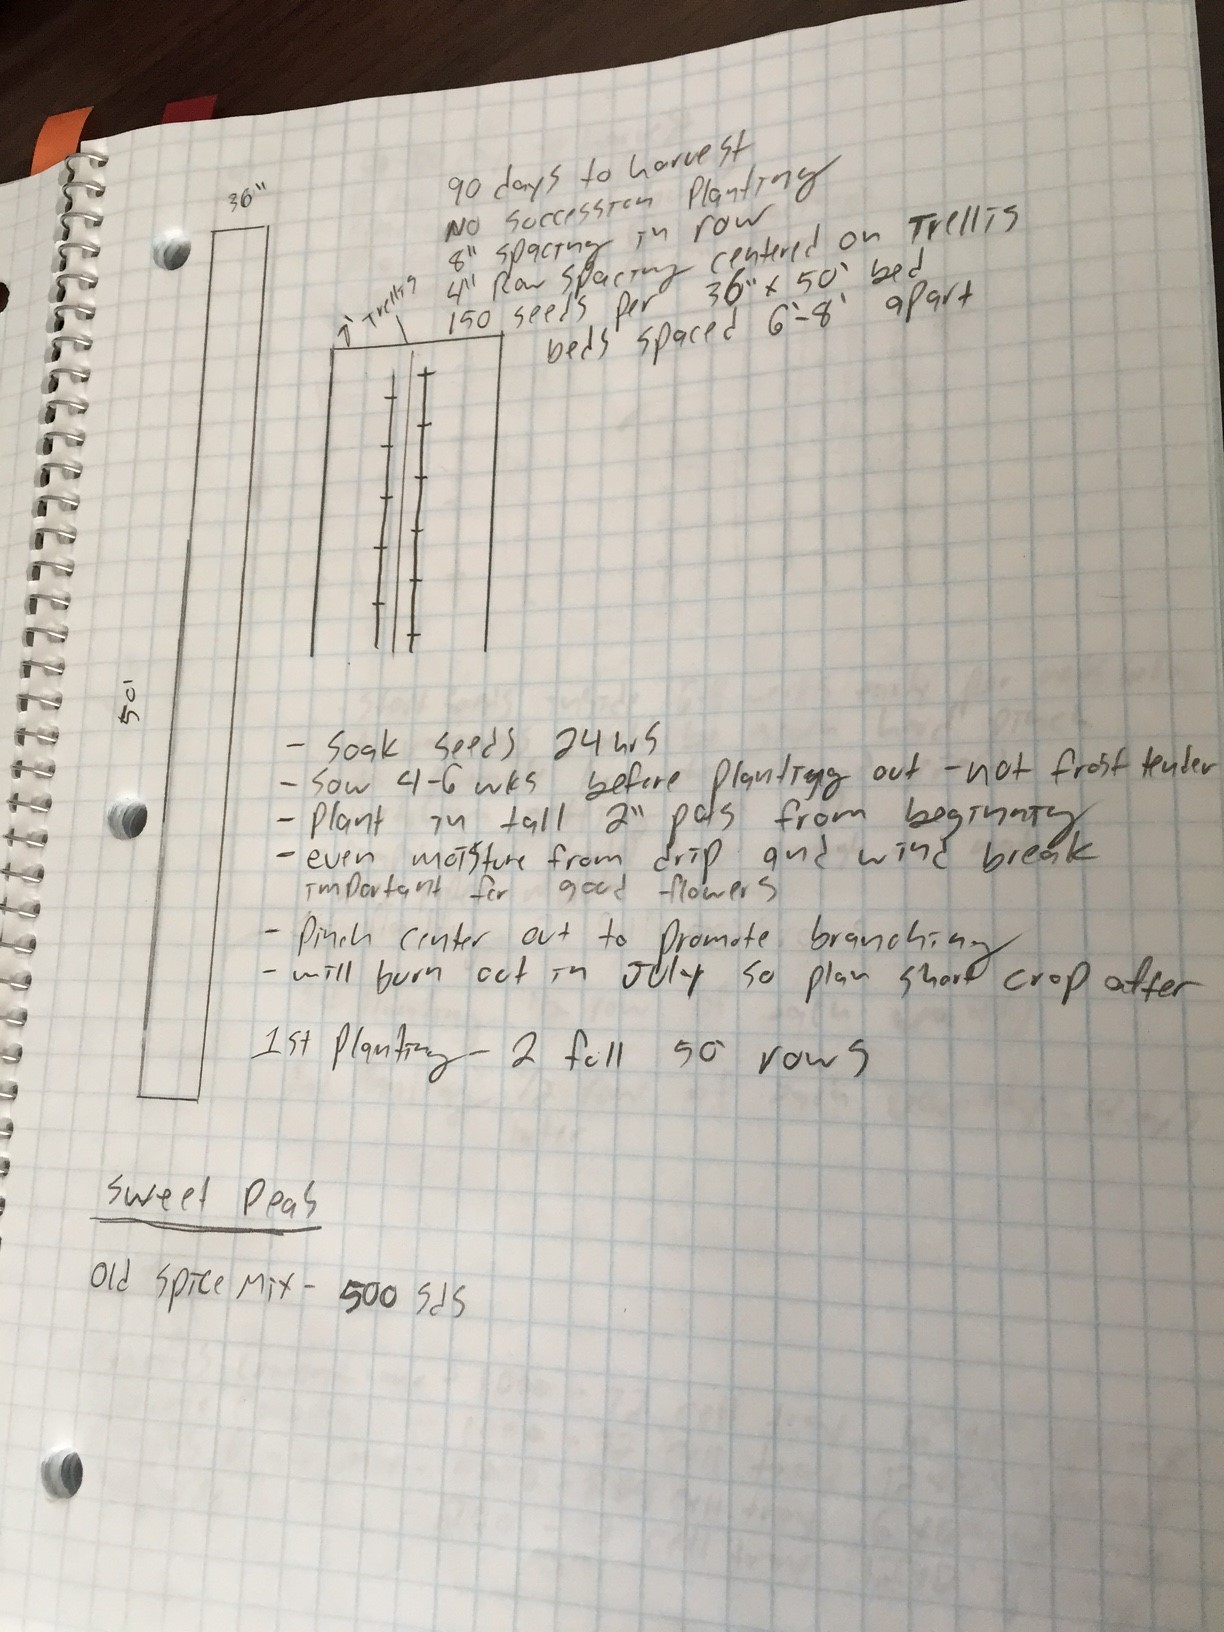
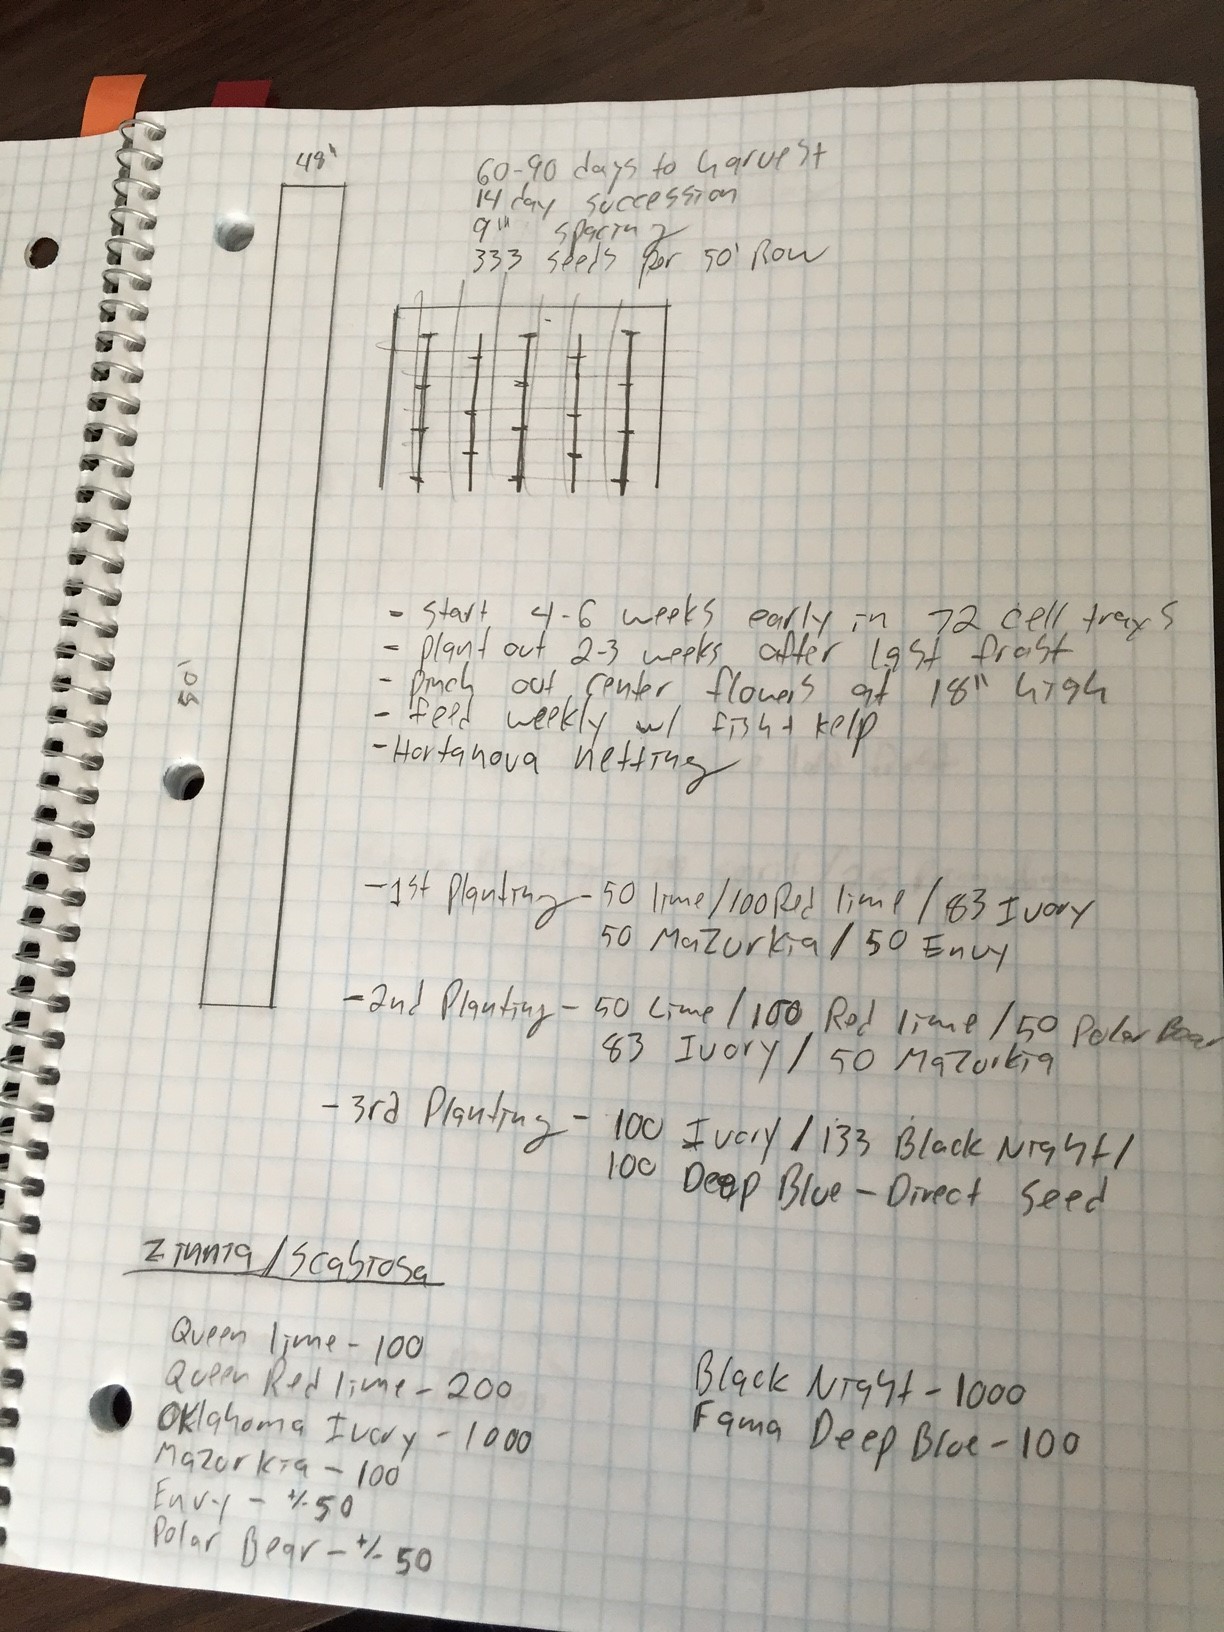
Spring is here! Actually, that's a lie, but, it is time to start planning for spring, plants take time to grow and we want to maximize the growing season. First order of business, planting plans, I.E. figuring out what seeds we have (Graham got carried away ordering and at last count we had about +/- 30,000 to plant) so that will be fun. Organization is the order of the day, essentially making a page of notes for each variety that covers spacing, planting notes, harvest notes, planting successions etc...  
 

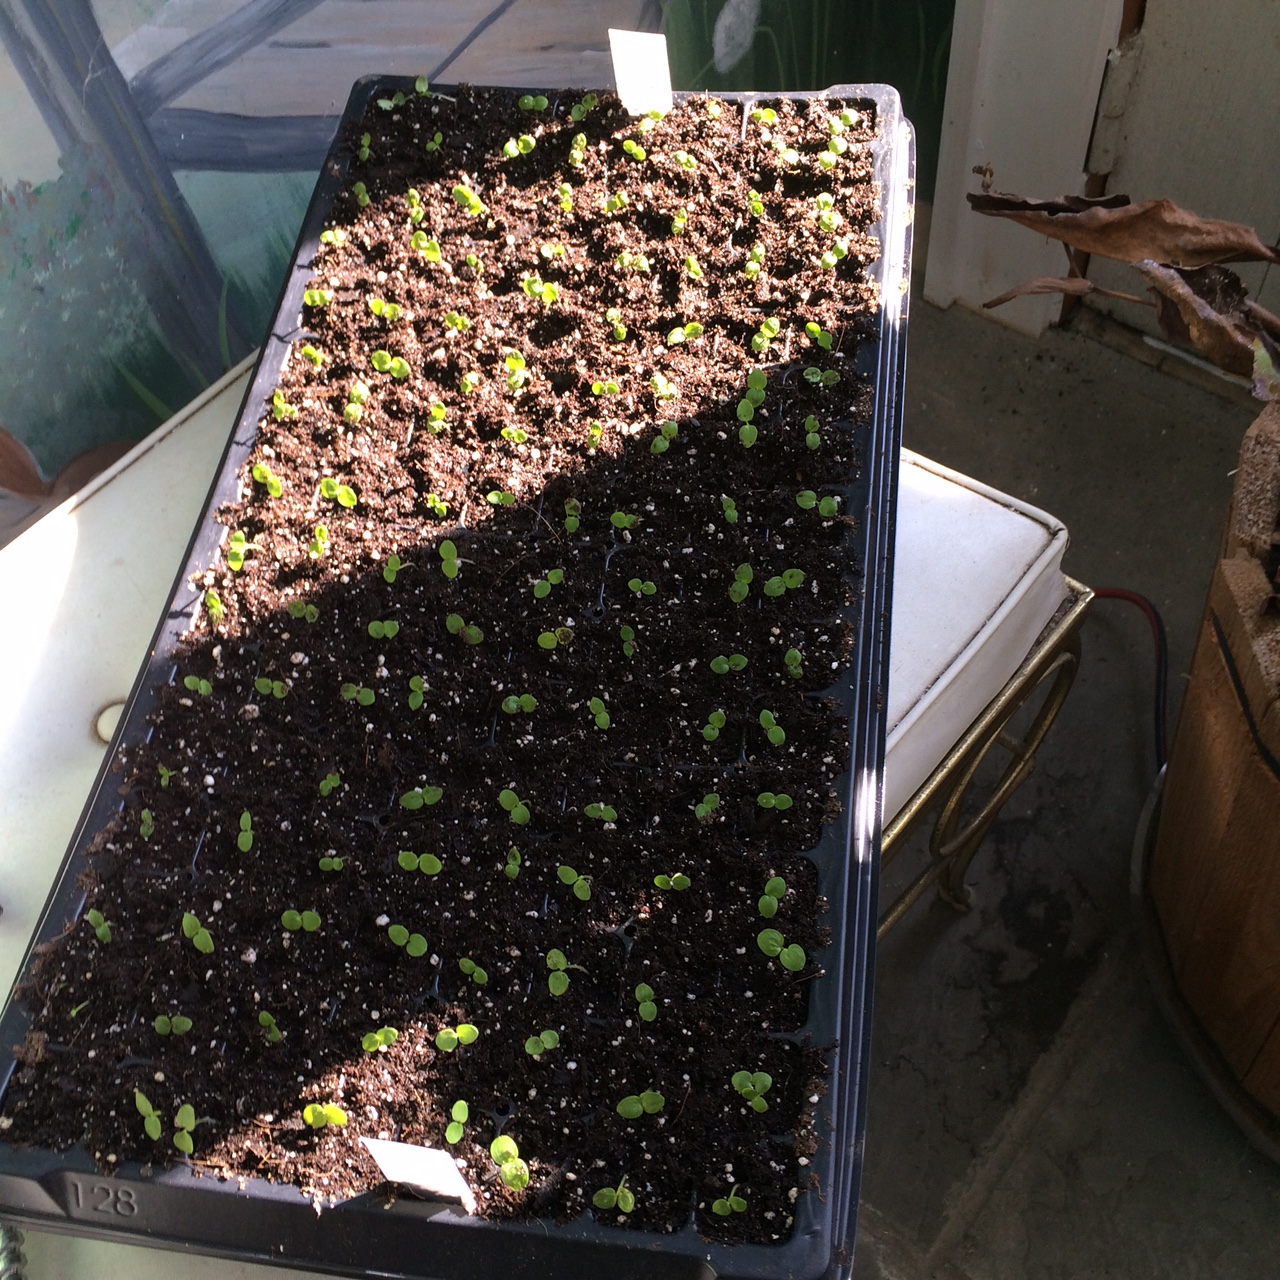
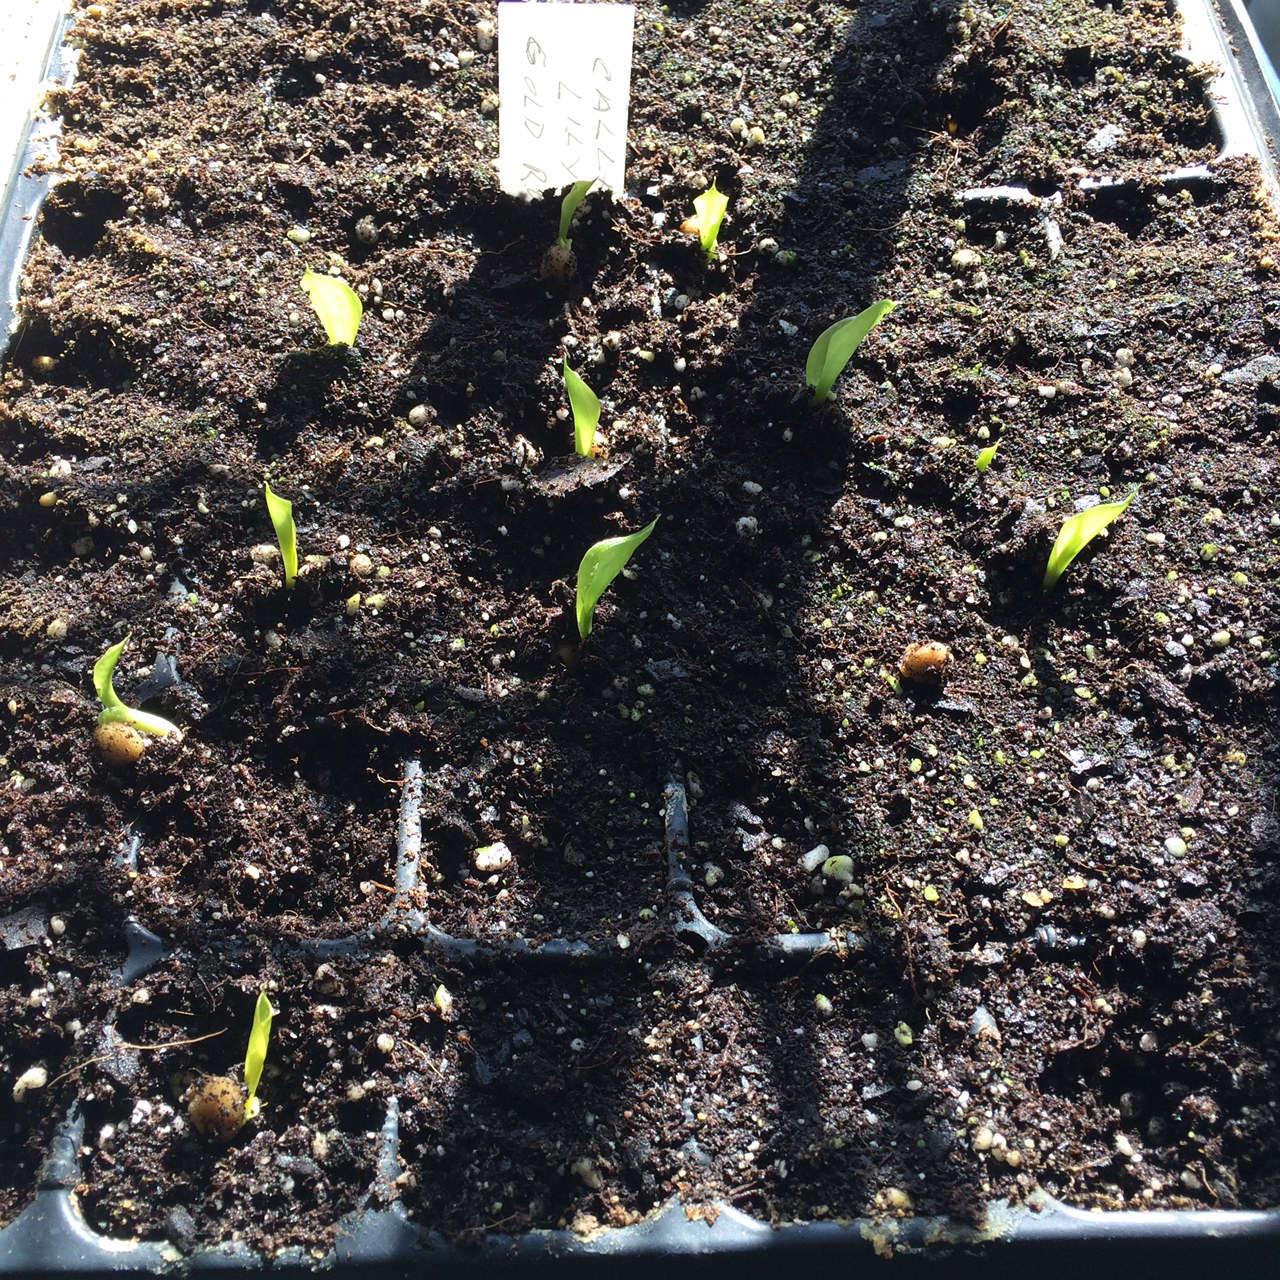
With those notes sorted out it was time to plant, so Carol got right to it....the pictures show flats of delphiniums, callas, geraniums and rhubarb. This is just a small taste of what is to come, by the time the last frost happens we will have thousands of plants eager to go out into the ground. It's is going to be a very colorful year on the farm. But wait, there was more planning to be done, the orchard had to be sorted out. So we ordered trees from Stark Wholsale, which is great from a price standpoint, but resulted in us having an orchard twice the size of what we were intending....as of now we need to find homes for about 140 trees.
 

So, there you have it, proof that spring is here, in a way. We are just holding on to dreams of sitting in the orchard, enjoying the fruits of our labor.
 

The Making of a TV Room

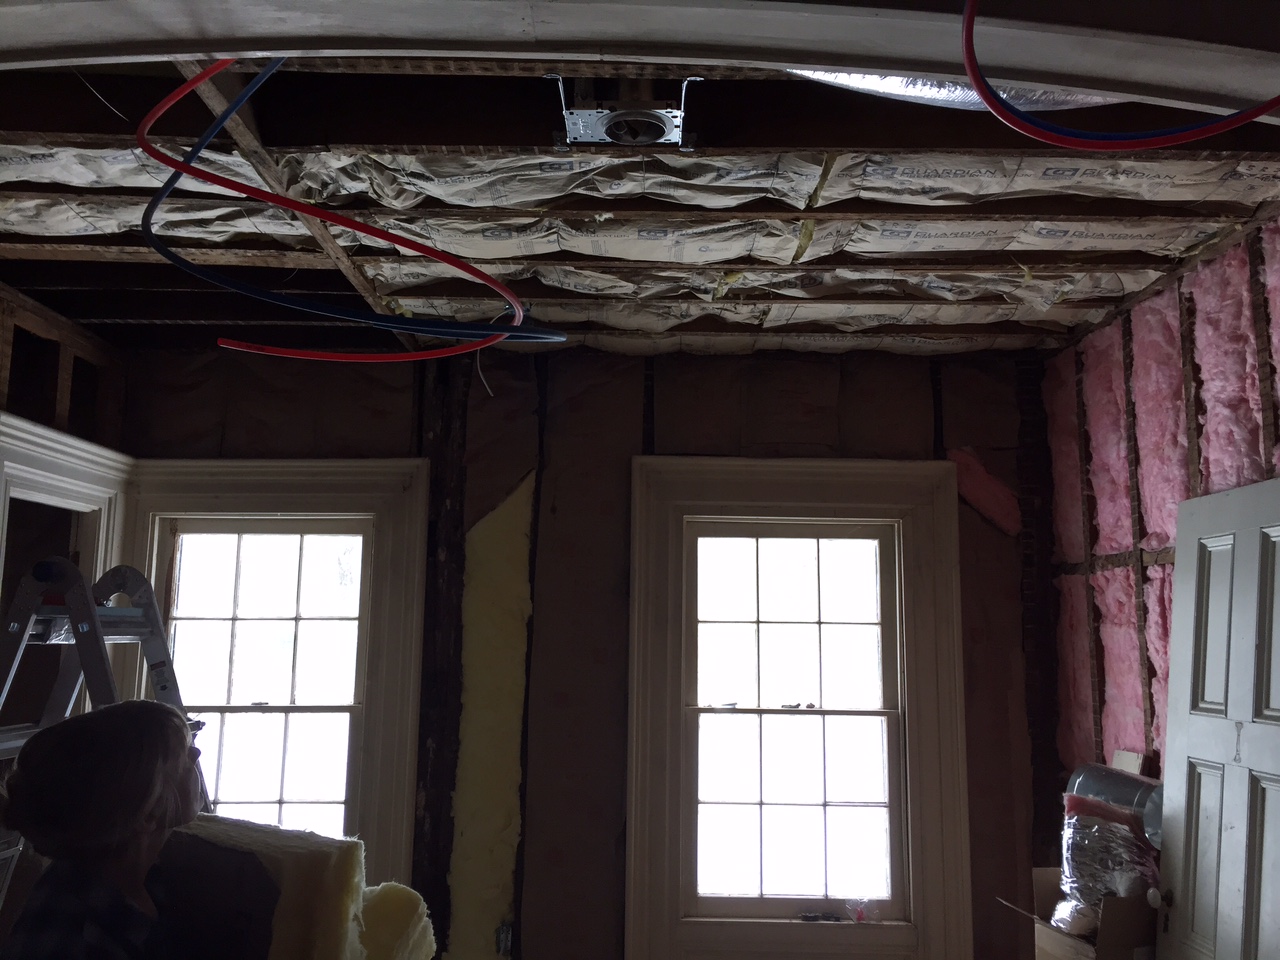
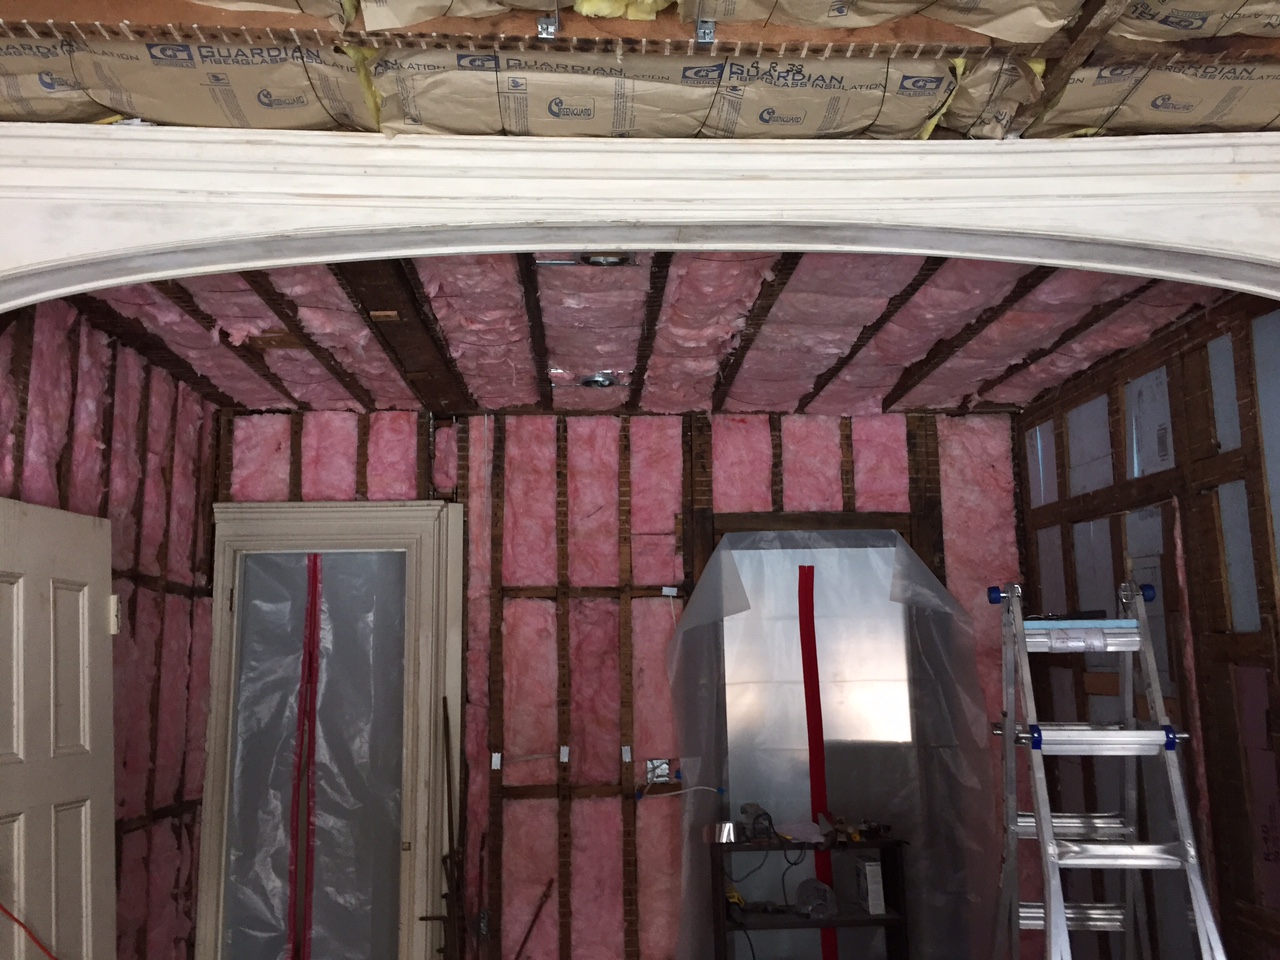
A TV room....what makes a TV room? The obvious answer would be "a TV" but here at the farm we take our small modern pleasures seriously. So, what makes OUR tv room a tv room? The answer is... copious amounts of thermal insulation to make it warm and cozy, huge sheets of rubber acoustic insulation to make it quiet, enough data cables and lines to make it look like we have a nest of skinny snakes in the walls and of course, a free standing popcorn maker. We may have jumped the gun on the popcorn maker, but seeing it's box offers incentive to finish the room. The TV room has been one of the most complicated spaces for us because it has lots of architectural detail to work around, and with the walls and ceiling open it provided opportunity to upgrade and run wiring, heat ducts and plumbing lines to several areas.... Never fail to take advantage of an open wall or ceiling. This past weekend as the snow was falling outside and the car was getting harder and harder to see under the drifts, we decided it was time to start closing things back up.    
 

The view from the TV room while we were working. Our mini orchard will probably go in this area in the spring.
 

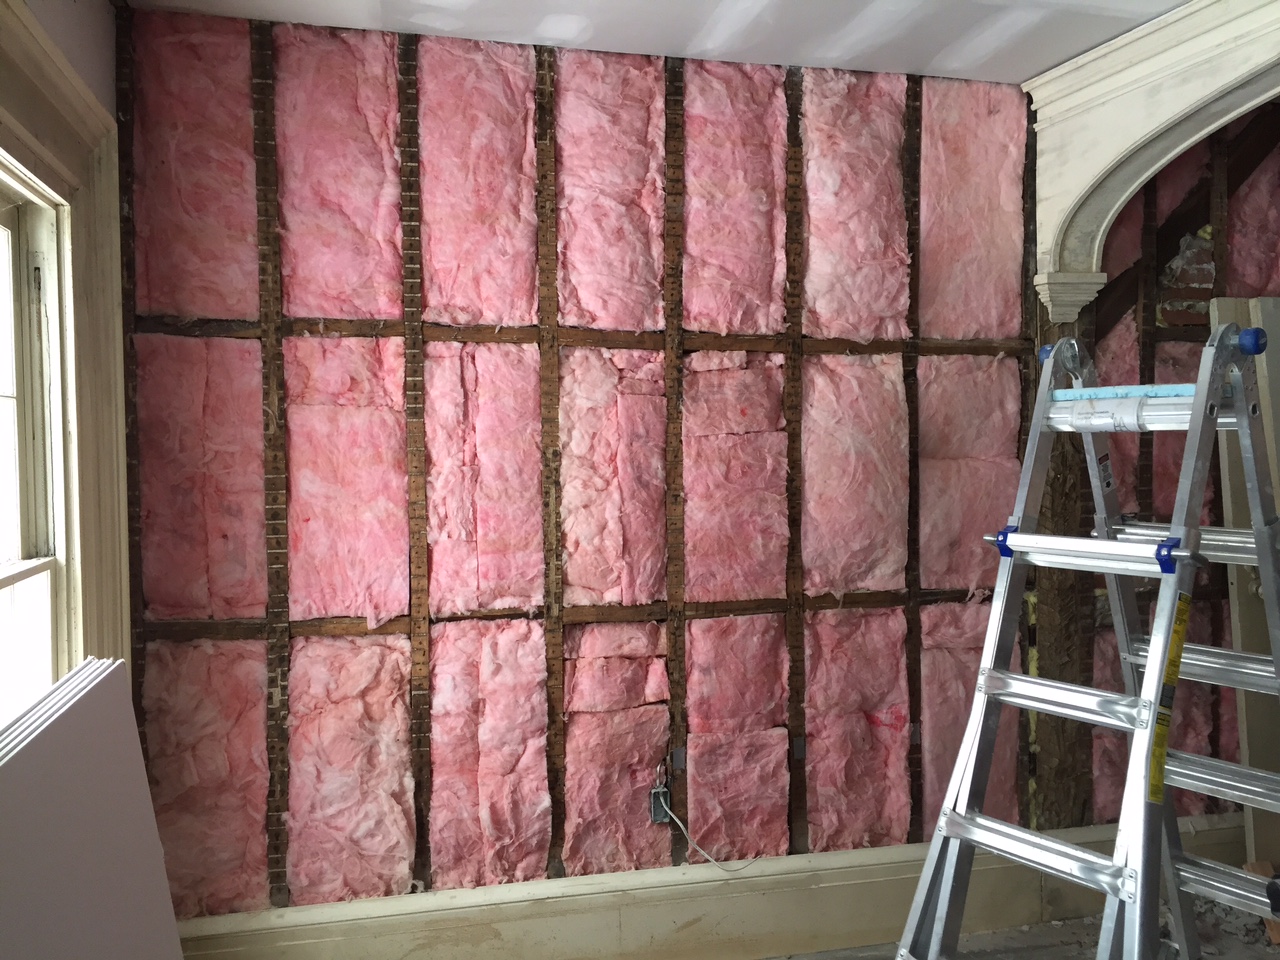
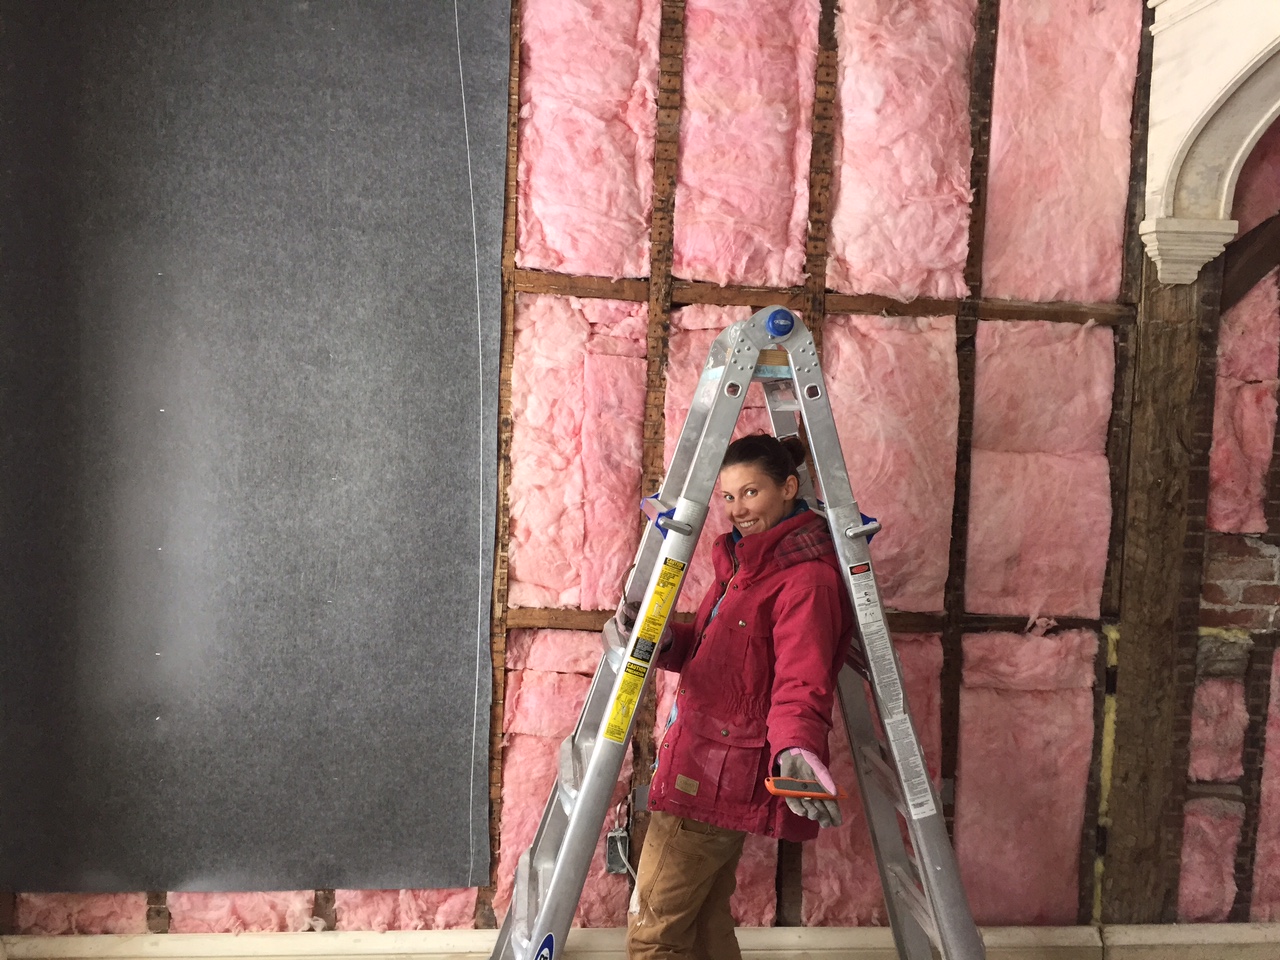
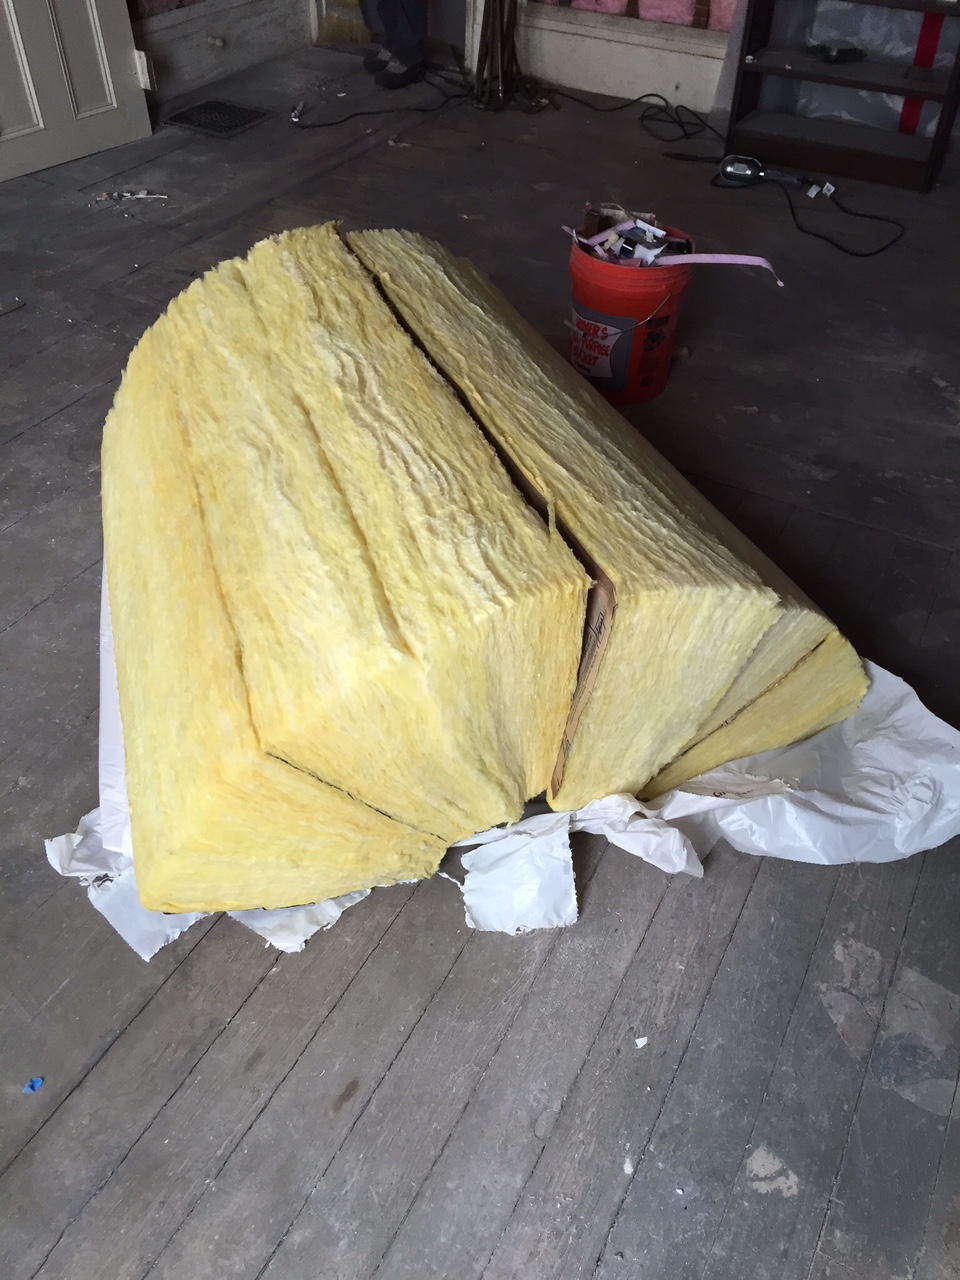
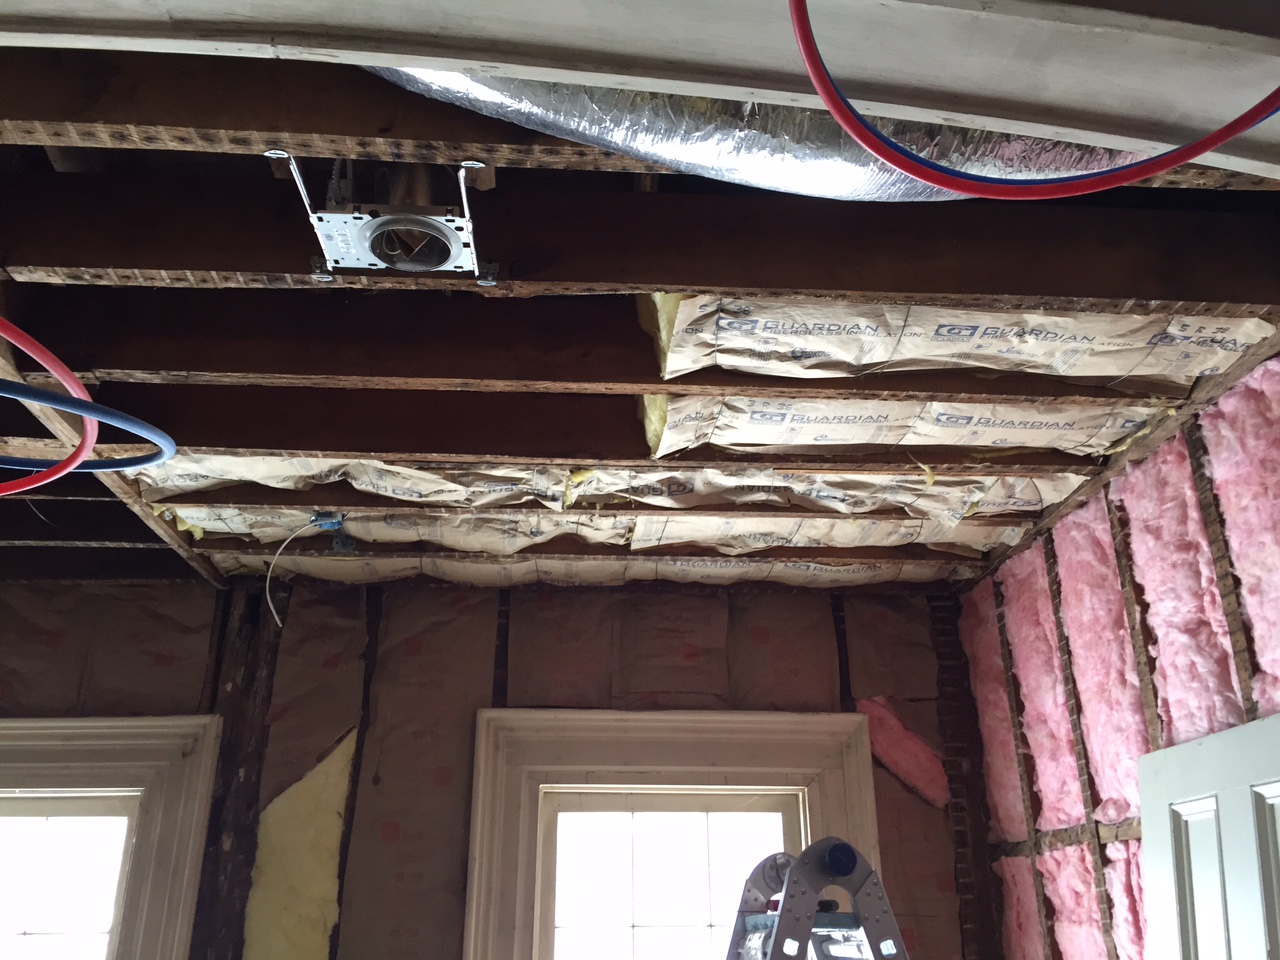
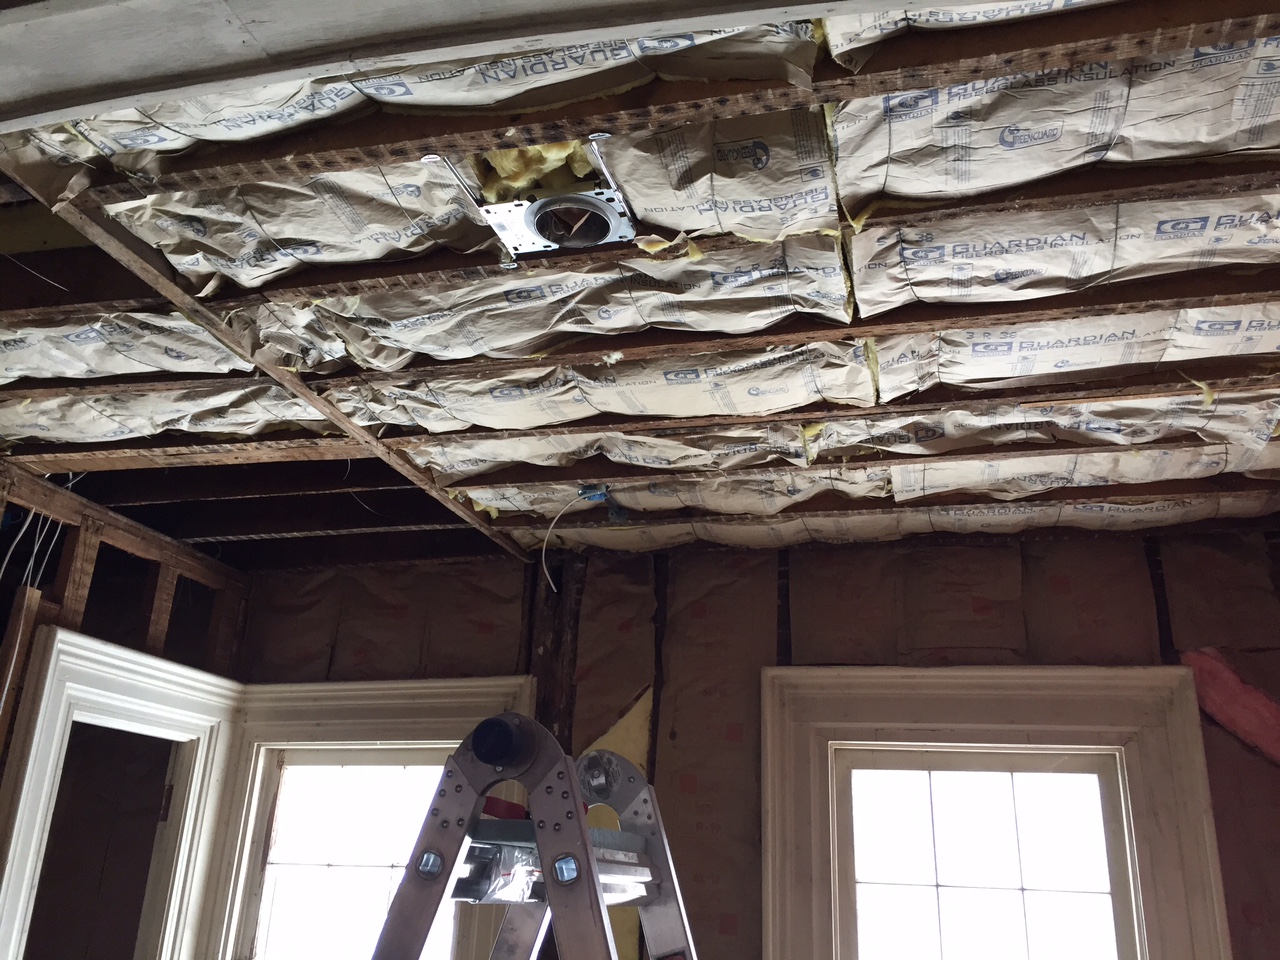
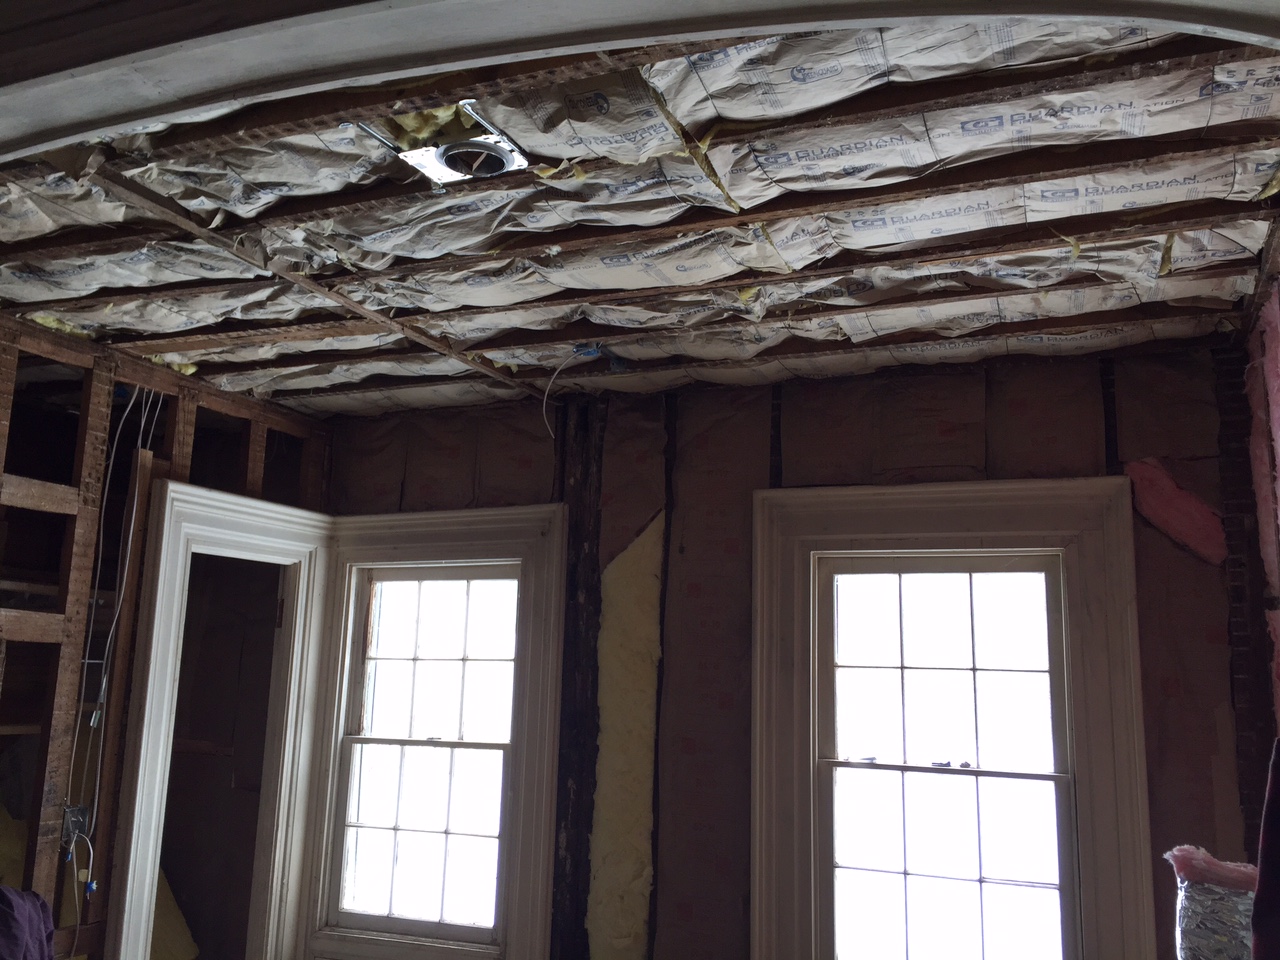
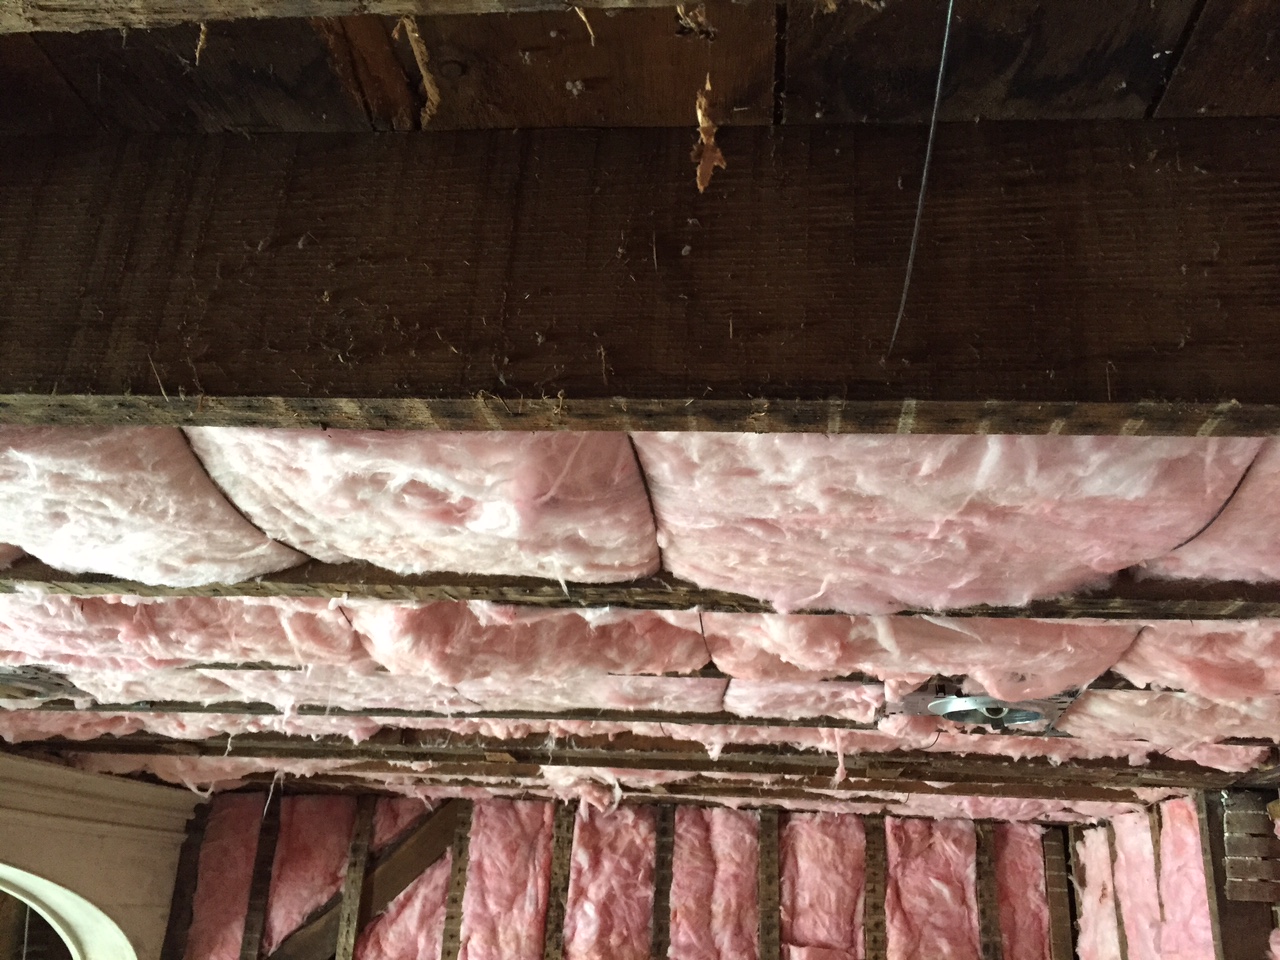
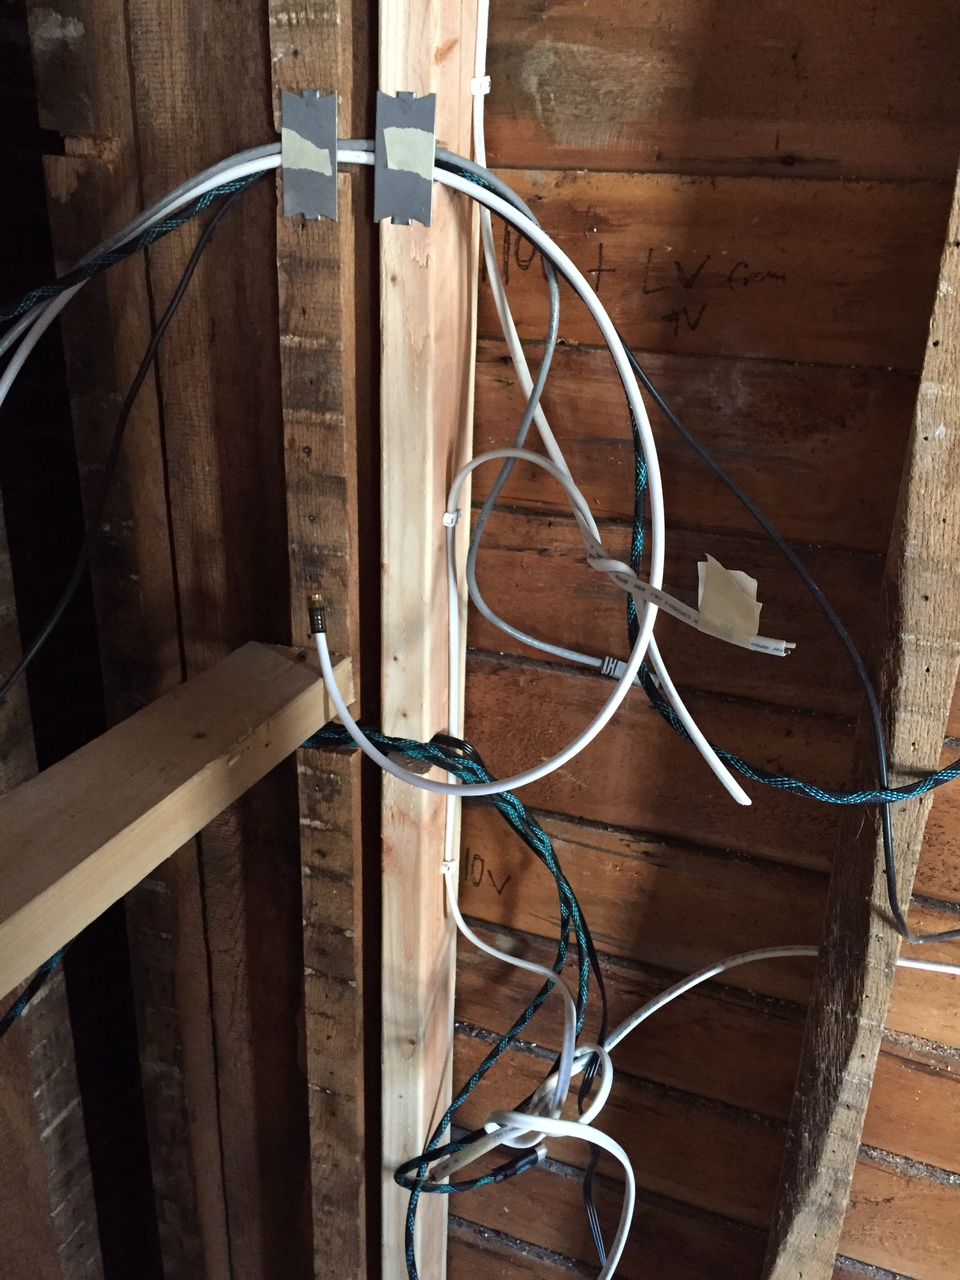
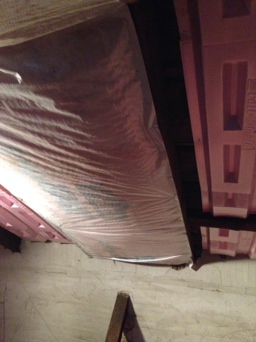
So while mother nature provided ample incentive to stay indoors, we got to work. The first thing to do was make sure all the wiring was clearly labeled so that once the drywall is in we will still know what goes to what. With that done we got down to insulation. Normally when insulating a ceiling the joist spacing is standard and you can just use pre-cut wires that spring in between the joists and hold the insulation up. Our framing is anything but standard so we had to custom cut every single wire, (think thick hard to cut wire) about 200 of them. So the room is split by a beautiful old arch, the outside side of the arch has roof above it, so requires insulation similar to an attic. The inside side of the arch has the second floor above it so requires an interior level of insulation. We used an R-38 fiberglass batt with vapor barrier for the exterior exposed side and an R-13 without vapor barrier for the interior side. We cut the batts to fit snugly (Carol does this with scissors and affords each batt the same level of attention as she would were she making a dress). Graham pretty much stood on the ladder cursing most of the day, not unusual behavior for him. The trick with insulation batts is to get a tight fit so that air cant pass around them, but not to compress them so that they lose insulating ability... not hard, just time consuming, and if you are using the yellow contractor grade stuff, make sure you wear a mask and glasses.  
 

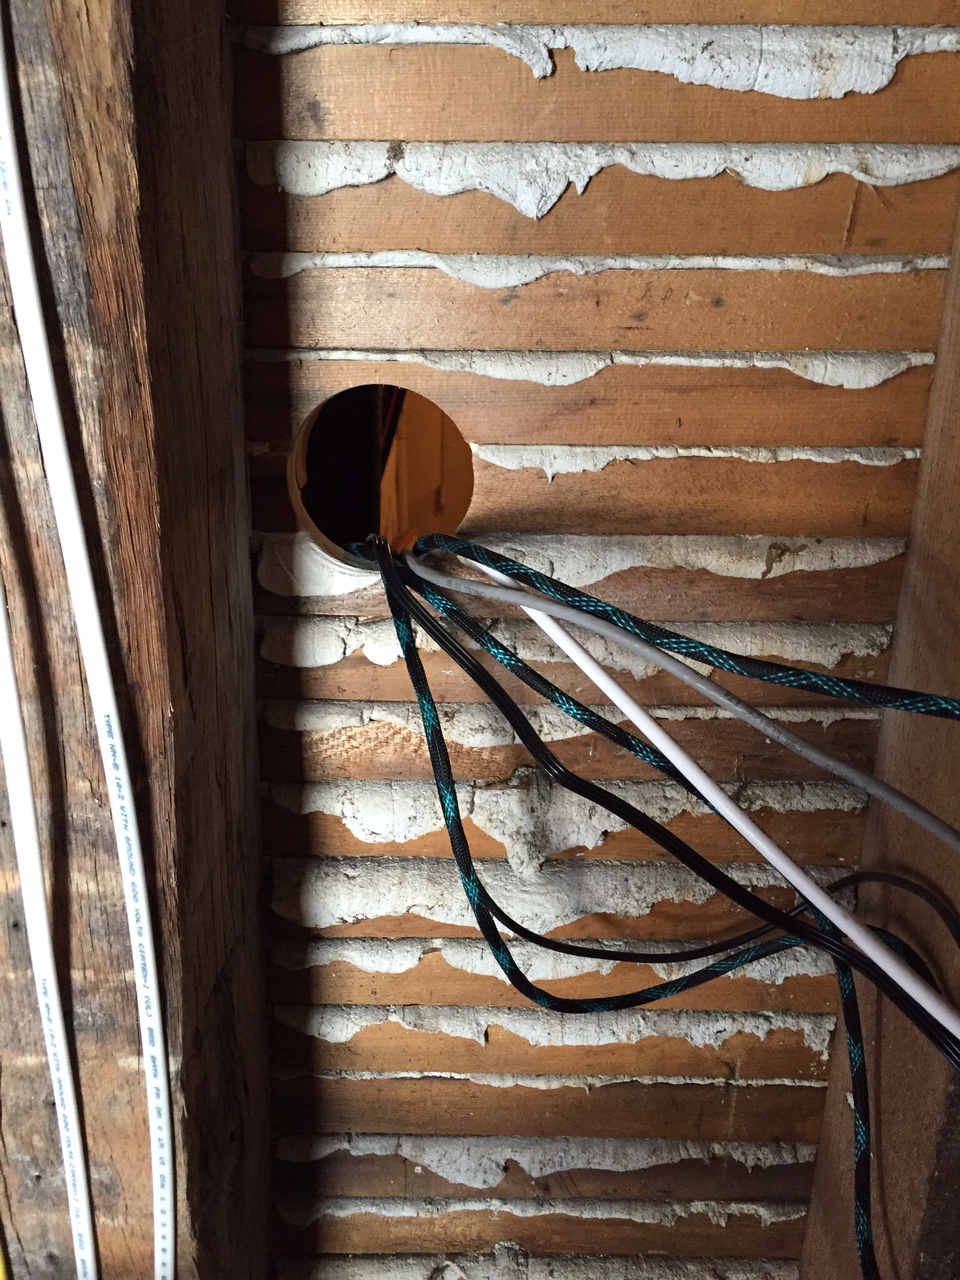
If you look closely at the pics you can see some of the IC rated high hats, they will provide even lighting, but the intent is to put them on a dimmer so that we can get that little theatre experience of the lights going down before the show. With the room insulated and immediately warmer and more comfortable to work in, it was time to run the data lines. Things are moving more and more wireless, but we still wanted to have enough HDMI/composite/Cat6/optical cables to be able to put things in the tech closet and not have to have visible wires hanging down from the TV. It was not too hard, just a matter of ordering a bunch of 10' cables and running them through the wall so that eventually they can be hooked to boxes which will be behind the TV and behind the cabinet where the electronics will be stored. A little planning here should (fingers crossed) save us trouble down the road.

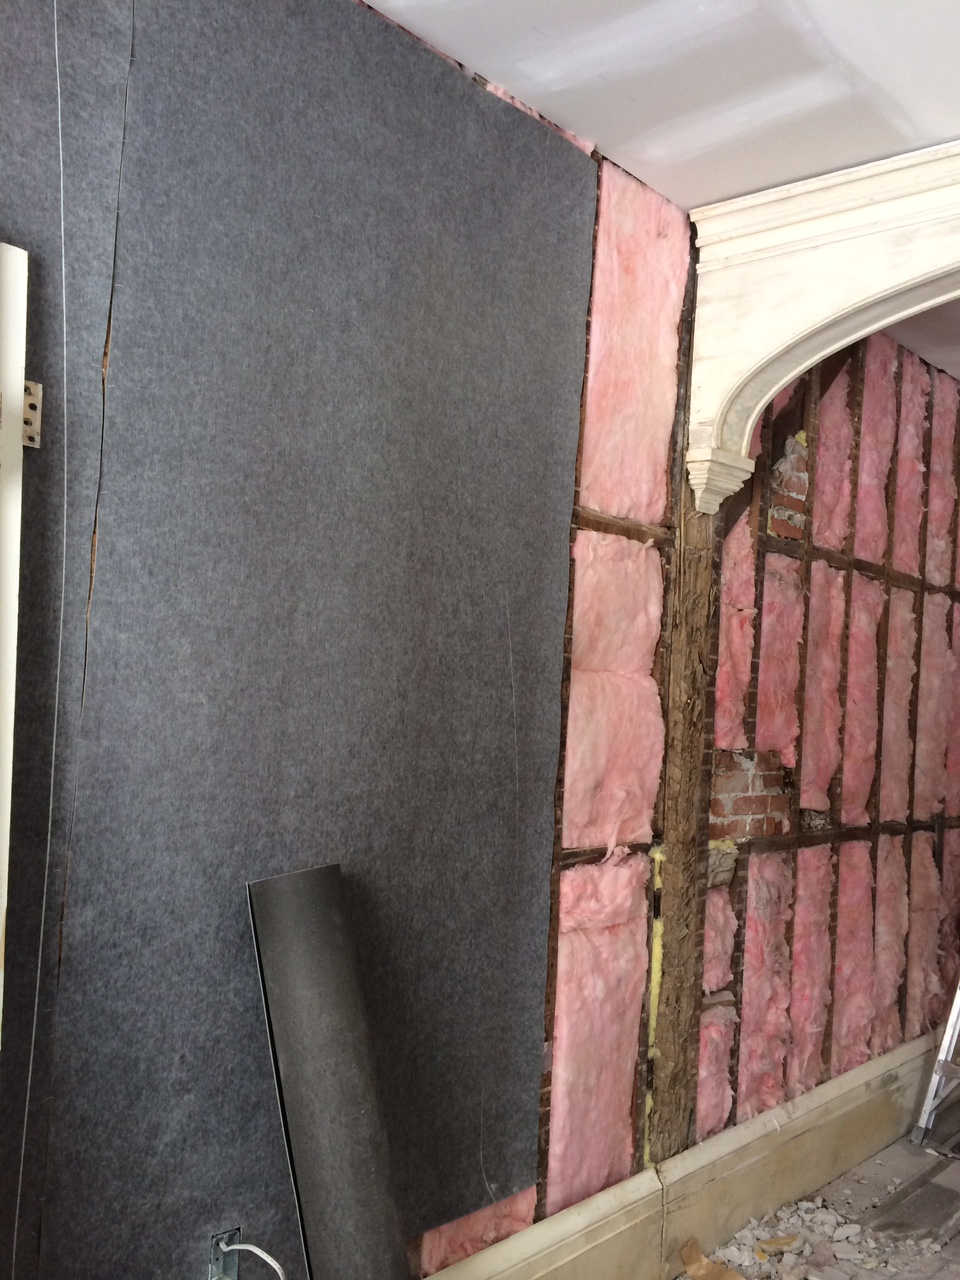
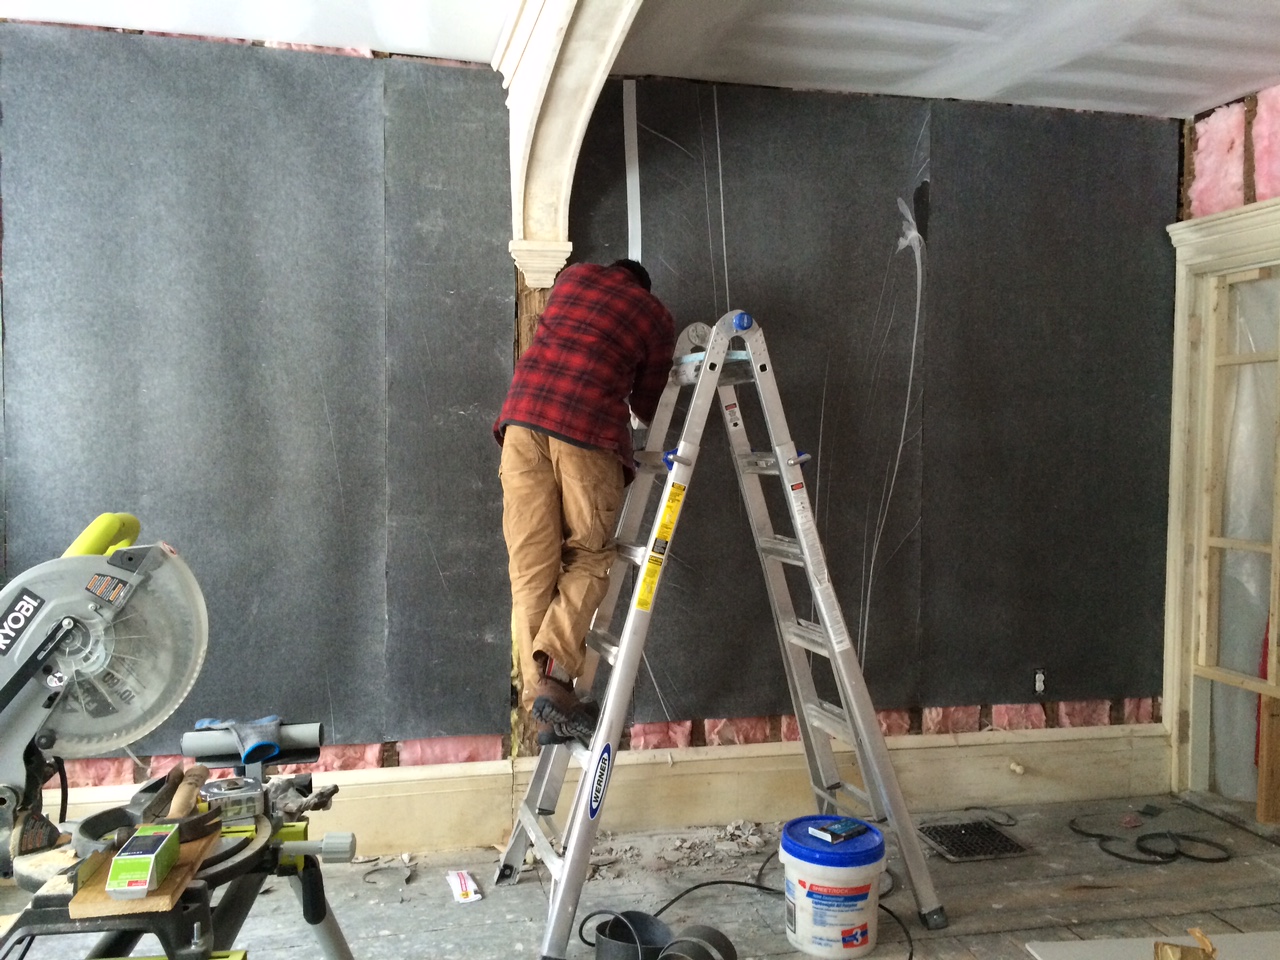
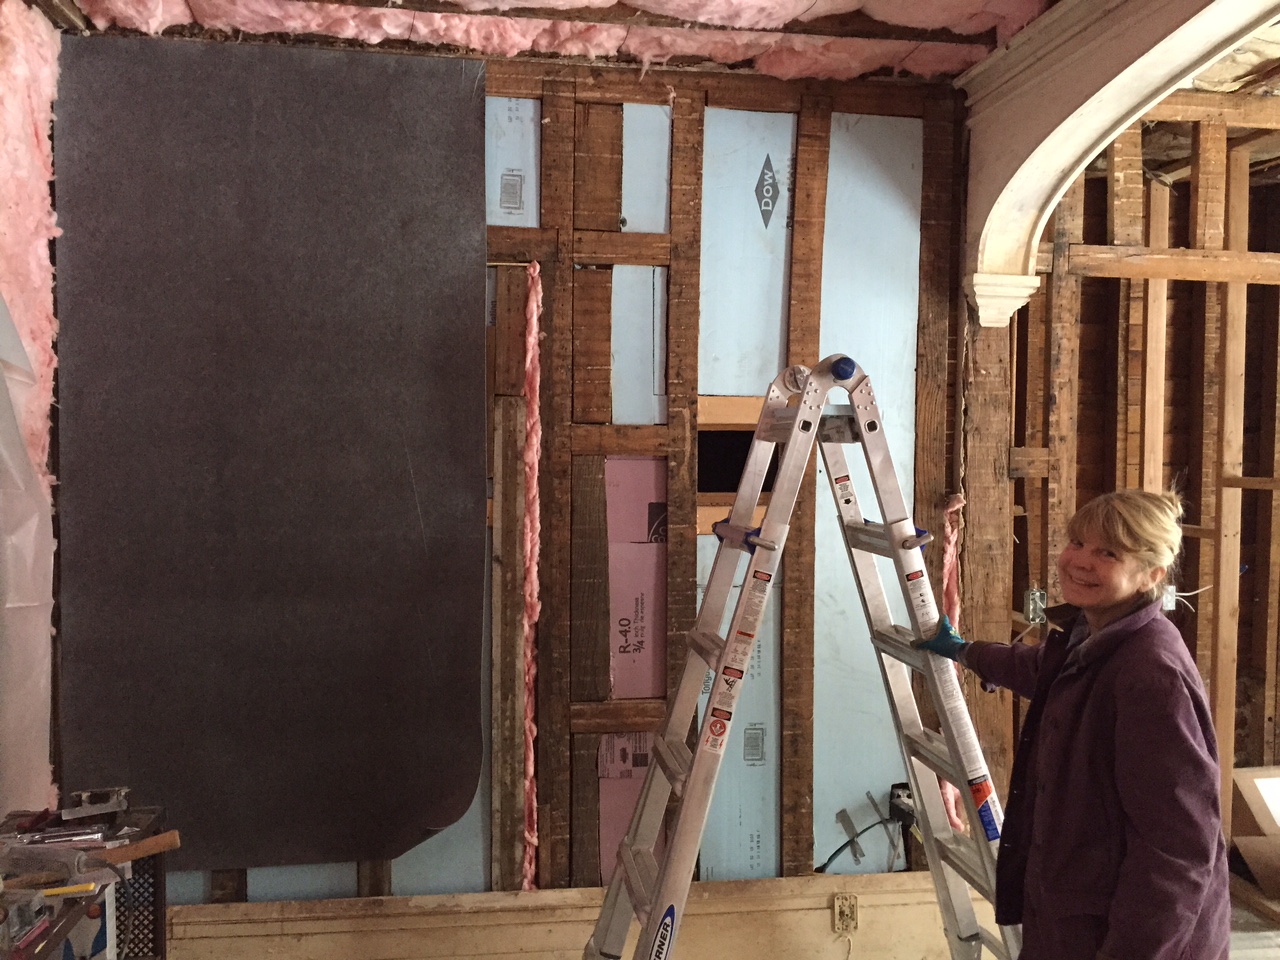
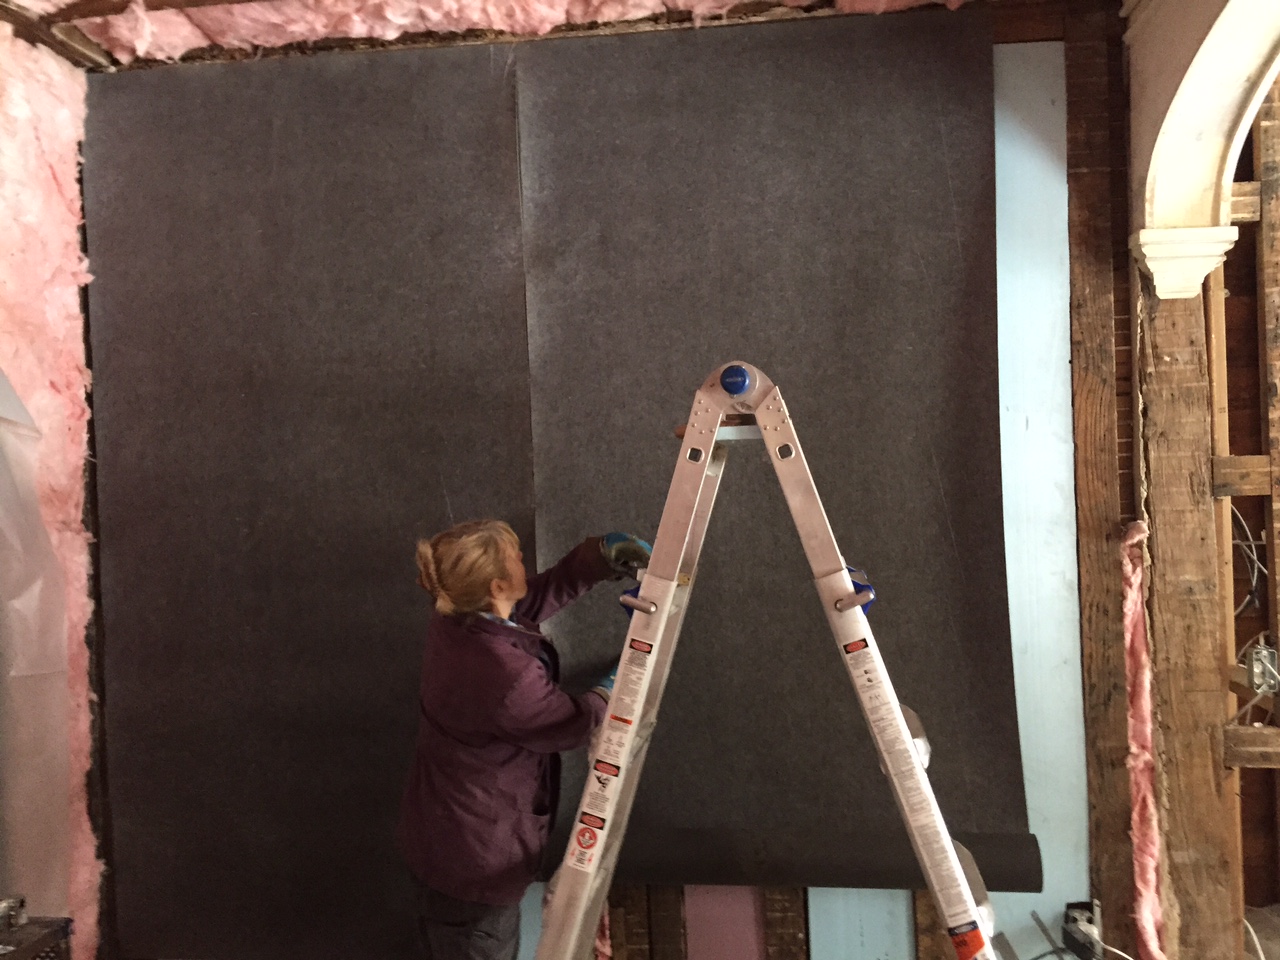
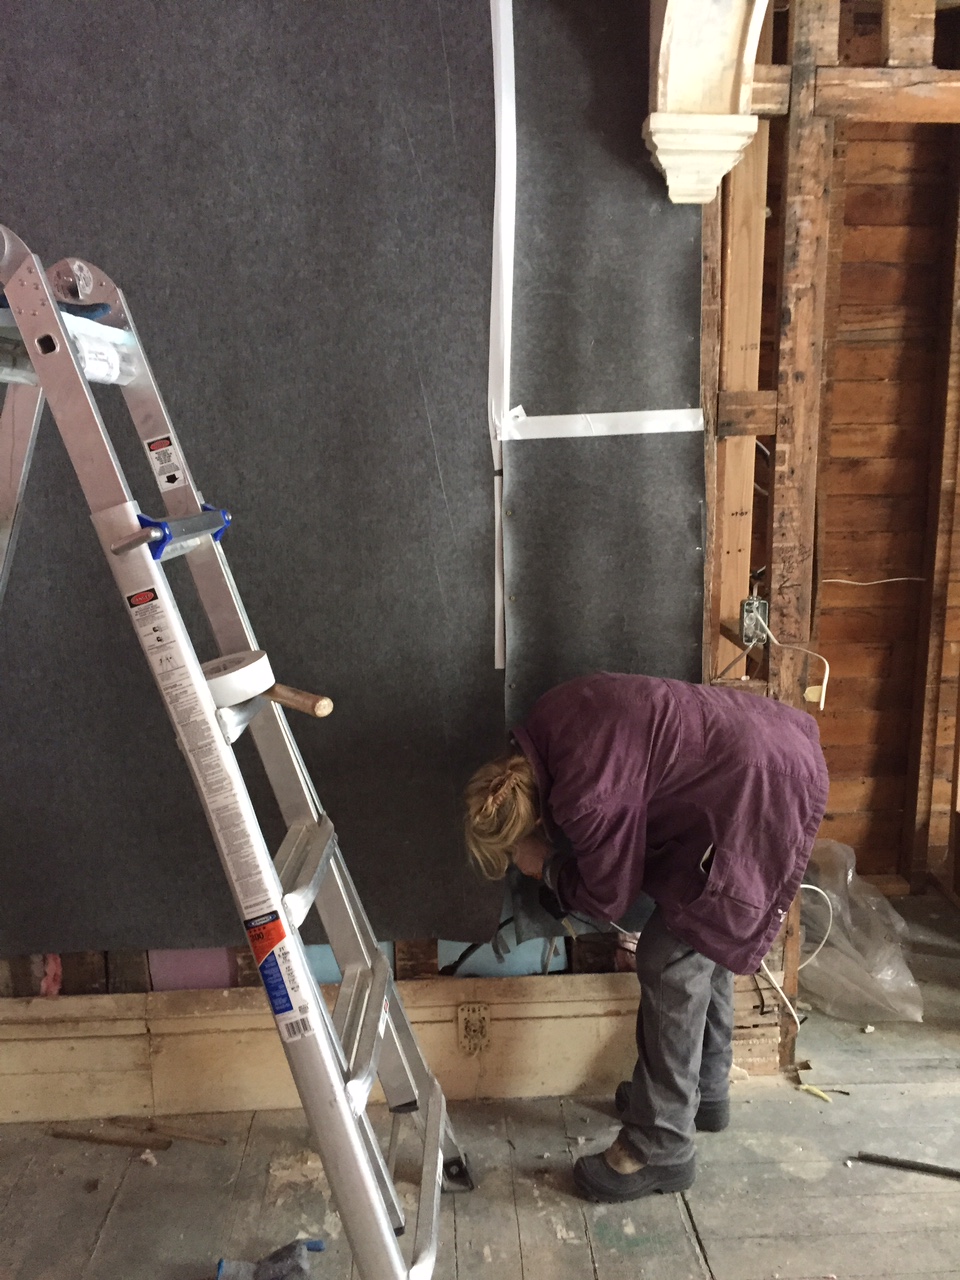
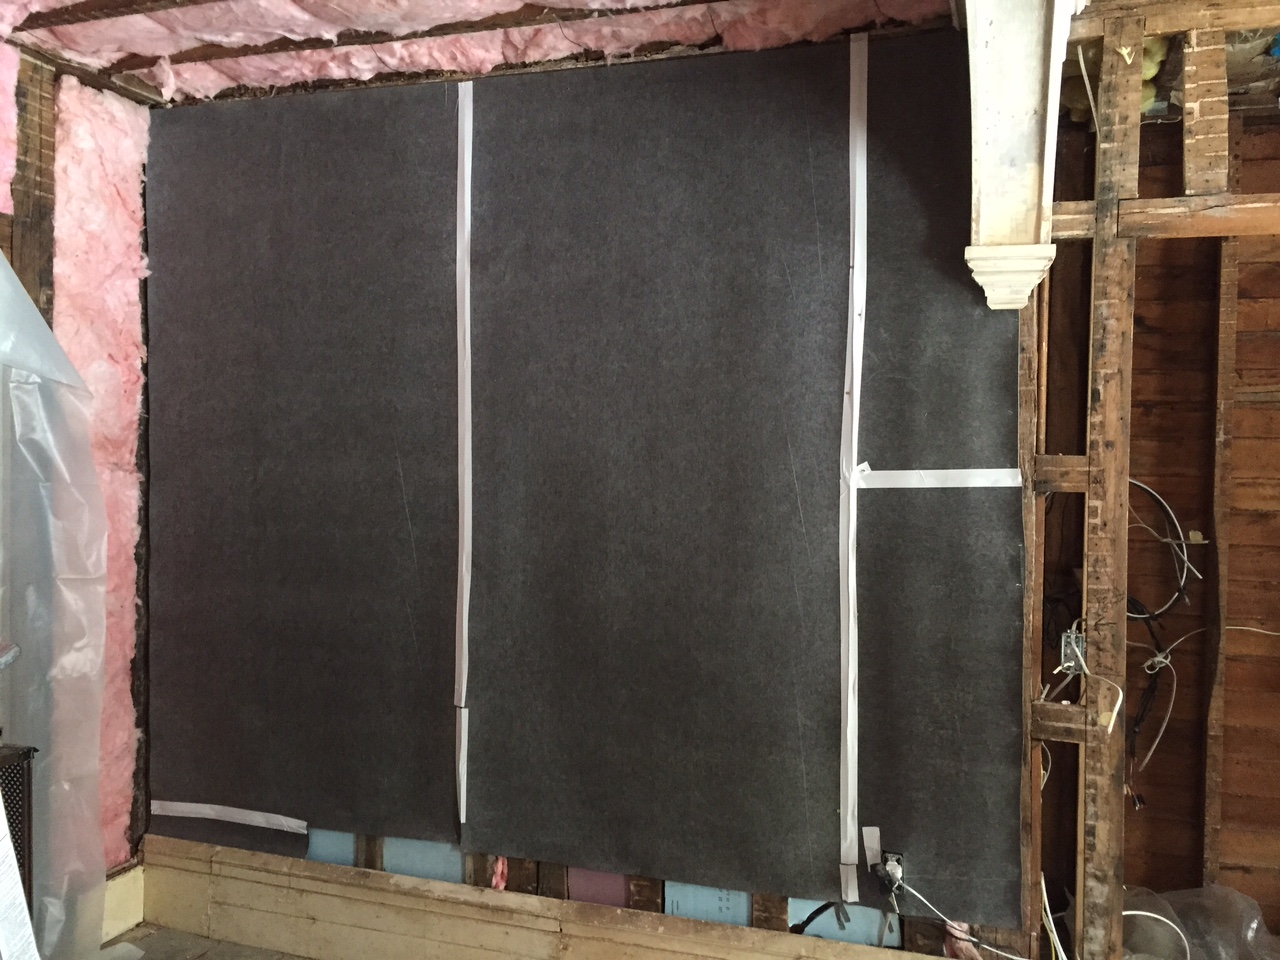
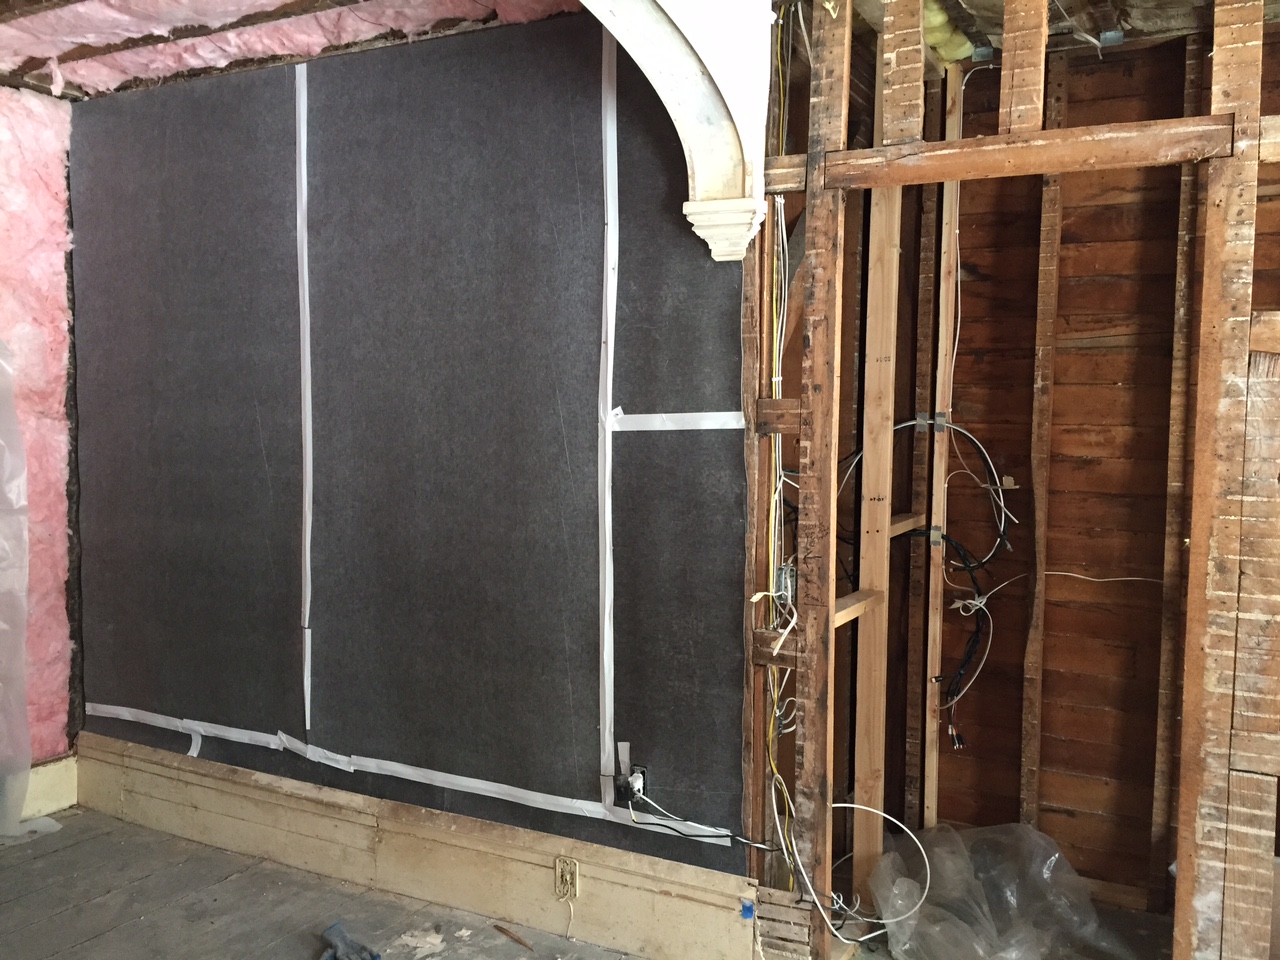
Now for the fun part, the acoustic matting. This stuff is dense, and heavy and it does not want to unroll. It really just takes some practice, and thankfully it cuts easily. Our system was to unroll it up the wall and staple the top edge and then work our way down. We used 1/2" staples, anything shorter just ripped out under the weight. Once the matts were up we went over the seems with high quality duct tape. The drywall will go right over it just like a normal installation.
 

So, what makes a tv room a tv room??? A whole lot of advance planning. Can't wait till we can kick back and watch a movie in here.

Artist in Residence Program

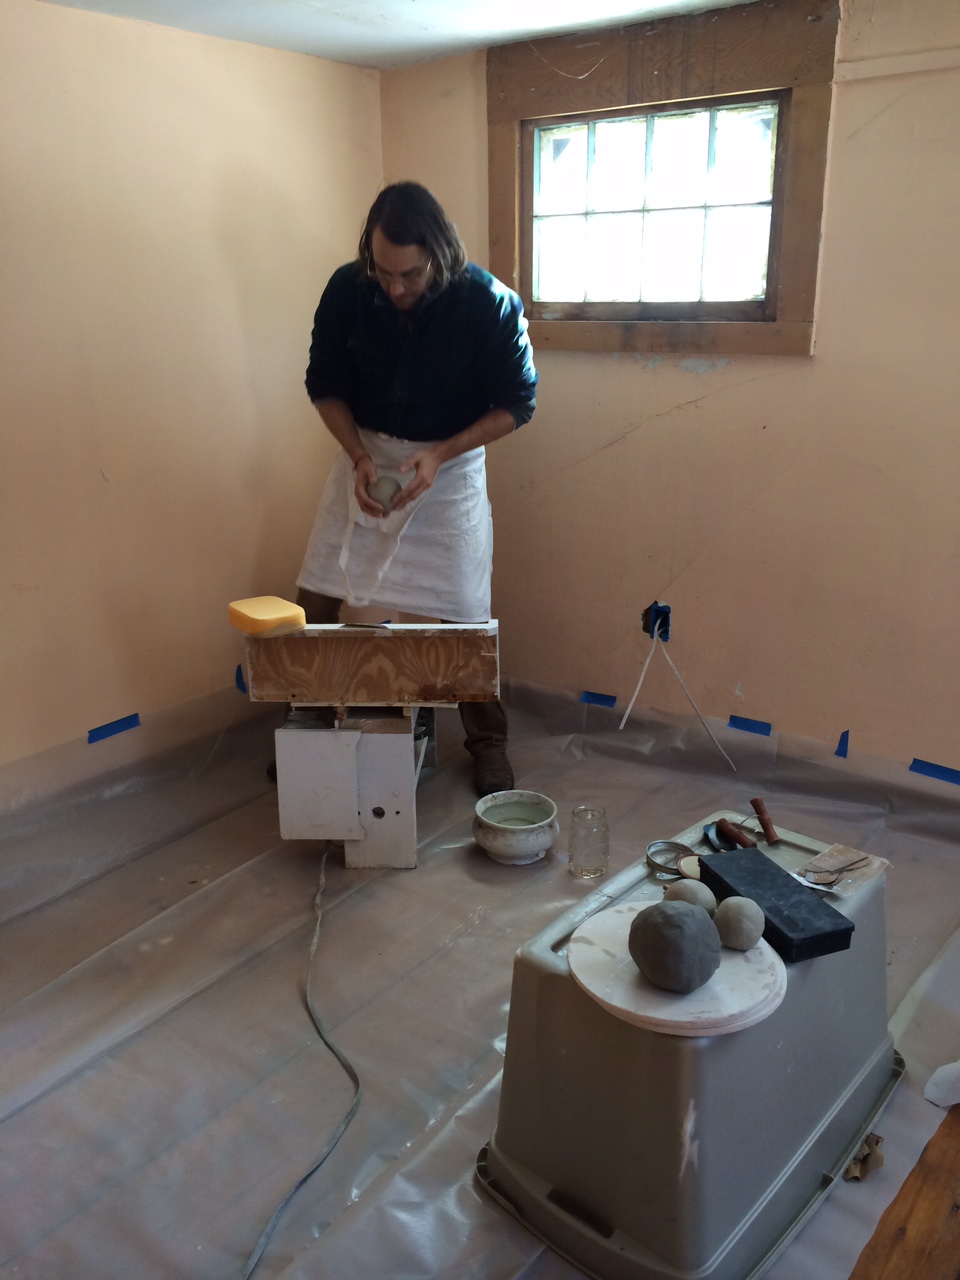
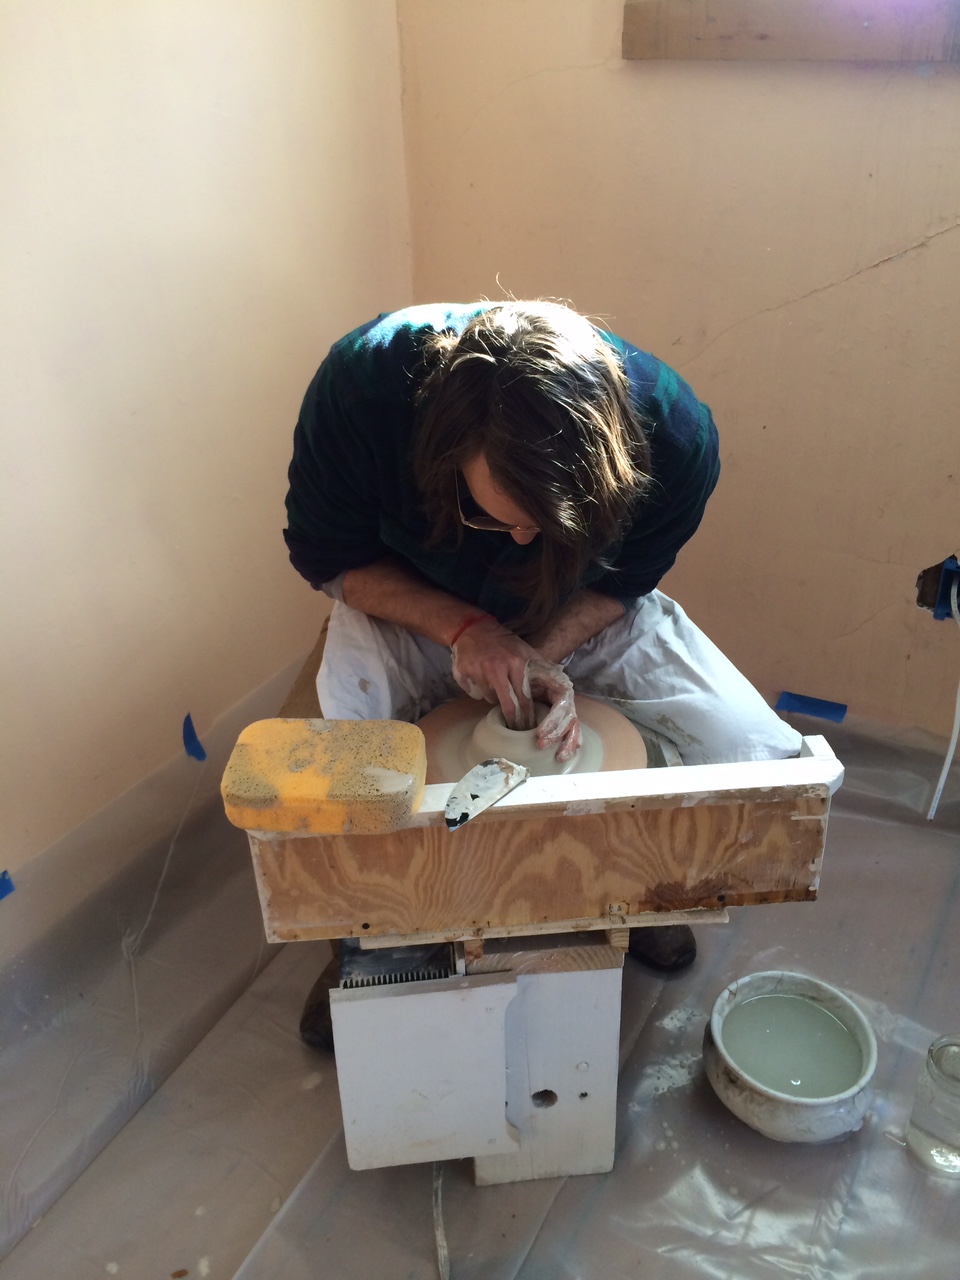
OK, perhaps it is too soon to call it a program, but due to our abundance of artistically gifted friends we are hoping to create a space where friends can come visit, stay a while, and create. This last weekend we had our first taste of it when Dustin and Hannah came upstate and set up the rickety home made pottery wheel Graham got off Ebay (turned out to be a good buy). We don't know anything about pottery, we picked up a kiln and some basic equipment in the hopes of making tile, but figured you cant have a kiln without a wheel... So lucky us, Dustin is an awesome potter, follow him on Instagram @ceramicism - he gave us tutorials and made some great pieces. We can't wait for more creative weekends like this.
 

Meanwhile, Hannah did some serious damage upstairs tearing out plaster and lathe in the old "pink bathroom".
 

See that smudge??? That's a sign of hard work!
 

A great weekend!
 

Juno

Well, the big one is here, storm that is. 12-20" of the fluffy slippery stuff. We are battening down the hatches, getting supplies and we picked up this new generator:
 

It's a little guy, just 3,500 watts, but it will keep the necessities going in case we lose power for a stretch. This pre-storm anxiety has moved a whole house generator higher up the list, nothing is more expensive than peace of mind. Wish us luck.
 

Women of Patience

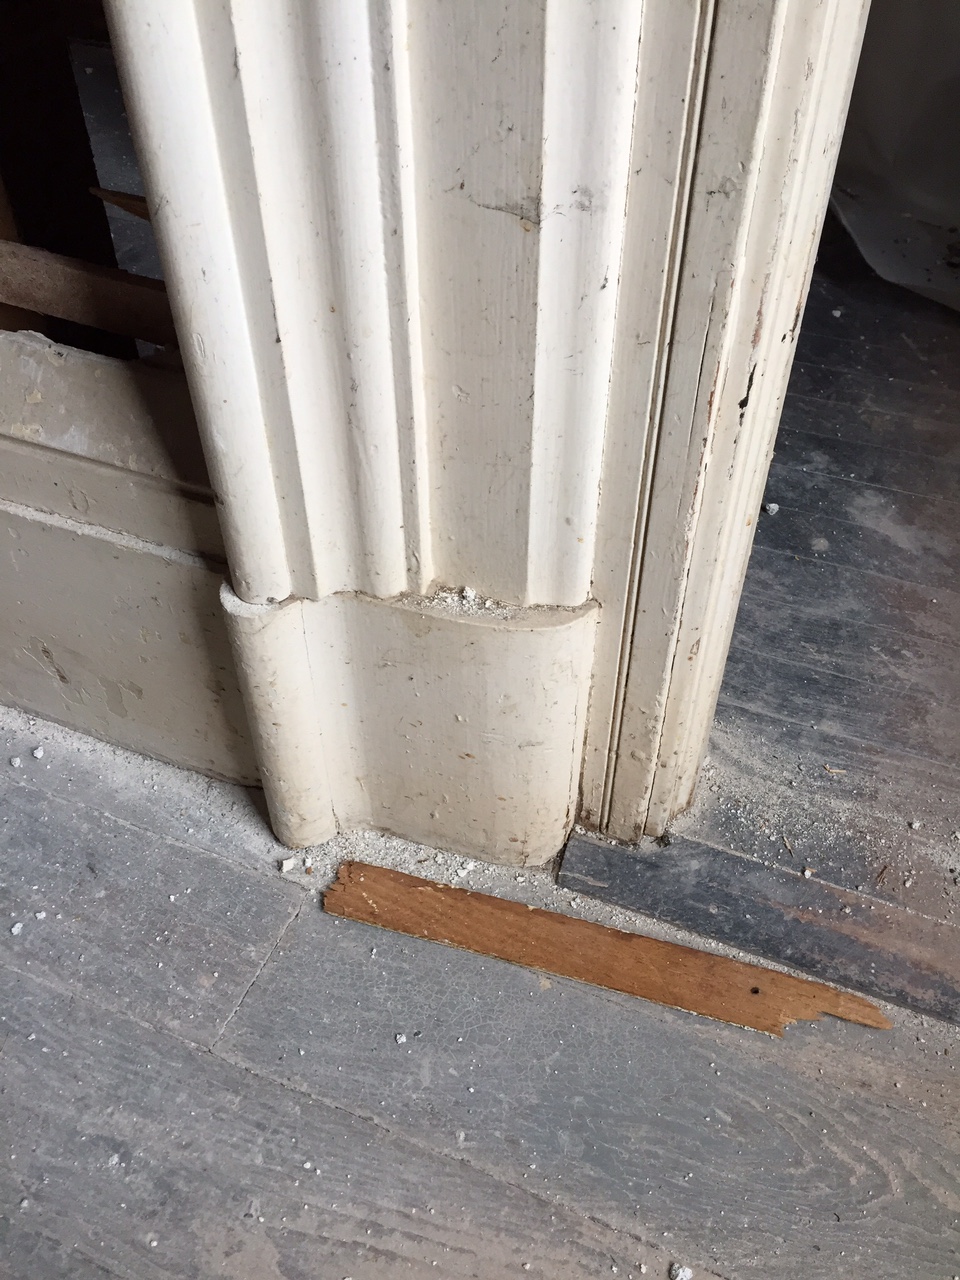
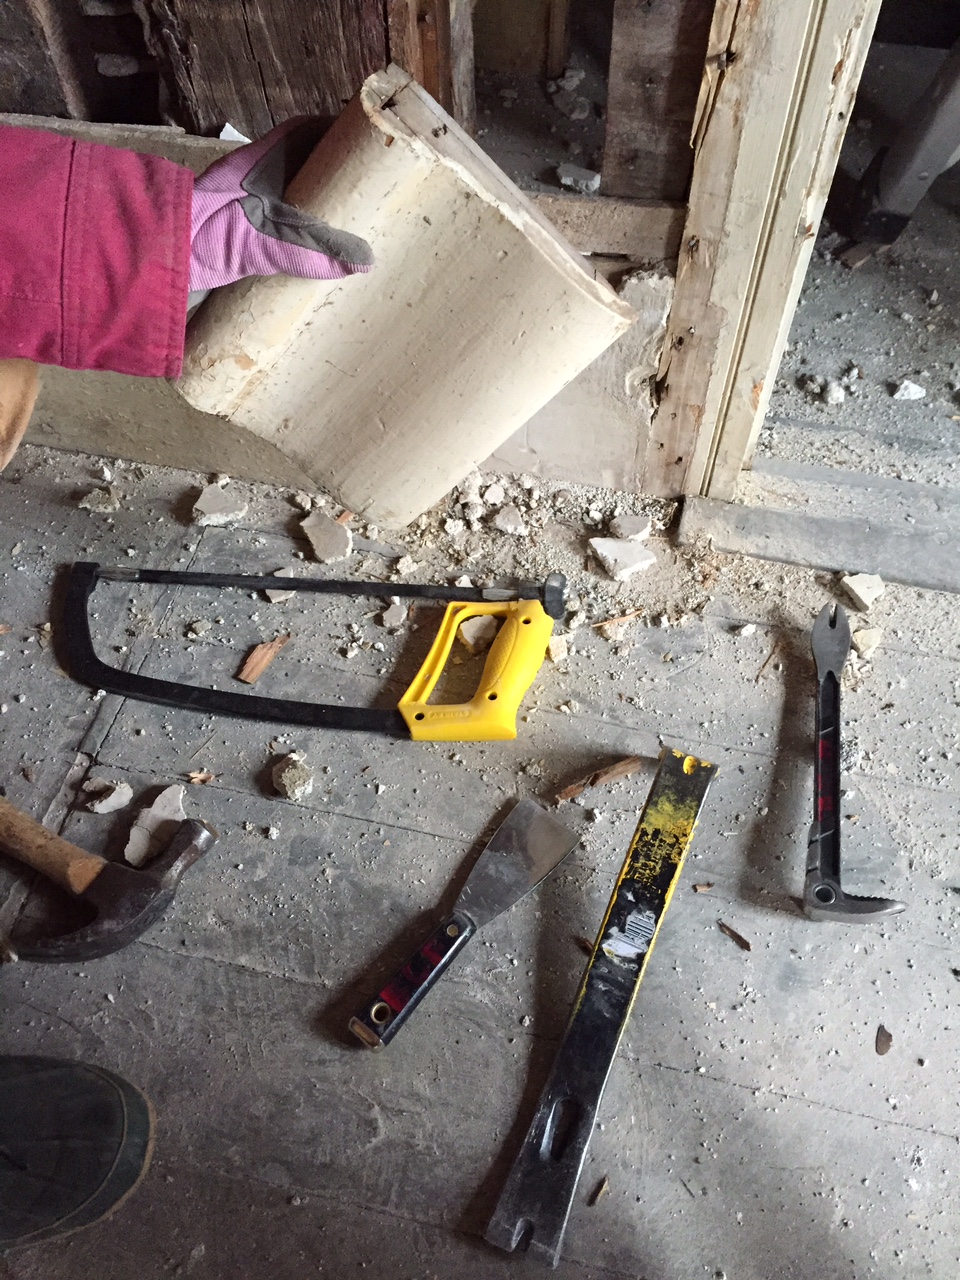
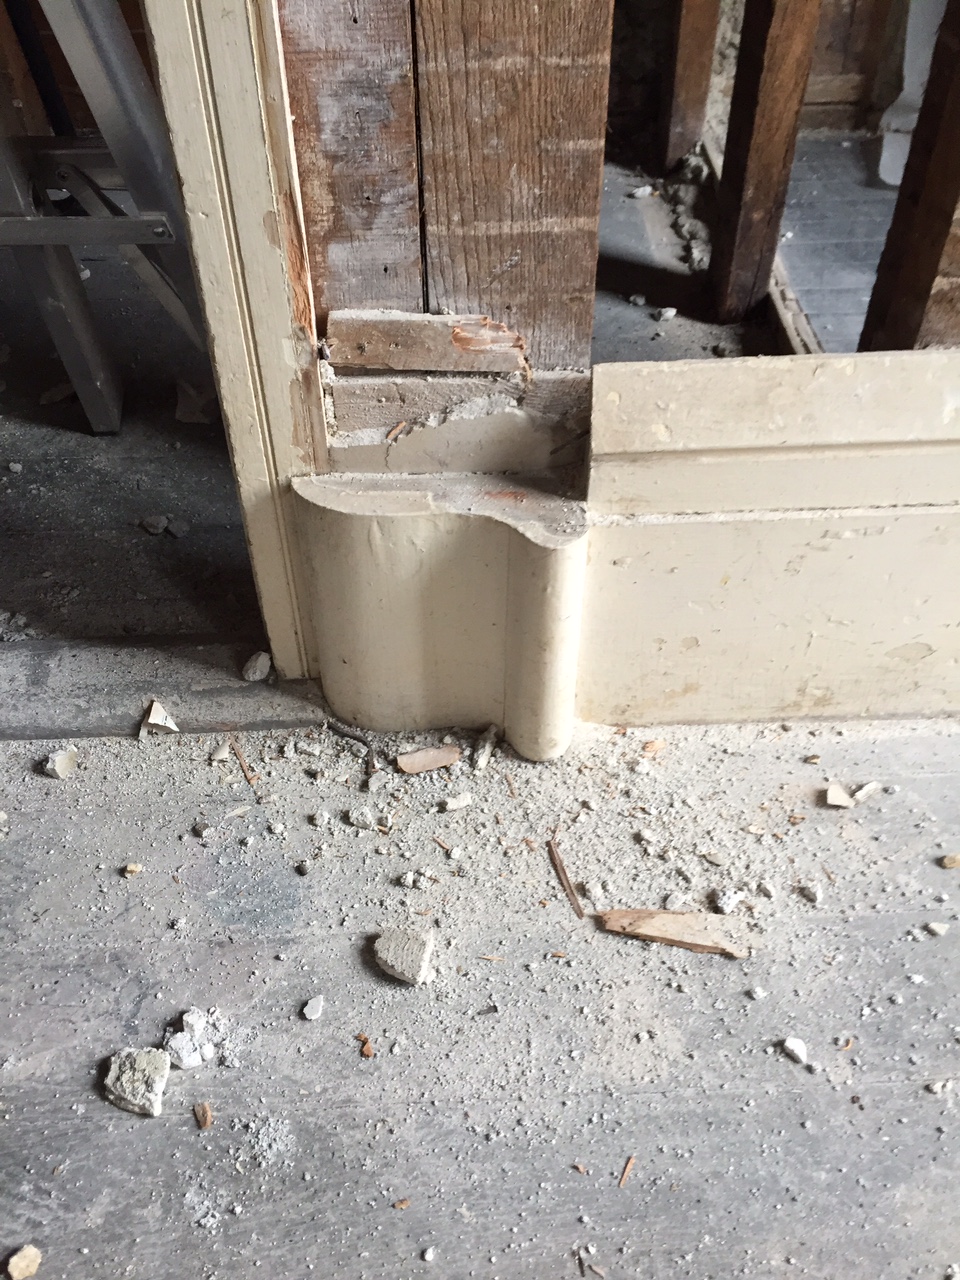
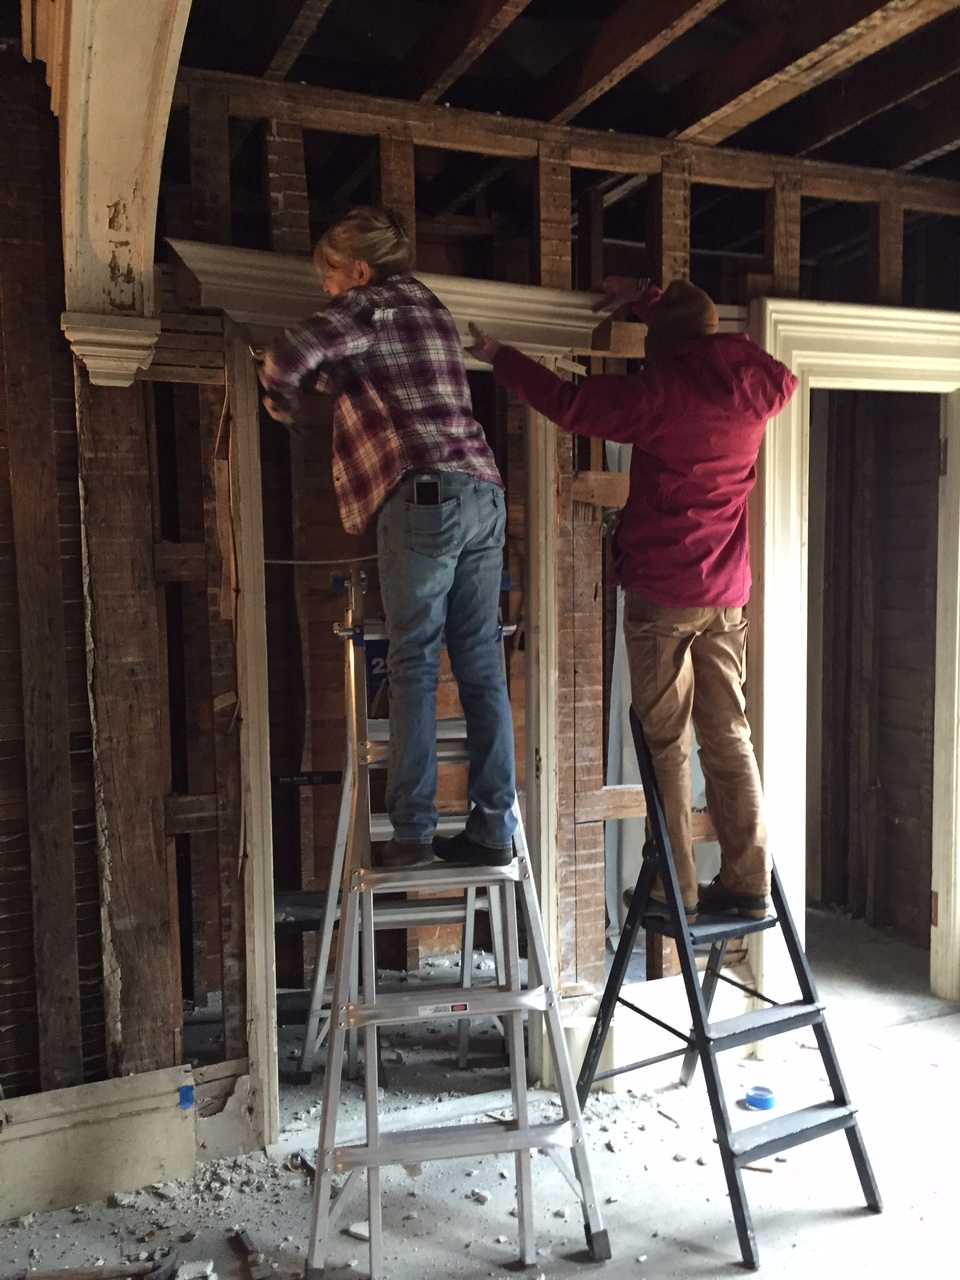
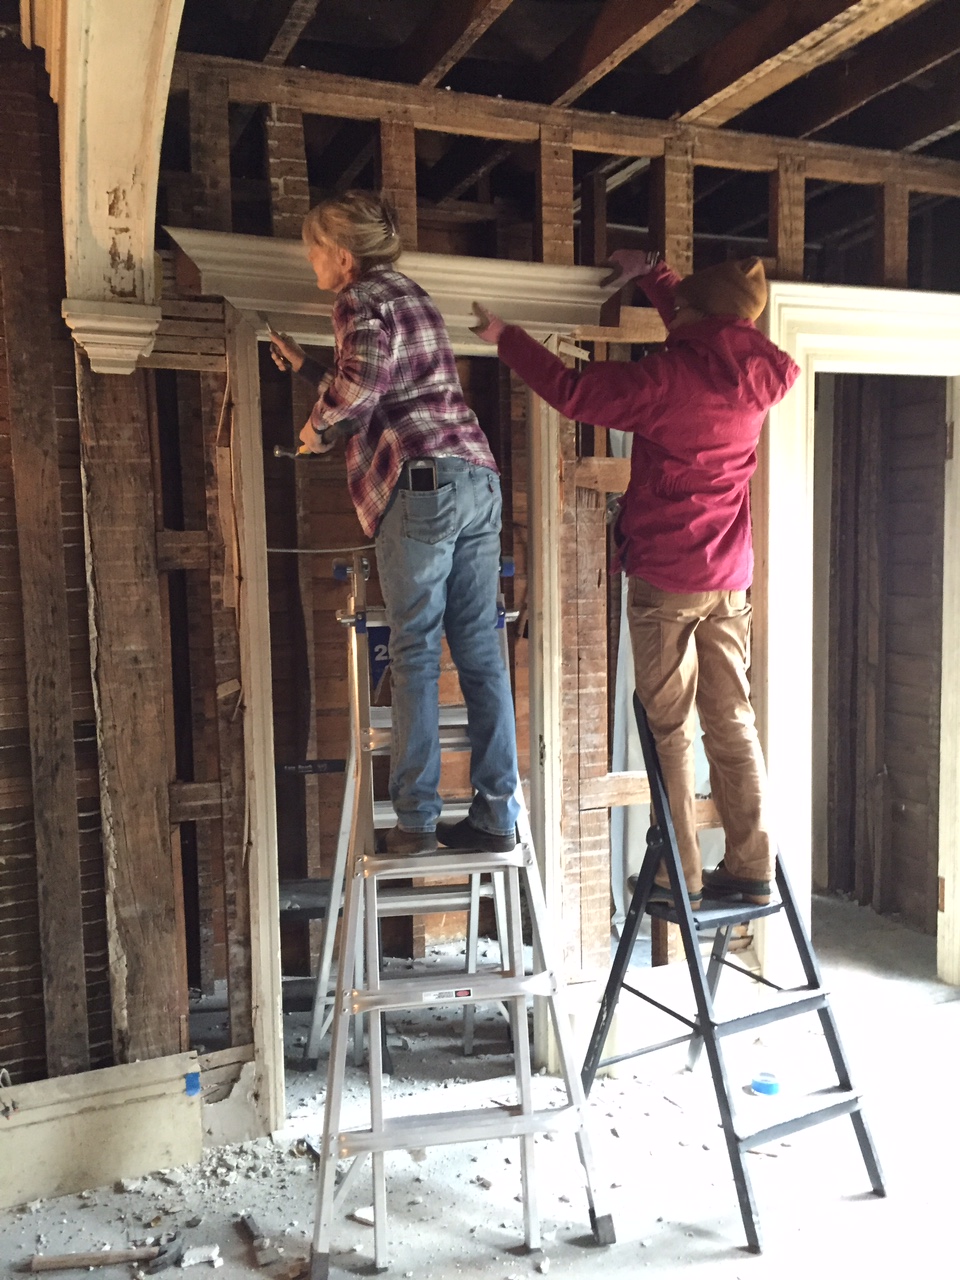
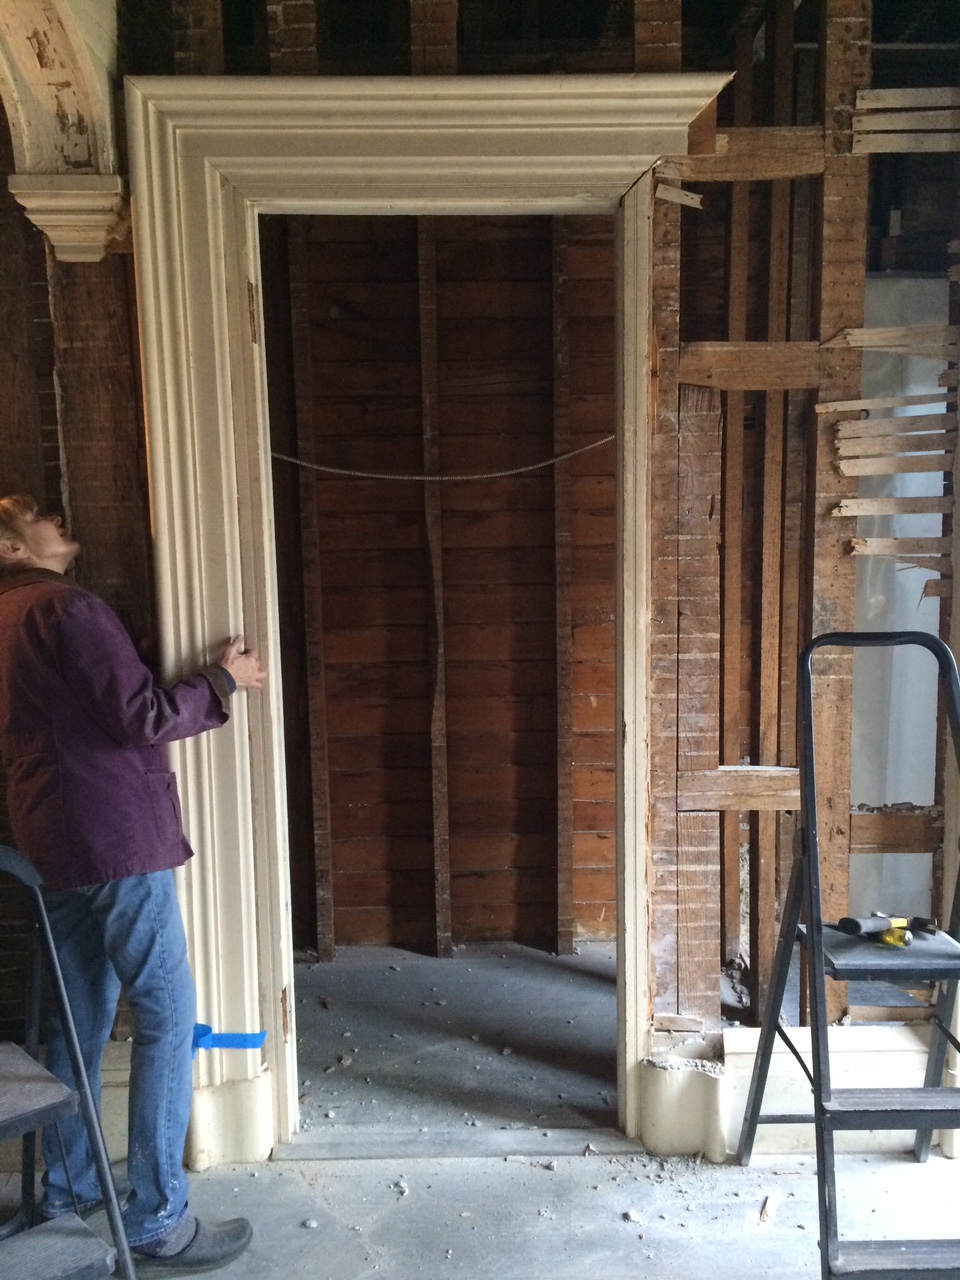
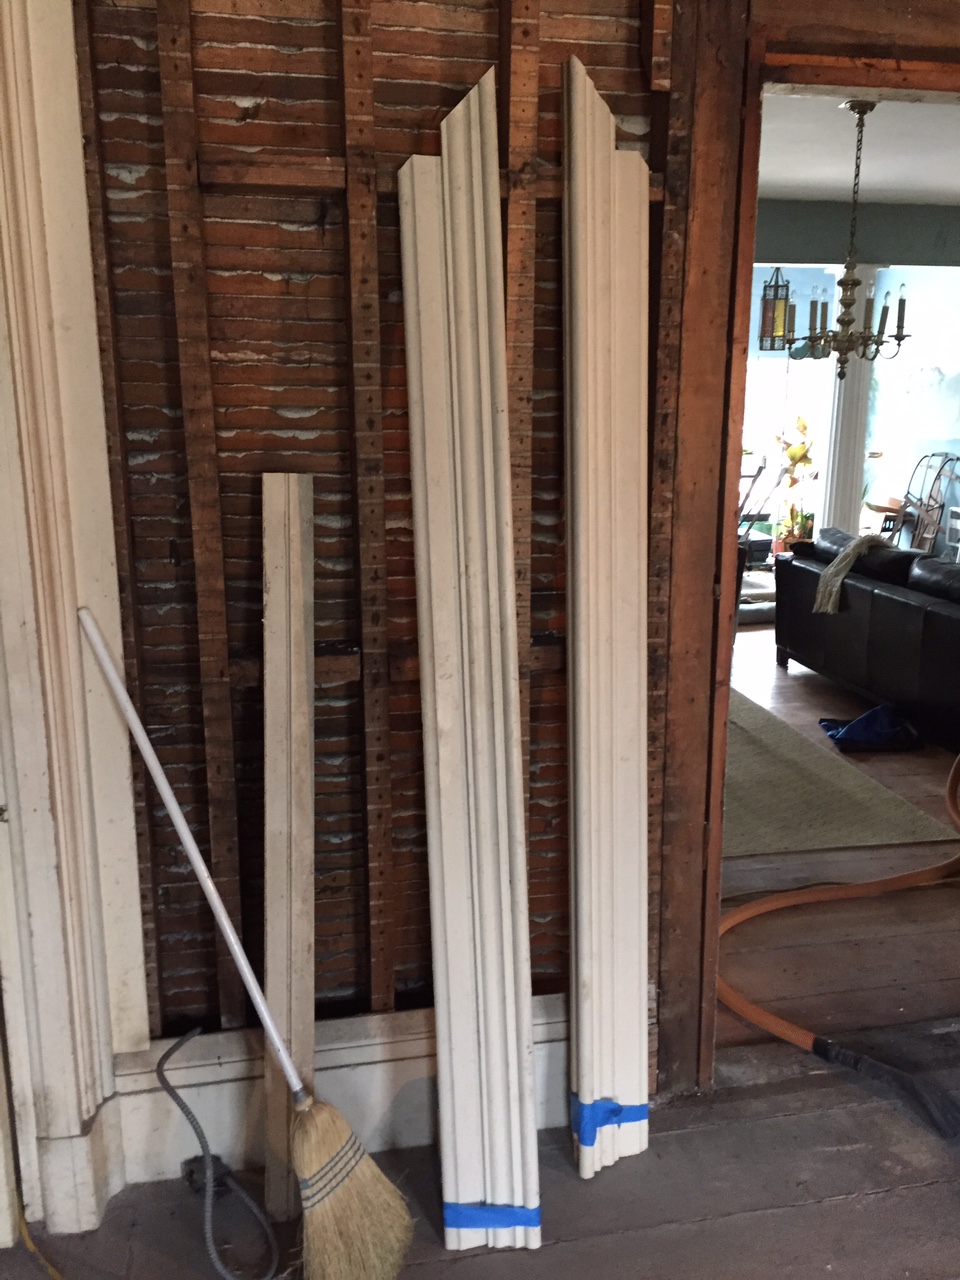
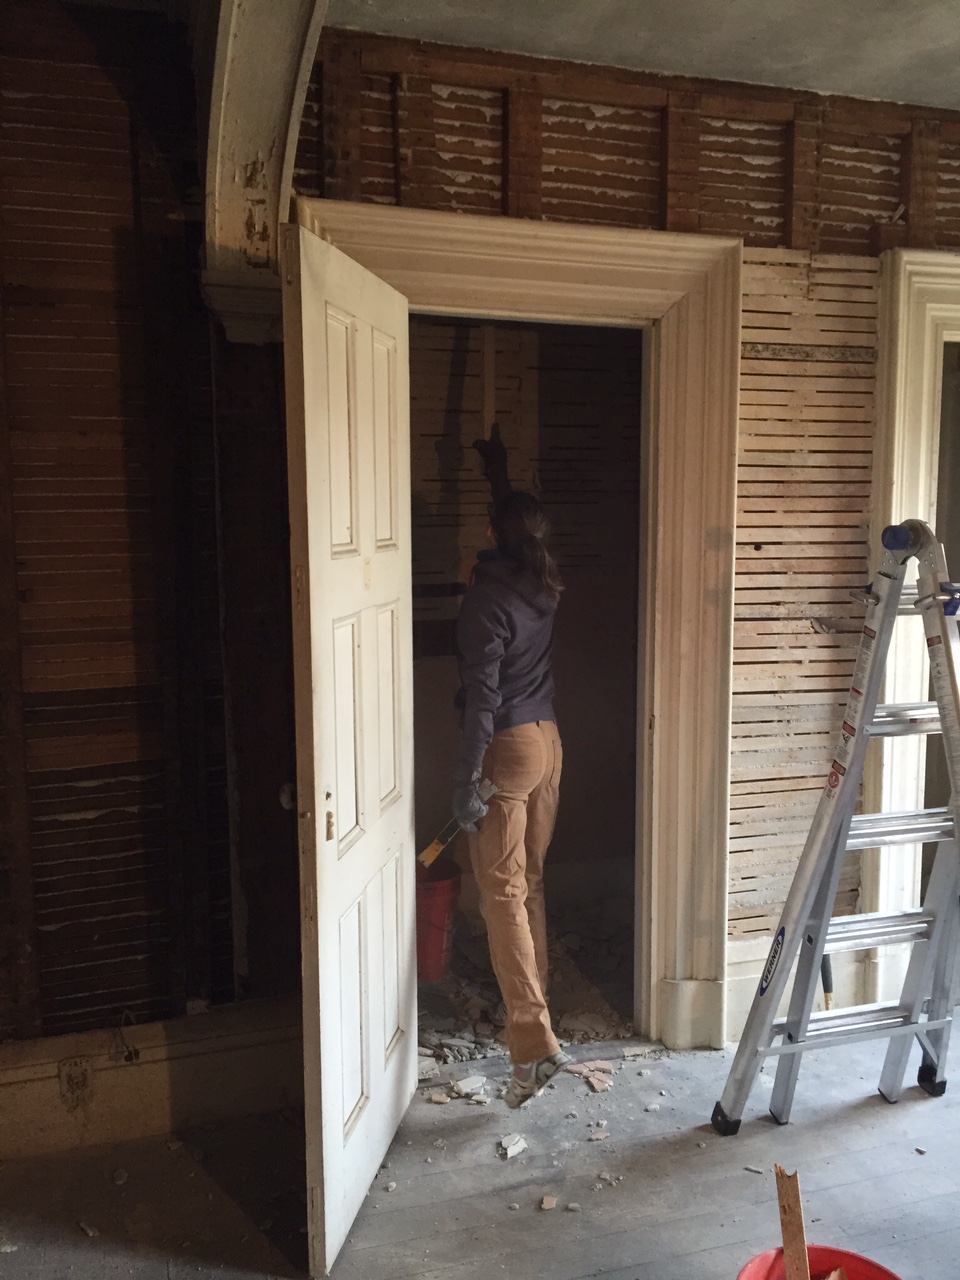
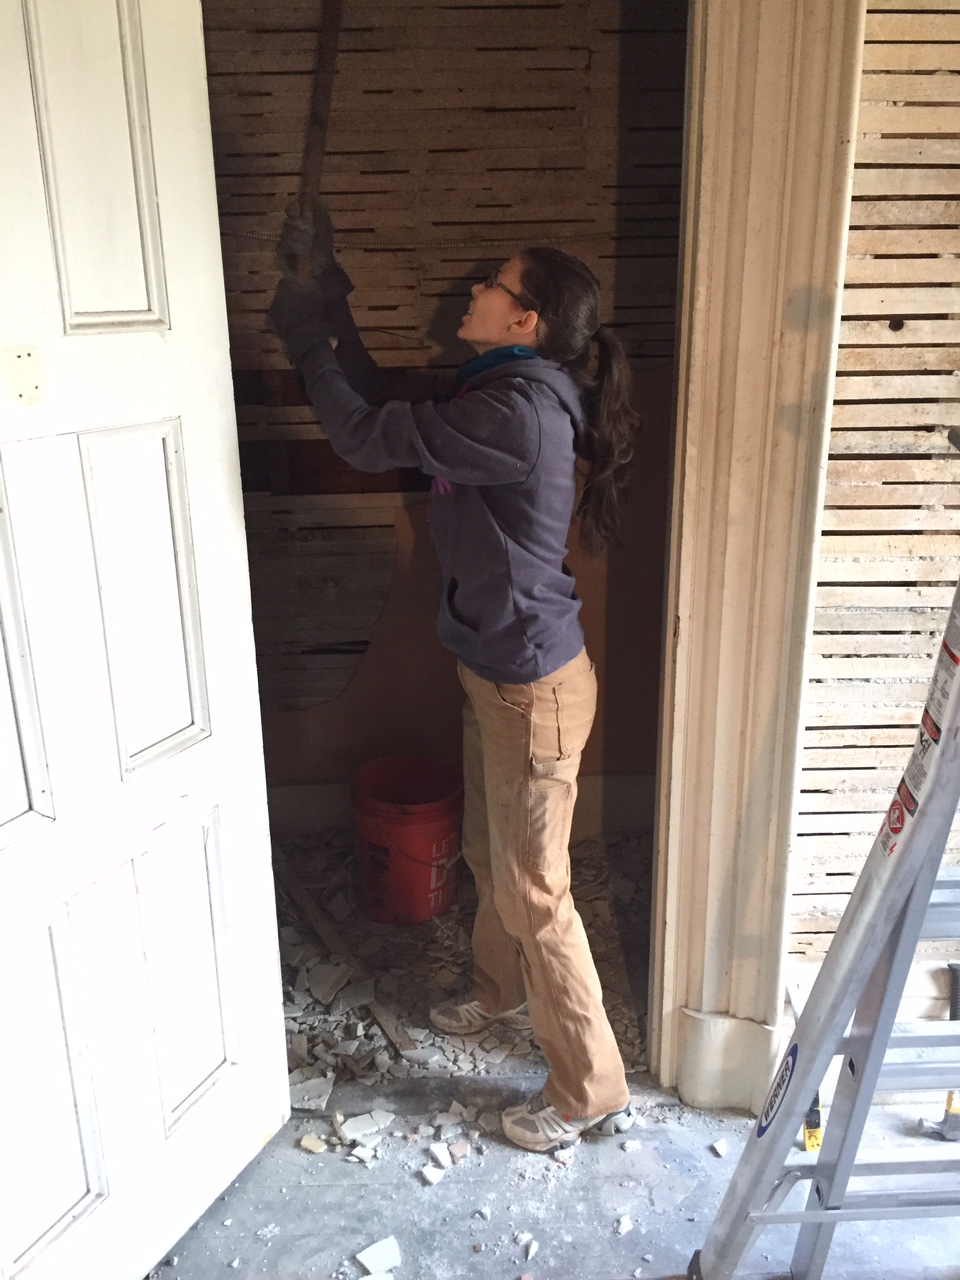
"Women of Patience" is the nickname for Ermela and Carol's "crew" (we still need to get the shirts made). Over the winter break the crew made significant progress in the very careful deconstruction of a door frame/molding in the TV room and the de-fenestration of many many old windows (can you de-fenestrate a window?...taking the glass out, let's keep it simple here). The future TV room is graced with not one nor two, but three different entrances. The largest of which had a temporary cover of drywall and leads to the central living room, the second goes to what will be the downstairs full bath, and the third comes off the front entry hall. After tinkering with imaginary couches and TV's on floor plans we decided that door number one makes the most sense for furniture layout and flow. The problem with door number one is that it lacks trim, shocking because trim is not something this house generally lacks, but there you have it, we were at a trim deficit. To make matters more problematic, the trim in the future TV room is perhaps some of the most beautiful and hard to replicate in the house. We noodled on it for a while and finally decided to remove the trim from around the closet which will be re-worked as a media niche and move it door number one. Easier said than done. Our predecessors on this house going as far back as the beginning had no concept of task appropriate nails. Every bit of that beautiful trim is held together with big hand cut framing nails. The only solution was for the Women of Patience to spend hours with thin chisels, hammers and scrapers carefully cutting the paint at joints and opening small gaps to allow the chisels in to cut the nails. It is important to cut the paint first as it prevents splintering of the delicate edges. It really was amazing to see how these massive moldings were put together, true skill and artistry from another era.
 

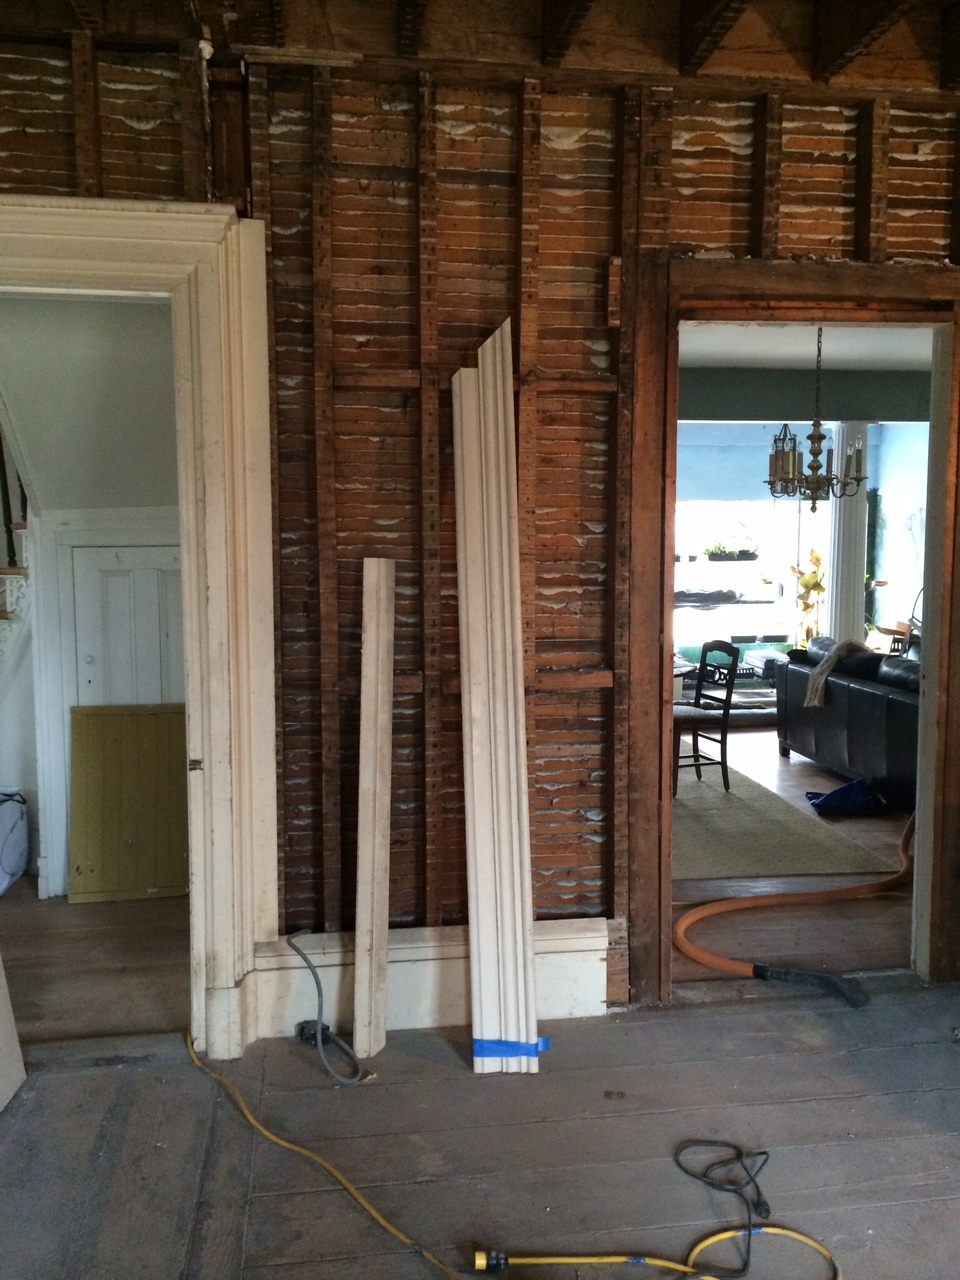
With the individual pieces out the next step was to repair any damage, and clamp the pieces back together to prepare them to re-installation and finishing.
 

The next trick will be mounting the trim we just removed to the inside of the door to the living room, the inside trim is for a slightly smaller door so we will have to create some sort of step down that looks appropriate to the trim style visible on the living room side of the door which is completely different. It is the little differences and clues like this that help us piece the story of the house together.
 

What We Did With Our Winter Vacation.....

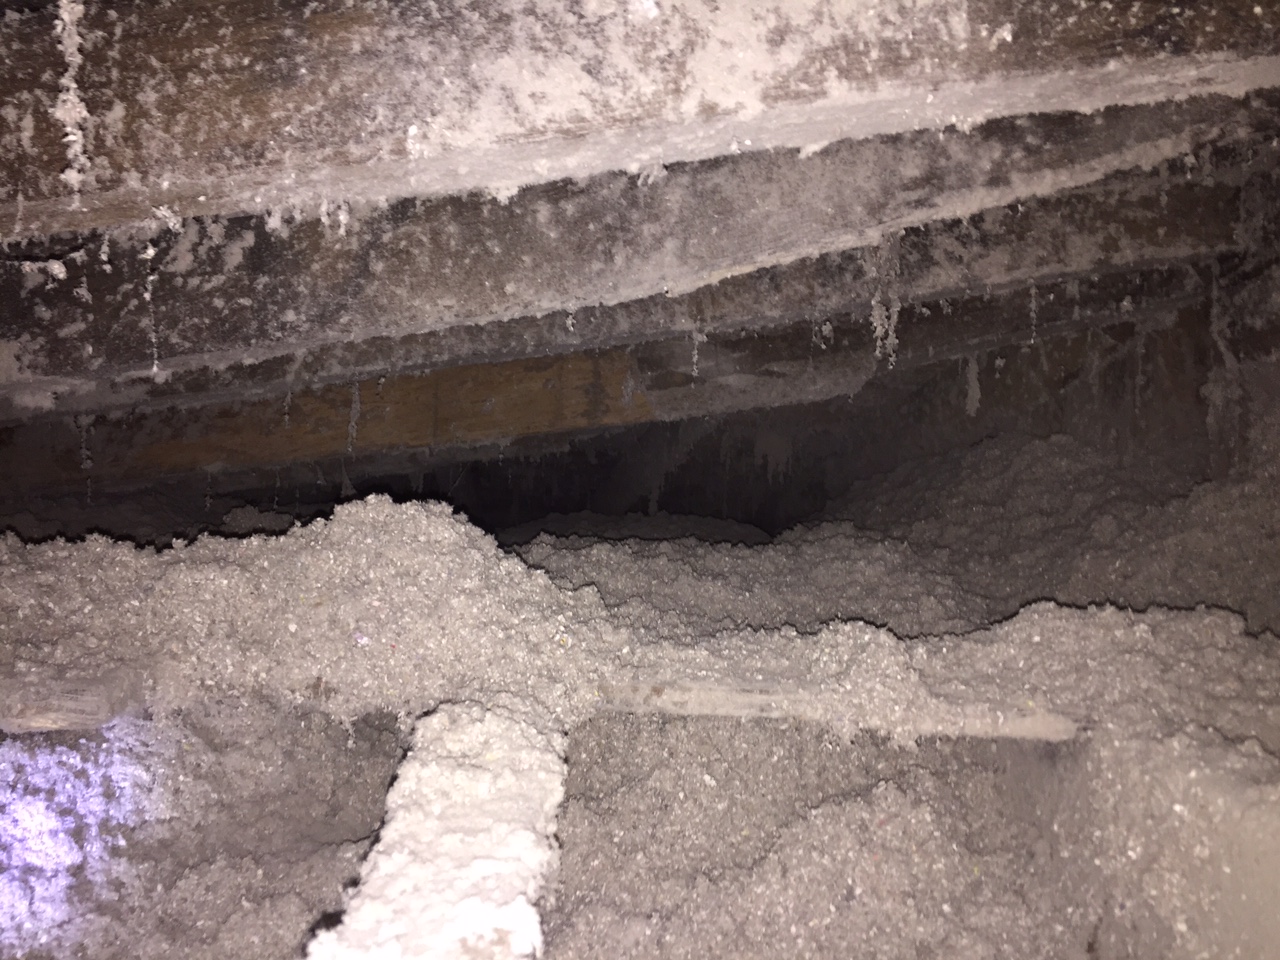
Big surprise, we demolished stuff, in between demolishing things we occasionally built things, insulated things and played Wii tennis (for the record Graham always wins). In terms of progress, probably the biggest gains were made in the insulation category where we finally blew massive amounts of cellulose into the roof crawlspaces and created our own custom attic insulation system (a separate post).


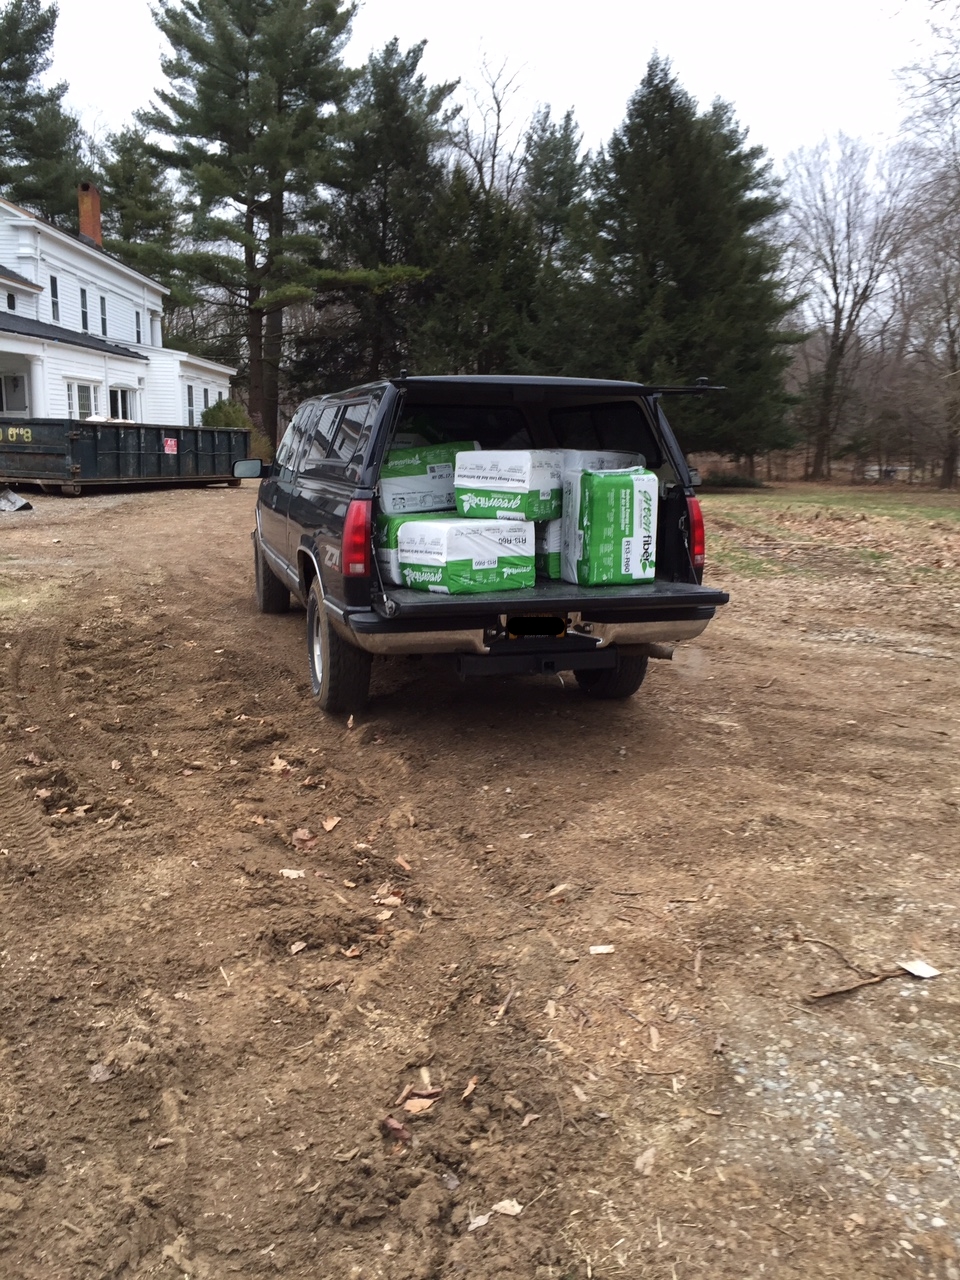
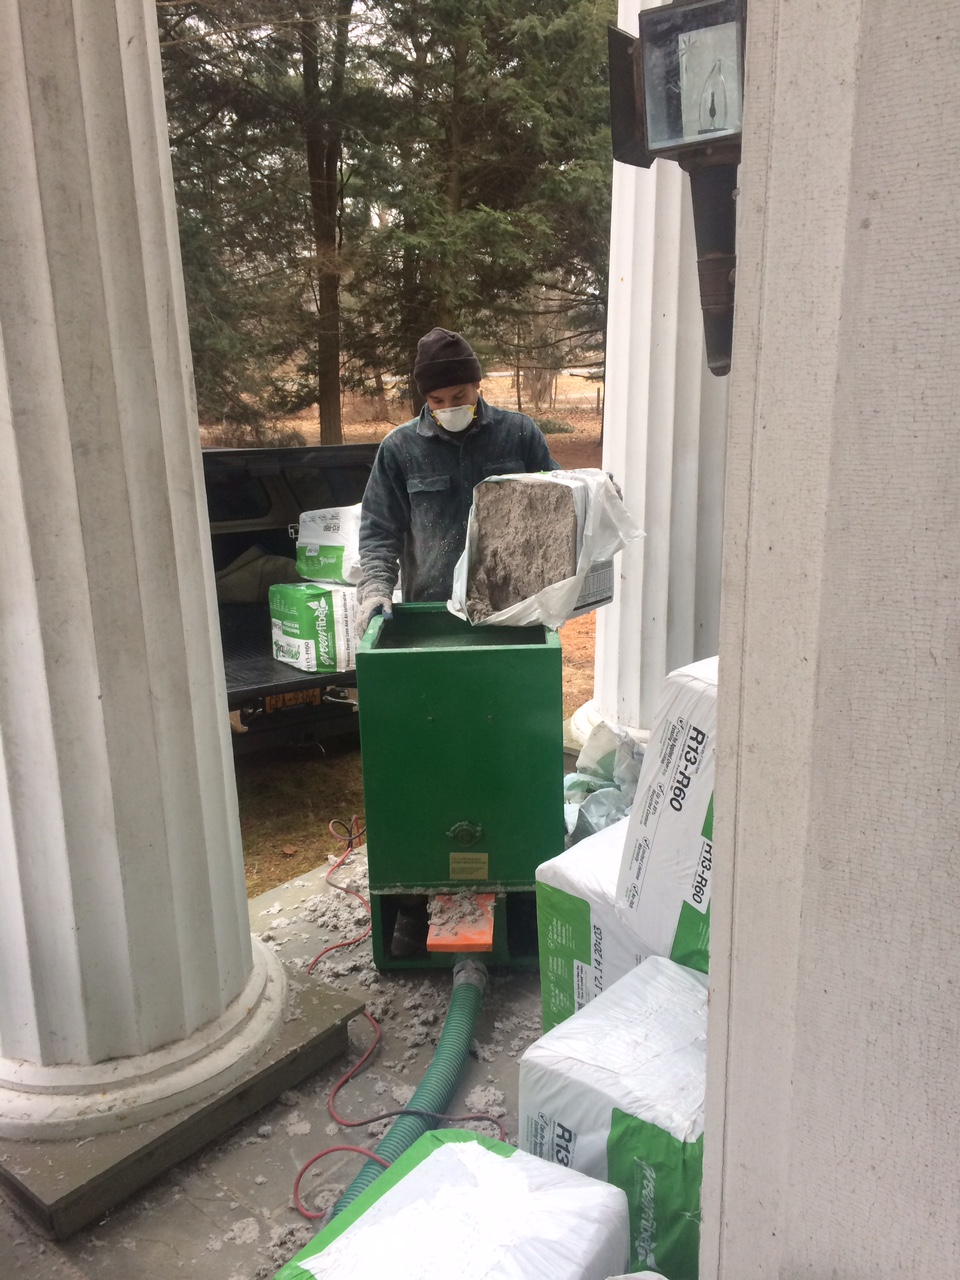
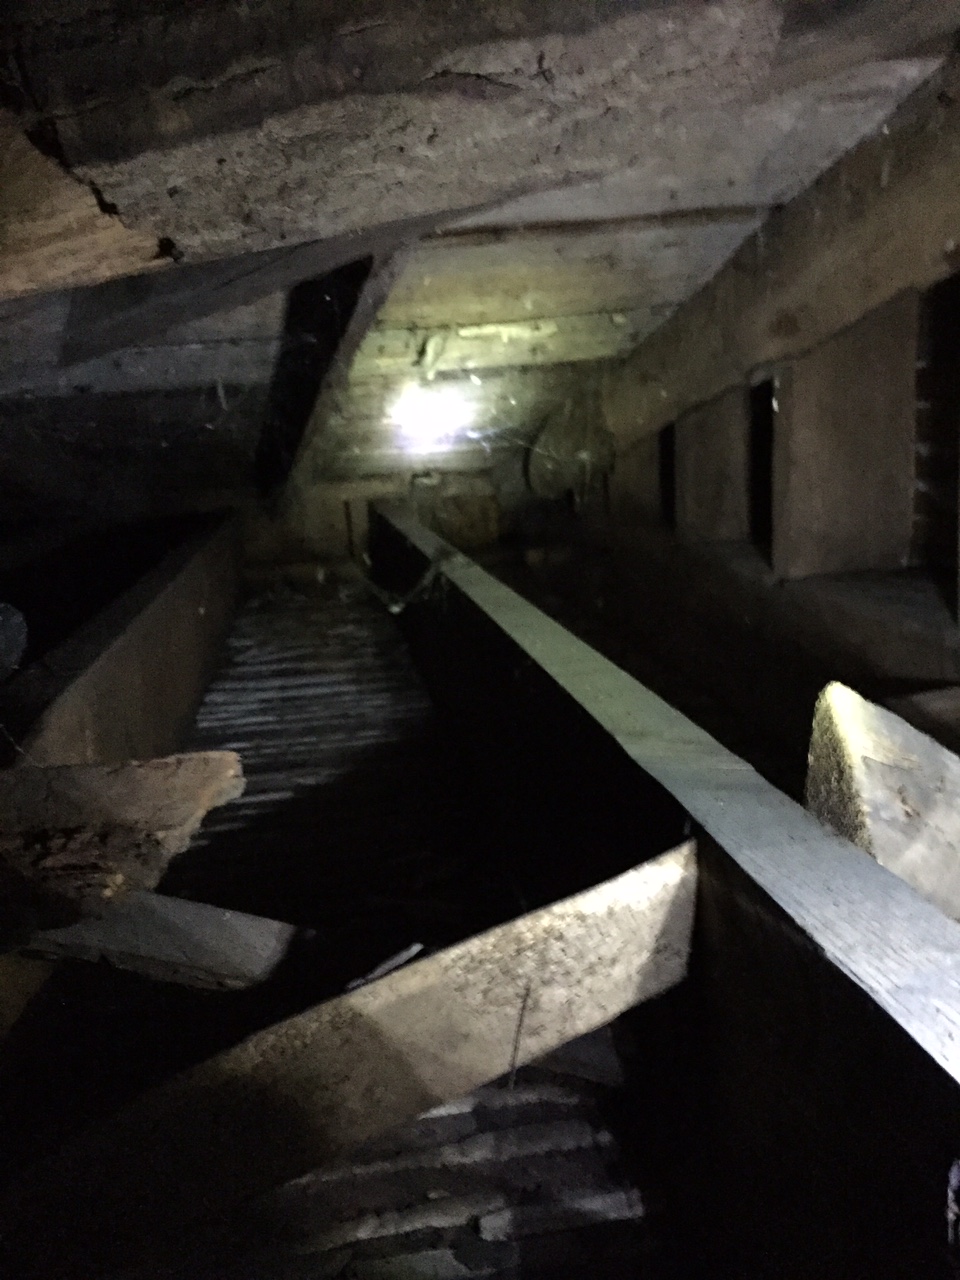
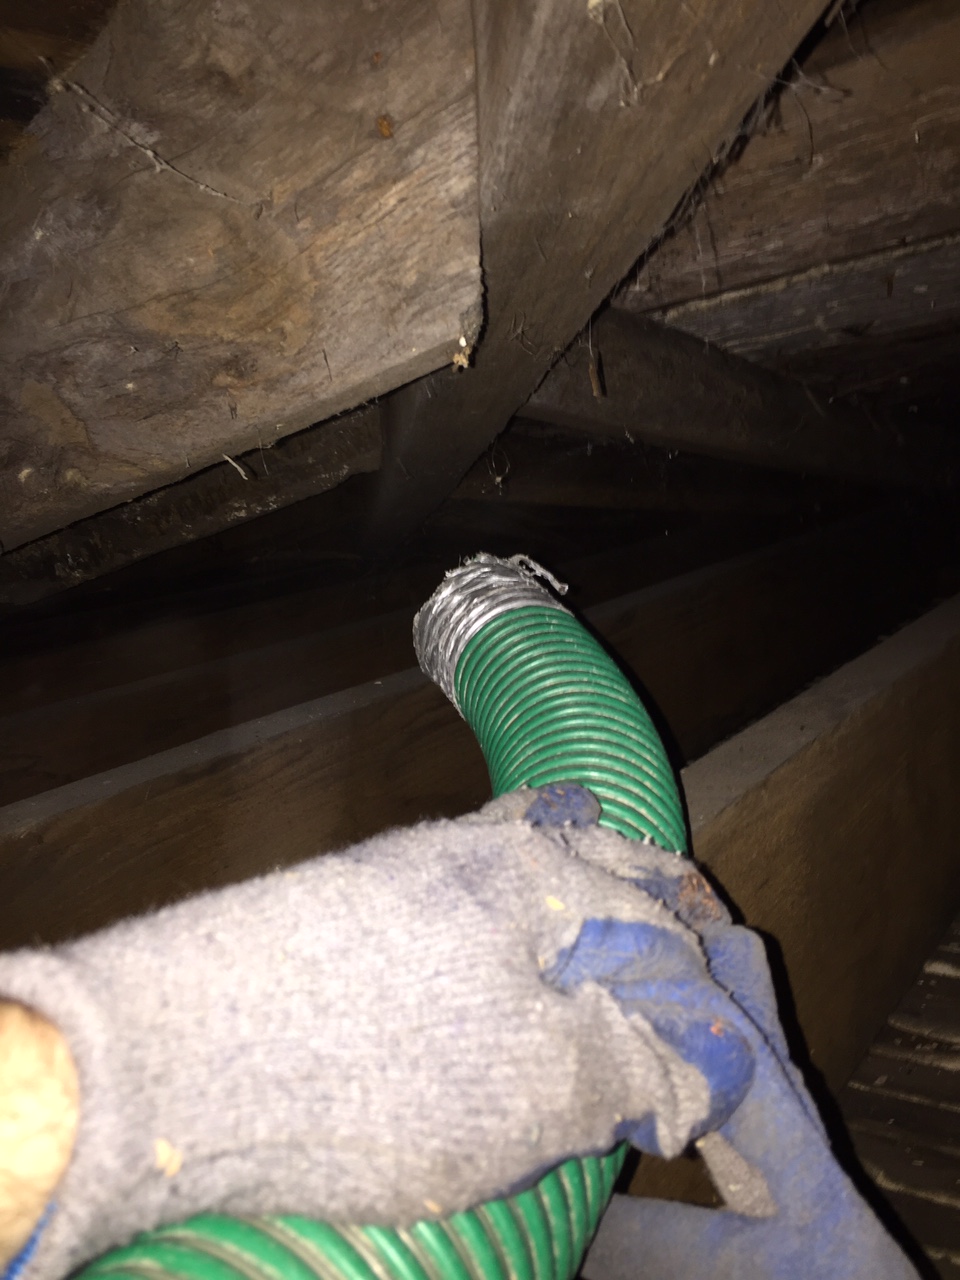
The cellulose started similarly to the last time, we unloaded bales from the back of the truck and wrestled a ridiculously heavy contraption onto the porch. along with two contractor bins of hoses and fittings. From there it was a different experience, no drilling holes into joist cavities or tapping on walls. This was straight up cellulose full throttle into the crawlspaces. Which at first we thought would be not so bad, but those small small spider filled spaces turned out to be less than fun.

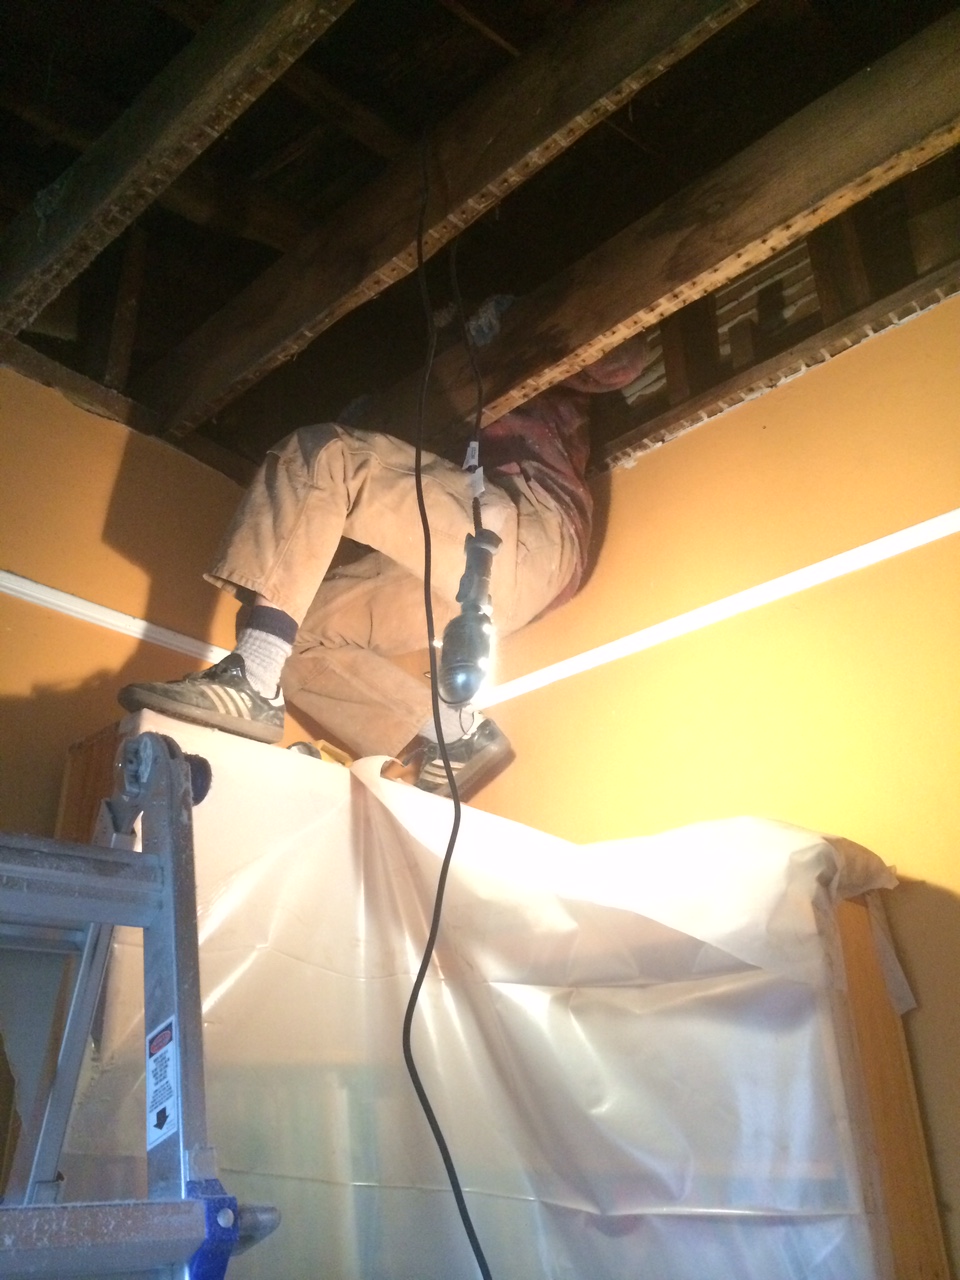
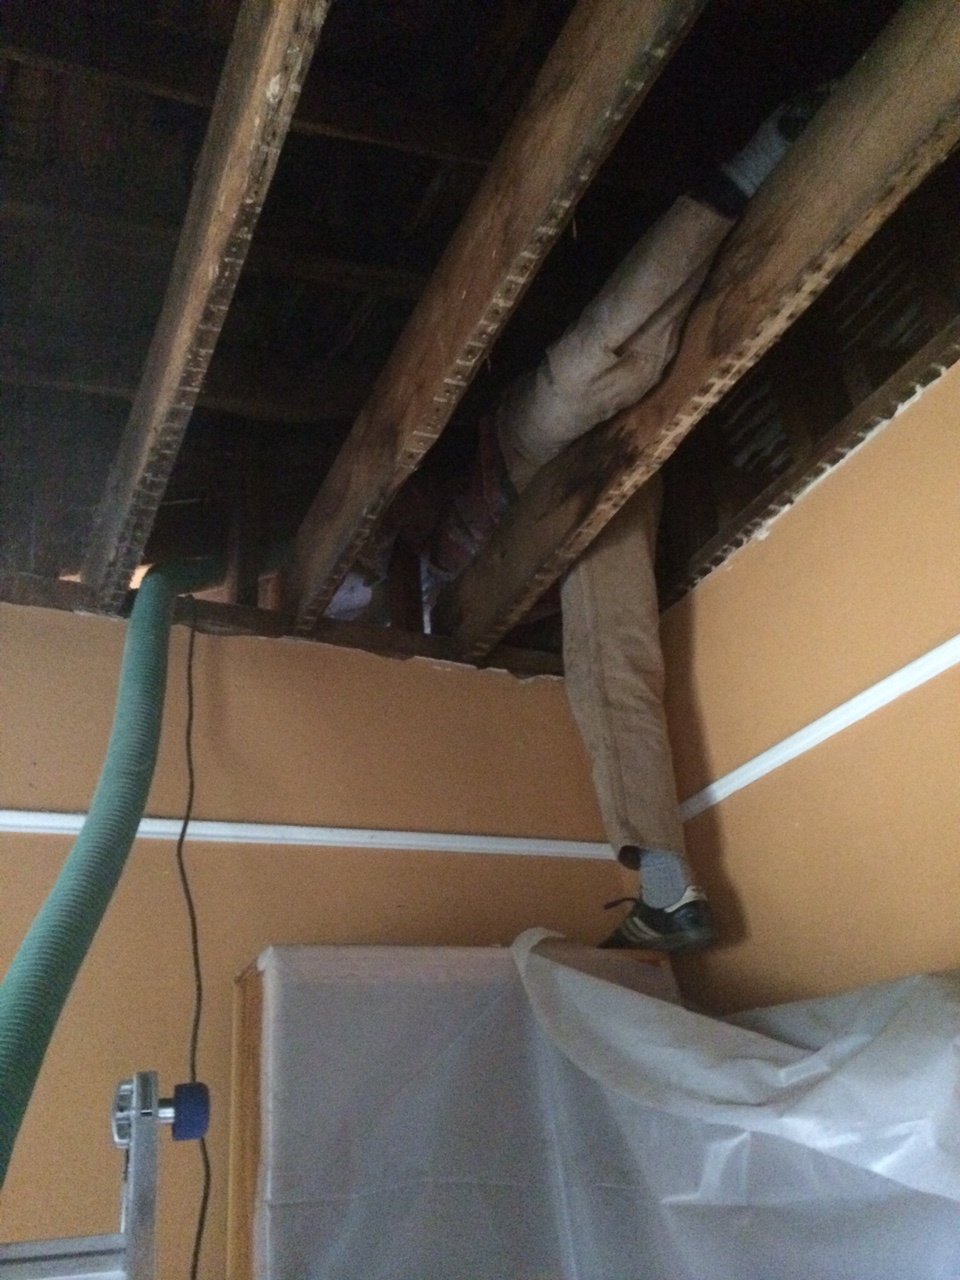
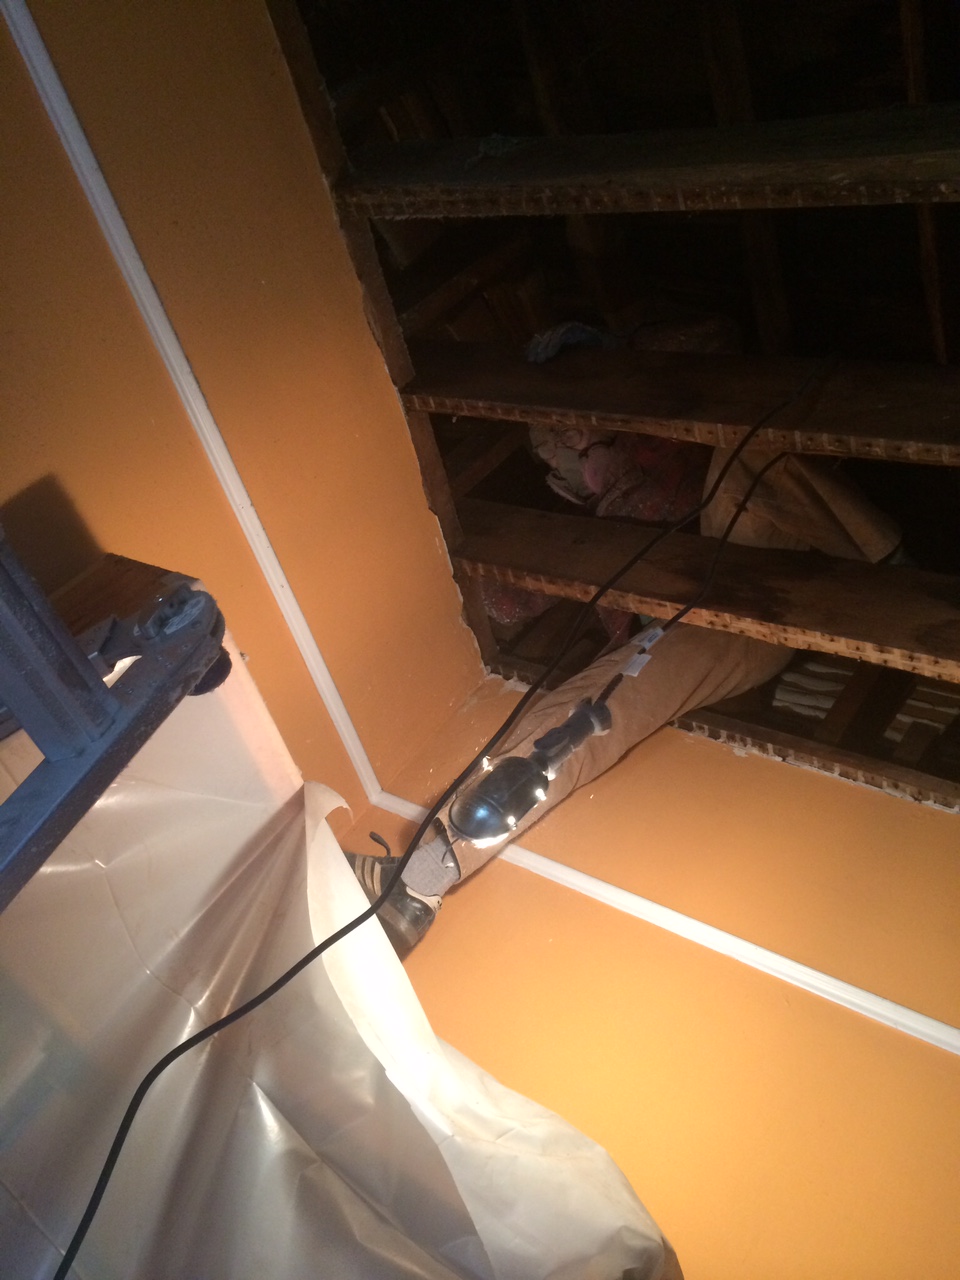
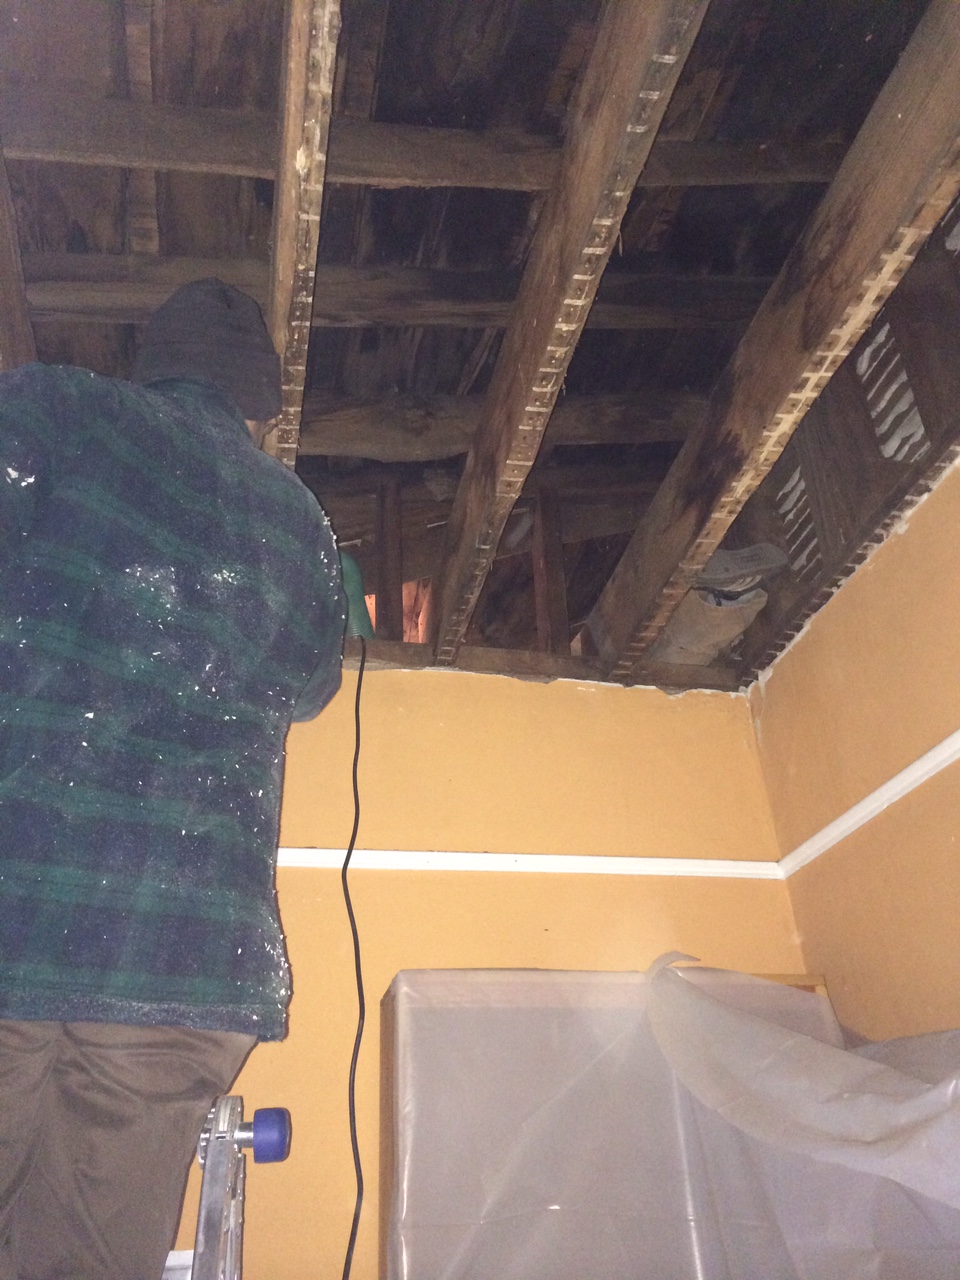
The process its self was pretty simple: climb into the ceiling, keep crawling until you can't go any further, while dragging a hose and balancing on the beam edges, don't impale yourself on a nail, yell as loud as you can to communicate (helps to remember to turn music off downstairs first) and then try to evenly distribute the cellulose to get a nice thick layer.

If you are lucky, you will make interesting discoveries, like this big hole (usable space) running next to a chimney, if you are luckier, you wont drop your only flashlight down it.
 

And there is a strong likelihood you will end up with some variation of this look at the end of the day:
 

Future TV Room Demolition

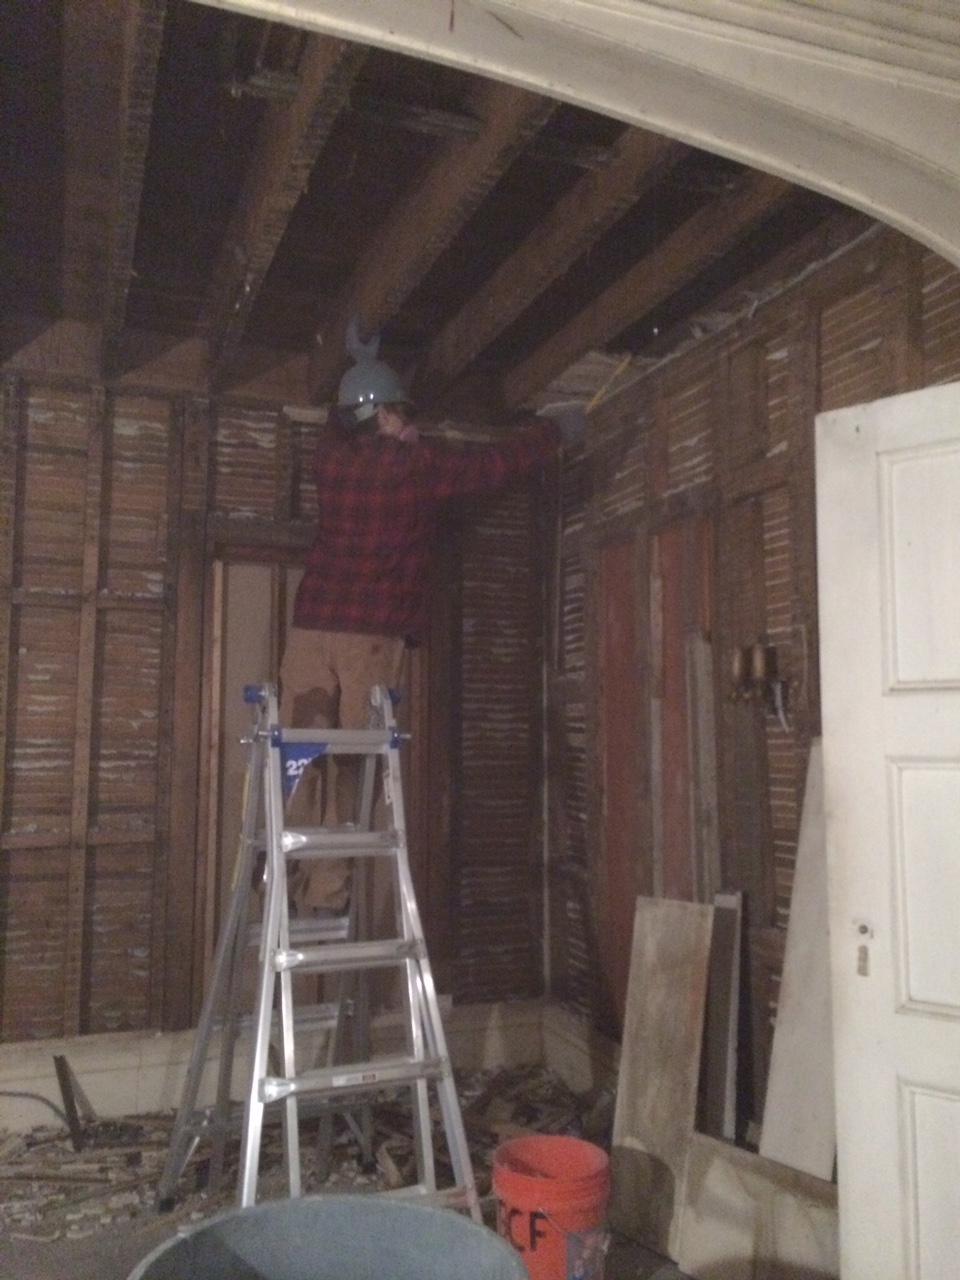
Removing plaster and lath is fun, oh so much fun. The future TV room has not been used in a decade by our best estimate. Unlike the rest of the house the floors still sport a thick coat of paint and the walls are done in a very thick layer of a color that has not been in vogue during our lifetimes. The demolition is pretty straightforward, break, pull, break, pull, clean up, start again. Despite respirators being a real annoyance we found that when dealing with plaster dust they really are a must use item. Also, don't be fooled into thinking that all crowbars are the same, we used three different styles on this room and each had a particular place to shine (a cat's paw is indispensable for the removal of little stuff around the edges).
 

Every room has its surprises and this one was no different. We found two old chimney thimbles that have not been in use in decades, a galvanized metal duct which does not go anywhere and was apparently never attached to anything, many chipmunk nests, clapboard siding which marks the west wall as having been exterior at some point and a door that used to go to the hidden room. Before we can close the walls back up we need to address the plumbing to the pink bathroom above, duct work to provide heat to the upstairs north east bedroom, wiring to that same bedroom and insulation to the space above Ermela's room which is accessible via a small crawl space near the chimney. We also need to set this room up for TV use which means sound insulation and special wiring for speakers and electronics....so though it is gutted, it will be a while before we can put it back together and start enjoying it.
 

Range in the Home

It was briefly mentioned at some point, but to reiterate, the kitchen is going to be a commercial style kitchen with a slight French country influence. Those are broad terms intentionally as we are still trying to figure out what the plan is. One thing is for sure though, the kitchen has to, MUST, have a big range, one of those commercial looking suckers that evokes endless culinary possibilities. At first we looked at true commercial ranges, but it turns out those are built without insulation and as a result are considered a fire hazard in residential spaces that lack fire suppression systems and large clearances. That was a bummer to learn because deals can be found on commercial equipment, but less so on Viking, Wolf etc... At first we reconciled ourselves to a 36" range, but it never felt right so we kept looking and as luck would have it we stumbled across just the thing at Build it Green in Brooklyn.  
 

A new to us 48" stainless, six star burner, grill, double convection oven Garland range. This is a true workhorse, the one true desire of many a professional chef out there. They only made the residential insulated version for a few years but they were built like tanks. In this shot Ermela has just started cleaning it up and the burners are not in. We also lucked out in getting a killer deal on a Gaggenau 48" hood and a Thermador warming drawer. Oh the feasts that will be prepared.......... 
 

Xmas Tree Time

We love christmas trees, they are fun, decorative, seasonal, and due to our confused upbringings, they posses absolutely zero religious connotations. We (the Spearman side) are used to going out and cutting down a tree, but this was a completely unknown tradition to the Kaferi side of the household so we jumped at the opportunity when mom found a local tree farm. Expecting something further afield, ala the Maine experience, we may have over prepared dress wise, but all the more fun. Conklin's Tree Farm is small by New England standards but the trees were beautiful, great shape, very healthy, and obviously loved.
 

There is a great video of the ladies cutting the tree down over on the Instagram feed page. Once we got the tree home we continued demolishing the future TV room until nightfall then we grabbed the eggnog, brandy and cookies and commenced cursing at the tree stand. That is around the time we realized that we couldn't find our ornaments. A little improvising and we ended up with this:
 

Have to say, it's a good lookin' tree!
 

Kitchen Planning

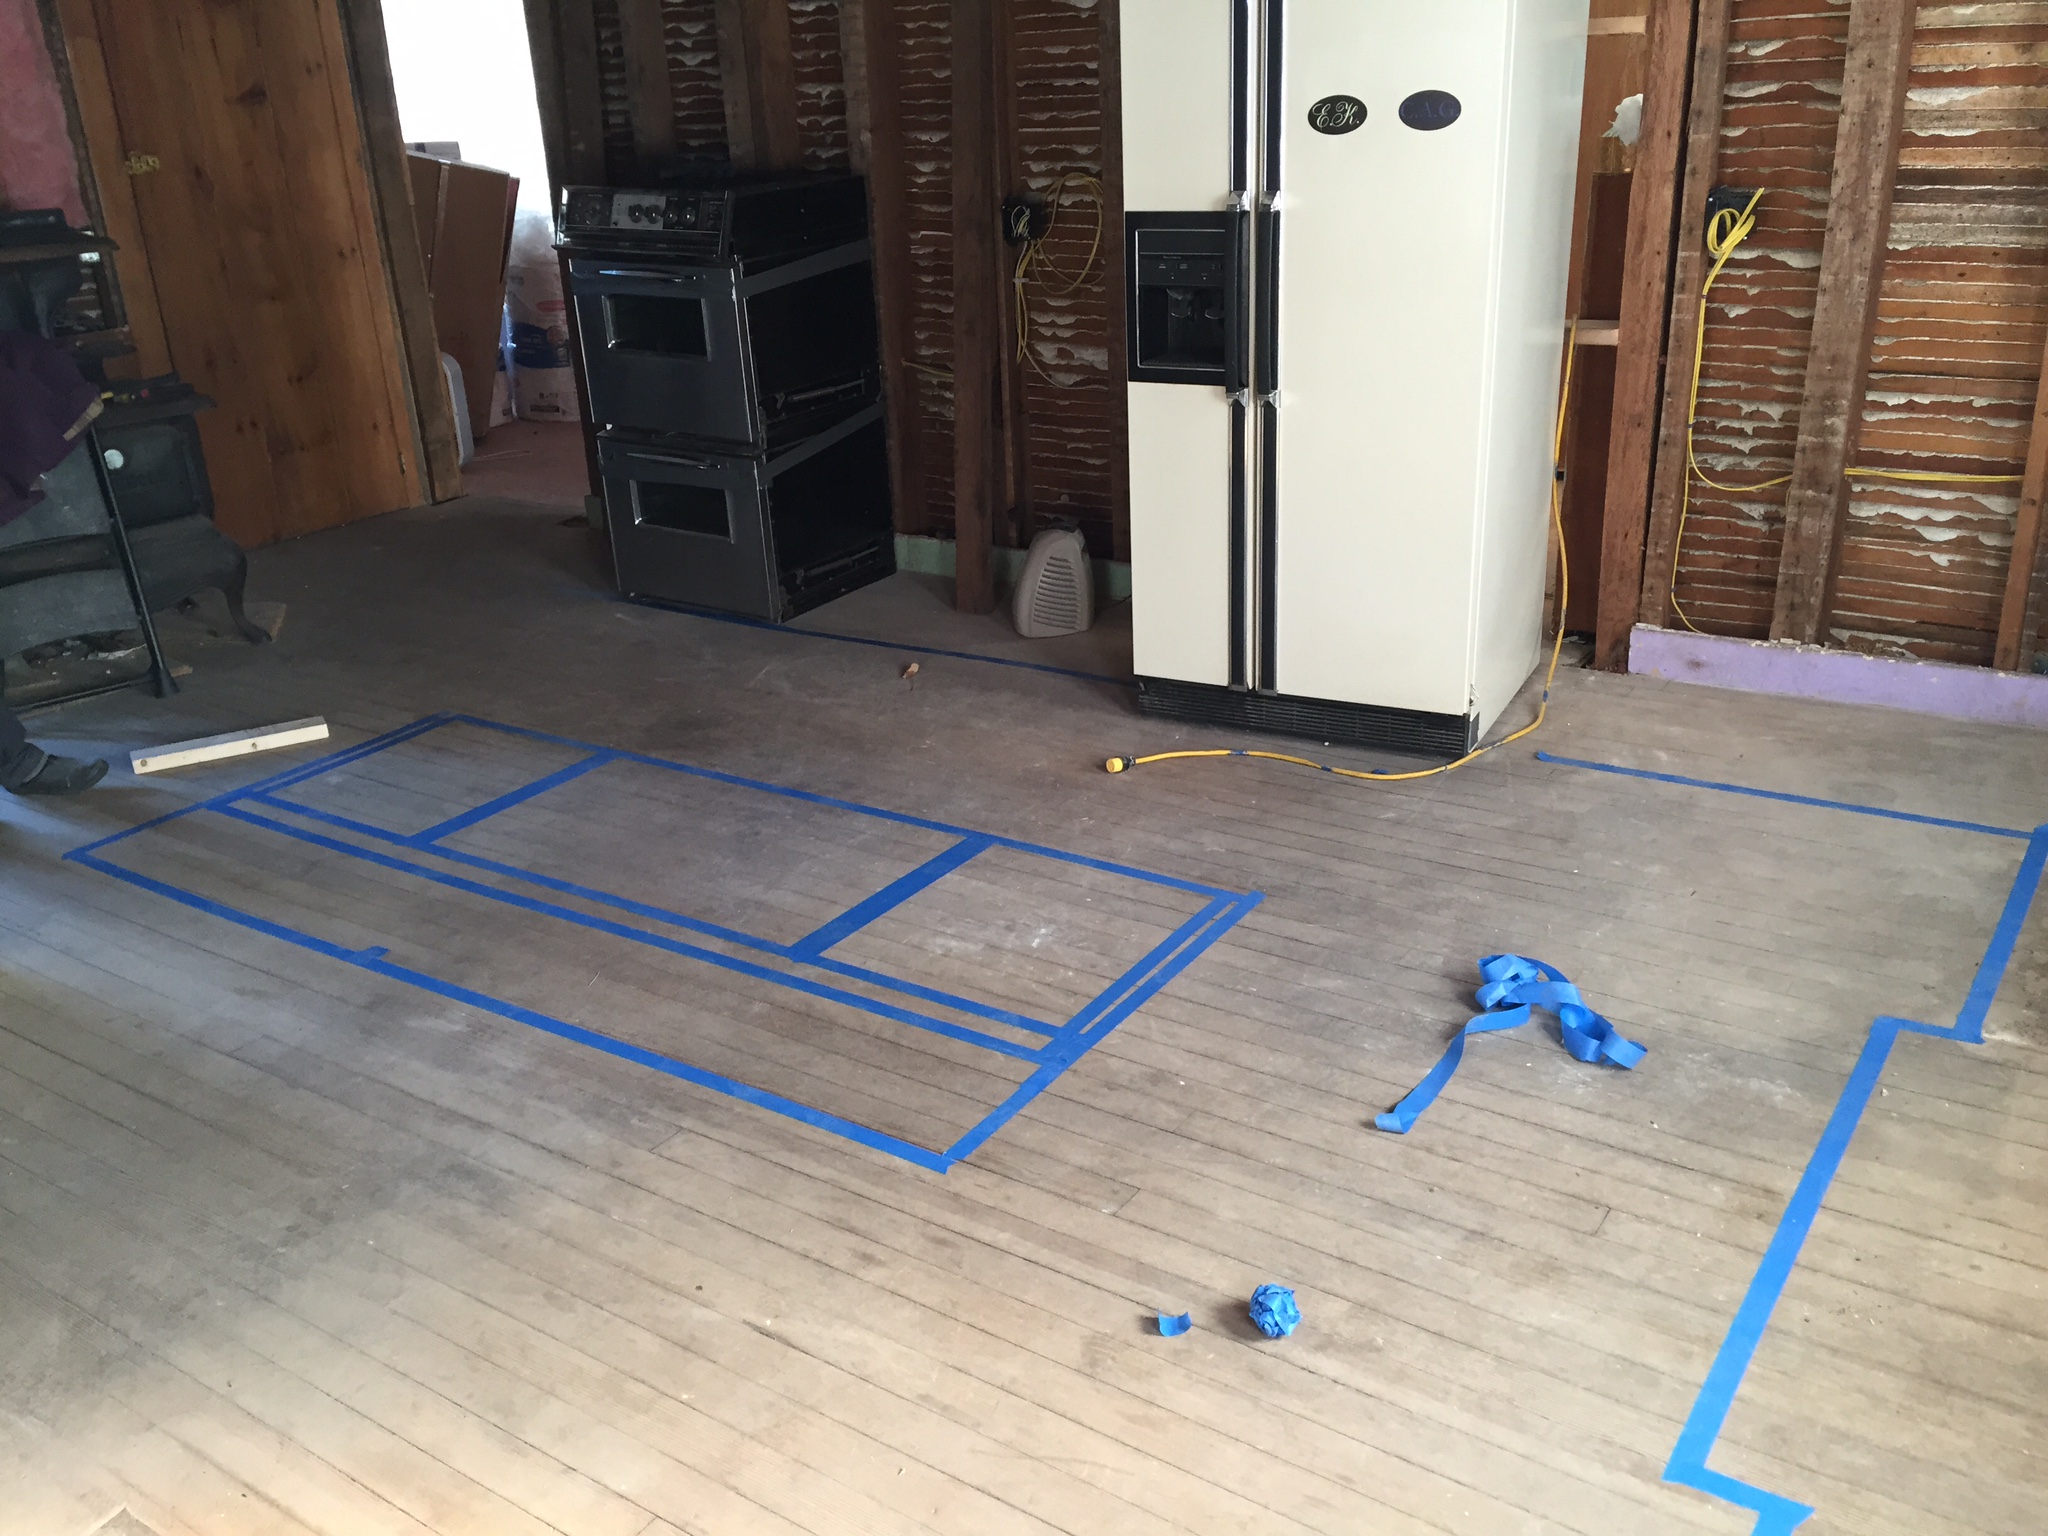
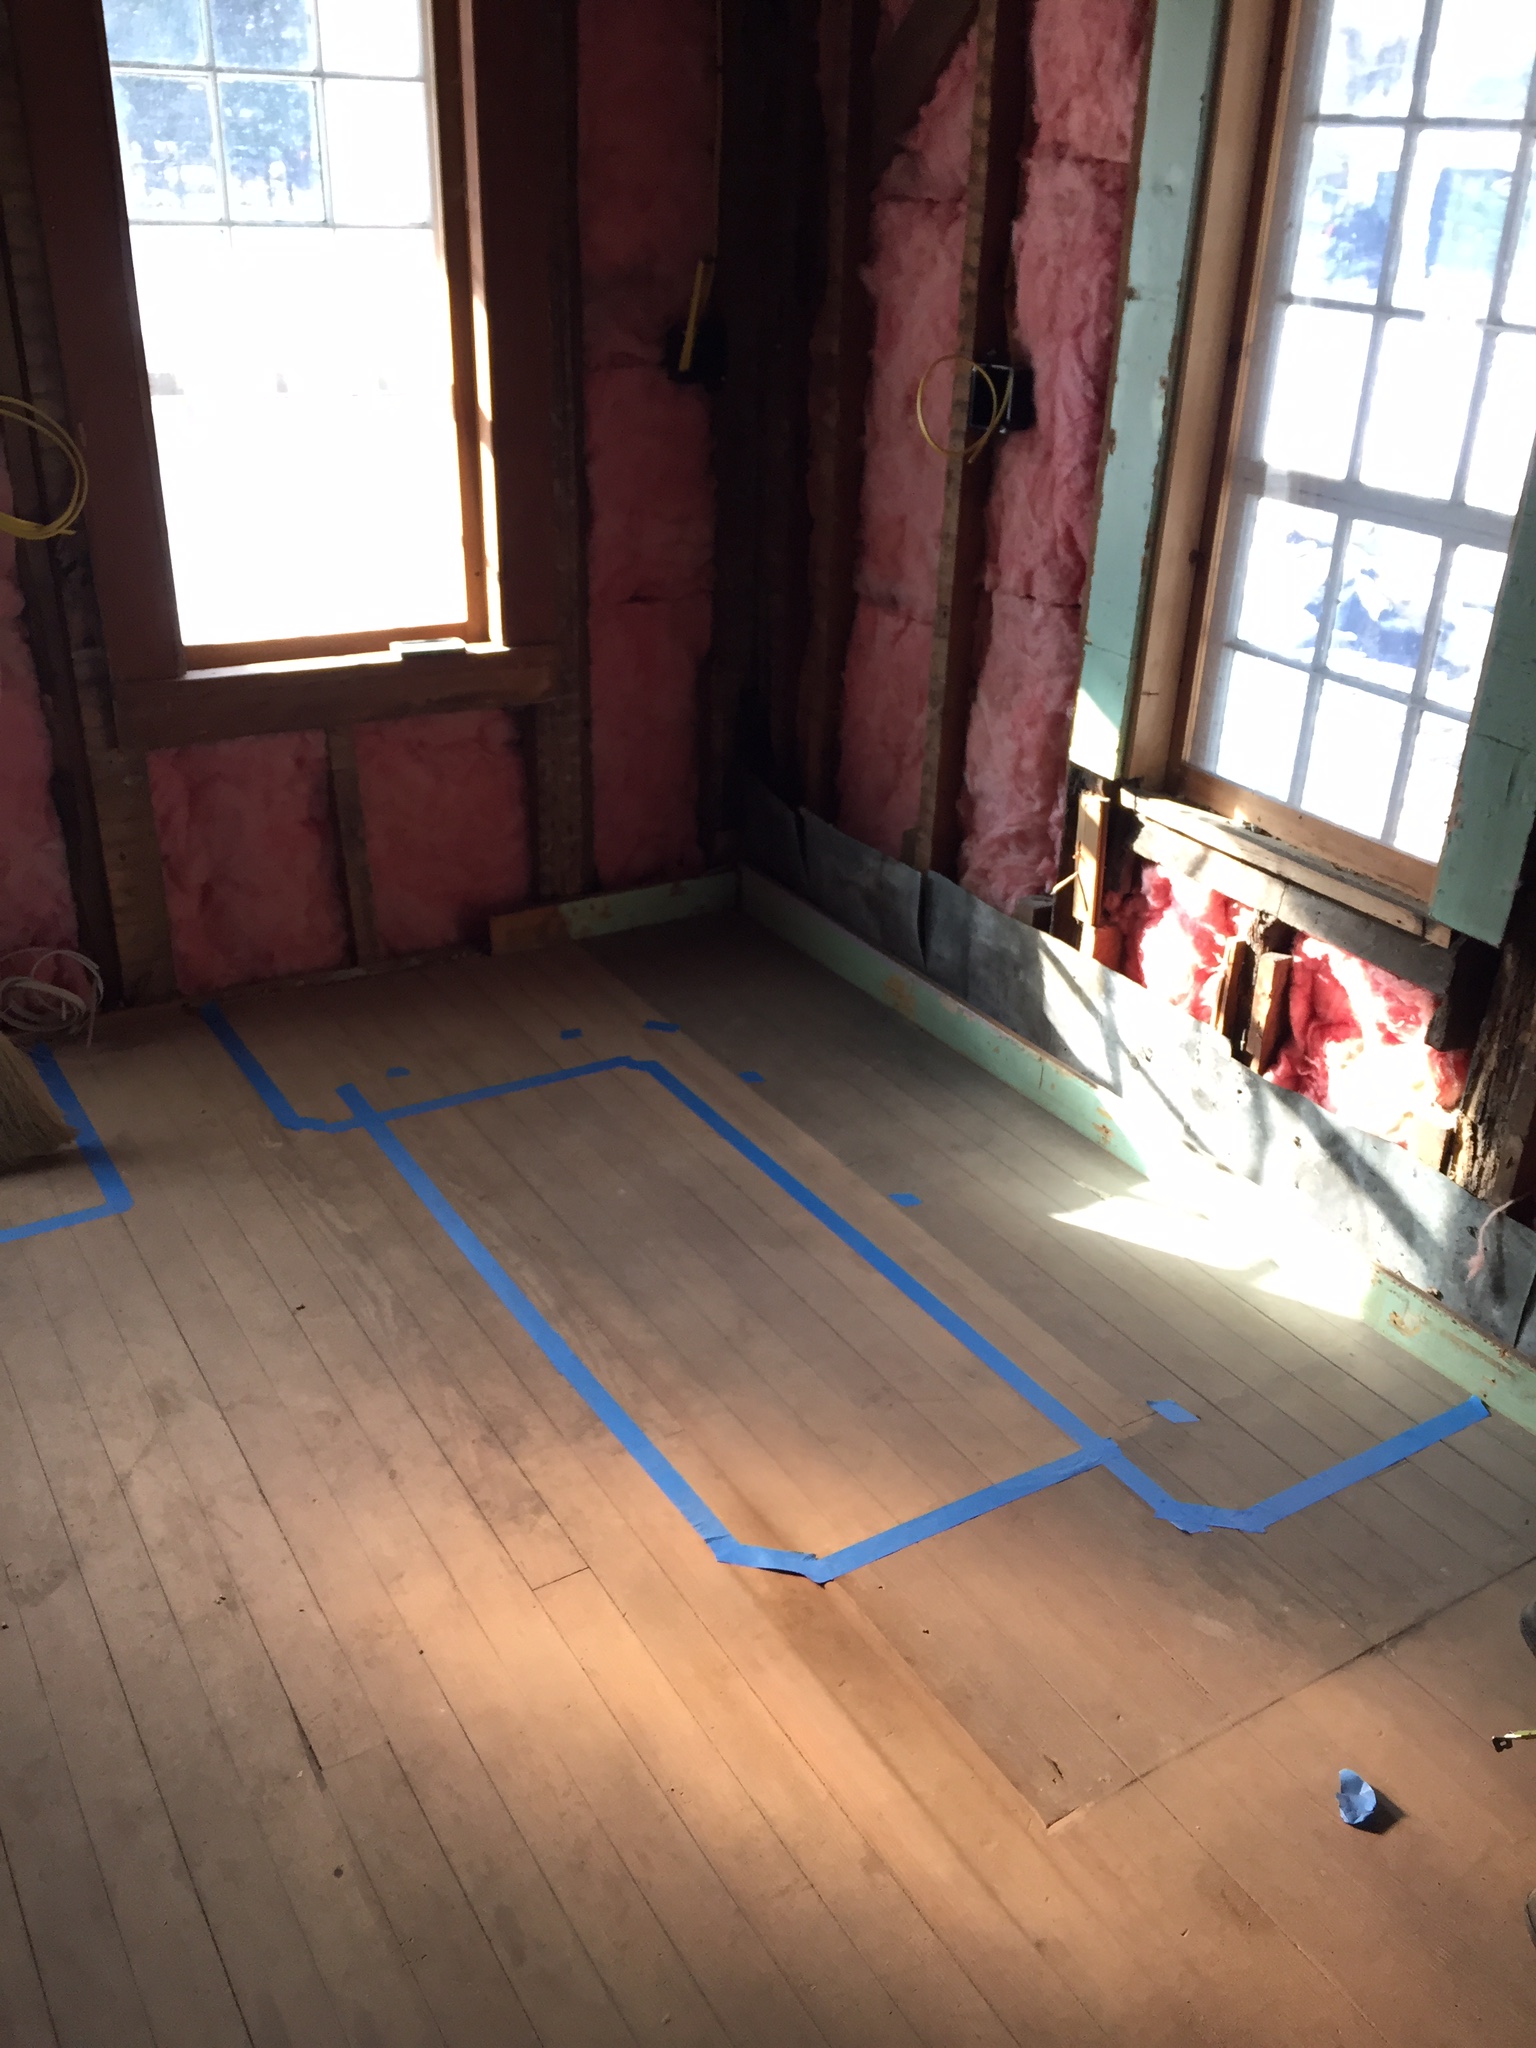
With the kitchen gutted we finally got to transpose the paper layouts, hopes, dreams to the actual space. Blue painter's tape is the weapon of choice for this type of work. We debated, we argued, we fought and at the end of the day we came up with a pretty killer plan; right down to a banquette. 

Now that all the dreams are in place we have to figure out how to implement them. The kitchen is going to be in a commercial style with stainless work tables for counters and subway tile clad walls. Probably some fun stenciling on the floors but we haven't set that in stone yet. 

Snow Falling on Shingles

With winter coming on strong and the oil tank gauge showing lower and lower levels we have gone into insulation mode. EVERYTHING is viewed through the lens of "will this reduce heat loss?" "will this "adversely effect the structure?" "will this make us more comfortable?" The answer to most of these questions is to mindfully insulate. That doesn't mean go wild stuffing rafters full and blowing expanding foam into every hole…insulation is something that must be approached as a science. The risk of doing it wrong is all to often the slow accumulation of moisture in places impossible to see with rot to follow. Attics in particular are tricky because they are where all the accumulated humidity from showers, kitchens and respiration end up. If you pack the rafters full and then seal them what often ends up happening is moisture collecting under the roof sheathing with a whole lot of rot and a very expensive mess down the road. Their are two solutions to this. One is to leave the attic as unused space and ventilate it (old houses did not have to deal with it because they were so drafty that humidity rarely built up) the other option is to put in ventilation channels right against the bottom of the roof sheathing to allow the air to move under the insulation. Our favorite option for this is a product from Owens Corning called Raft-R-Mates. They are easy to staple up, cut and combine for custom lengths. 
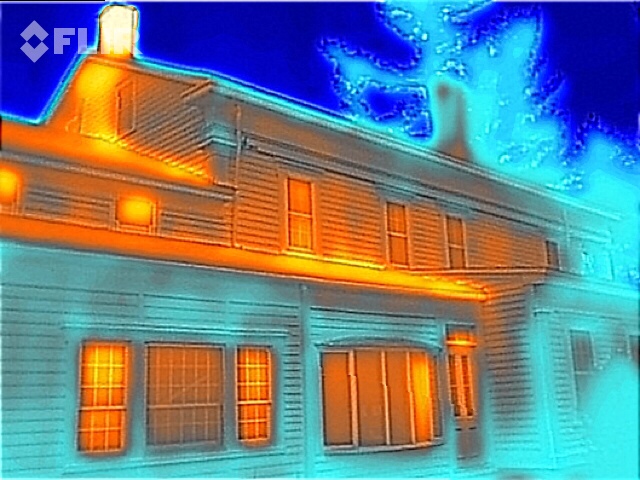
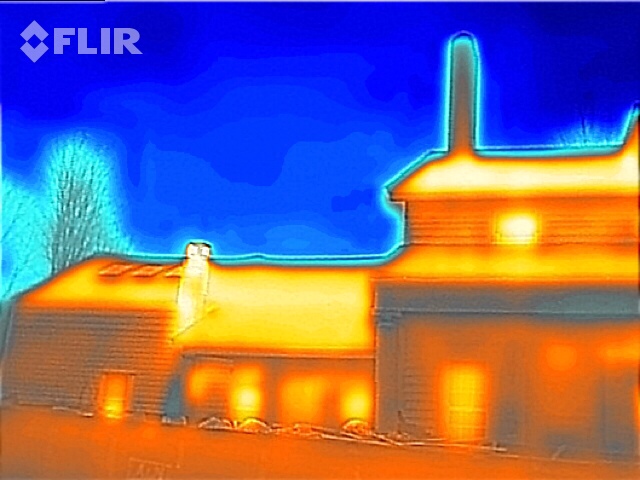
Here they are in the middle attic, a much smaller project than the big attic which required about 170 sheets and over 1,500 staples.

With the air channels in we then had the complicated task of adding insulation. With new construction you simply purchase the insulation that matches the width of the rafters and either staple it in or use metal spring bars to hold it up. With a 300 year old farm house you don't have anything approaching modern spacing, the wood they were working with was much much stronger than modern options…. so you get creative. We opted to take tyvek wrap staple it up and then stuff the insulation in. It worked, but is a very trying process. 

Now, normally with insulation you feel the results more than see them, but we had a pleasant surprise after a little snowstorm. 

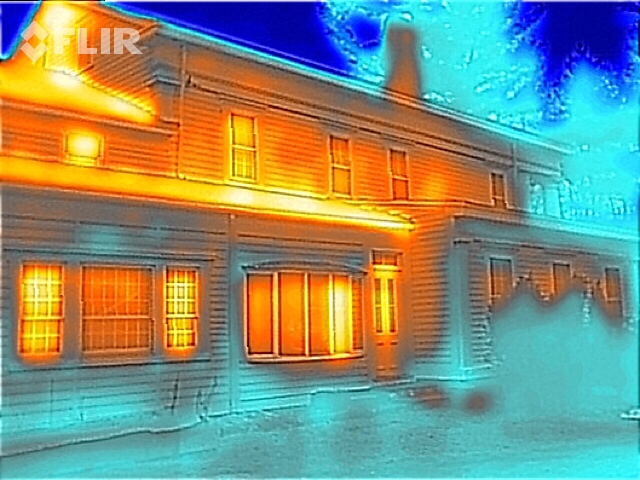
This is the view from the big attic looking west over the older portion of the house. That patch of snow on the north side is proof that the insulation works….we only did that portion of the north side before the health of our marriage vs. tyvek alignment became a consideration. Essentially what you are seeing is the insulation protecting the snow on the roof from the heat radiating from the house..that oh so expensive heat. Pretty nifty huh??

Solarium Ties

So the oldest portion of our personal Xanadu is slated to become a solarium like space with exposed beams, double height cathedral ceilings and lots of light. Upon closer inspection it became obvious that our future solarium was mimicking a somewhat inebriated lean, the architectural equivalent of hanging loose. At some point many years past when they installed the North facing dormer they did so by just cutting through the center rafter, lacking the parallel pressures to hold things in line our walls have started to push out. Not a huge amount, but it's probably good that the chimneys are there to serve as a supportive friend. We had an engineer come in to review our plans and to determine if taking out the floor (not beams) would exacerbate the issue, and whether our plan to use steel turnbuckles to pull everything back true would work. To our surprise he said forget about pulling things back, it would probably cause more problems and that all we needed to so was add some braces up high to hold things together as they currently stand. So with that in mind we found some age appropriate lumber (since the ties will be exposed) and installed them up high.  
 

Here you can see Graham's favorite tool, the Bostitch framing nailer and a couple of the ties. We measured the angle of the roof and cut the ties to match. We use the framing nailer to tack them in place.
 

Once the ties were in place we drilled pilot holes and then really tied them all together using long screws. We opted to use screws instead of just nails since they will be able to grip better and we expect the roof will flex a bit over the years. The rafters are all tree trunks dating back to the 1700's, amazing how well they have held up. We would love to leave them exposed, the need to have insulation trumped aesthetics this time around.