New Old Floors
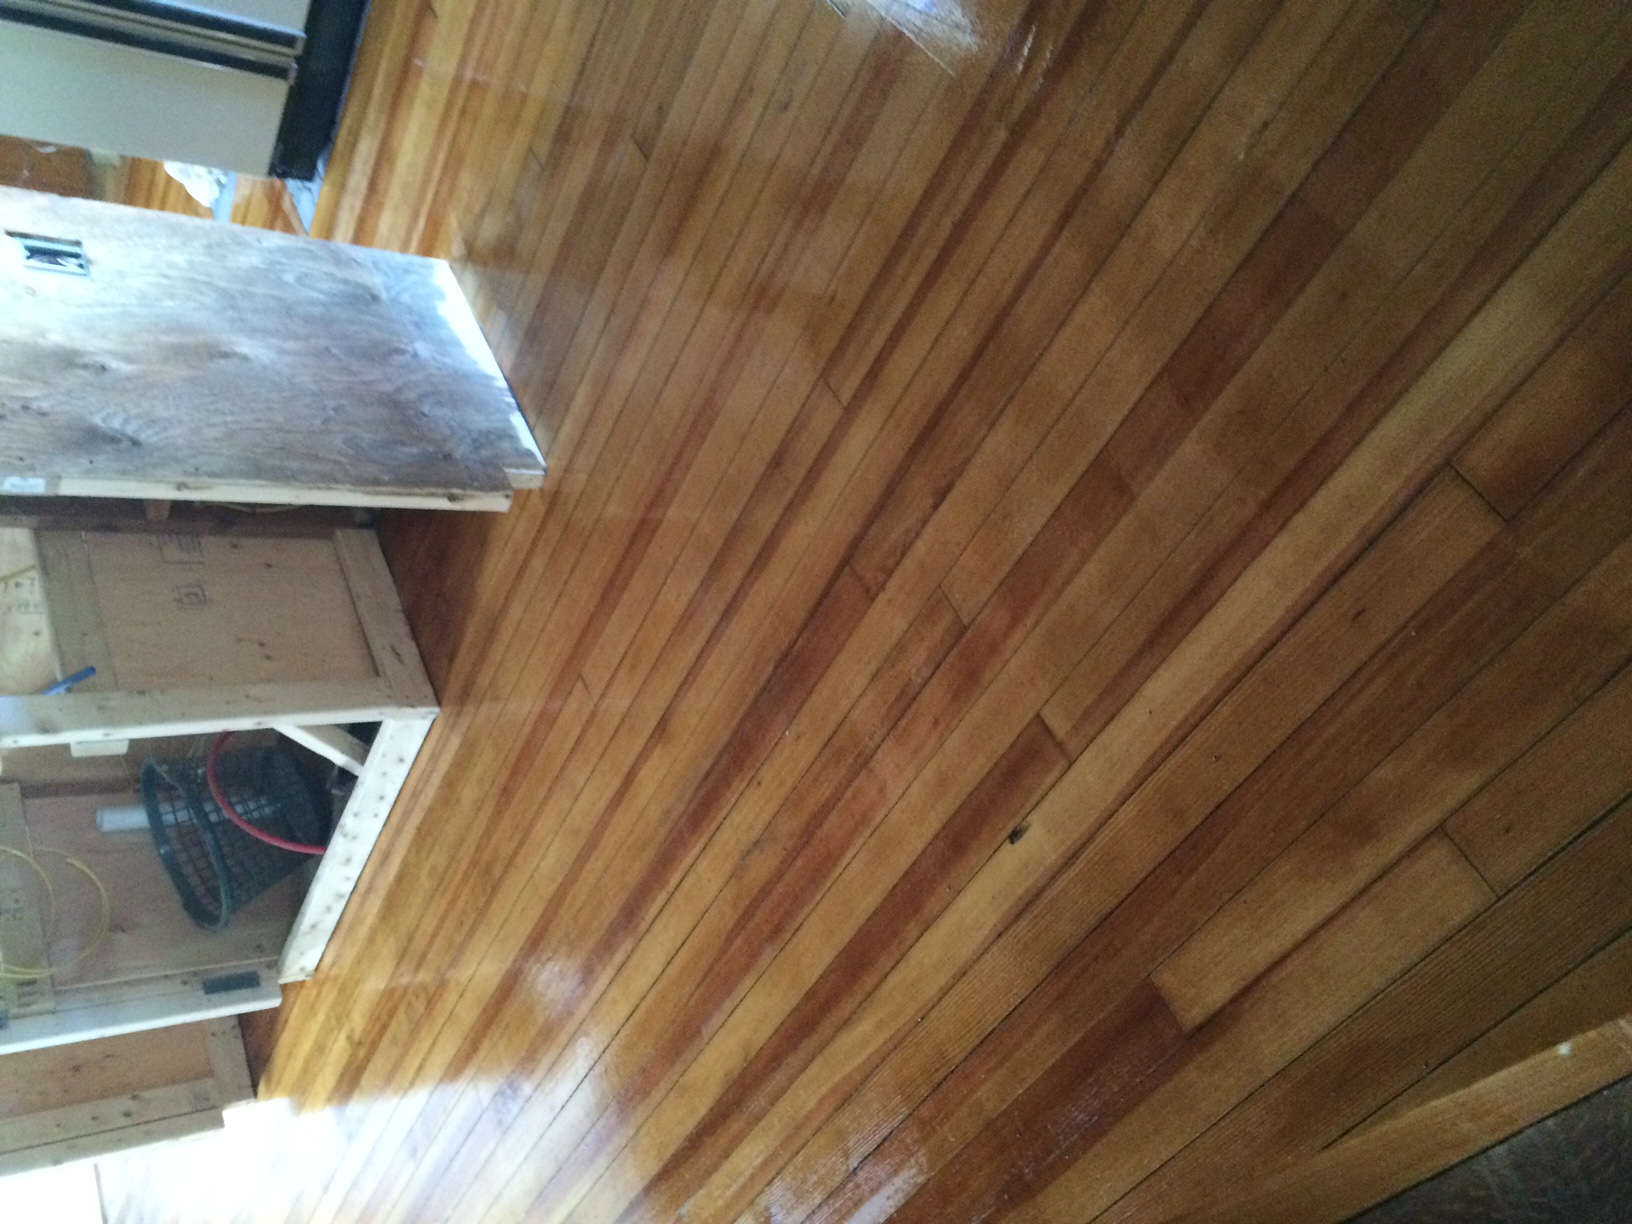
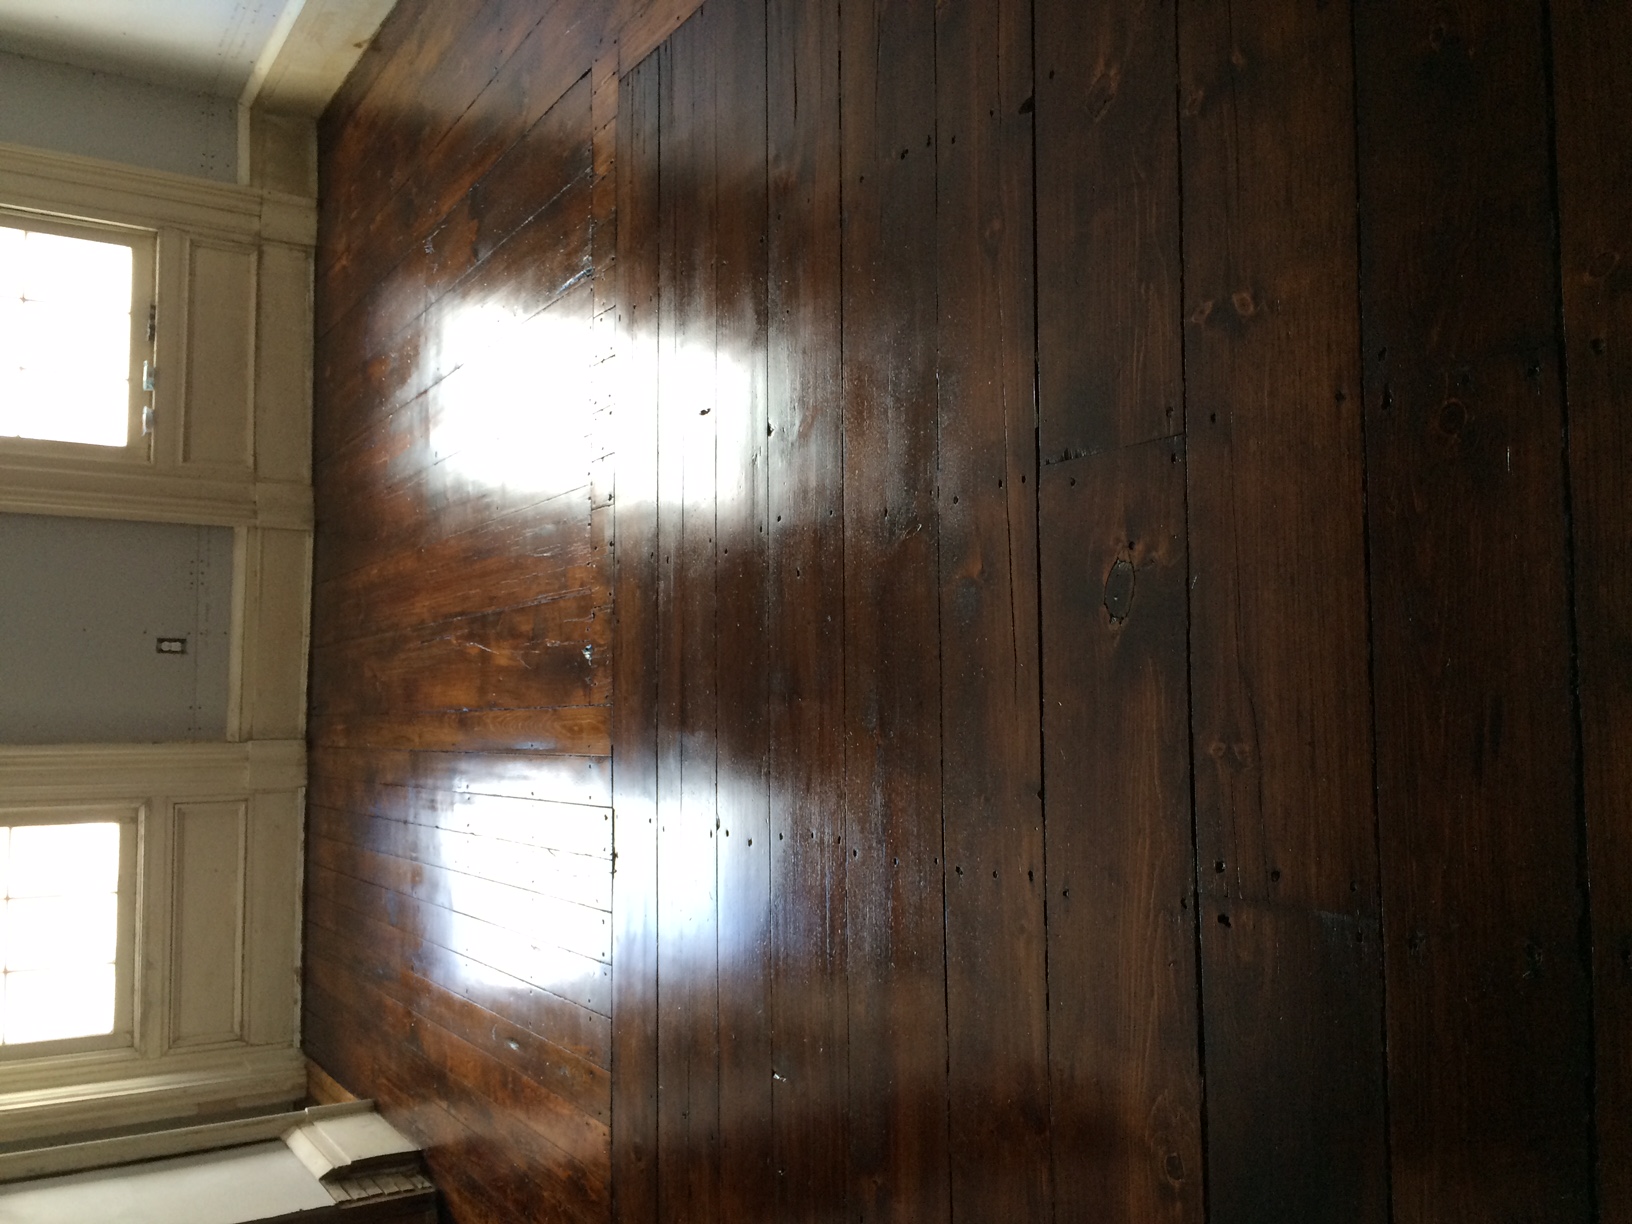
This house lacks for many things (a functioning shower comes to mind quickly) but one thing it does not lack for is copious amounts of very old wood flooring. For many of you that probably brings to mind images of wide plank boards with enough character that each plank could tell a story, and it's true, we have that. What we also have in a couple areas is vertical grain or "quarter sawn" heart pine flooring dating to the turn of the century. It is a much narrower plank, about 3" and so a very different look. We had high hopes for these floors, tempered by the fact that they have been heavily abused, stained, sanded, pummeled, dented, scraped, cut and painted….but they do tell stories. The TV room floor which does happen to be wide plank for the most part is a great example of story telling. If you walk into the room it looks just like that, a room. BUT, if you look at the flooring you will see a very clear history of the combination of two separate rooms and patching of what must have been plumbing holes in the smaller room. We went back and forth for months as to how to deal with them. Are they good enough to hand scrape? Do we have time to hand scrape? Is there enough to sand? Will we lose character? Should we just paint them? In the end the decision was to sand the floors in the kitchen (heart pine) and the TV room (wide plank old growth pine) and stain. We found a great local floor finisher who was reasonable and professional and who followed our request of "sanding without losing character", flawlessly. This sanding request is most evidenced by a step from the kitchen down to the pantry area, it has been worn down in the center by 100 years of use and he preserved that while bringing the grain back to life. With the floors sanded they looked 1000 times better than we expected, no, they aren't perfect, but they are exactly what we dared hope for. The heart pine turned out to have such beautiful natural color that we just sealed it and left it at that. The TV room floors would have also looked beautiful with a similar treatment but we wanted something dark and rich to go with the furnishings and rugs we have planned for that room. After much back and forth and custom stain attempts we ended up settling on a standard Minwax color, "Provencial" and then a satin topcoat for protection and sheen. The staining was arduous, first Carol and Semi (Ermela's mom) had to vacuum the entire room, then go over all the surfaces with tac cloths to make sure it was all clean as possible. Then they worked their way down the planks with one applying the stain and the other wiping it off with a rag. Because of the three different types/cuts of wood used in this one room they had to play with the application to wiping time for each one to keep the colors as consistent as possible. This is an example of when it is good to know what type of wood you are working with. The heart pine (yes there was some in this room used as a patch) being very dense and cut in a "quarter sawn" or rift cut was much less absorbent than the wide plank old growth pine which was plain sawn (the type of cut where you see more squiggles and patterns). Once the staining was done it was allowed to cure for a day and then the oil based satin top coat was applied. Normally we would use a two part water based sealer but we were not able to source it in the timeframe we were working with.

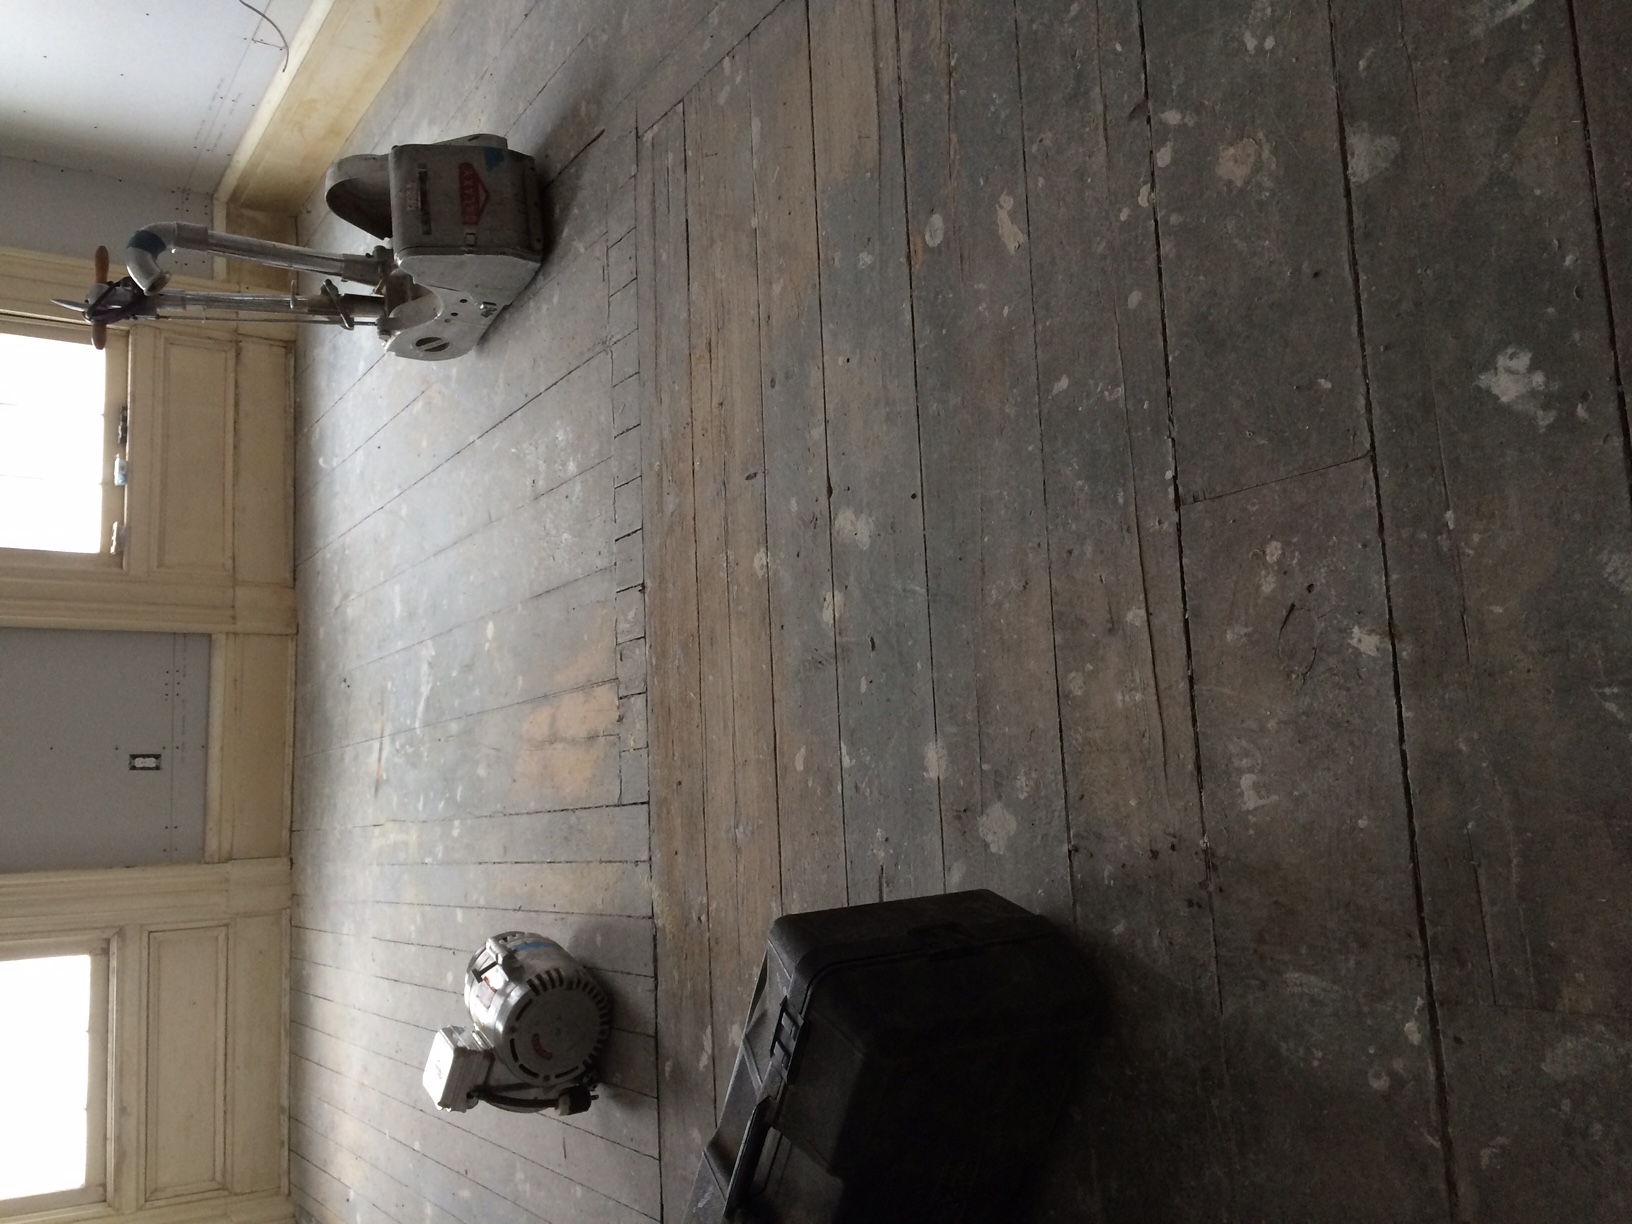
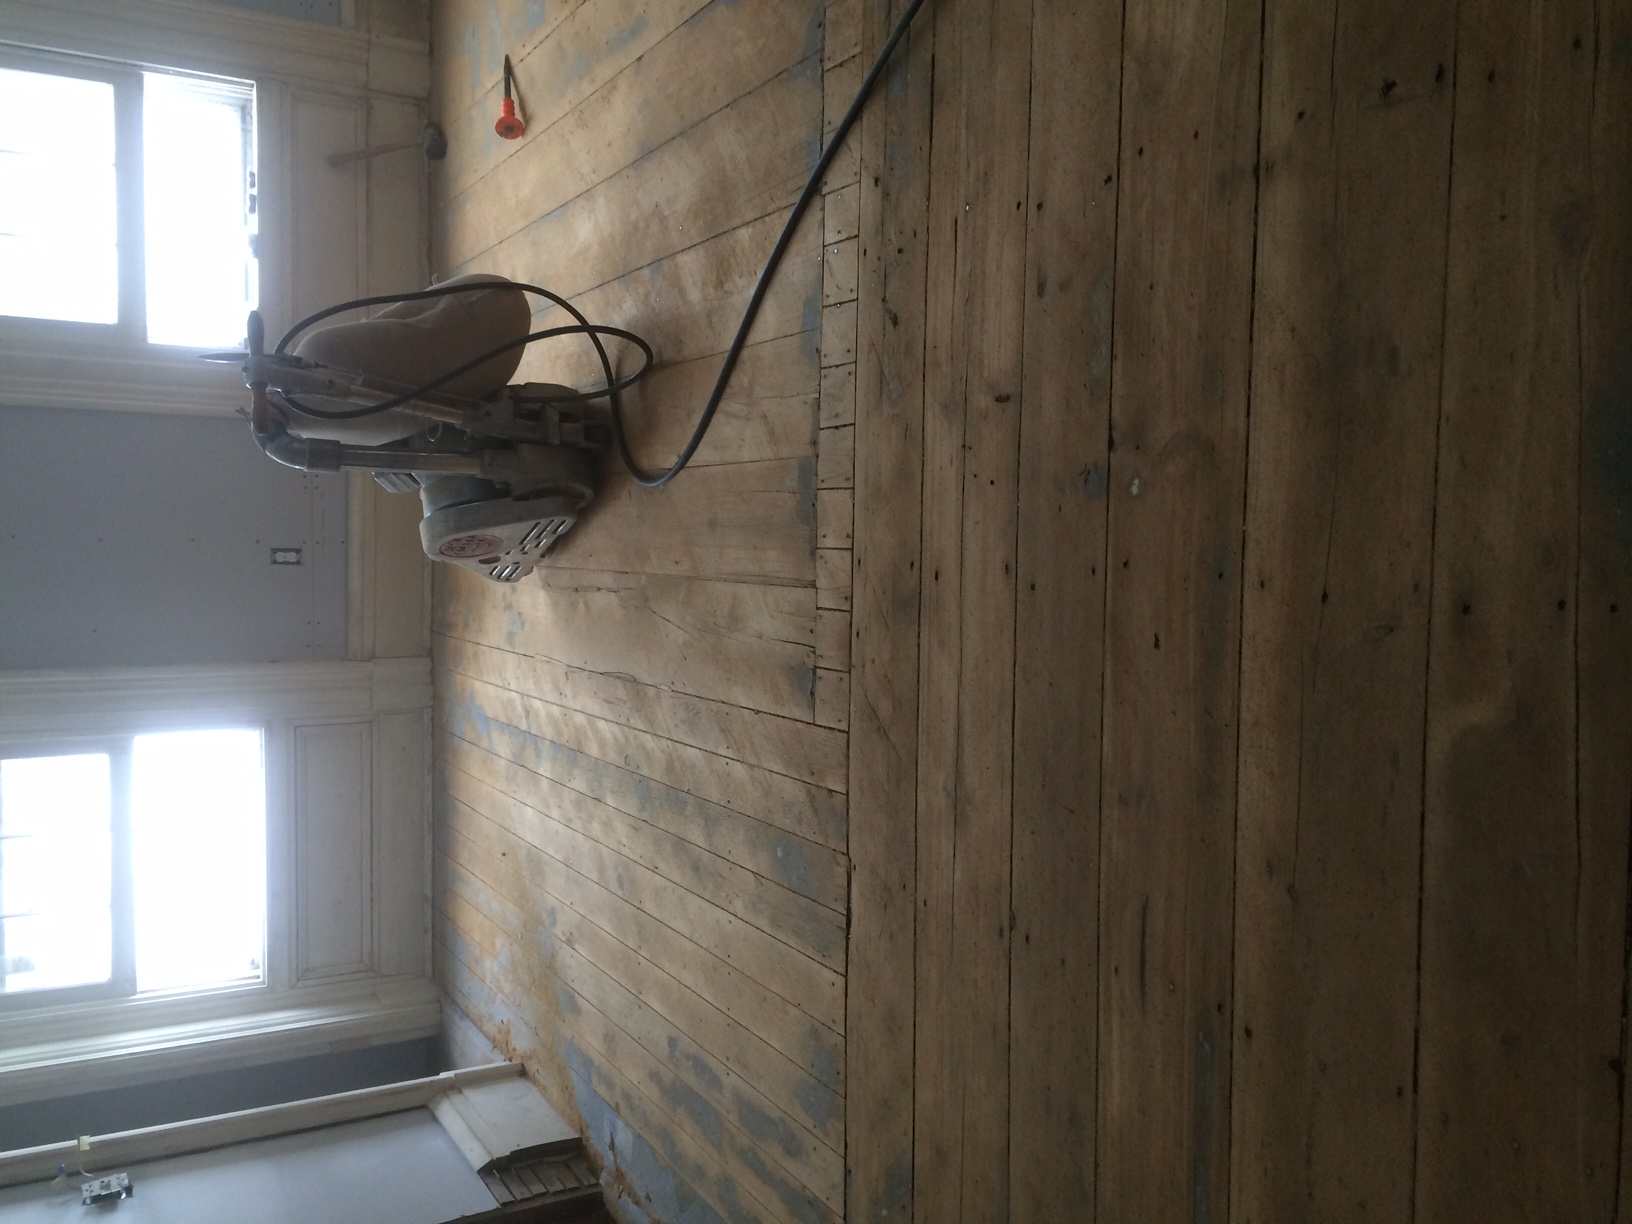
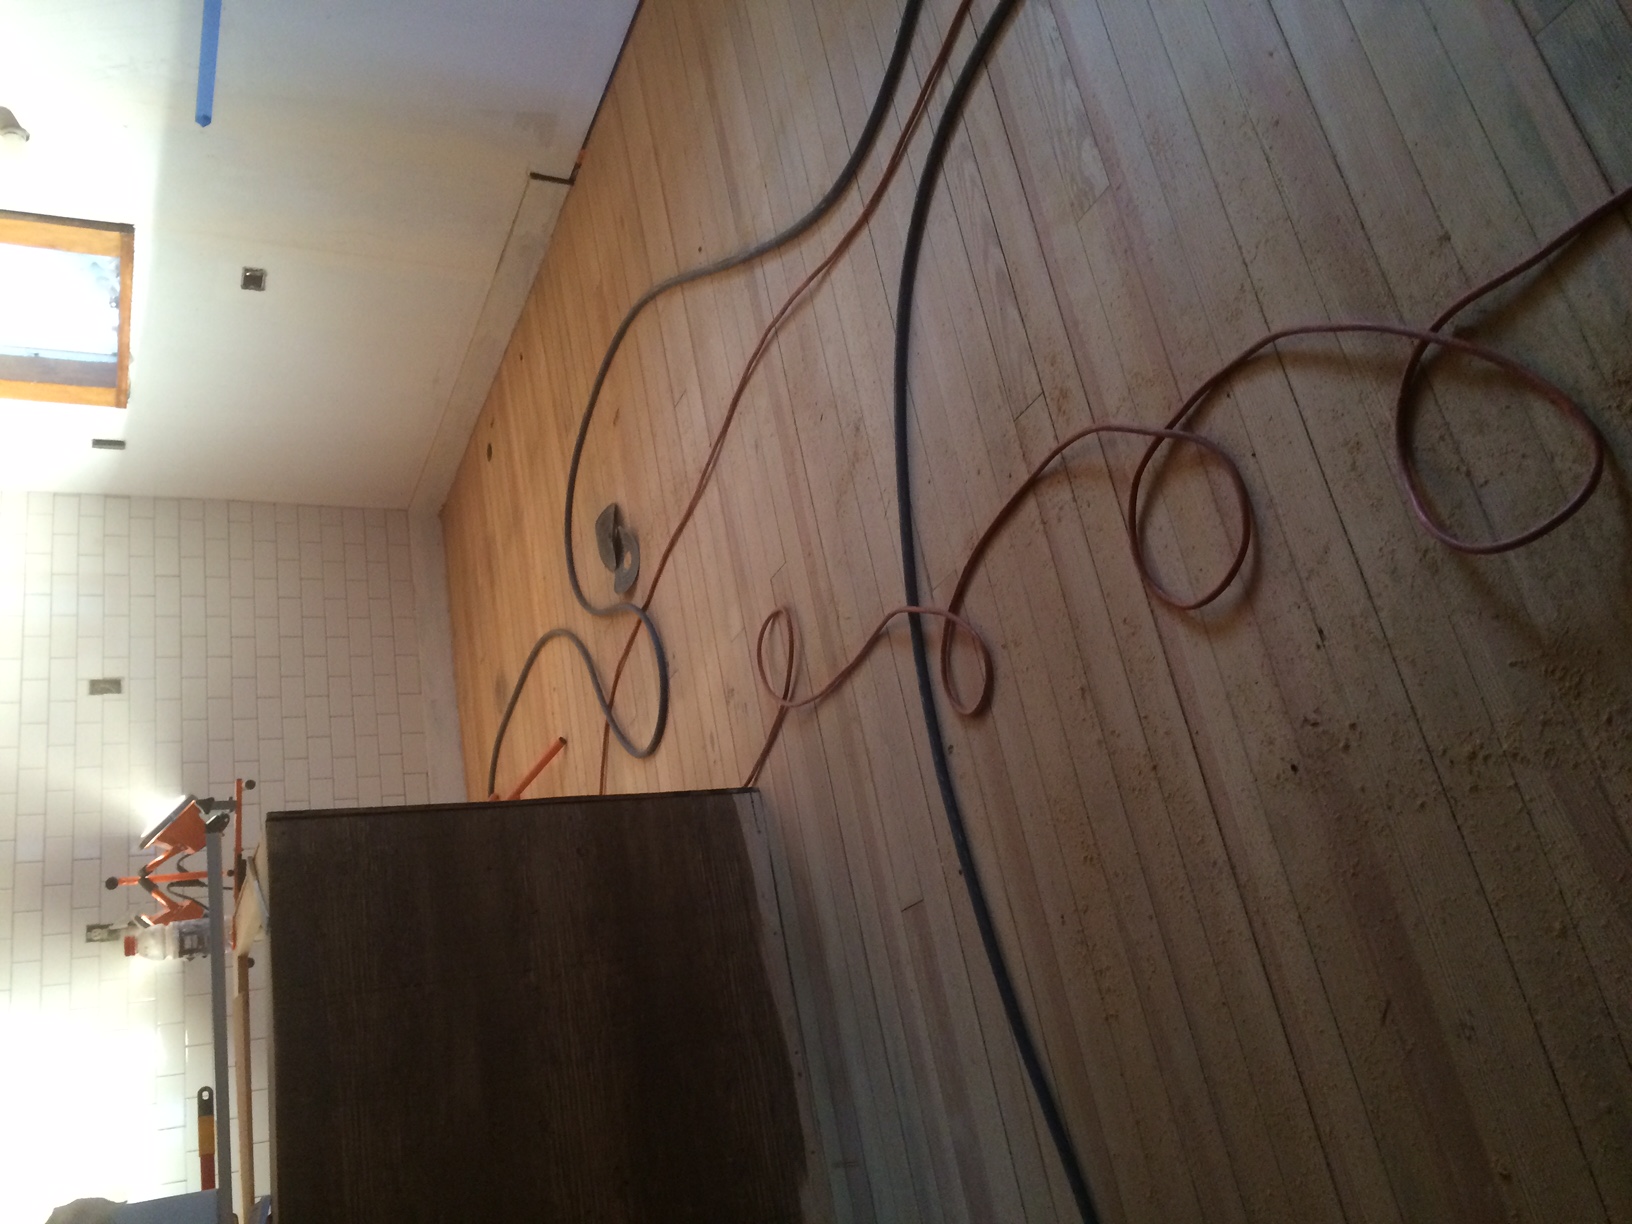


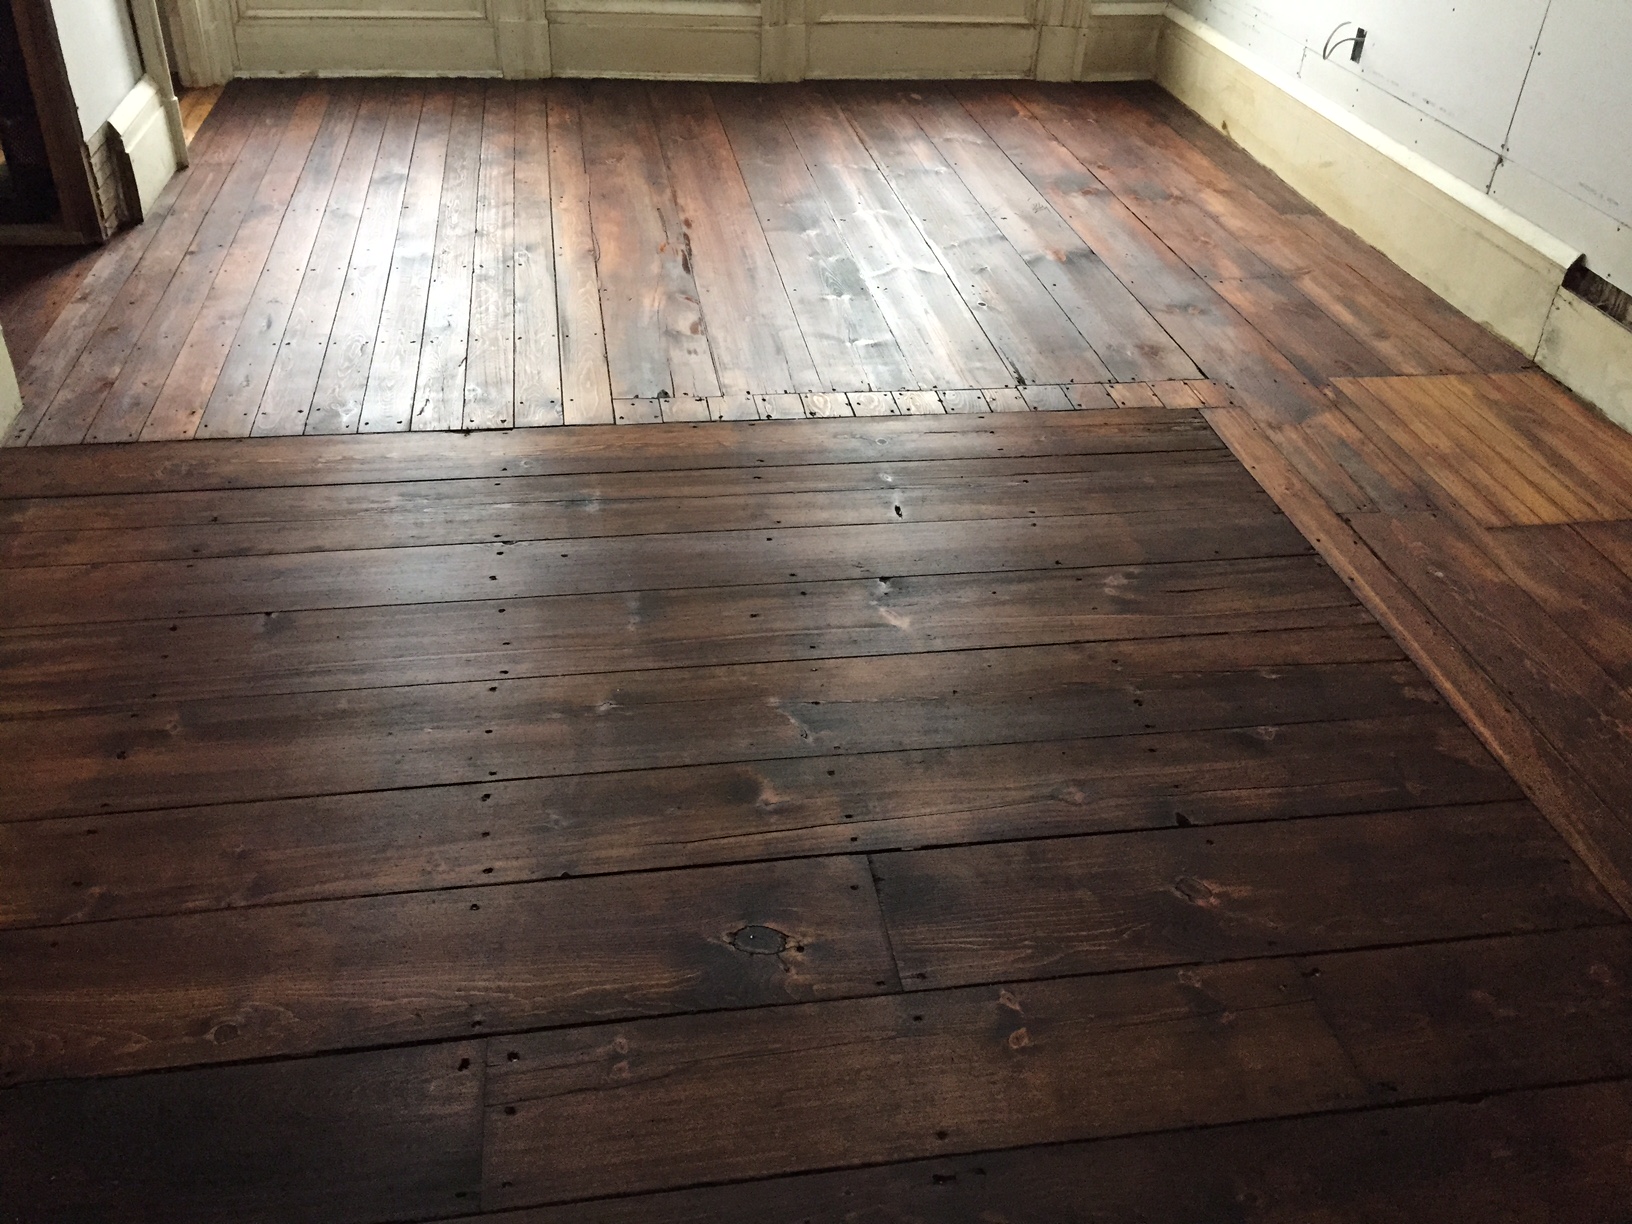

So, judge for yourself, what do you think of the end results?
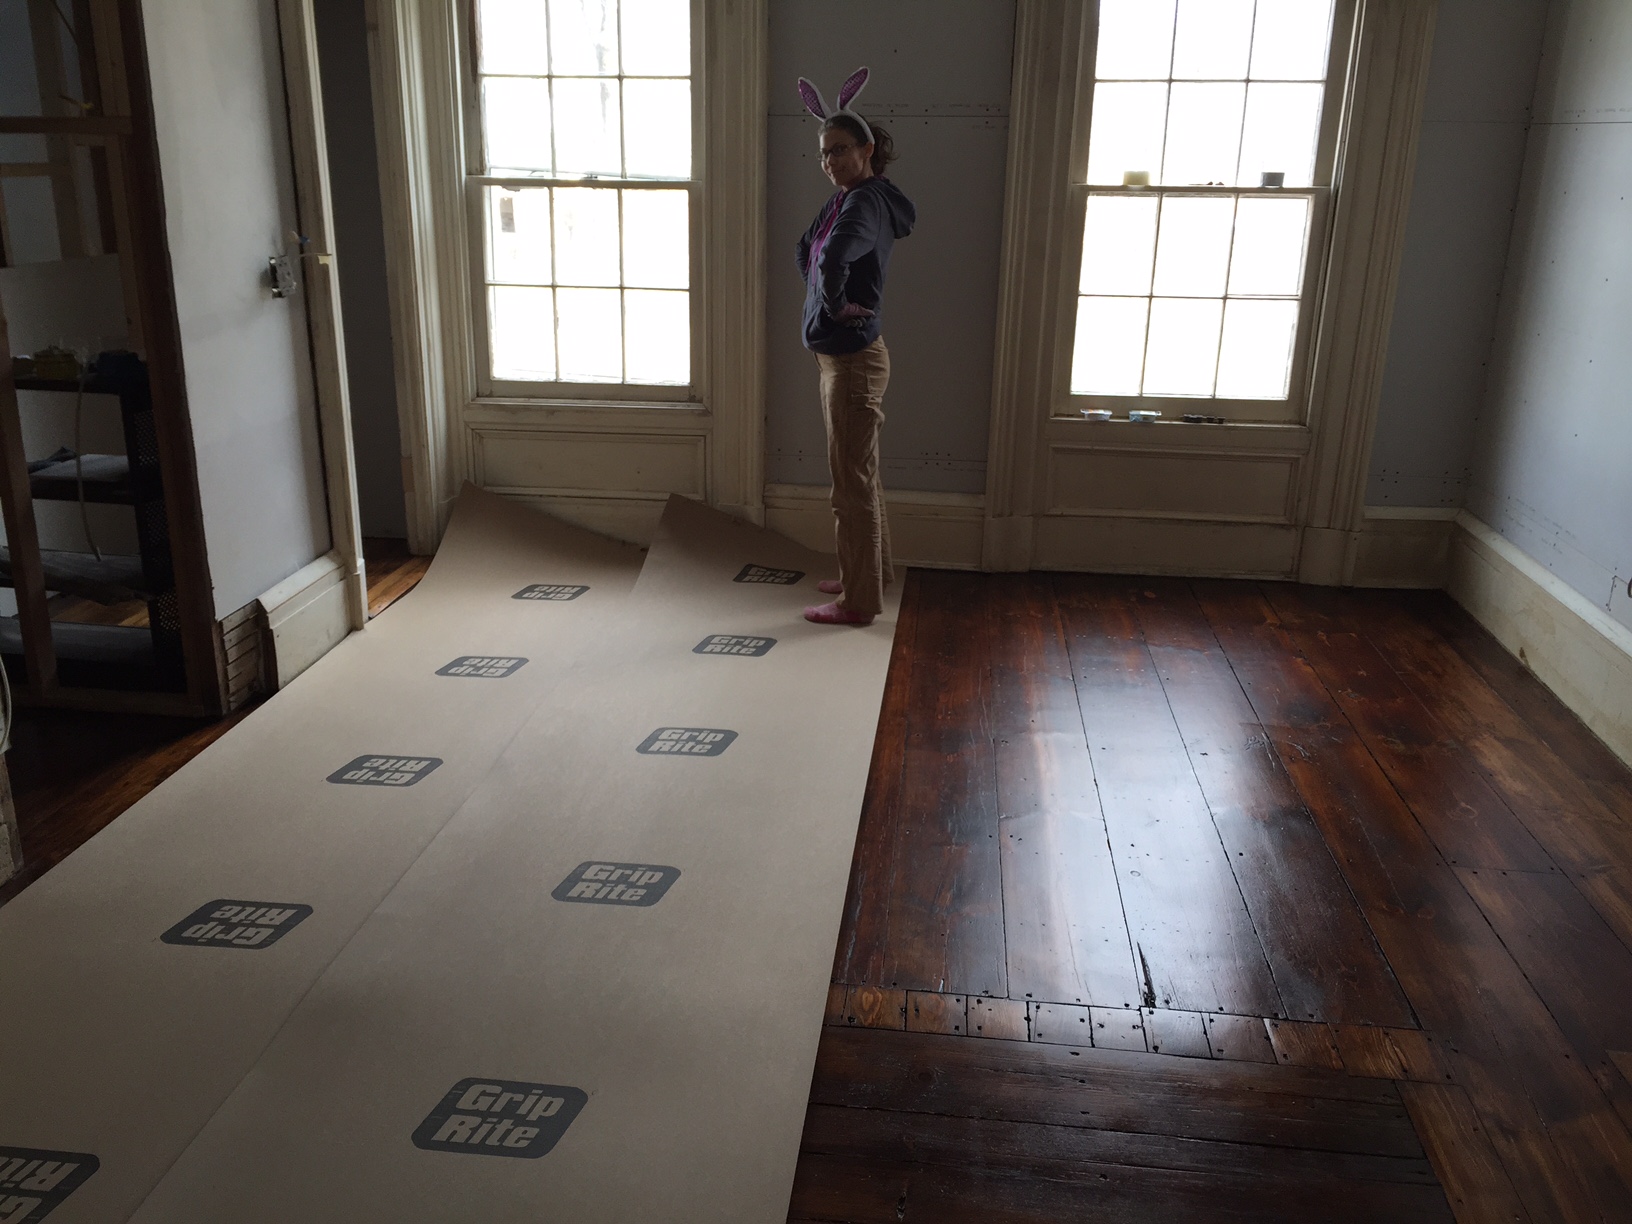
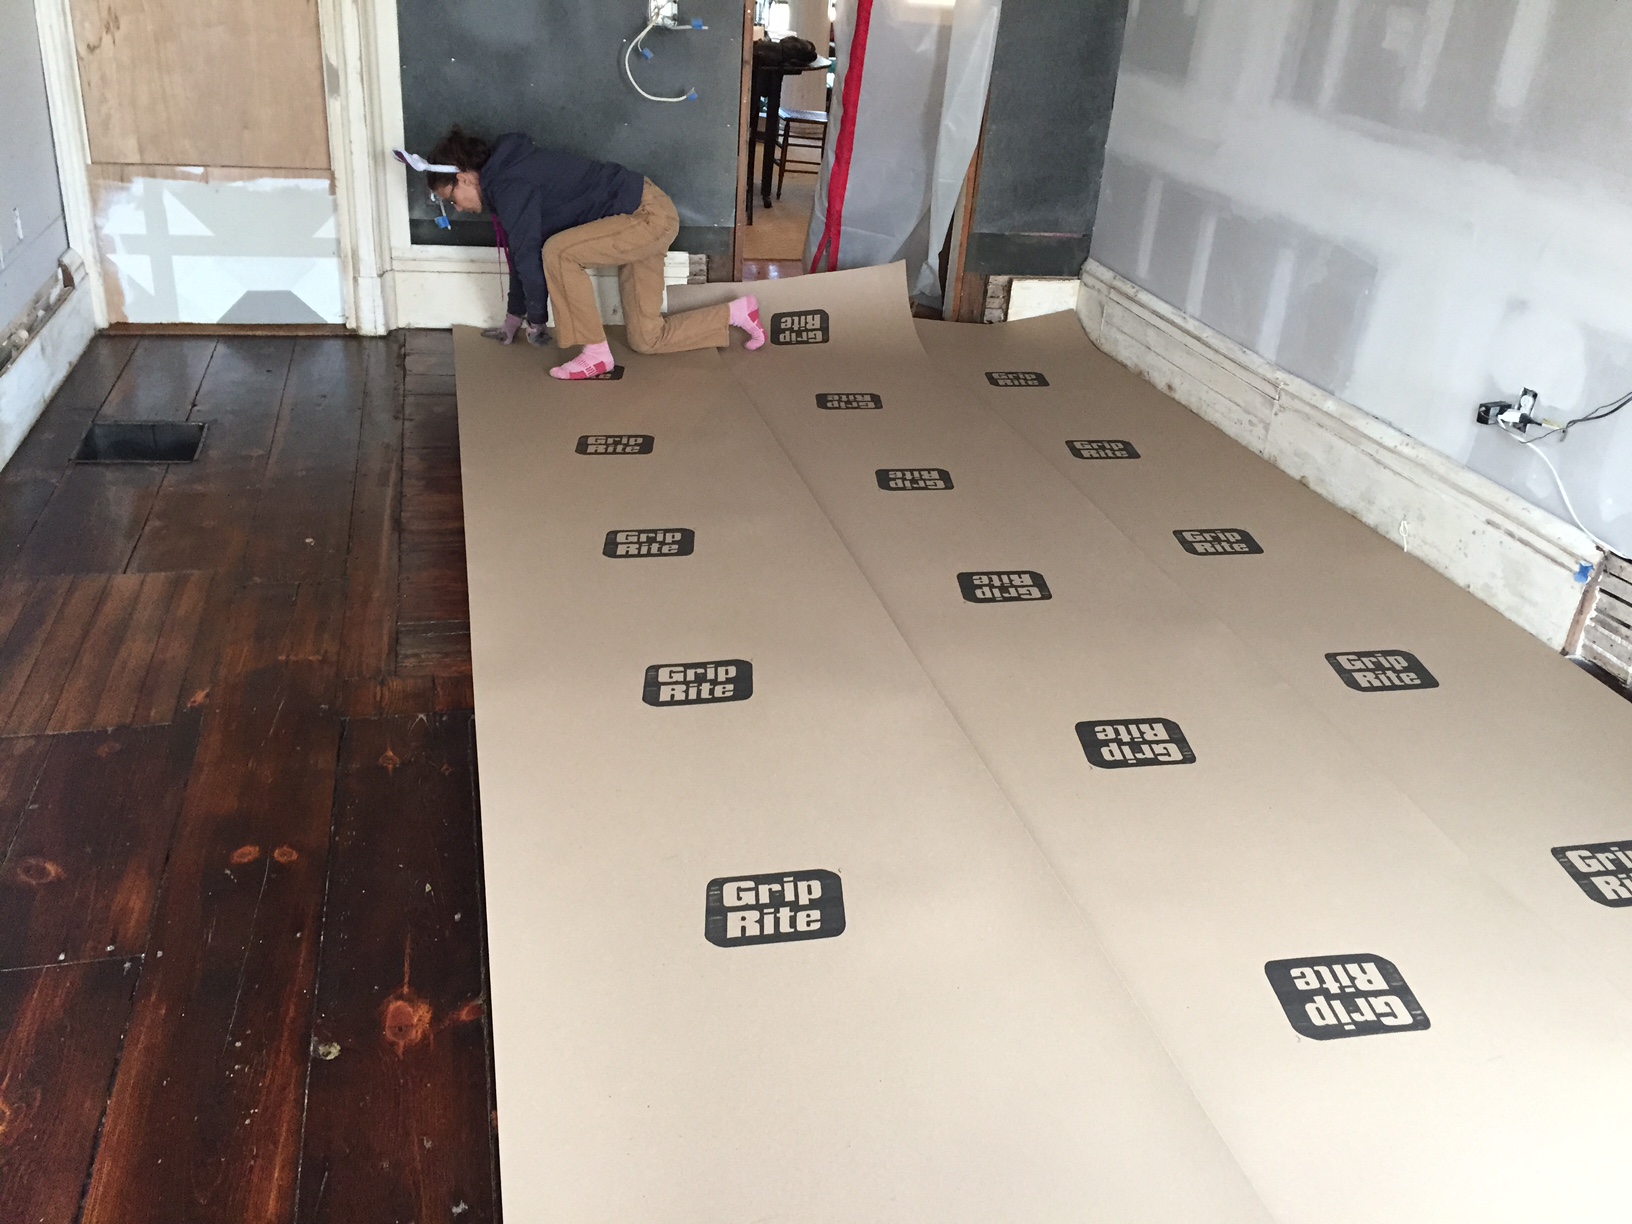
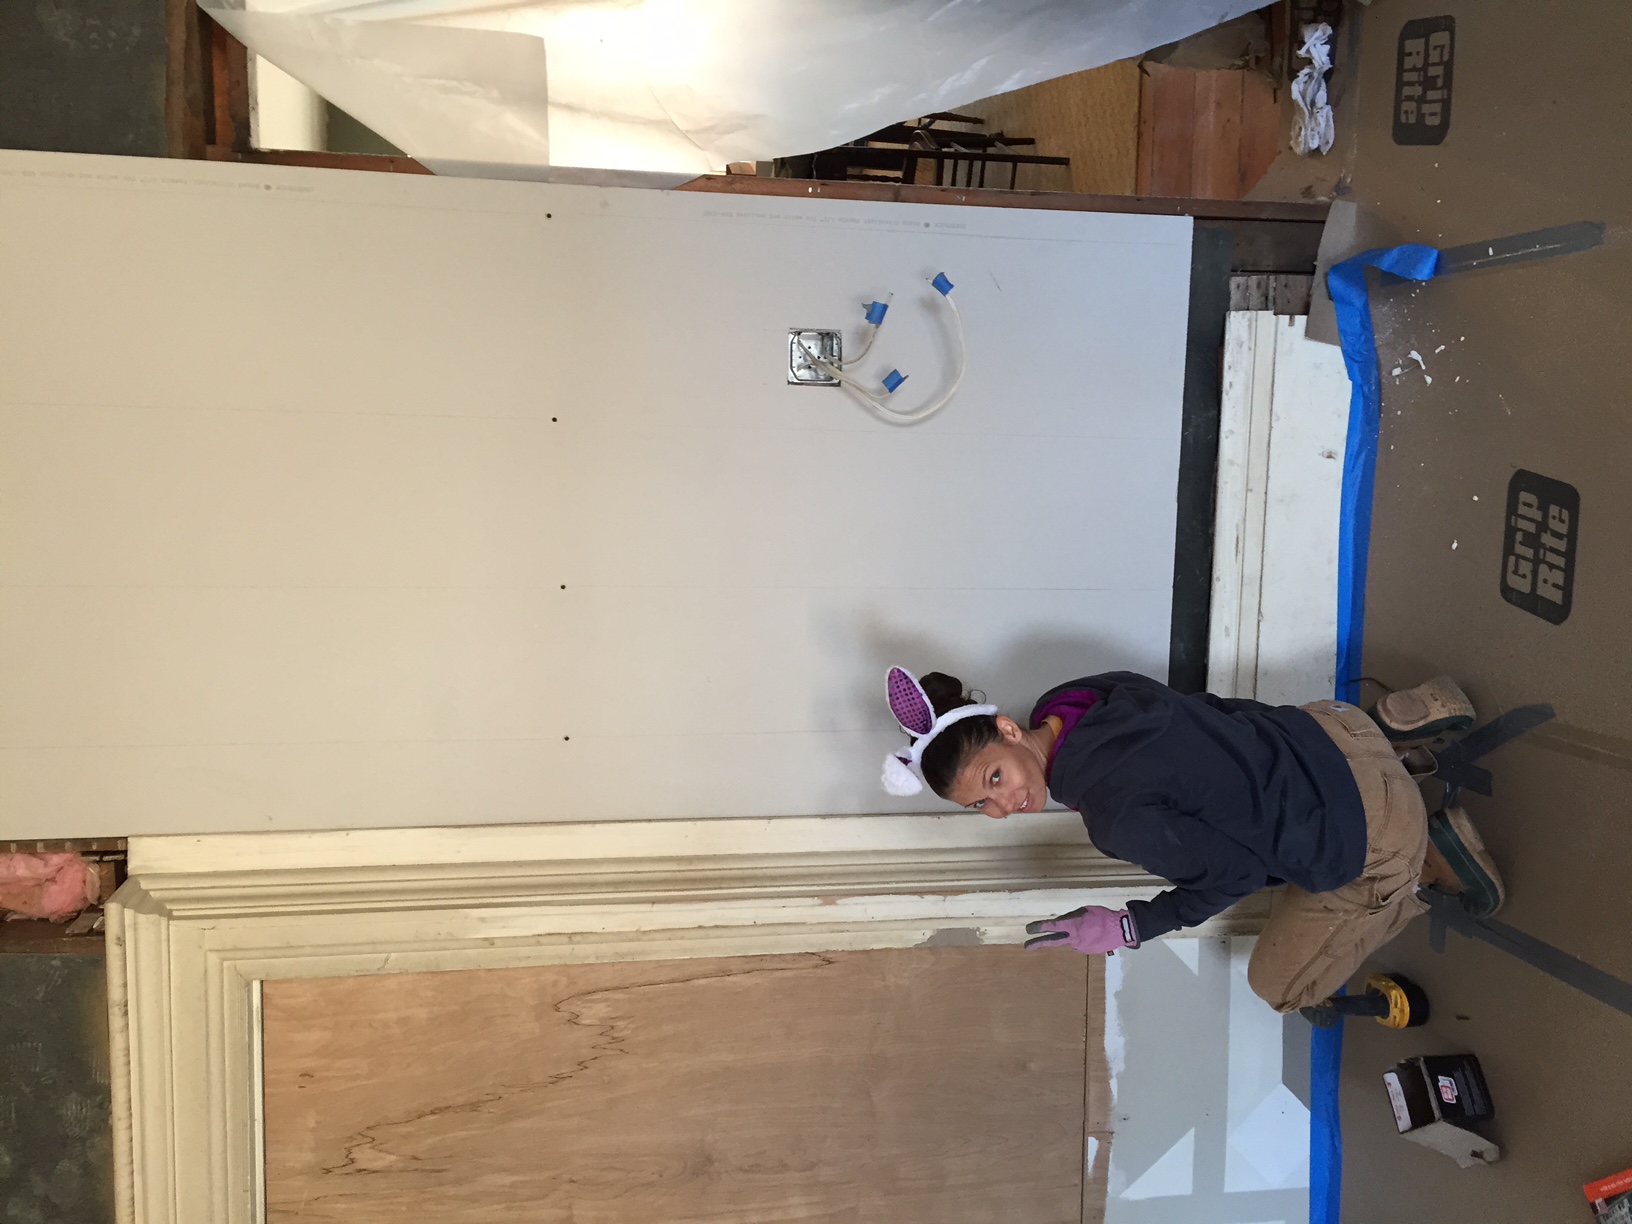
Unfortunately, we only got a couple days to enjoy the new floors. Construction waits for no man so we had to cover them up with builders board and tape the seems (for those of you who haven't guessed, we did this work on Easter). The trick now is to remember that the floors are done under the protection and that we have to be careful while moving drywall, appliances and equipment around.
