Birthday

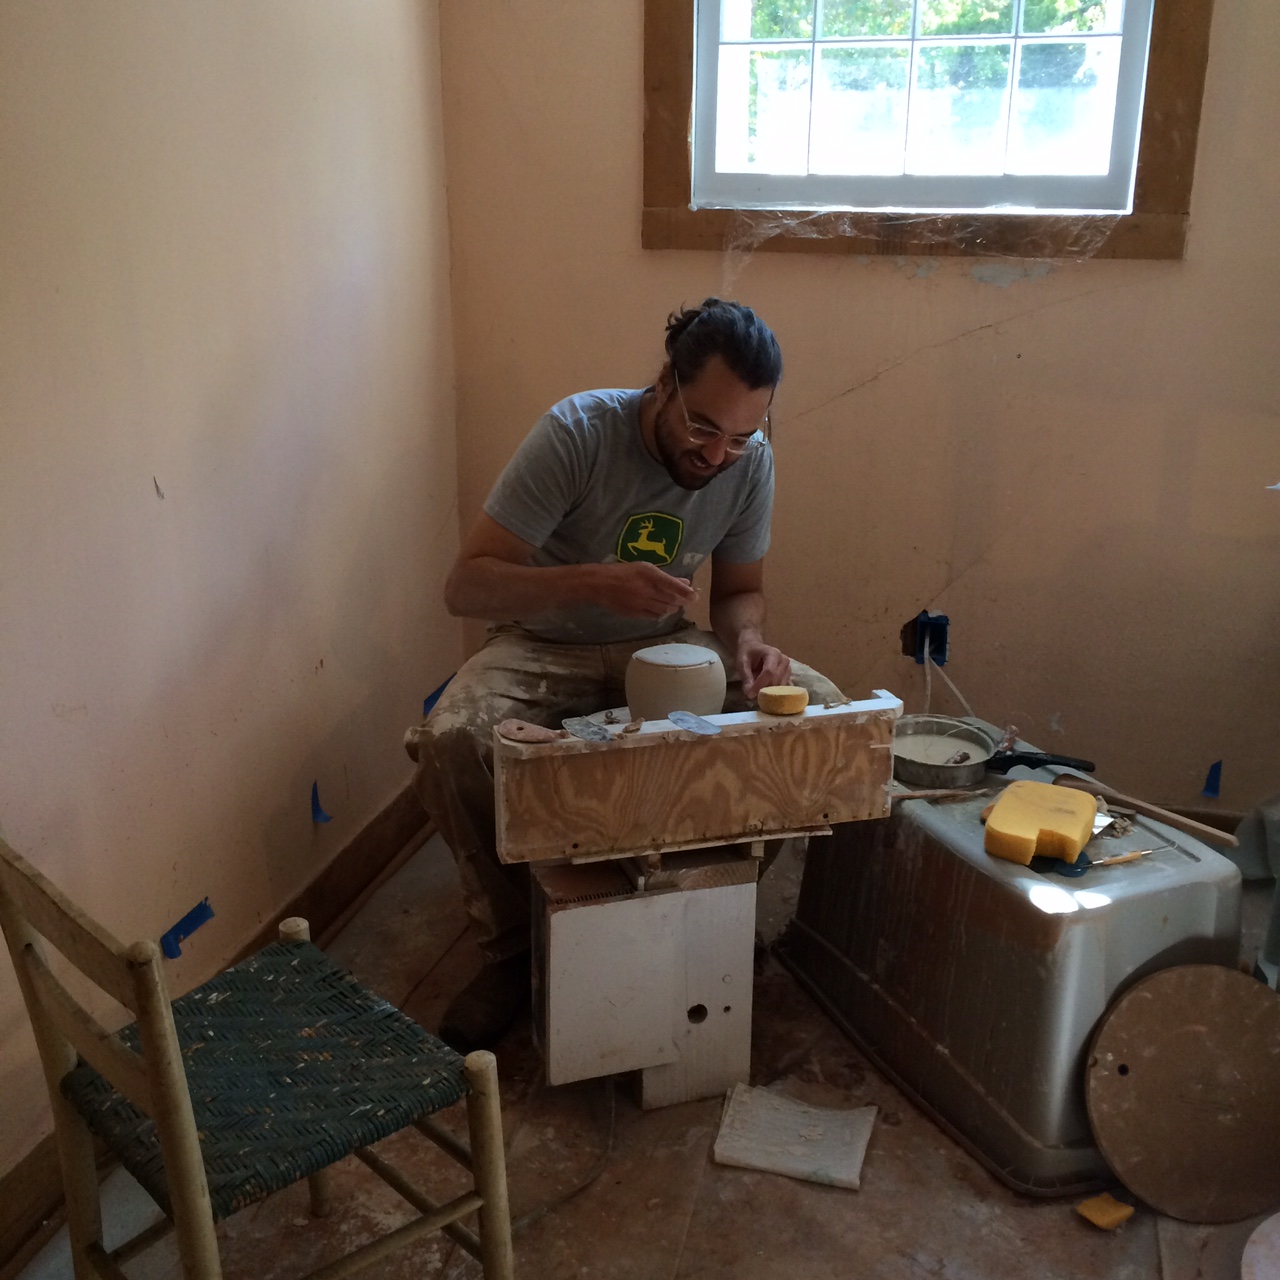
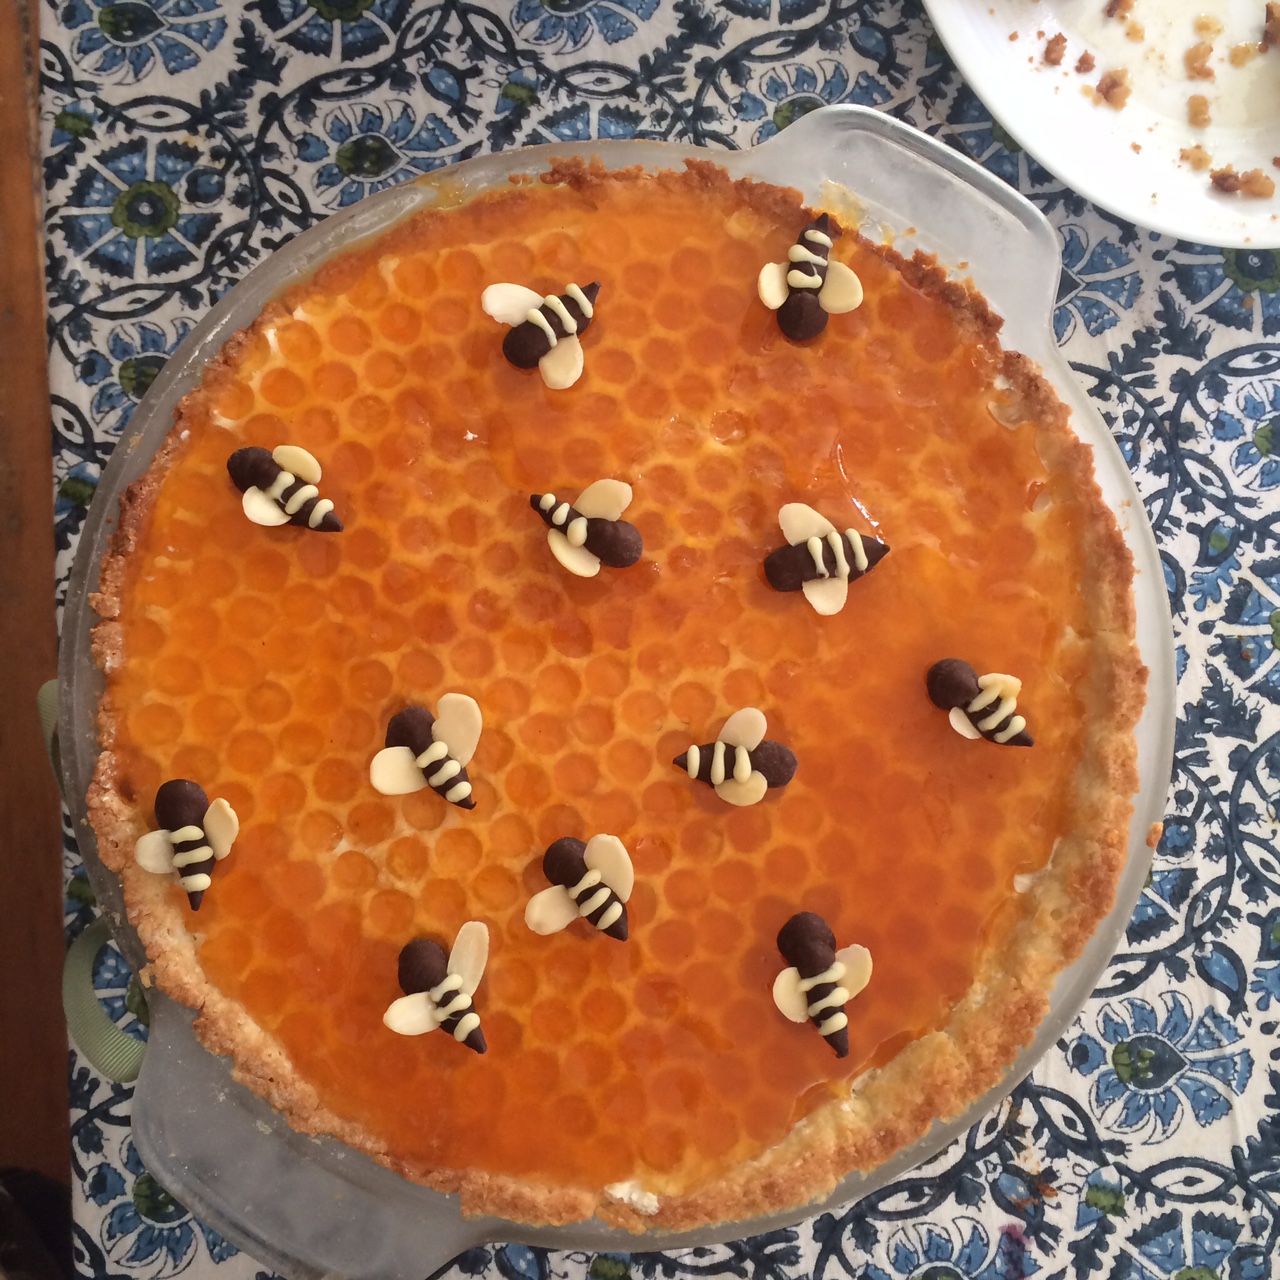
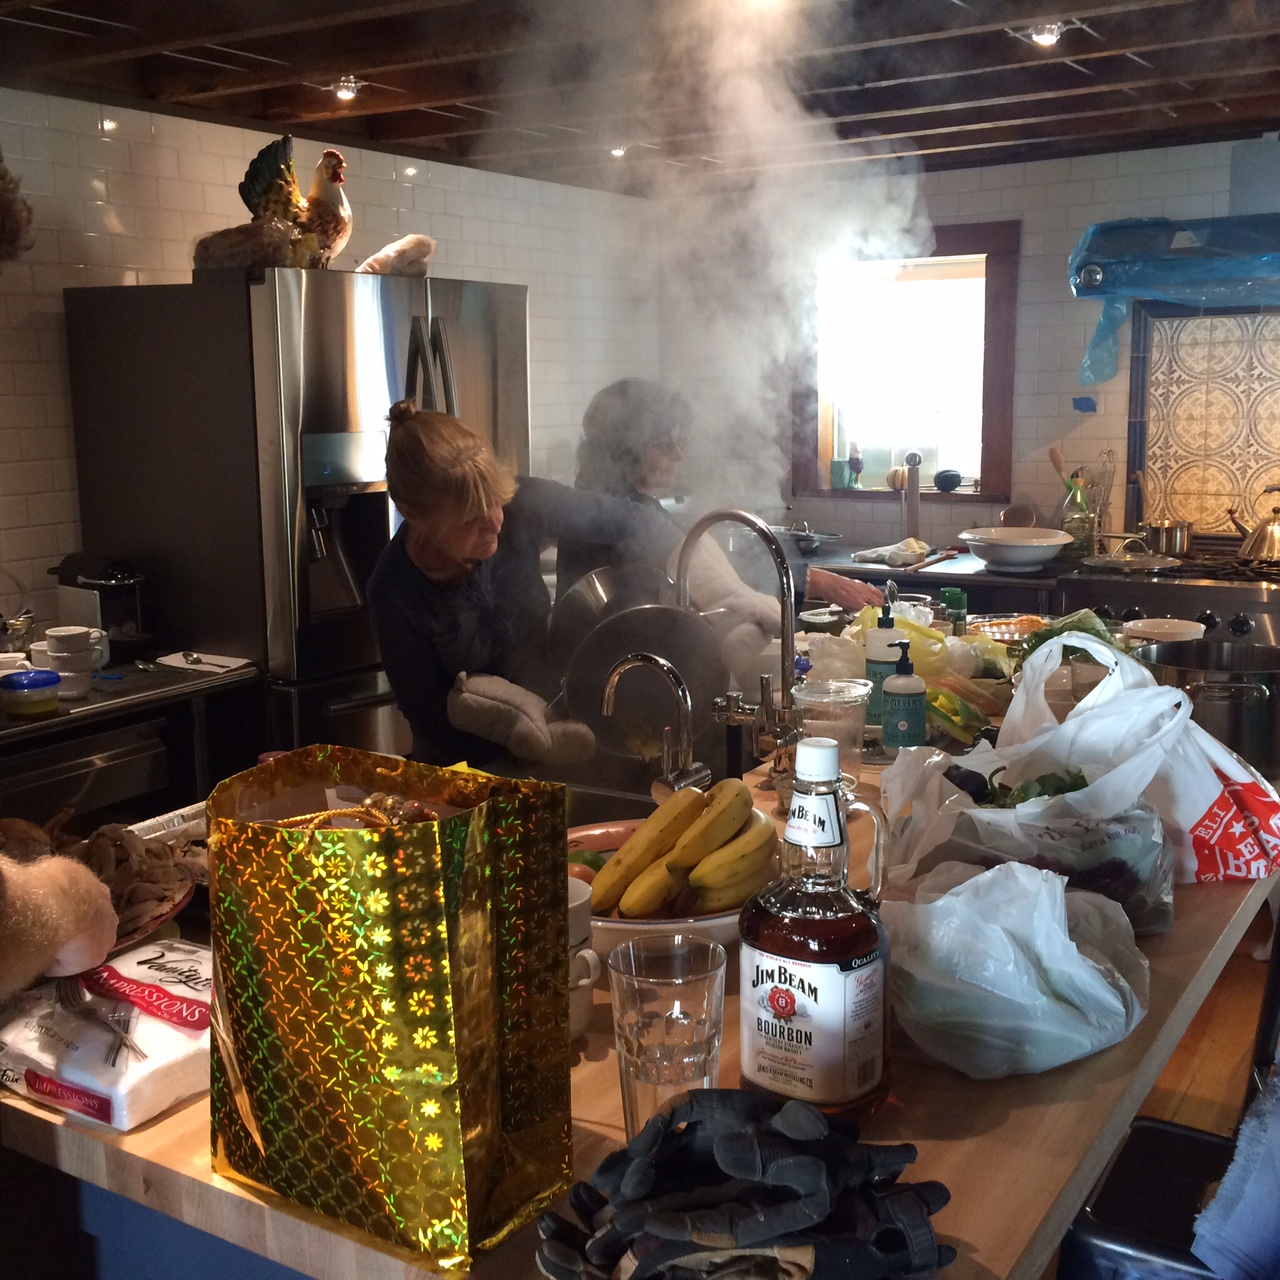
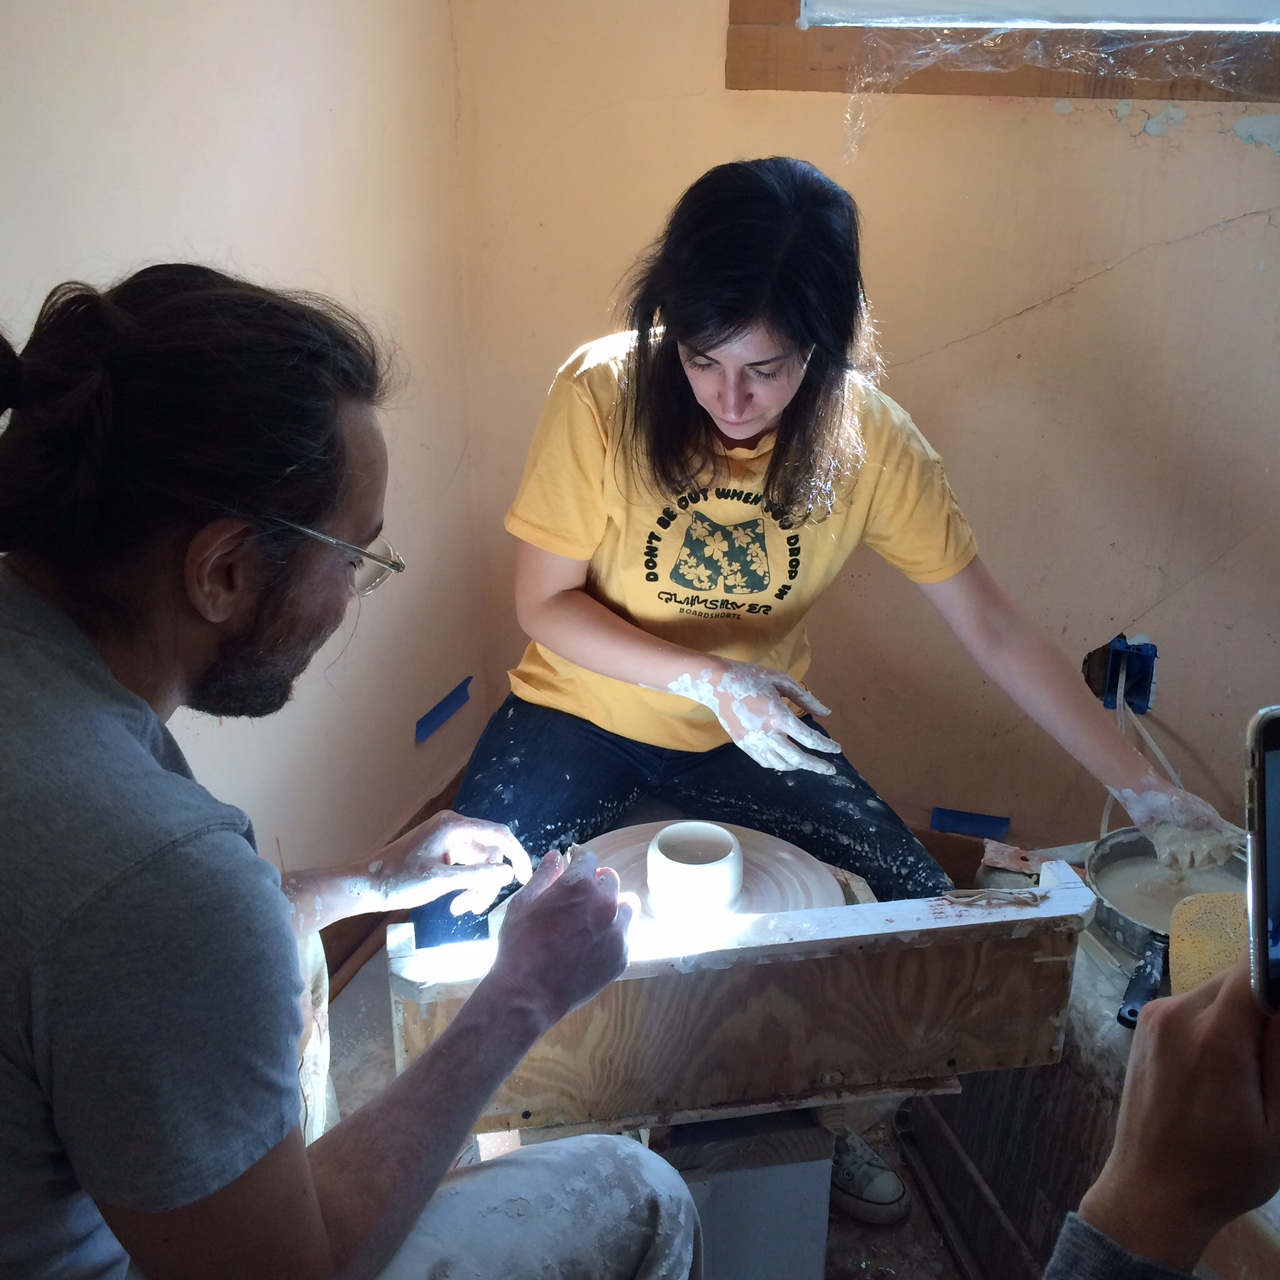
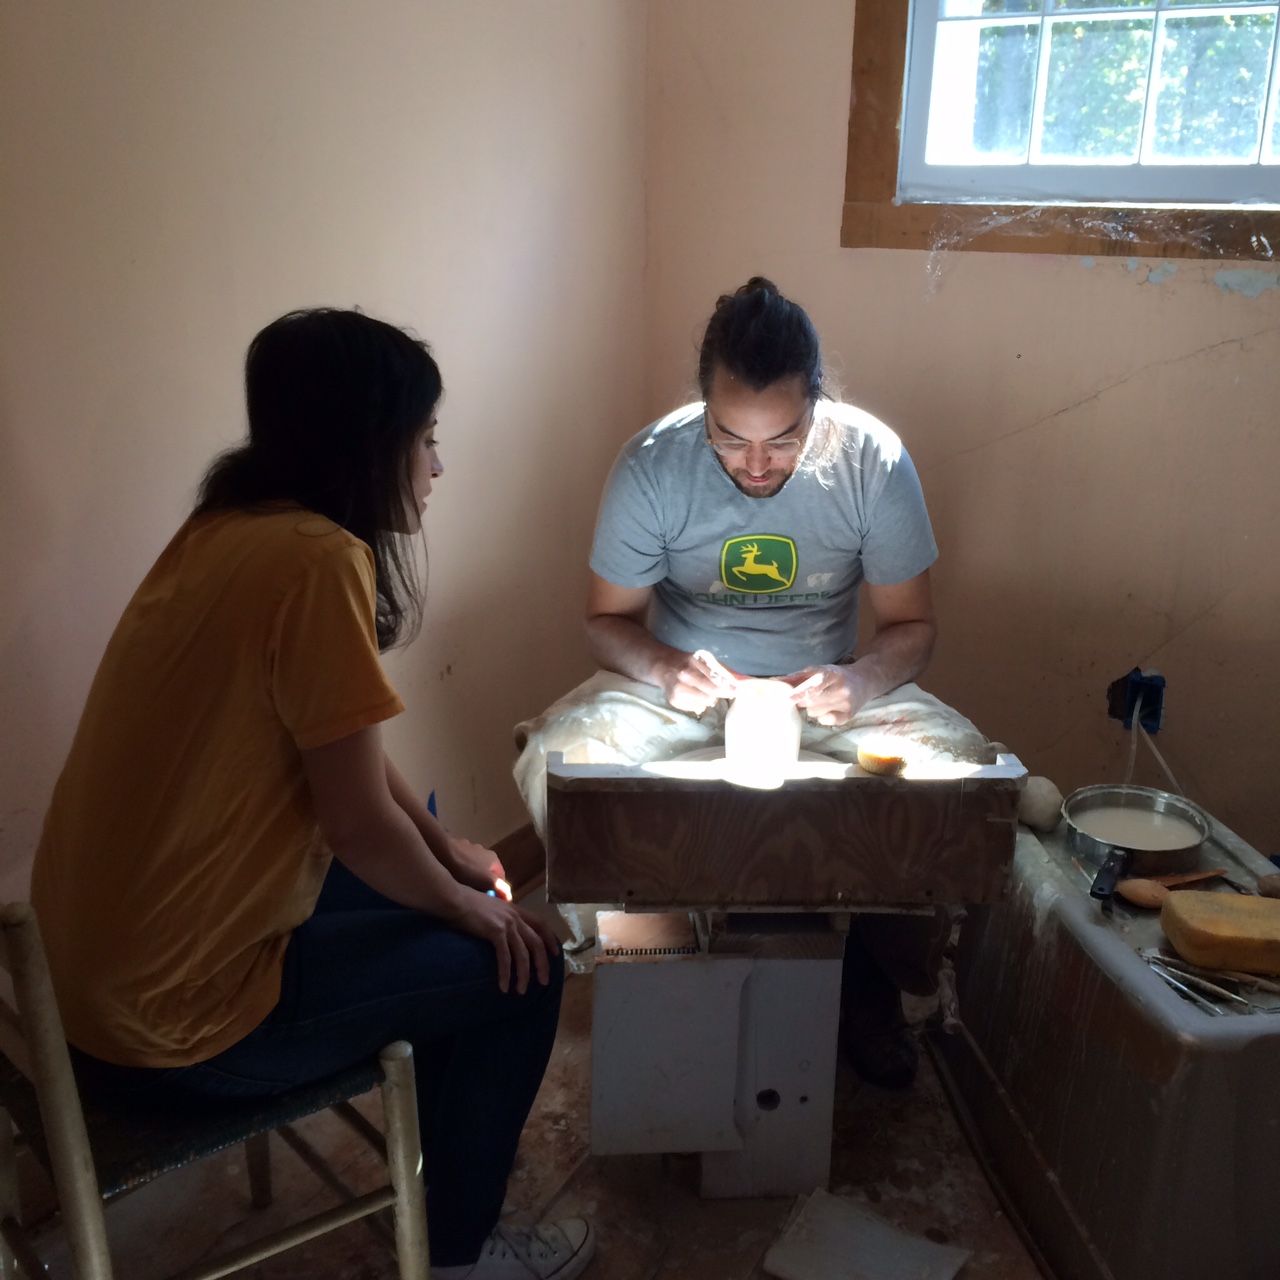
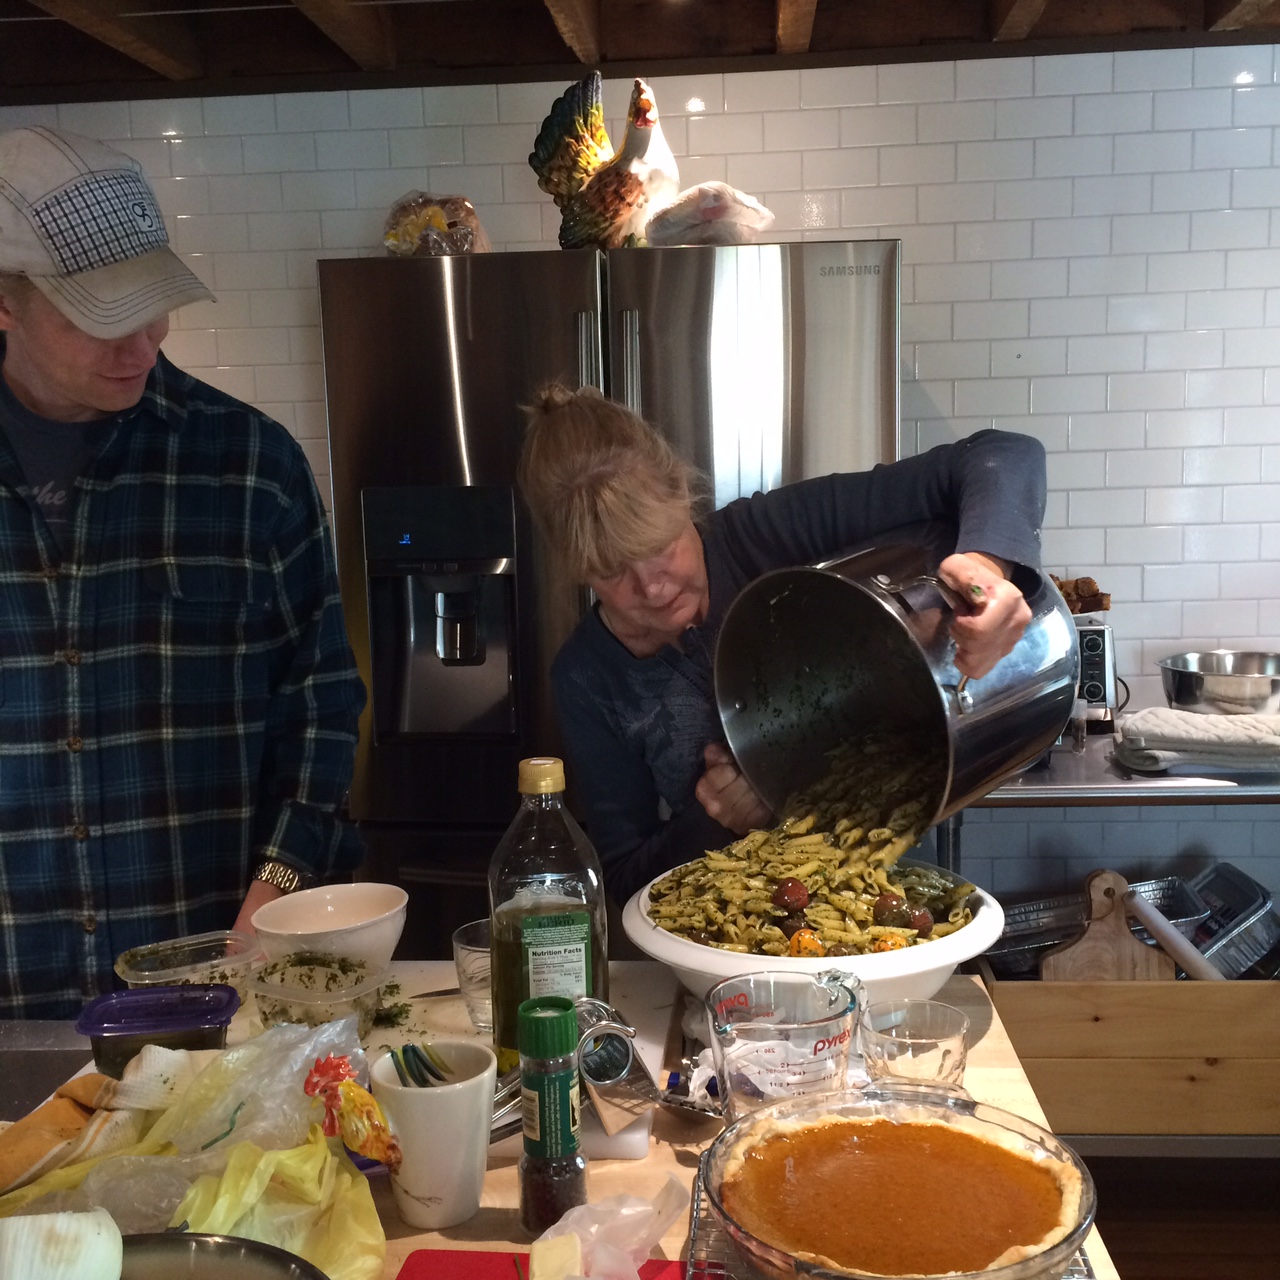
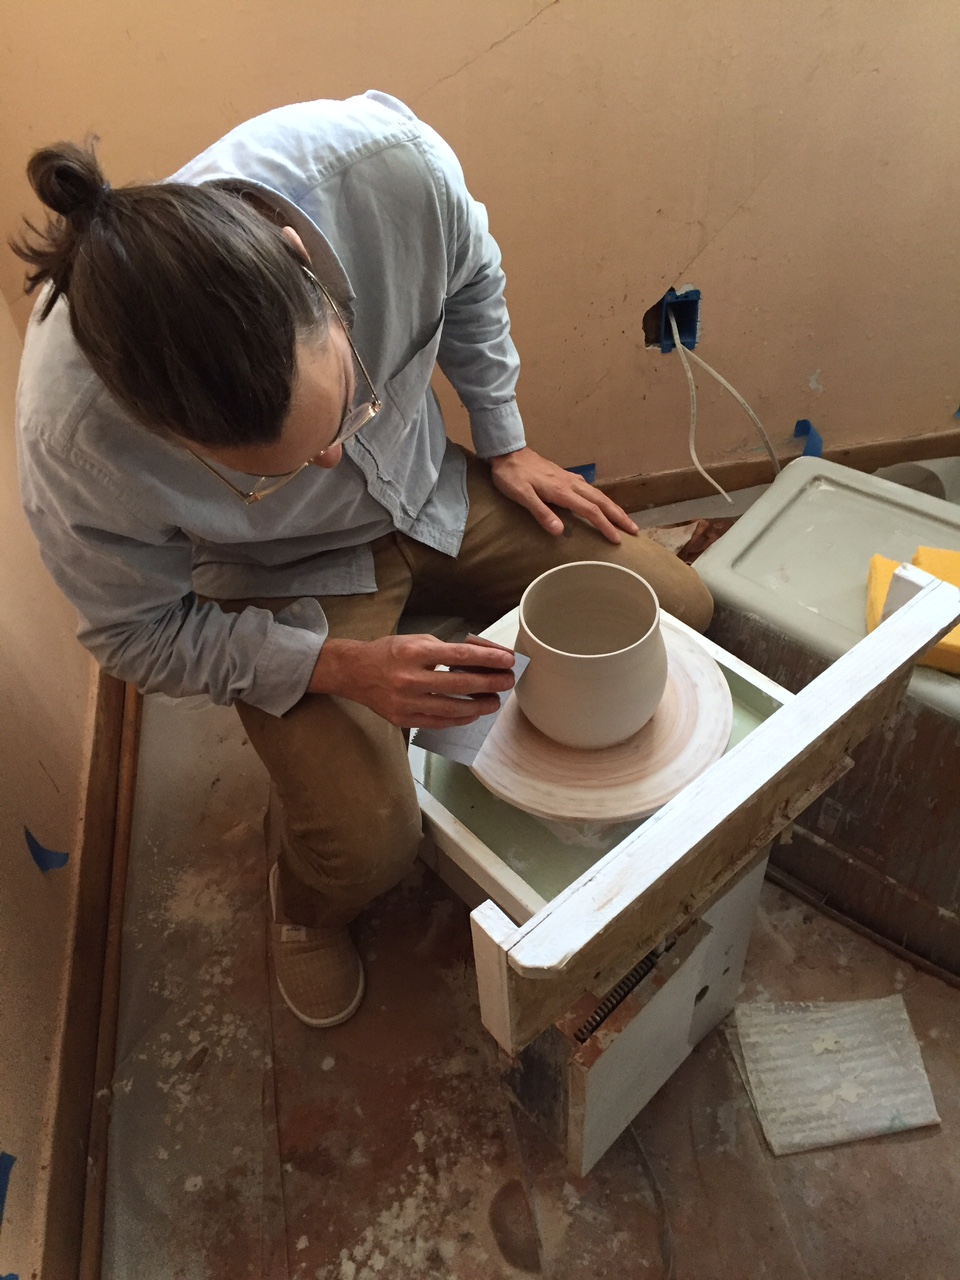
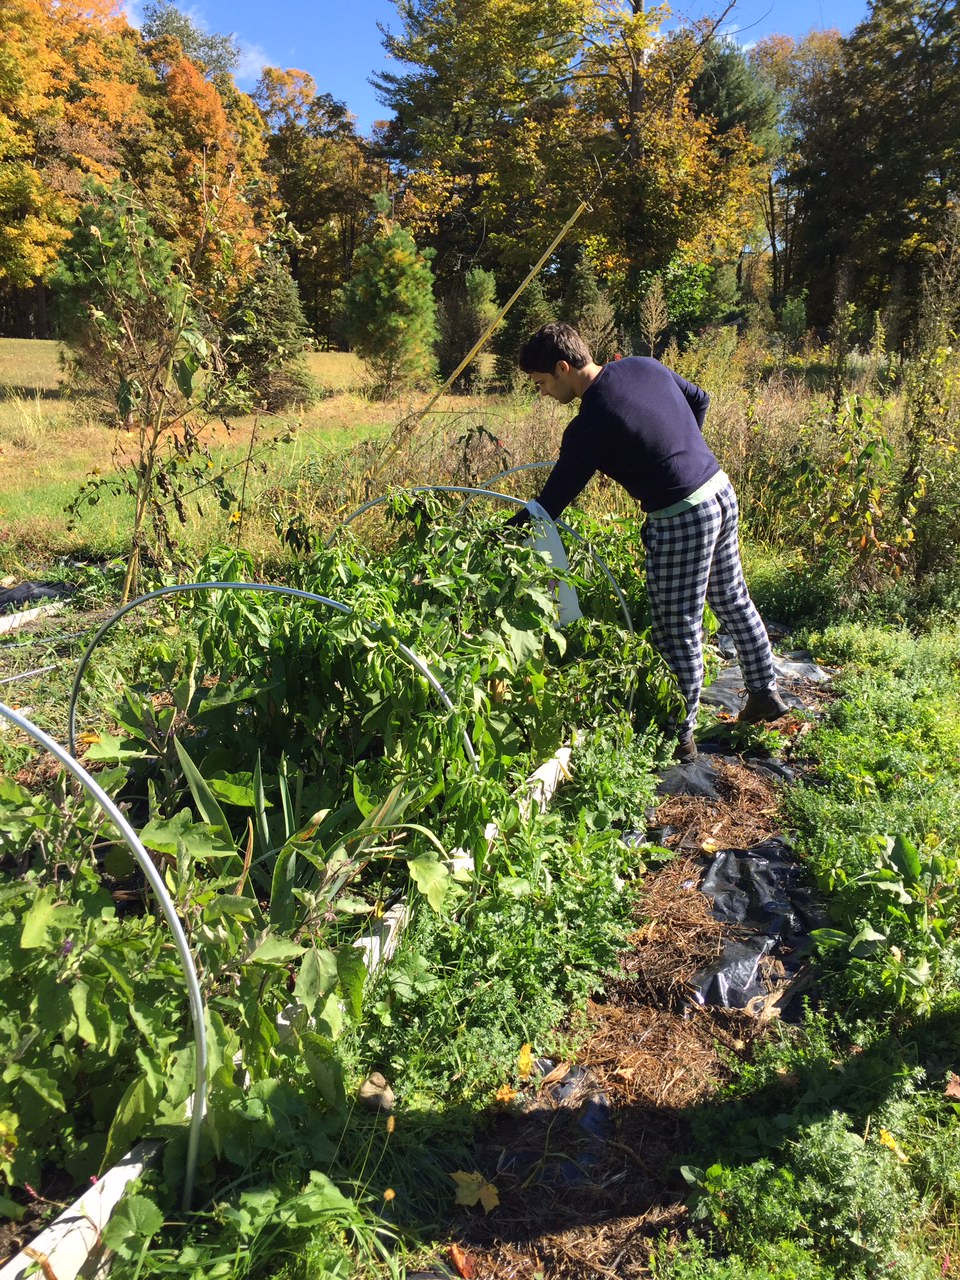
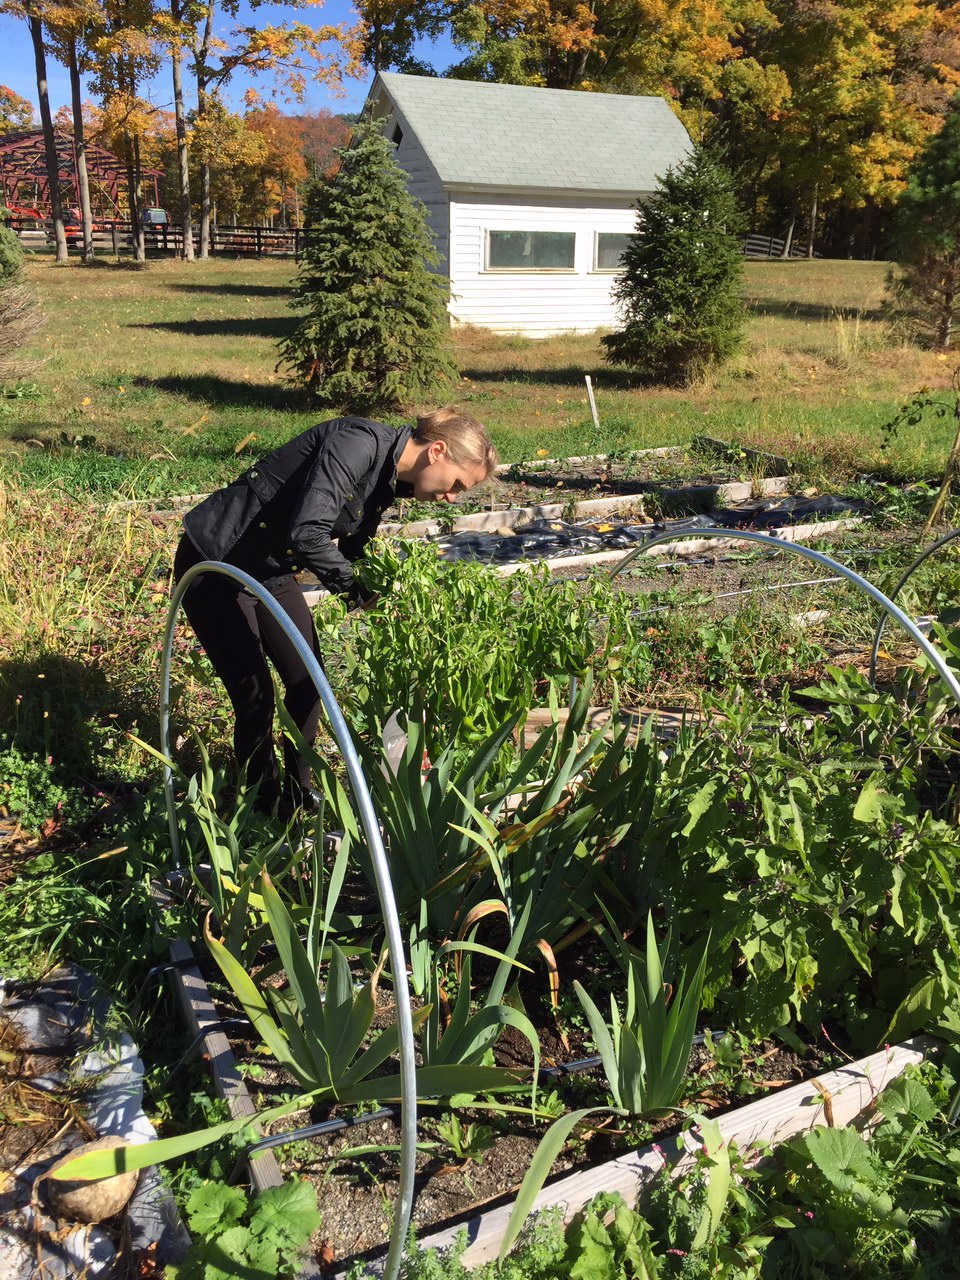
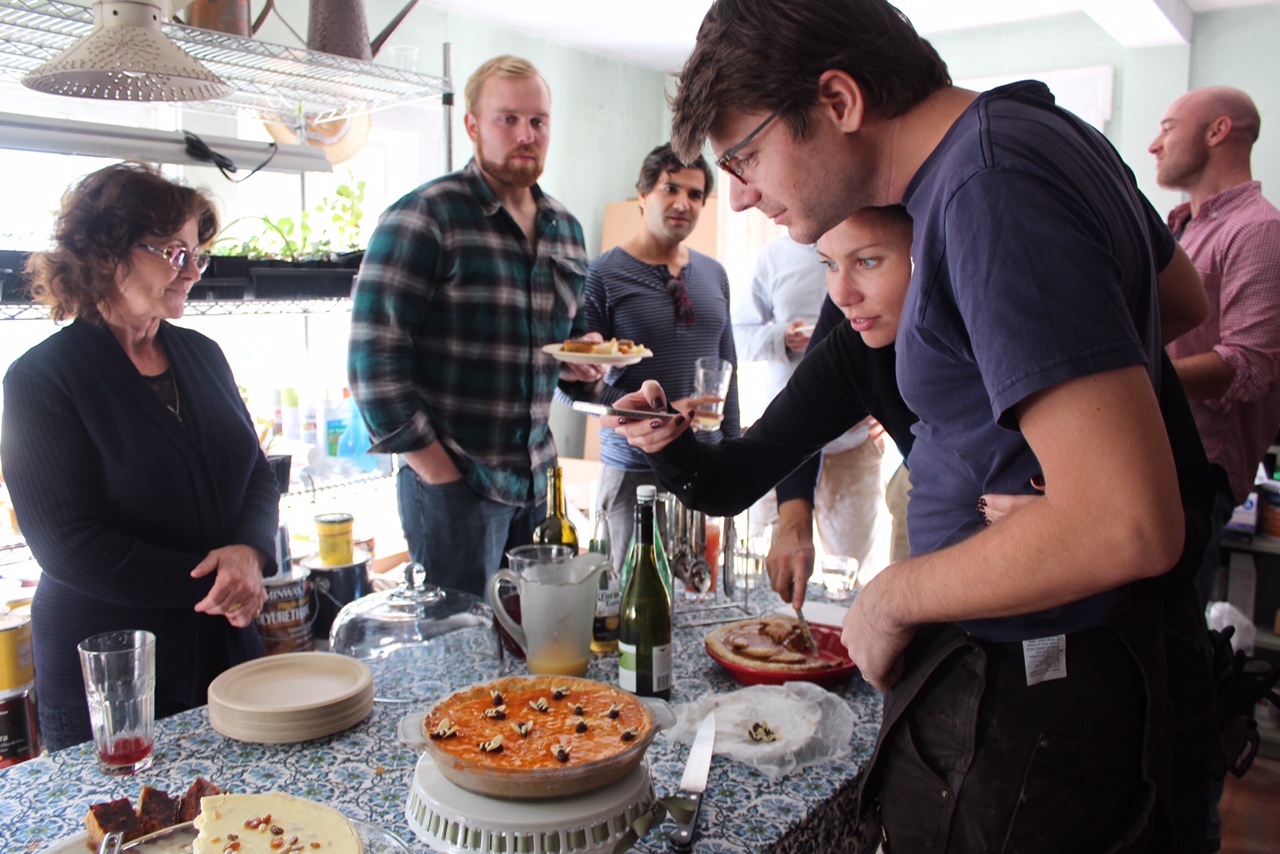
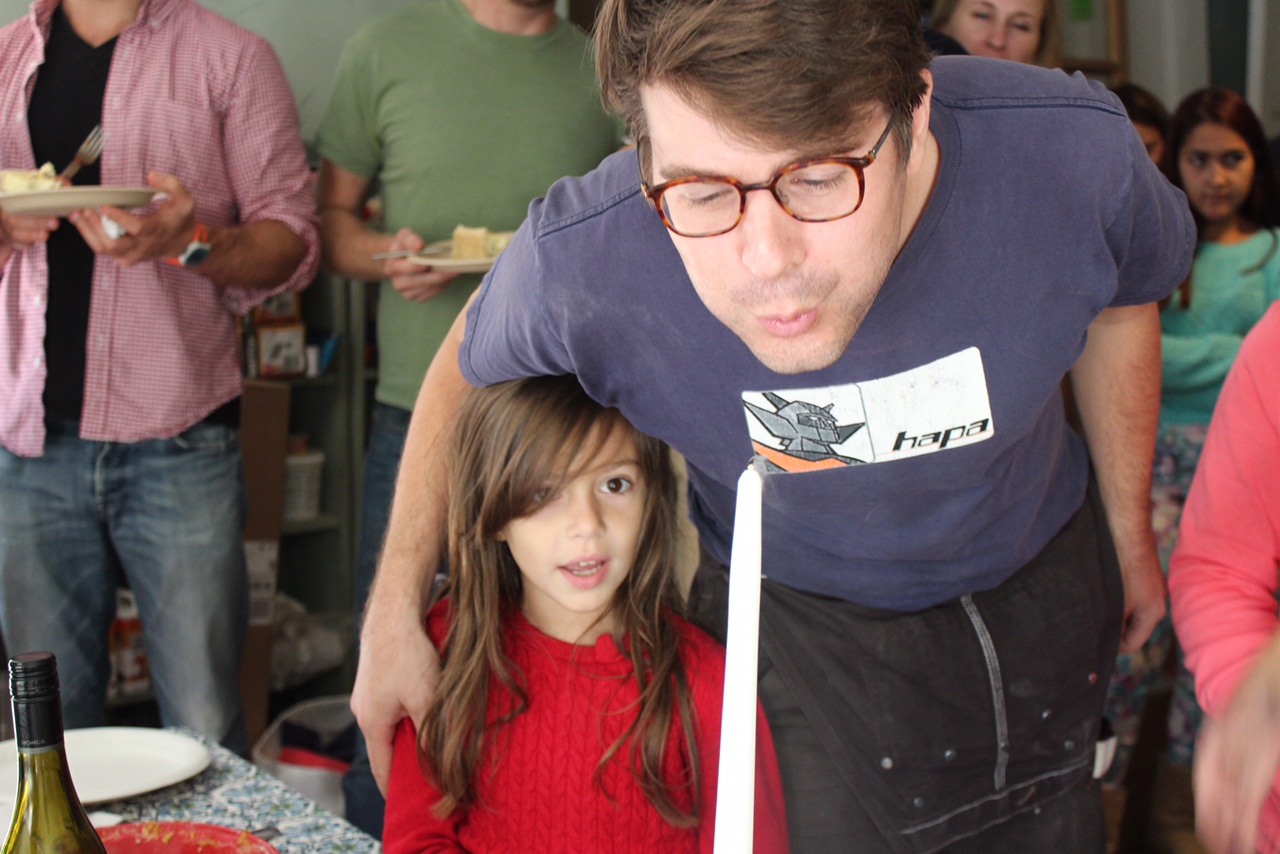
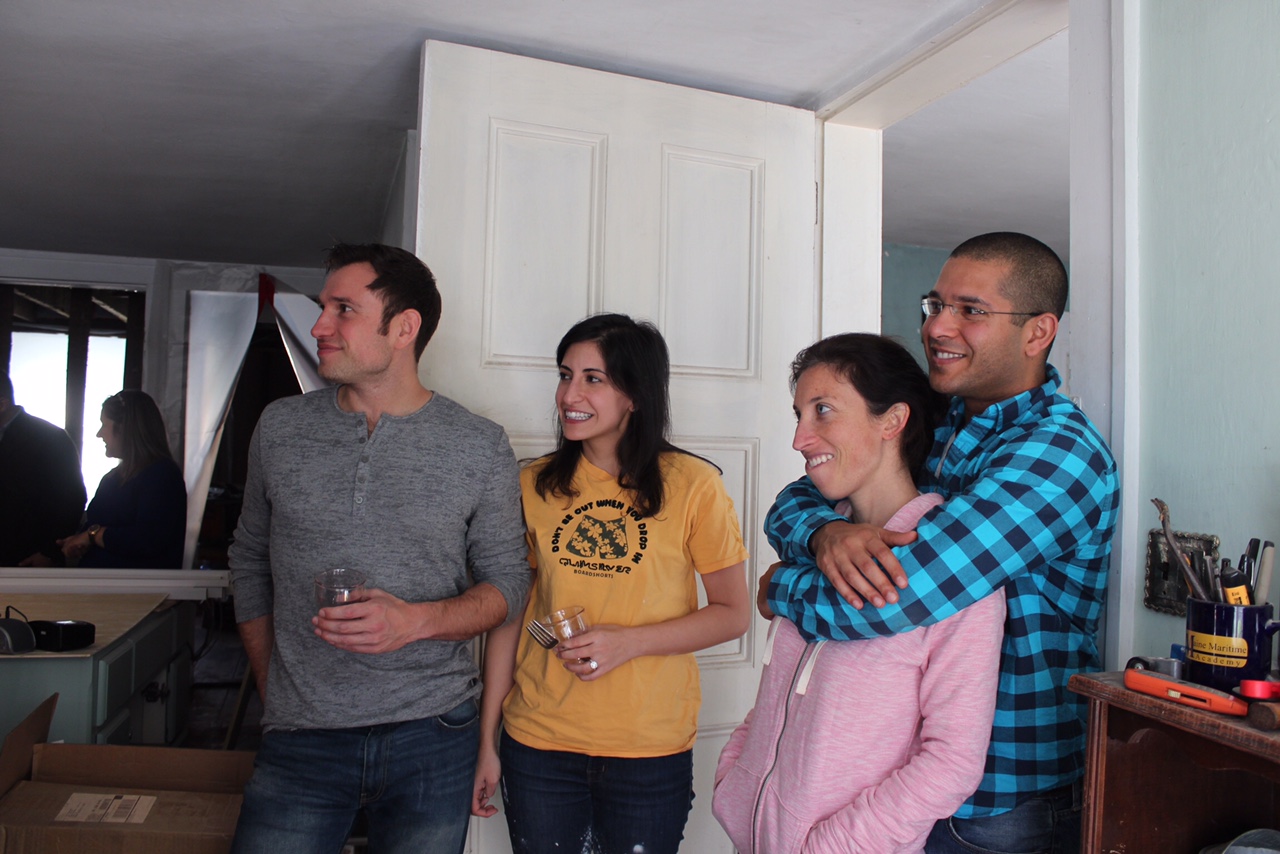
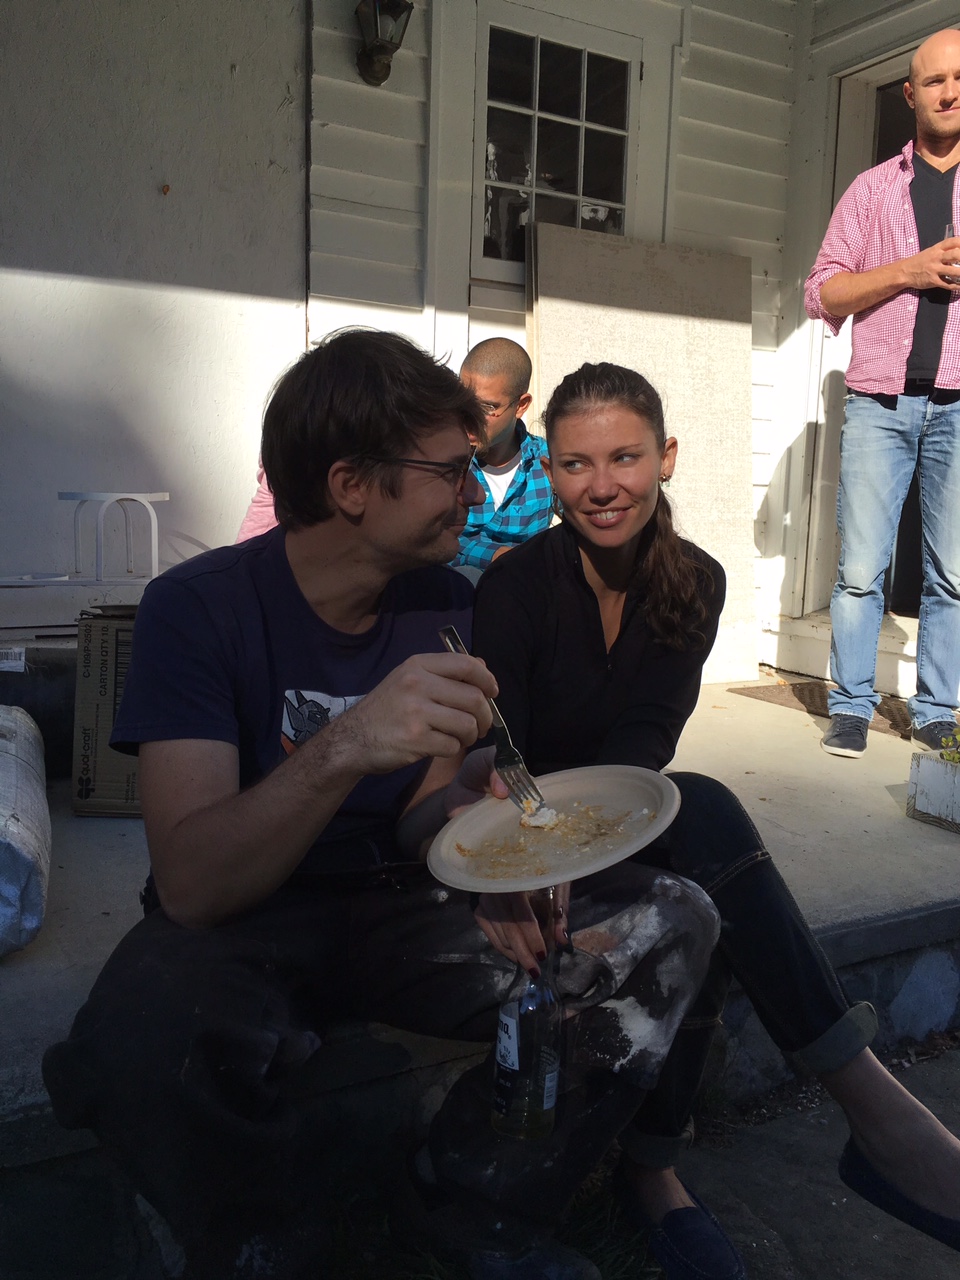
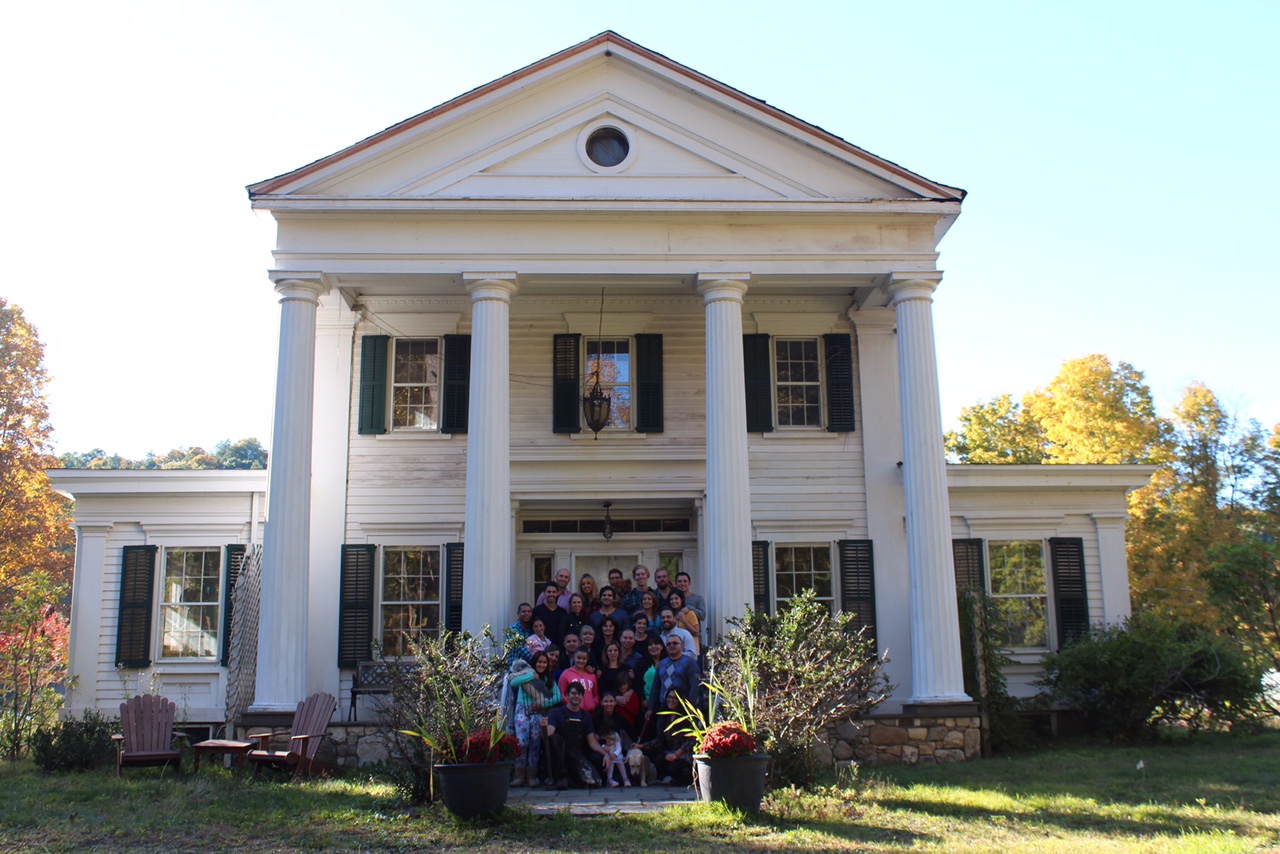
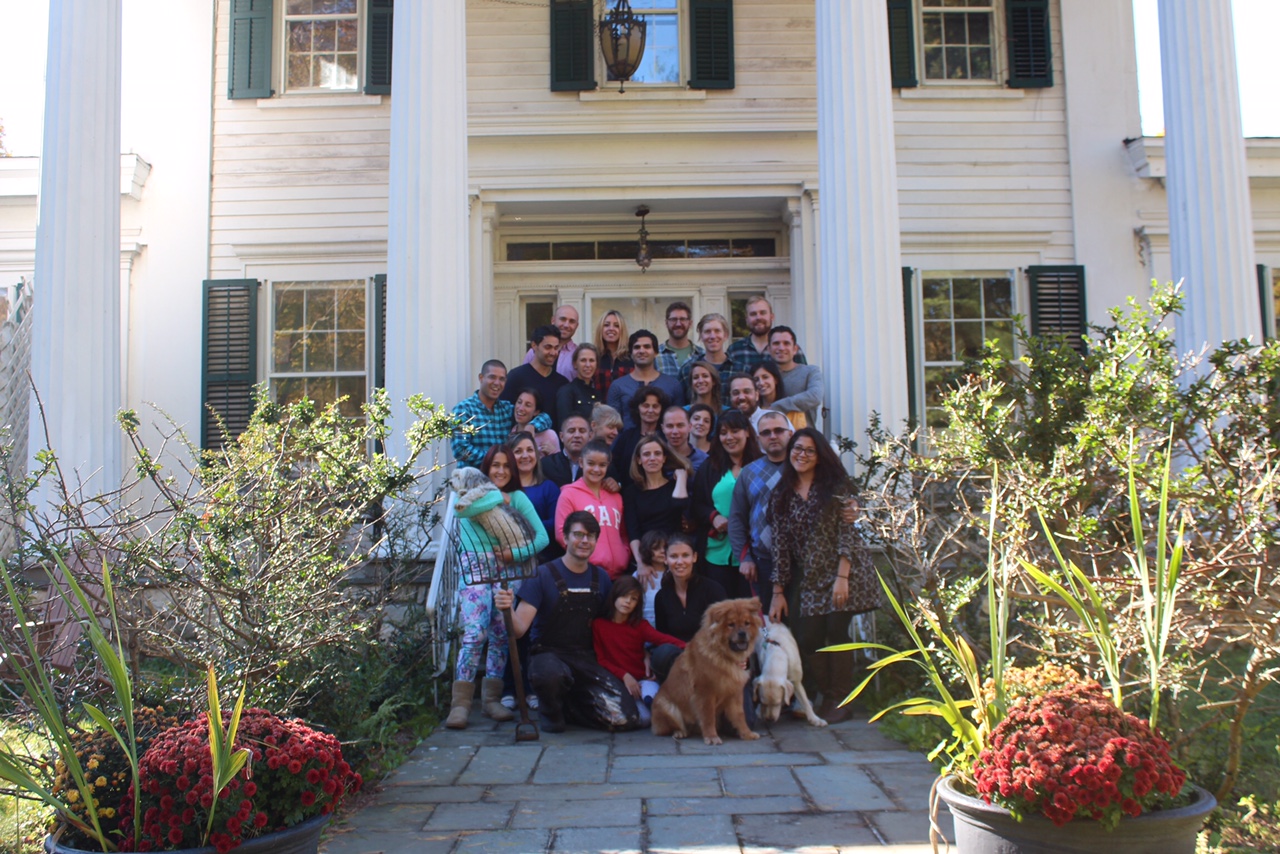
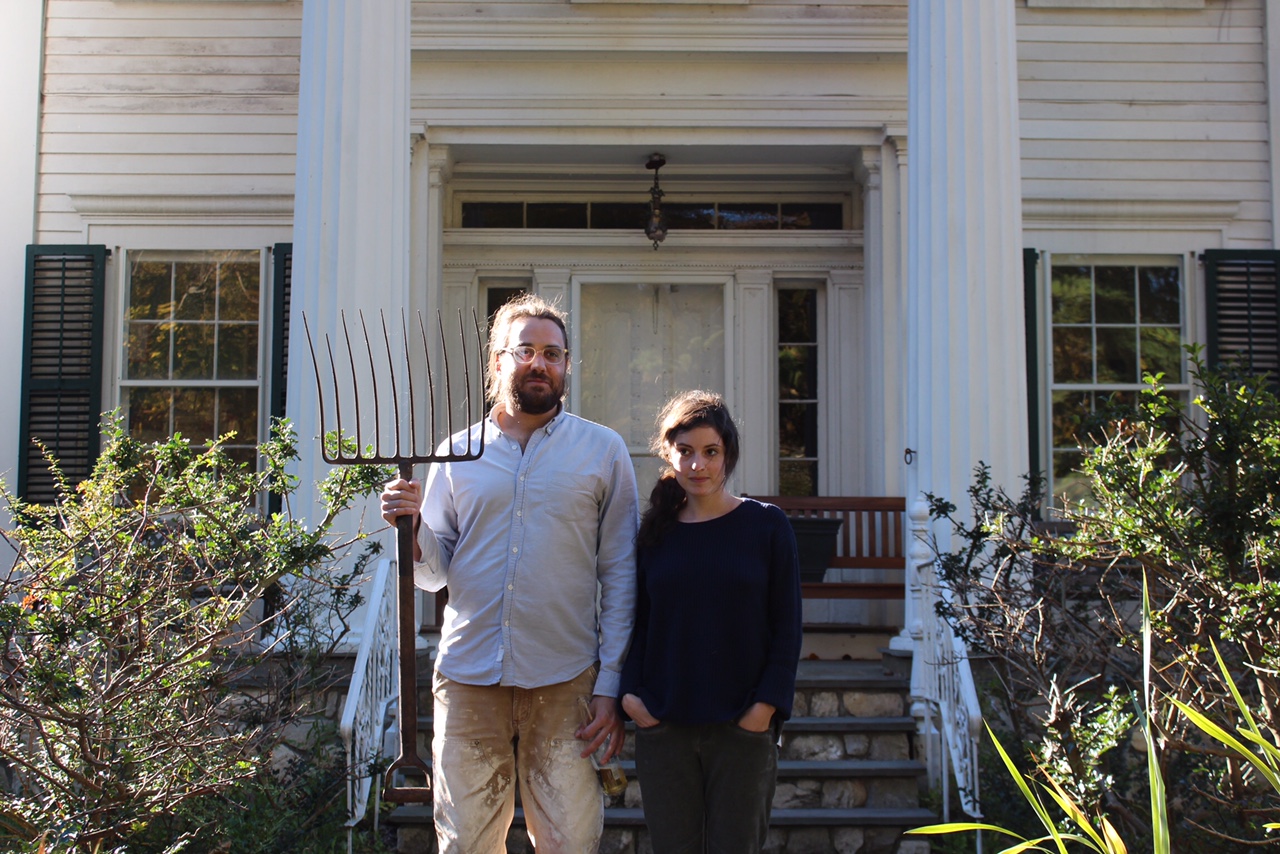
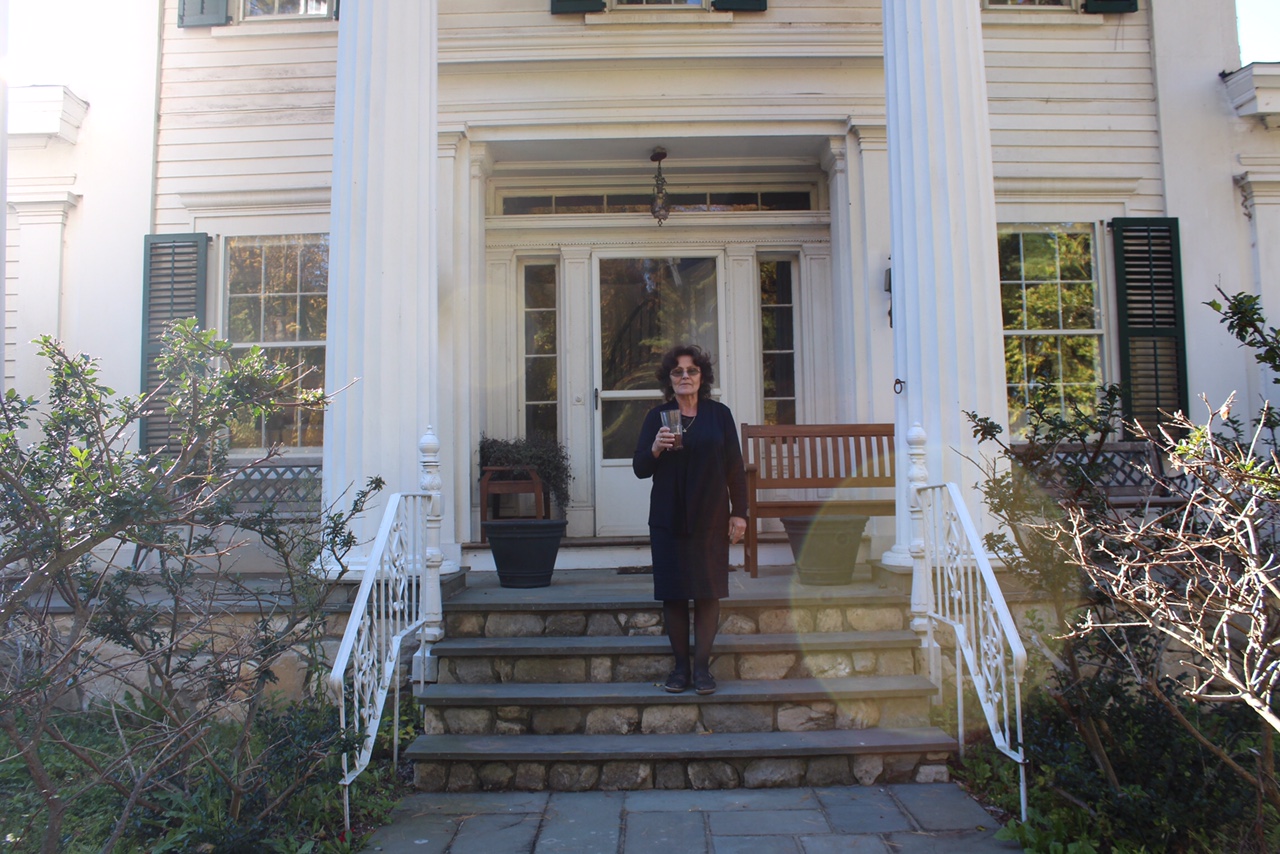
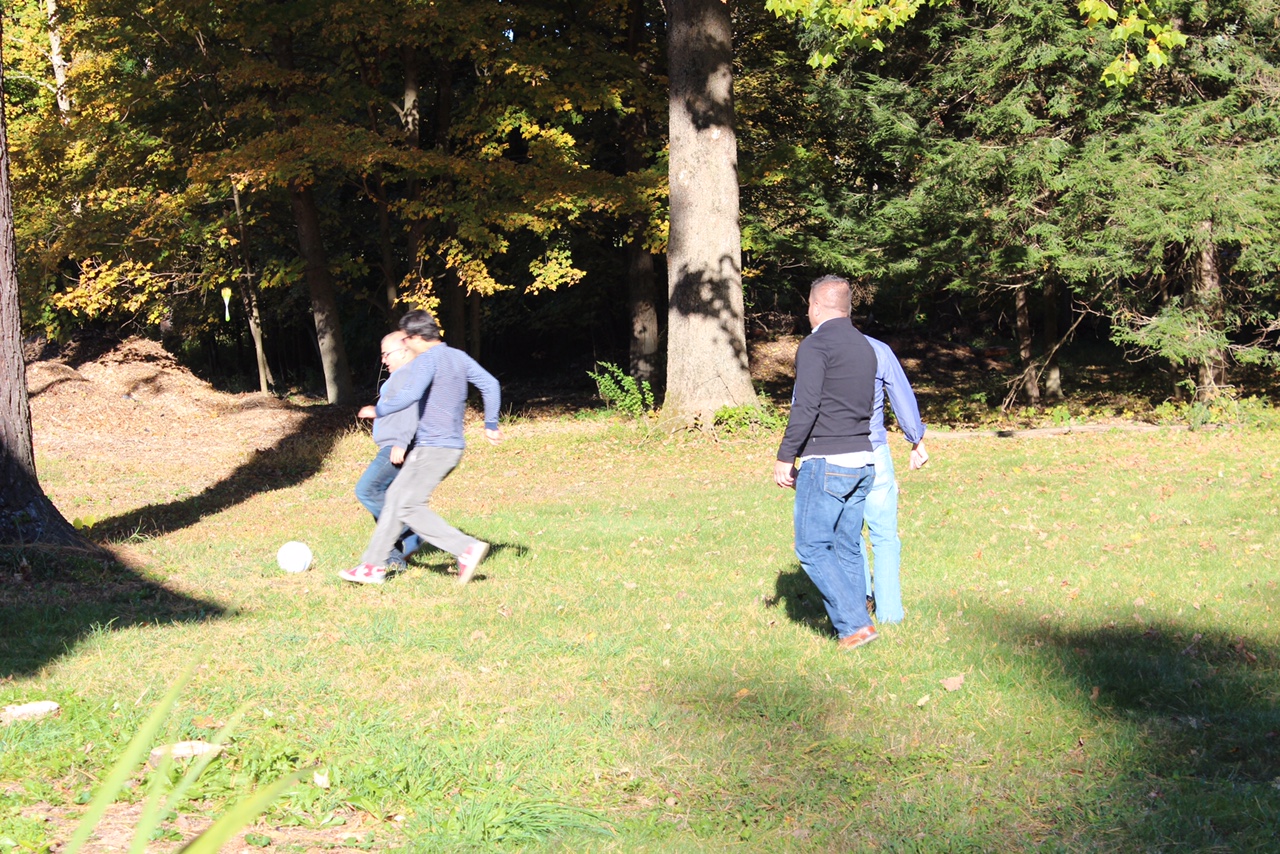
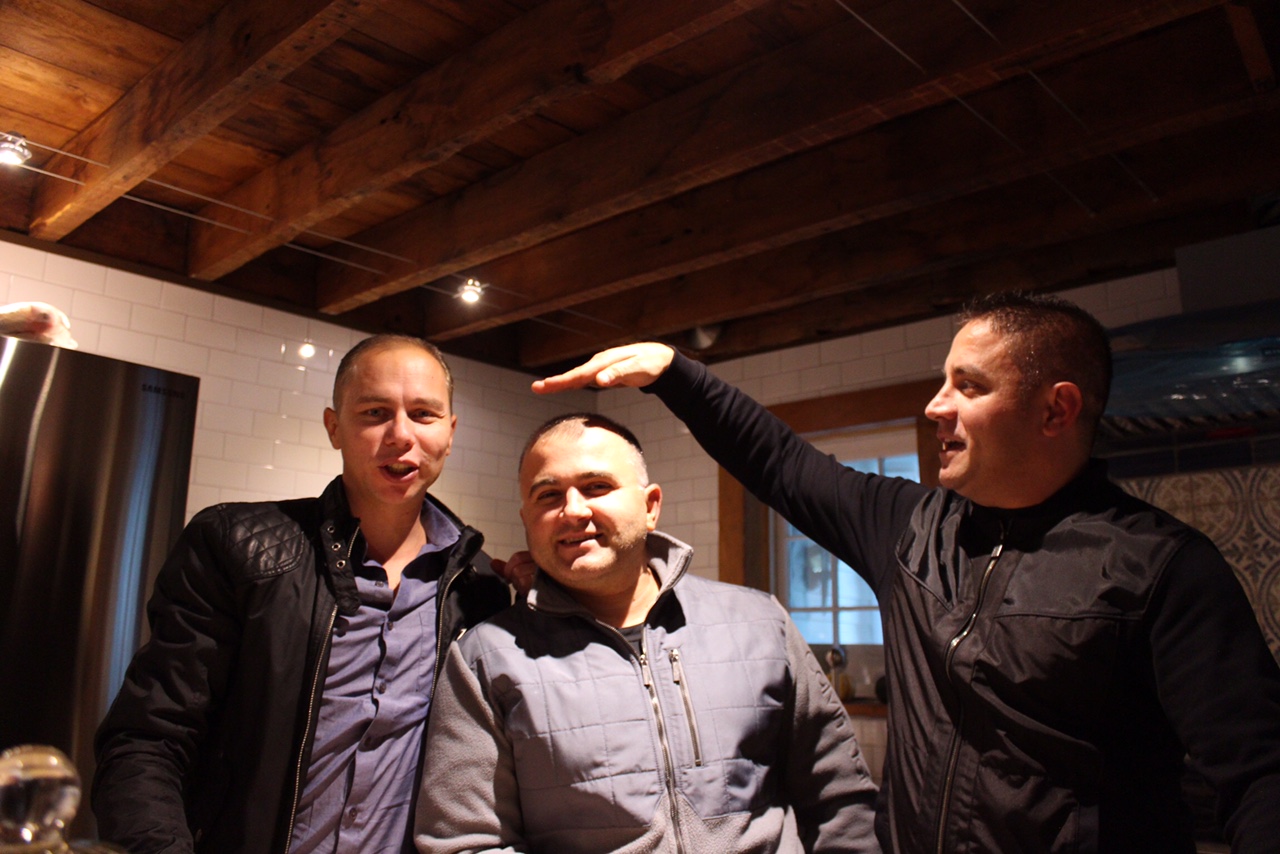
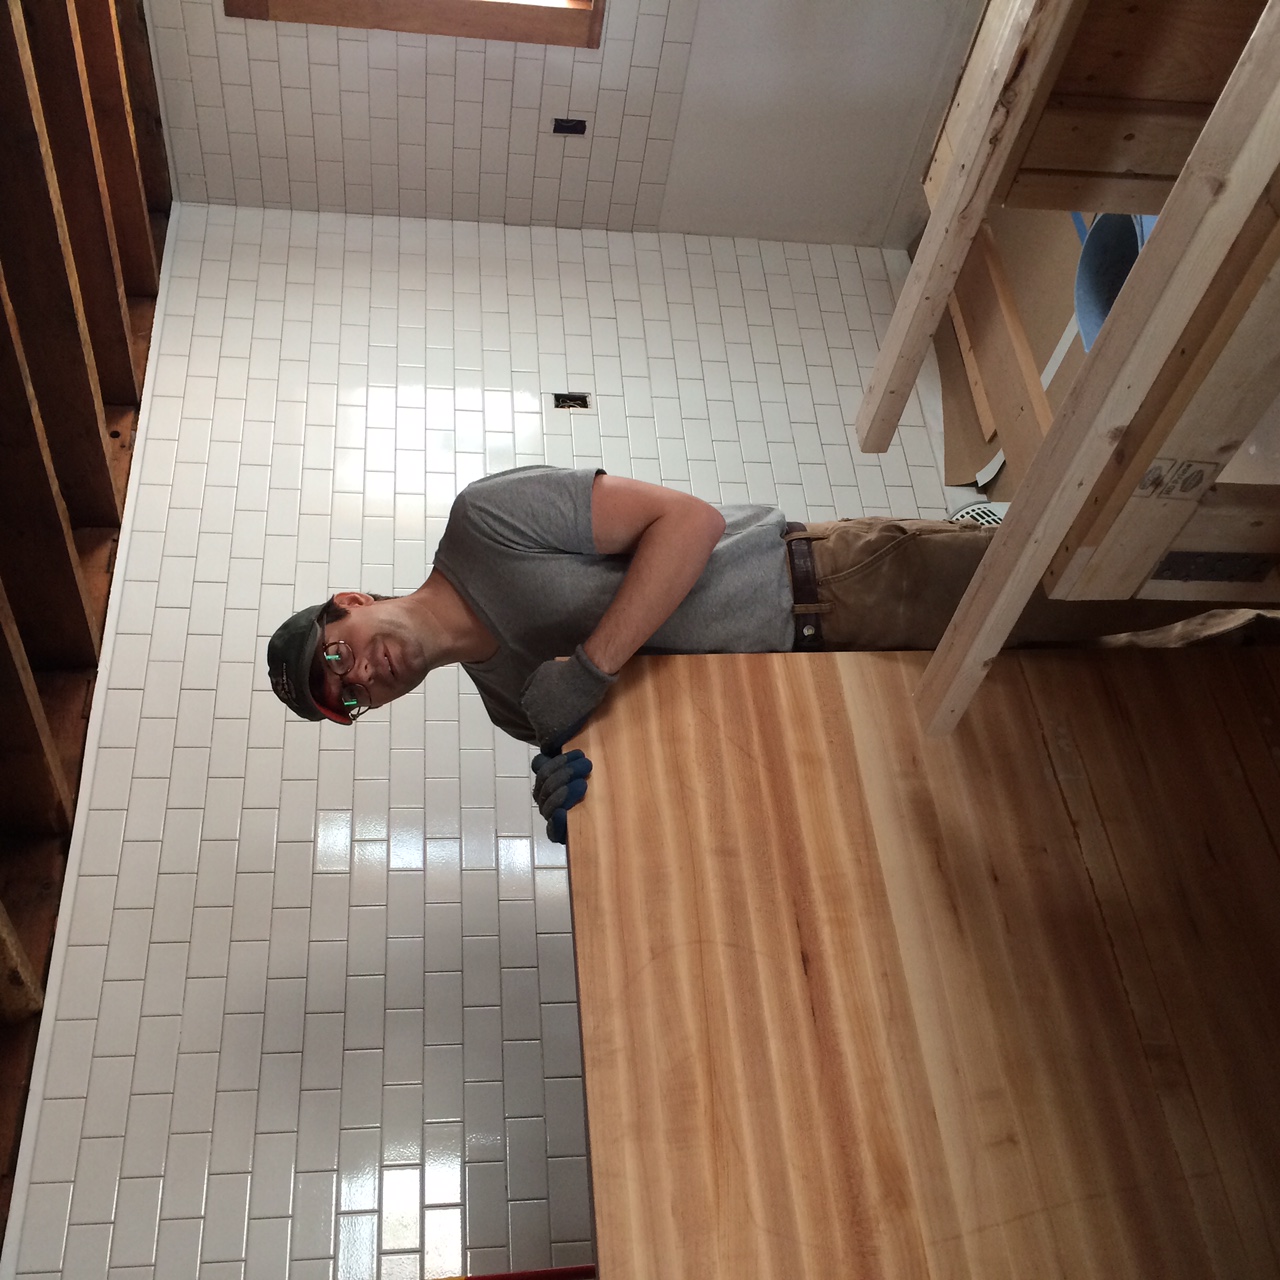
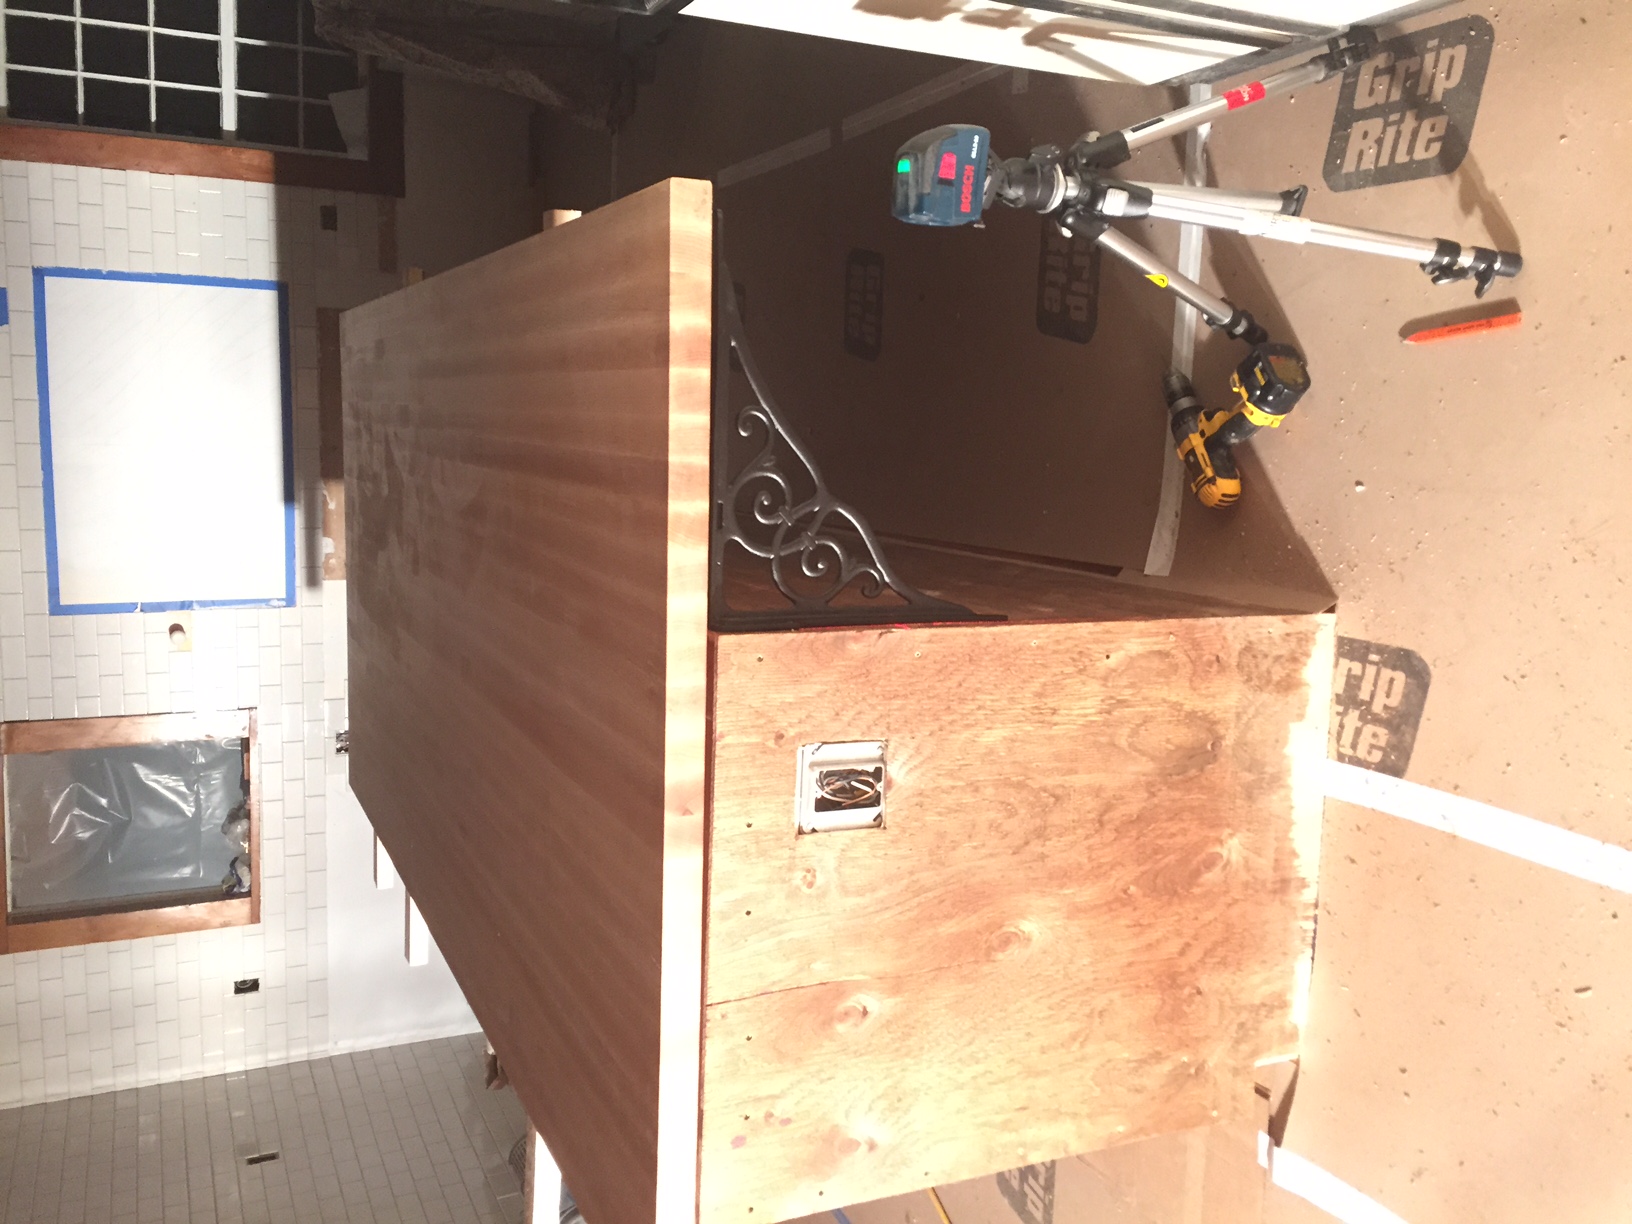
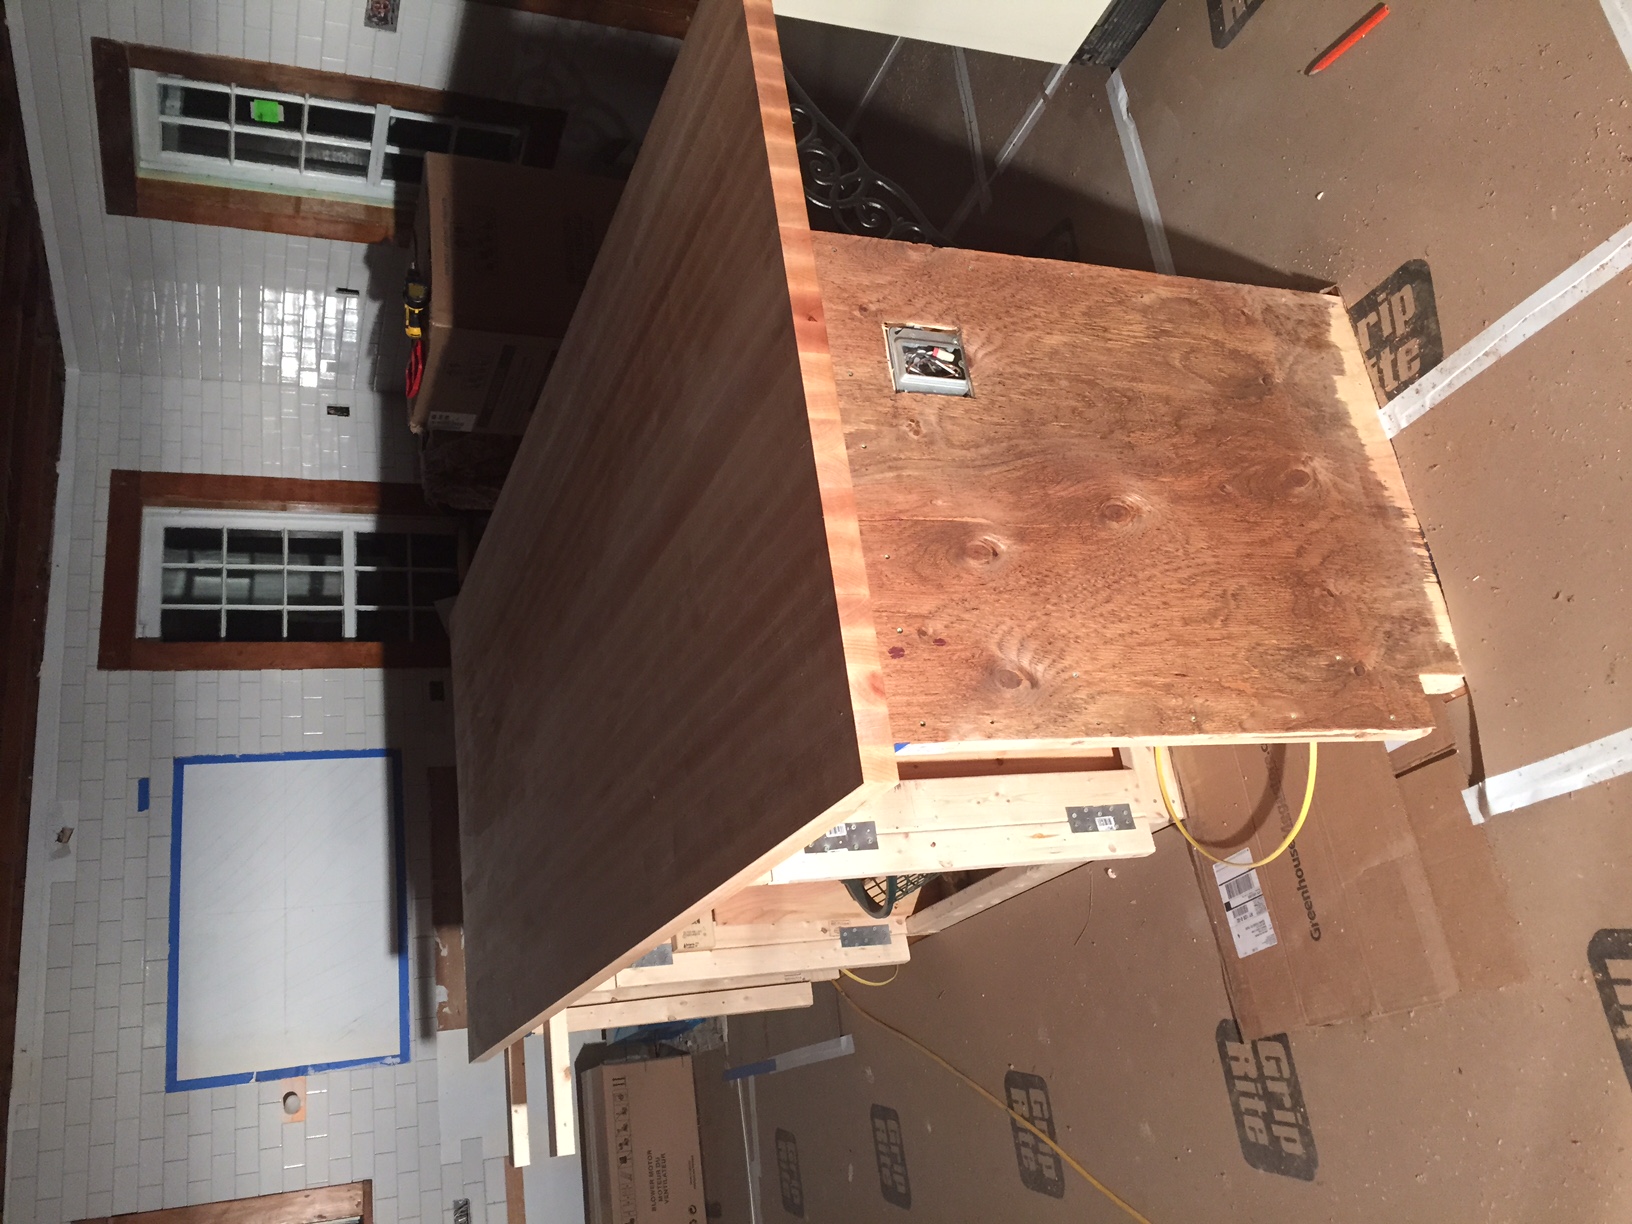
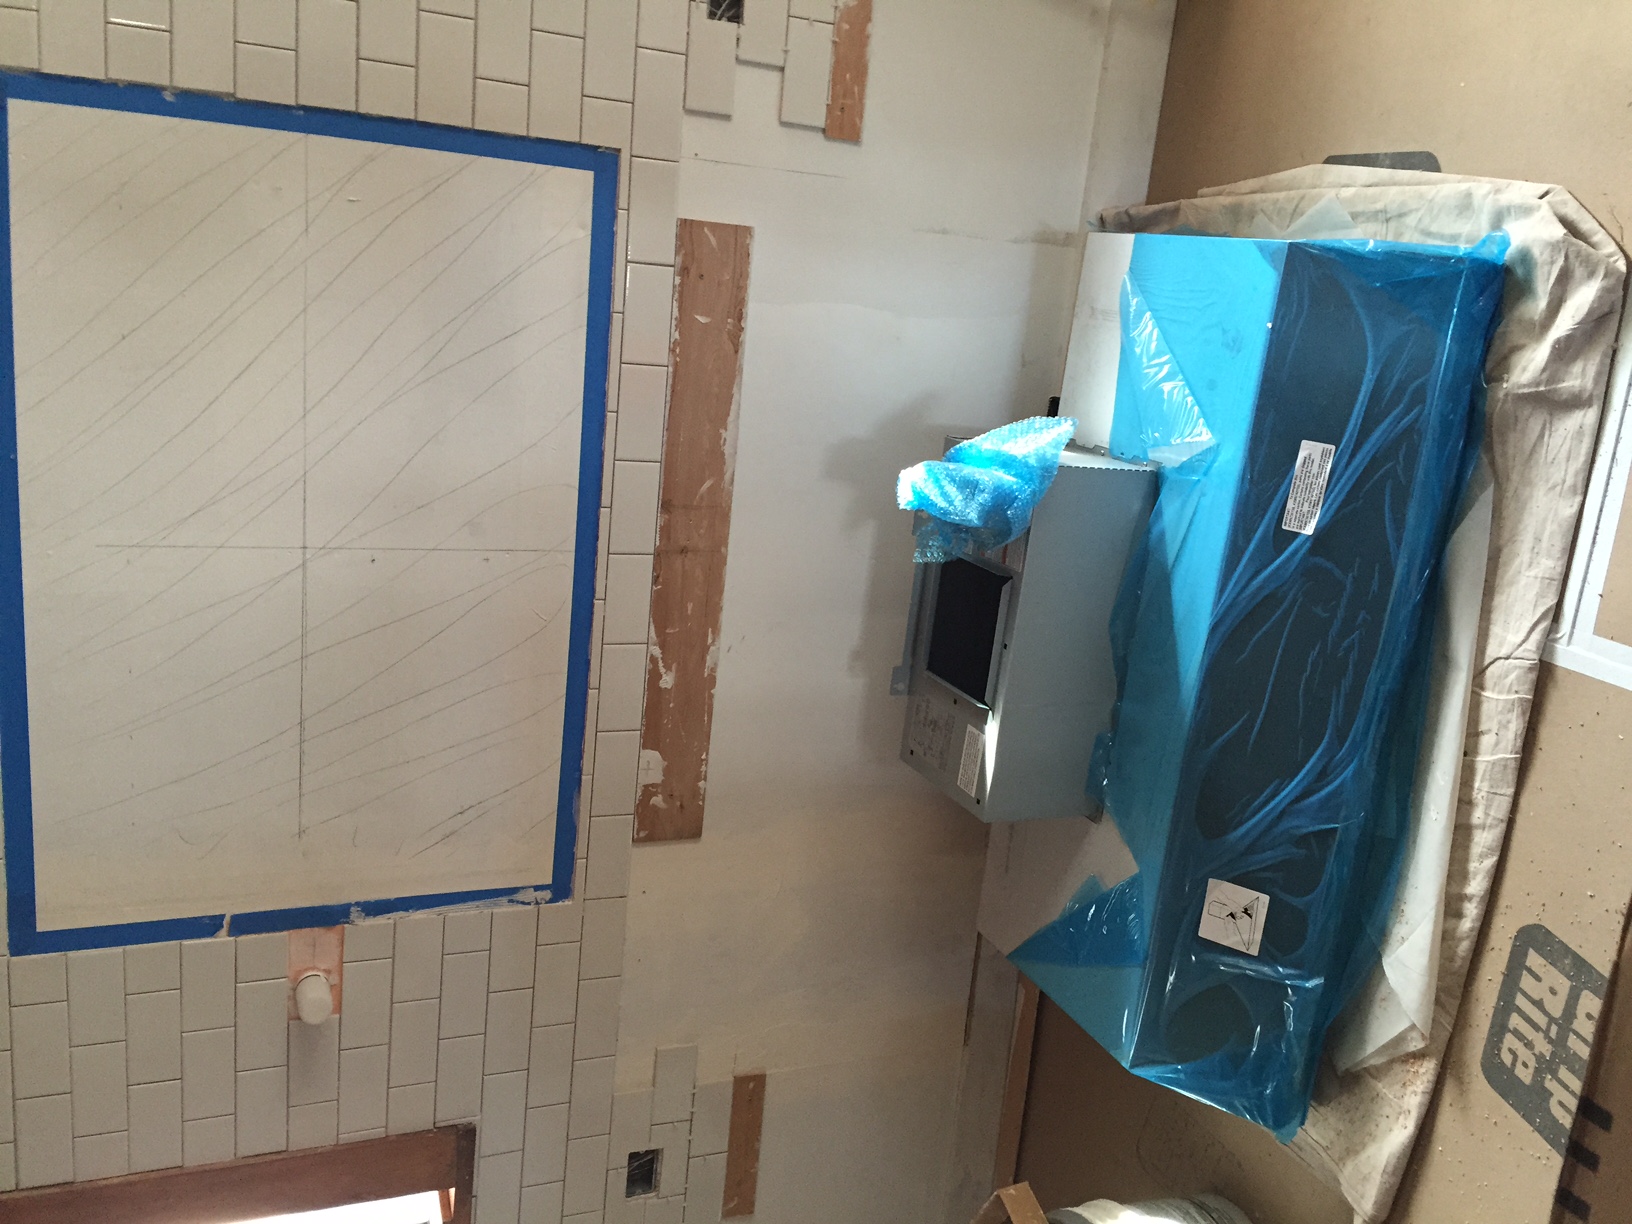
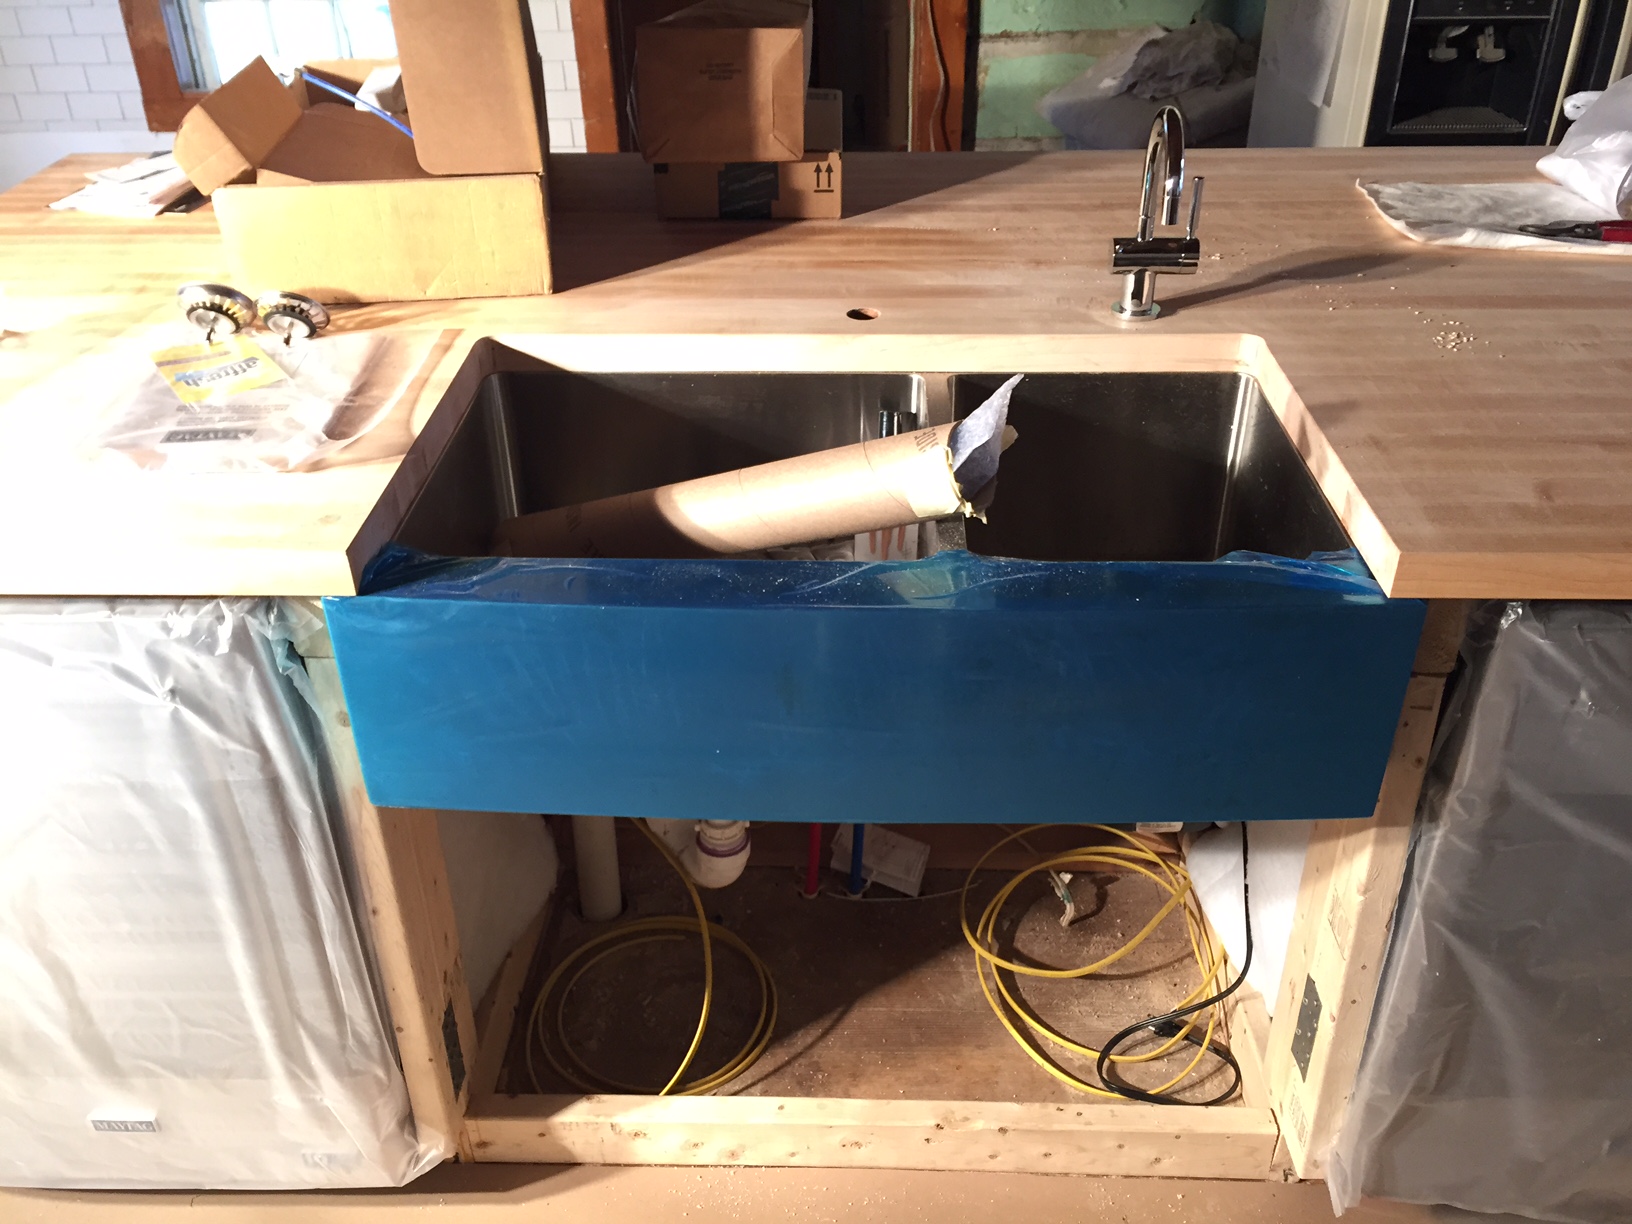
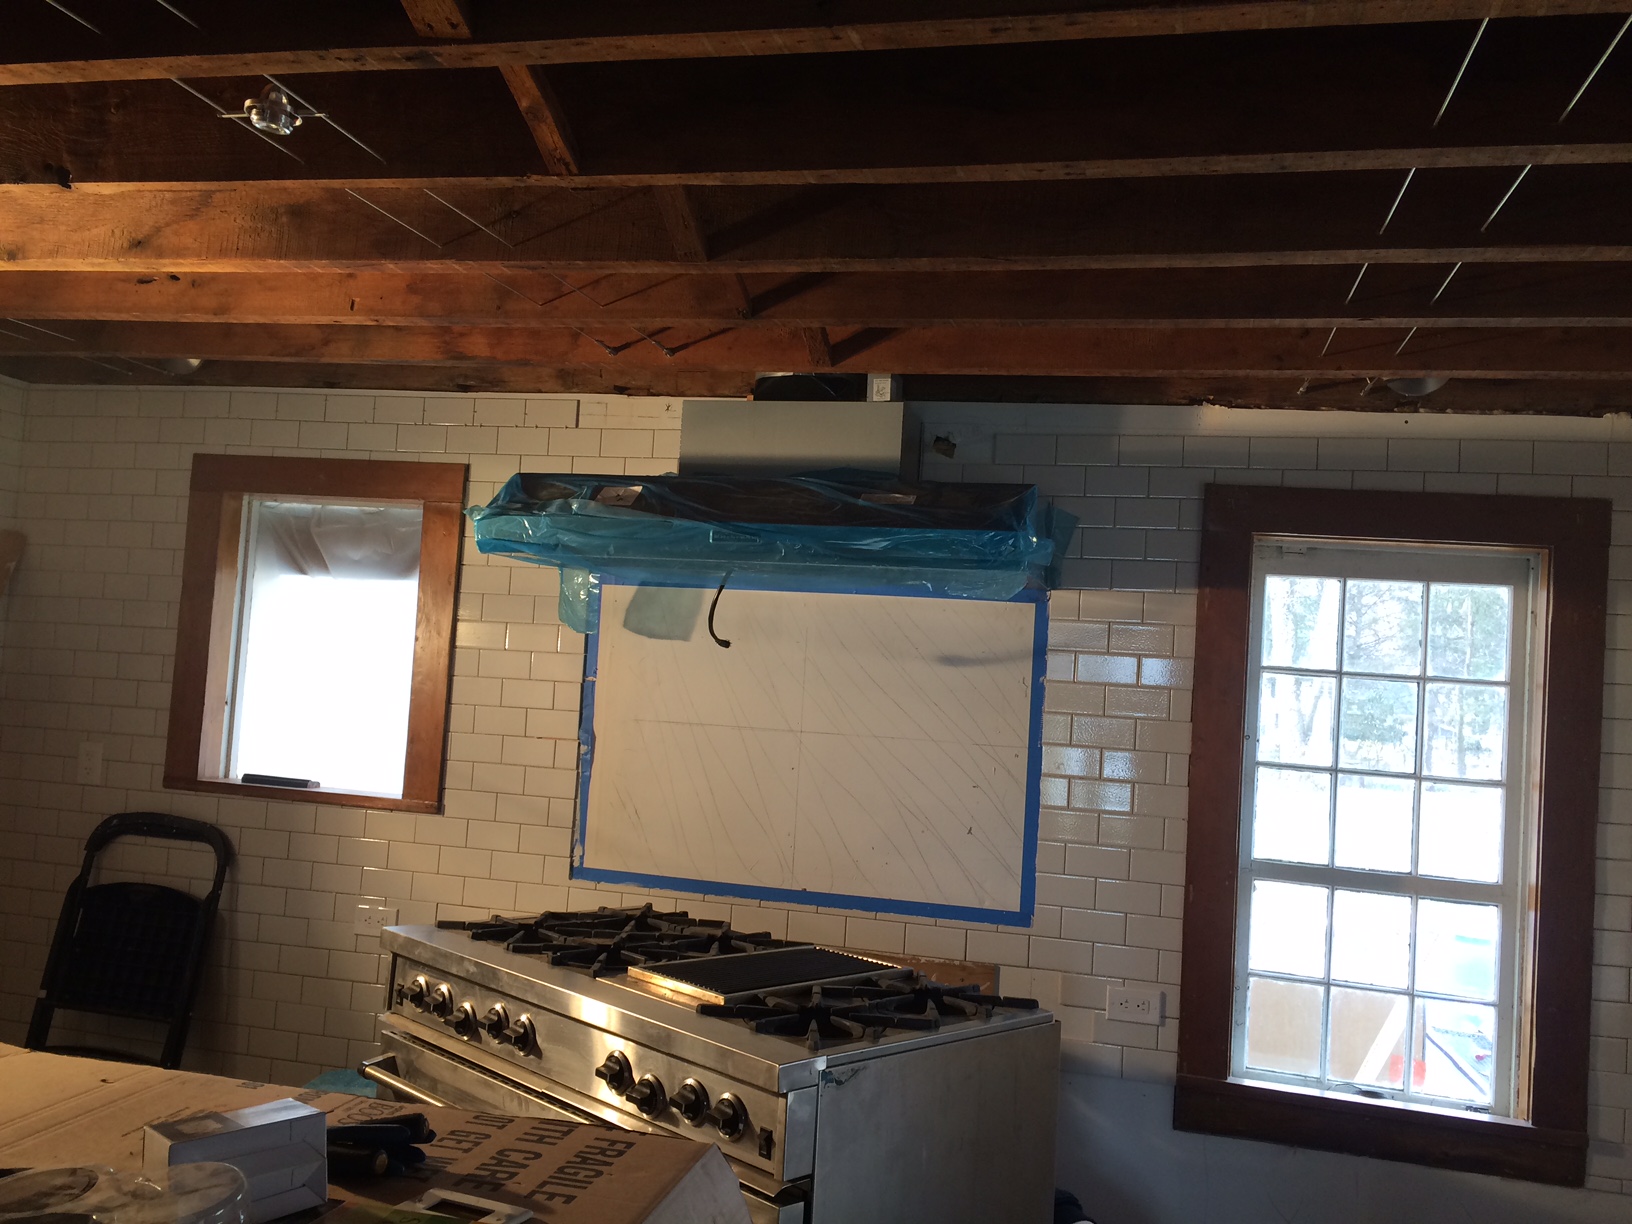
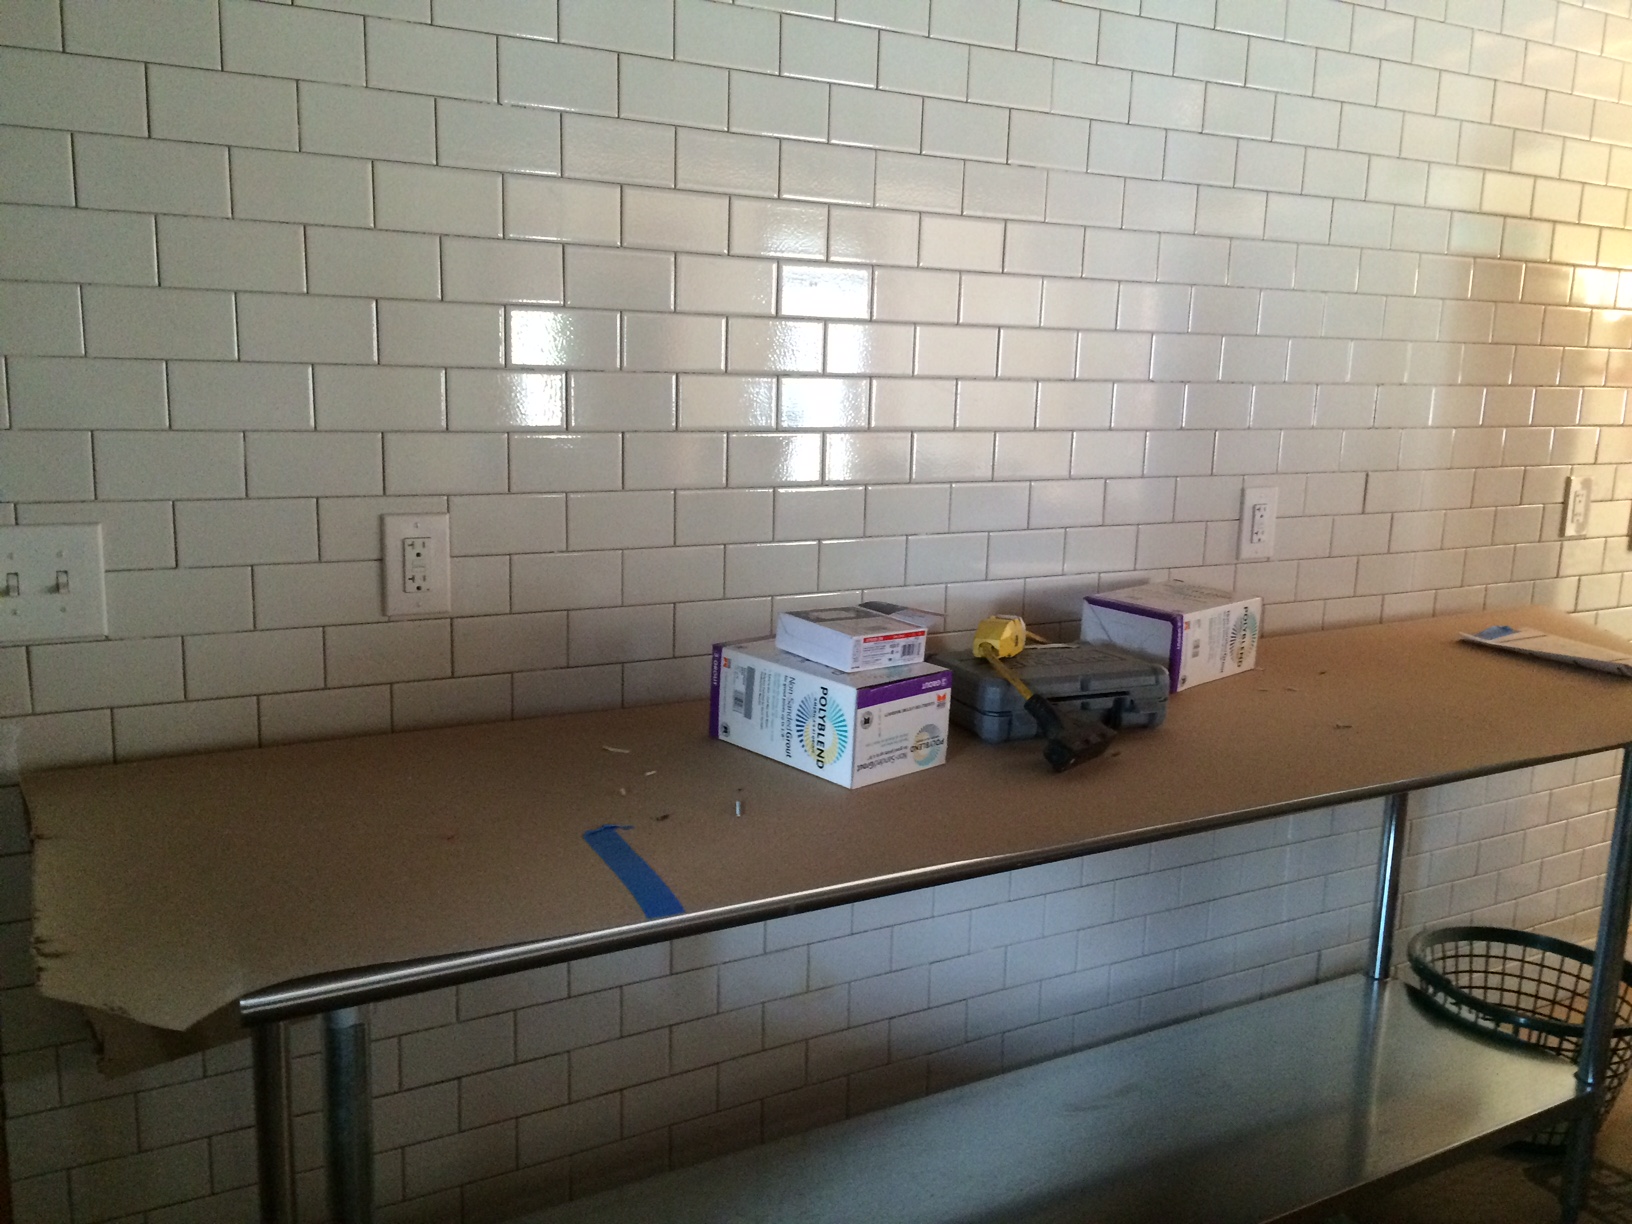
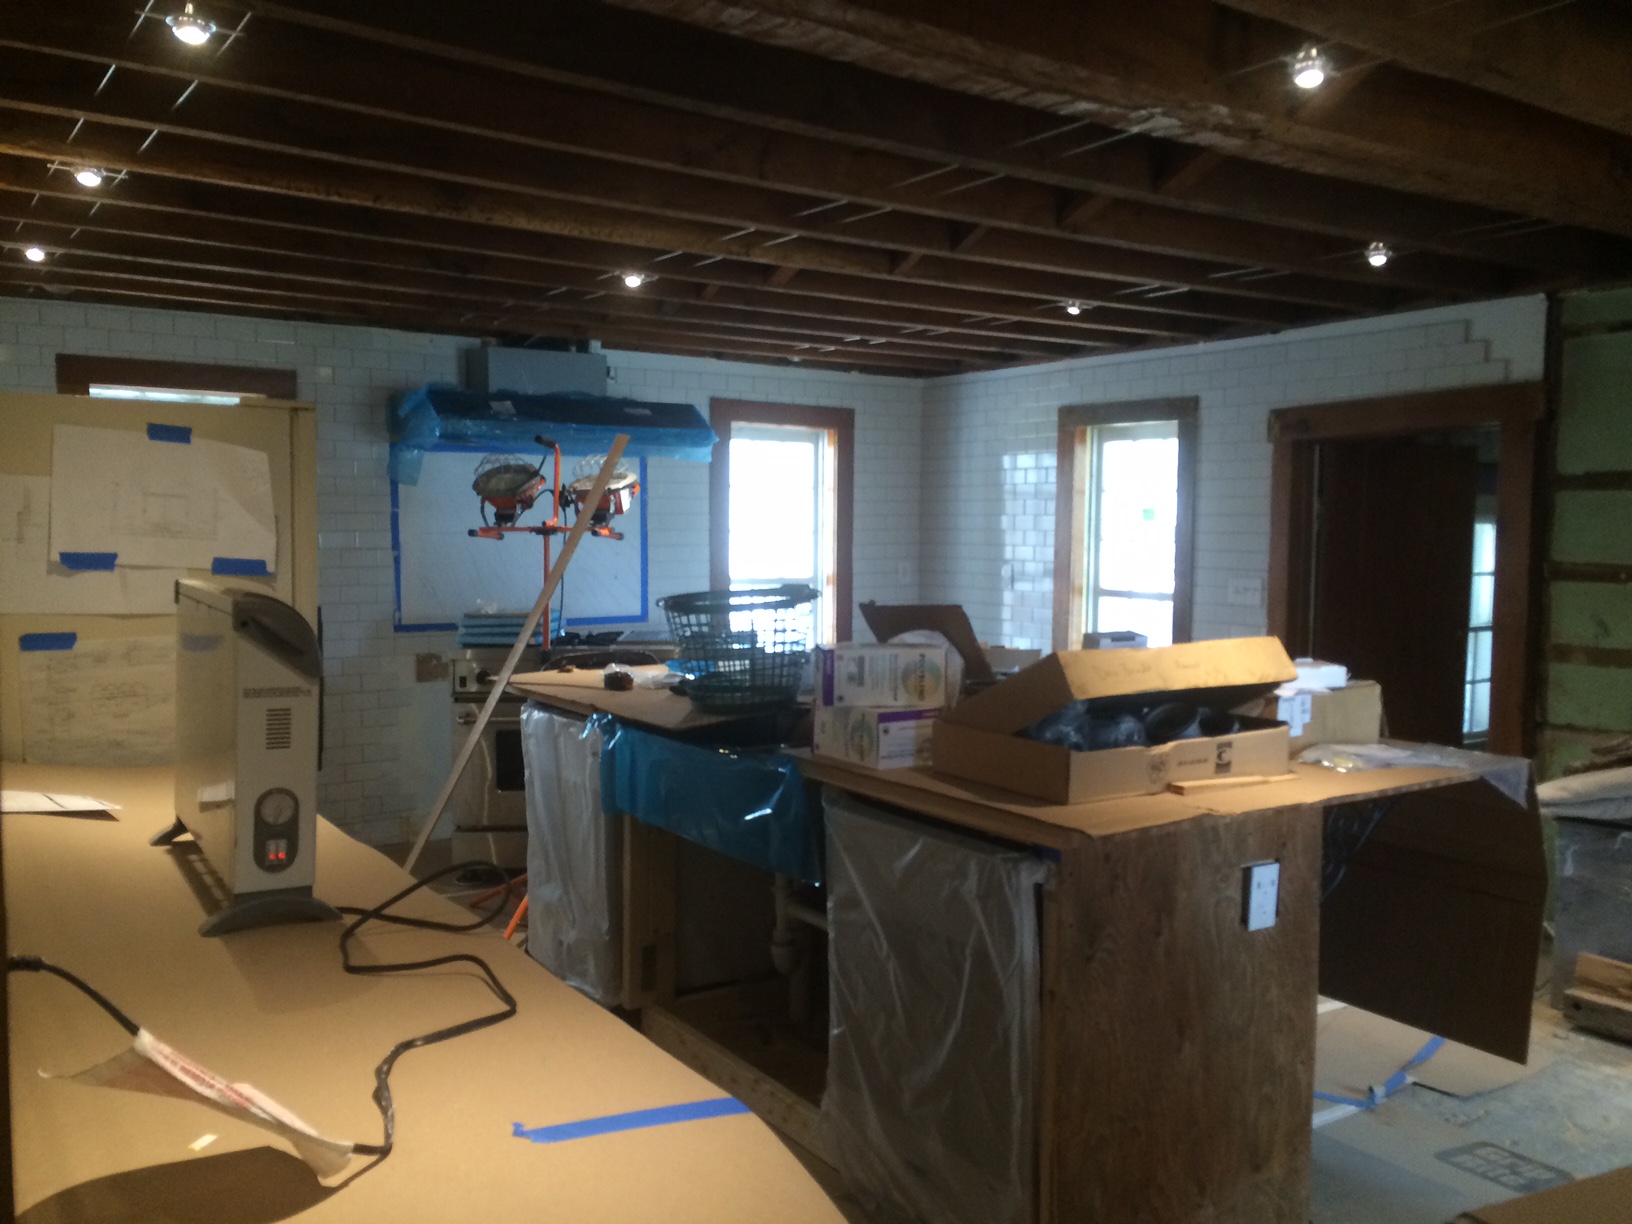
Two wonderful ladies threw a big birthday for me (Graham) this past weekend. It was great to finally put the house through its paces and break the kitchen in a bit. A huge thanks to my wonderful wife Ermela and my talented mom Carol for putting this event together! And now, the pictures can do the talking:

Star

We love our Garland range. It has a great commercial look, two ovens, six burners, and a grill. But those are all aesthetics for the most part, what makes a great stove great is how it cooks. 

See that unusual flame shape? Not a basic ring, but a star, that is what makes this stove so special. It distributes the heat evenly across the bottom of the pan/pot, coupled with fine controls this allows the chef to have a perfect simmer, or just all out high power fast boiling heat. So there you have it, we love our Garland and look forward to it's many years of service. 

Window on the World

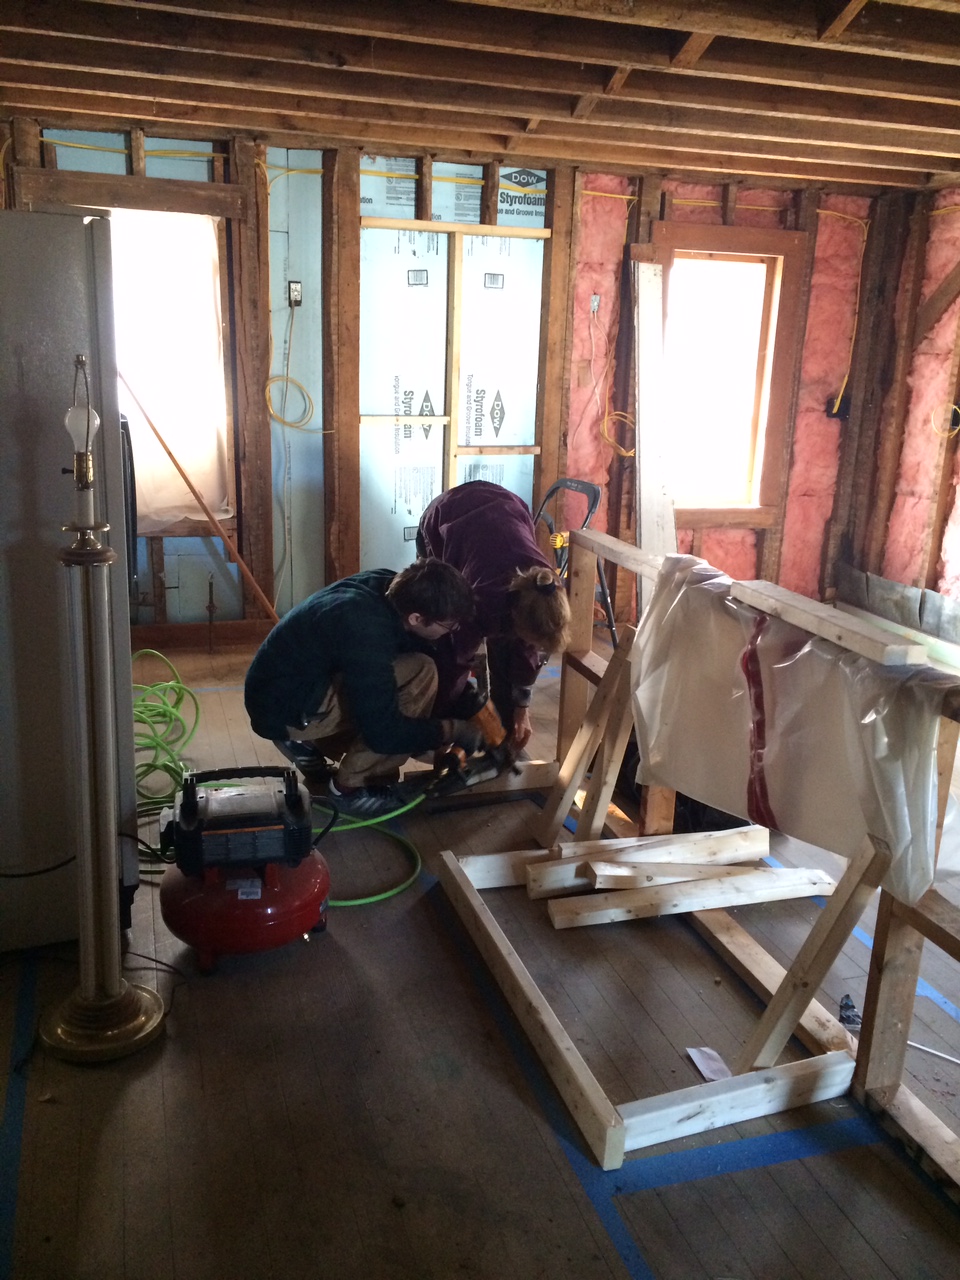
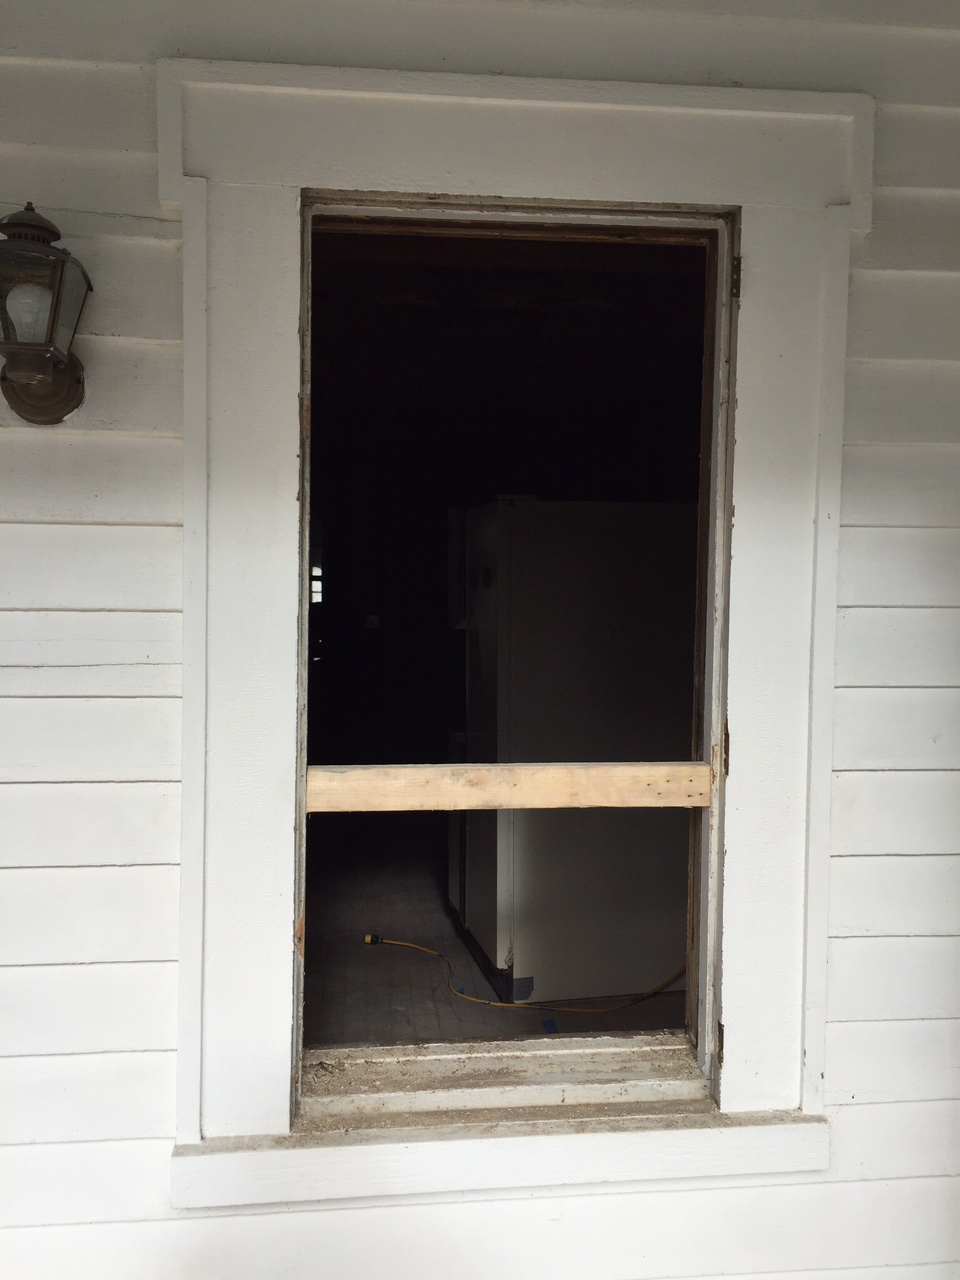
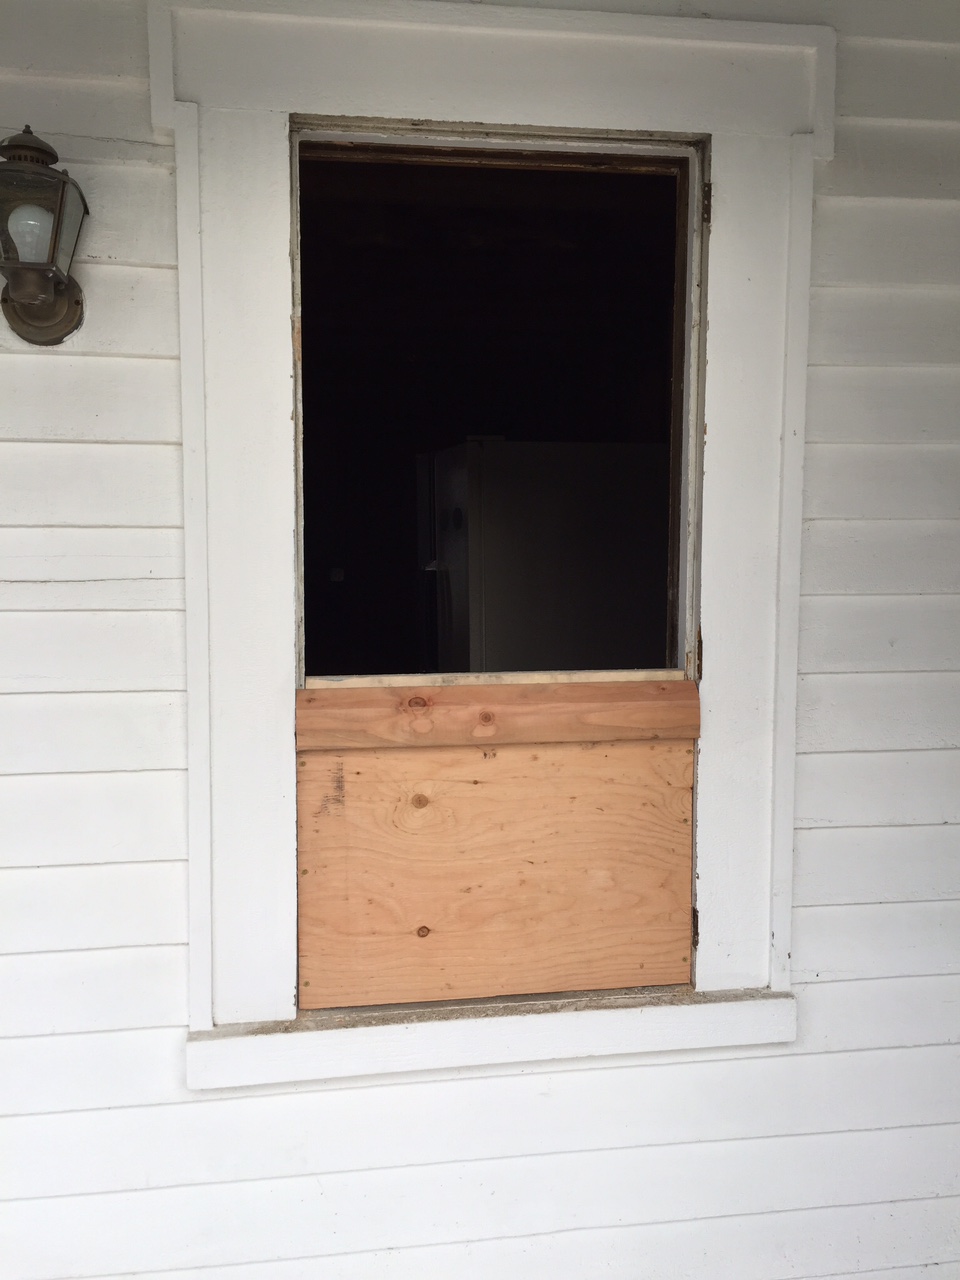
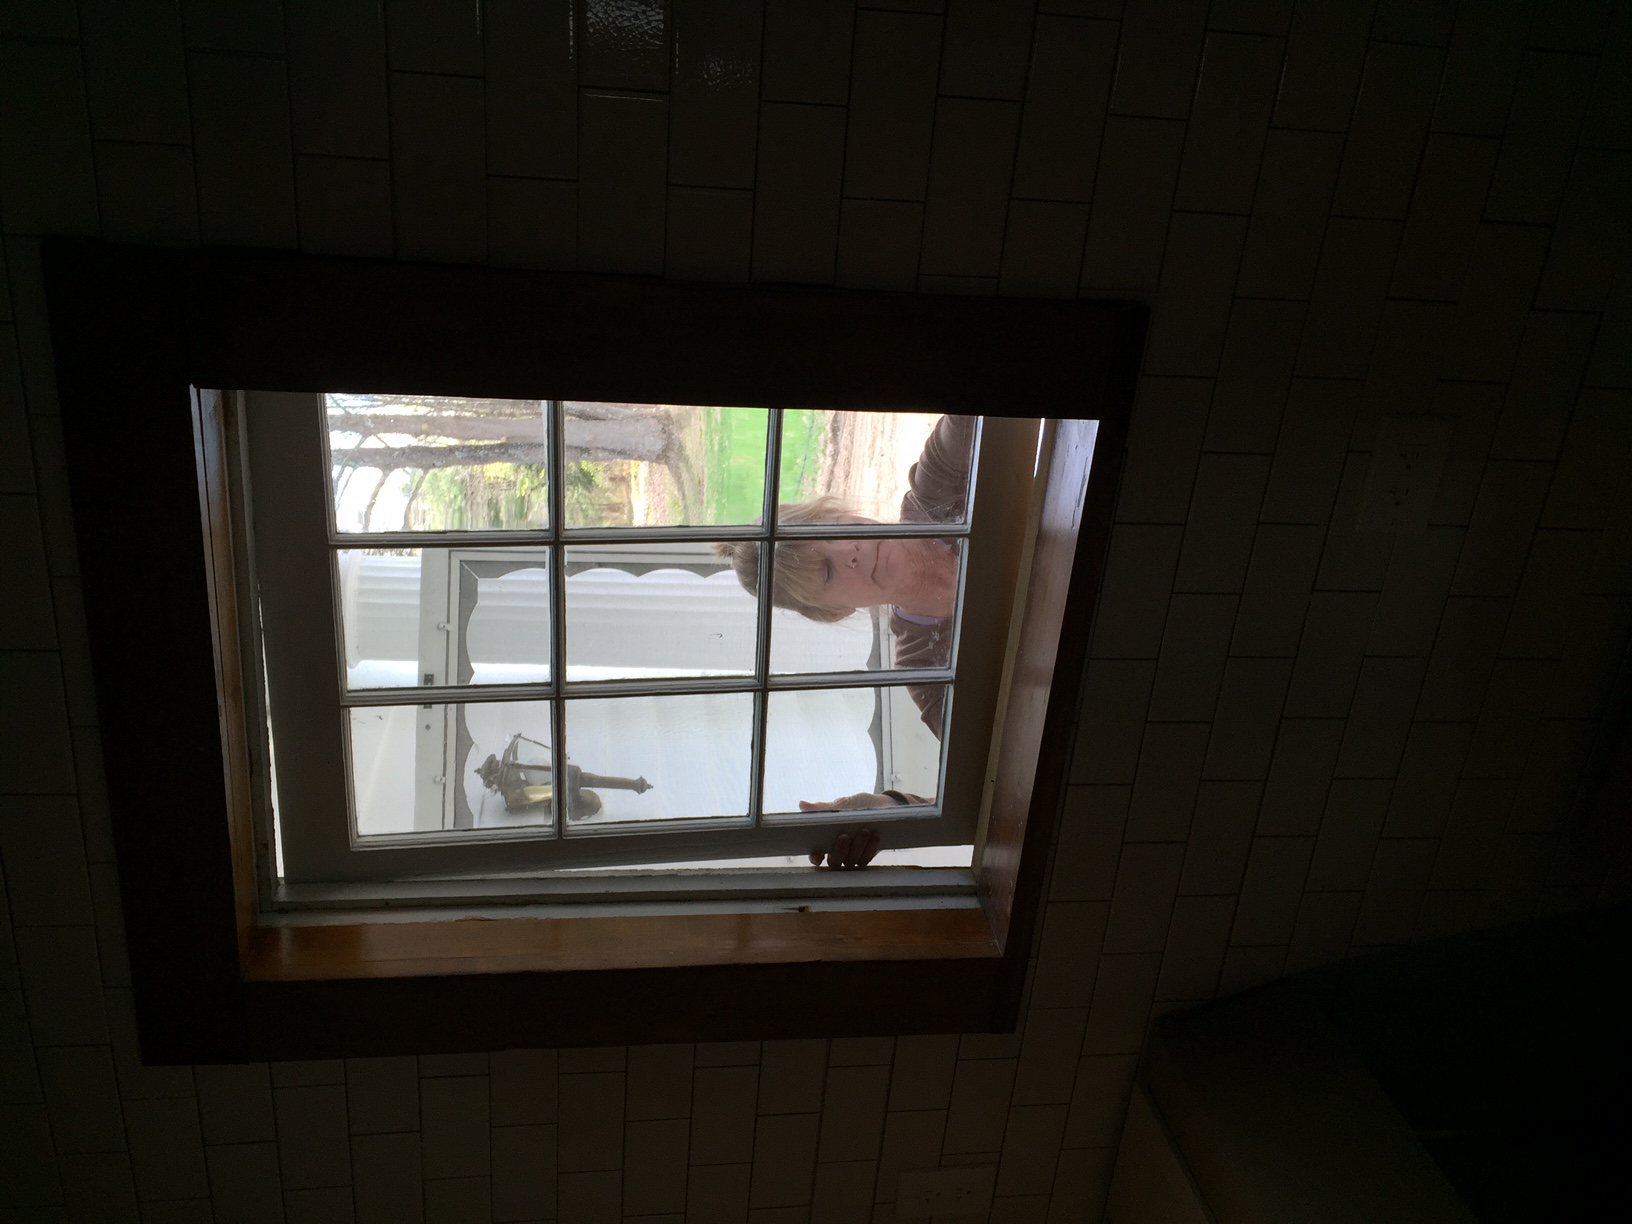
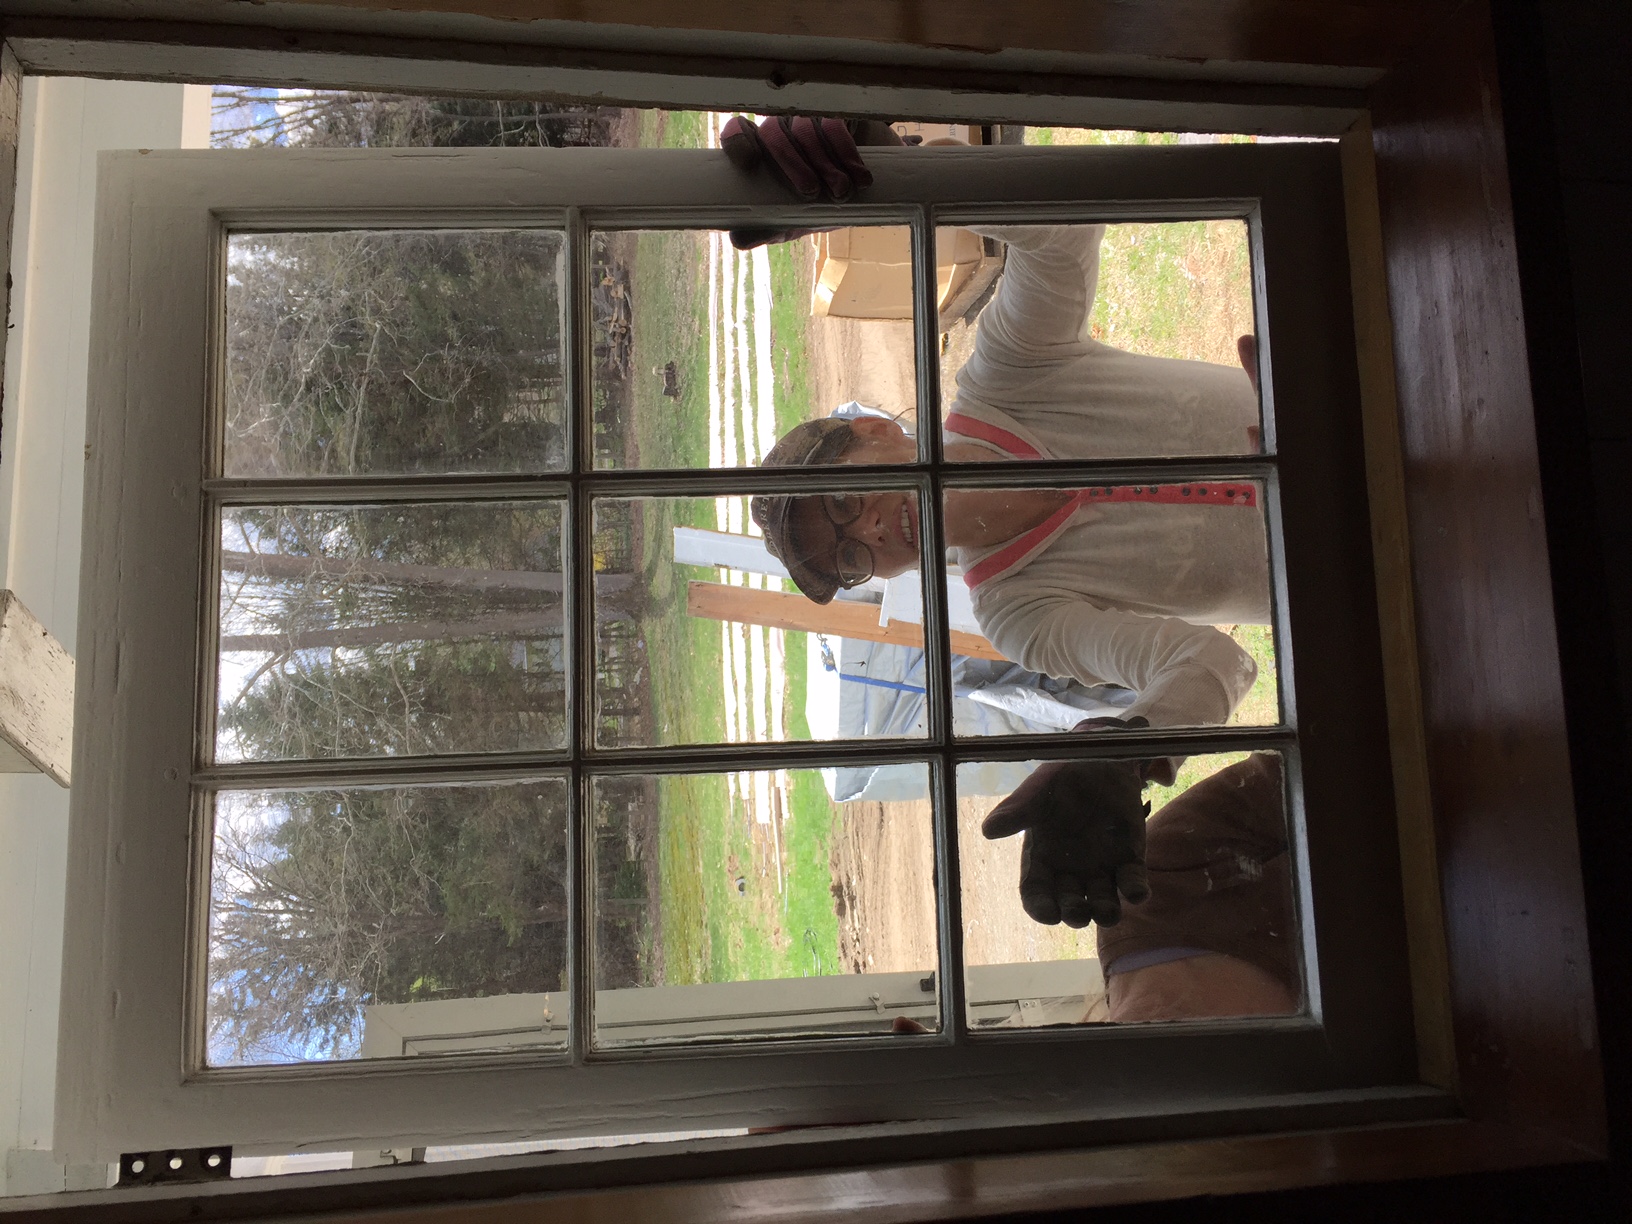
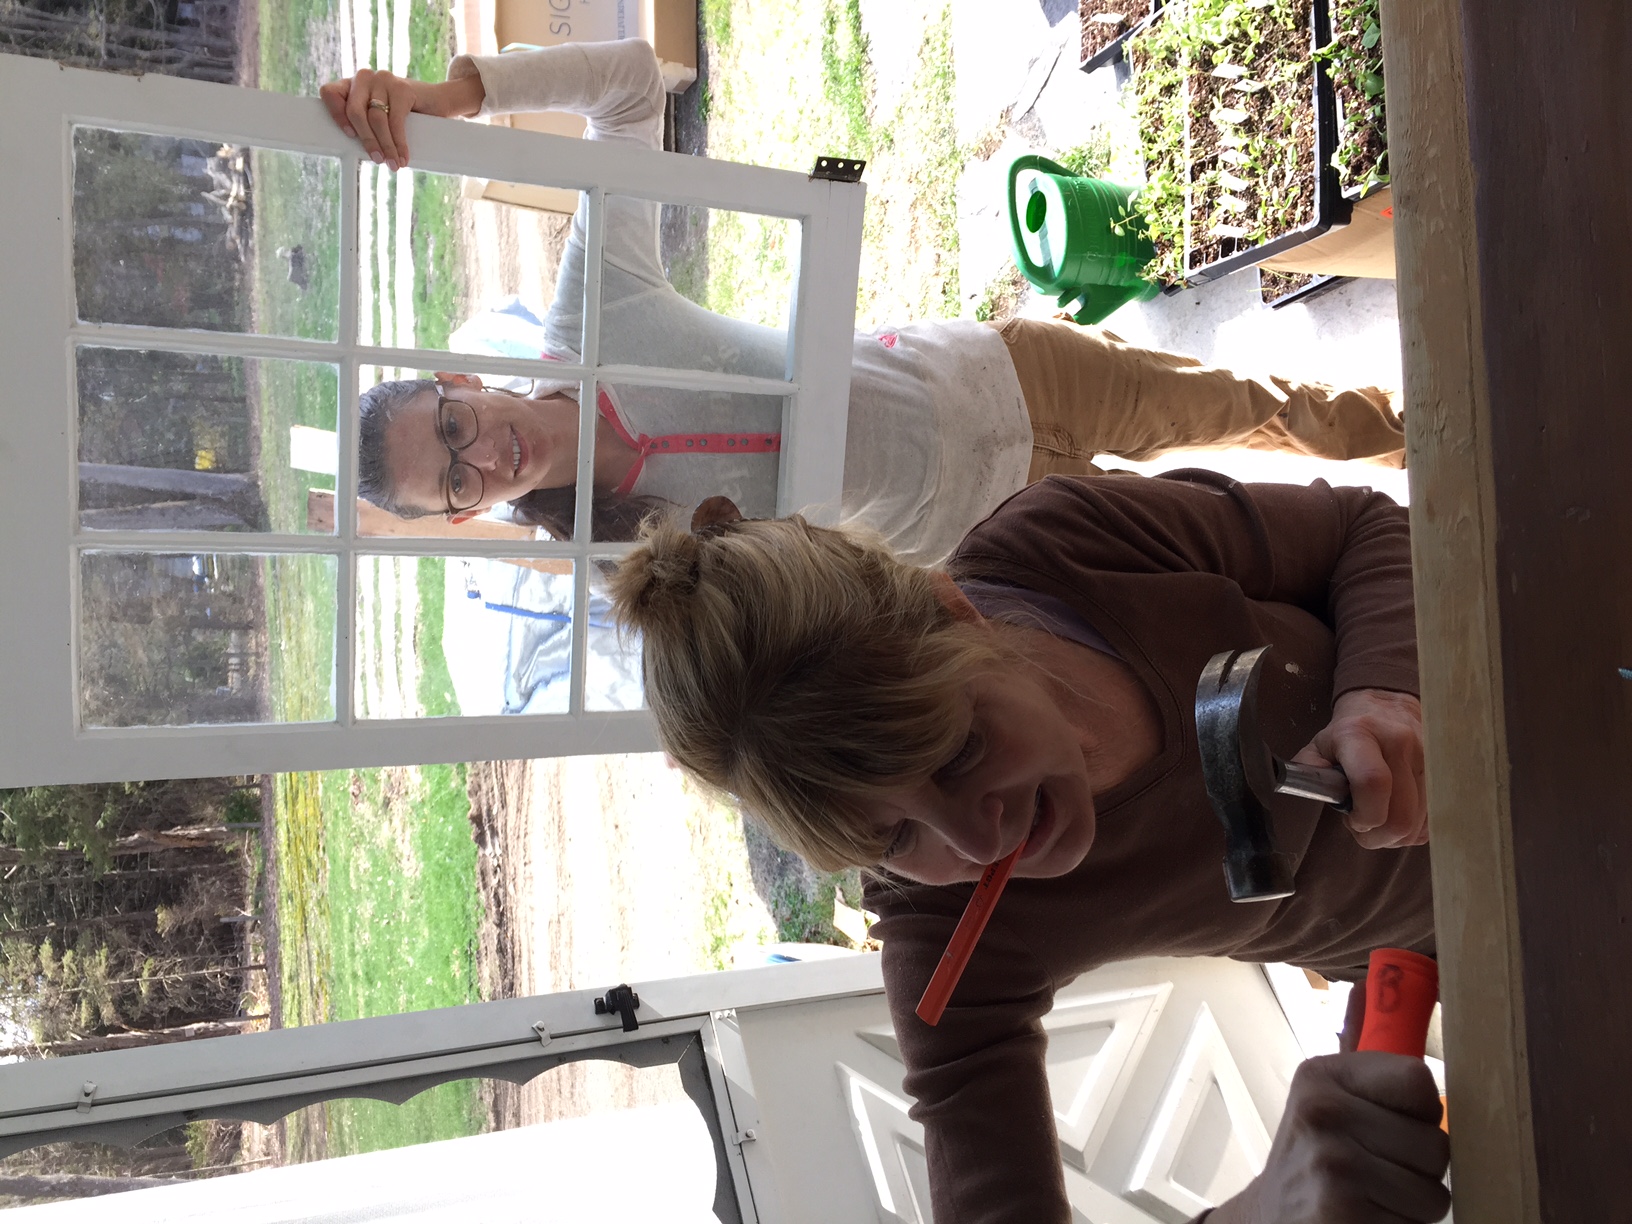
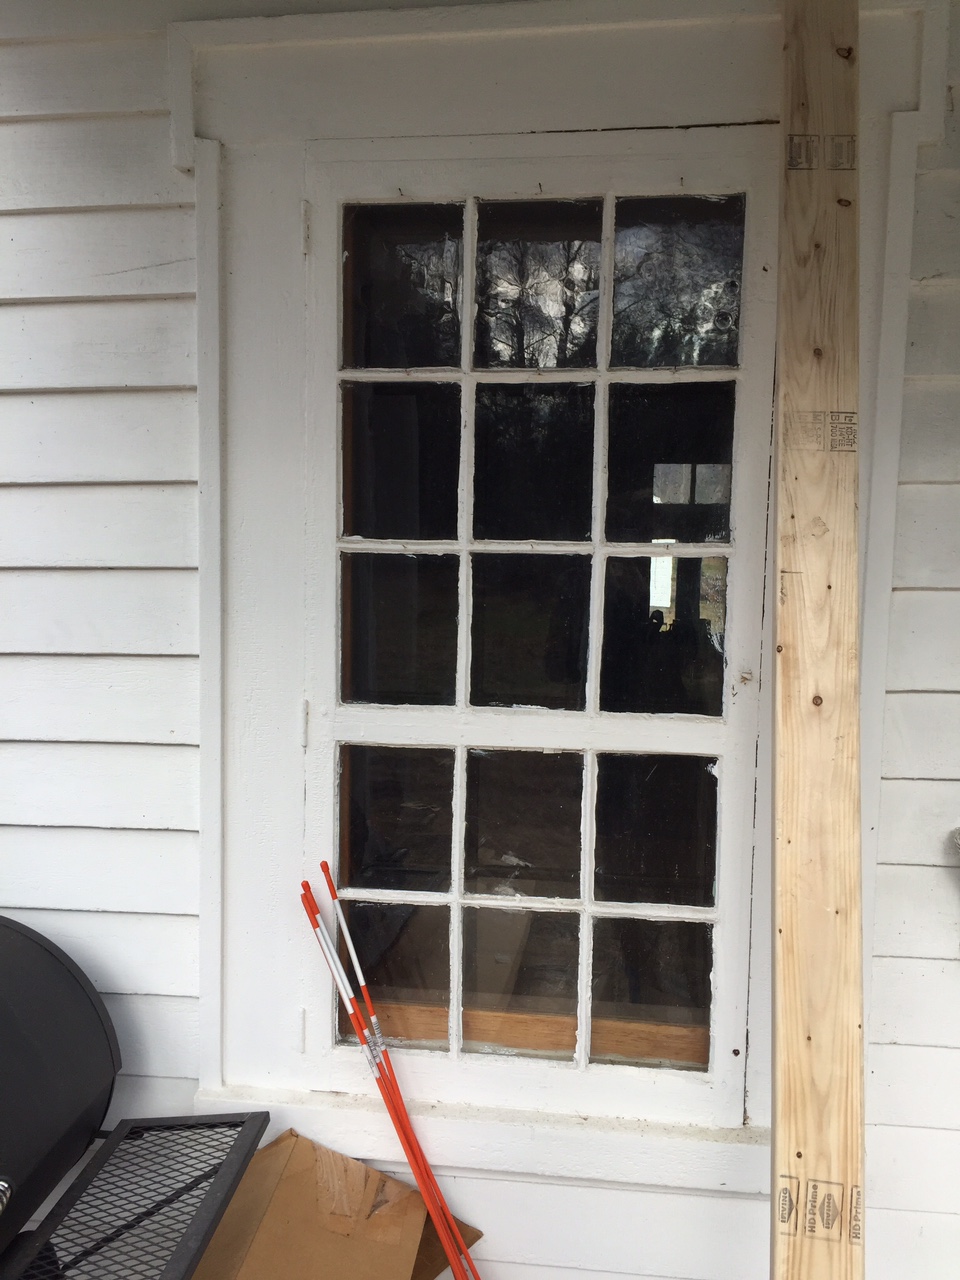
Our kitchen is occupying the space in the house that appears to have been a kitchen for the better part of 250 years. That is great in that it has character and has probably seen more meals than a McDonalds at rush hour, BUT styles and equipment change with the times and our new kitchen necessitated some window reconfiguring. When we got the house the windows in this section were screwed and painted shut with cracked panes, missing glazing putty (the stuff that holds the windows in the mullions/muntins) and the lower panes were blocked by cabinets and looked in under the sink. We considered what felt like hundreds of different layout options but in the end realized that we just couldn't give up the counter space, but we also didn't like standing on the porch and looking through the lower window panes under the cabinets. With that decision made we started looking for replacement windows, custom windows, side sliders, the list goes on and on but none of them looked right. We are talking about original windows in one of the oldest parts of the house, we just couldn't muddle it with something that wasn't true to the original. That is when Carol had a brilliant epiphany - why not cut the original window down to a shorter height and rebuild the bottom sill? This epiphany could only come from someone with immense confidence in their millwork skills.... and that is what she did. We have the original window but at a counter height with the original hinges and some of the original glass... can't get much truer to the heart of the house than that!

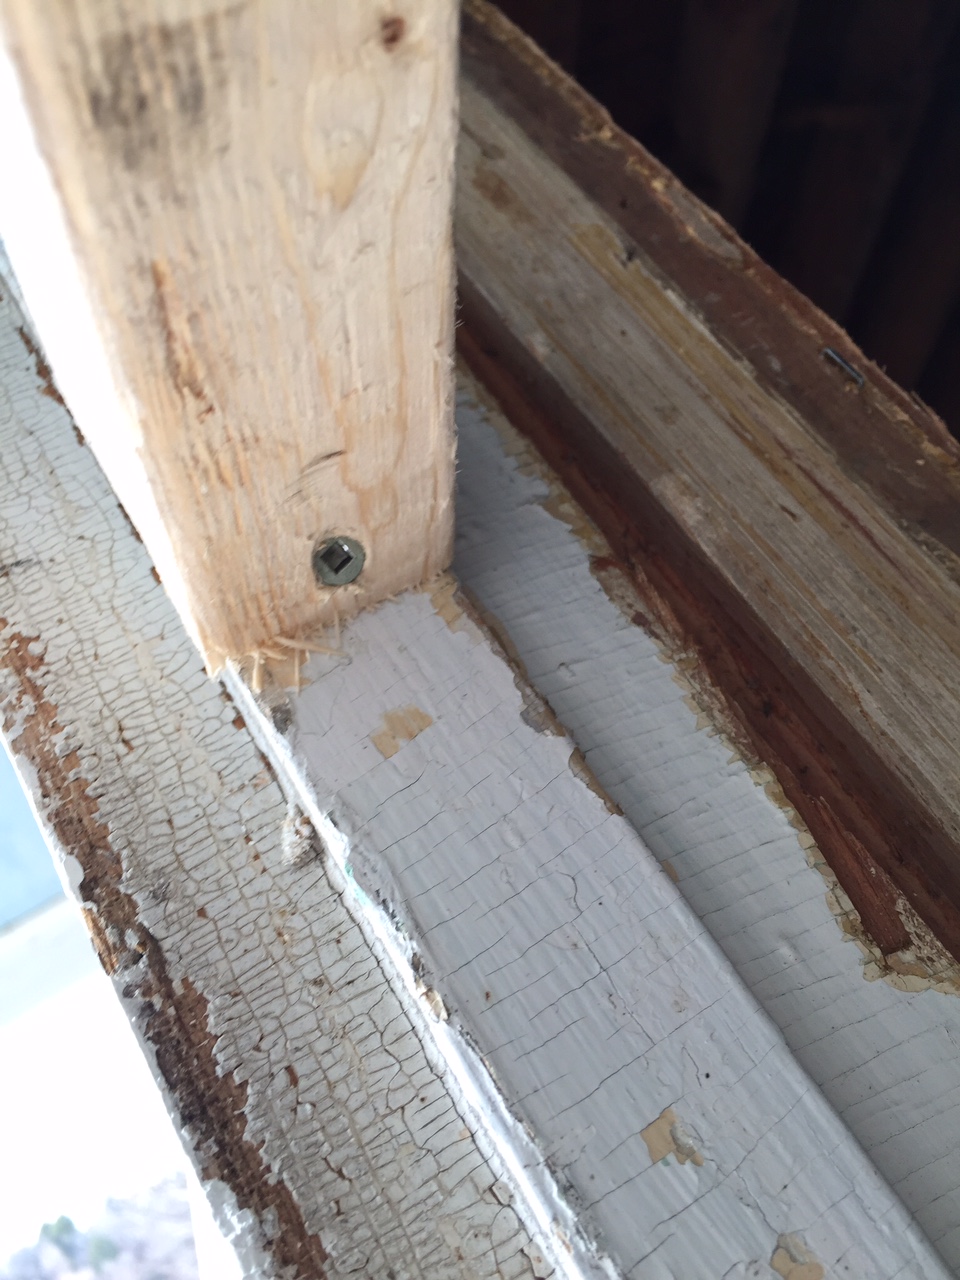
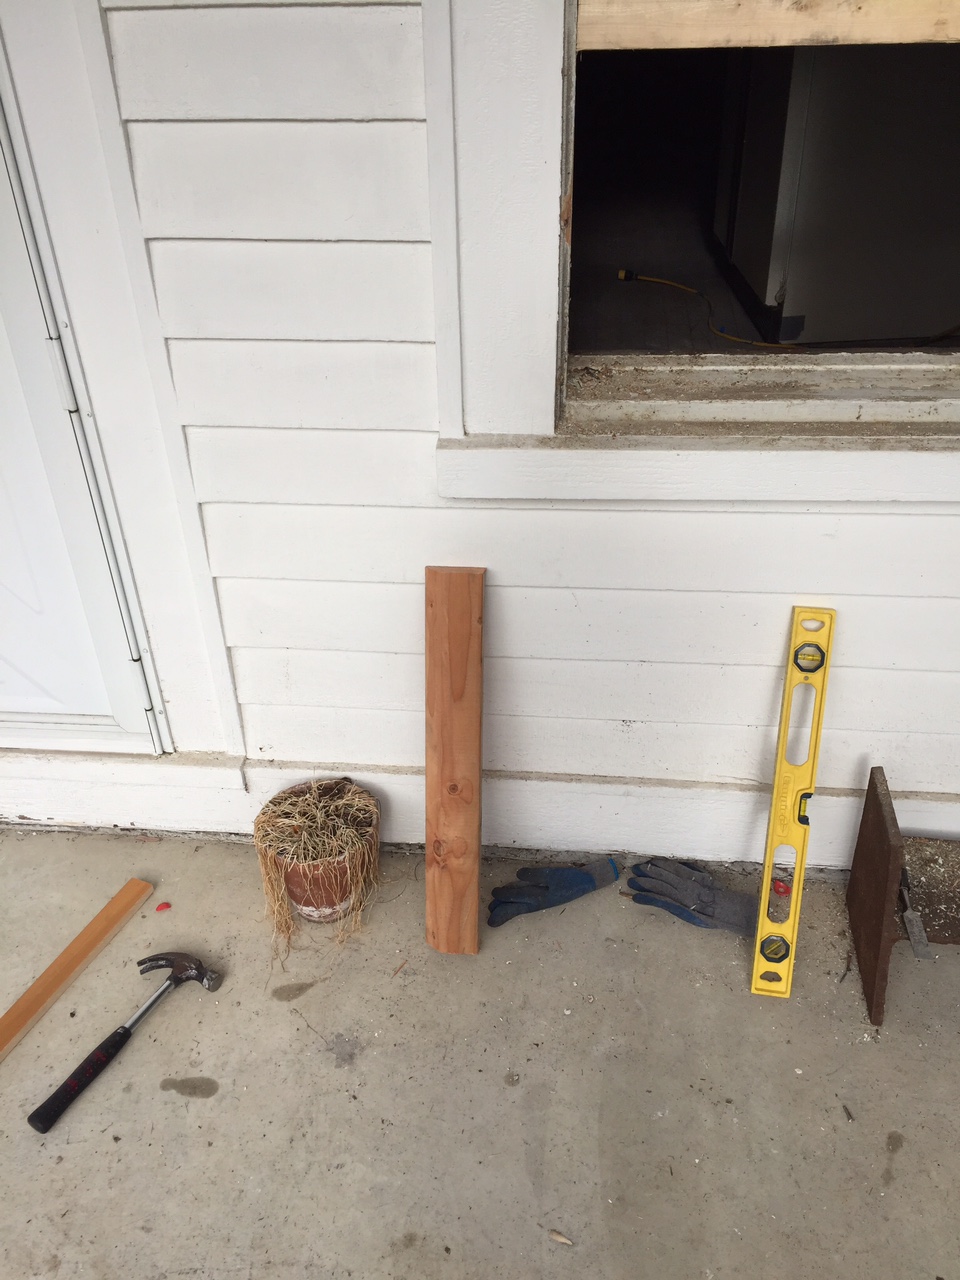
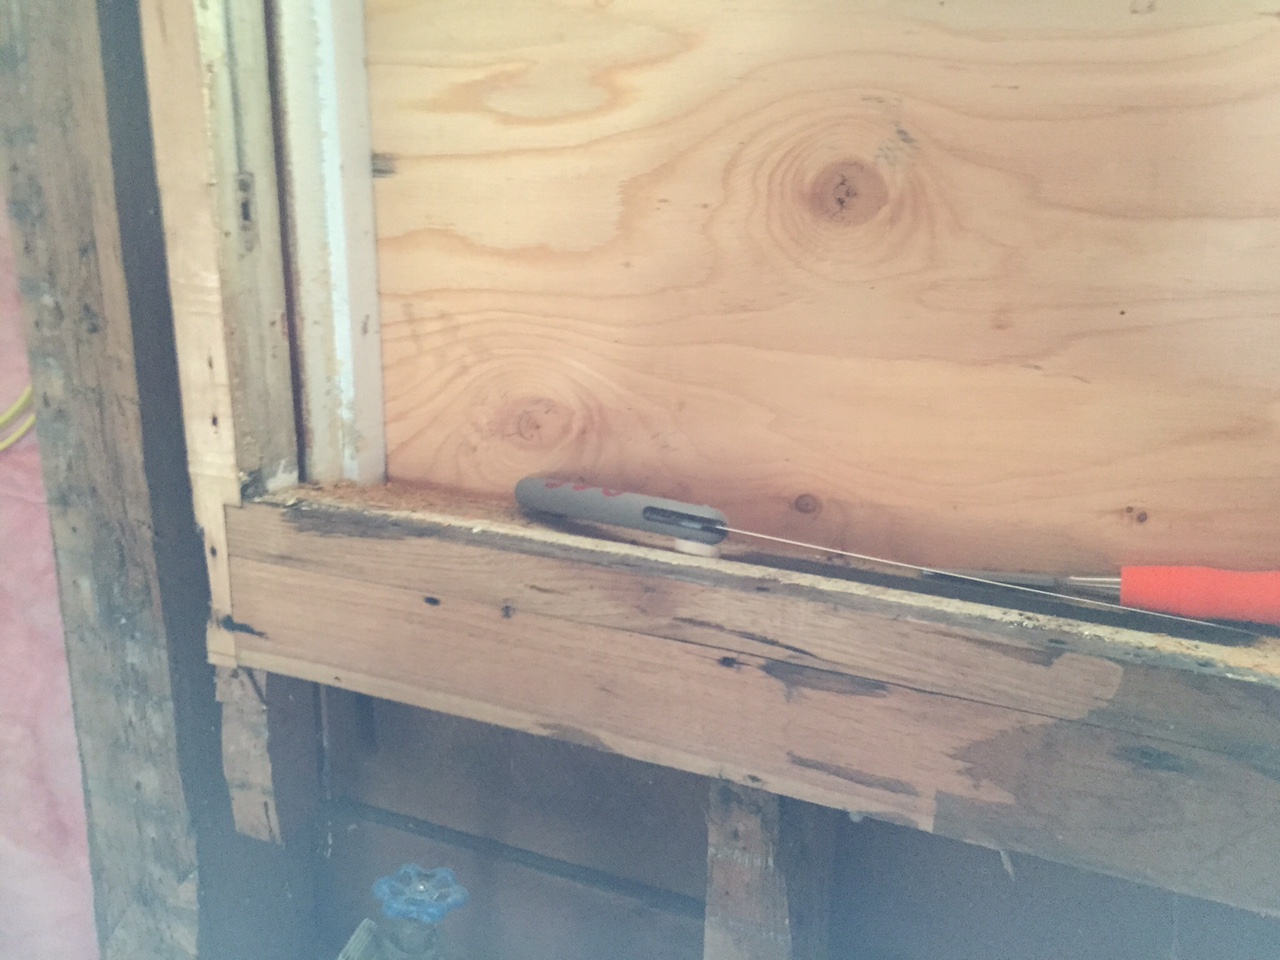
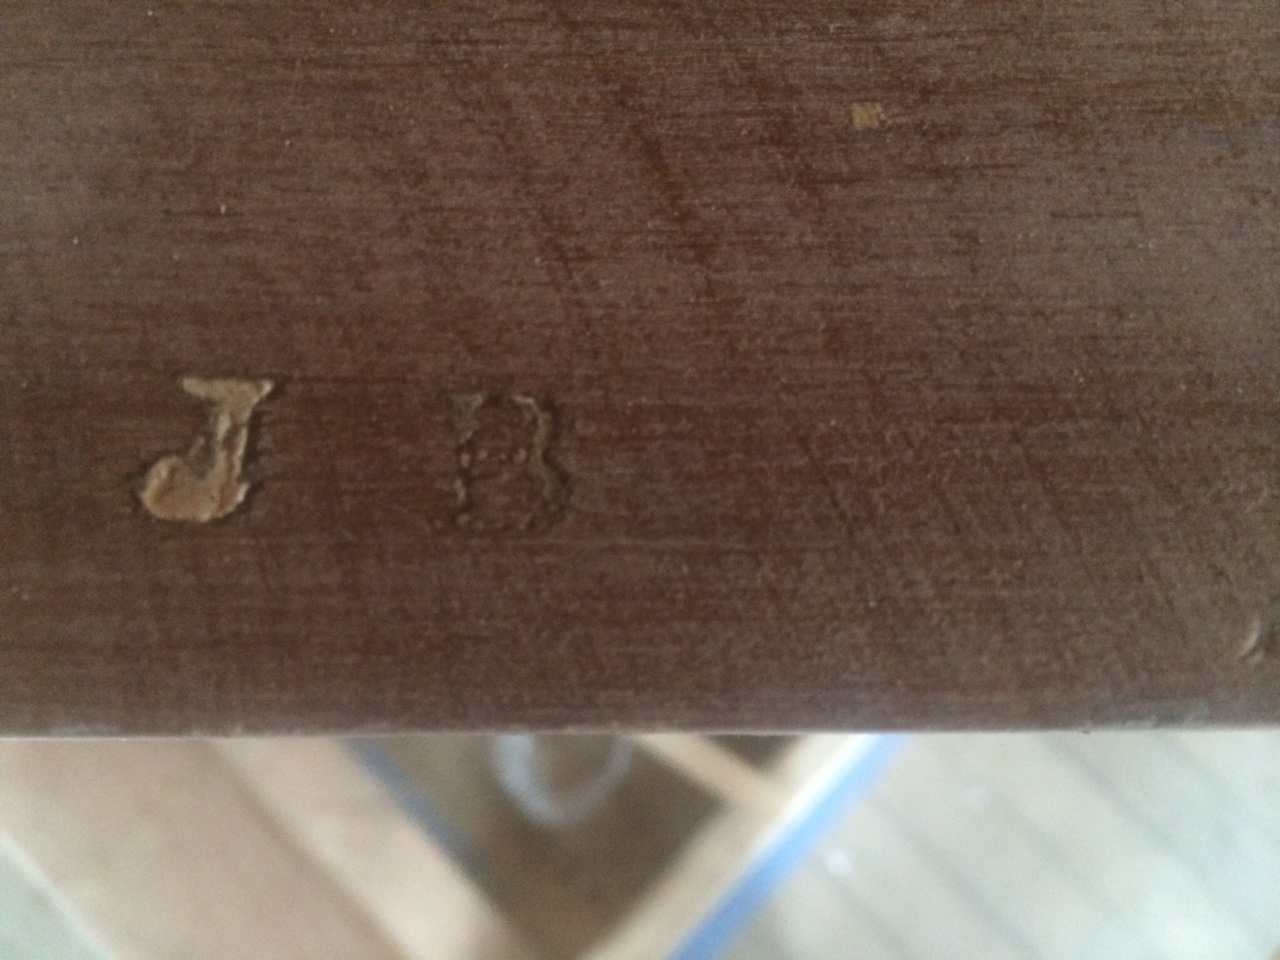
At some point we will get around to doing a proper post on old window repair/rebuilding, there actually aren't many good sources of info out there on it. For now we will just go over the basics. The individual panes are held in place by metal points and glazing putty. Over time the putty dries out and the points work loose and the panes get loose, or sometimes they get broken by forgetting to open the window before throwing something out (another story). The re-glazing process takes several weeks because the putty has to dry and then be painted and then set aside to cure, so that is pretty much what happened over the winter months, those same winter months we had a lovely sheet of plastic for a window. While Carol re-worked the window and glazed it we had to frame in a new window sill. This is not terribly hard as long as you build with water in mind. Make sure there are no places for it to collect and make sure the shape allows the water to be shed. Carol again put her millwork skills to use by salvaging old wood framing from other demolished areas in the house to create the new window sill and frame; it matches the other windows perfectly. She even managed to find a piece that was stamped with one of the original owner's initials and used it for the window sill, it is really a great little touch of history.

With all that heavy lifting done it was just a matter of waiting for a sunny day, then all three of us pulled the old window out of its winter storage corner, found some good new screws, and put the window in. A true testament to Carol's skills in that it worked on the first try and swings perfectly. Now for some new hardware and it will be good to go for another hundred years.


Kitchen Reminiscent

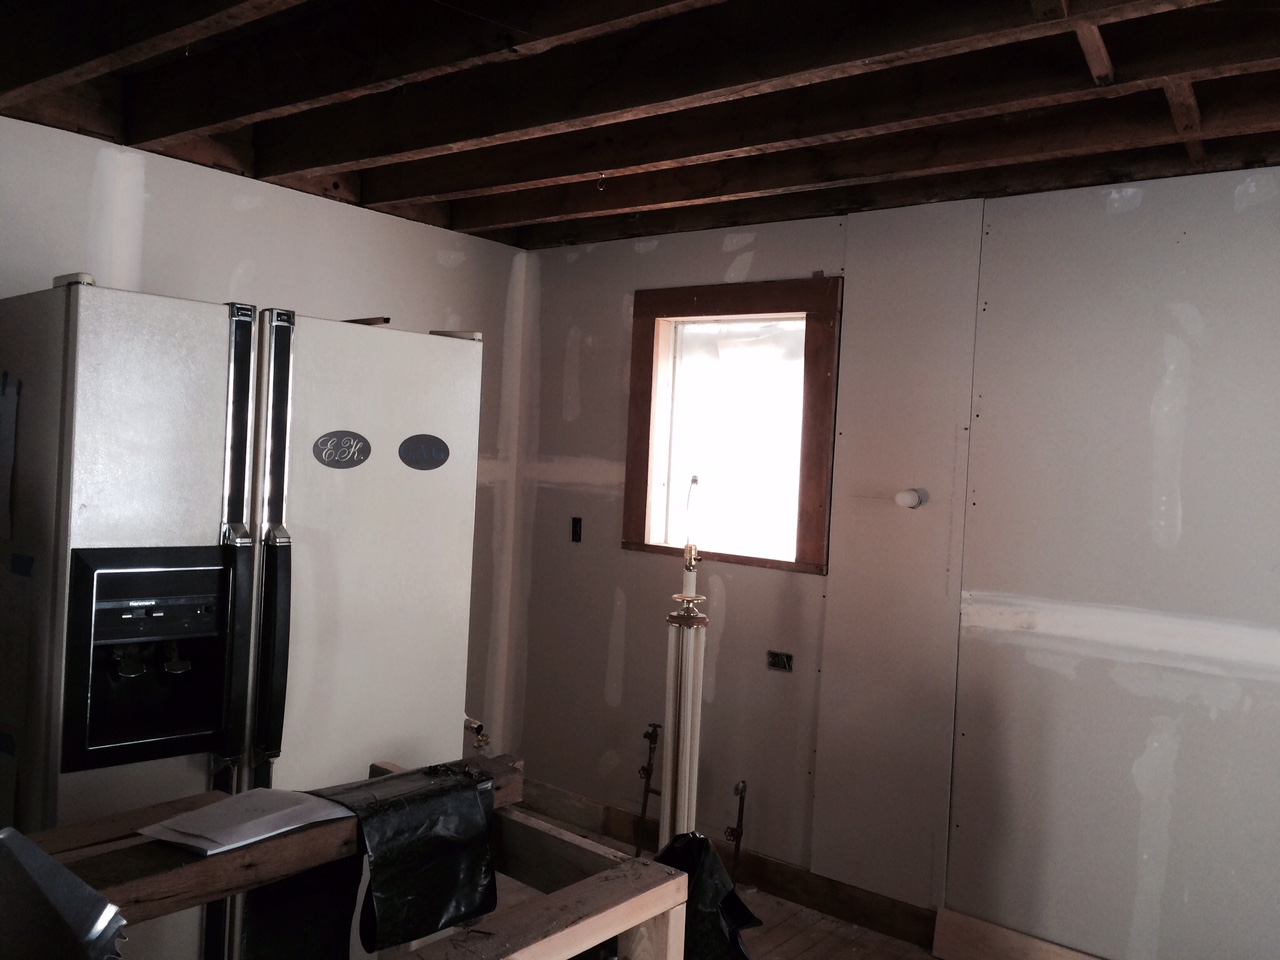
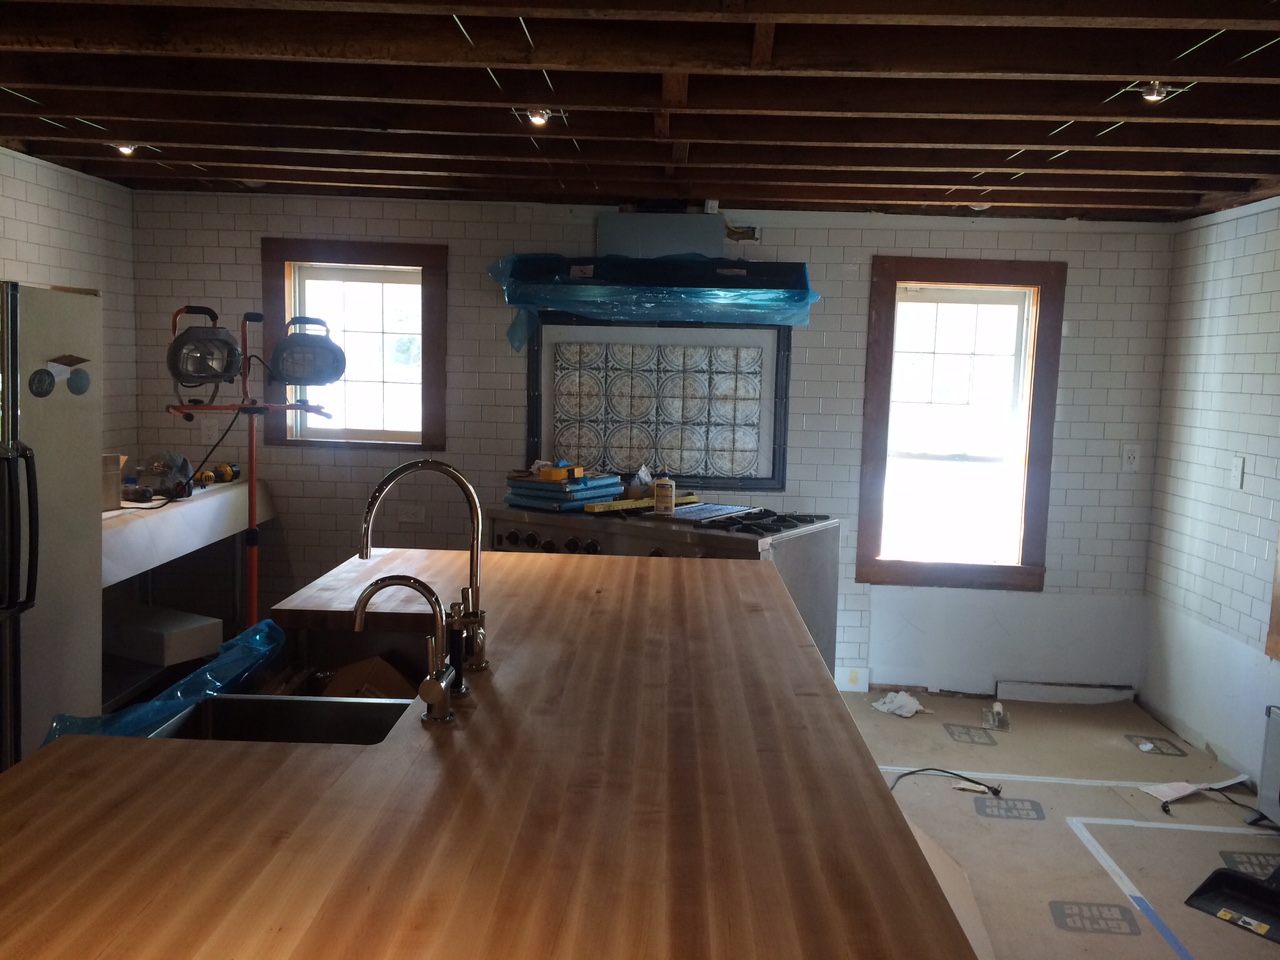
It is still far from complete, but the kitchen is starting to take shape. There will be lots more details to follow regarding tiling and lighting and layout choices, but for now, here are a few pictures to prove that we do intend to cook in the big house one of these days.
 

New Old Floors

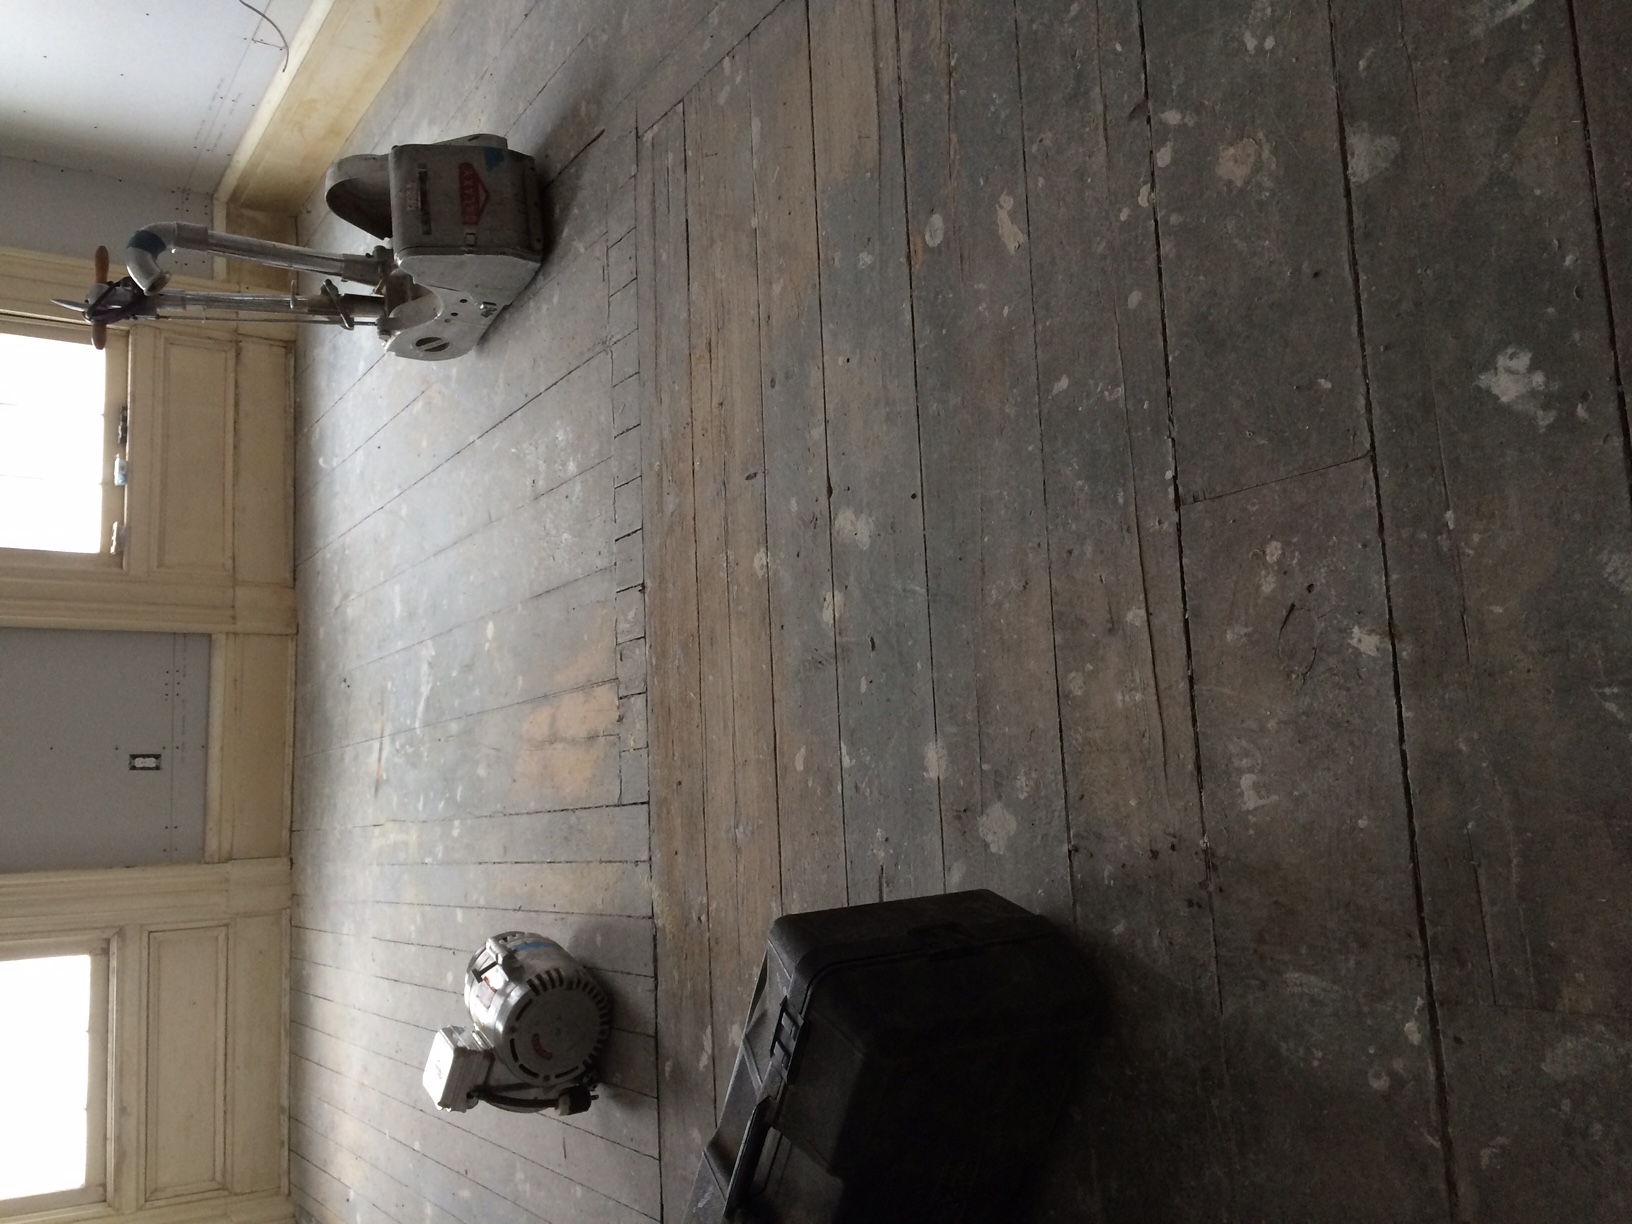
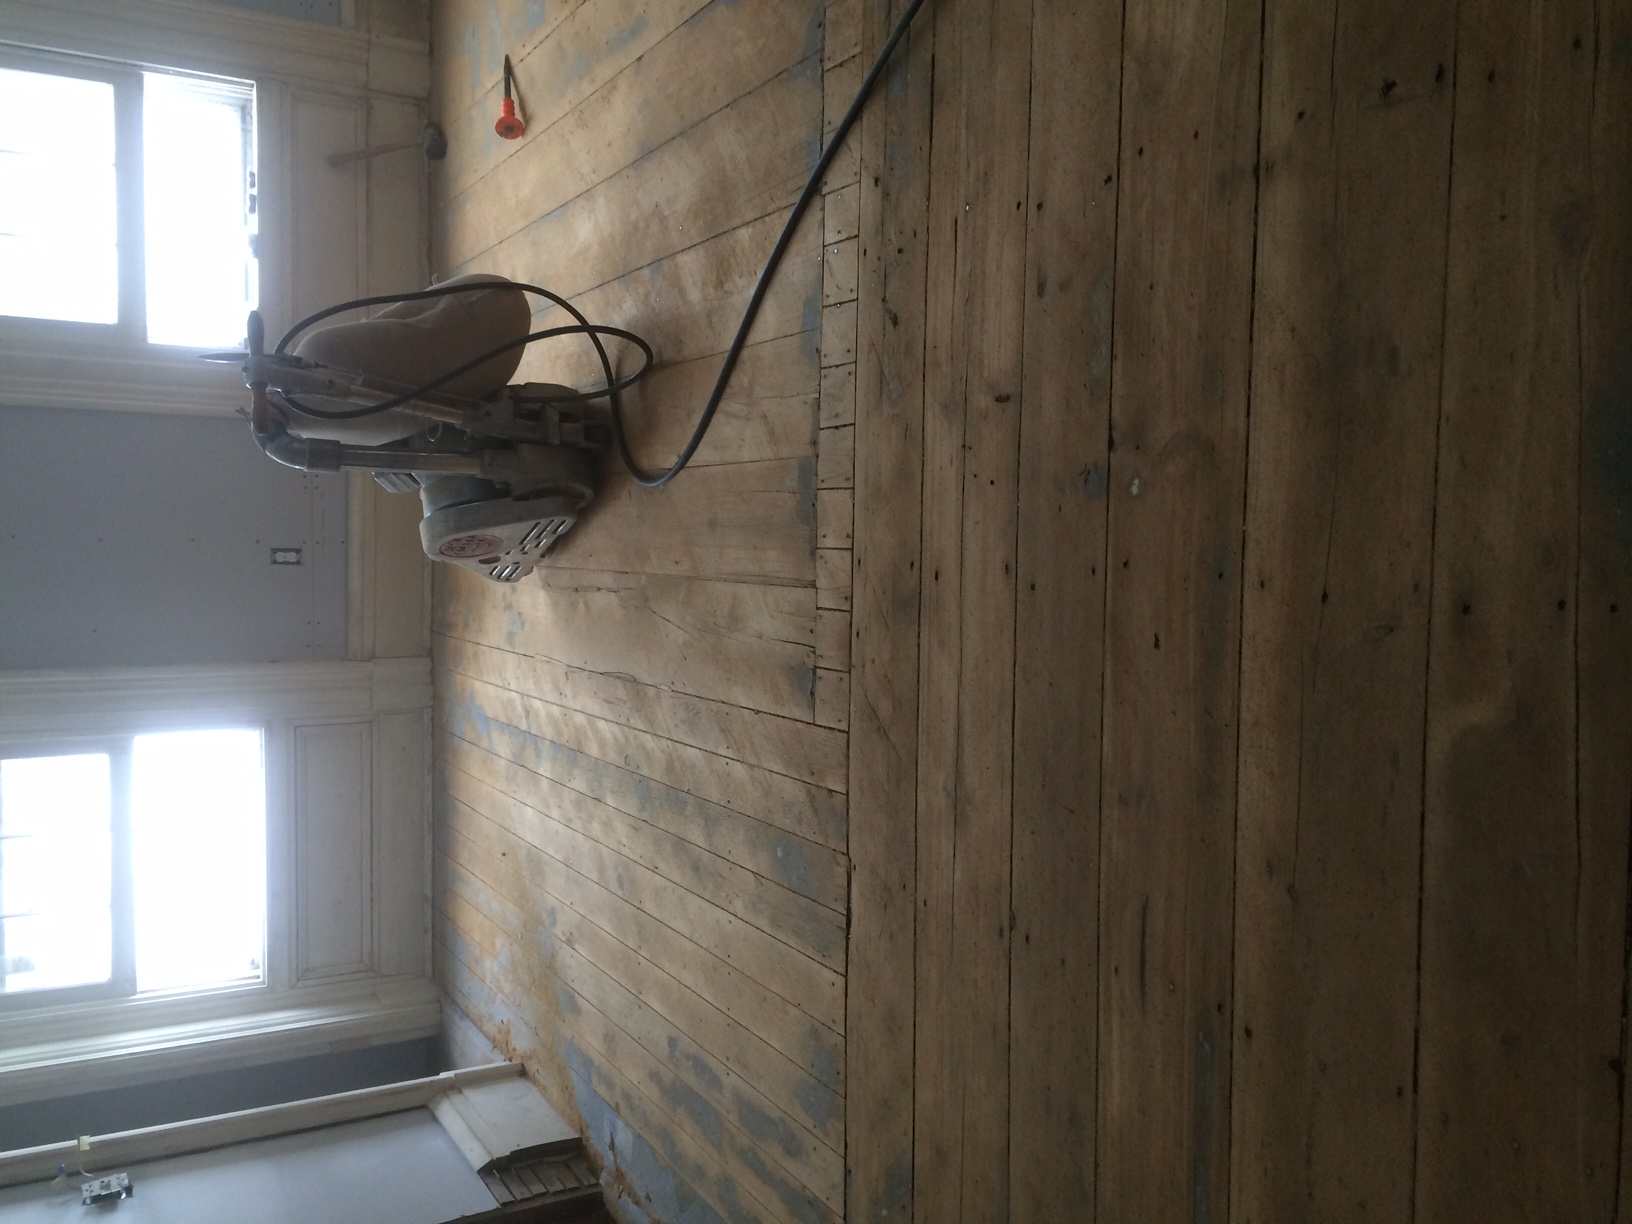
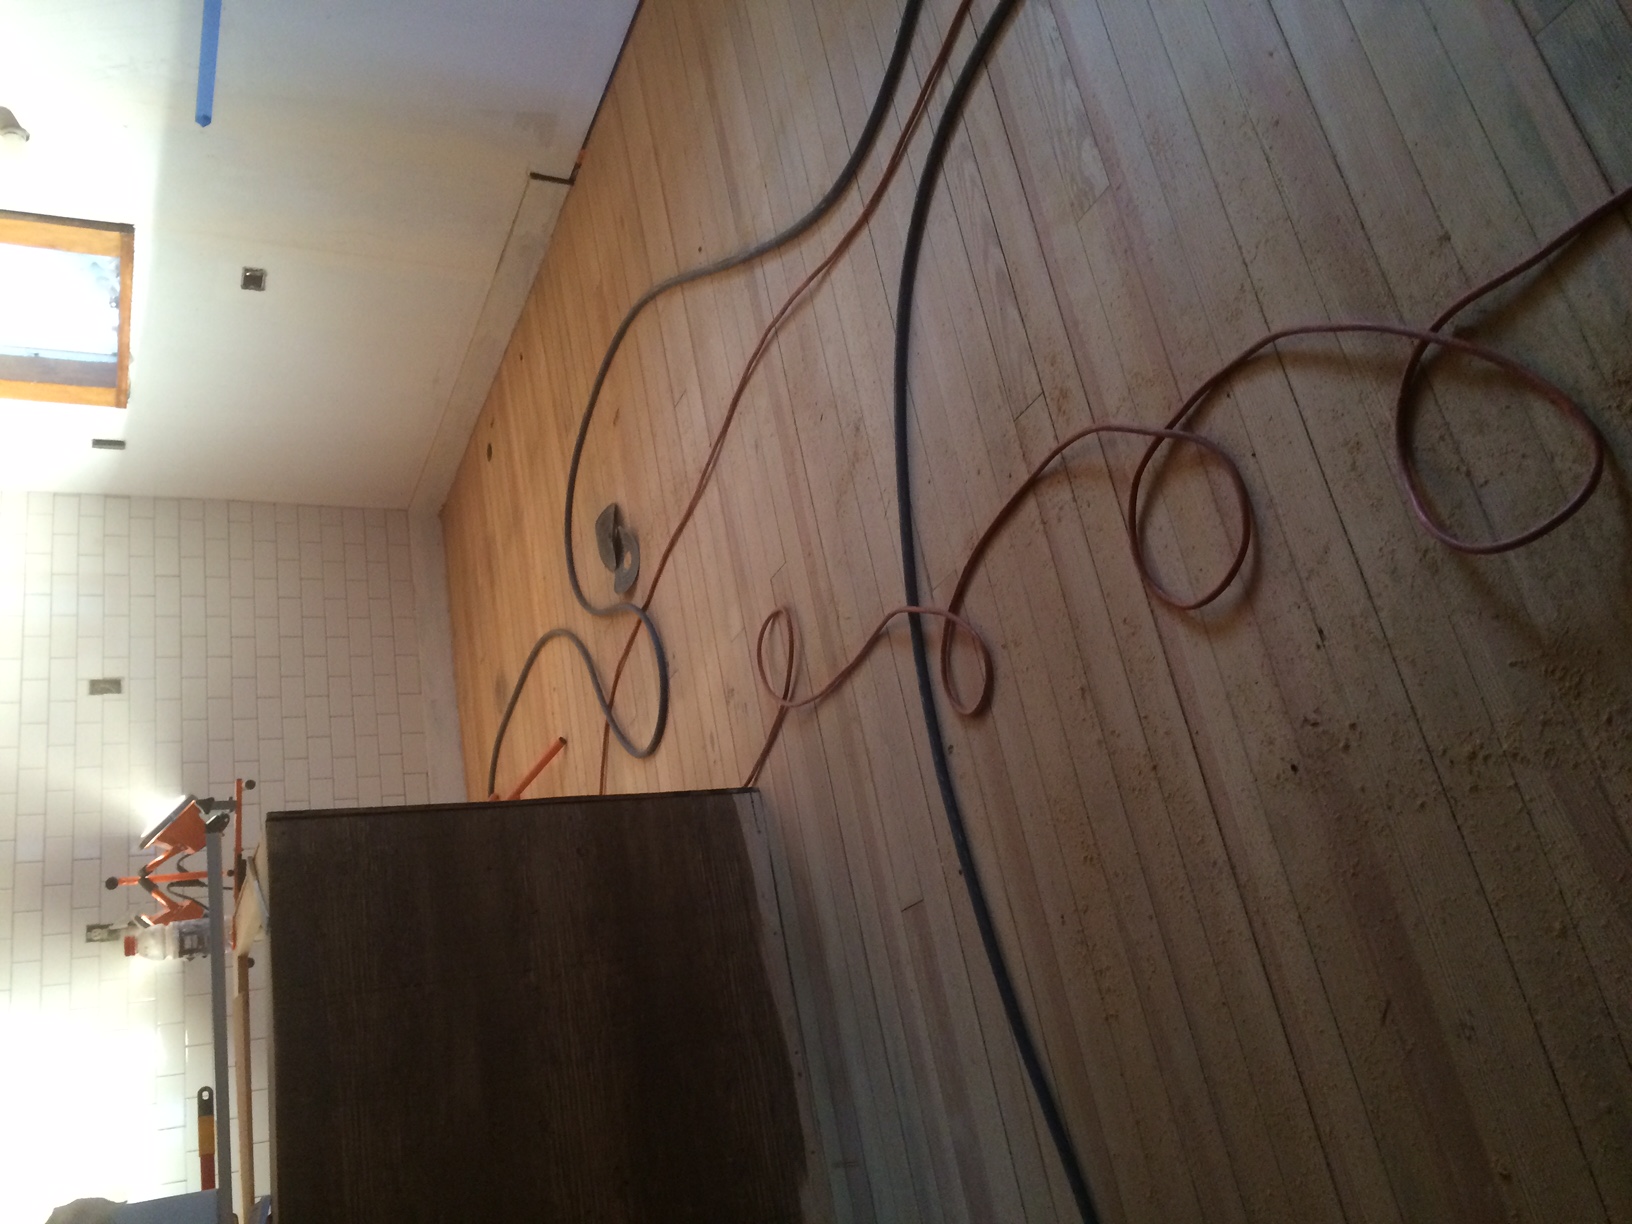
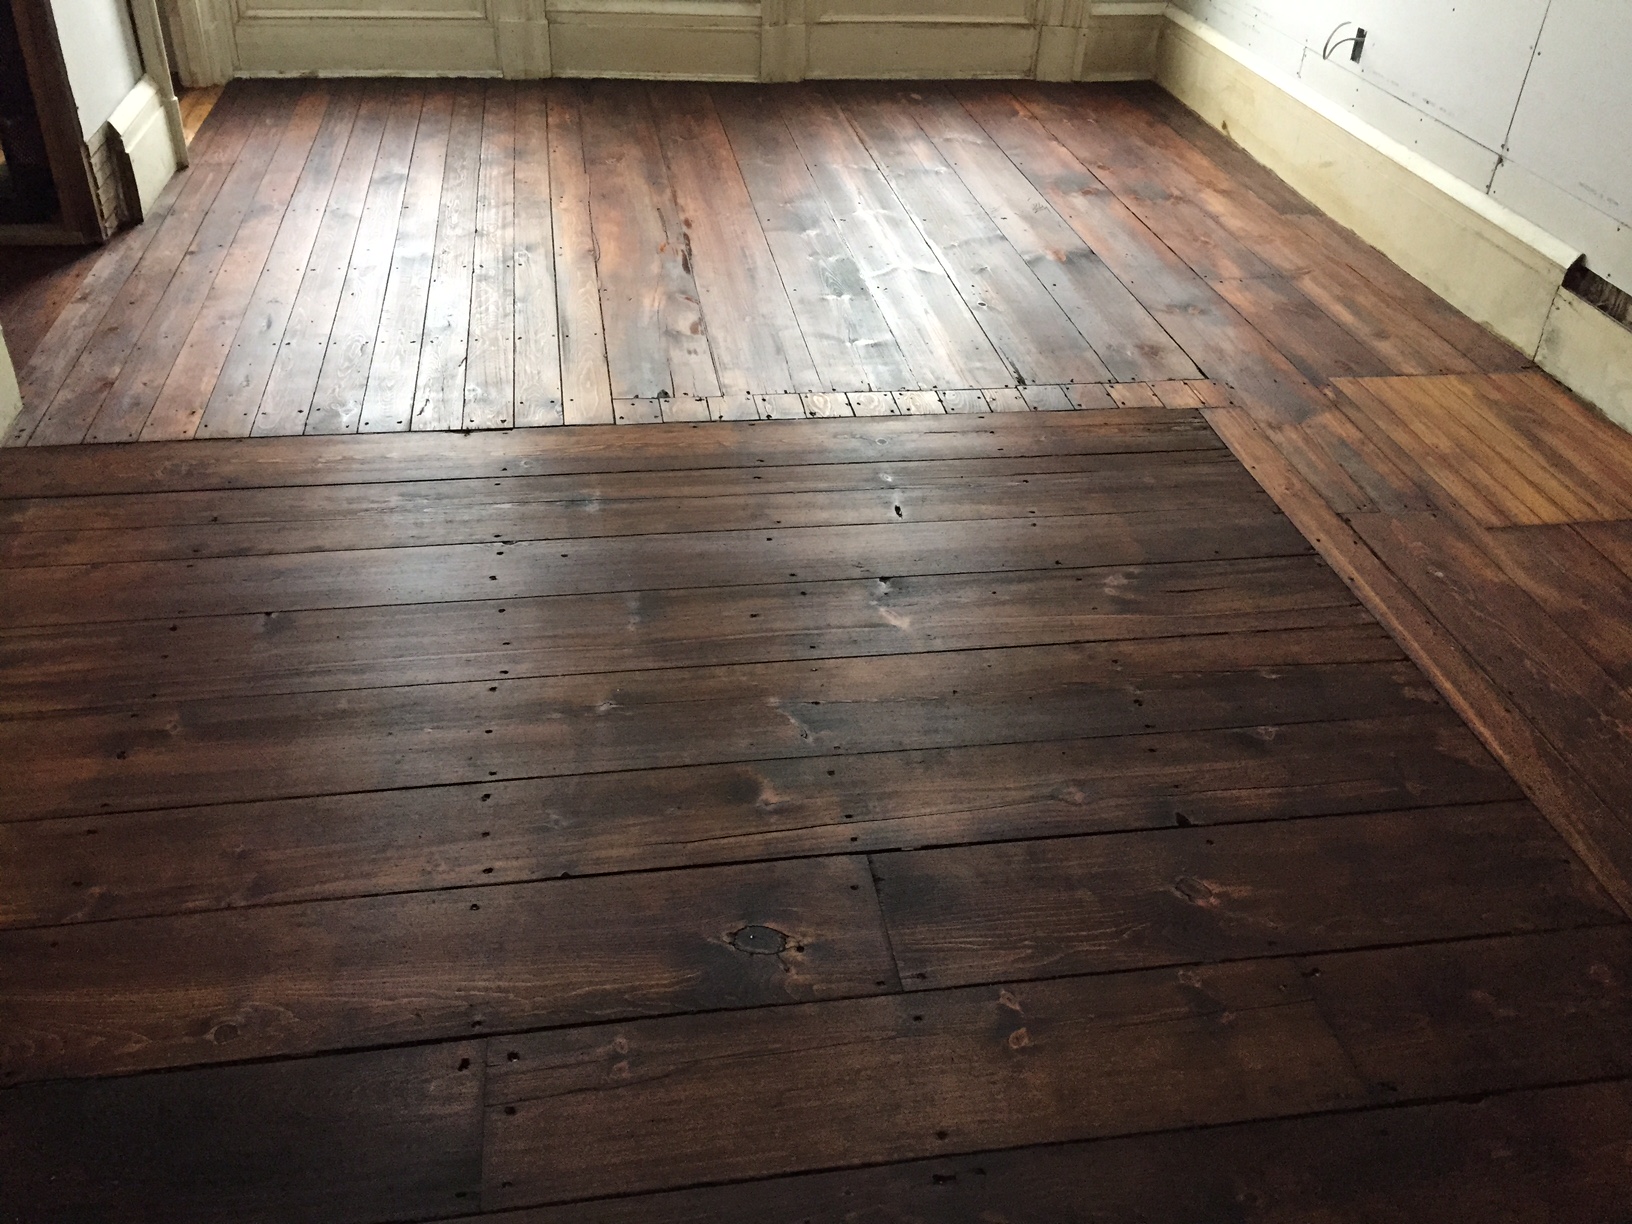
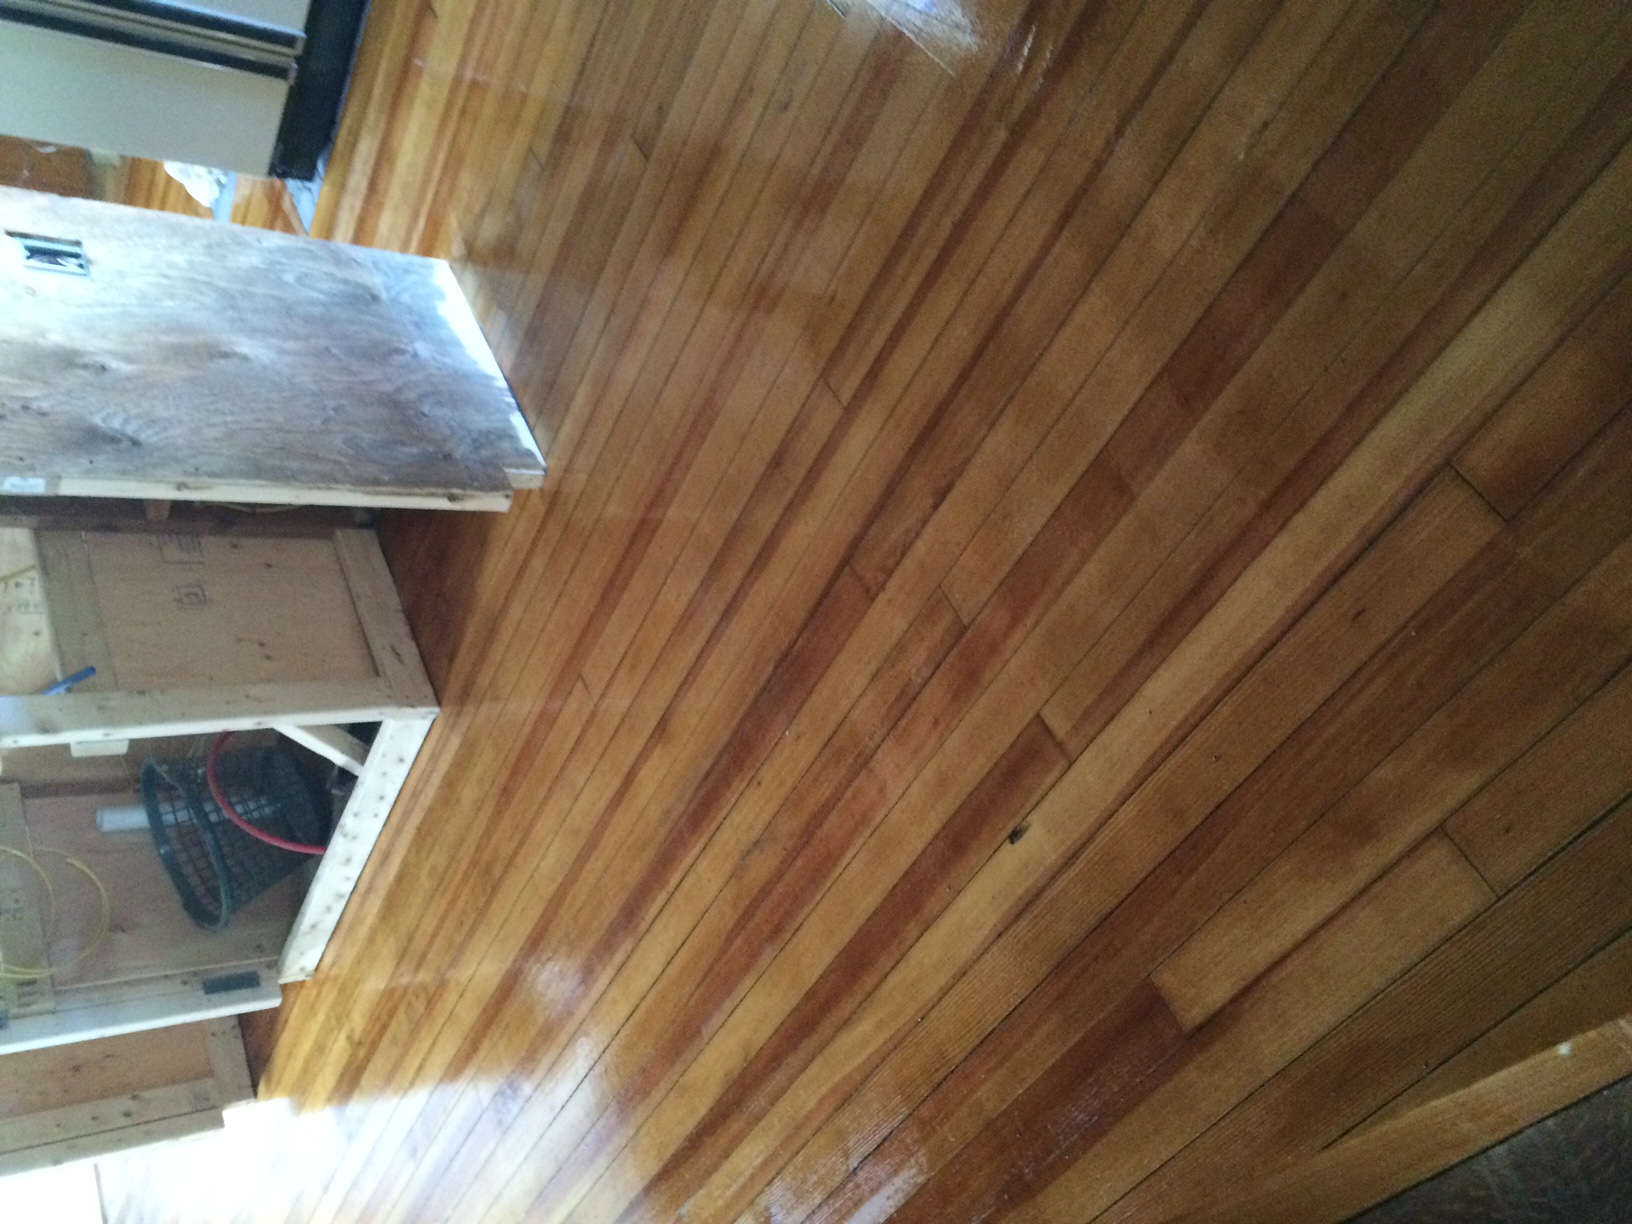
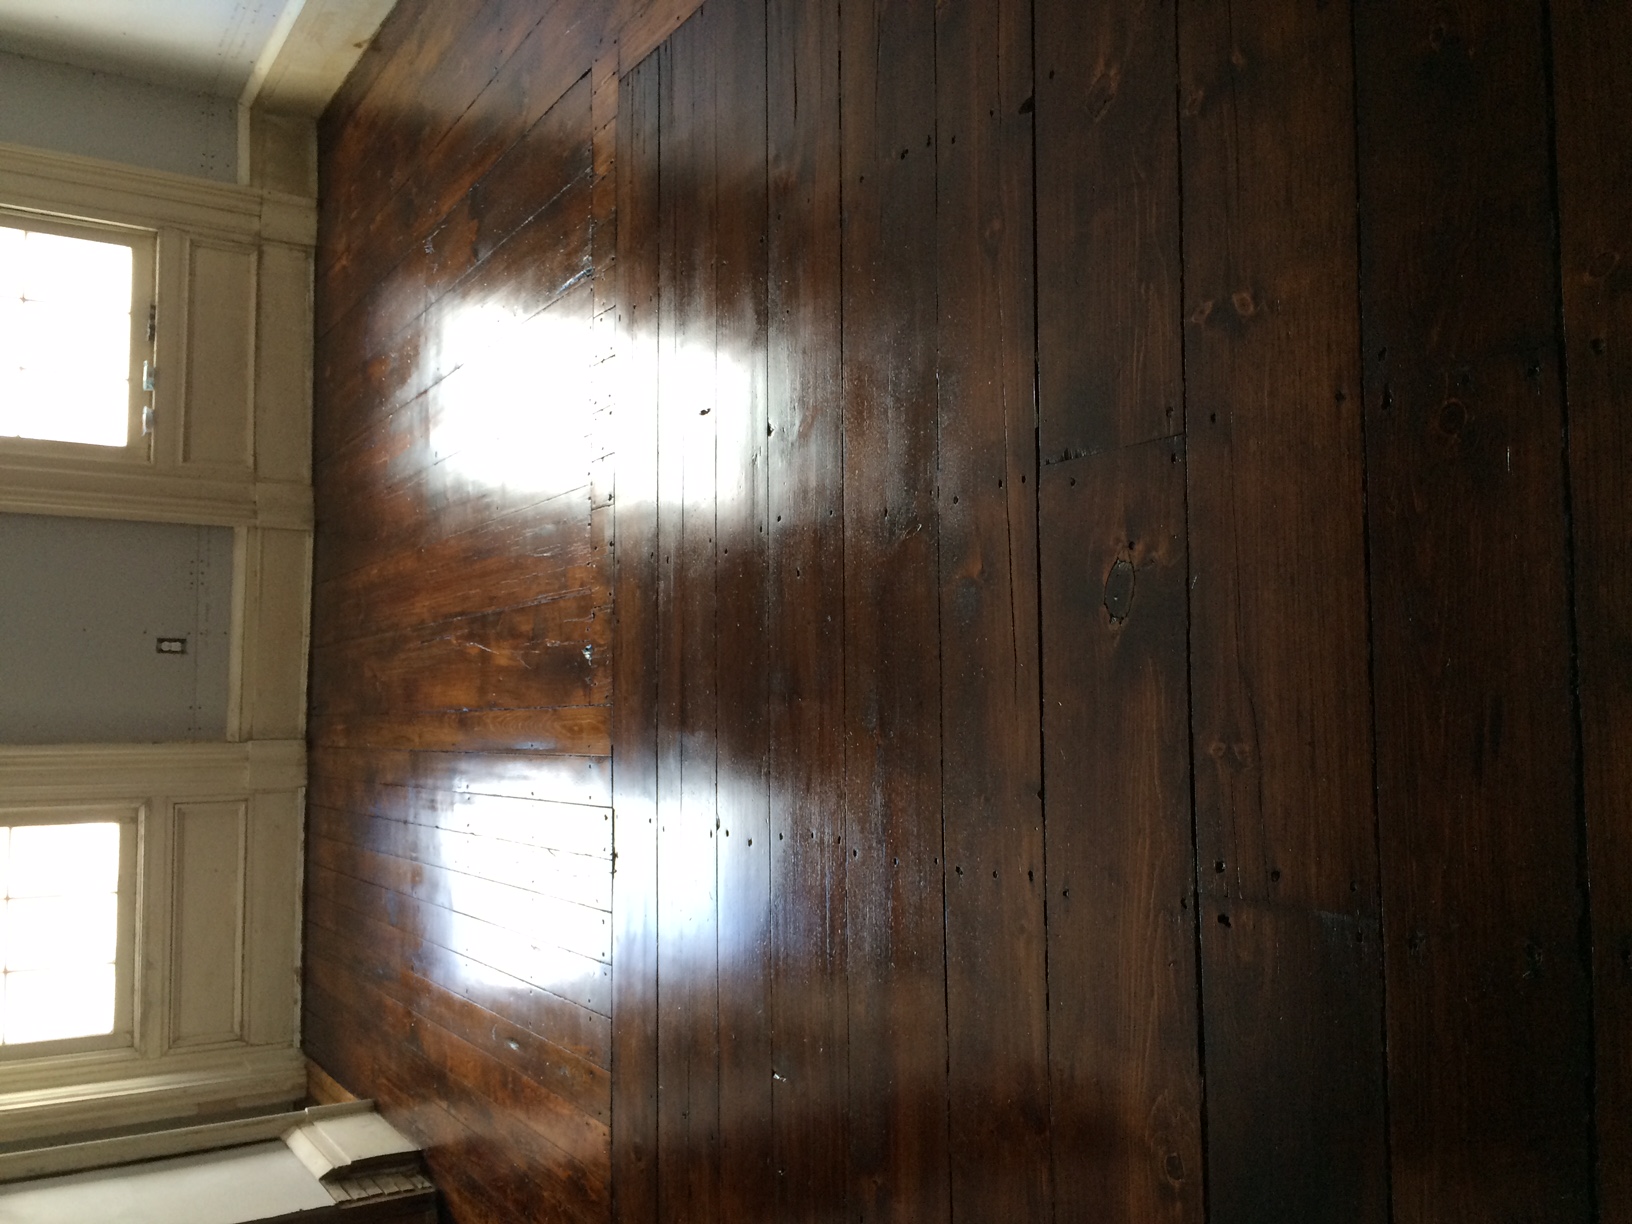
This house lacks for many things (a functioning shower comes to mind quickly) but one thing it does not lack for is copious amounts of very old wood flooring. For many of you that probably brings to mind images of wide plank boards with enough character that each plank could tell a story, and it's true, we have that. What we also have in a couple areas is vertical grain or "quarter sawn" heart pine flooring dating to the turn of the century. It is a much narrower plank, about 3" and so a very different look. We had high hopes for these floors, tempered by the fact that they have been heavily abused, stained, sanded, pummeled, dented, scraped, cut and painted….but they do tell stories. The TV room floor which does happen to be wide plank for the most part is a great example of story telling. If you walk into the room it looks just like that, a room. BUT, if you look at the flooring you will see a very clear history of the combination of two separate rooms and patching of what must have been plumbing holes in the smaller room. We went back and forth for months as to how to deal with them. Are they good enough to hand scrape? Do we have time to hand scrape? Is there enough to sand? Will we lose character? Should we just paint them? In the end the decision was to sand the floors in the kitchen (heart pine) and the TV room (wide plank old growth pine) and stain. We found a great local floor finisher who was reasonable and professional and who followed our request of "sanding without losing character", flawlessly. This sanding request is most evidenced by a step from the kitchen down to the pantry area, it has been worn down in the center by 100 years of use and he preserved that while bringing the grain back to life. With the floors sanded they looked 1000 times better than we expected, no, they aren't perfect, but they are exactly what we dared hope for. The heart pine turned out to have such beautiful natural color that we just sealed it and left it at that. The TV room floors would have also looked beautiful with a similar treatment but we wanted something dark and rich to go with the furnishings and rugs we have planned for that room. After much back and forth and custom stain attempts we ended up settling on a standard Minwax color, "Provencial" and then a satin topcoat for protection and sheen. The staining was arduous, first Carol and Semi (Ermela's mom) had to vacuum the entire room, then go over all the surfaces with tac cloths to make sure it was all clean as possible. Then they worked their way down the planks with one applying the stain and the other wiping it off with a rag. Because of the three different types/cuts of wood used in this one room they had to play with the application to wiping time for each one to keep the colors as consistent as possible. This is an example of when it is good to know what type of wood you are working with. The heart pine (yes there was some in this room used as a patch) being very dense and cut in a "quarter sawn" or rift cut was much less absorbent than the wide plank old growth pine which was plain sawn (the type of cut where you see more squiggles and patterns). Once the staining was done it was allowed to cure for a day and then the oil based satin top coat was applied. Normally we would use a two part water based sealer but we were not able to source it in the timeframe we were working with.

So, judge for yourself, what do you think of the end results?   
 

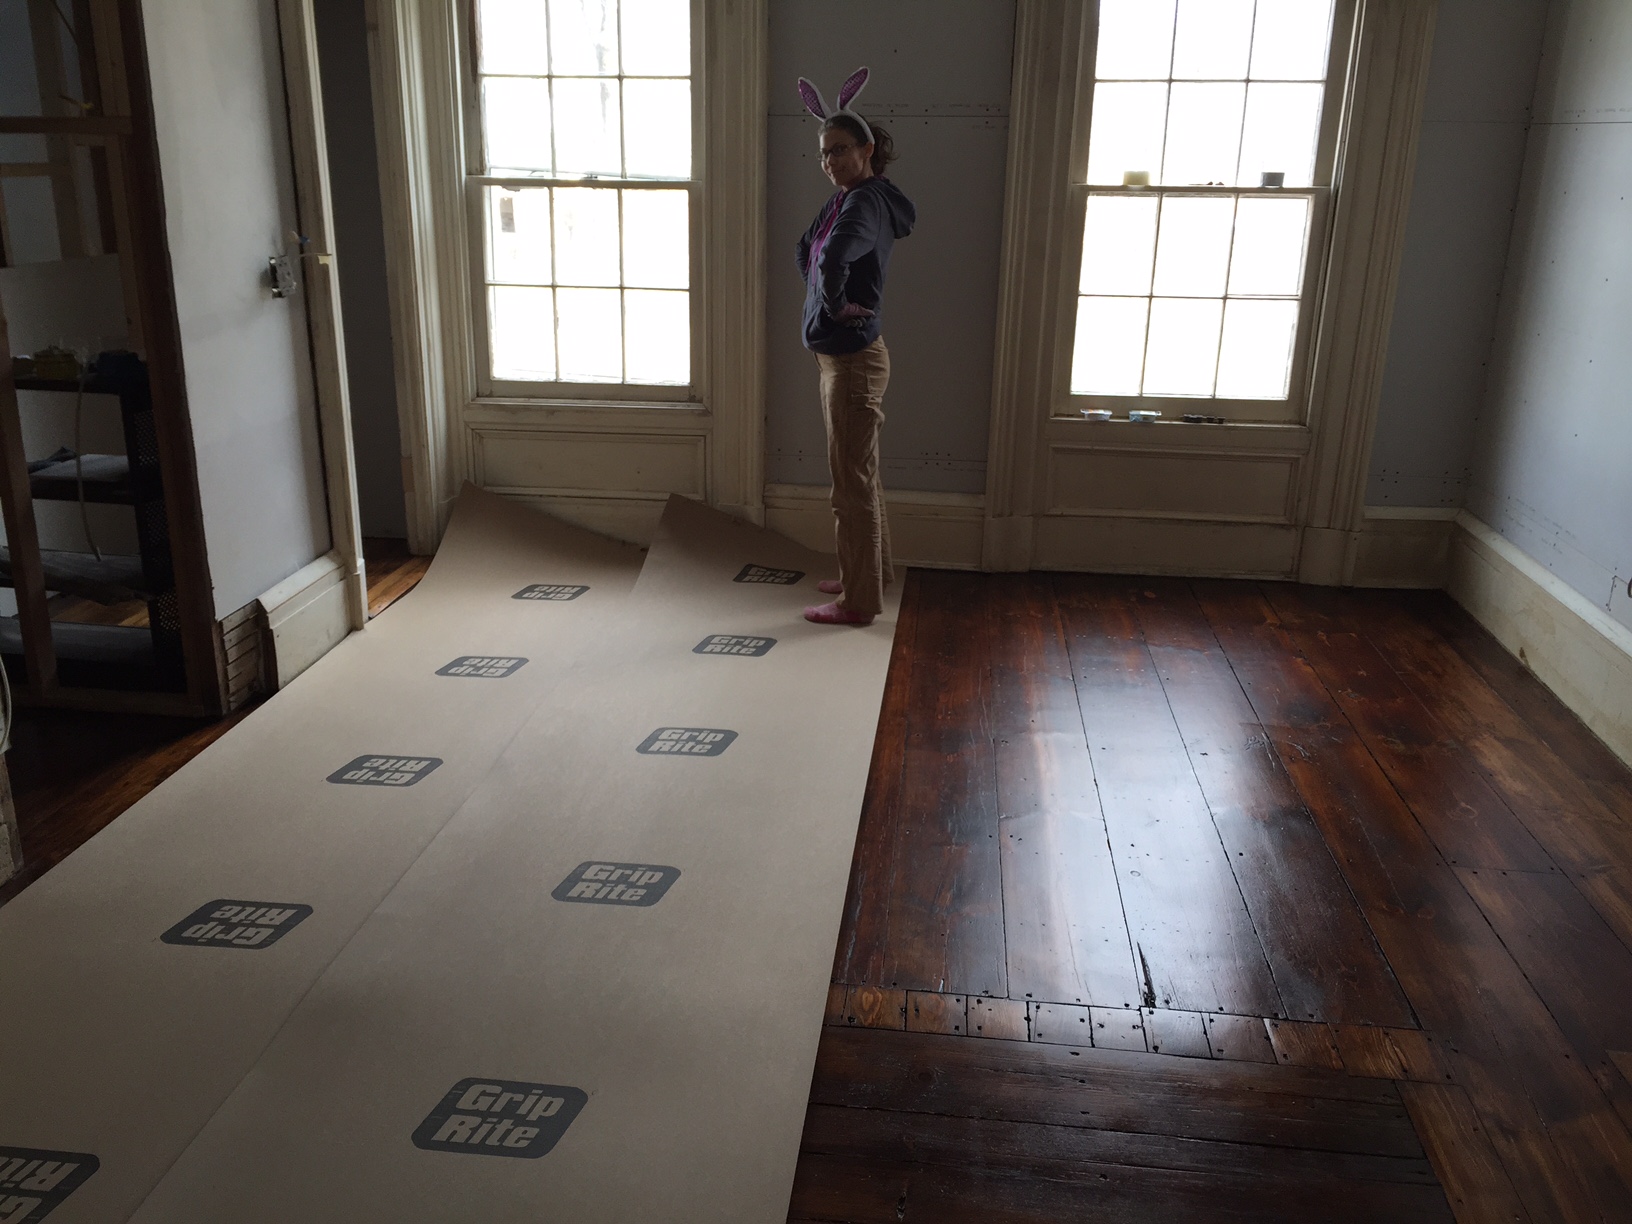
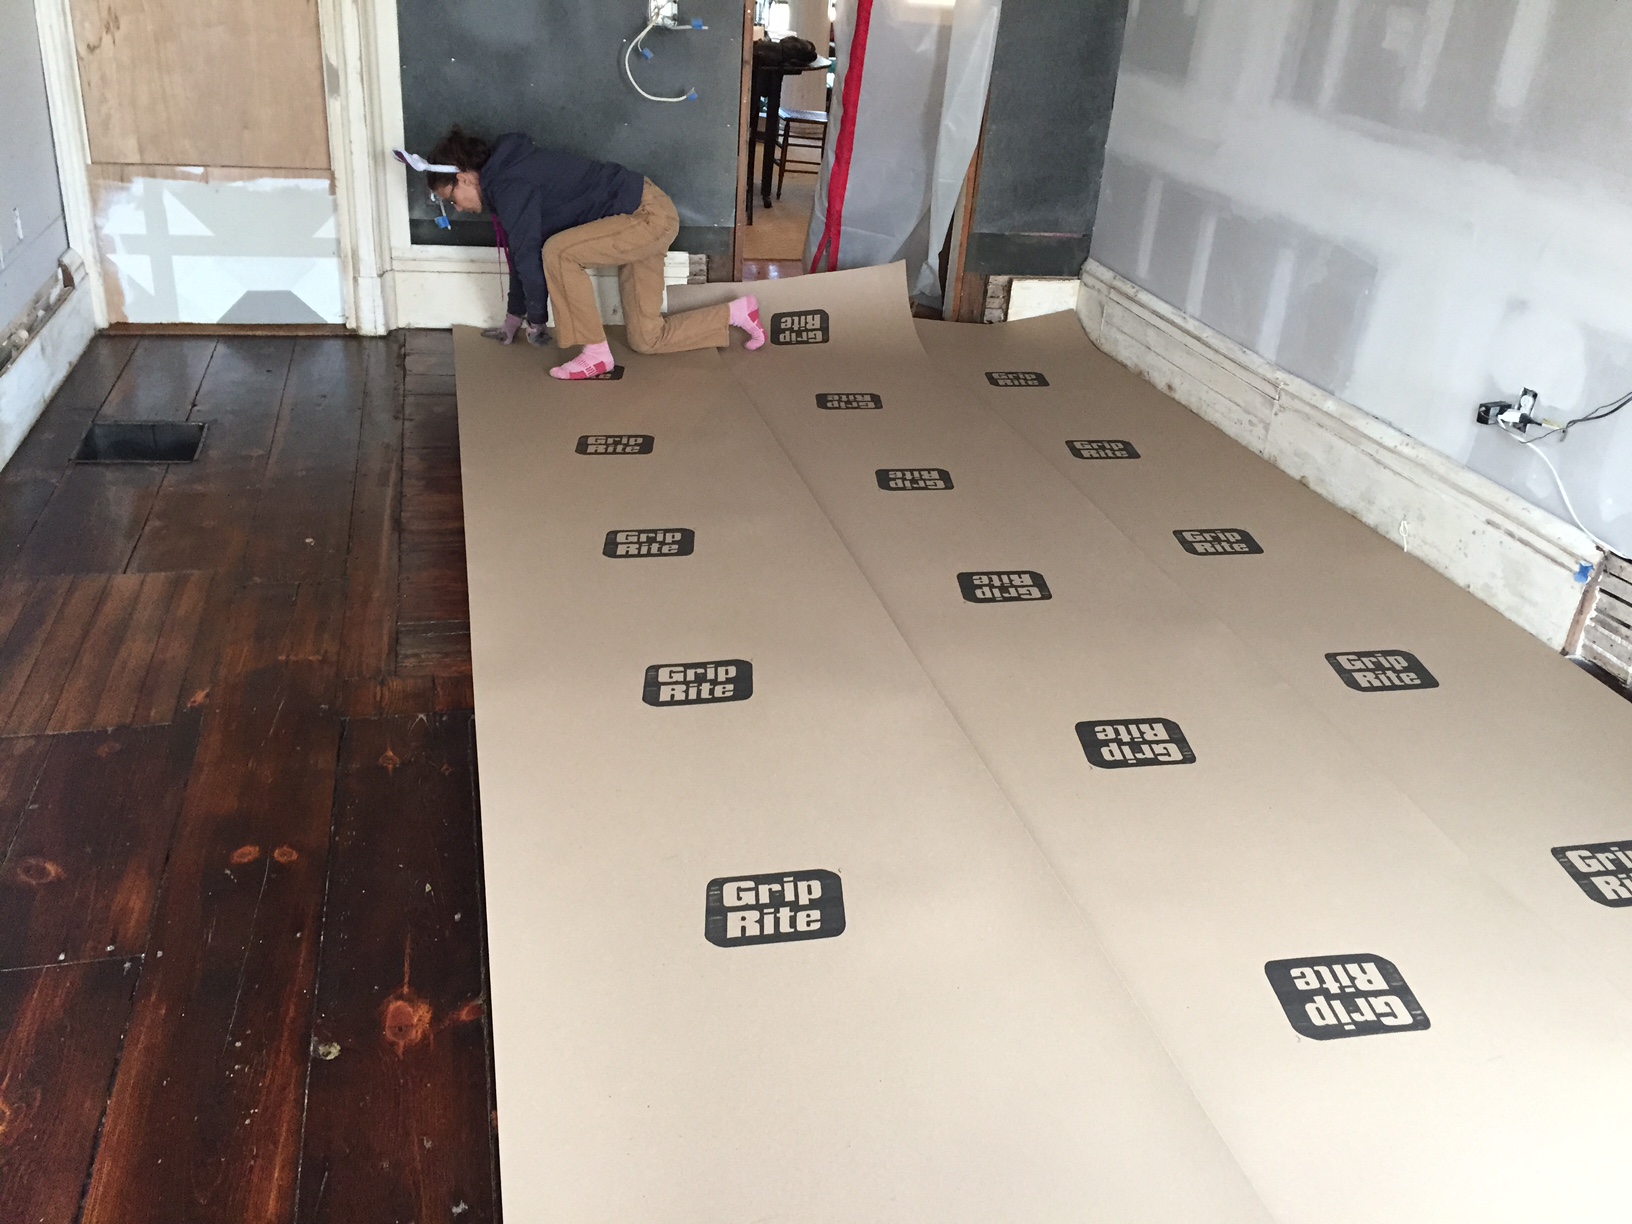
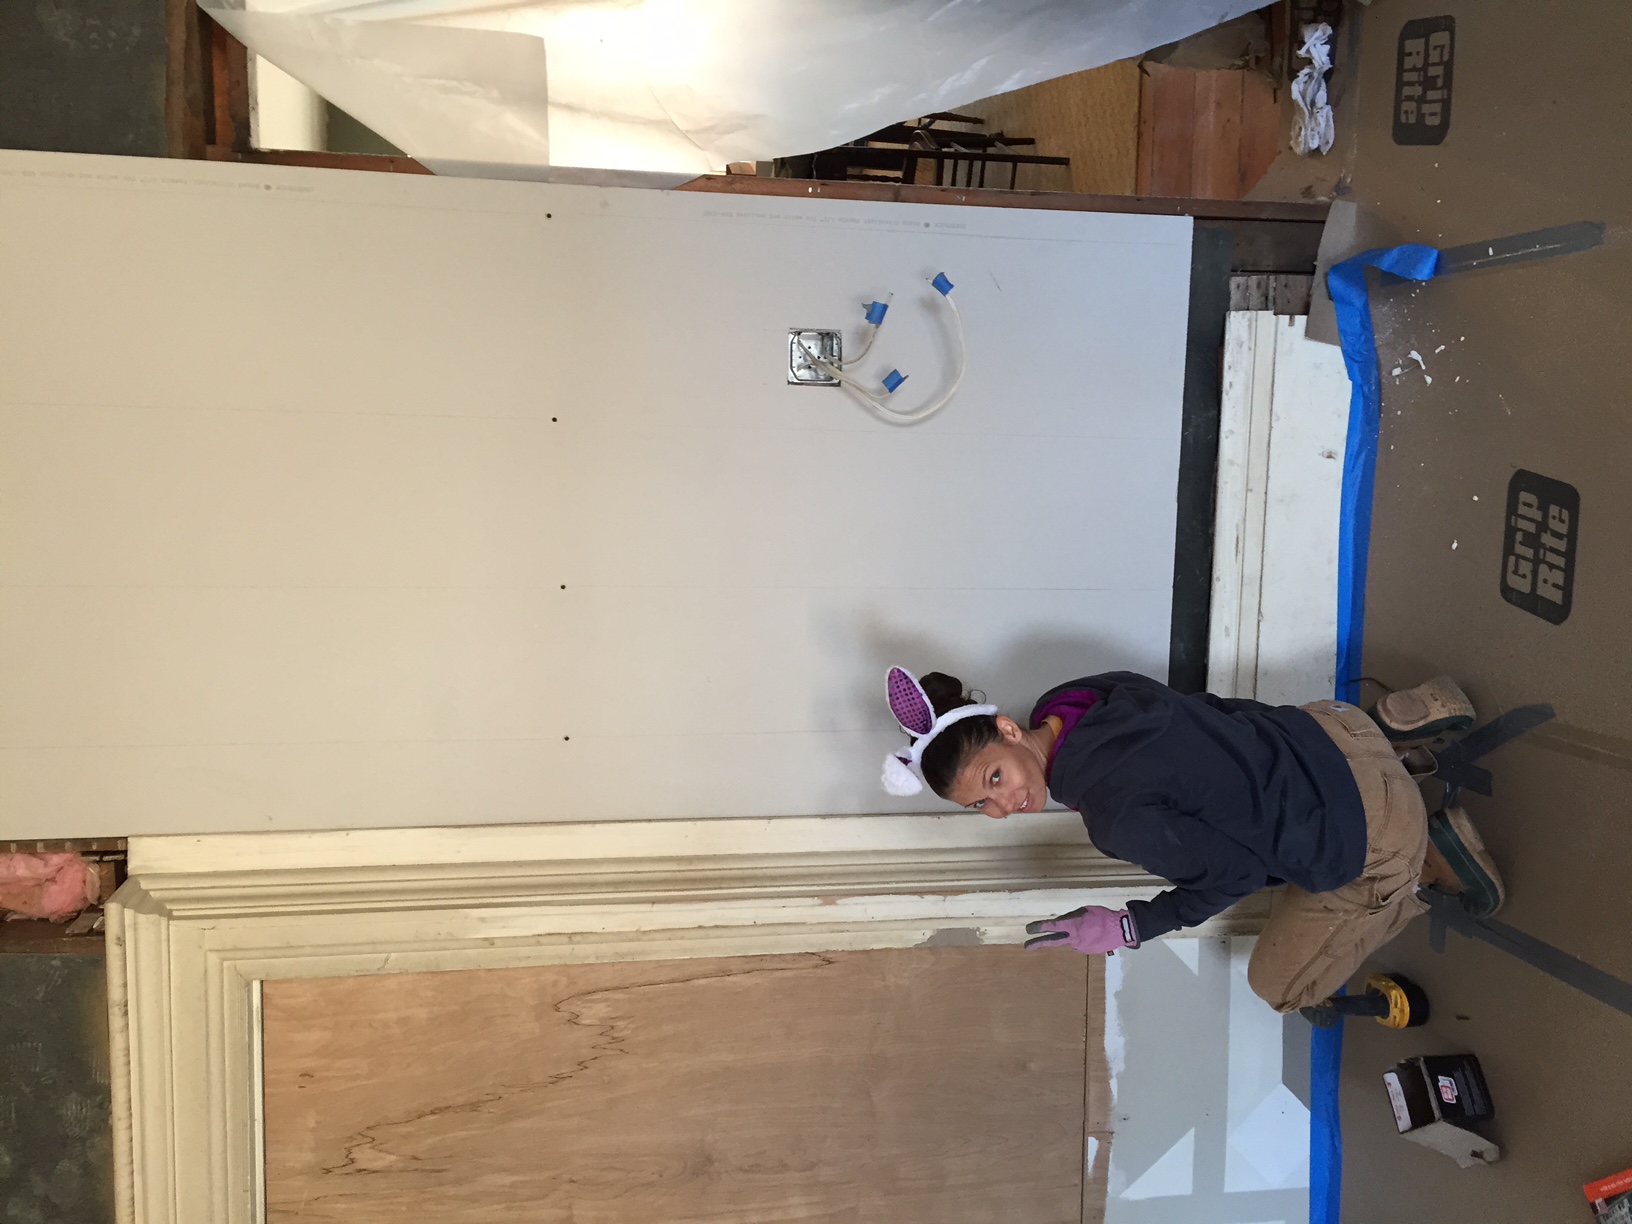
Unfortunately, we only got a couple days to enjoy the new floors. Construction waits for no man so we had to cover them up with builders board and tape the seems (for those of you who haven't guessed, we did this work on Easter). The trick now is to remember that the floors are done under the protection and that we have to be careful while moving drywall, appliances and equipment around.

Sugaring Two

Well, it as been a busy month, lots of seed planting, drywalling, planning and tiling.. but we did manage to get away for almost an entire week to get a little pre-summer color. That did not slow down progress though, if anything, it made us work extra hard out of some misguided vacation guilt syndrome.

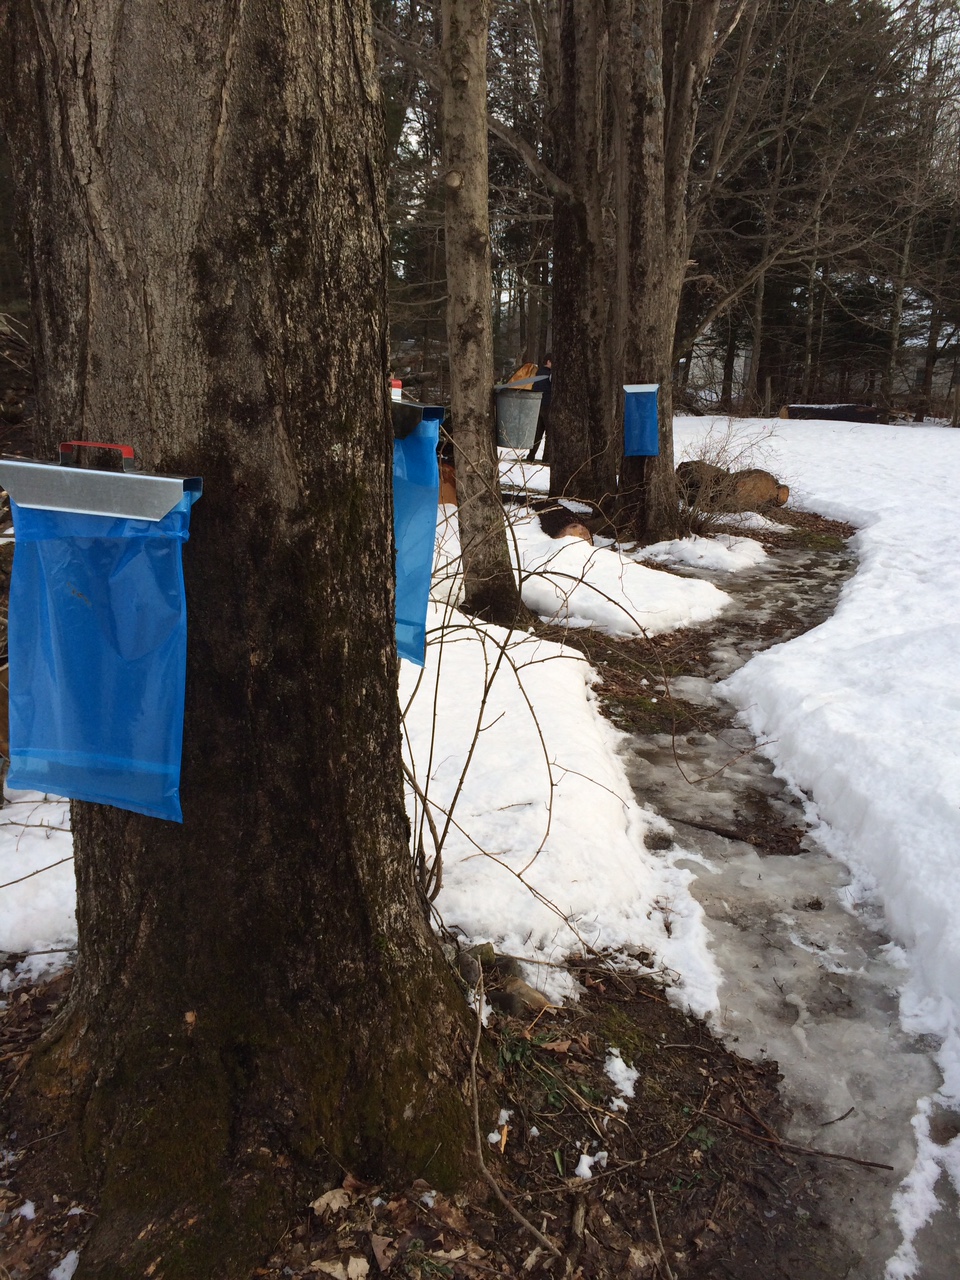
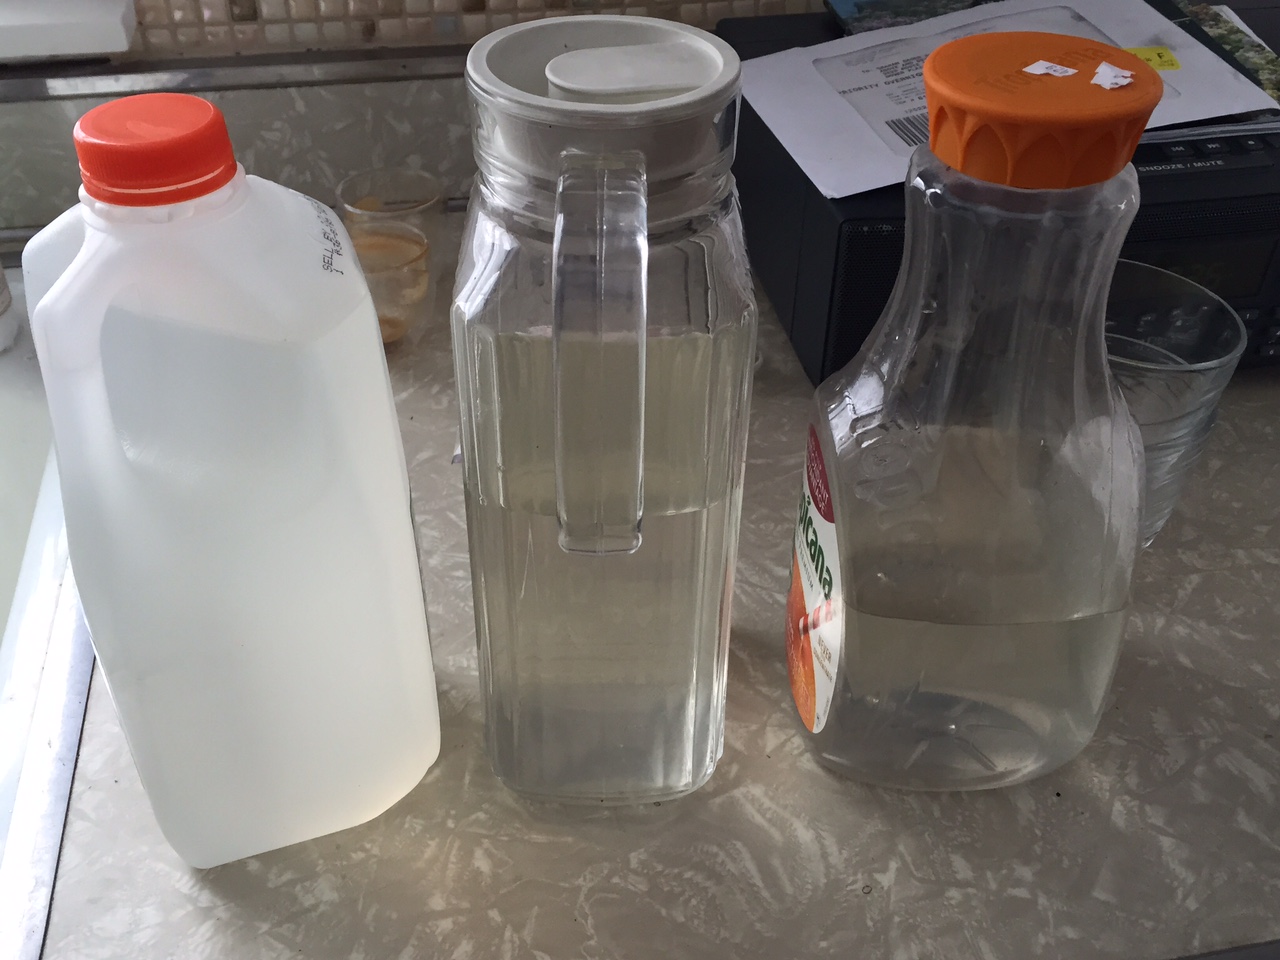
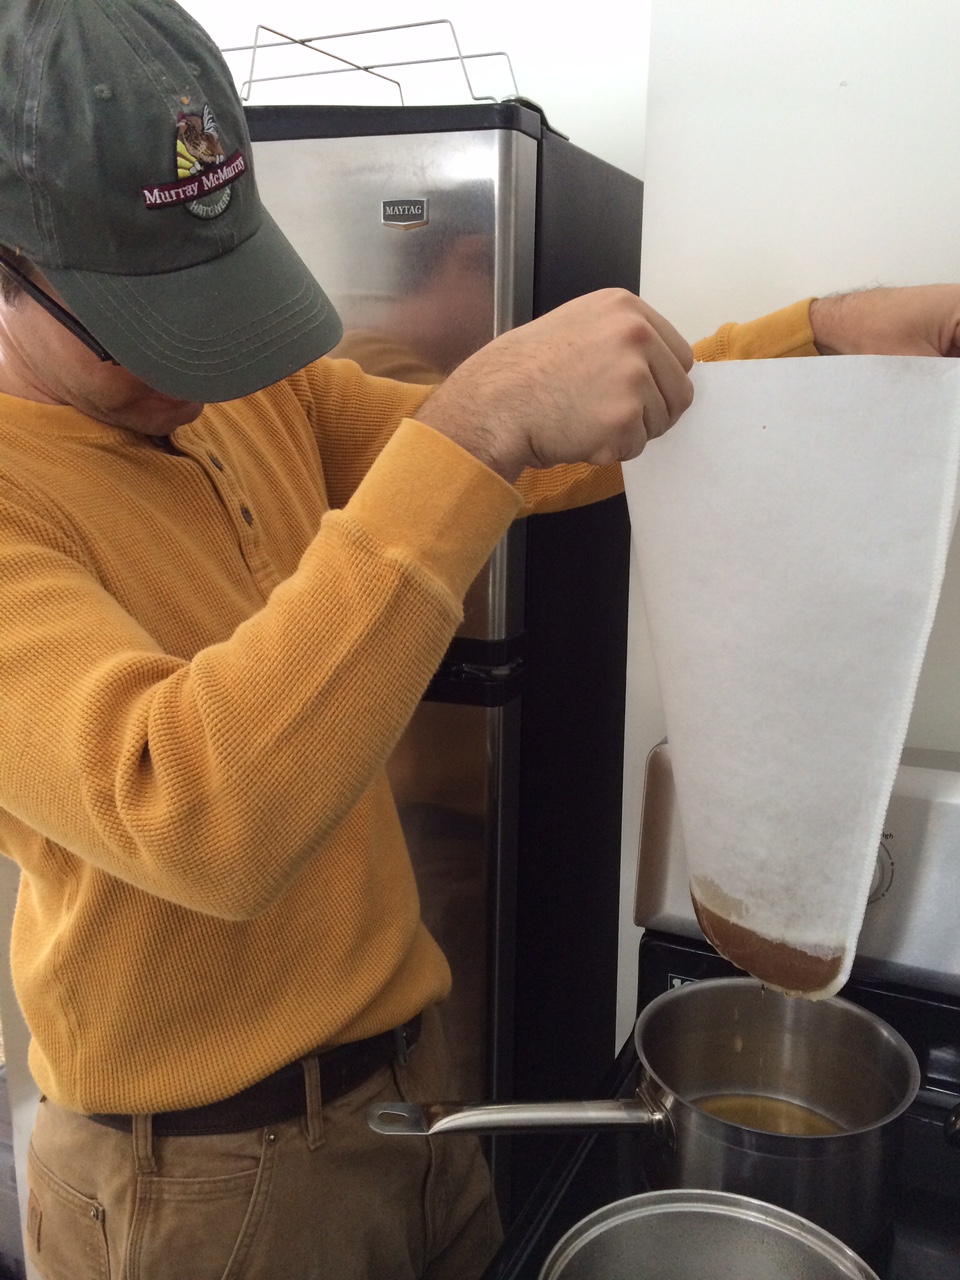
At first the weather looked like it would be perfect for the maples to run sap, but then each day saw drops in temperature and wind chills and overcast days. Such as it was we managed to get a couple days of decent sap runs to use for our inaugural sap cooking attempt. For those of you new to making maple syrup (can't imagine that is many of you) the goal is to have freezing nights and above freezing days. The warm days pull the sap from the roots up into the branches to nourish the future leaves and growth, while the cold nights cause the sap to rush back down to the roots, the tree taps catch the sap on the way up and down. We had imagined the sap would be dark like the syrup, but in reality it is clear like water and has very little taste. We have to collect 40 gallons of sap for every gallon of syrup, for this first attempt we only had a few gallons.
 

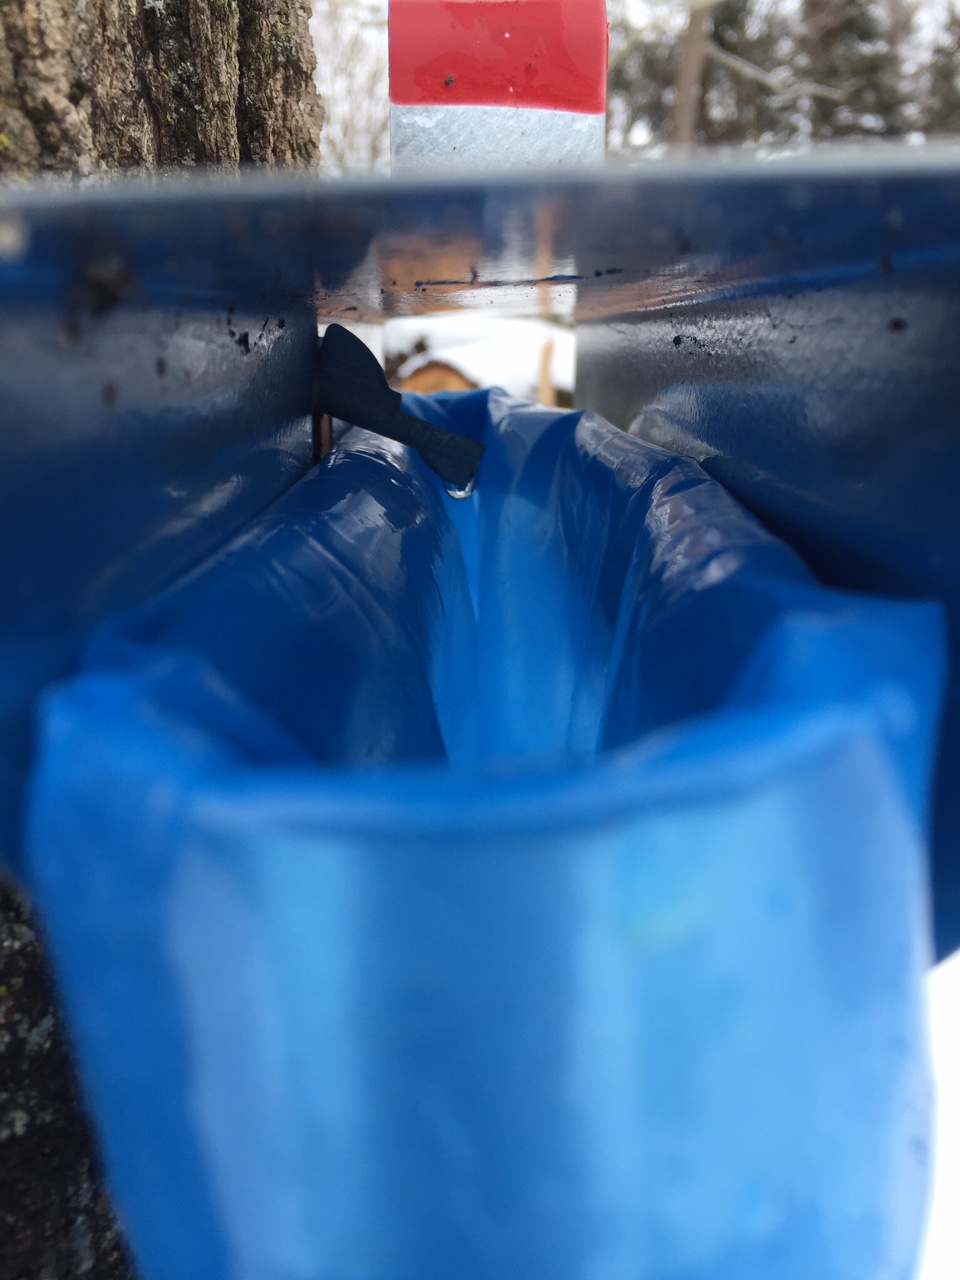
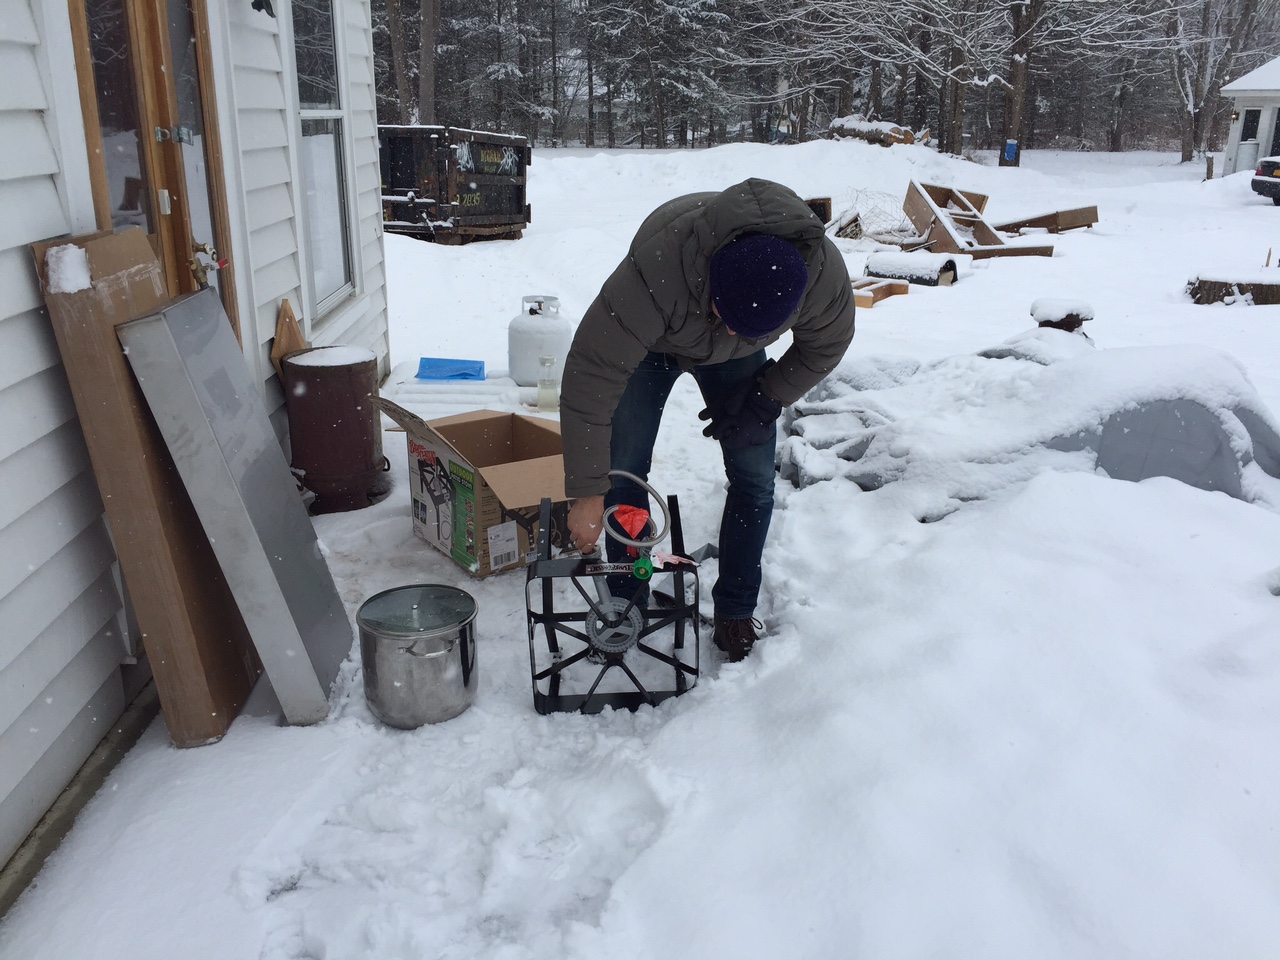
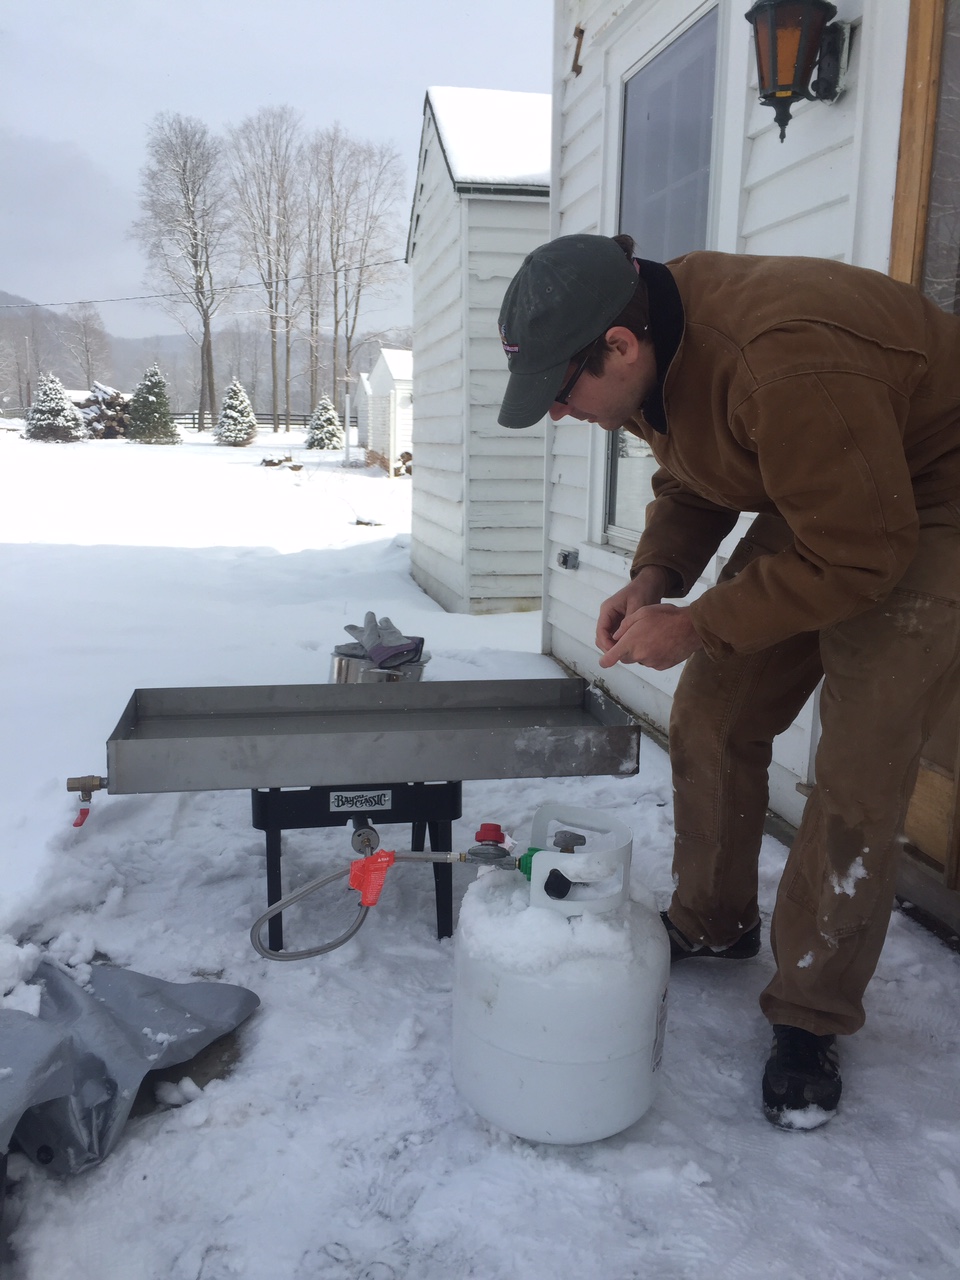
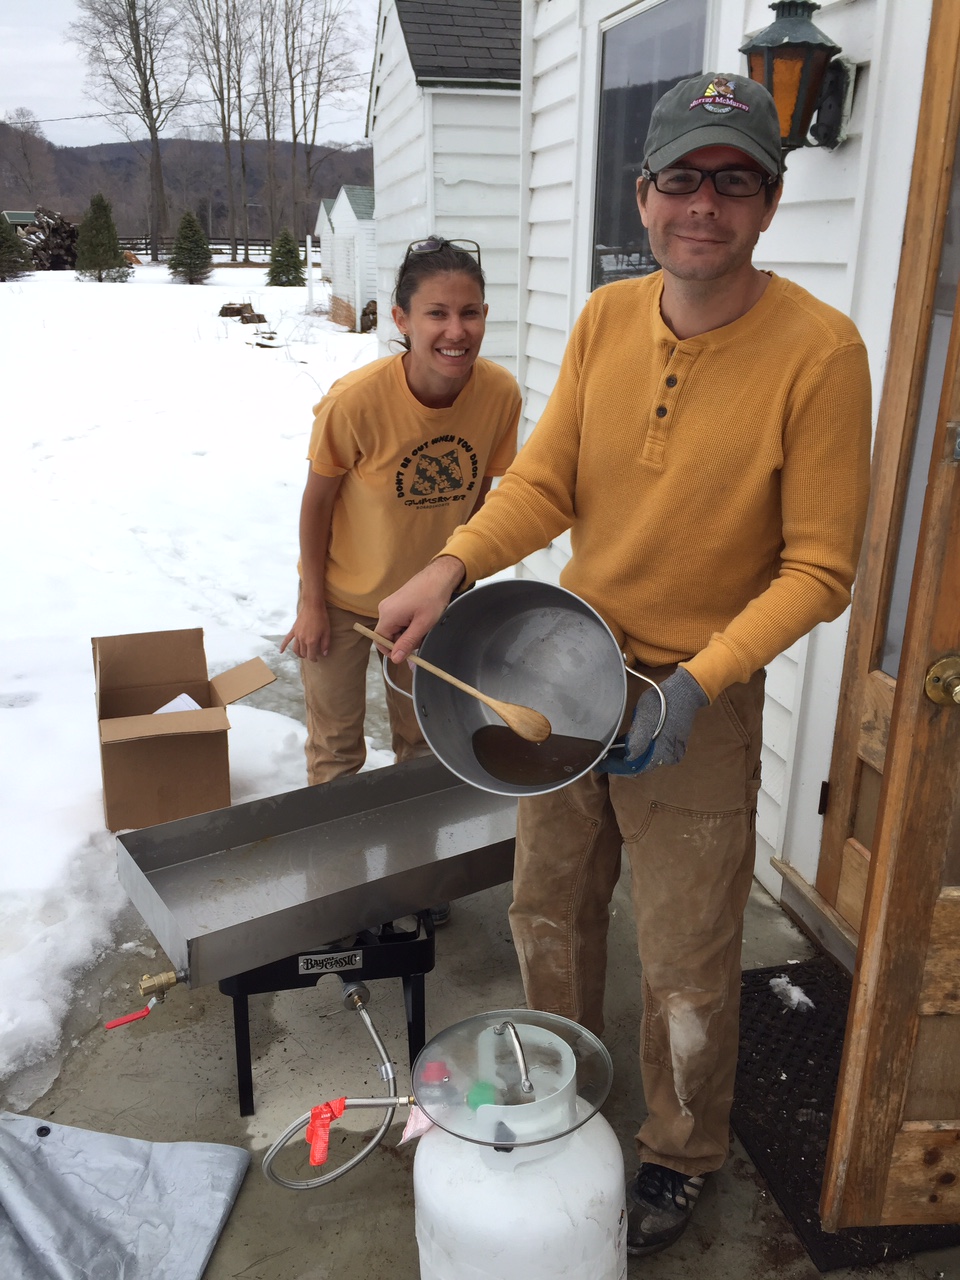
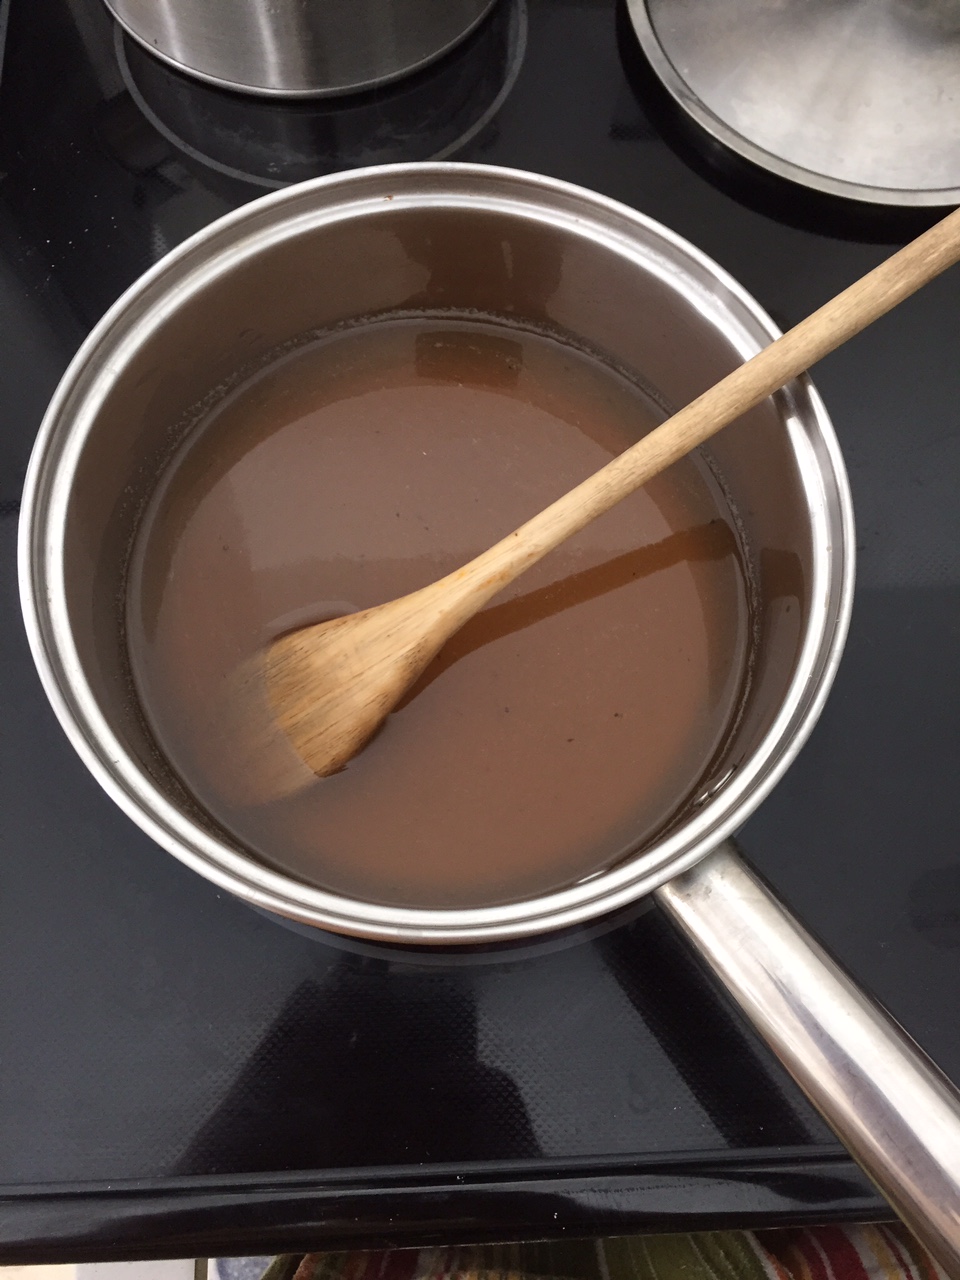
It was pretty cool to see the sap dripping in a constant drip, drip, drip on the warmest day. With the sap collected it was time to setup the cooking apparatus. Apparatus might be too fancy a term for a open flame turkey fryer burner and an oversized stainless pan, but that's what it was! (Graham's emphasis) Fortunately our friend Oren was up from the city so he helped all weekend, his enthusiasm kept us going when all we wanted to do was curl up and drink the syrup in front of a House of Cards episode. Anyways, with the pan on the burner and the tank hooked up we poured the sap in and lit the flame. The sap cooked for hours, the reason you use a big flat pan is because the amount of surface area directly relates to the evaporation rate I.E. a round deep pot takes a lot longer than a shallow pan. We kept an eye on it, Oren did so with such enthusiasm that he would run out after each sheet of drywall was put up. Once the sap cooked down a bit it started to turn a light tan color with hints of sugar, then a darker slower moving light brown, at this point it was hard not to put your finger in to taste it. It was amazing to see how little was left at this point, sad too. We opened the valve on the end of the pan and poured the brown syrup into a pot to take inside for the final cooking and fine tuning. The goal is to get a Brix level of 66, Brix is a measure of sugar content, it comes up in winemaking too (a future project). With a level of 66 there is enough sugar to prevent spoiling. It is worth pointing out that the syrup is much lighter and has a wonderful flavor at a lower sugar level, but it would not last as long and would need to be refrigerated from the get-go. Once the proper sugar level has been hit you have to filter the syrup, carefully reheat it to 180 degrees and then bottle it. Something we learned in this process is that every time real maple syrup is brought to a boil it will precipitate small granules called maple sand... something to keep in mind when cooking if you want to keep that nice smooth texture while cooking.

We ended up with a half pint, and oh how good it is, can't wait for the next batch, our goal is to have a few pints stored away for the coming year and so that we have enough to give away to friends.

Range in the Home

It was briefly mentioned at some point, but to reiterate, the kitchen is going to be a commercial style kitchen with a slight French country influence. Those are broad terms intentionally as we are still trying to figure out what the plan is. One thing is for sure though, the kitchen has to, MUST, have a big range, one of those commercial looking suckers that evokes endless culinary possibilities. At first we looked at true commercial ranges, but it turns out those are built without insulation and as a result are considered a fire hazard in residential spaces that lack fire suppression systems and large clearances. That was a bummer to learn because deals can be found on commercial equipment, but less so on Viking, Wolf etc... At first we reconciled ourselves to a 36" range, but it never felt right so we kept looking and as luck would have it we stumbled across just the thing at Build it Green in Brooklyn.  
 

A new to us 48" stainless, six star burner, grill, double convection oven Garland range. This is a true workhorse, the one true desire of many a professional chef out there. They only made the residential insulated version for a few years but they were built like tanks. In this shot Ermela has just started cleaning it up and the burners are not in. We also lucked out in getting a killer deal on a Gaggenau 48" hood and a Thermador warming drawer. Oh the feasts that will be prepared.......... 
 

Kitchen Planning

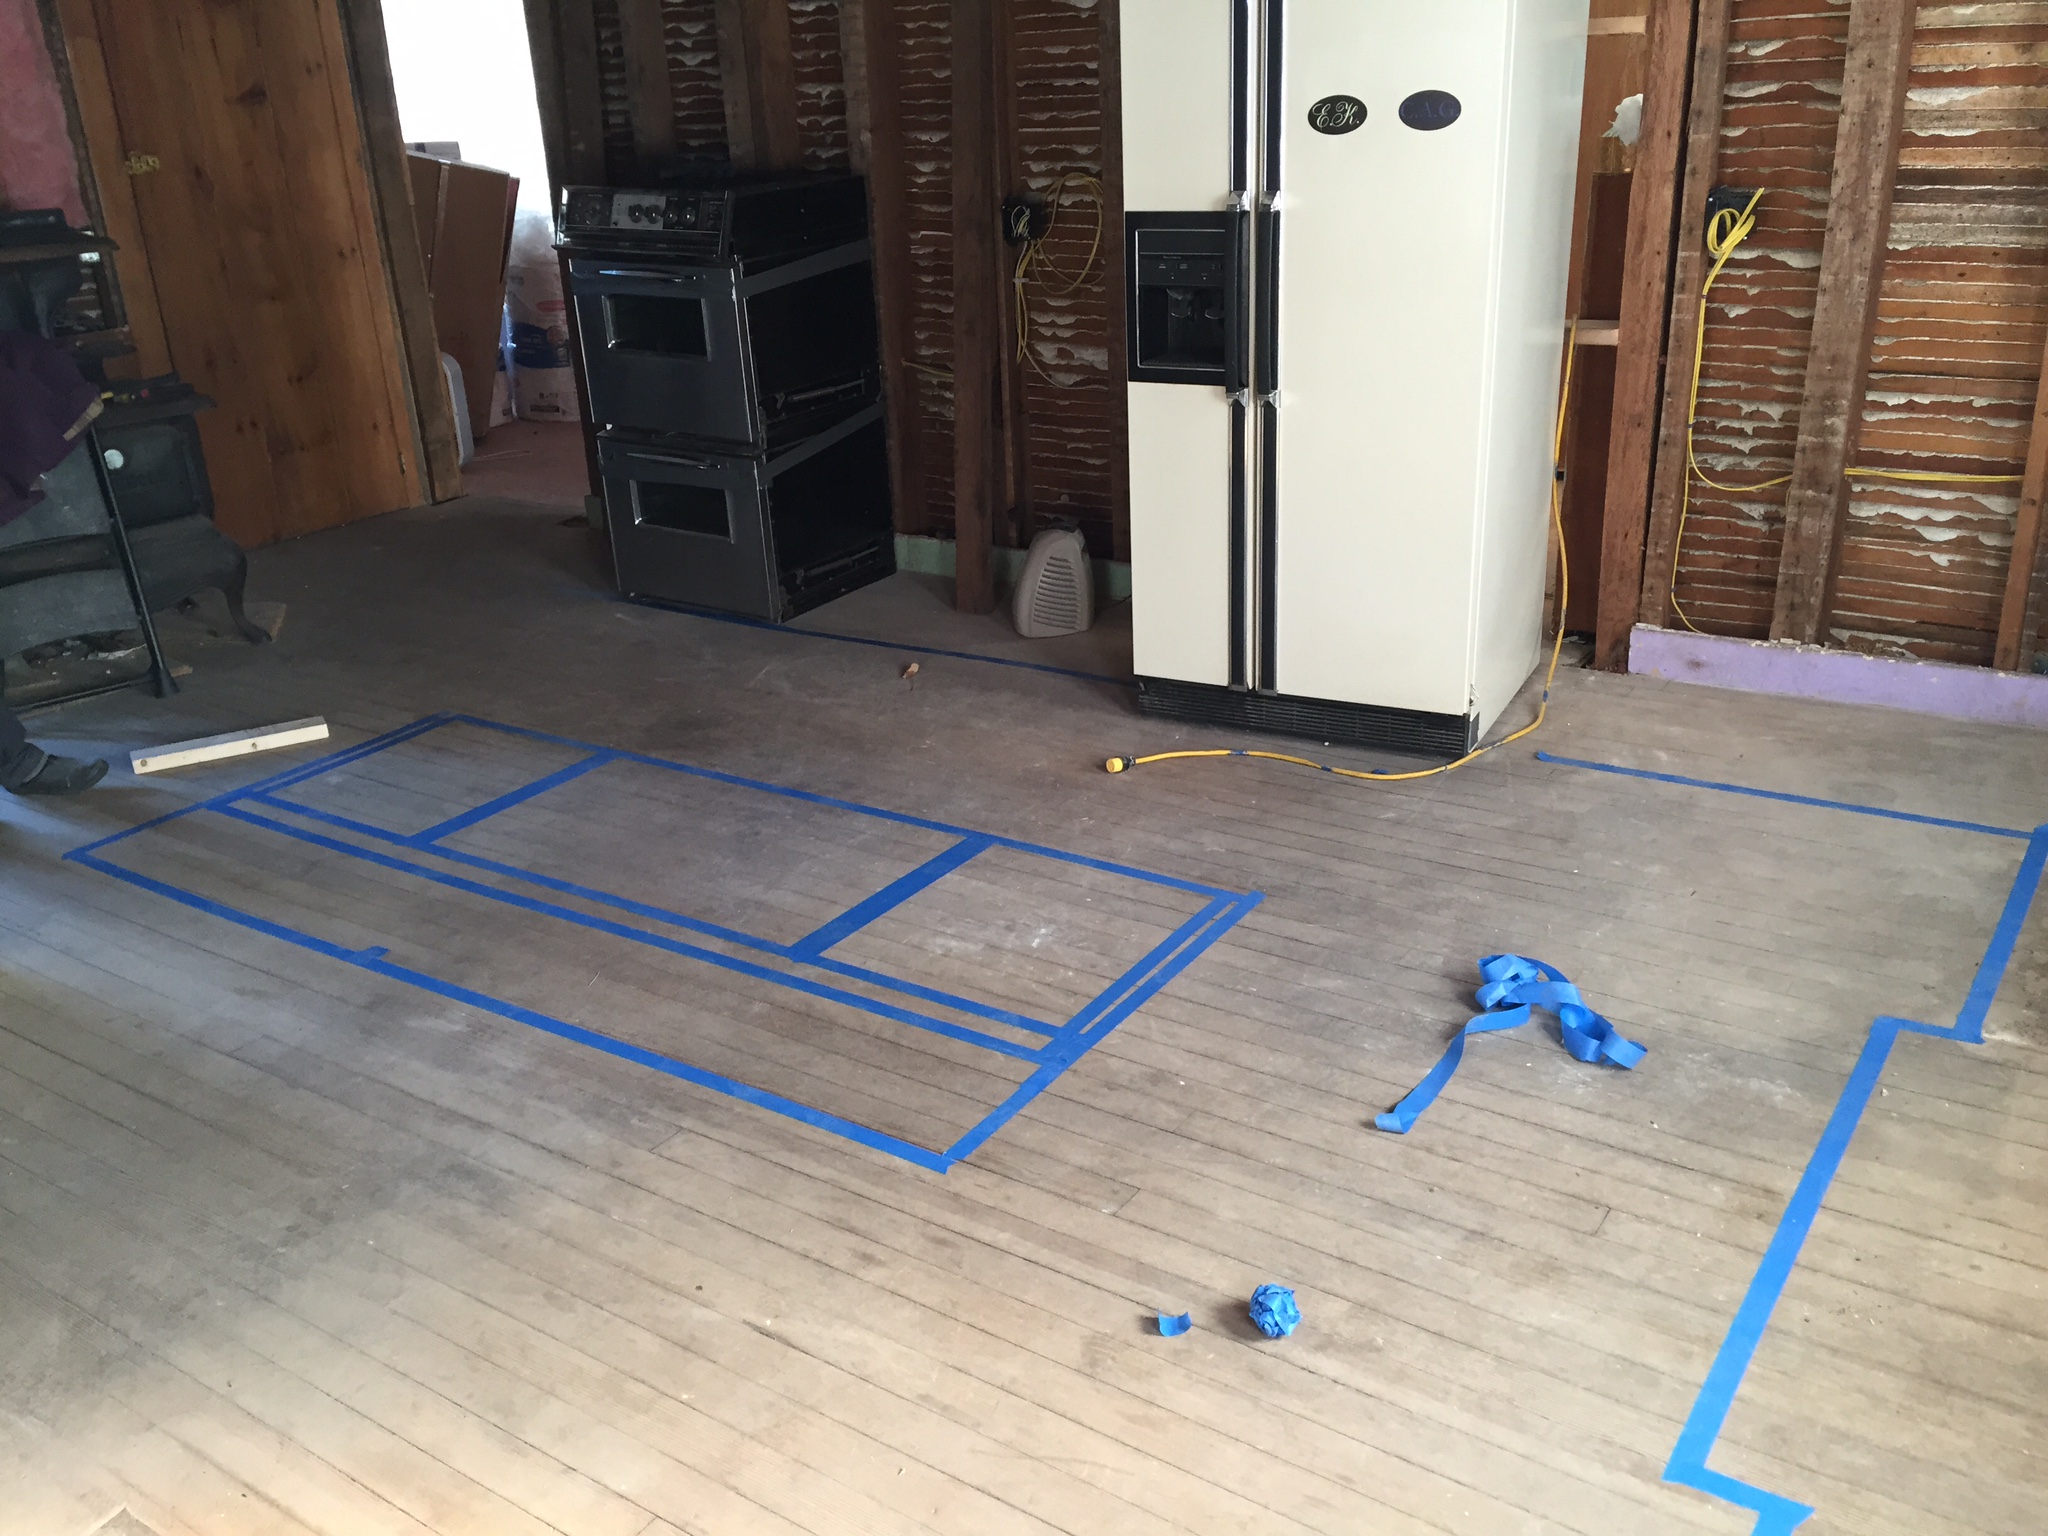
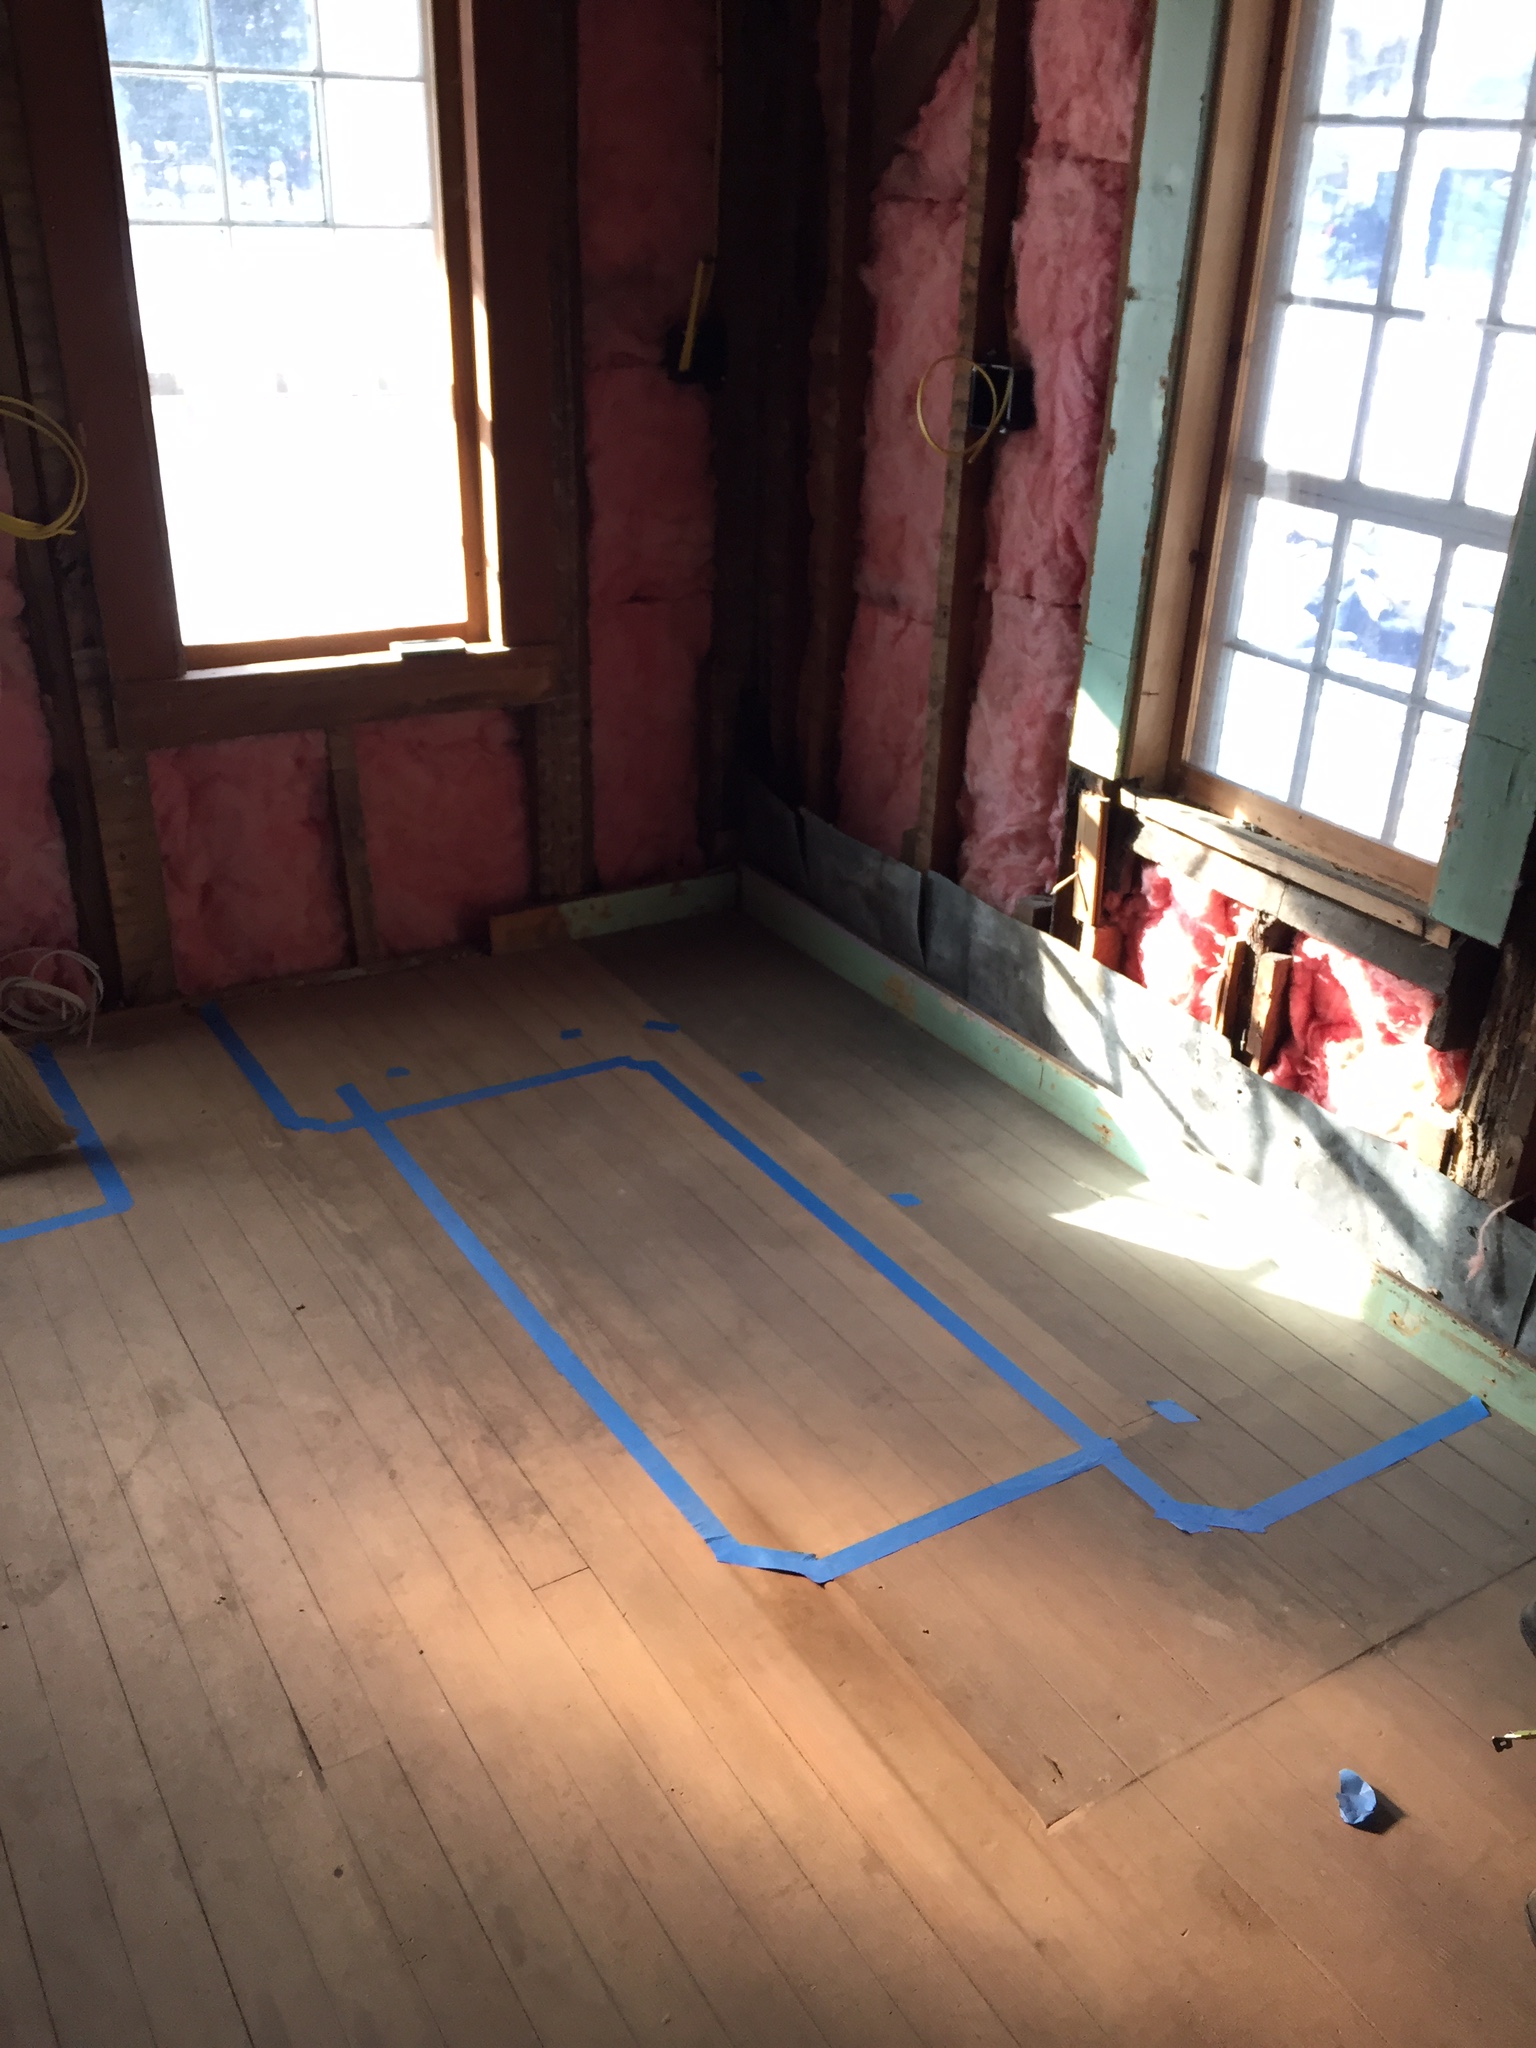
With the kitchen gutted we finally got to transpose the paper layouts, hopes, dreams to the actual space. Blue painter's tape is the weapon of choice for this type of work. We debated, we argued, we fought and at the end of the day we came up with a pretty killer plan; right down to a banquette. 

Now that all the dreams are in place we have to figure out how to implement them. The kitchen is going to be in a commercial style with stainless work tables for counters and subway tile clad walls. Probably some fun stenciling on the floors but we haven't set that in stone yet.