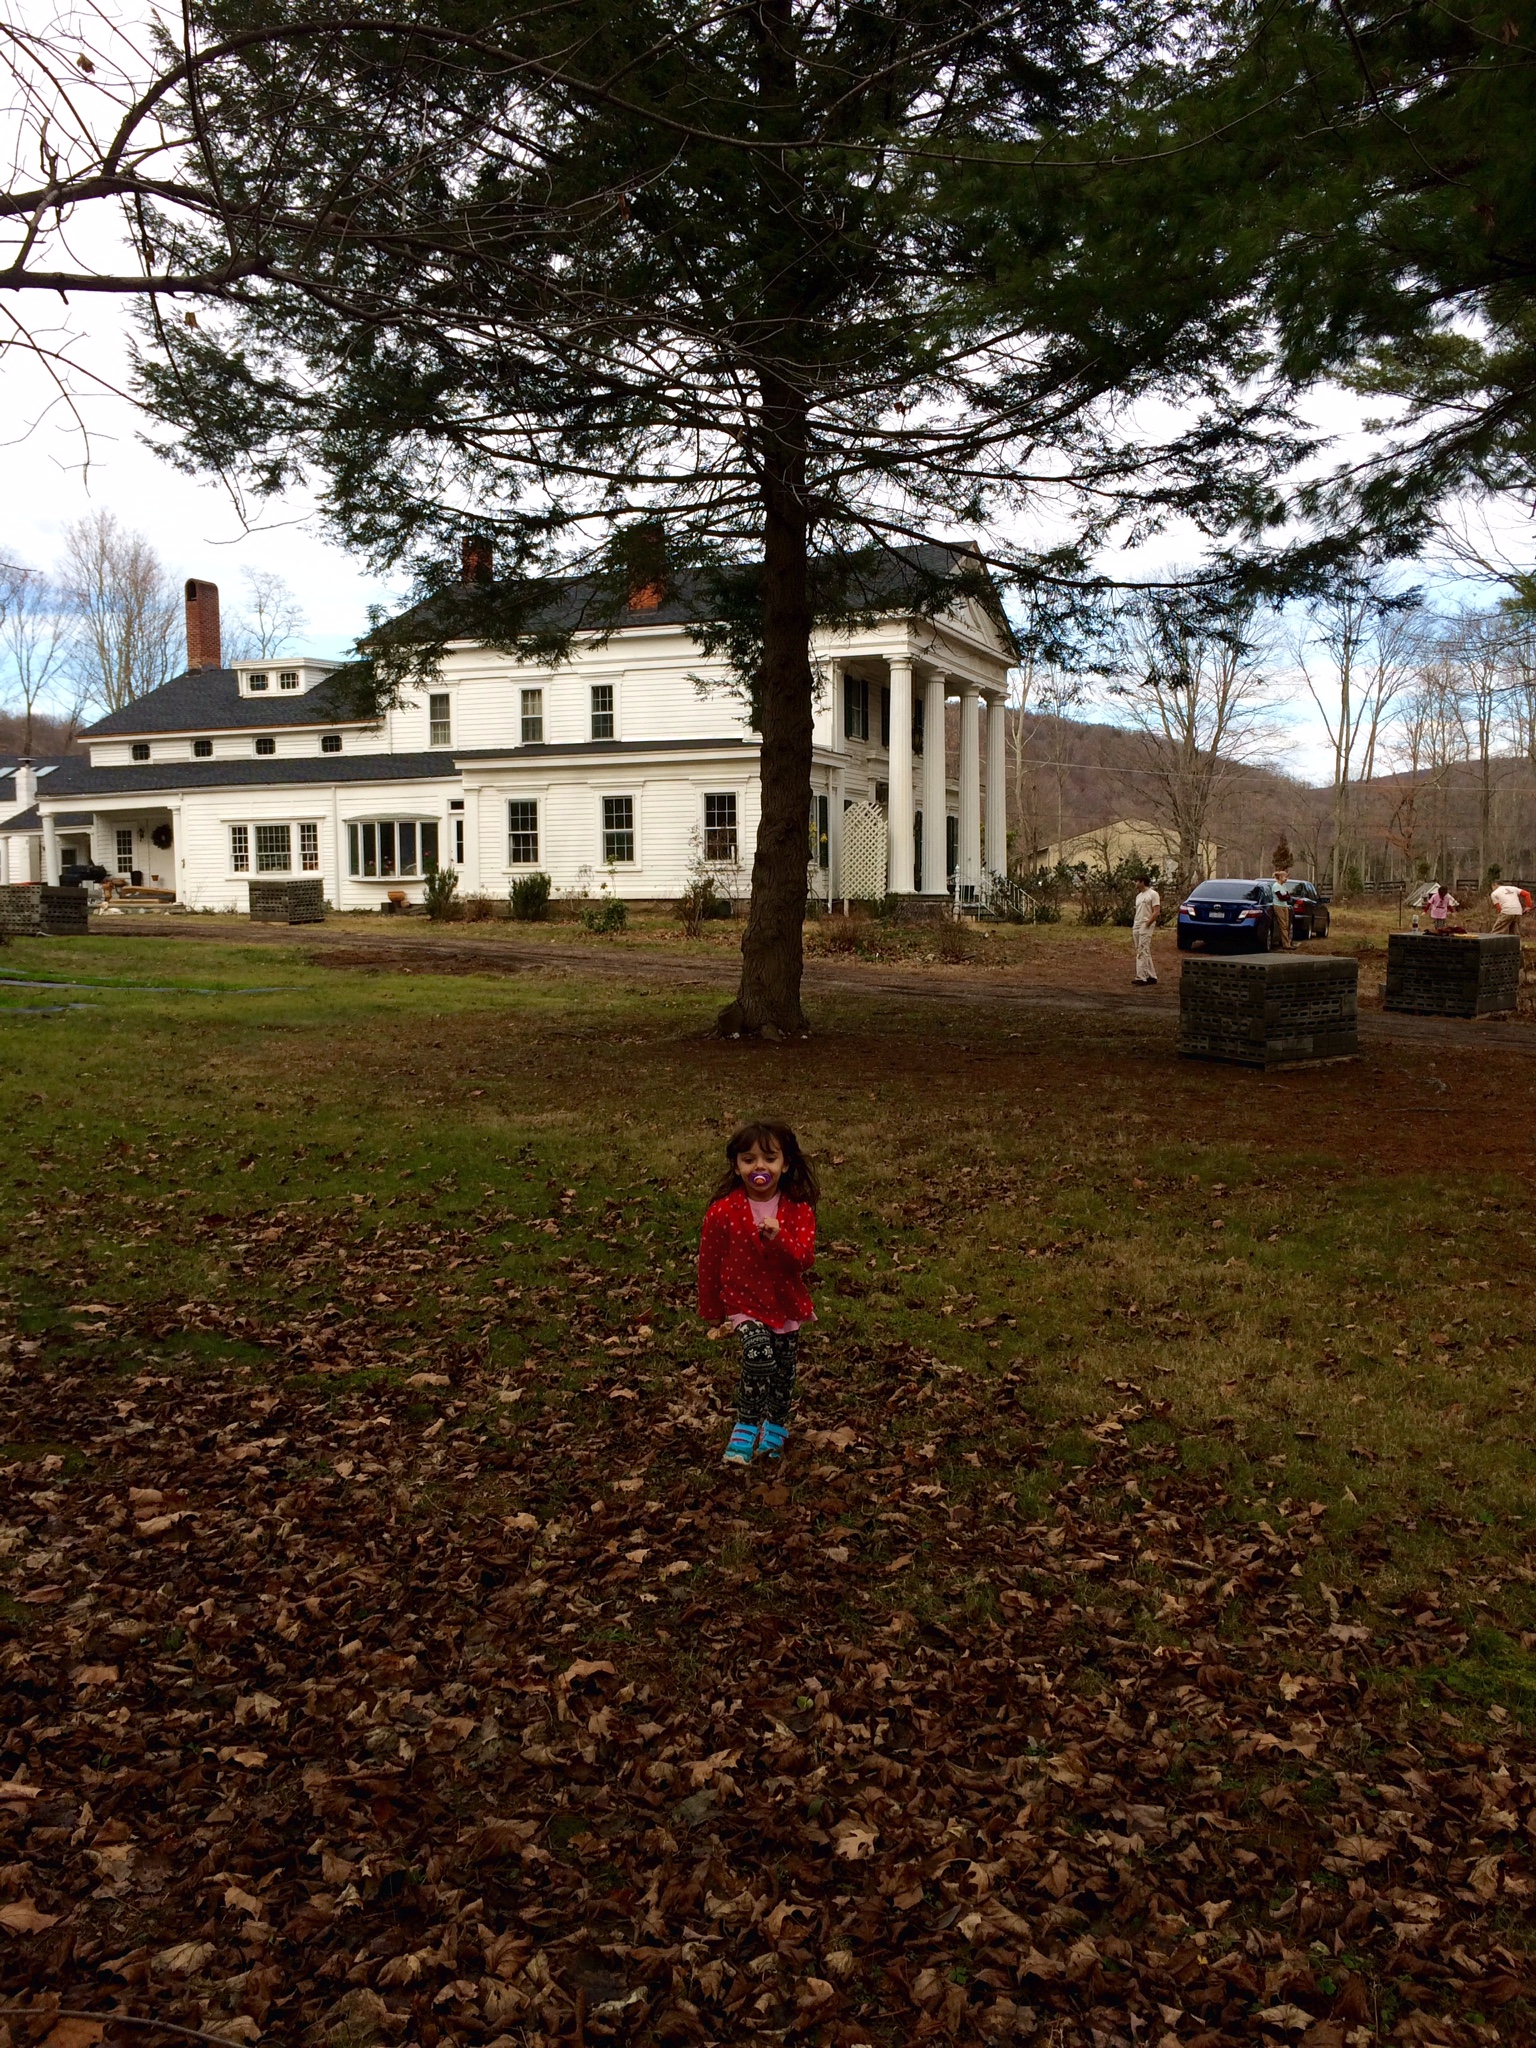
Getting Traction

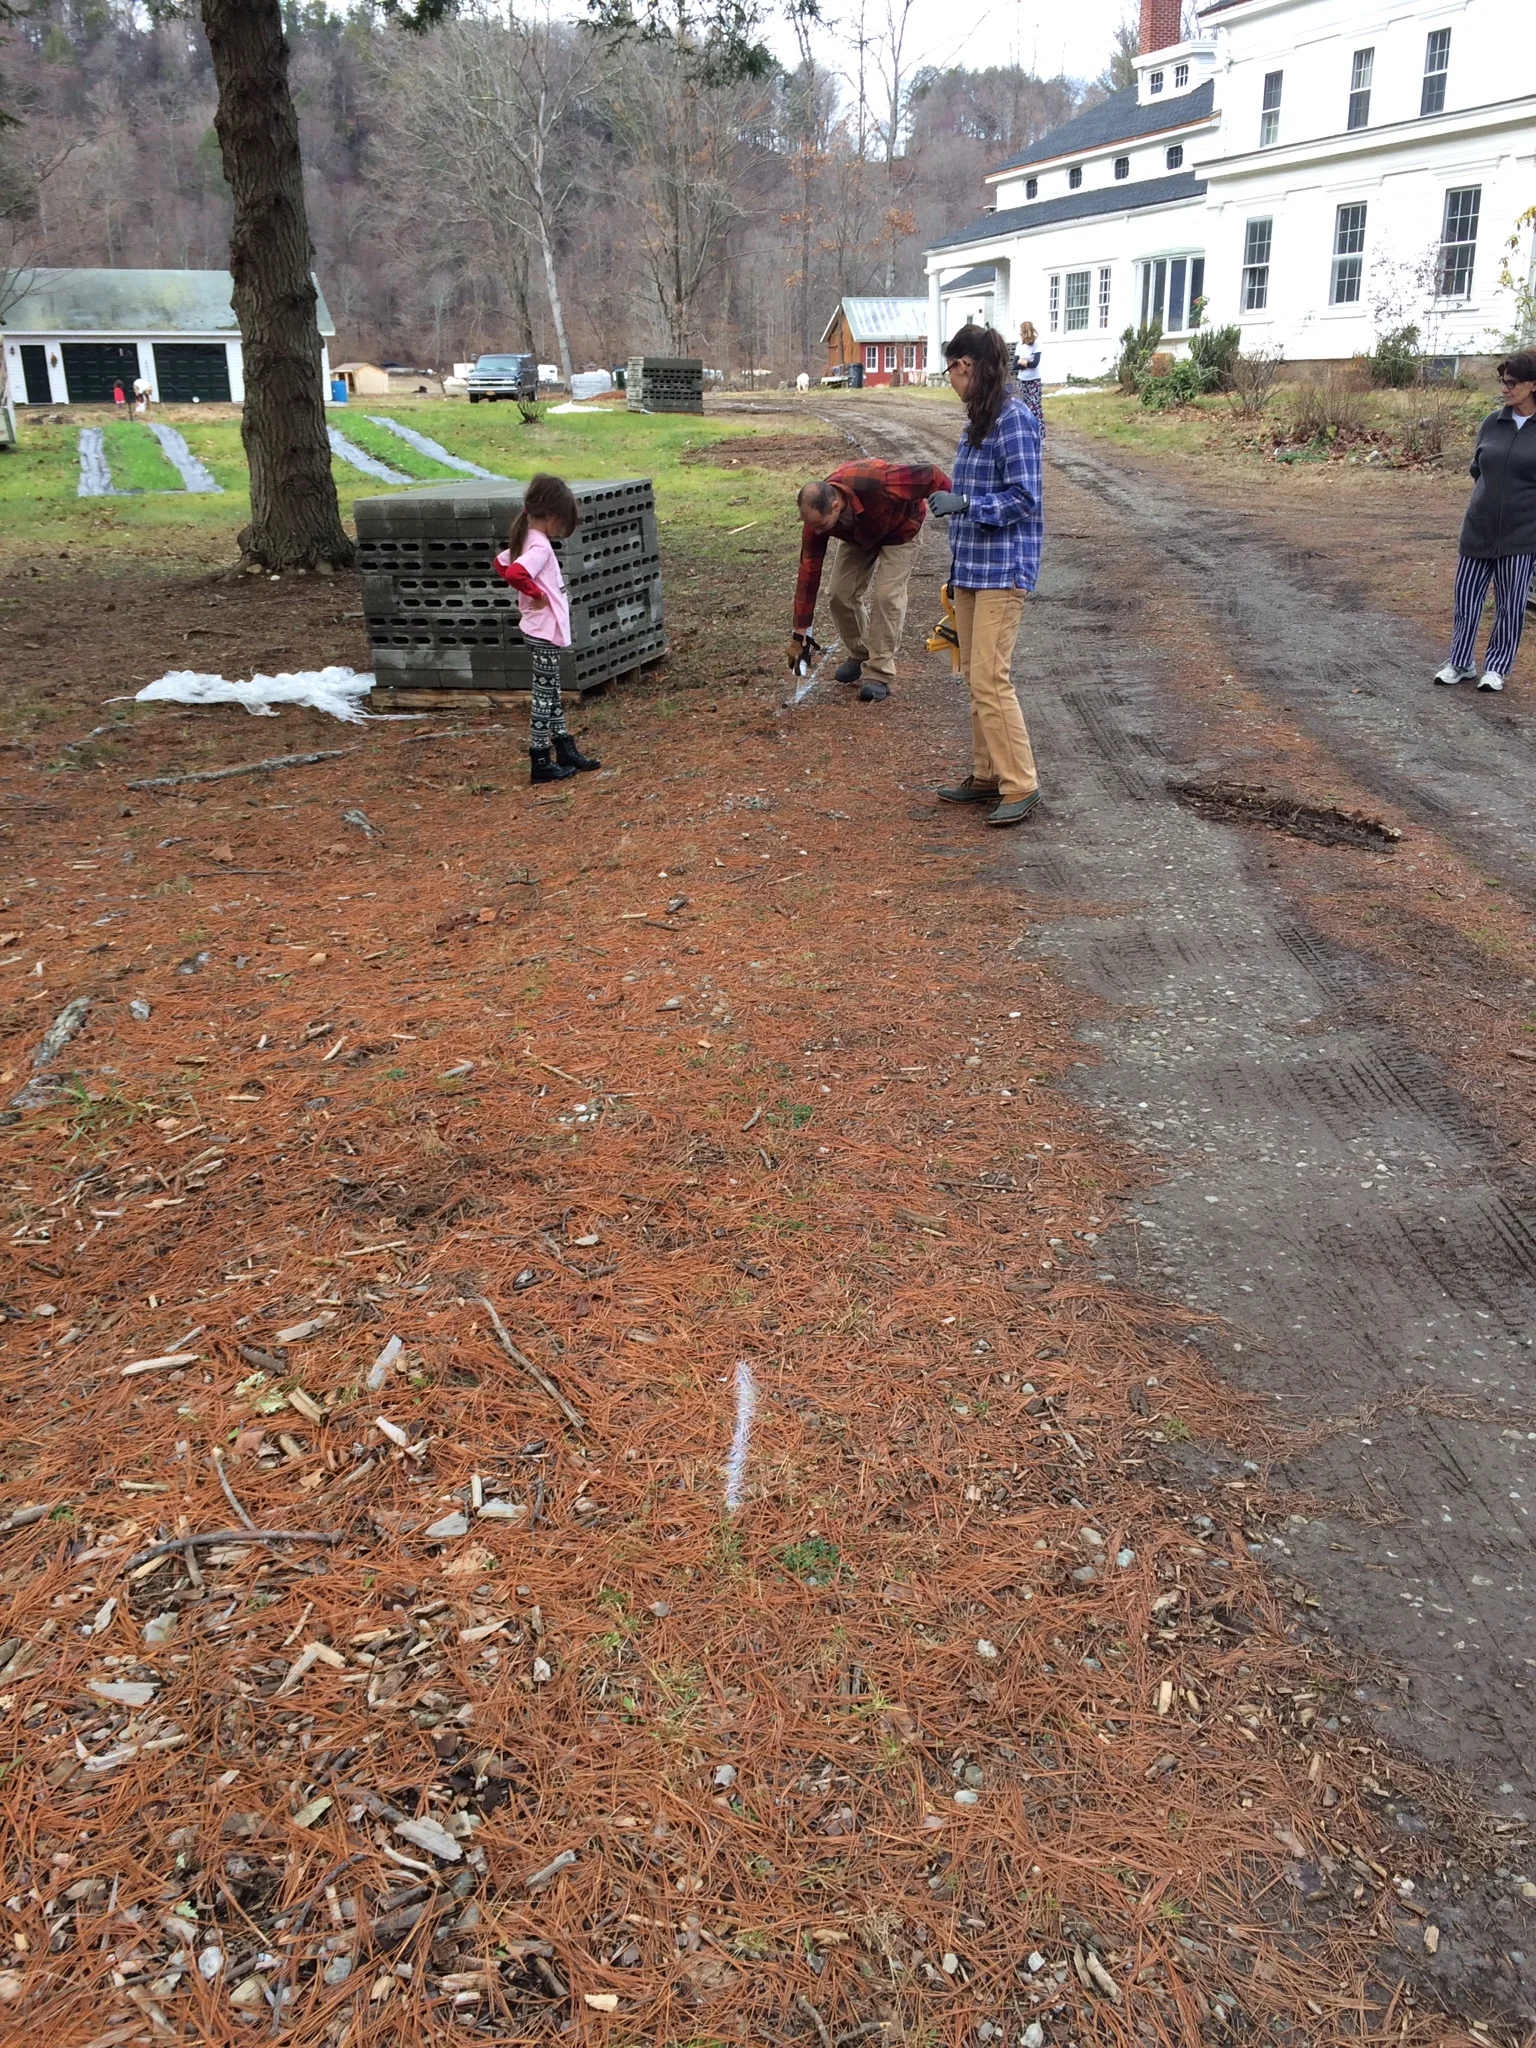
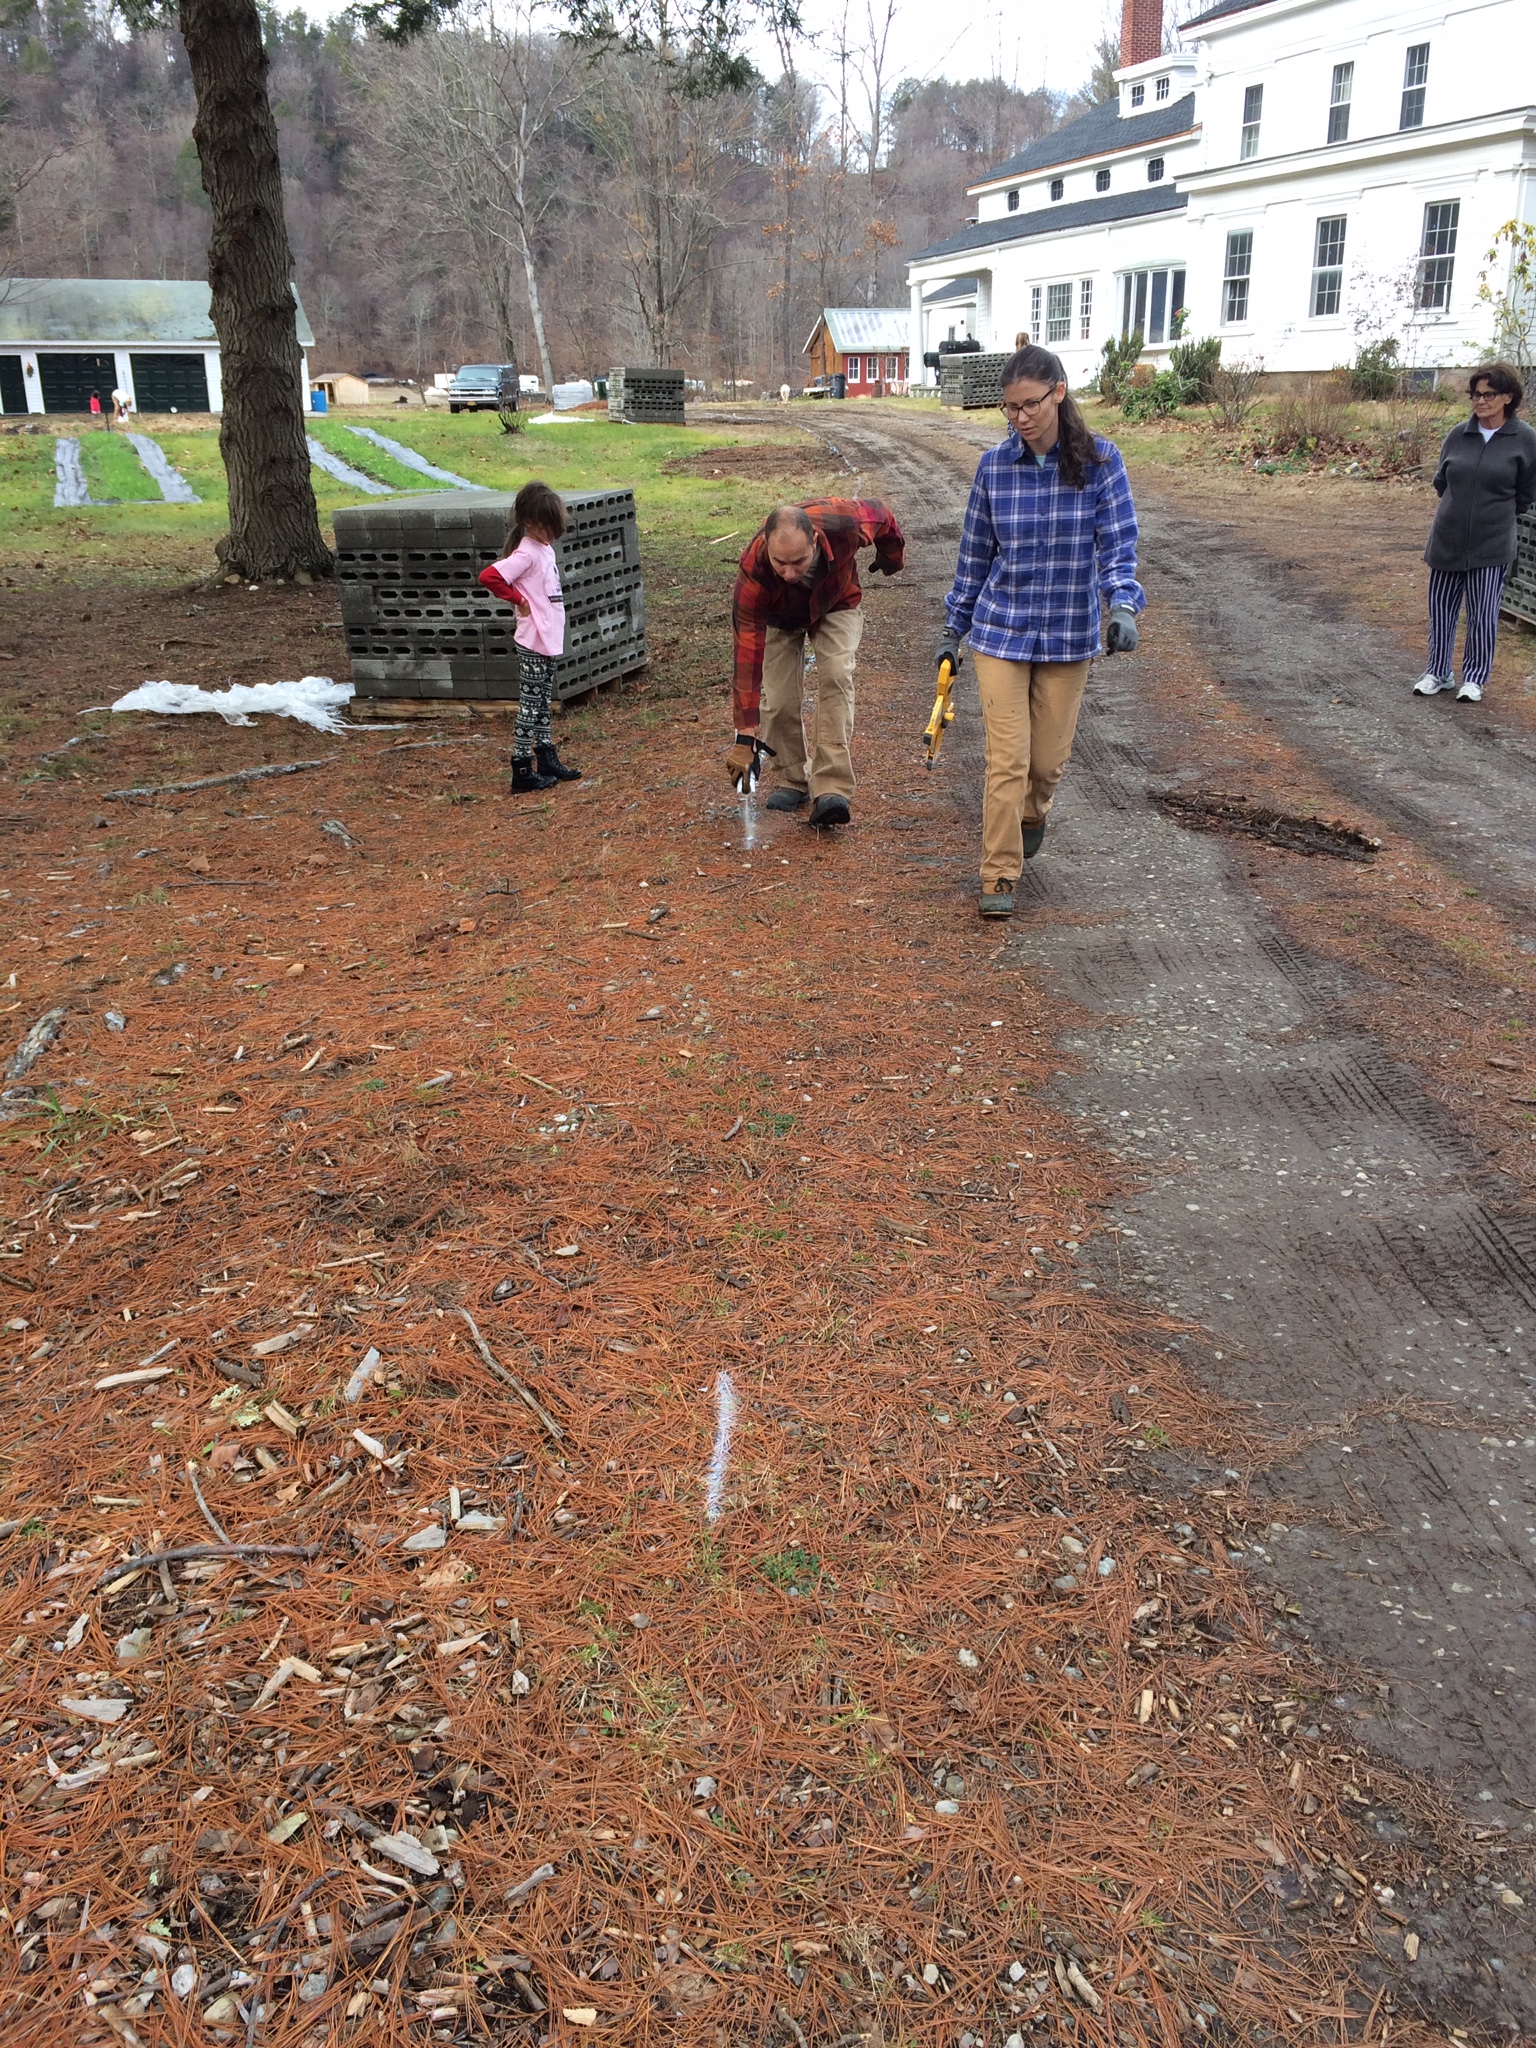
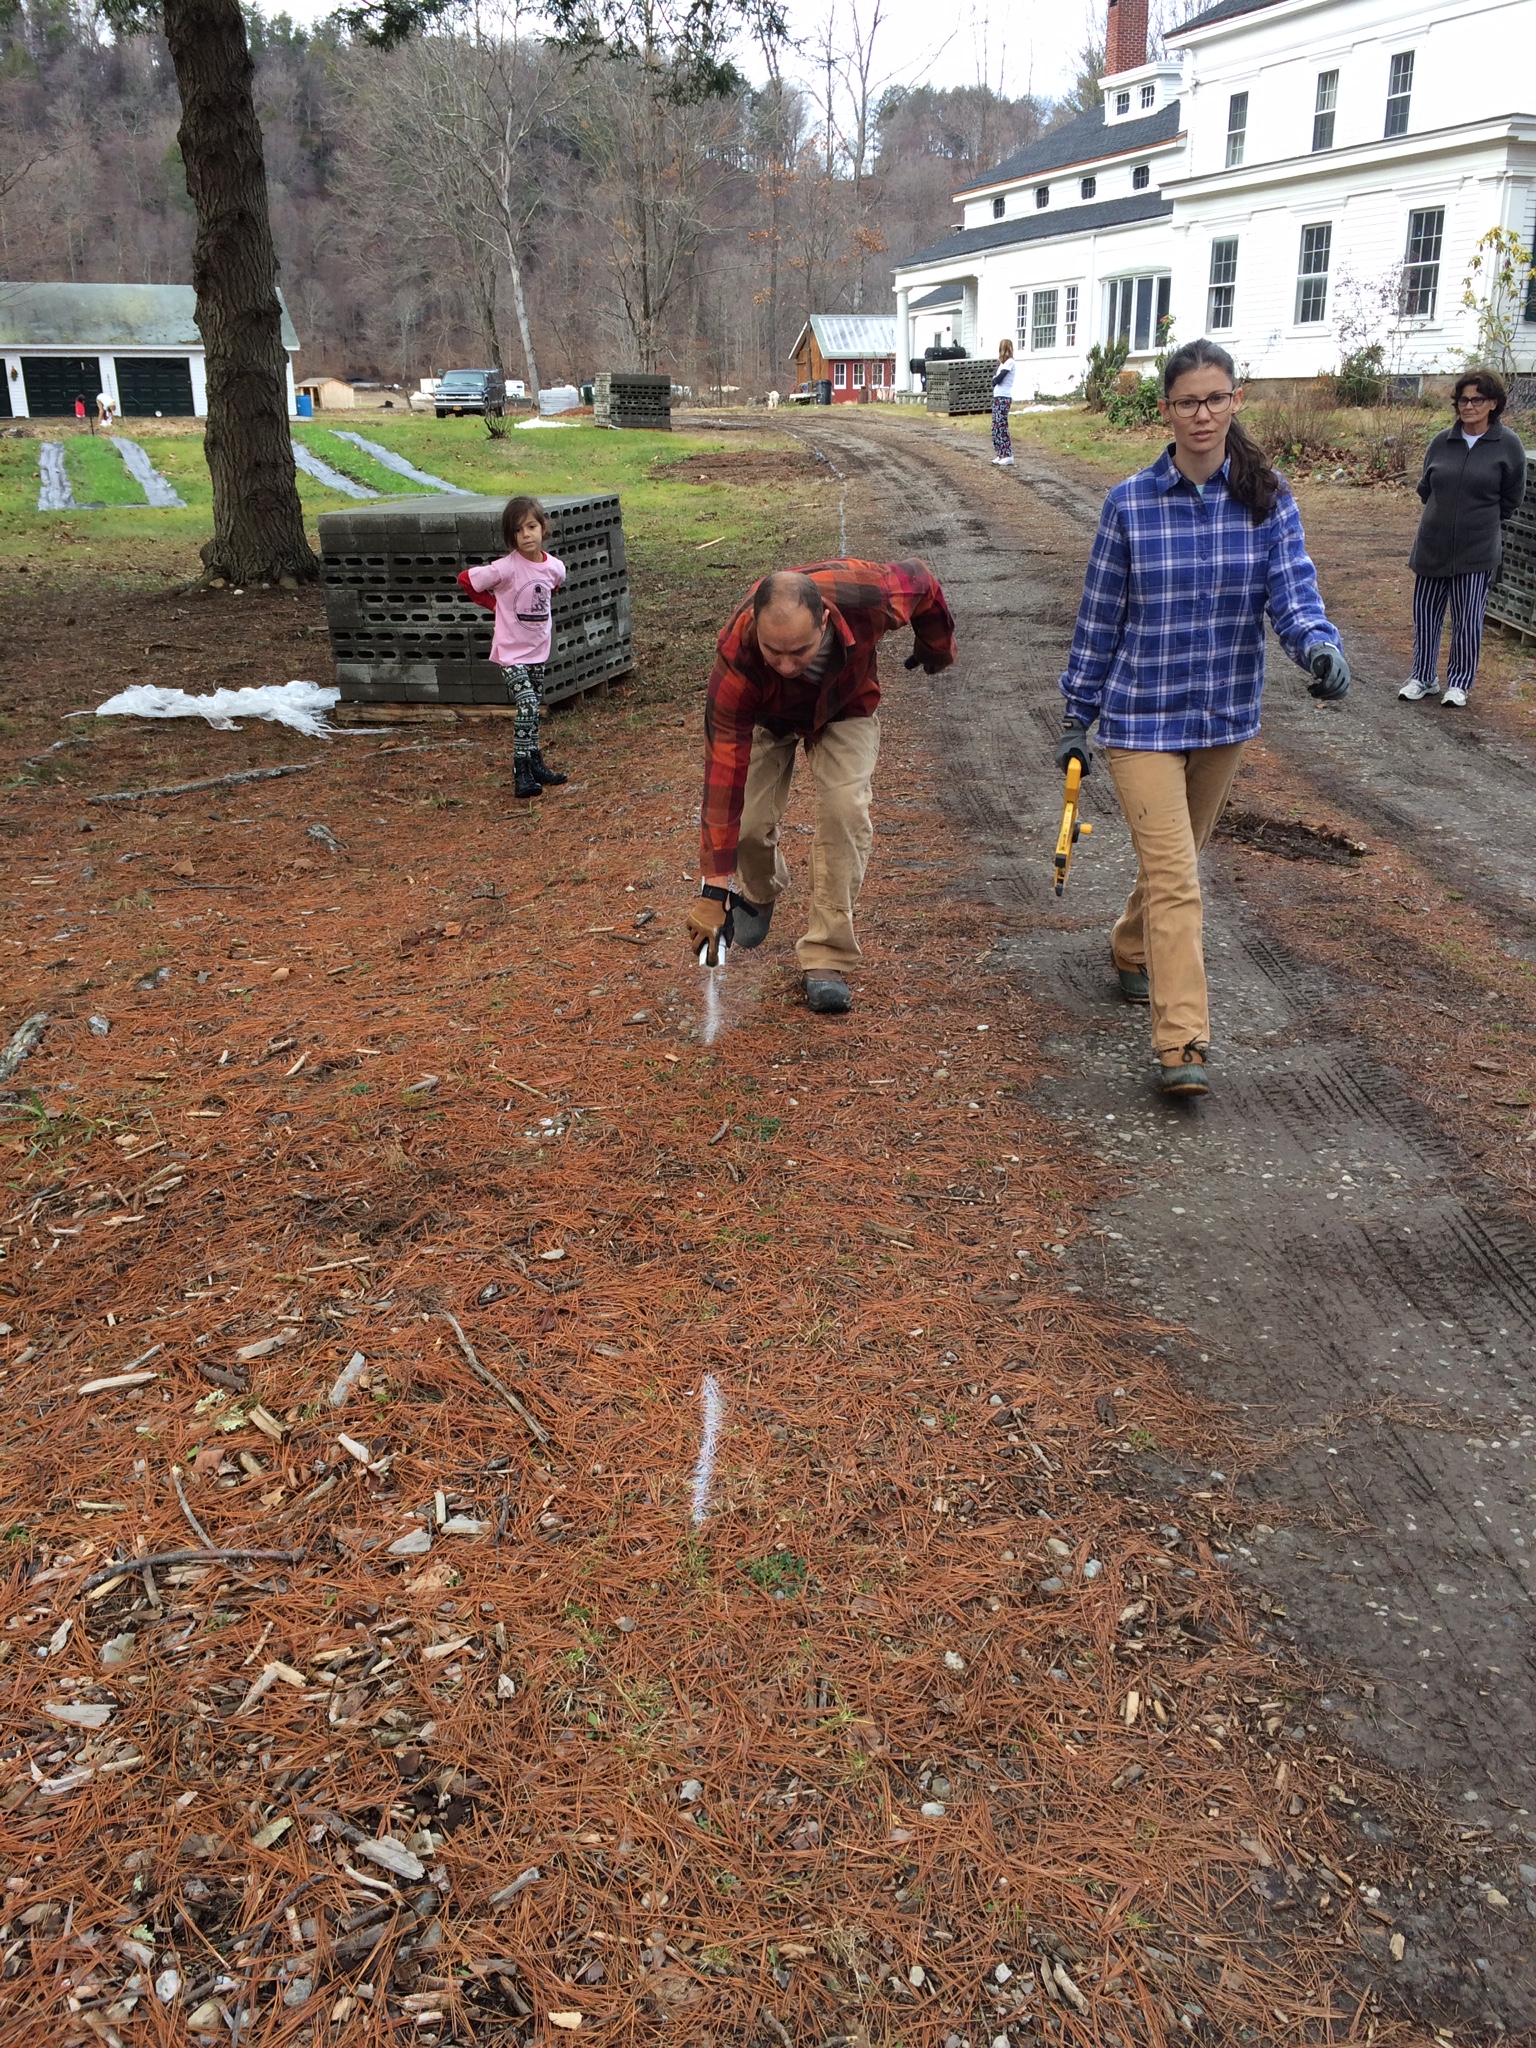
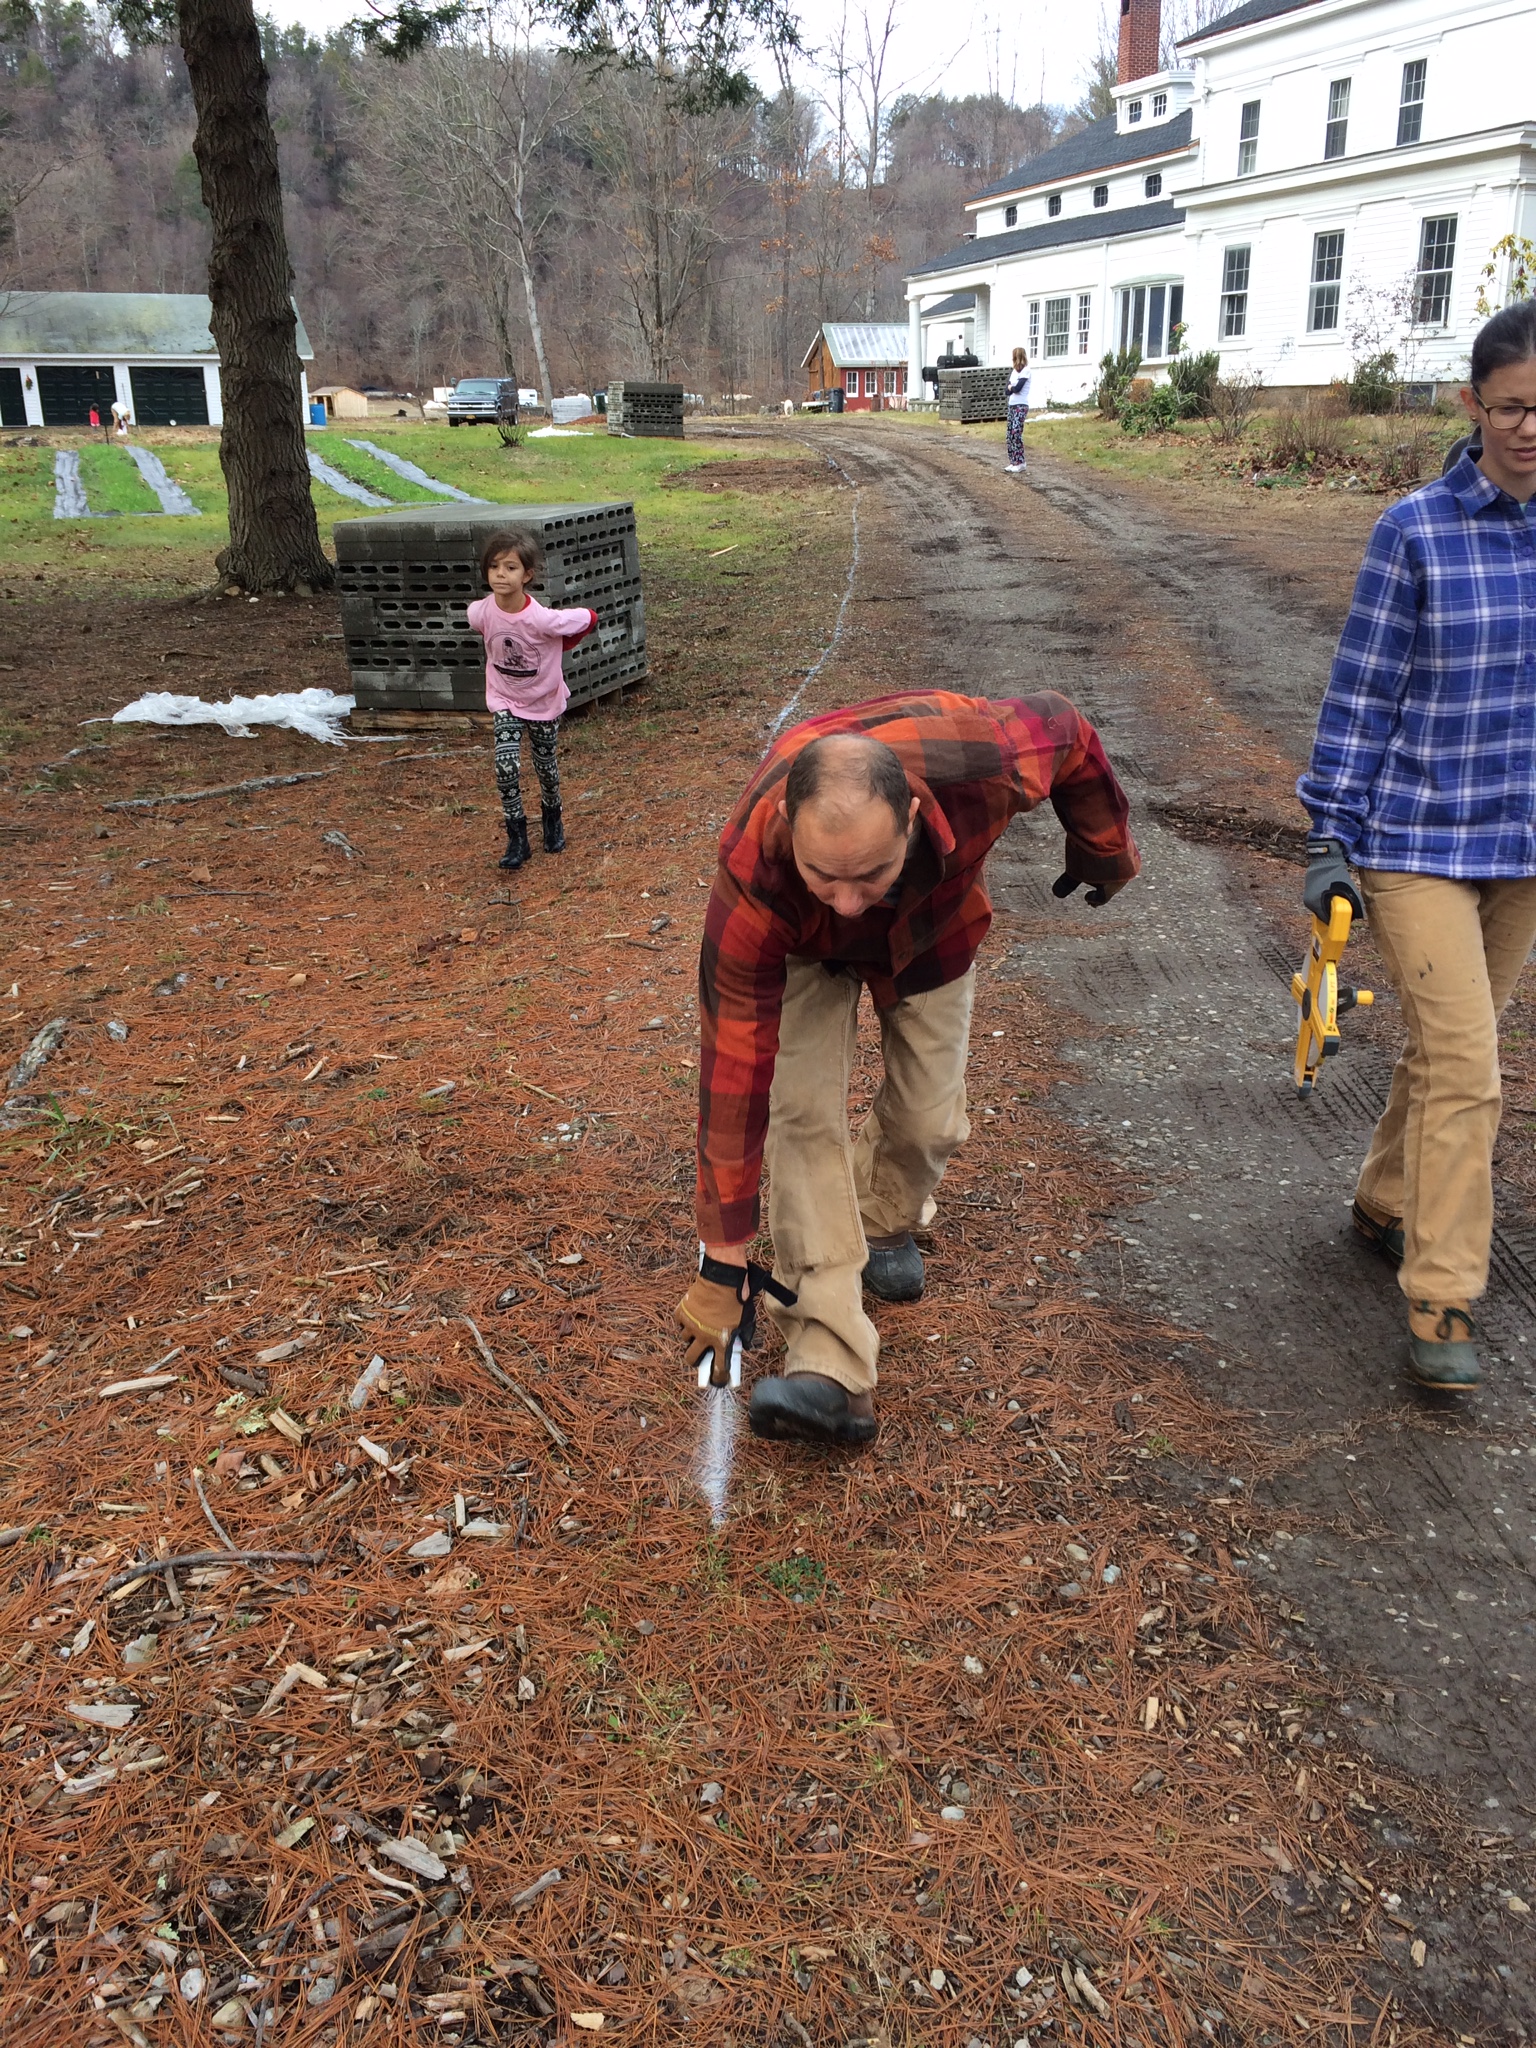
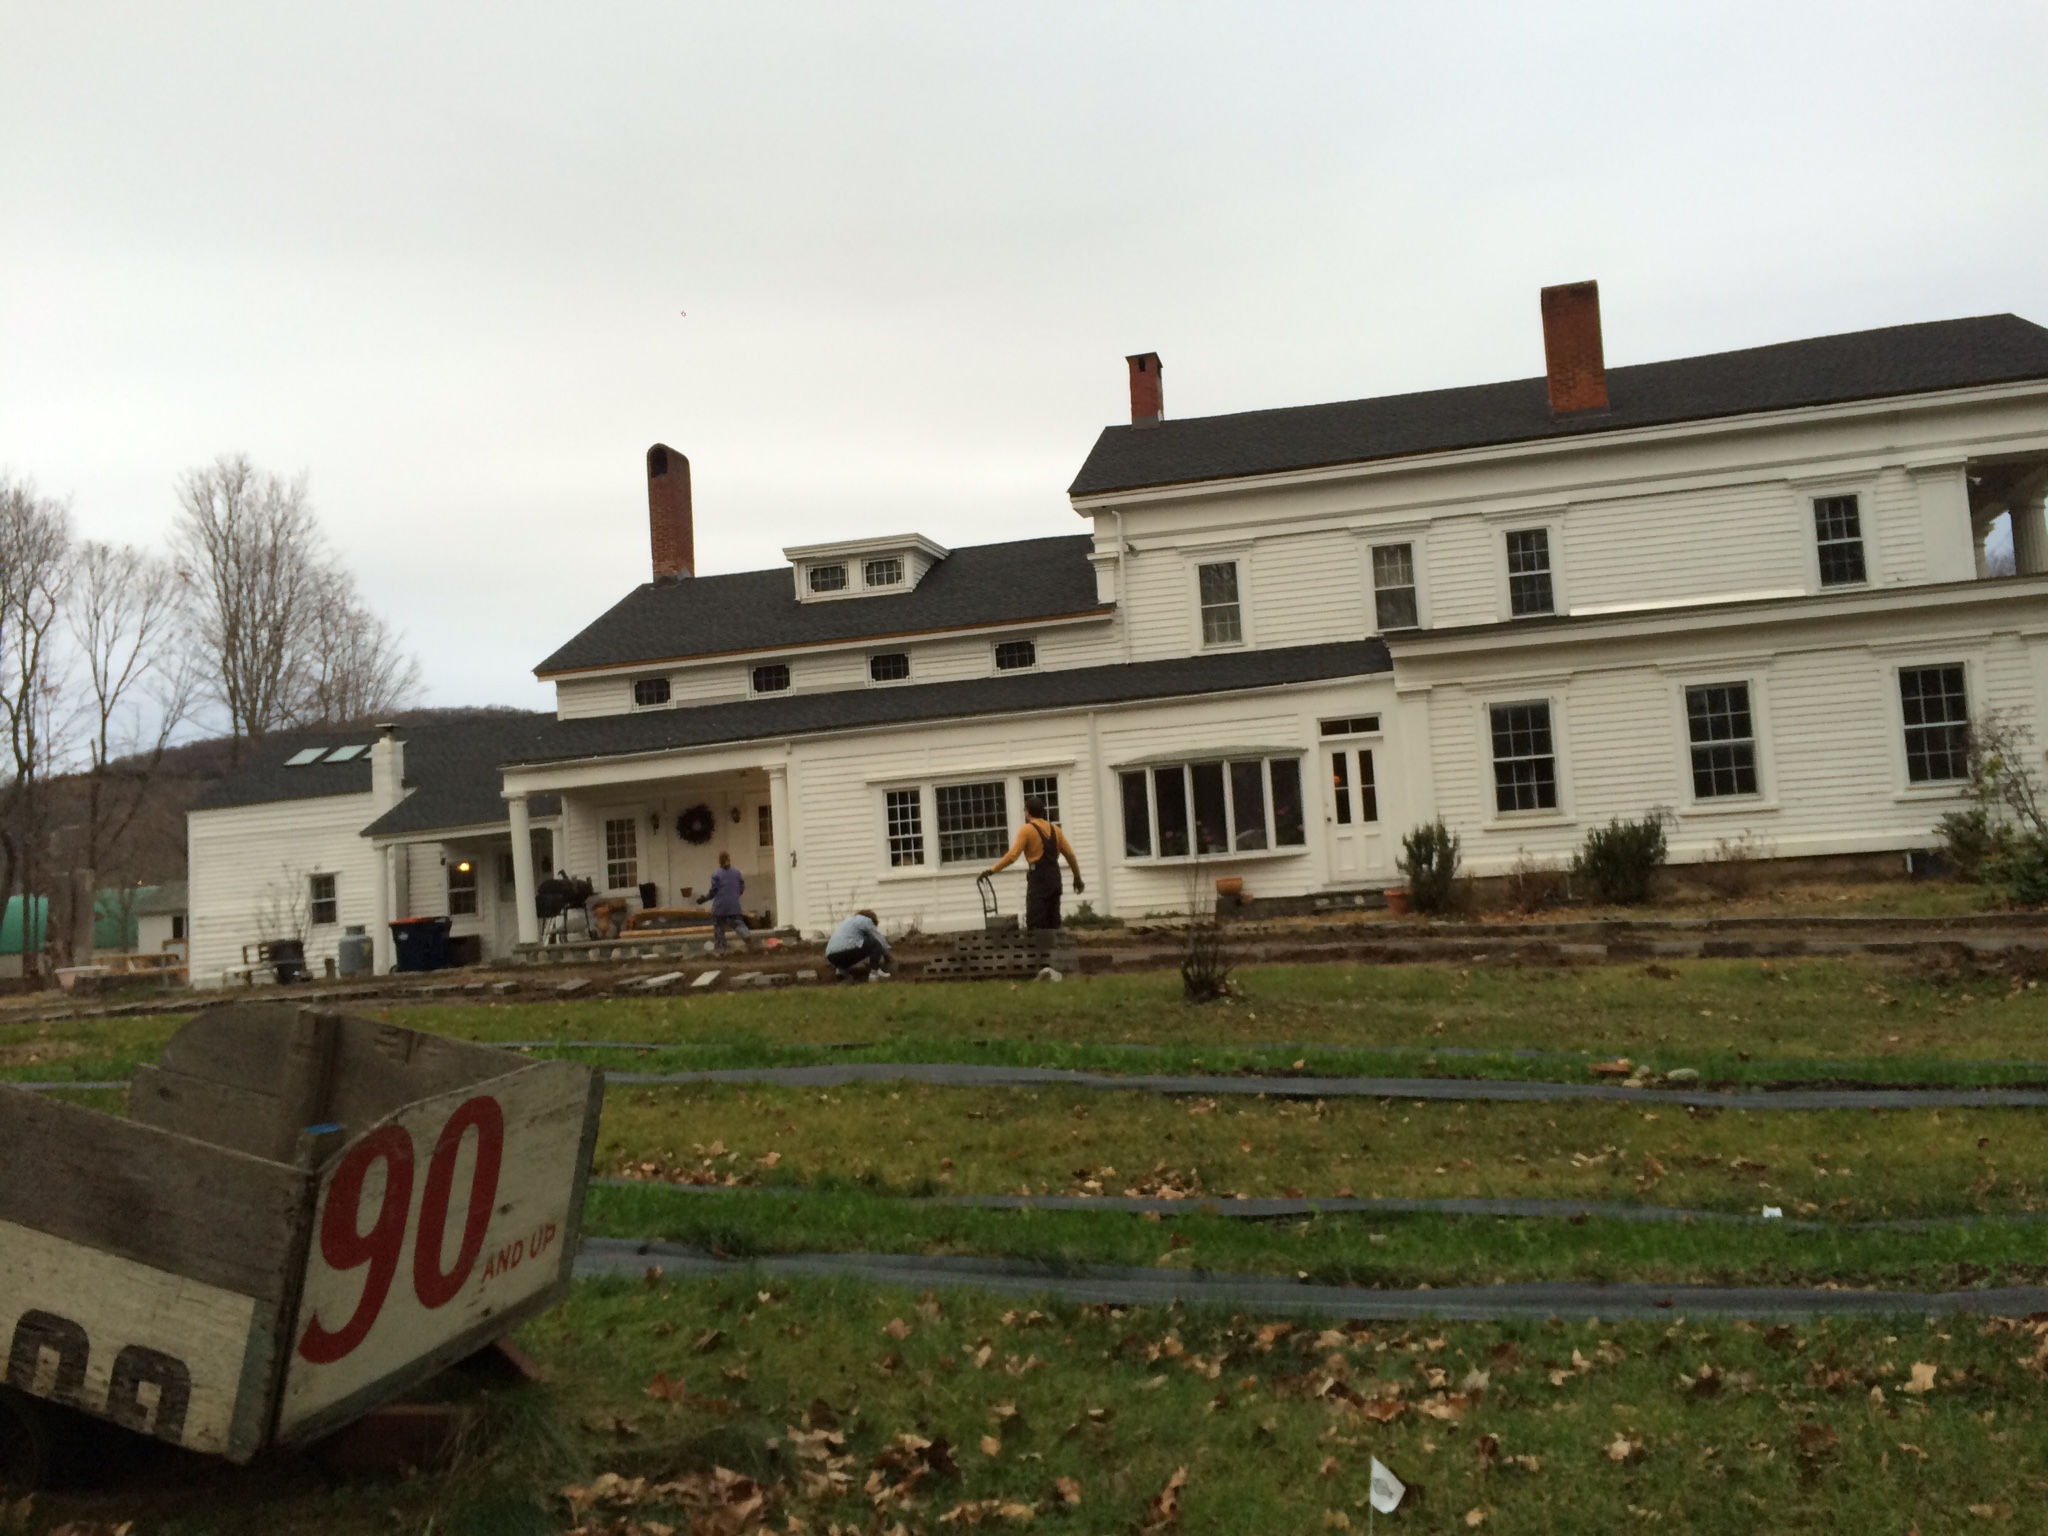
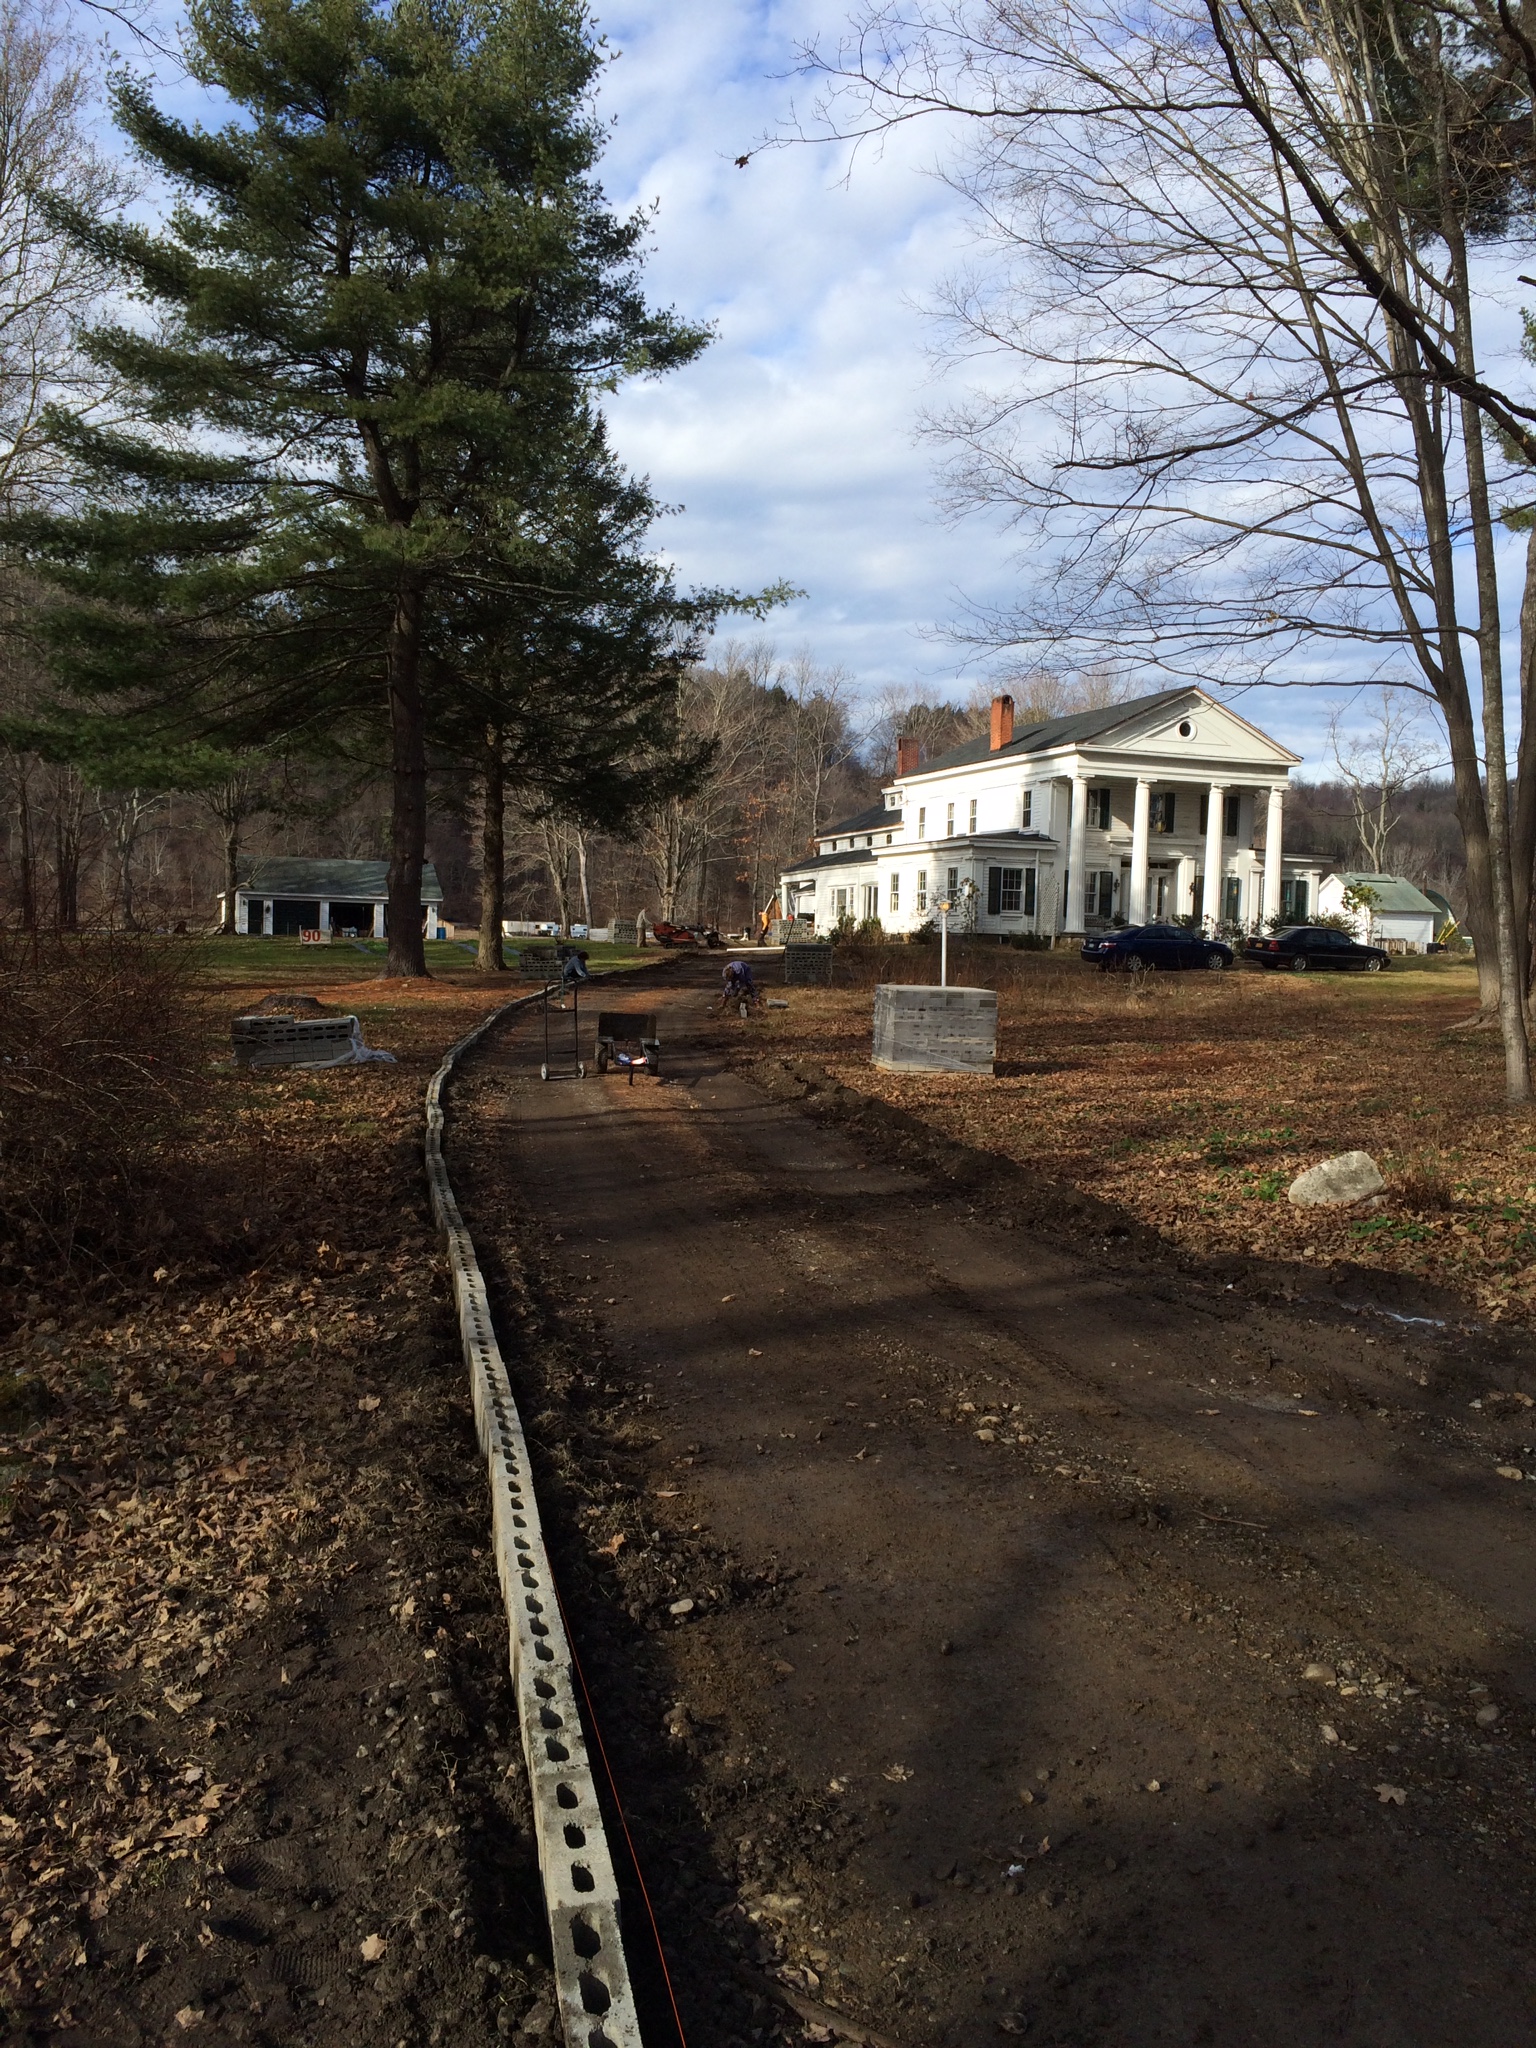
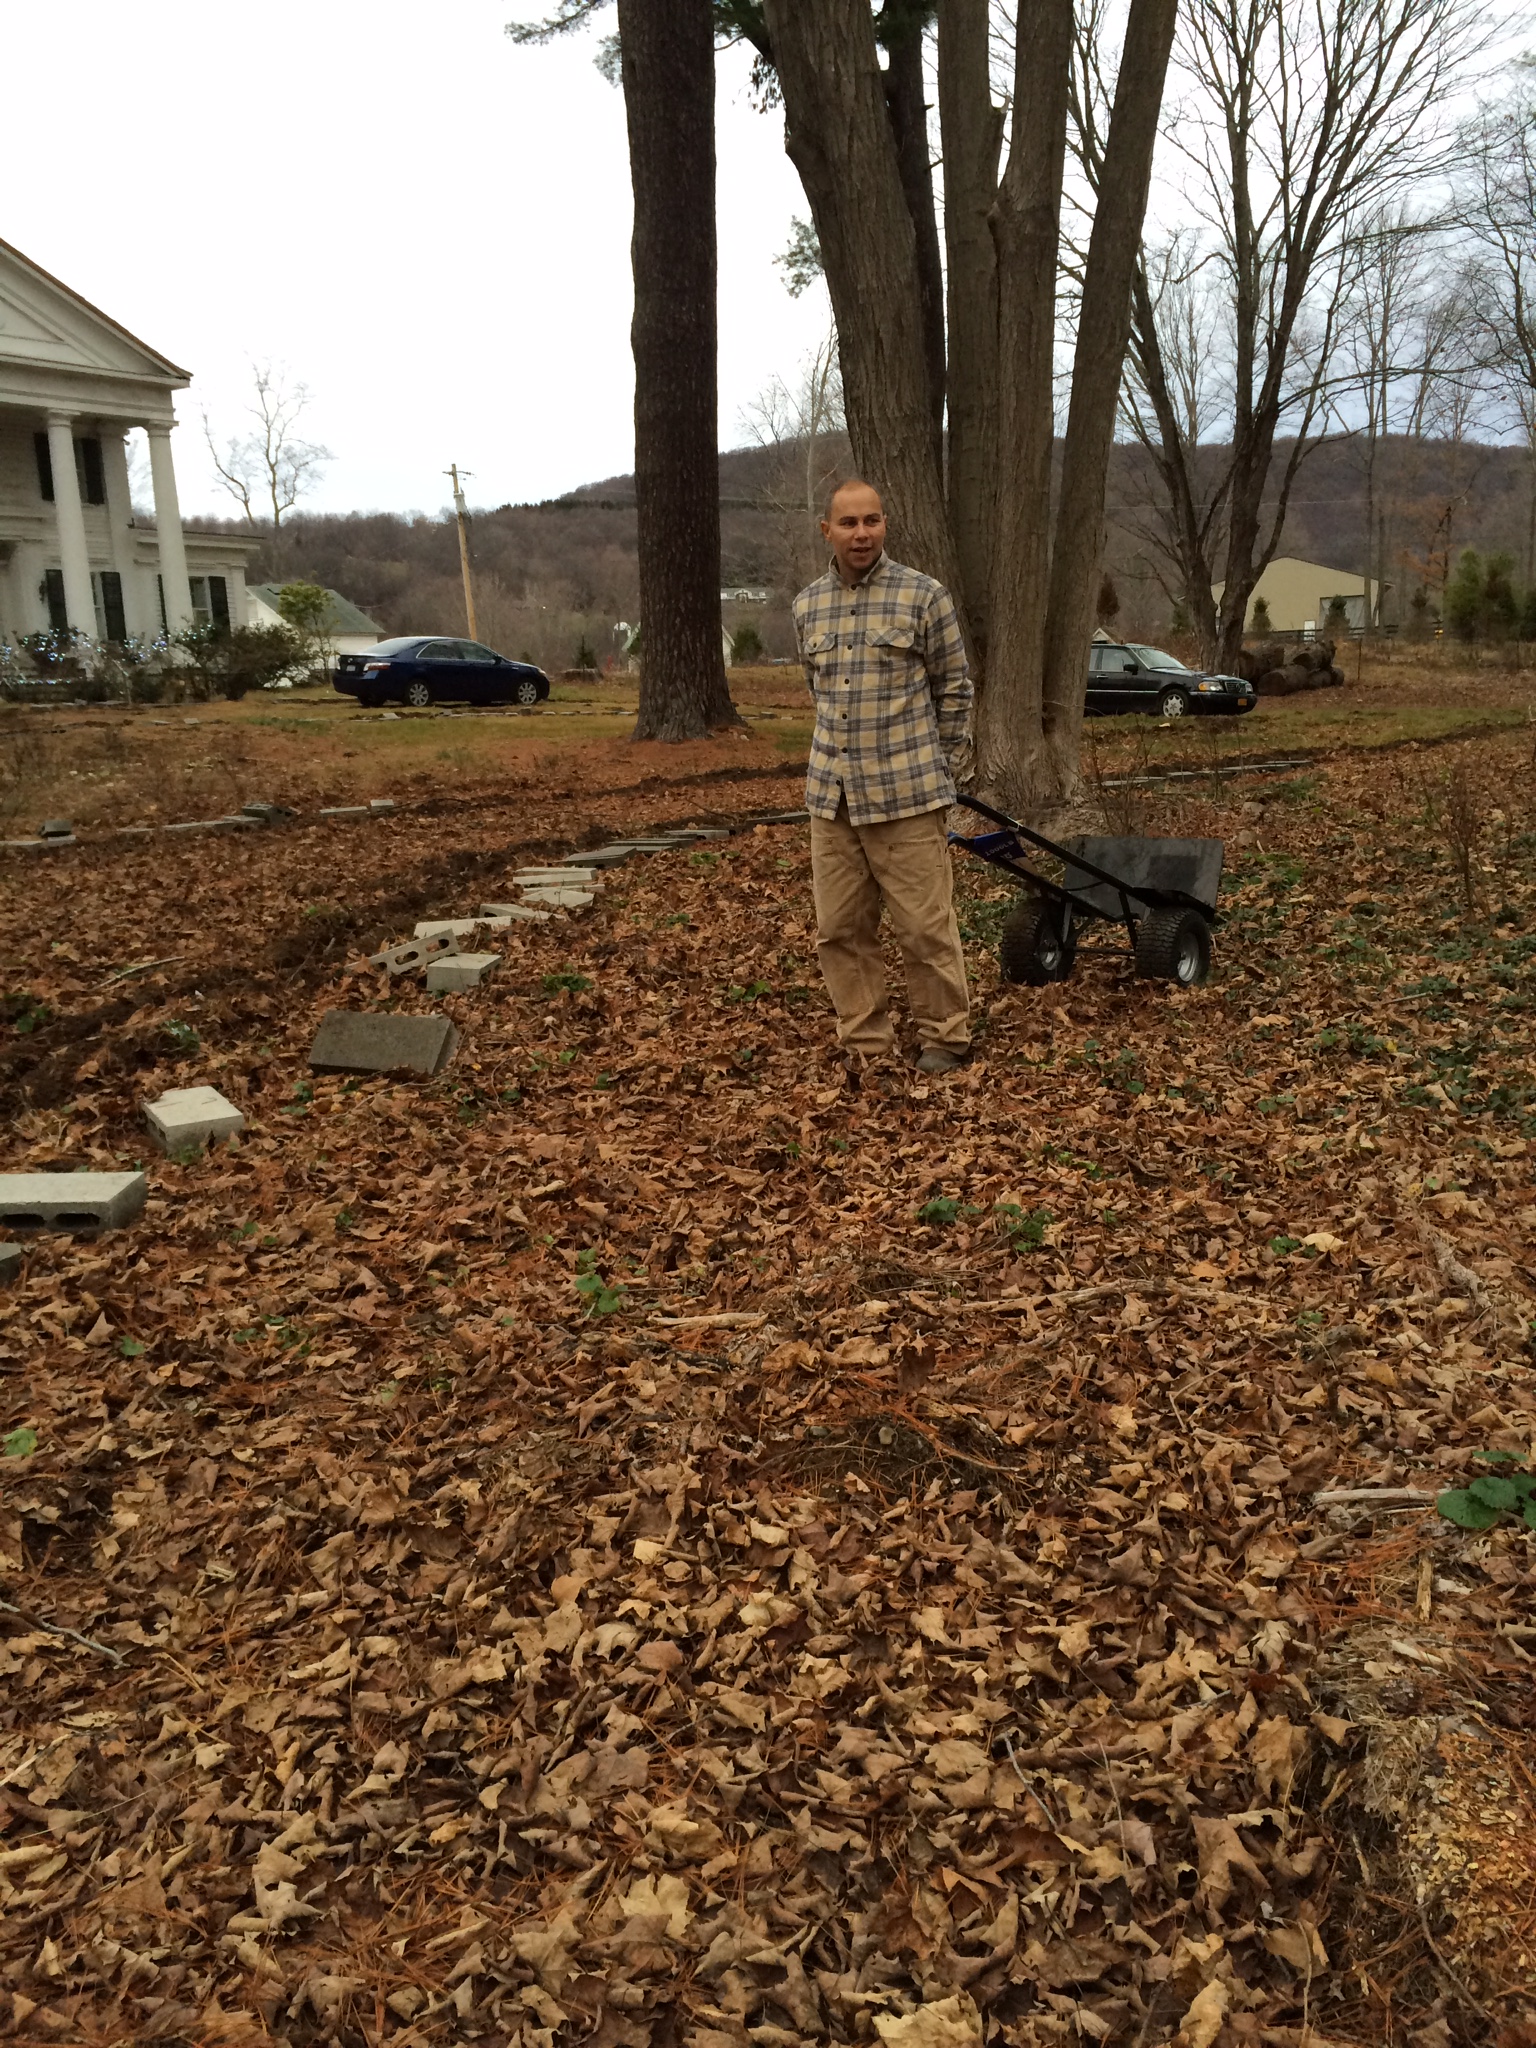
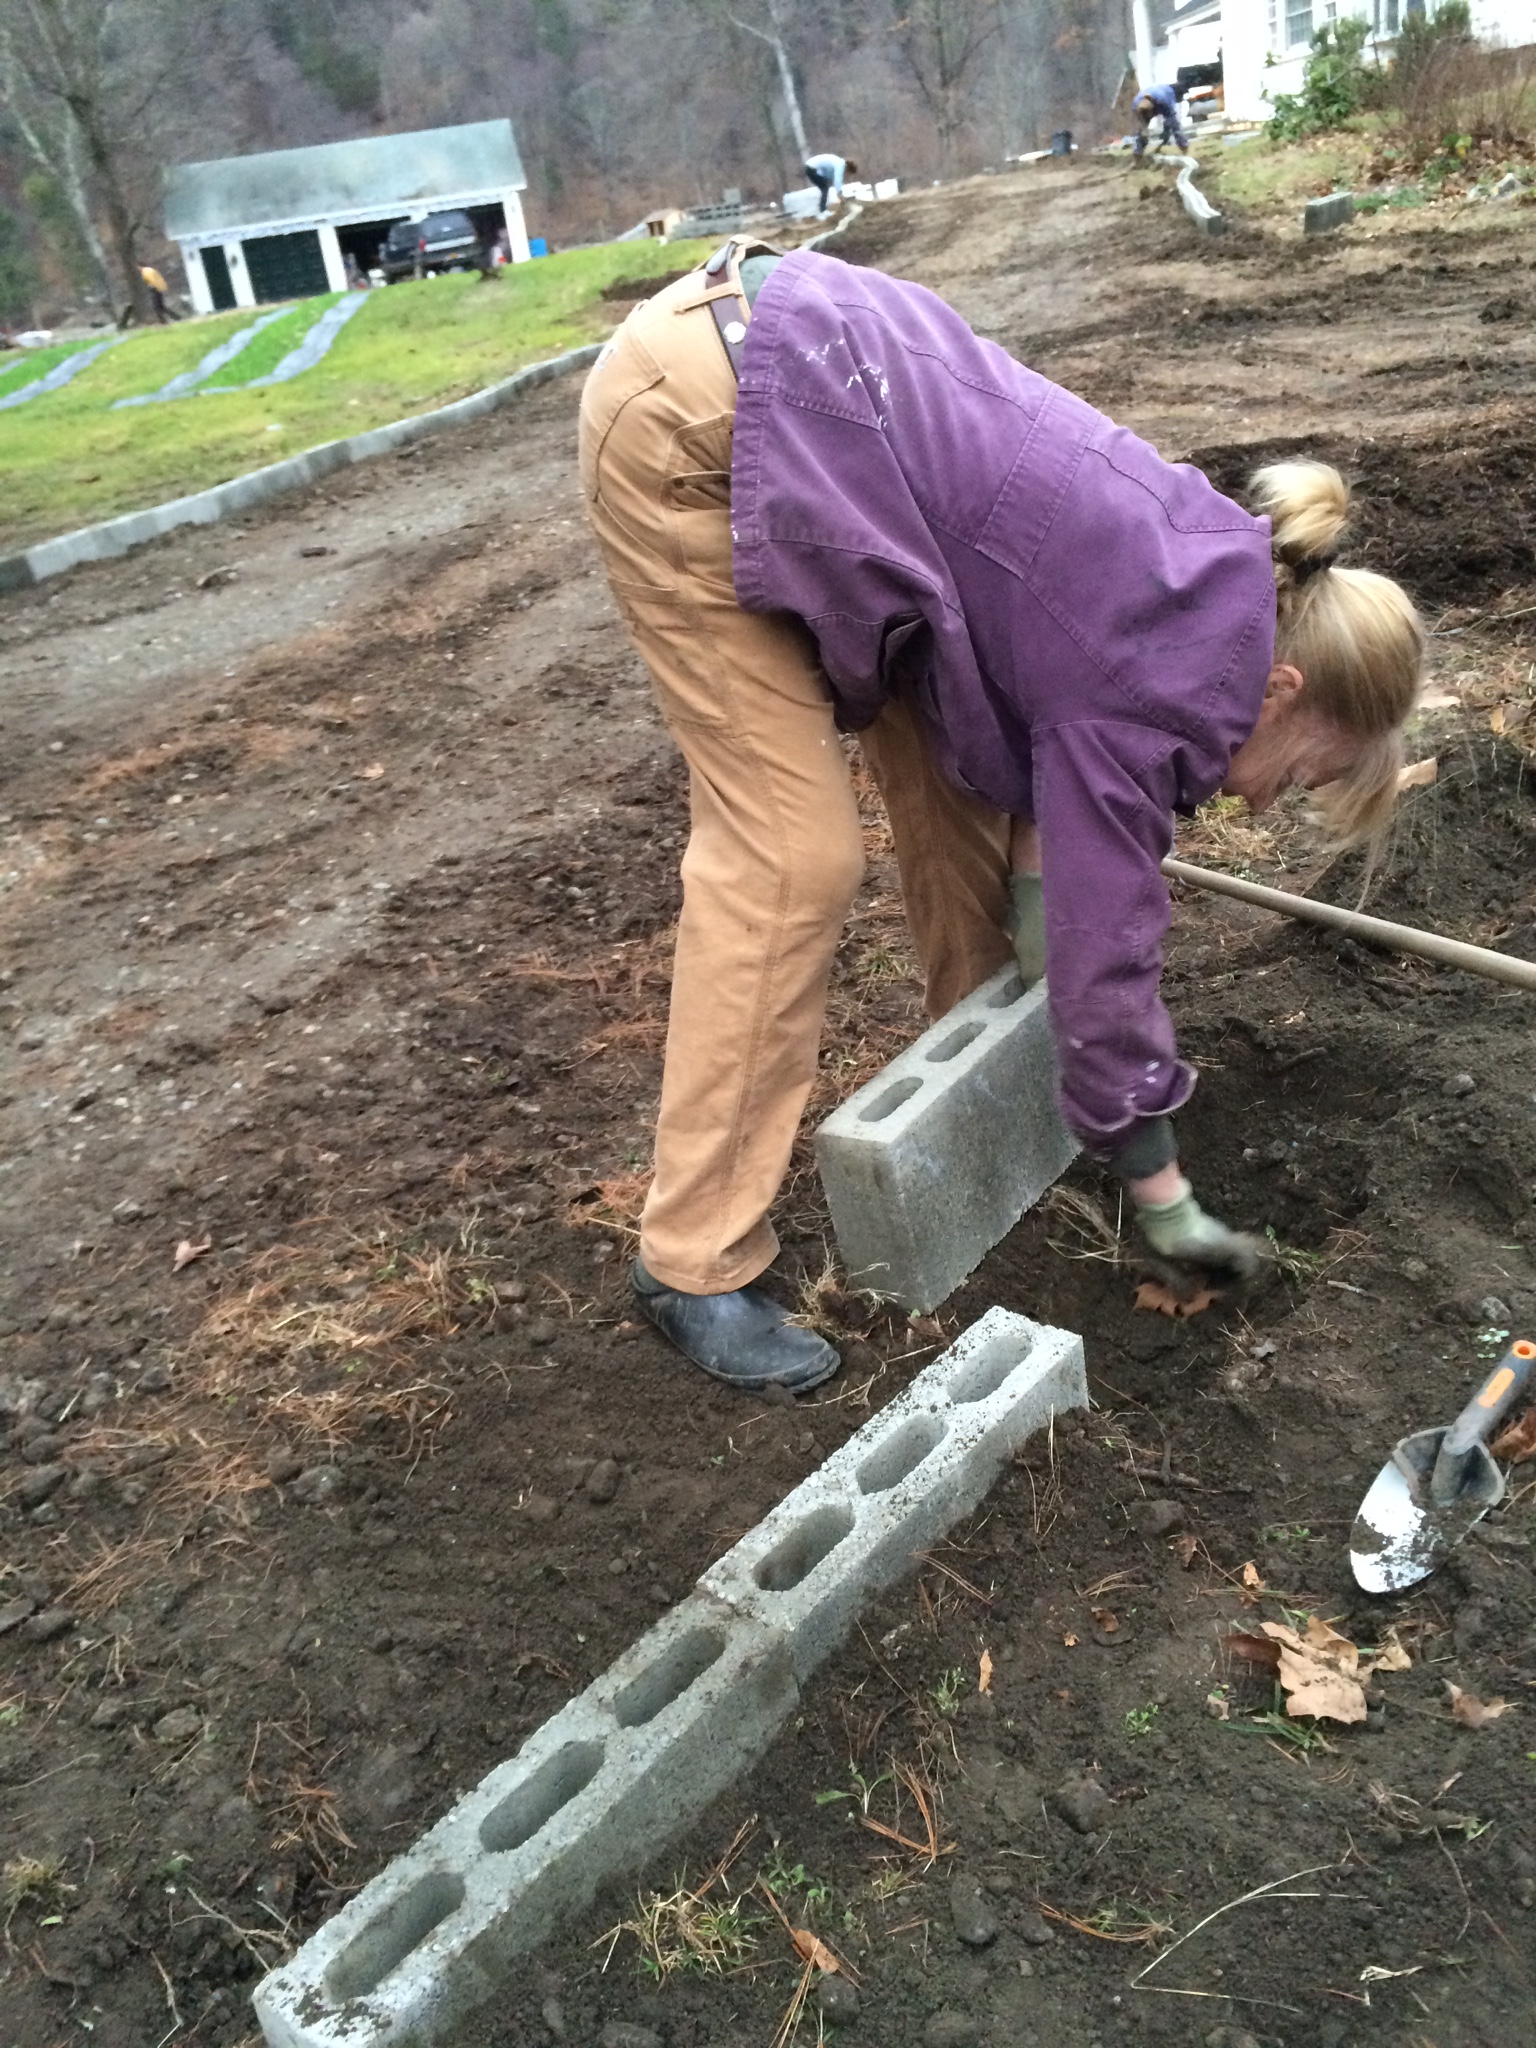
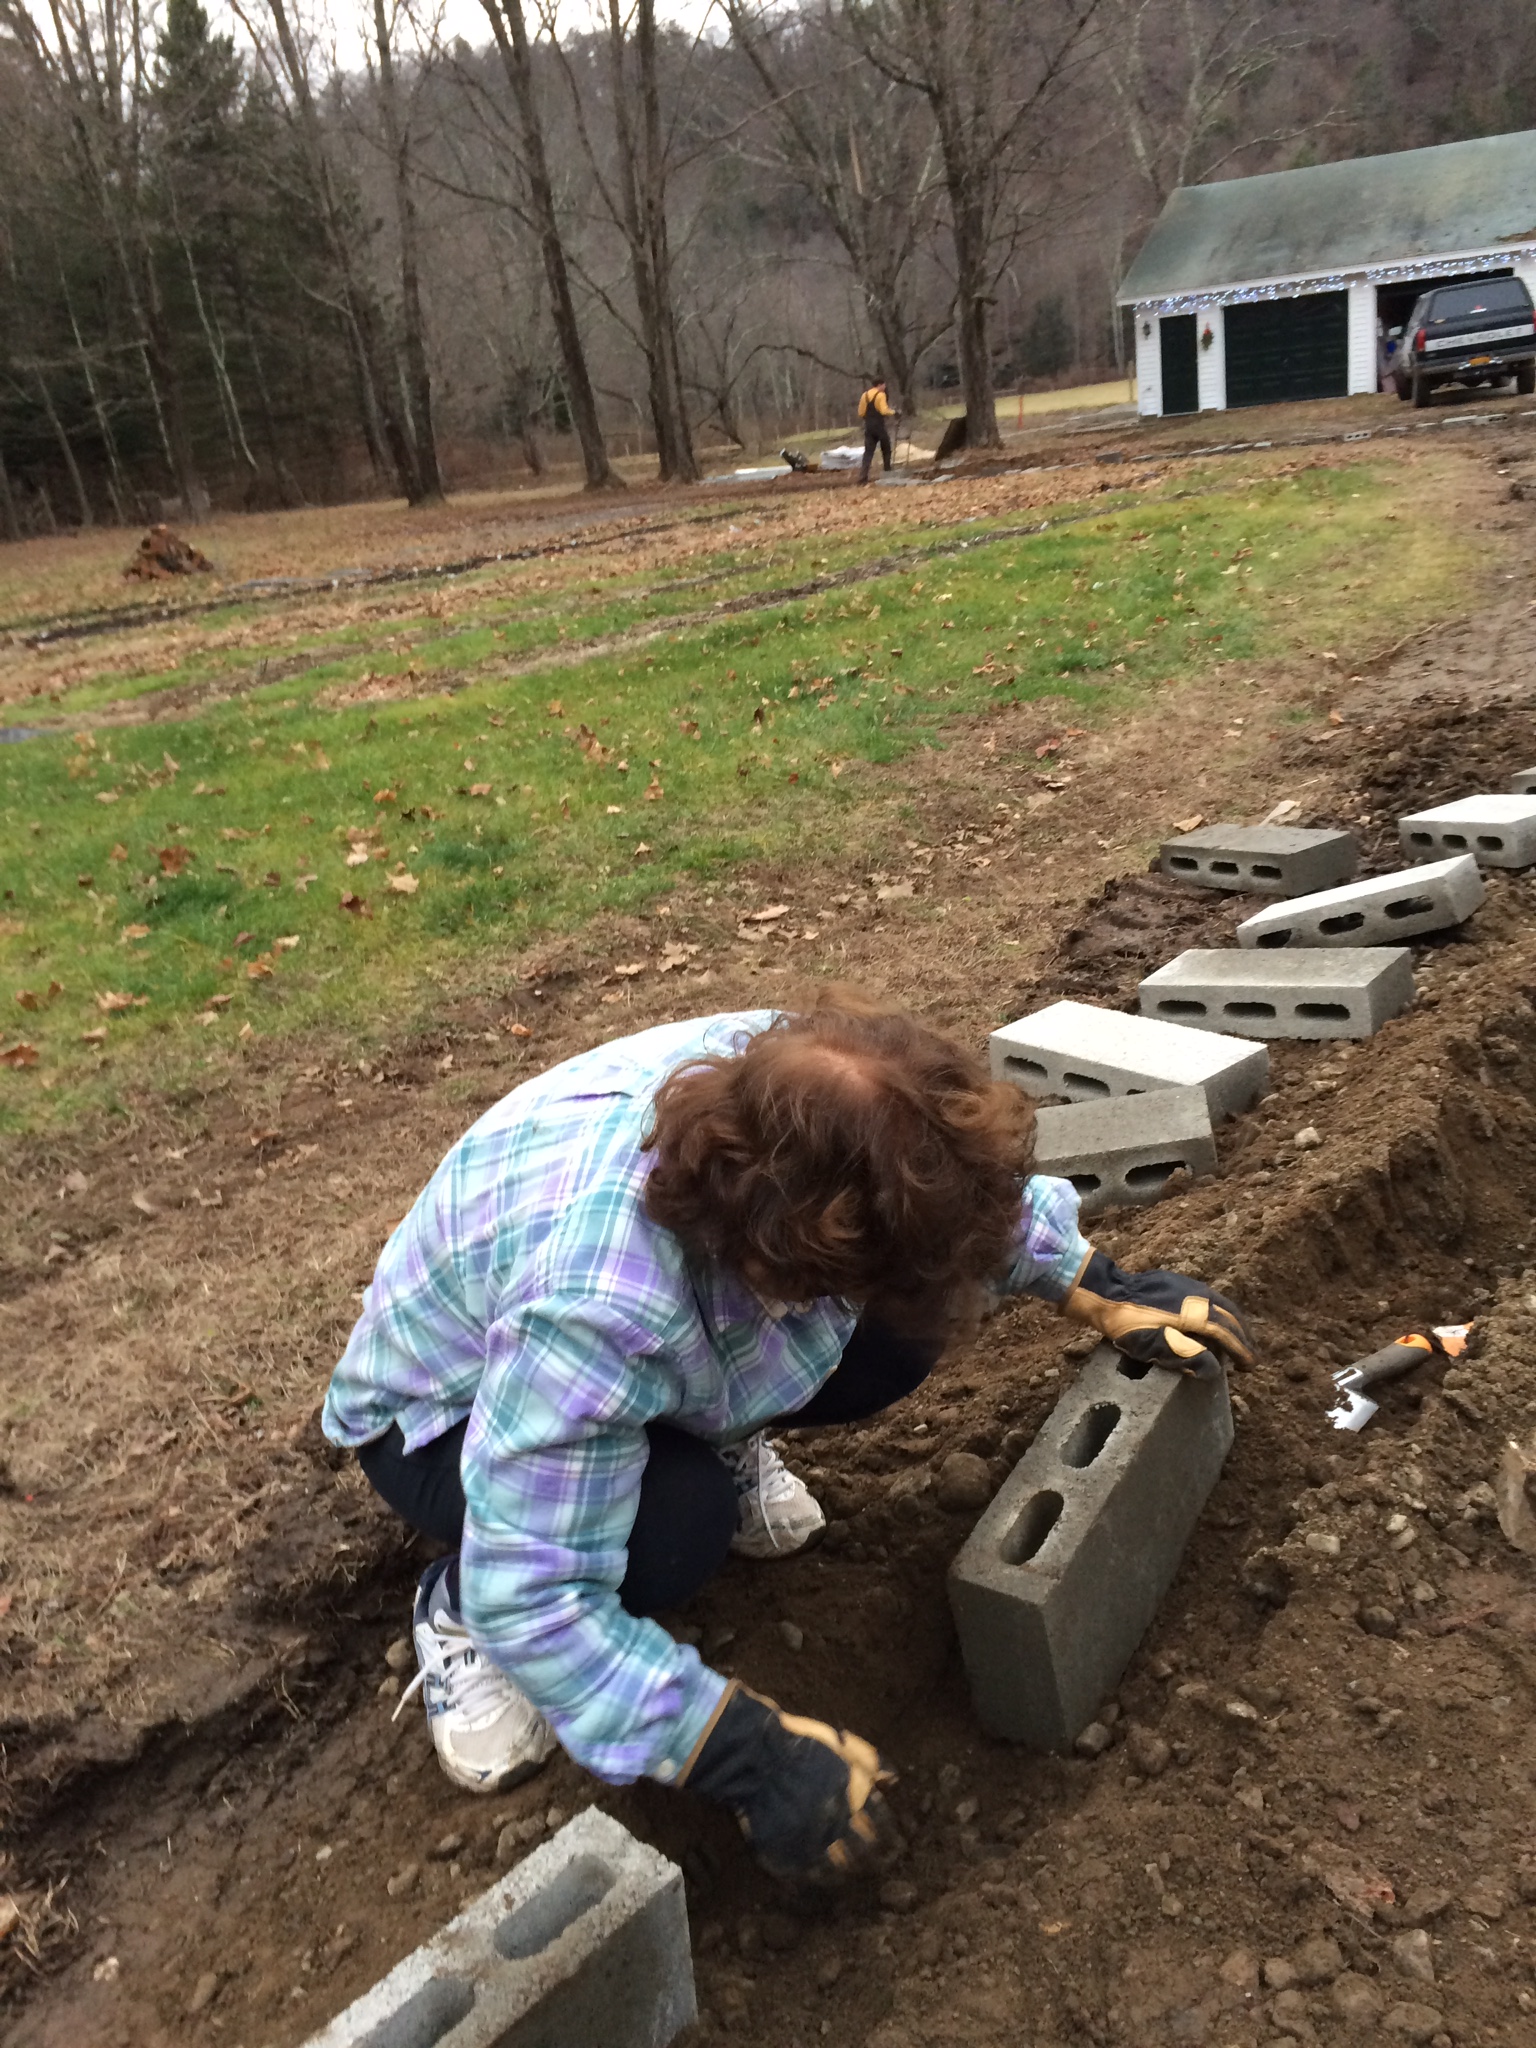
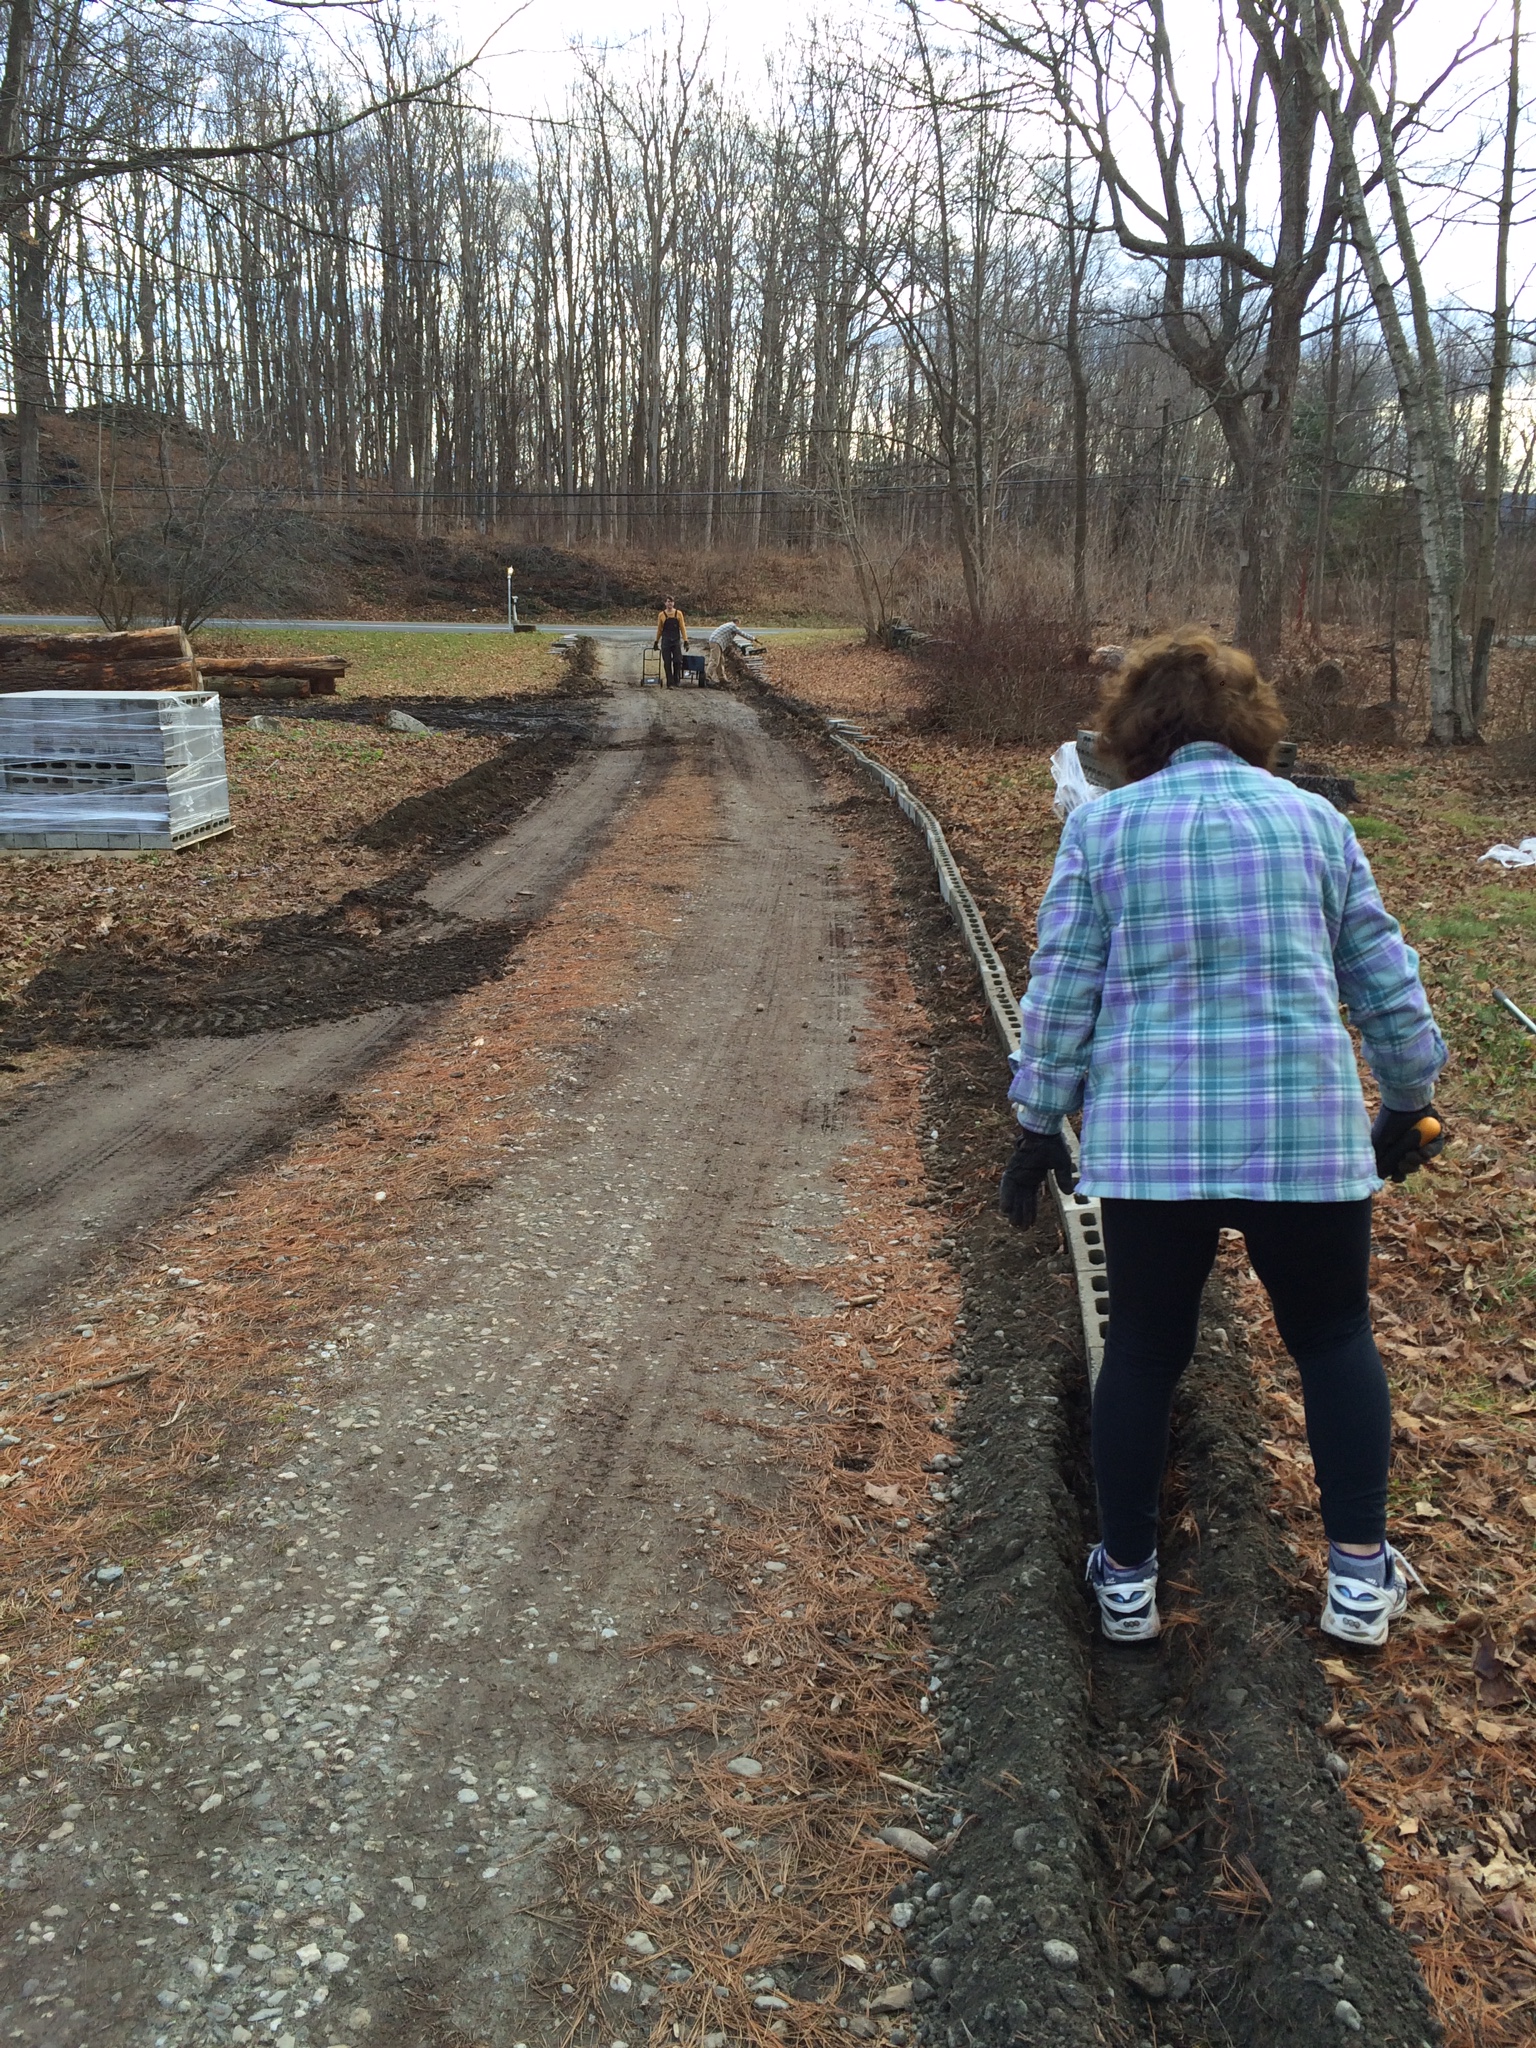
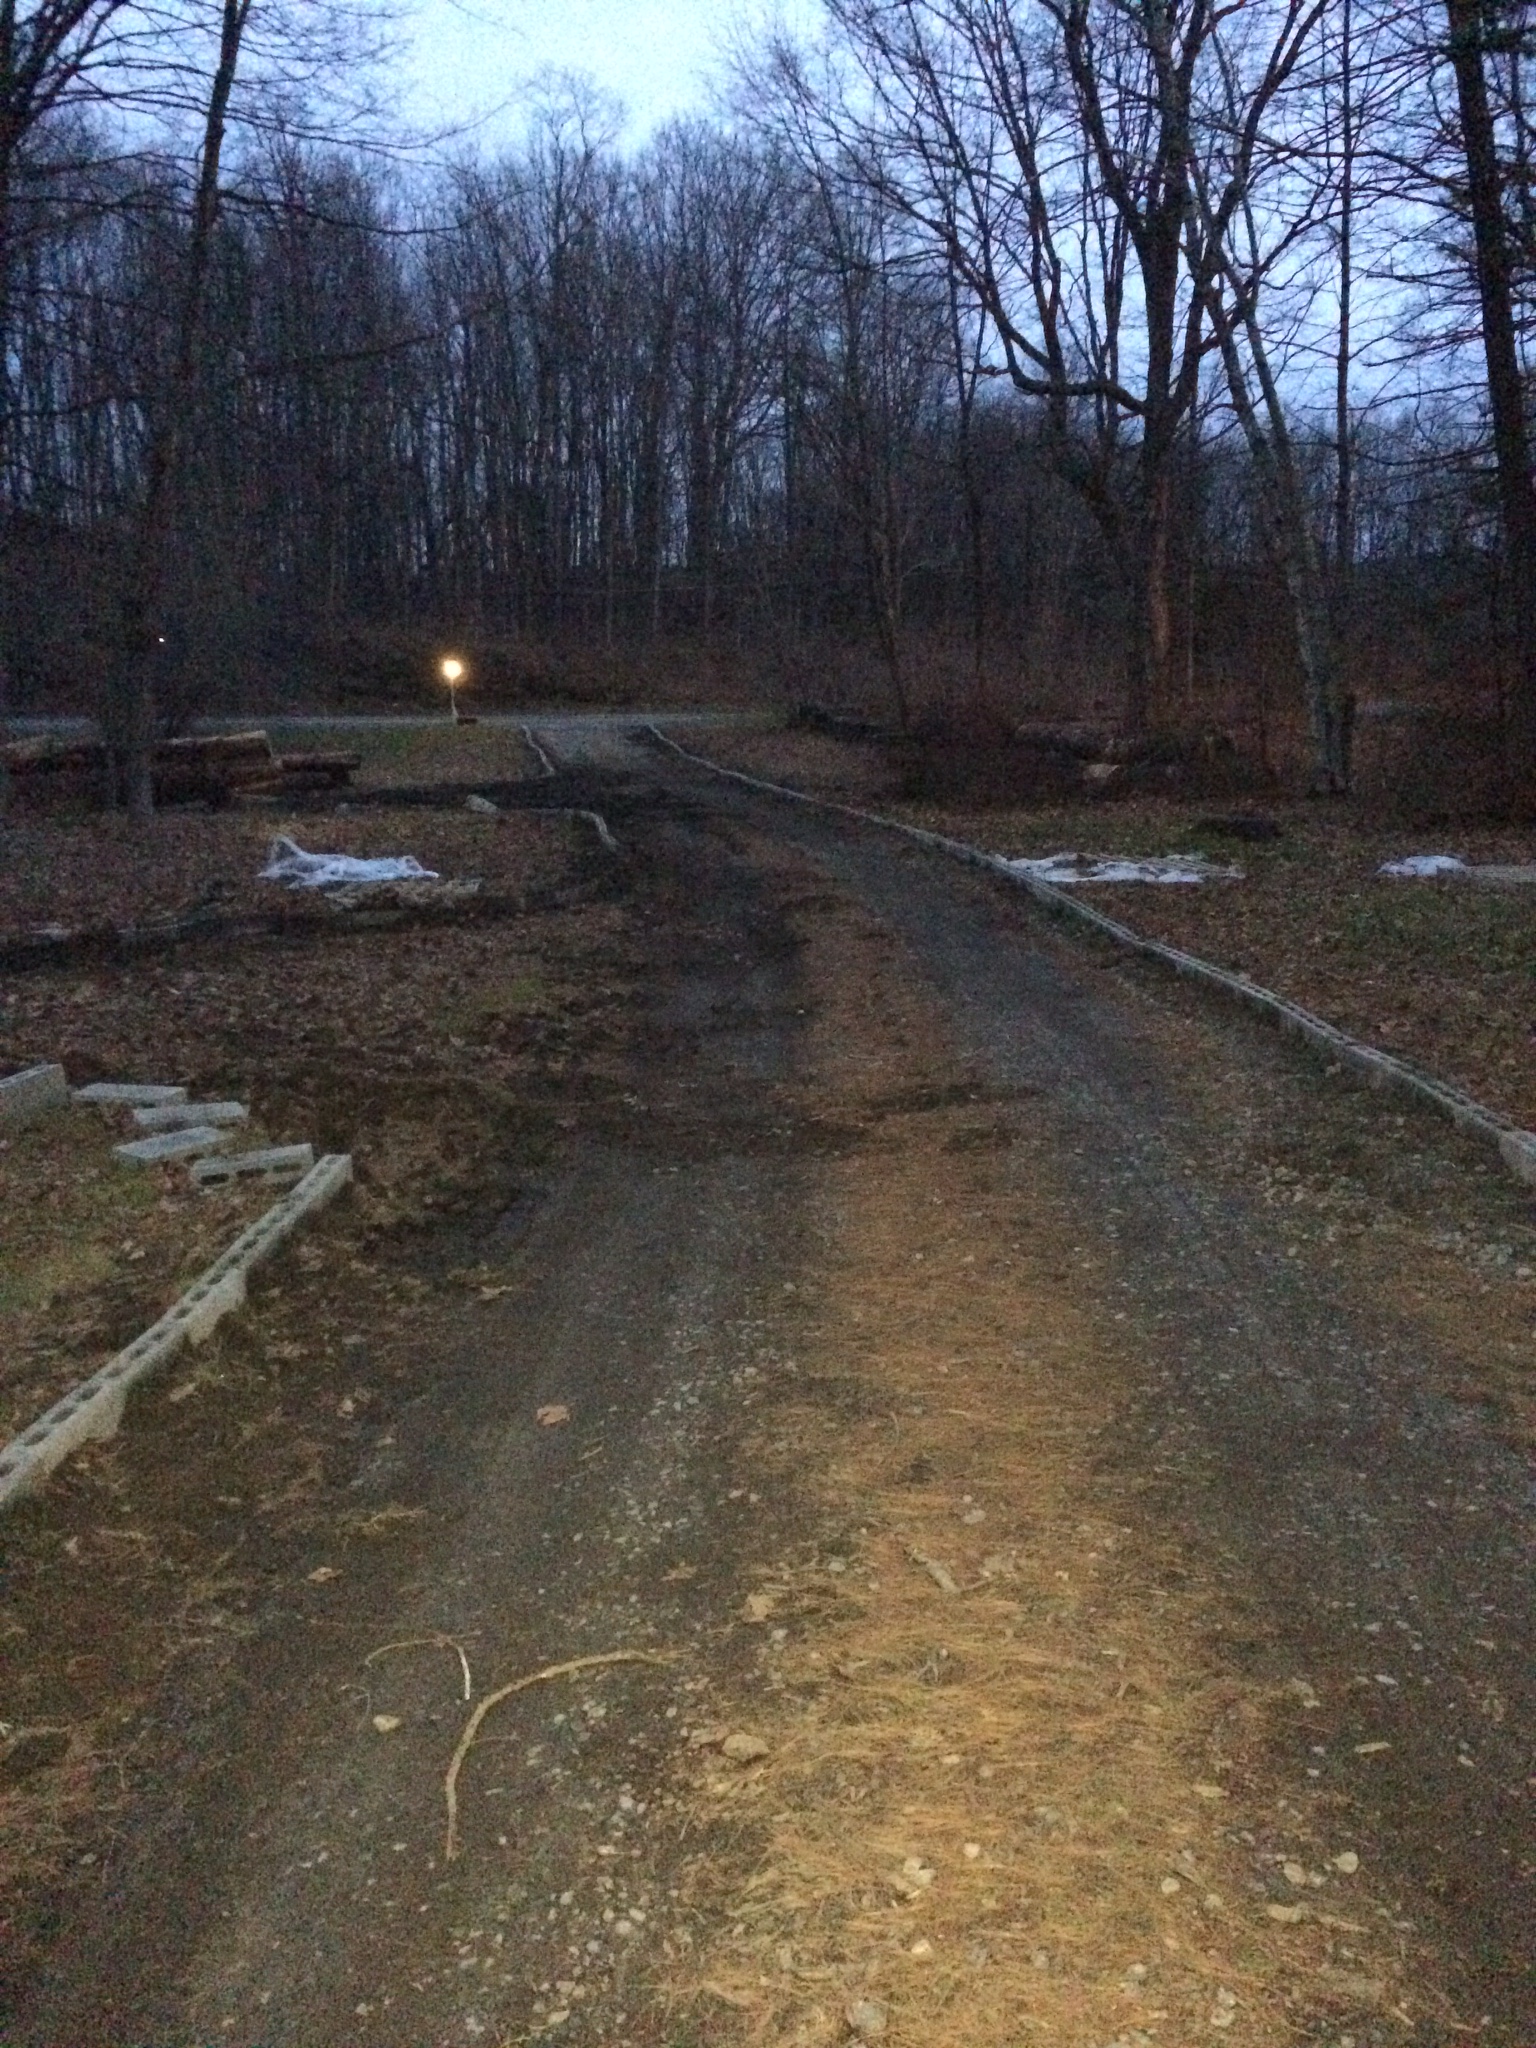
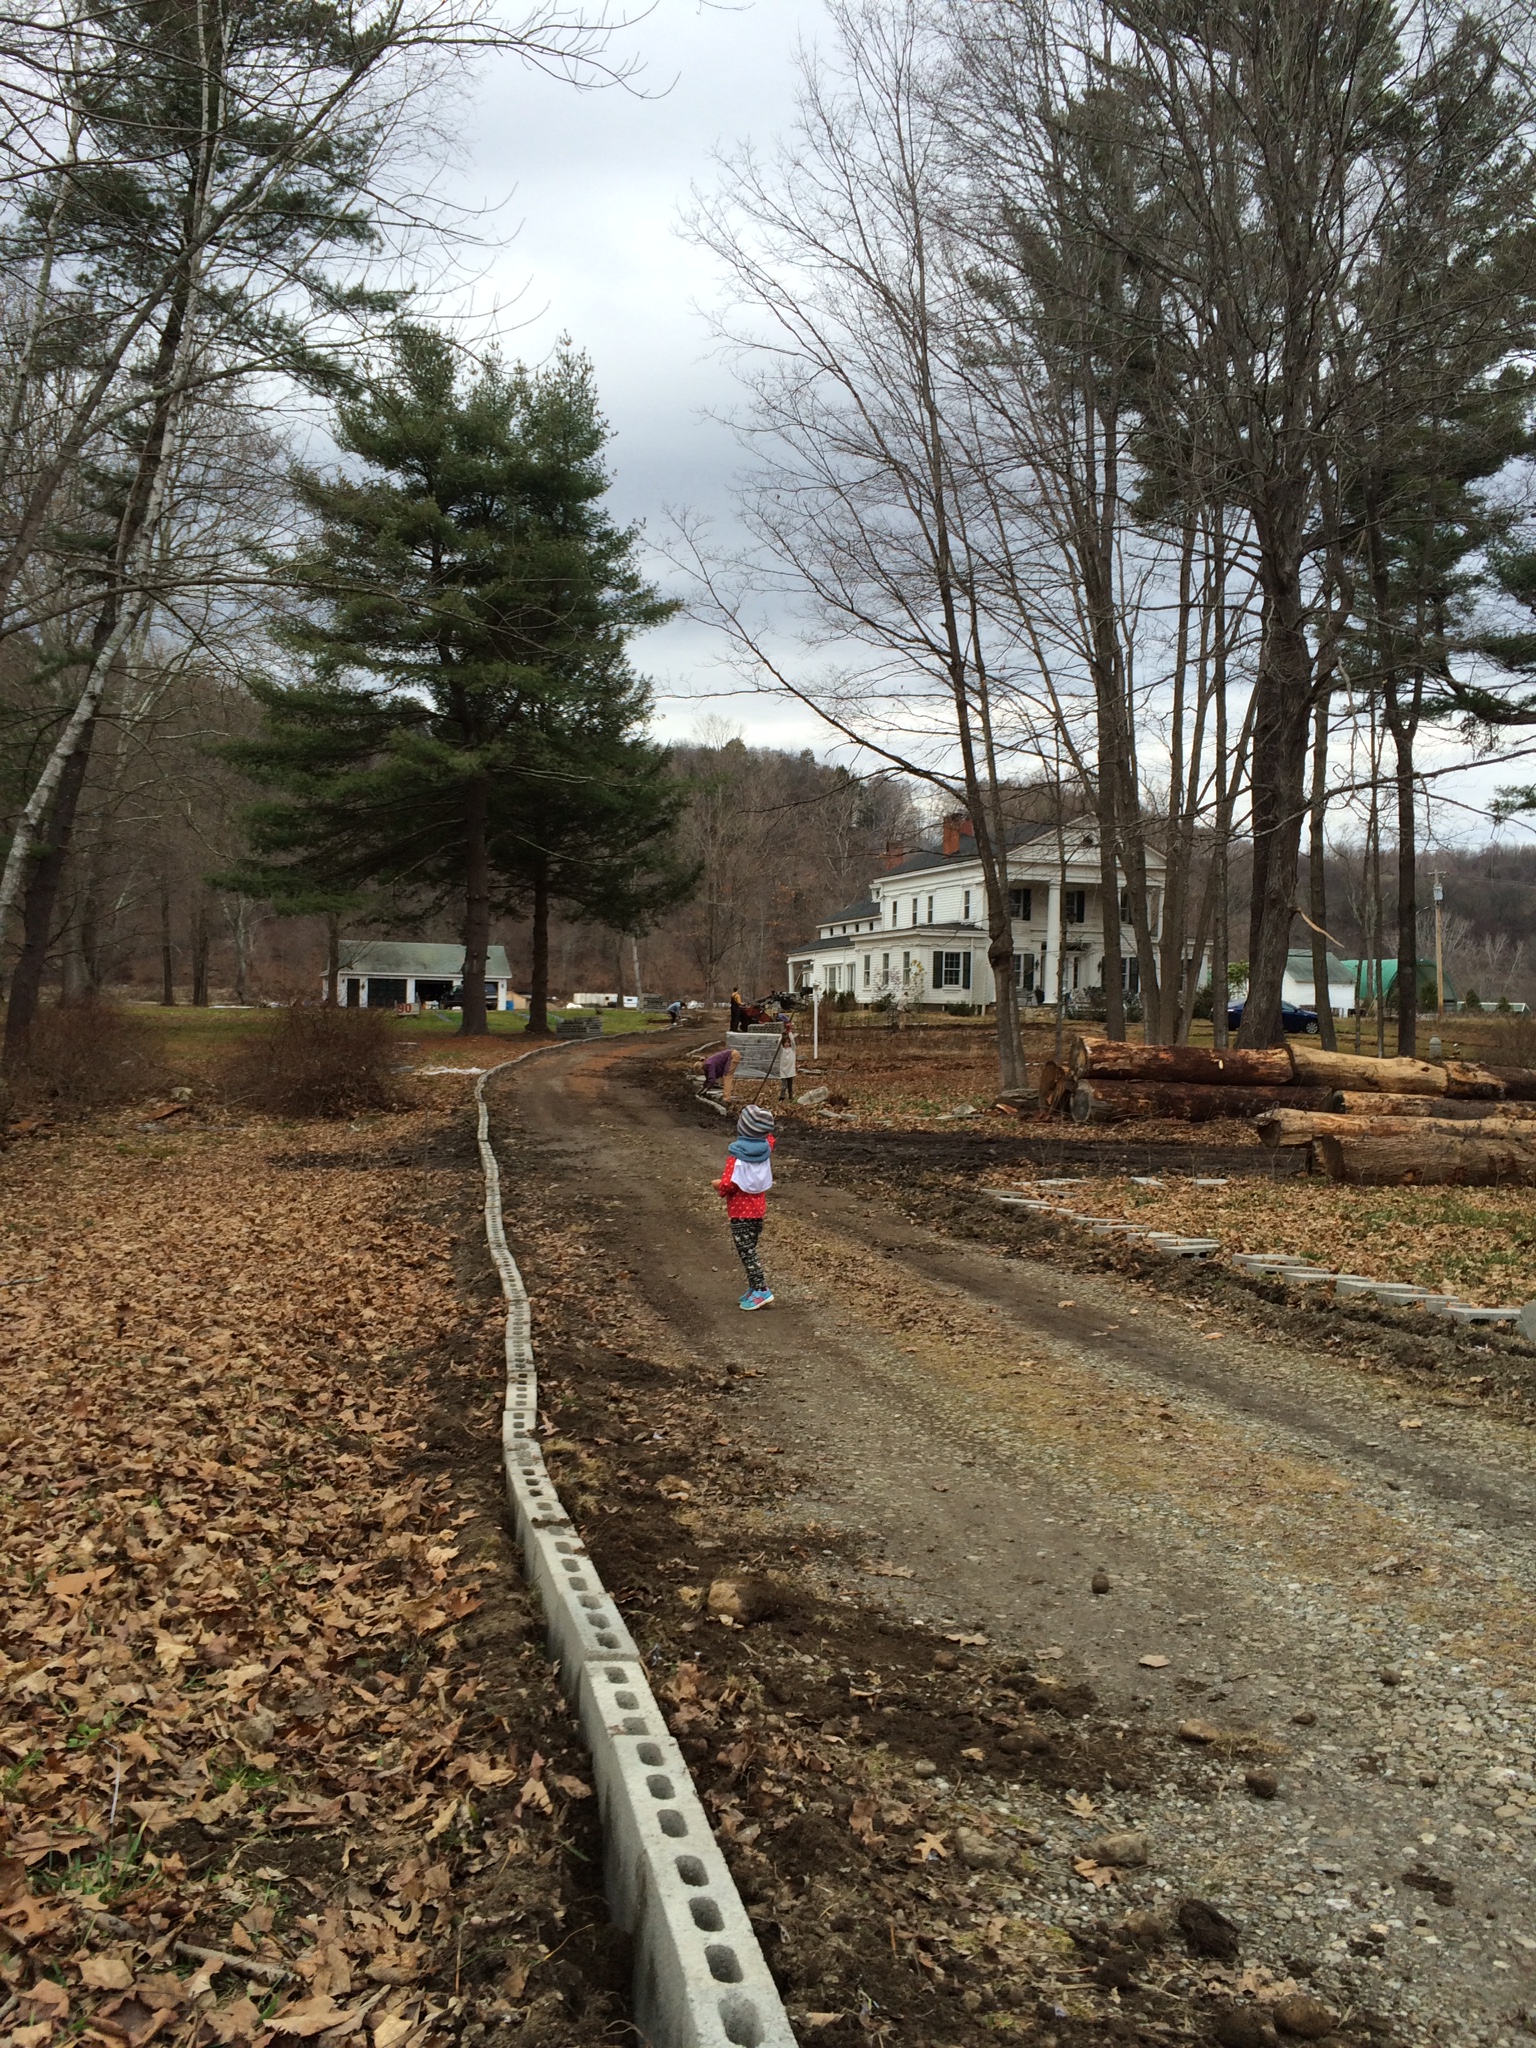
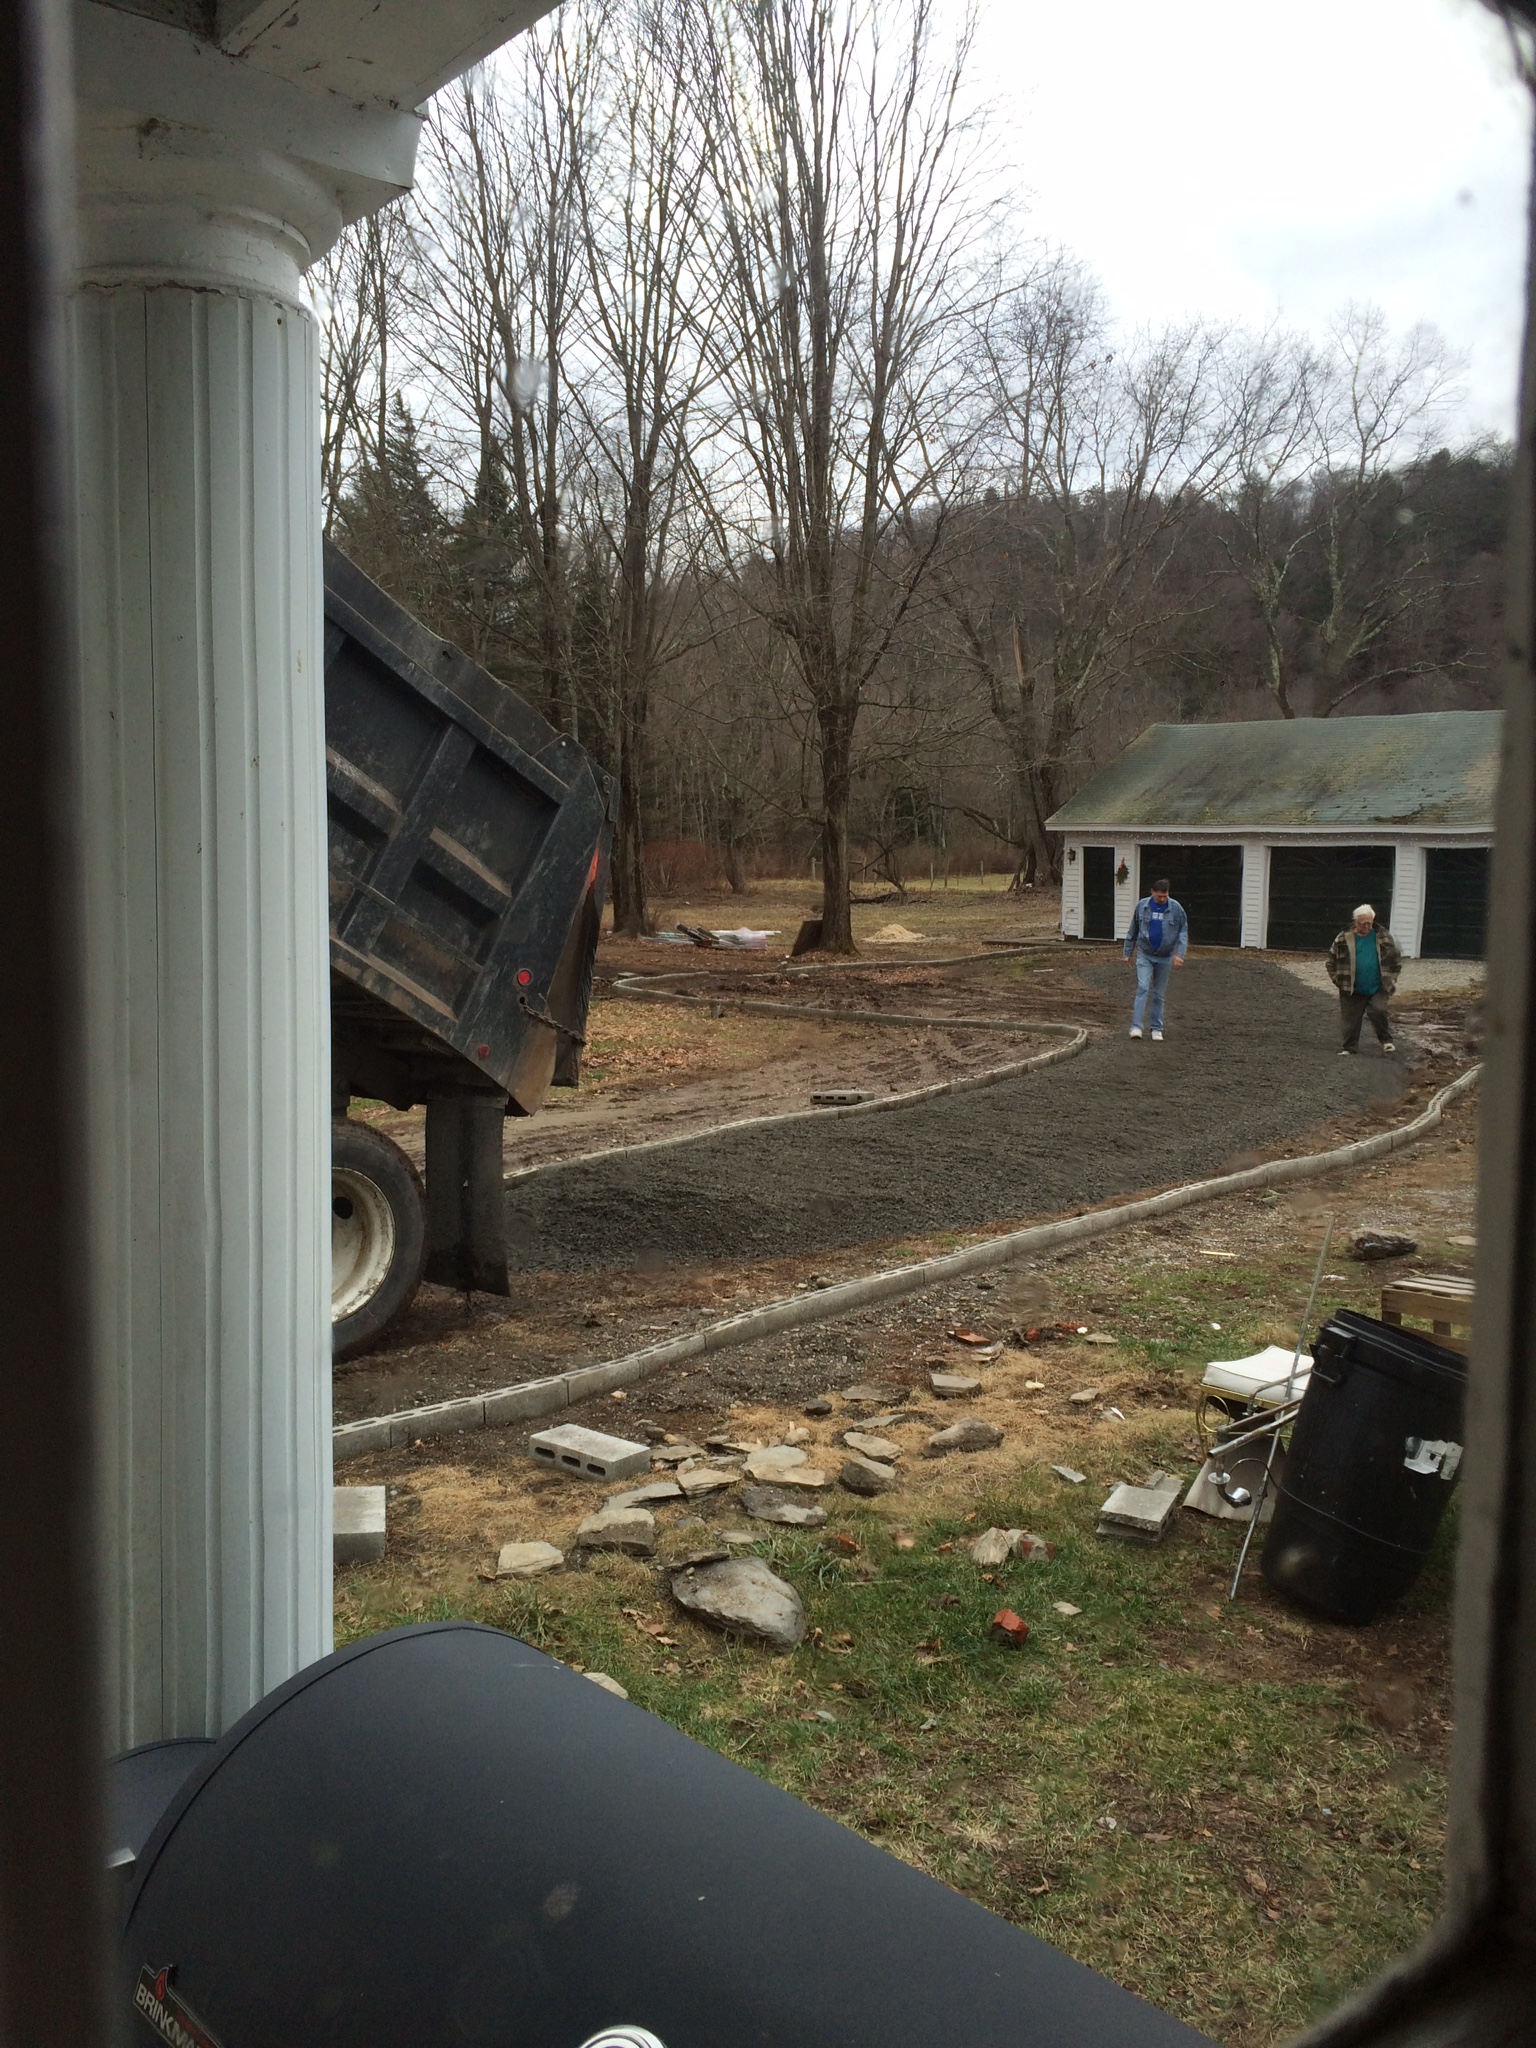
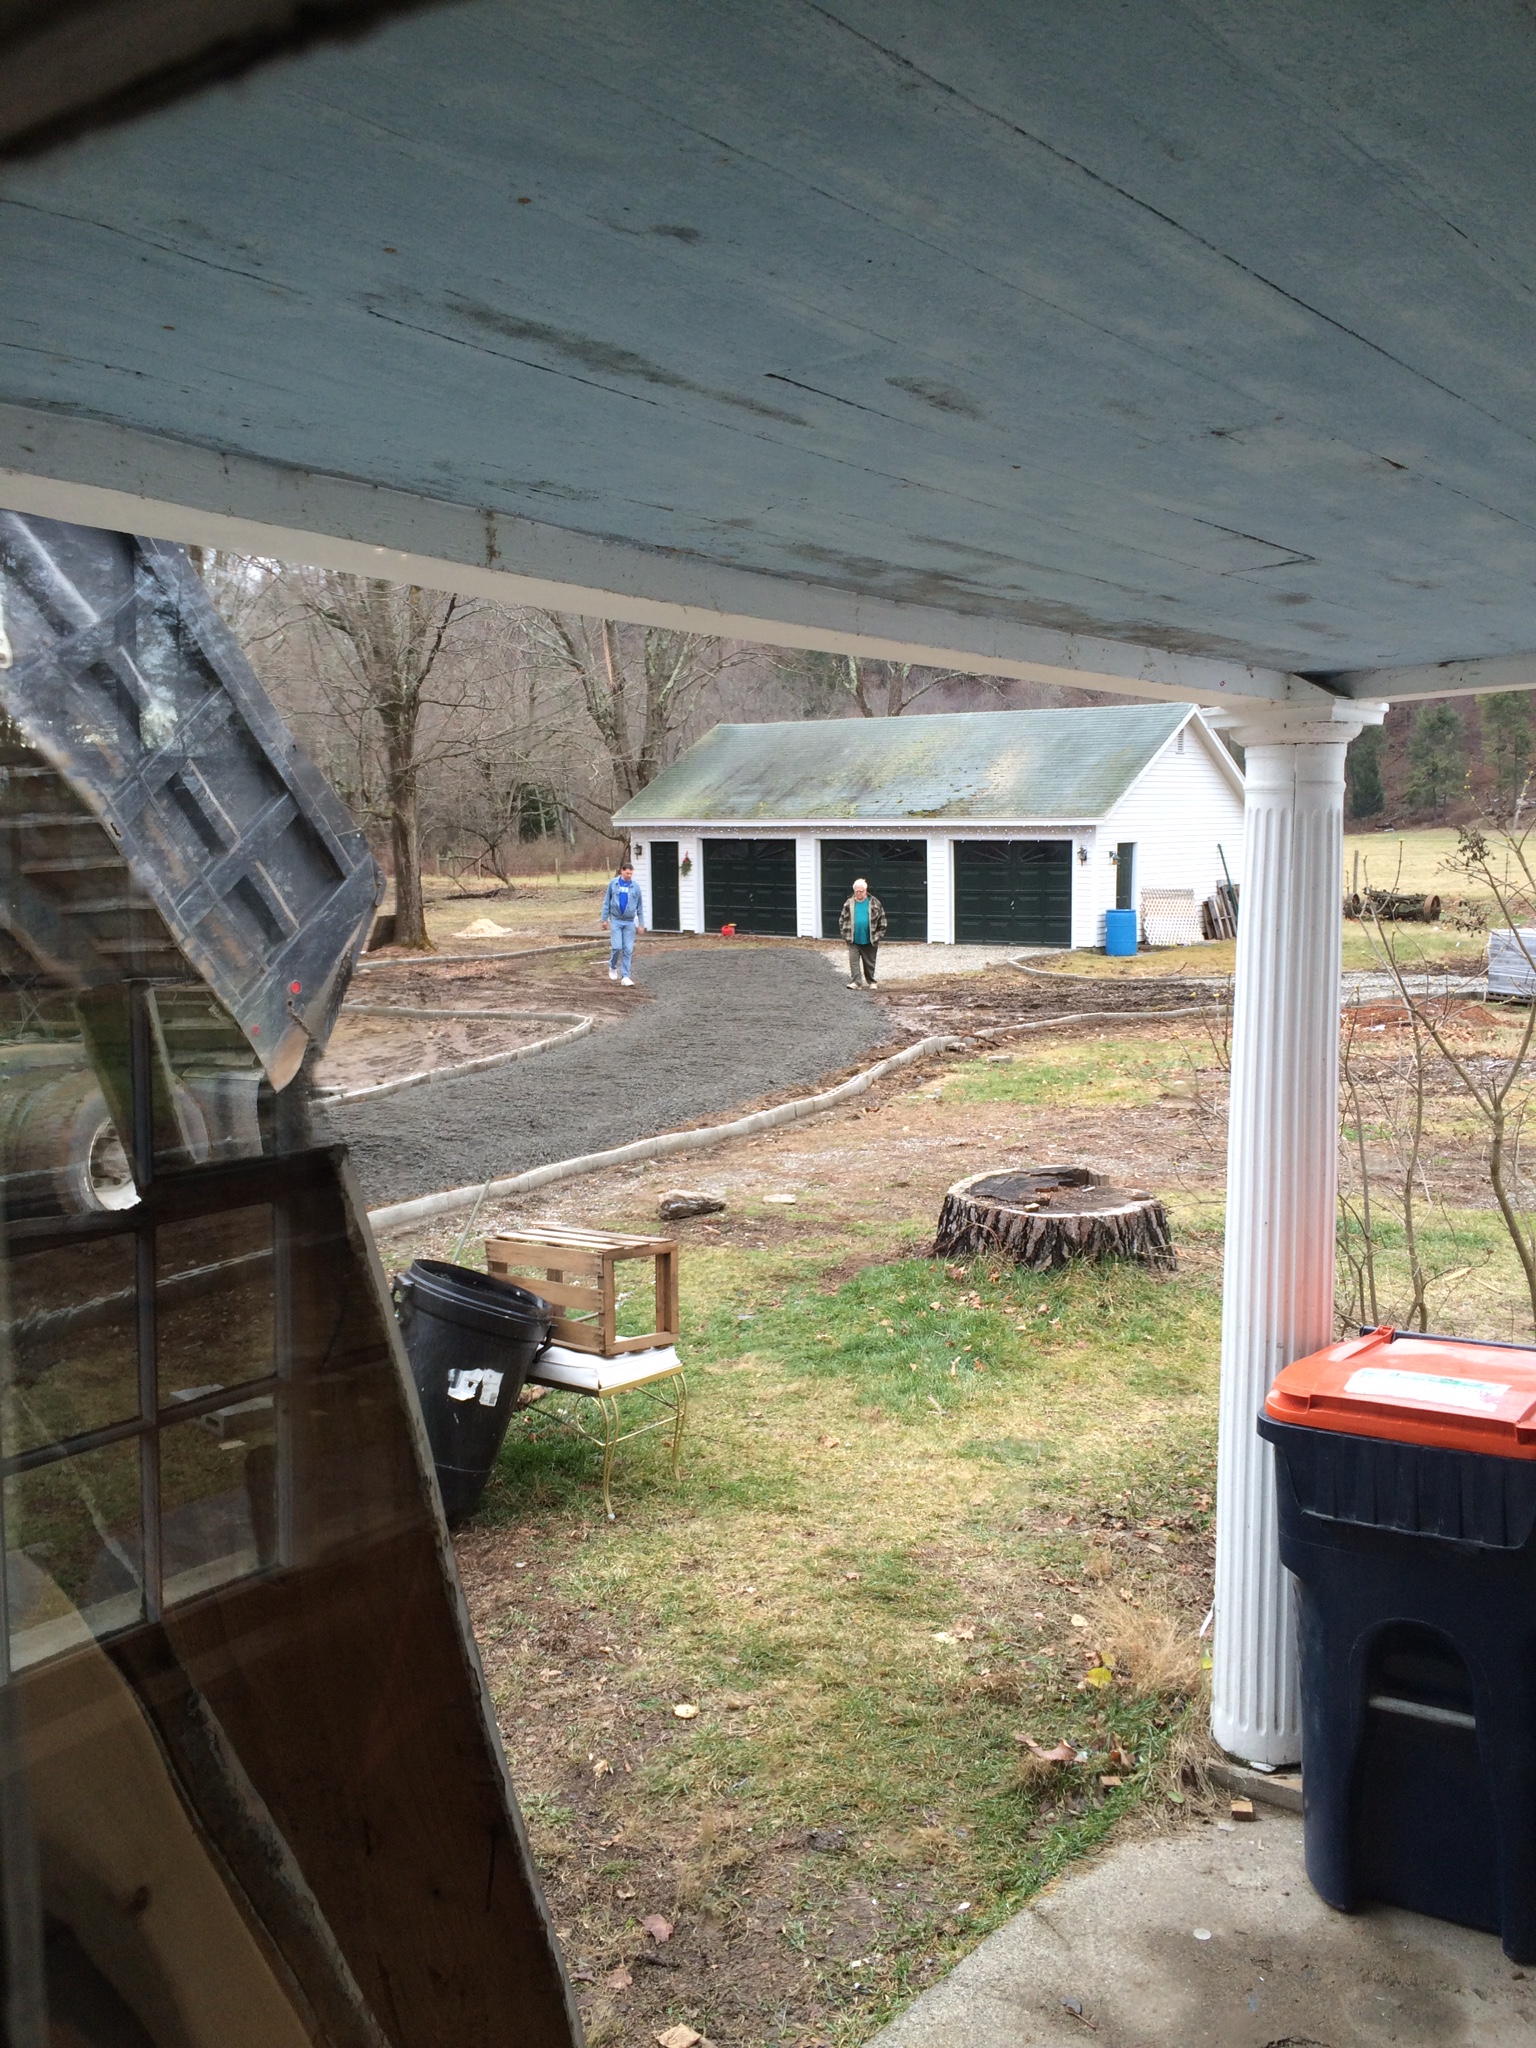
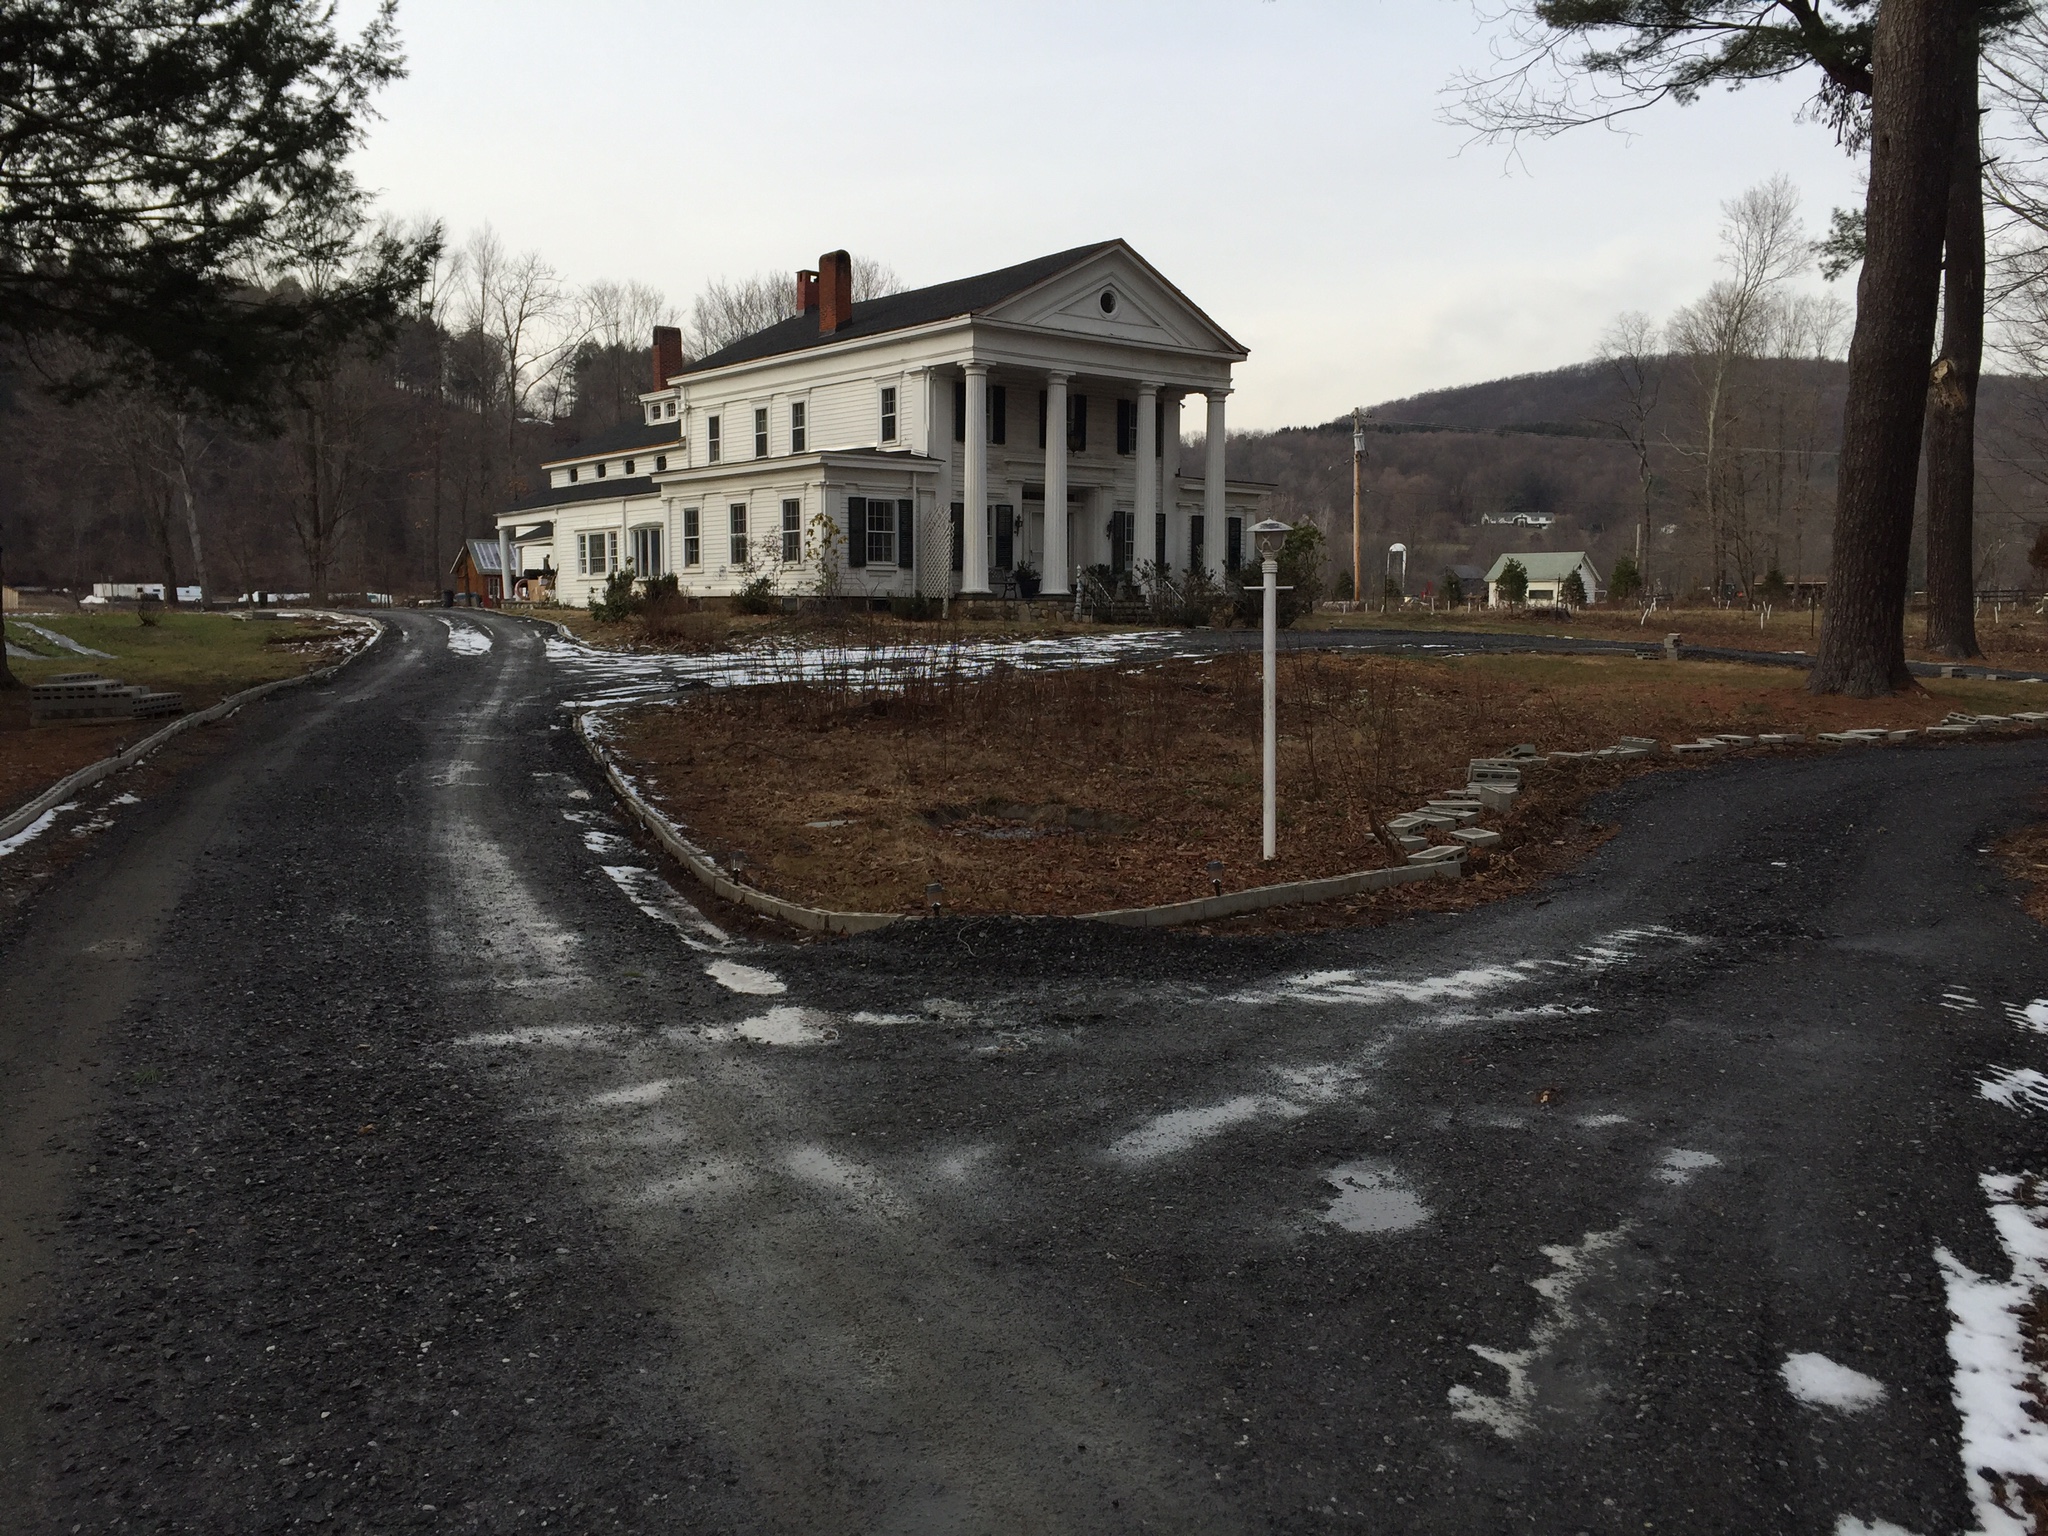
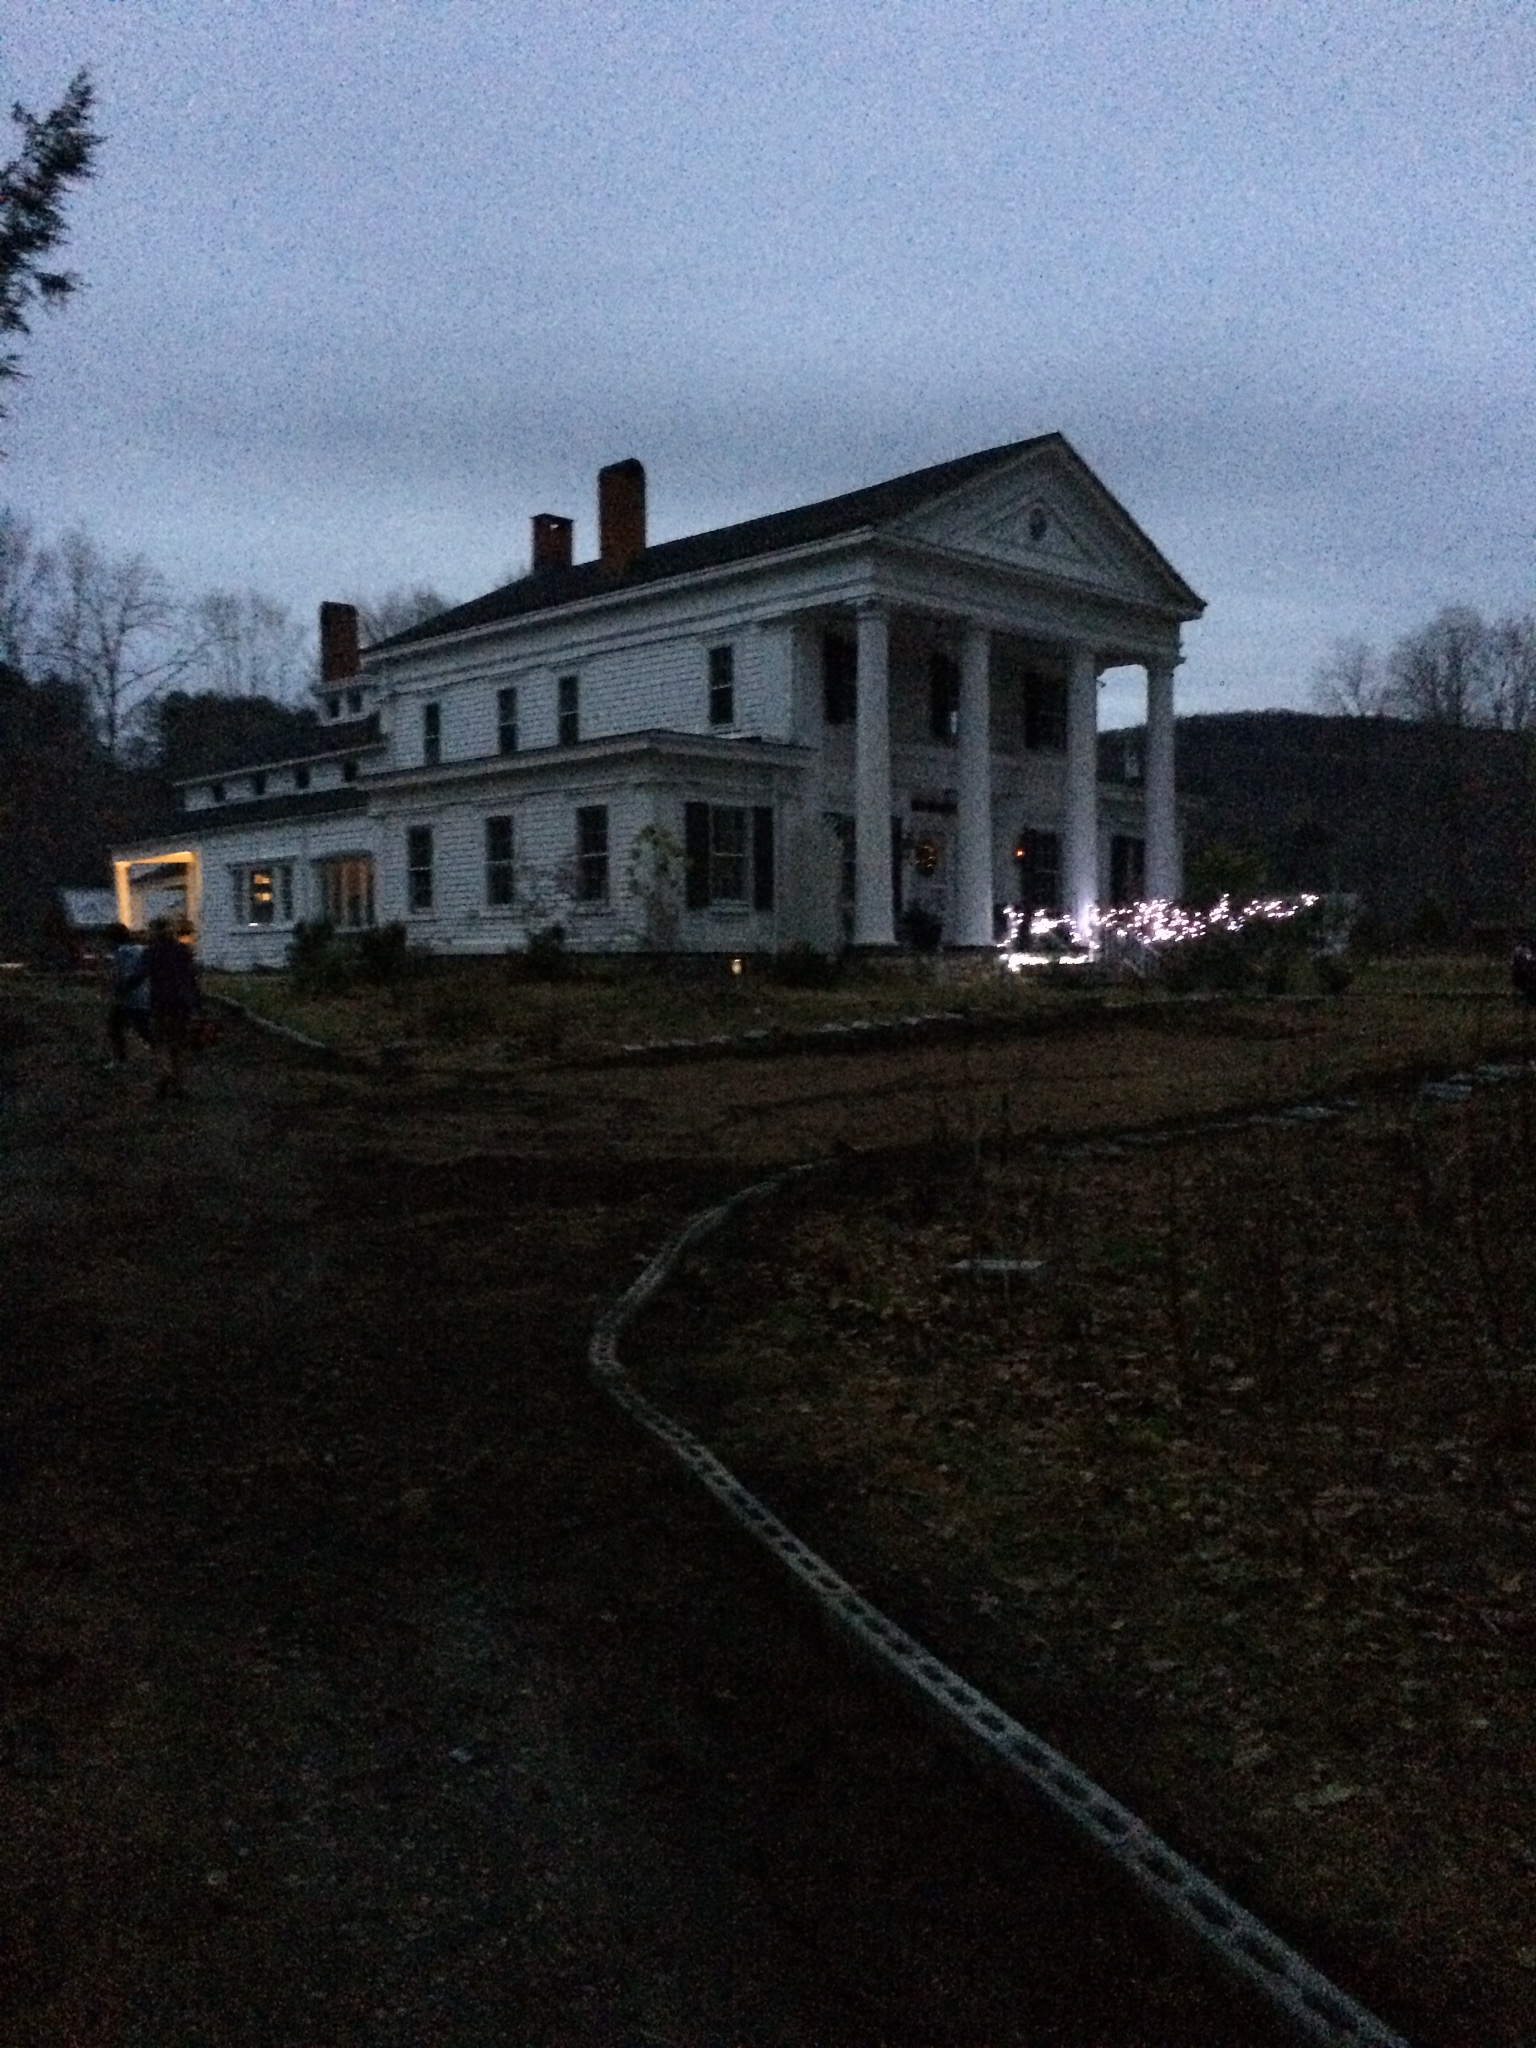
The farm had a great driveway probably about 150 years ago, that's not meant to be a joke, seriously the last evidence of this placing having a good driveway is a sepia tone photograph of folks in period dress, a guy in a rocking chair and a horse n' buggy. Gravel had been put down from time to time over the years so the basic foundation of a driveway existed but it was very muddy and washed out. Based on that old photograph and the way the grass grew in we could see that the drive used to curve around the front and then go back along the side of the house. We could not replicate the exact front circle because a couple 100' pines grew in the way over the last century, but we created an amoeba like approximation which really ended up looking good. There are right and proper ways to make a driveway and there are less proper ways and then there are hybrid versions like we opted for. Purists will tell you that a base coarse needs to be put down then weed fabric then various grading and edging. Those purists probably don't have to deal with driveways that are over 1000' long very often, we opted for the more old fashioned way, put down gravel and then drive on it a lot and regrade from time to time. Eventually we will put in belgian block edging but at a cost of about $5 a foot times over 2,000' of edging, well, you do the math. Ermela came up with the great idea of using thin cinder blocks as the temporary edging, at a cost of less than a $1 a foot and capable of holding plants in the holes (we will be planting trailing thyme in each and every hole - three holes per block, you do the math) they turned out to be perfect. They do break if hit with a plow or backed over by a heavy truck, but we think they will tide us over until we win the lottery.

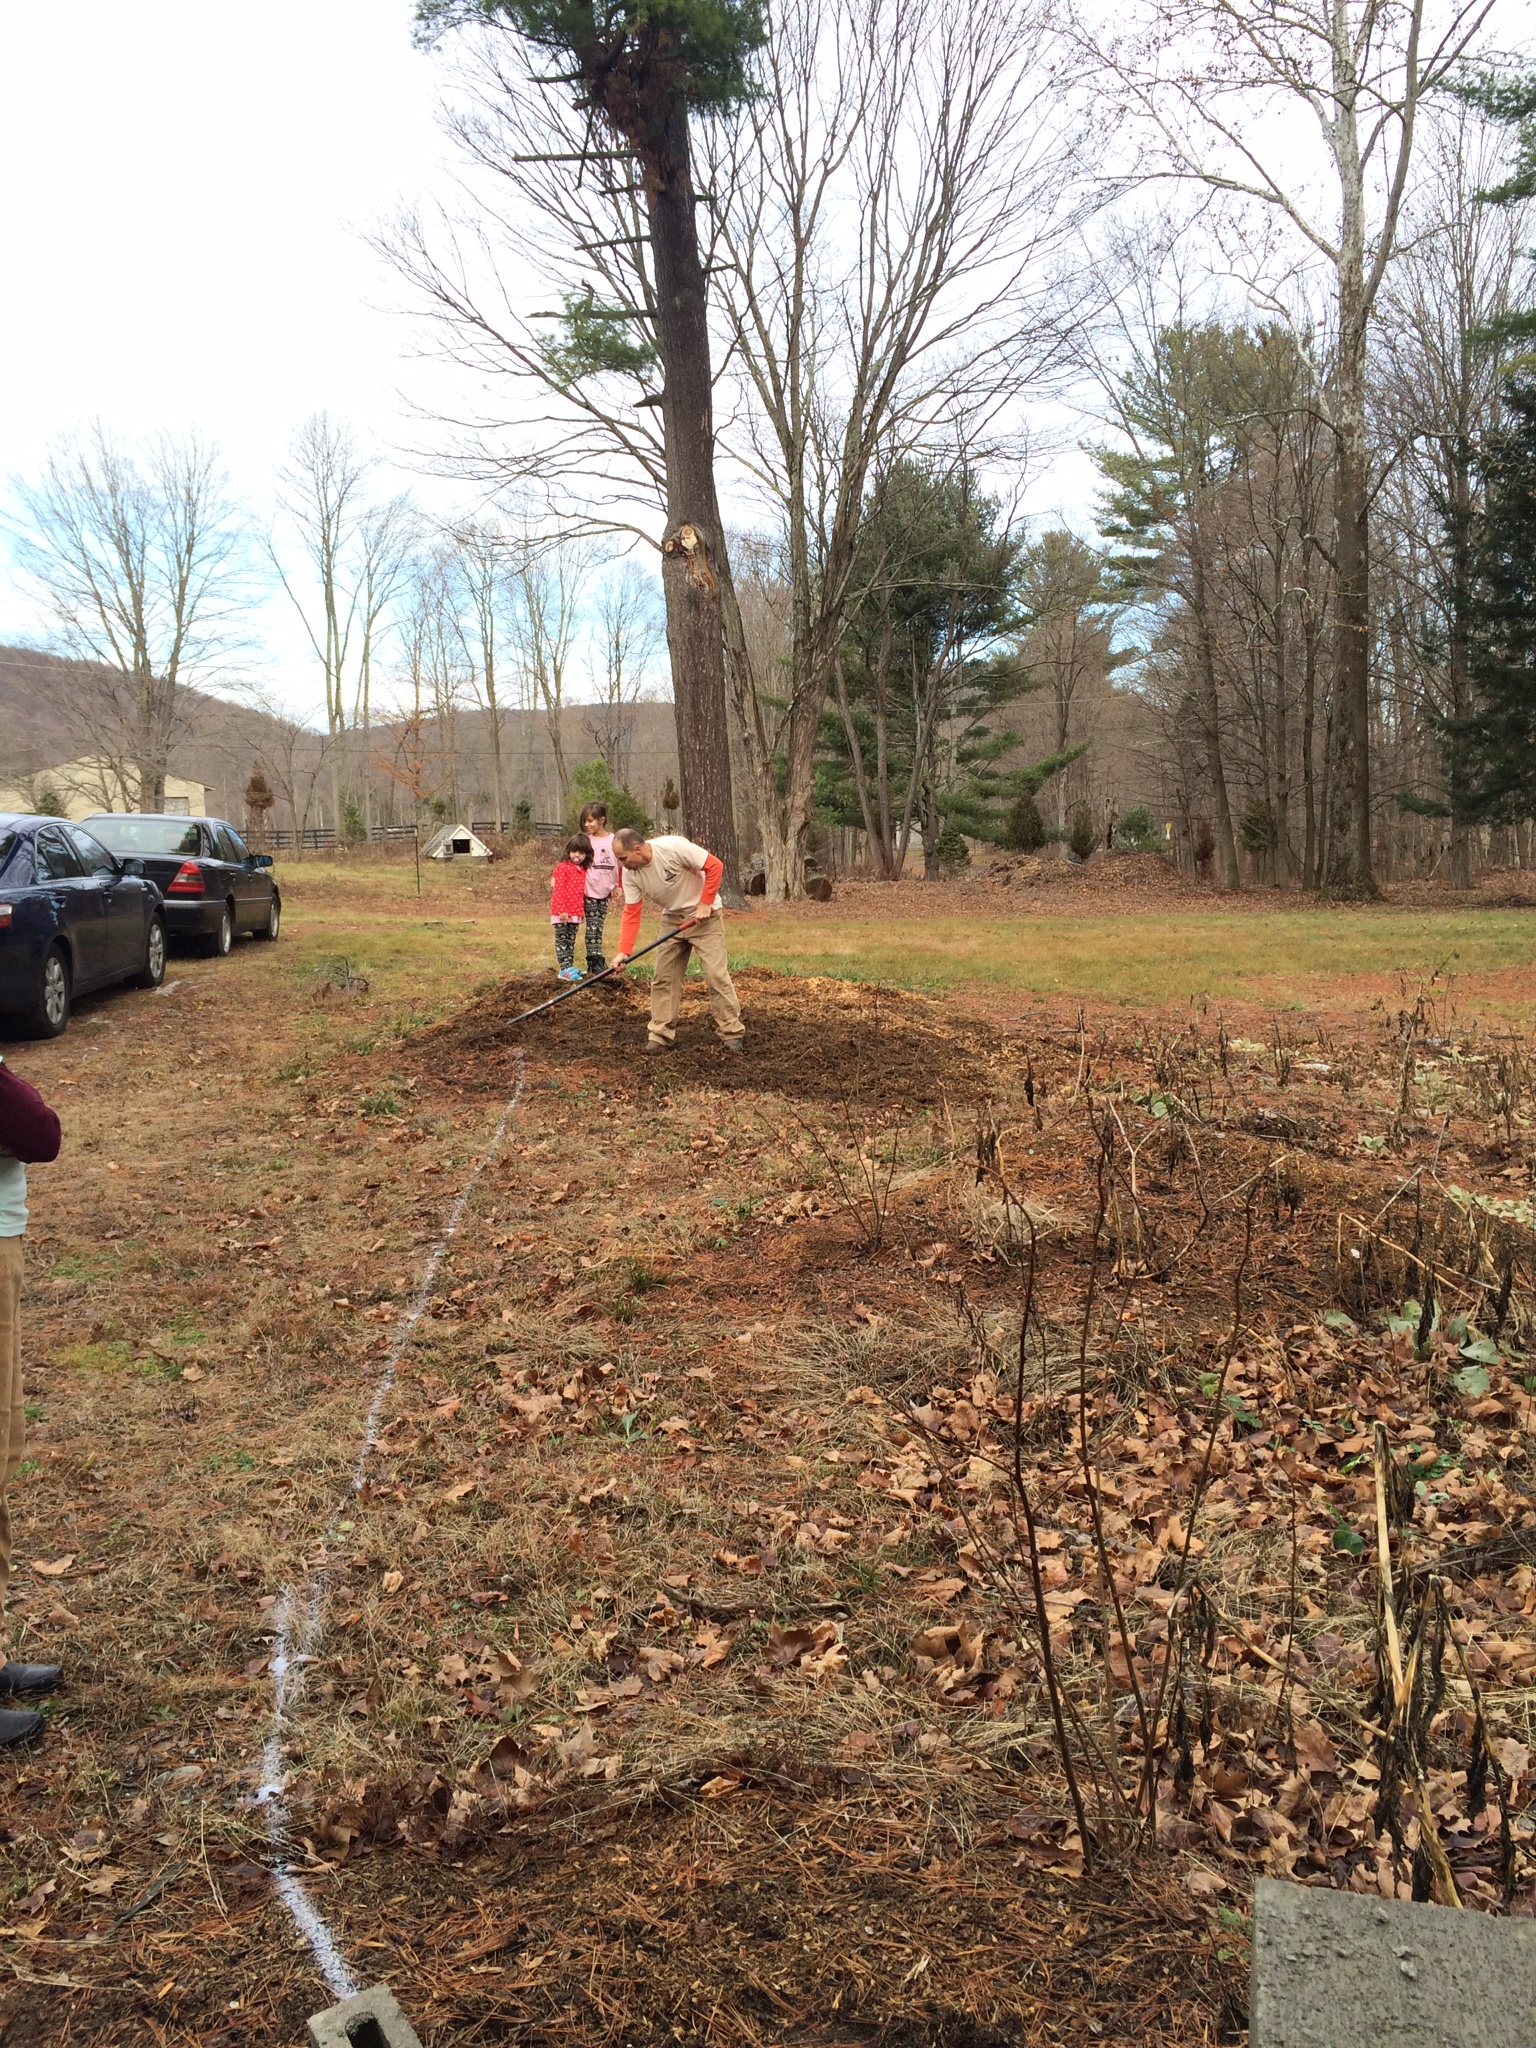
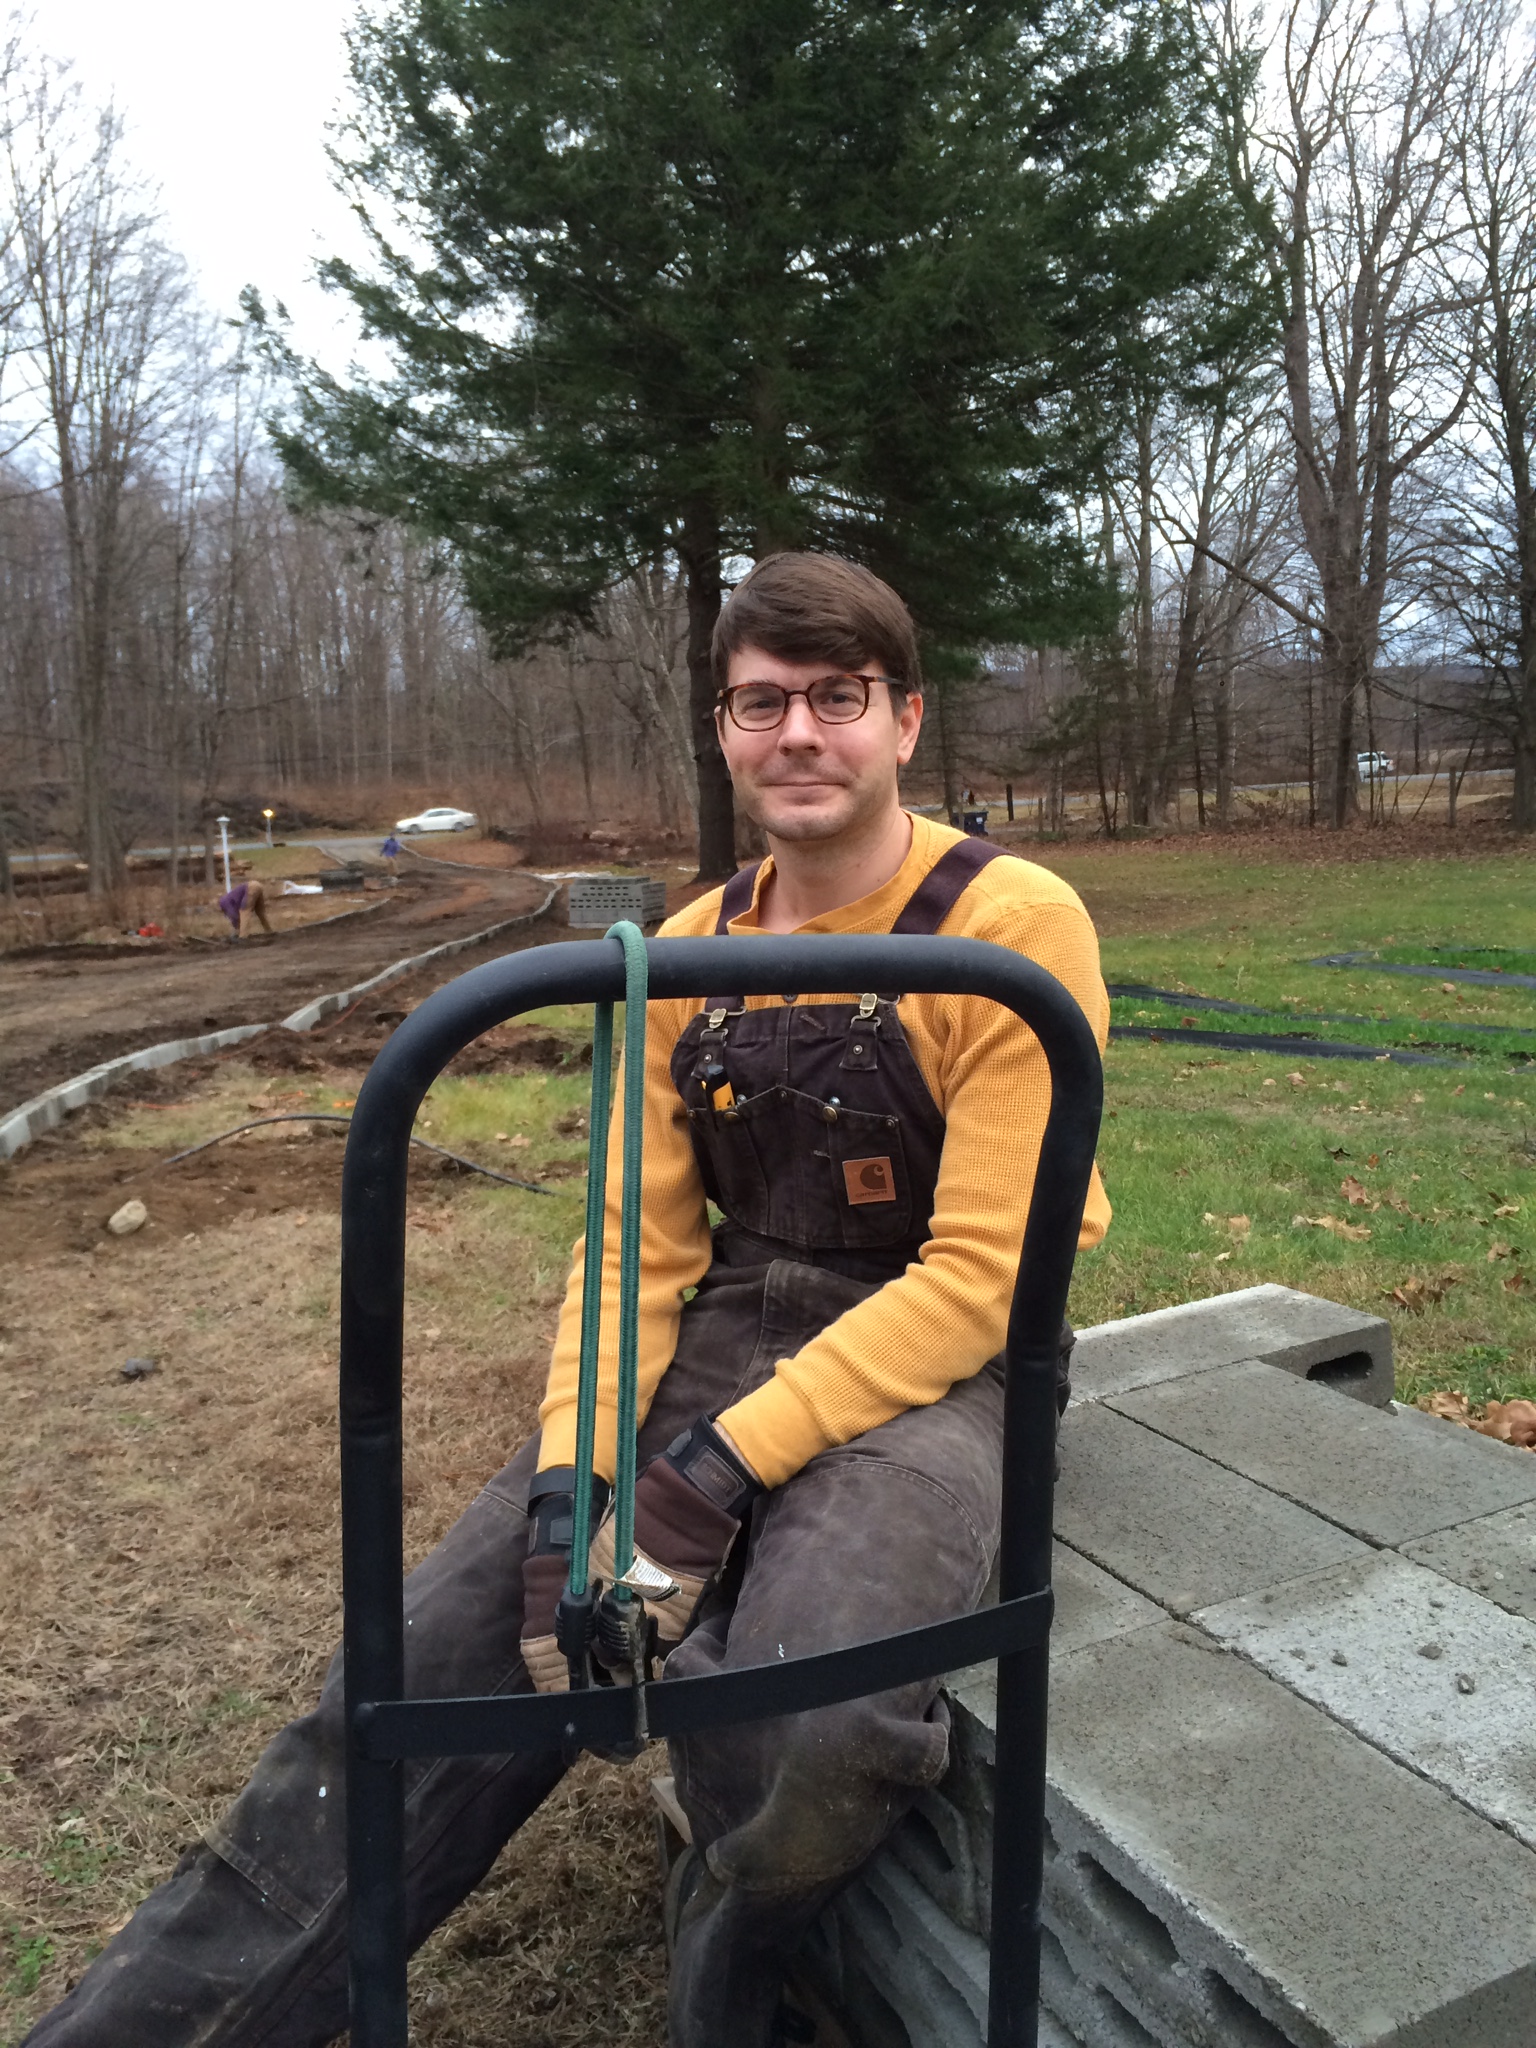
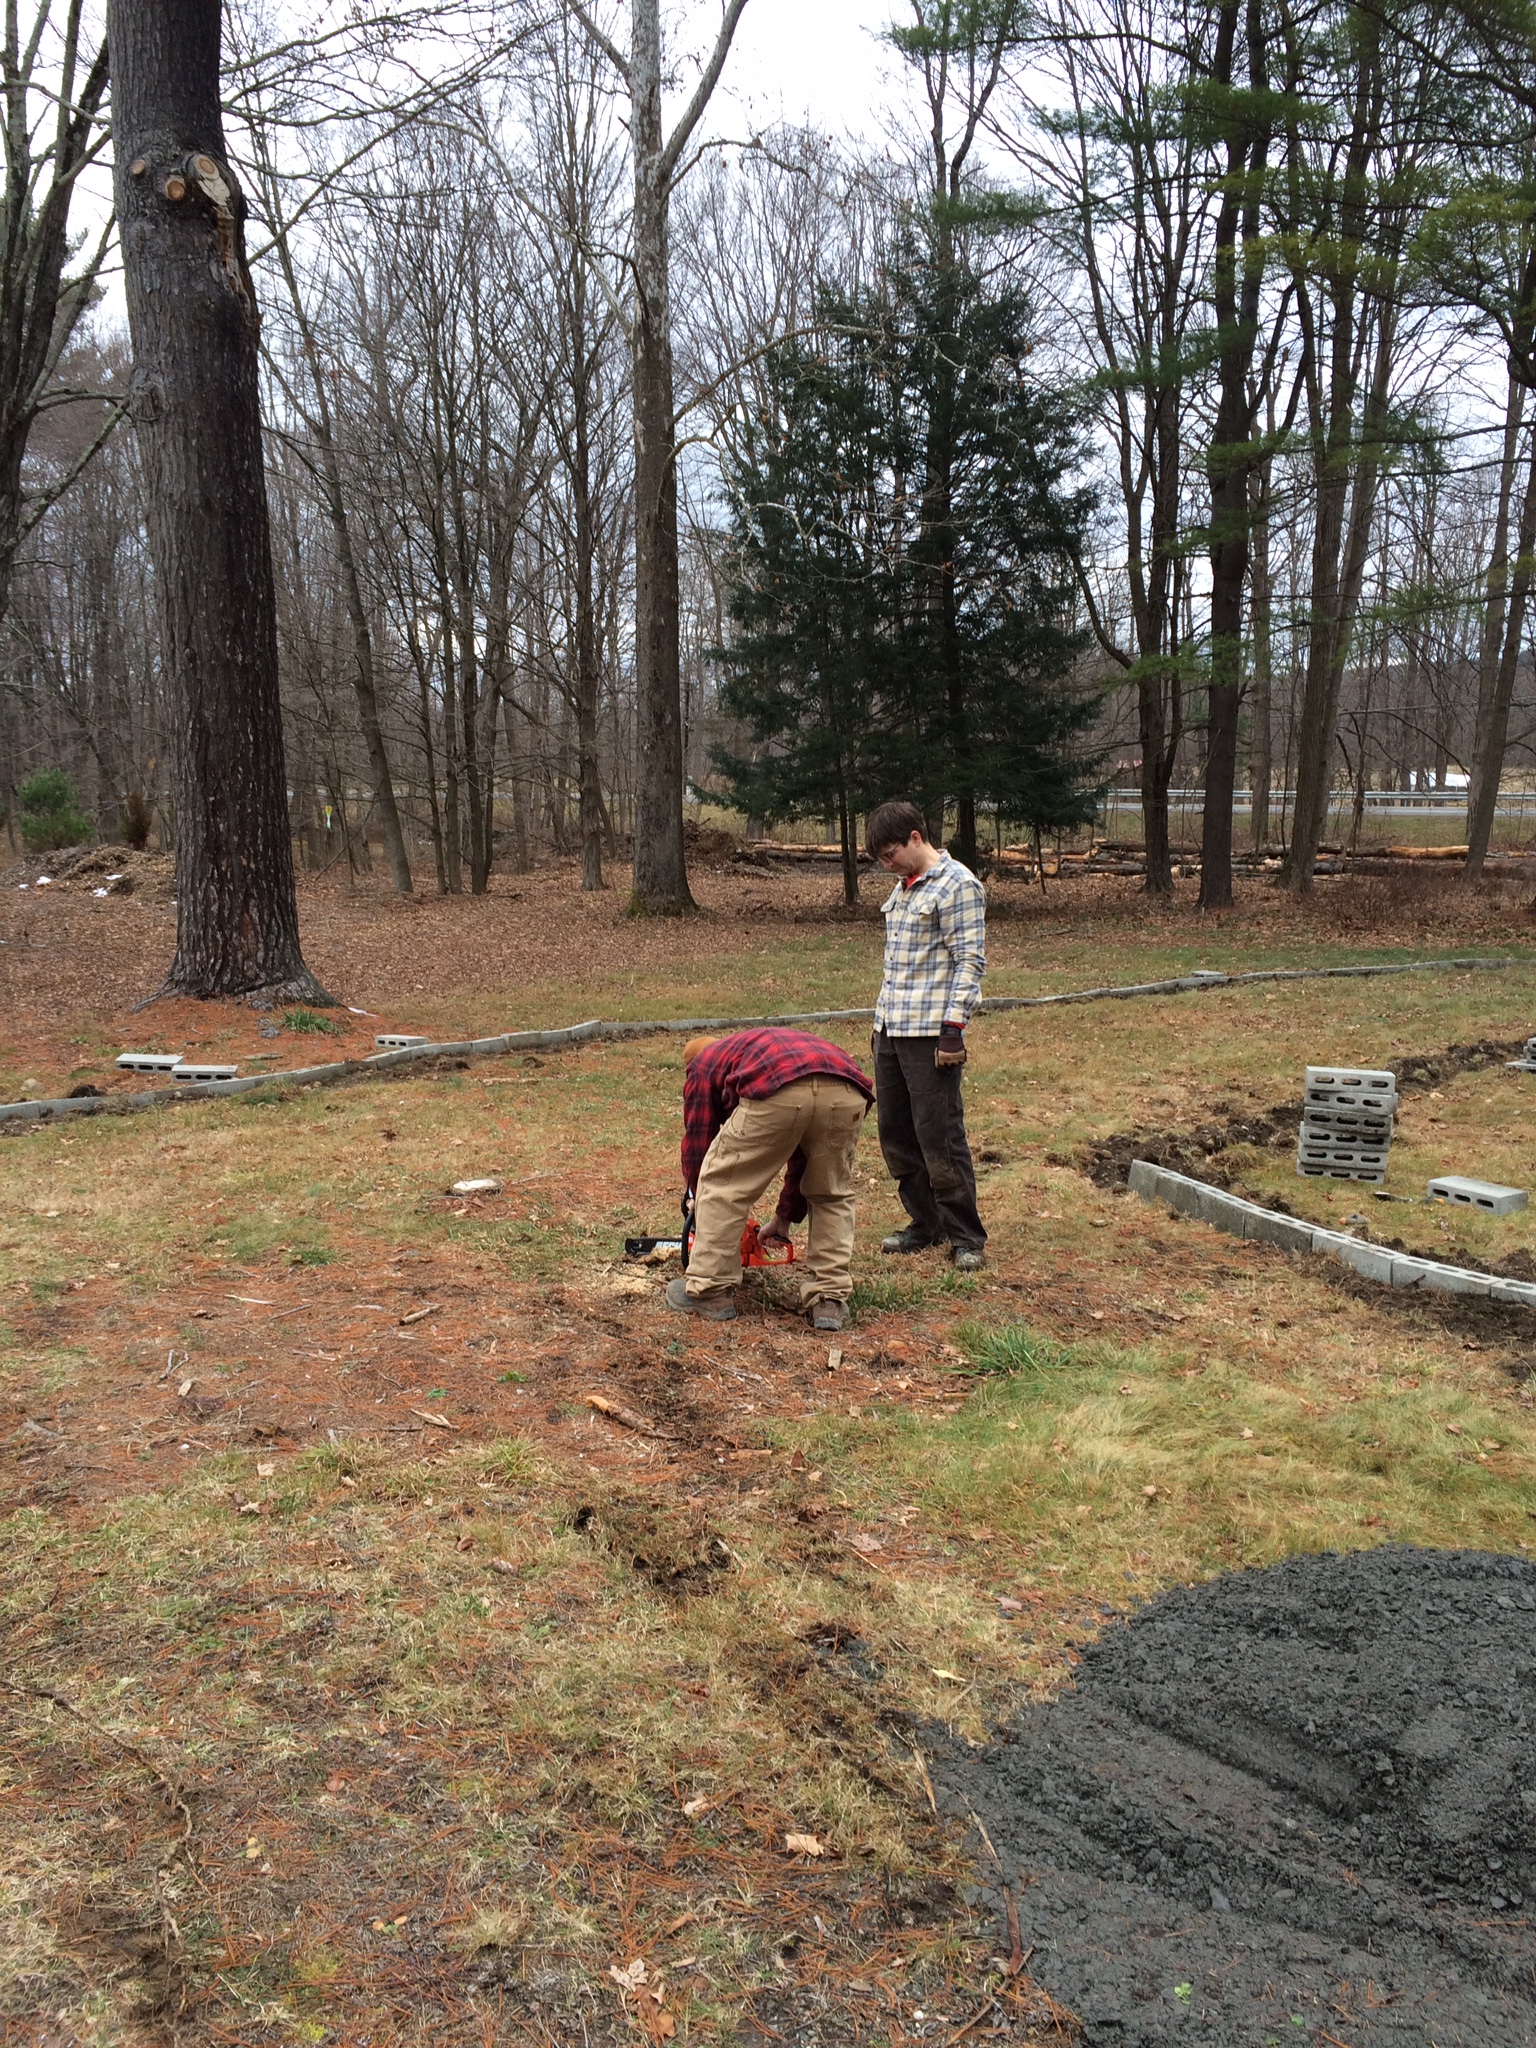
What follows is really just a lot of pictures of the whole family pitching in to bring this project together. In short, we used a trencher to cut the channels and the driveway shape. We then put the cinder blocks in the channel, back filled and brought in gravel. Sounds easy right? Wrong, it was a bloody nightmare, especially because Graham thought he could move the 220 tons of gravel on his own..by hand. You heard that right, genius over there tried to move 4 million pounds of gravel, it didn't happen. The gravel company owner watched for about 2 hours with a little smile on his face until Graham and Donald could barely move and then he drove his dozer over and moved the rest of the stone in no time.

A big thank you to the whole family that came out over the holidays to pitch in and help, this was hard, heavy work. And a word to the wise, if you try this yourself, practice with the trencher a bit and try to find one that is capable of making turns.


Star

We love our Garland range. It has a great commercial look, two ovens, six burners, and a grill. But those are all aesthetics for the most part, what makes a great stove great is how it cooks. 

See that unusual flame shape? Not a basic ring, but a star, that is what makes this stove so special. It distributes the heat evenly across the bottom of the pan/pot, coupled with fine controls this allows the chef to have a perfect simmer, or just all out high power fast boiling heat. So there you have it, we love our Garland and look forward to it's many years of service. 

Change Your Filter

Furnaces are new to us, turns out you need to change the filters in them… yup, shocking huh? Well we had our first cold night recently and tried to turn the heat on only to have nothing happen. Next day O'neil plumbing was able to come take a look at it and diagnosed a loose connection on a relay, no big deal. While here they pulled the filter door open to show us how to change them, then they gave us one of those looks that people give you when they think you are a terrible terrible negligent human being. 

So this is actually the cleaner of the two filters. Needless to say we went to Home Depot that night and got nice high quality replacements. So listen up people, change your filters once every six months and if you are doing construction like we are, change them every three months; you don't want to make life harder for your furnace or your lungs!

We Have A Well

Yes... to say a rural farmhouse has a well is not exactly a groundbreaking (pardon the pun) statement, but this is an unexpected well. The house has a fairly new well with a new pump, but we had assumed the old wells were gone and forgotten. Then, Paul (our tree guy) asked if we wanted to see the well he found.... naturally we ran over.
 

In the course of tree removal he came across a cement well cap. Not a small chunk of cement by any means, but he had a nice handy skid steer and so picked the cap off and we looked down about 30' into our very own artesian well!. This is probably over 150 years old and is very well constructed. If we wanted to use it we would probably have to go down and dredge the bottom out a bit as it has silted in a bit. All in all a very exciting discovery and good to know that when the zombie apocalypse comes we will still have fresh drinking water. We put the cap back on it for now, but will eventually put a hand pump on top so we can pose in front of it like in old timey pictures.
 

UPDATE - Raised Beds

Last November, prior to snowmageddon, snowpacalypse, snow in general, we planted our raised beds. Now, we are happy to share the first update on how they faired. It's still early in the season yet, but we are seeing distinct signs of life from the majority of the species planted.

Tulips are up and looking very healthy. Ermerus (foxtail lilly), one has sprouted, it looks like a plant version of a squid mouth...that analogy may be lost on those of you who have not made calamari. Lilies are sprouting in quantity, as are the aliums, fritillaries, and narcissus. Of the Iris so far only two are showing, in truth we left them in their shipping containers too long last year so we suspected losses would be a sure thing from that bed. We will continue to keep you posted and of course, here are some pictures:
 

Shifting Gears

Spring is here! Actually, that's a lie, but, it is time to start planning for spring, plants take time to grow and we want to maximize the growing season. First order of business, planting plans, I.E. figuring out what seeds we have (Graham got carried away ordering and at last count we had about +/- 30,000 to plant) so that will be fun. Organization is the order of the day, essentially making a page of notes for each variety that covers spacing, planting notes, harvest notes, planting successions etc...  
 

With those notes sorted out it was time to plant, so Carol got right to it....the pictures show flats of delphiniums, callas, geraniums and rhubarb. This is just a small taste of what is to come, by the time the last frost happens we will have thousands of plants eager to go out into the ground. It's is going to be a very colorful year on the farm. But wait, there was more planning to be done, the orchard had to be sorted out. So we ordered trees from Stark Wholsale, which is great from a price standpoint, but resulted in us having an orchard twice the size of what we were intending....as of now we need to find homes for about 140 trees.
 

So, there you have it, proof that spring is here, in a way. We are just holding on to dreams of sitting in the orchard, enjoying the fruits of our labor.
 

What We Did With Our Winter Vacation.....

Big surprise, we demolished stuff, in between demolishing things we occasionally built things, insulated things and played Wii tennis (for the record Graham always wins). In terms of progress, probably the biggest gains were made in the insulation category where we finally blew massive amounts of cellulose into the roof crawlspaces and created our own custom attic insulation system (a separate post).


The cellulose started similarly to the last time, we unloaded bales from the back of the truck and wrestled a ridiculously heavy contraption onto the porch. along with two contractor bins of hoses and fittings. From there it was a different experience, no drilling holes into joist cavities or tapping on walls. This was straight up cellulose full throttle into the crawlspaces. Which at first we thought would be not so bad, but those small small spider filled spaces turned out to be less than fun.

The process its self was pretty simple: climb into the ceiling, keep crawling until you can't go any further, while dragging a hose and balancing on the beam edges, don't impale yourself on a nail, yell as loud as you can to communicate (helps to remember to turn music off downstairs first) and then try to evenly distribute the cellulose to get a nice thick layer.

If you are lucky, you will make interesting discoveries, like this big hole (usable space) running next to a chimney, if you are luckier, you wont drop your only flashlight down it.
 

And there is a strong likelihood you will end up with some variation of this look at the end of the day: