What's Bloomin' Today

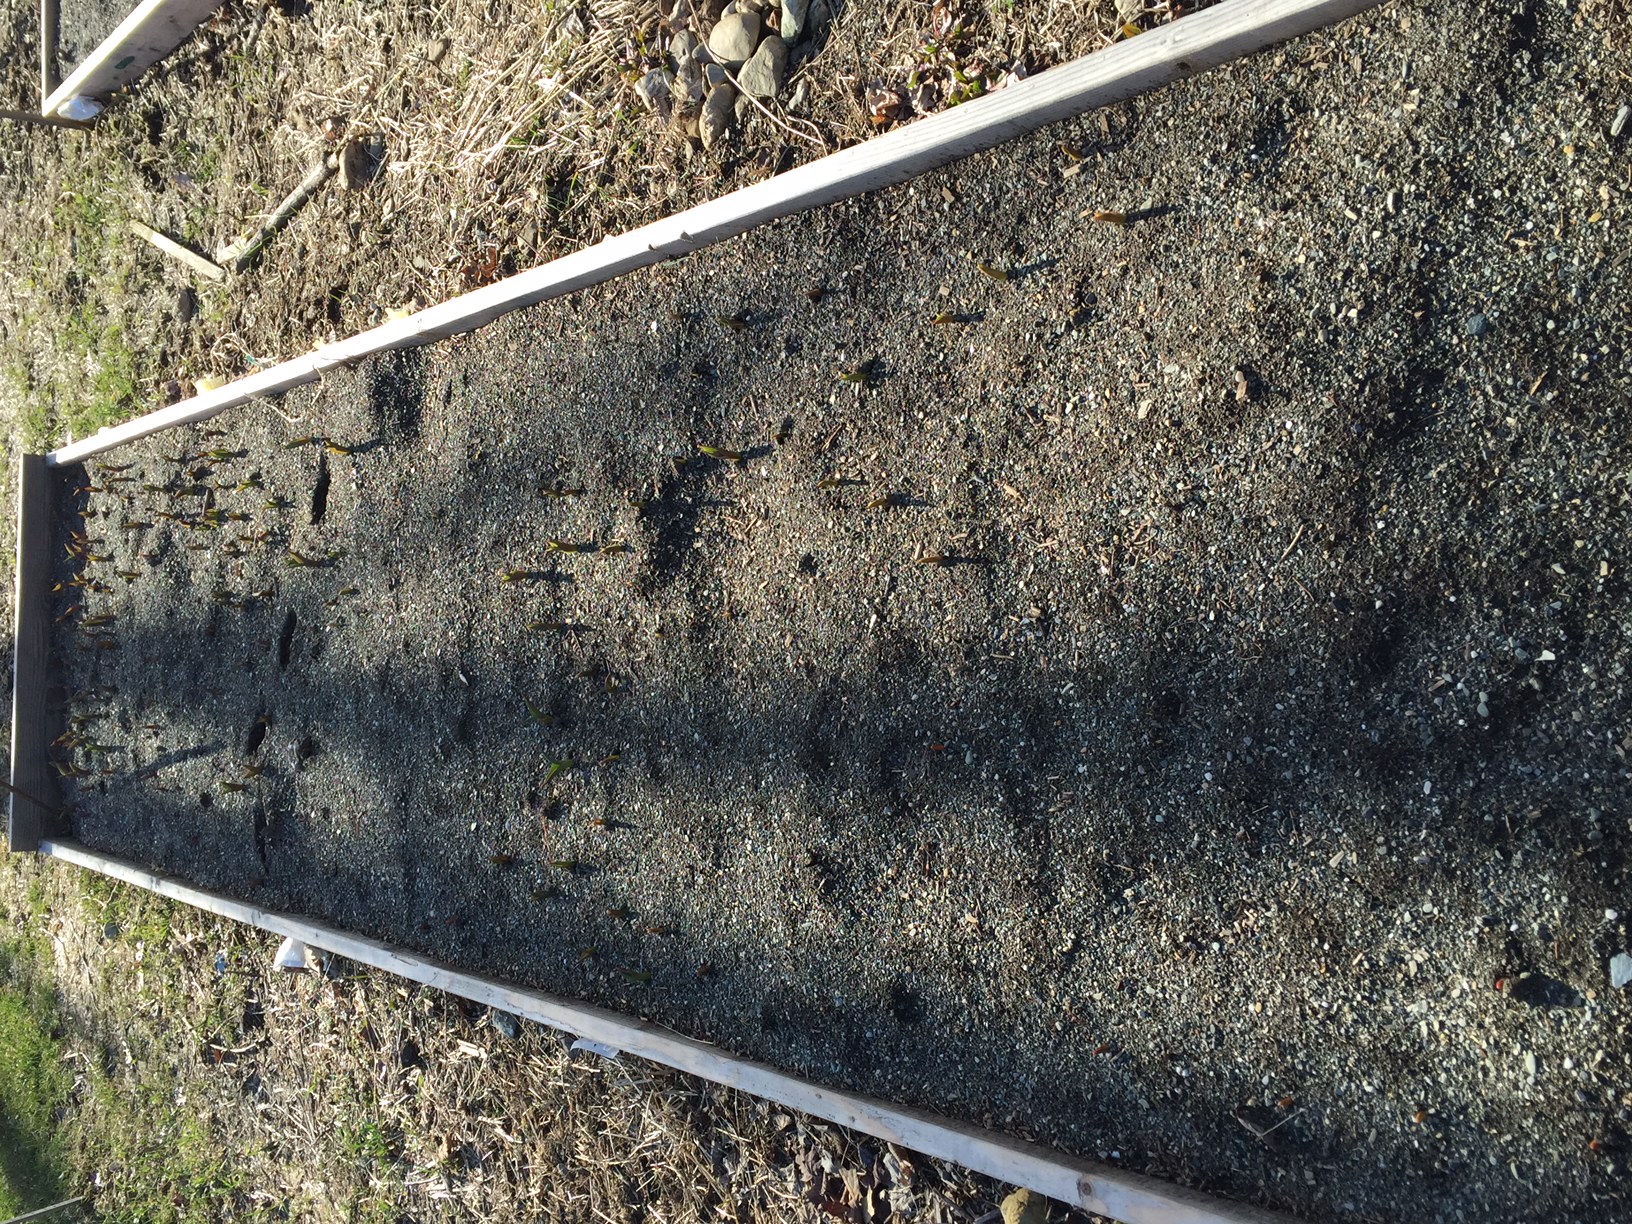
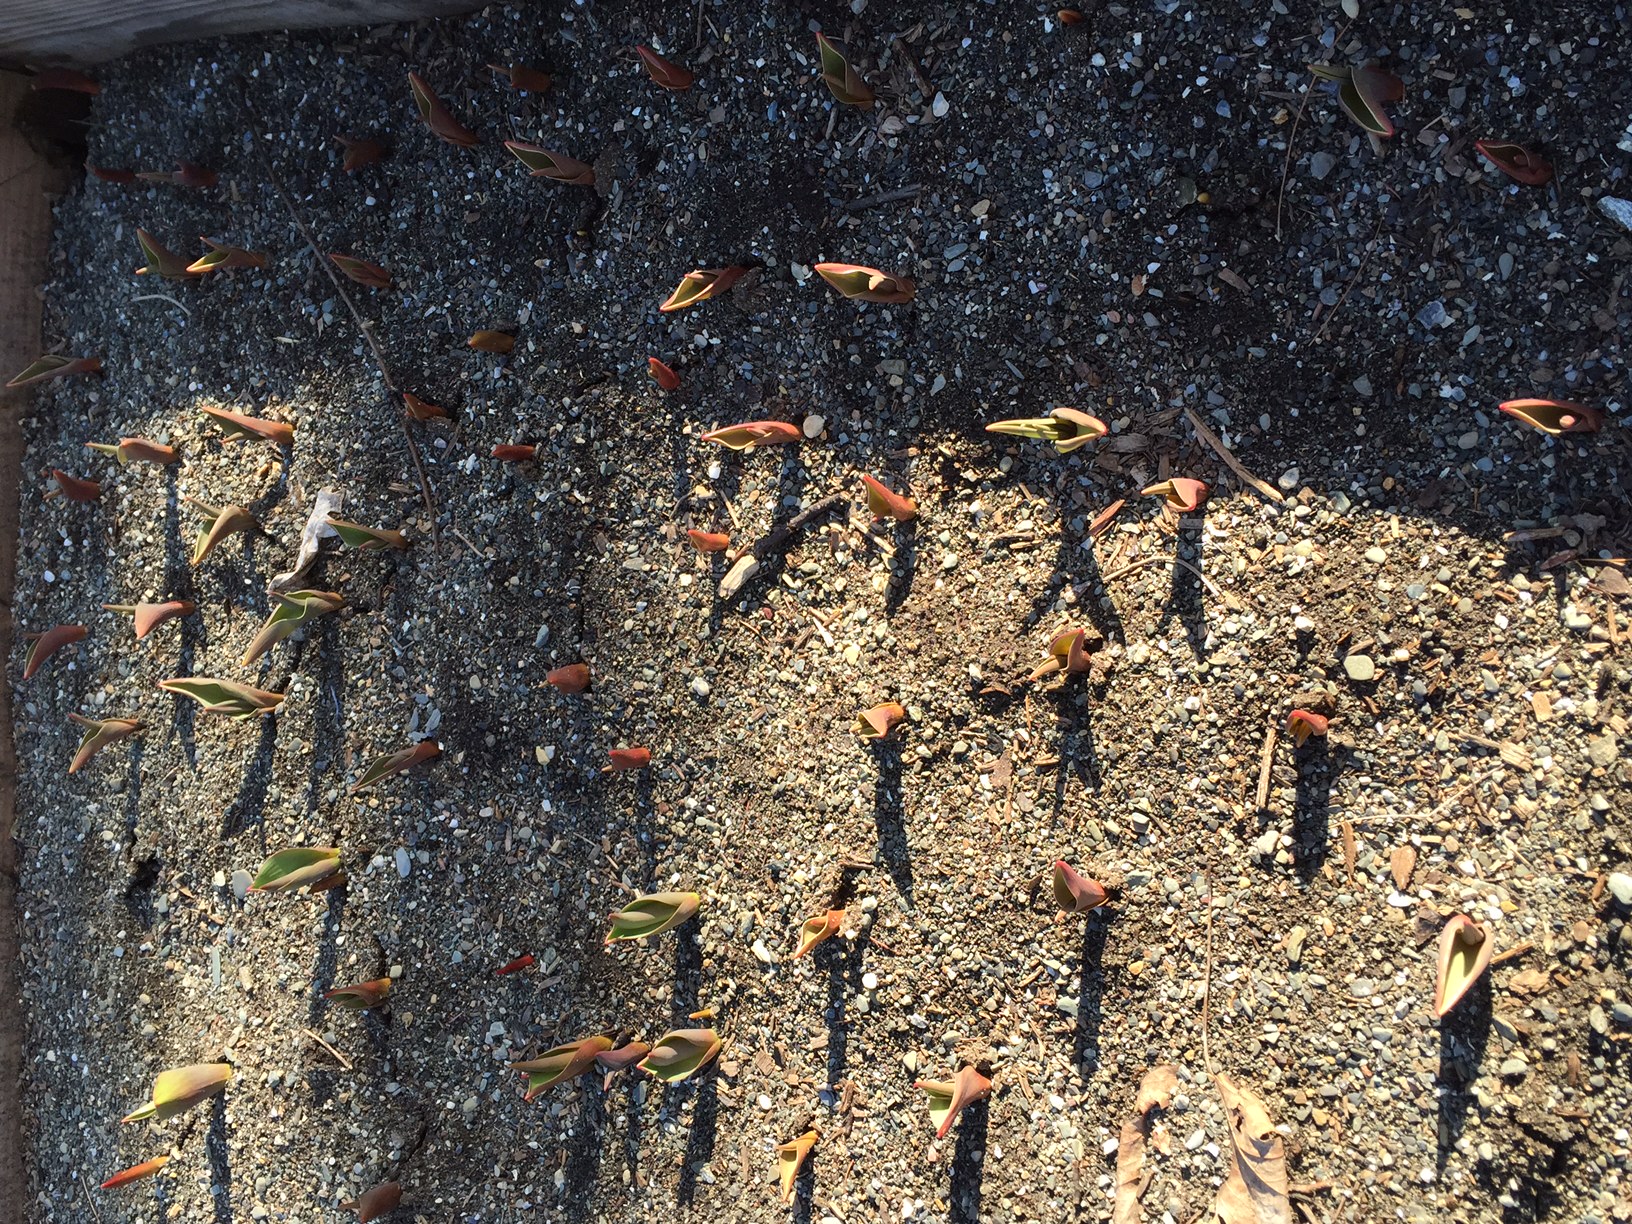
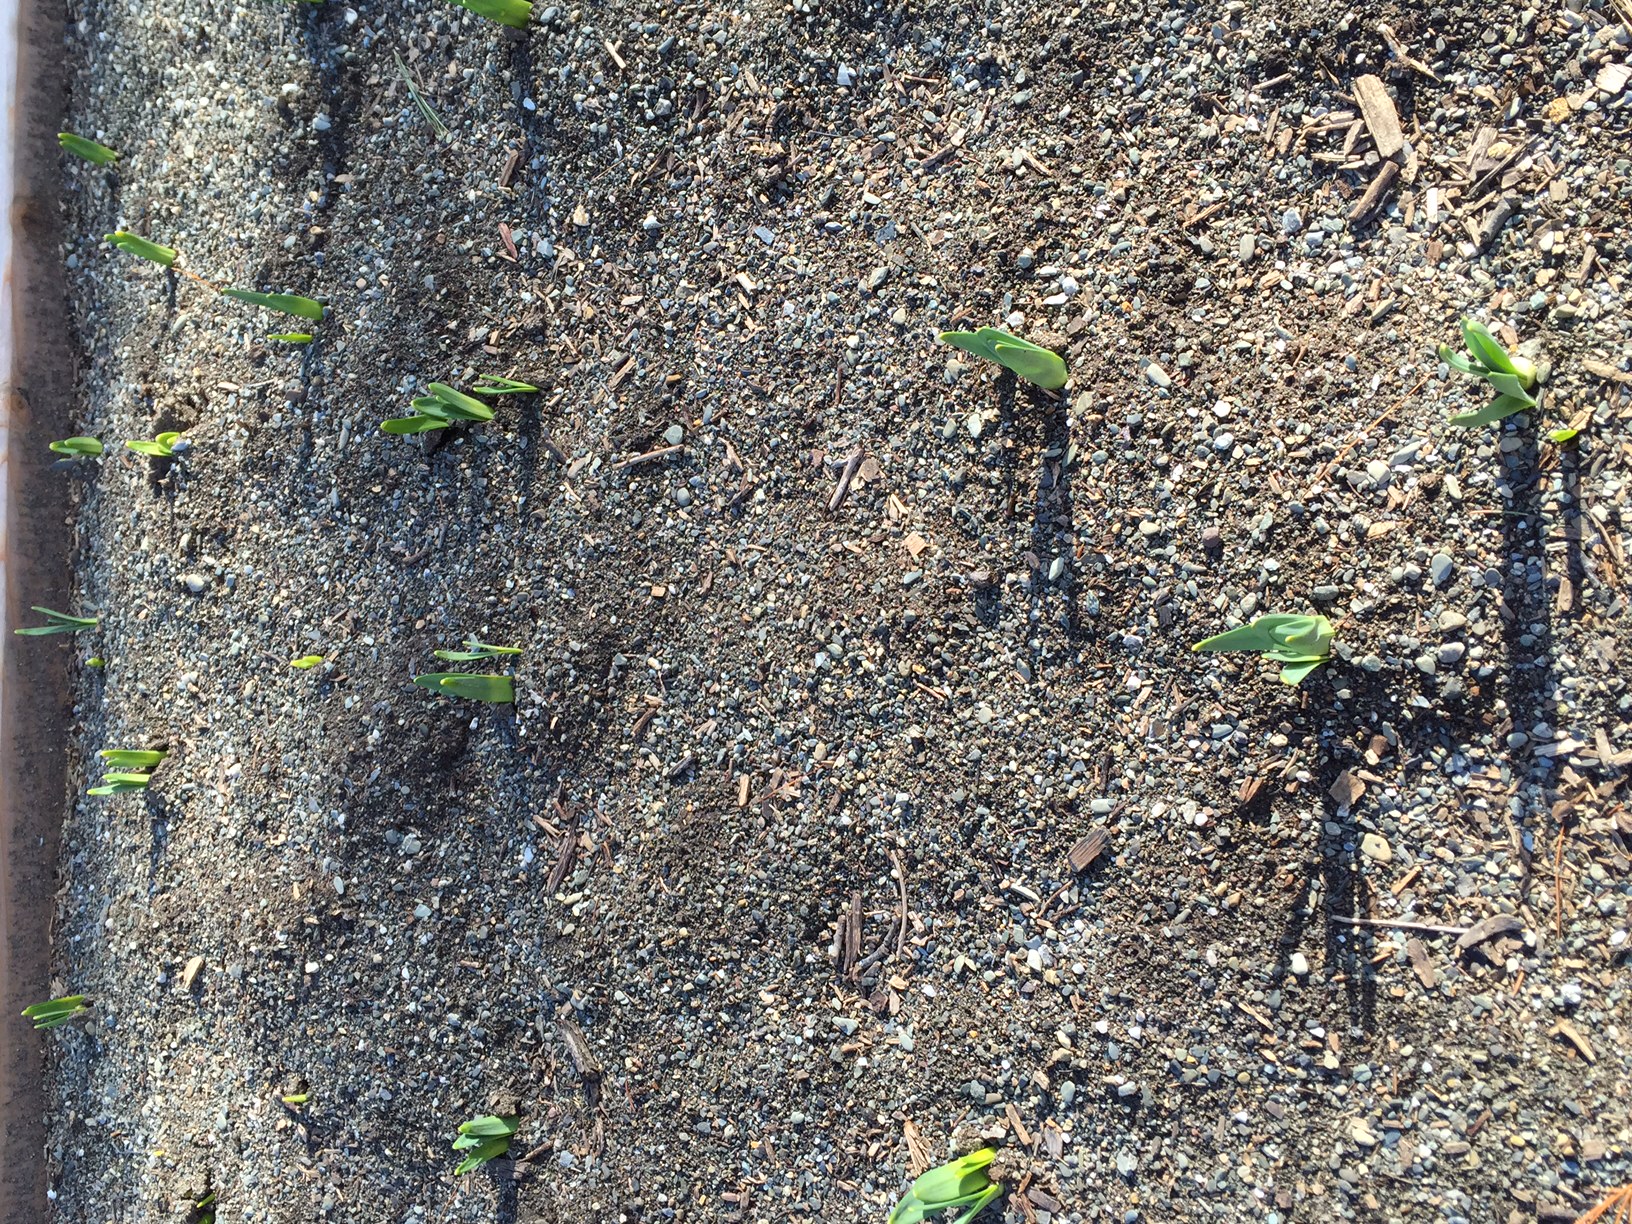
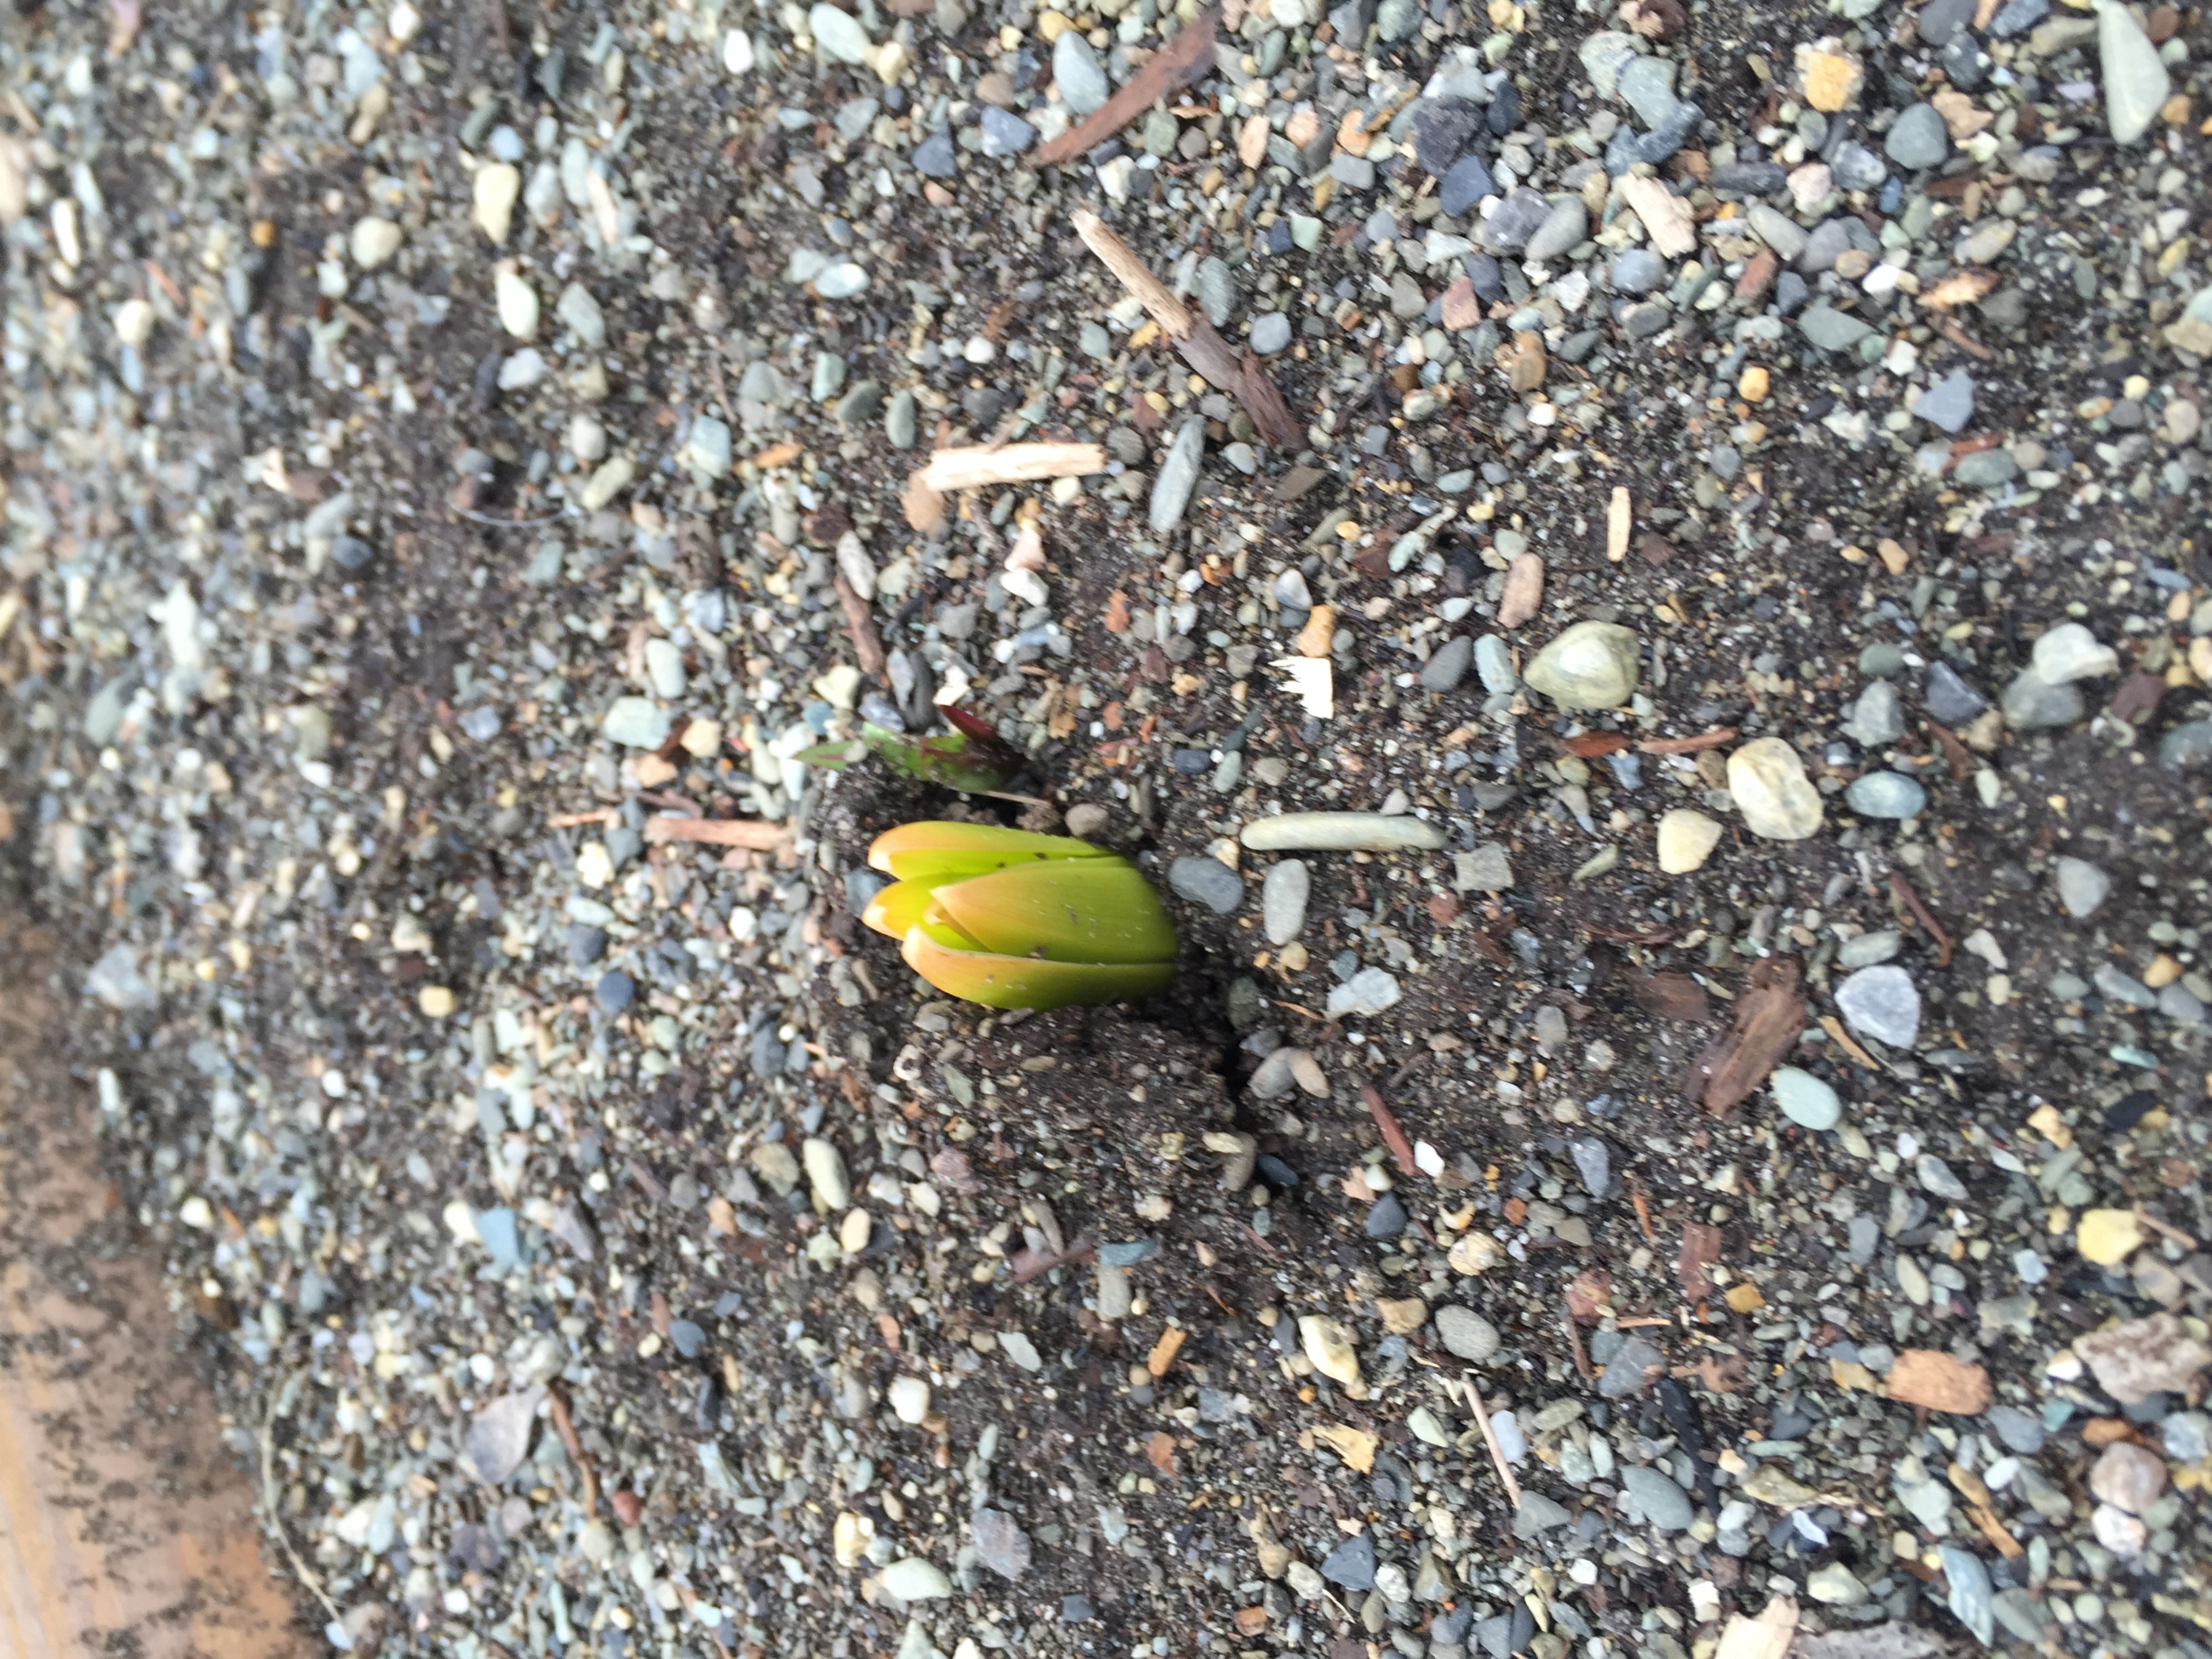
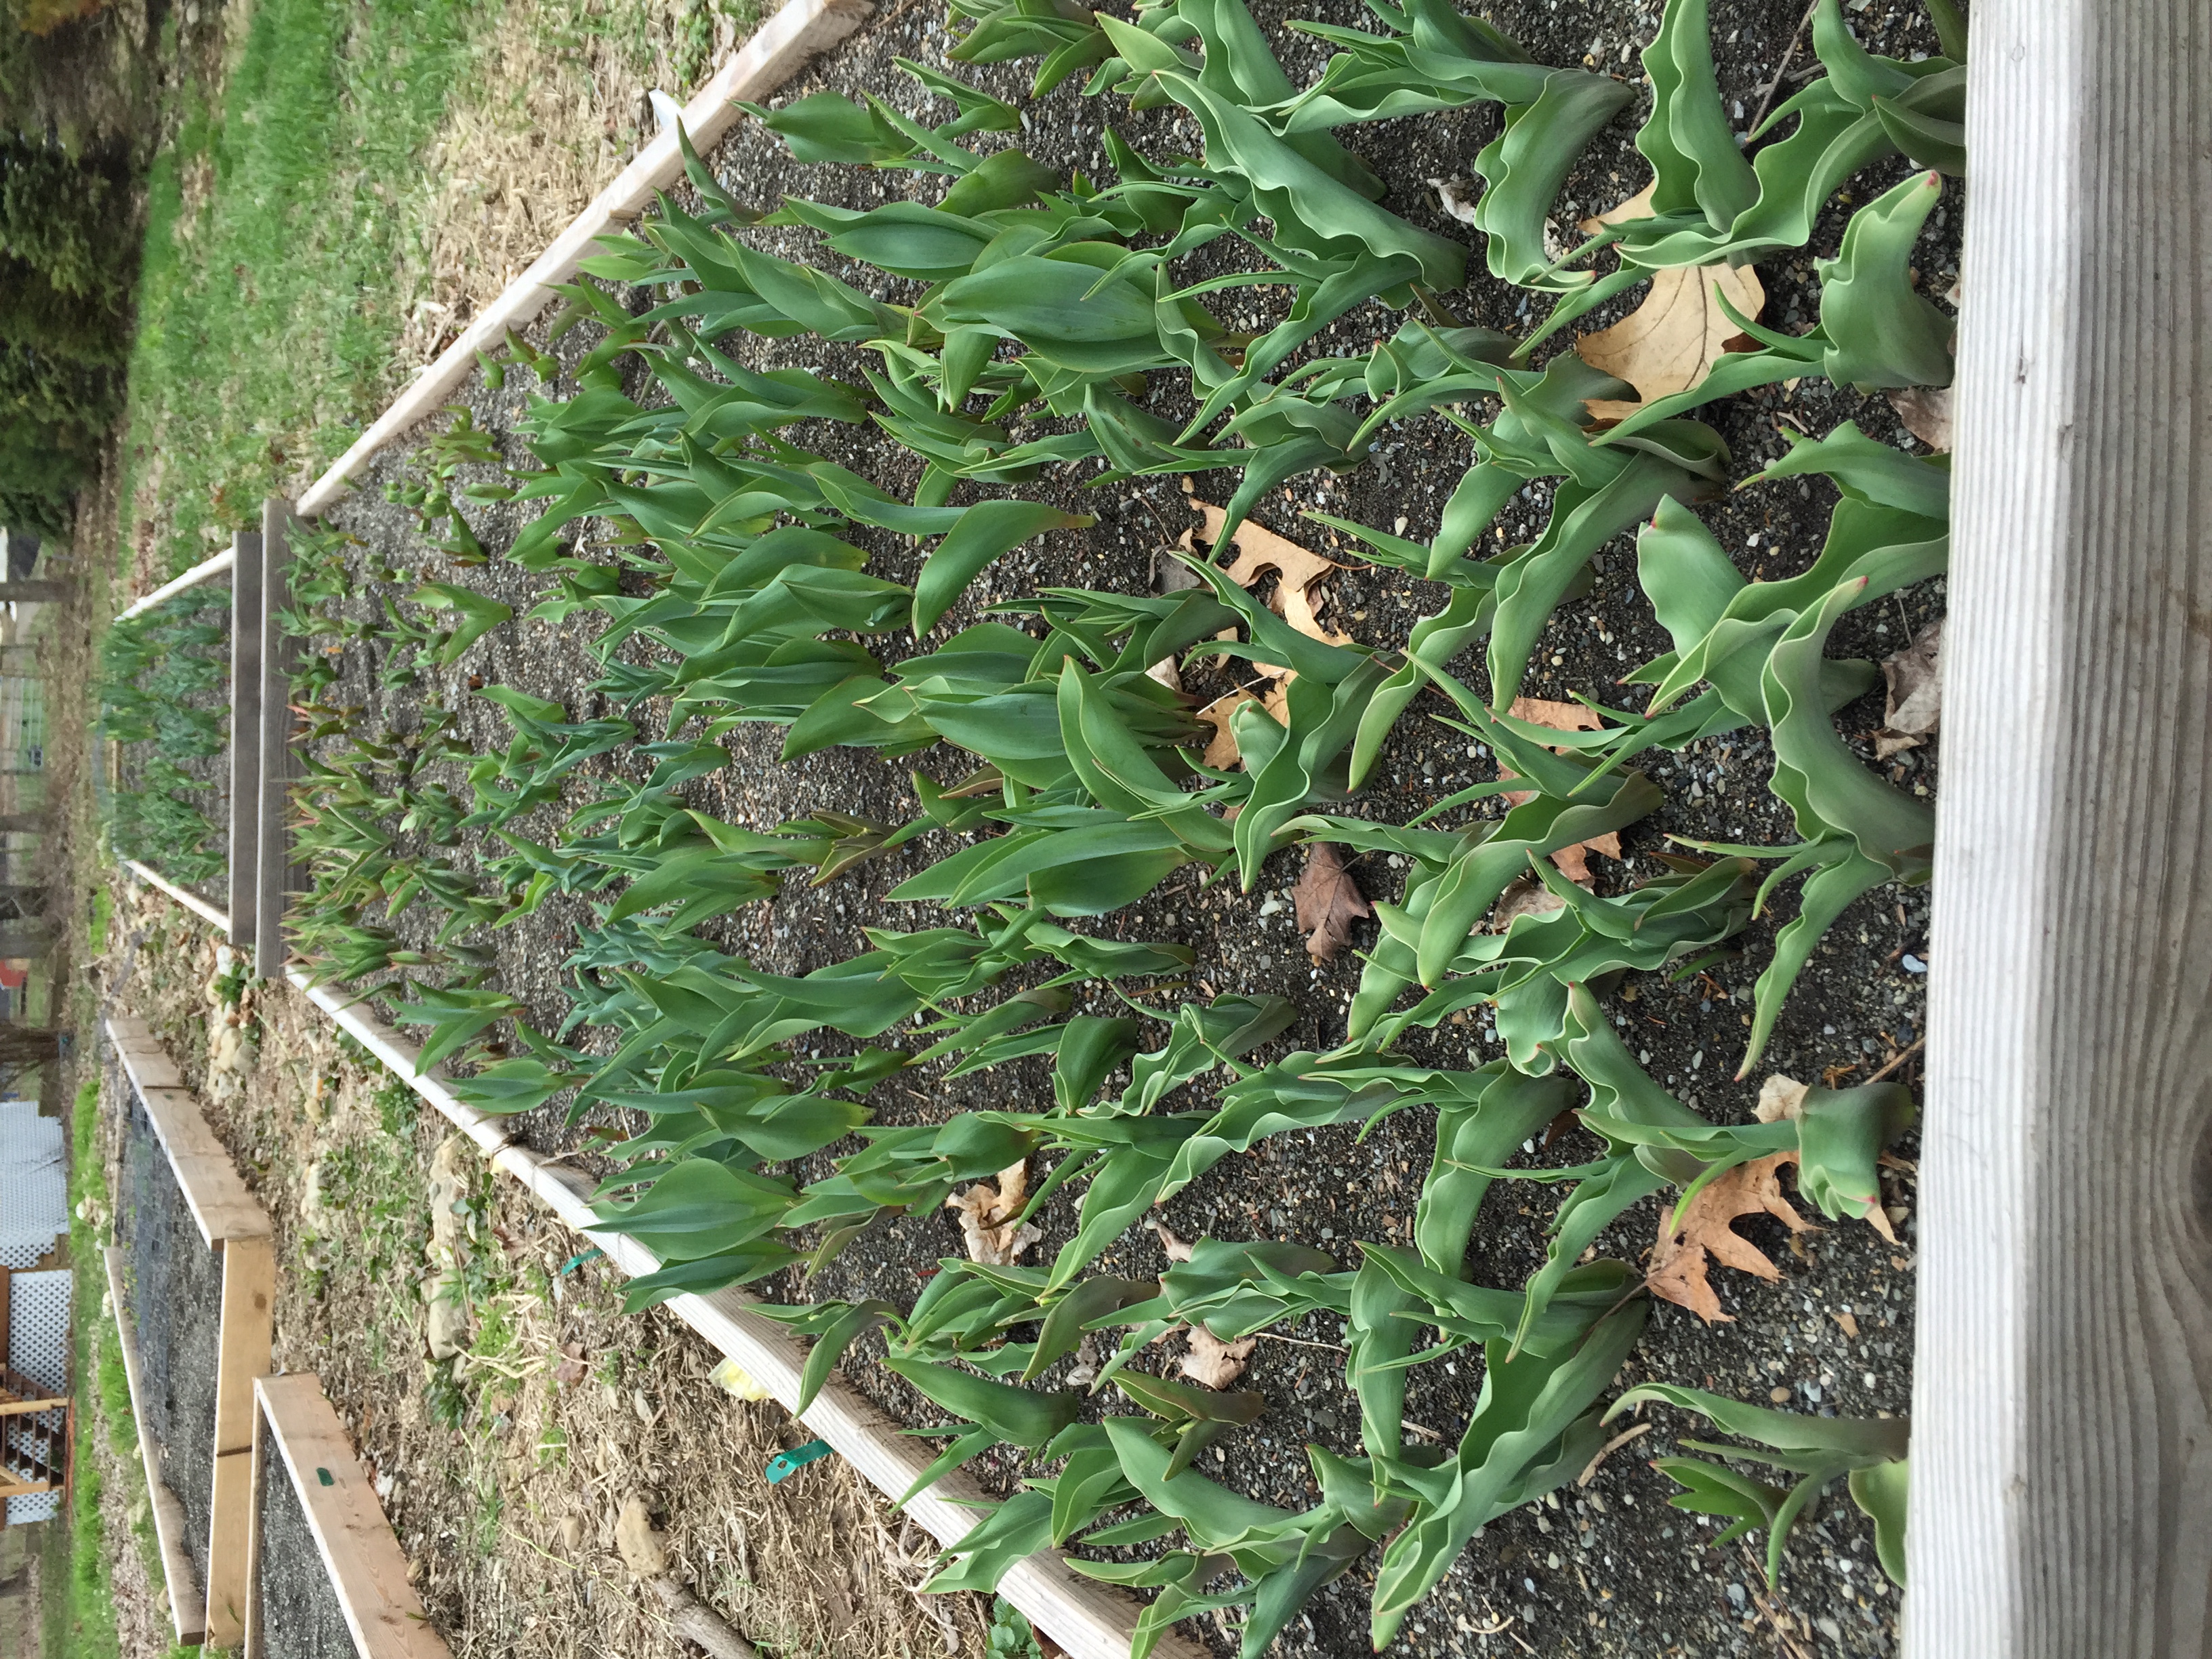
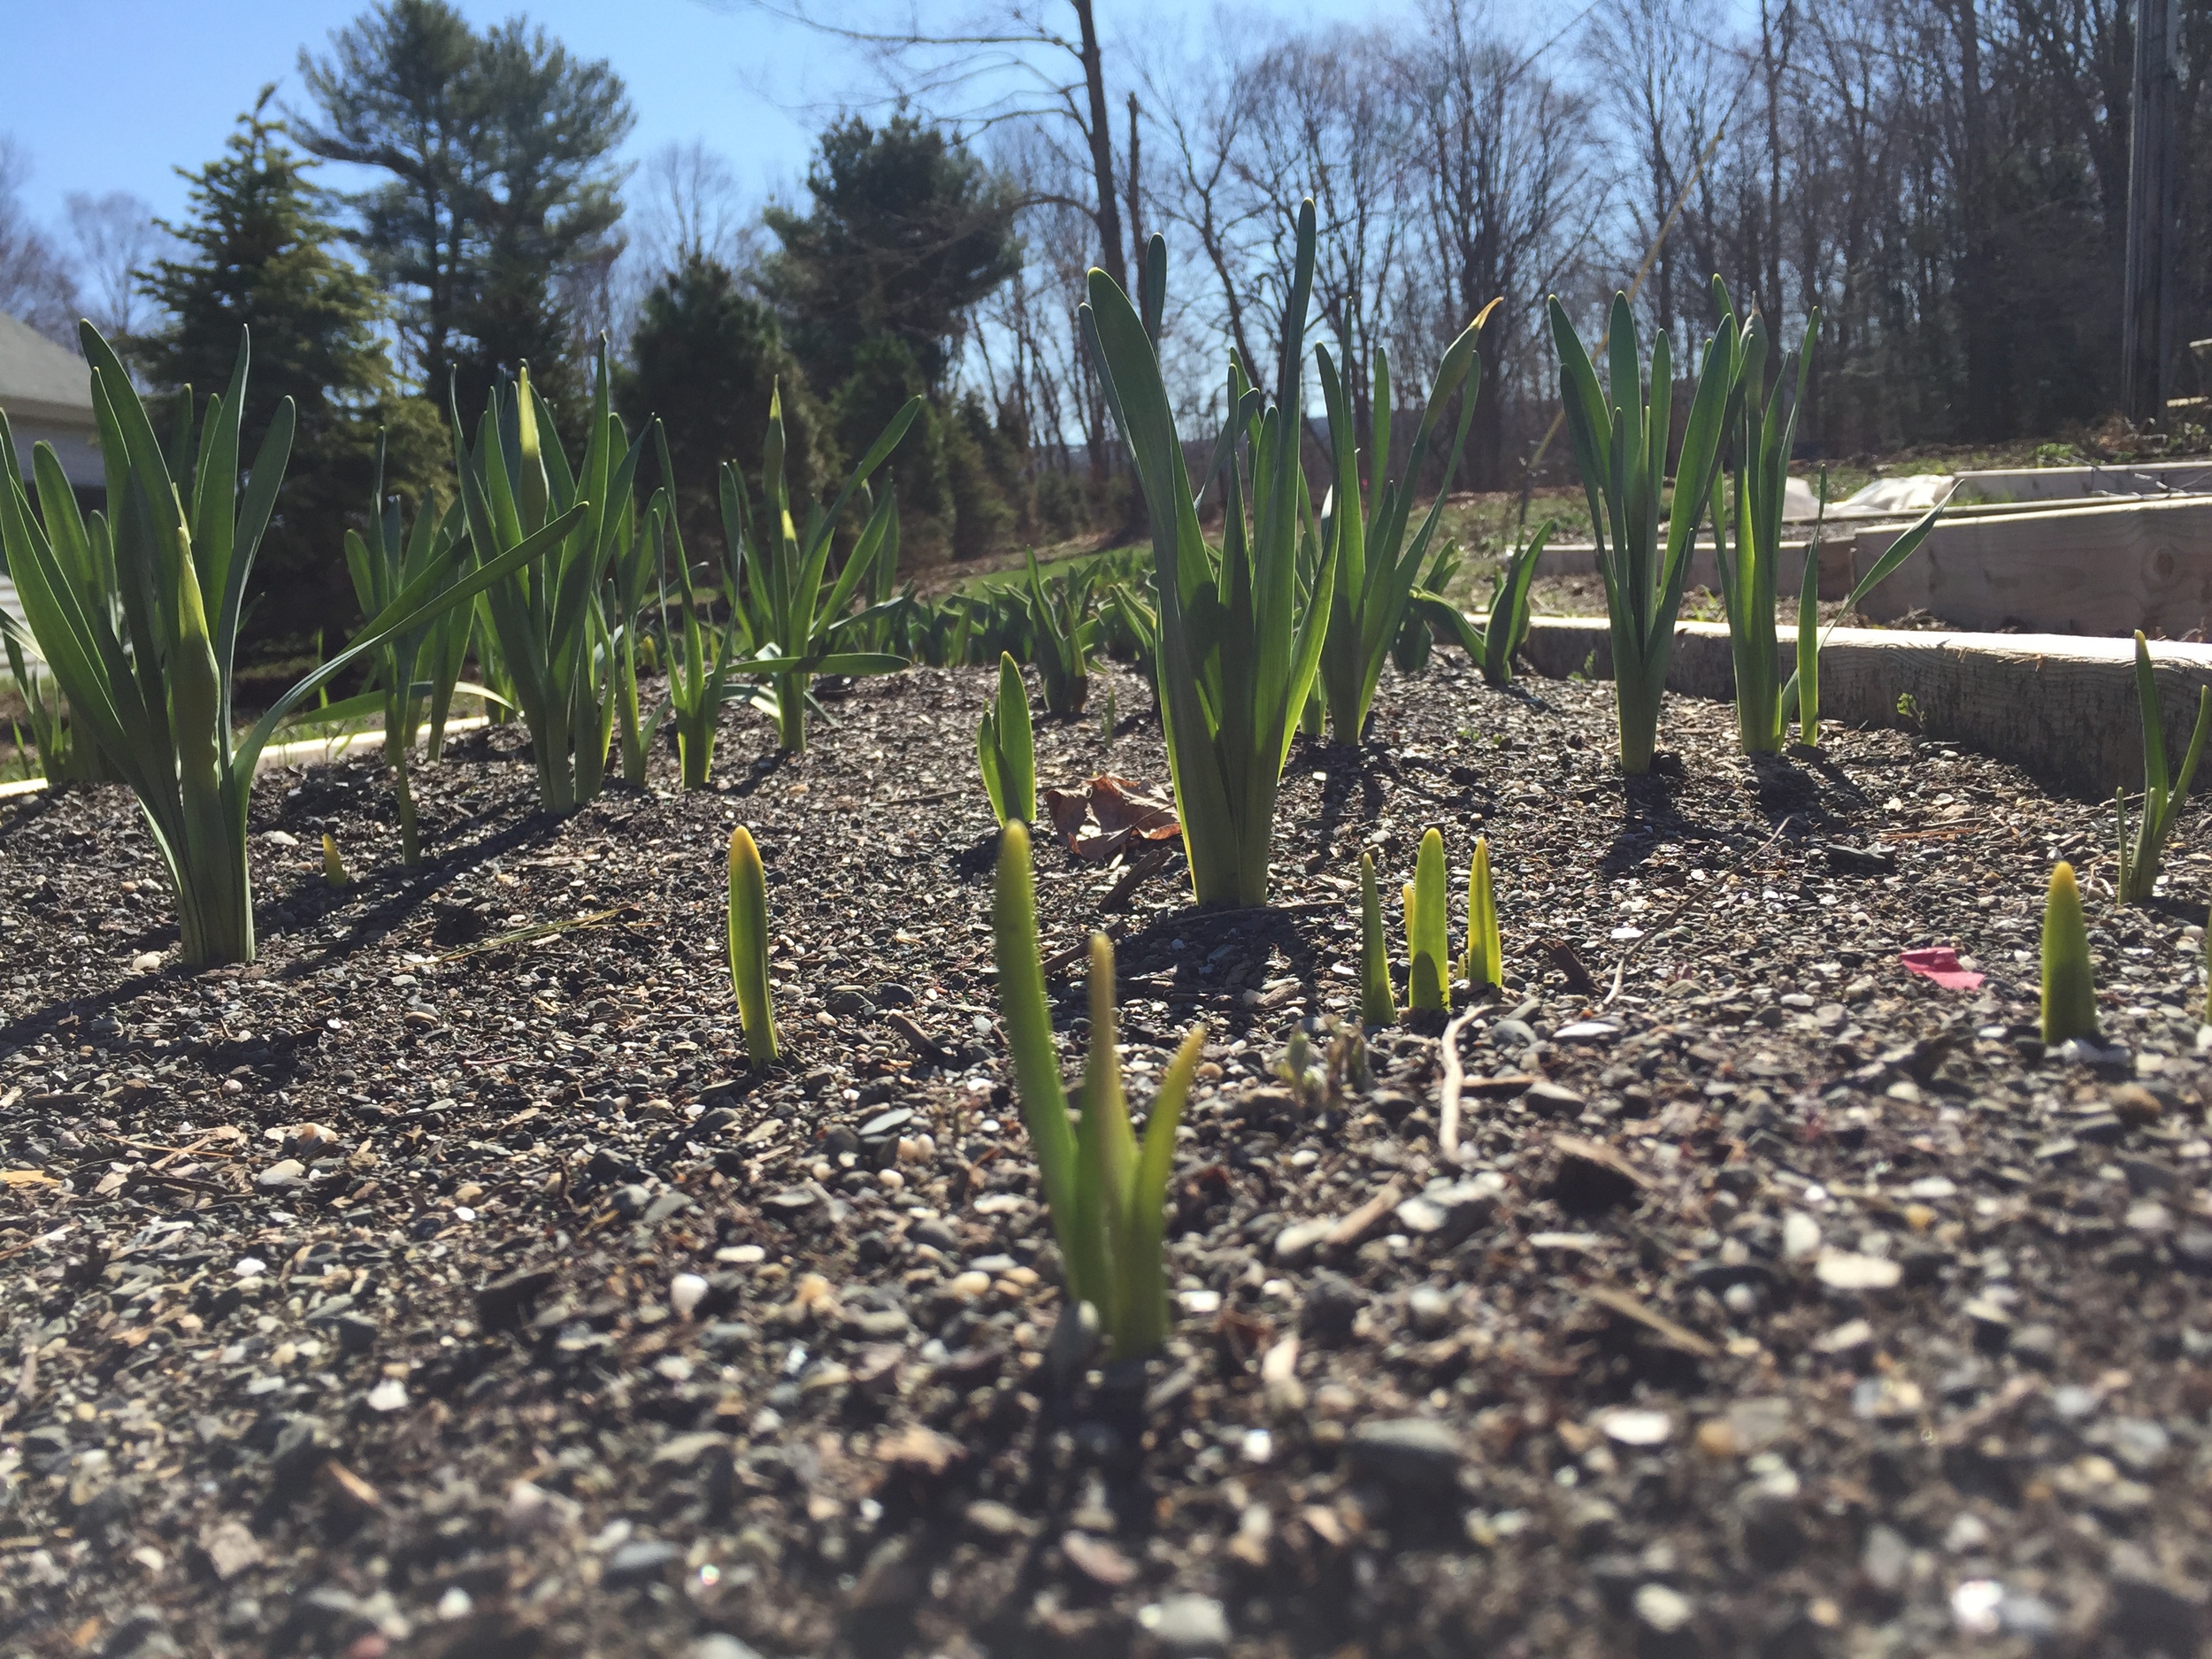
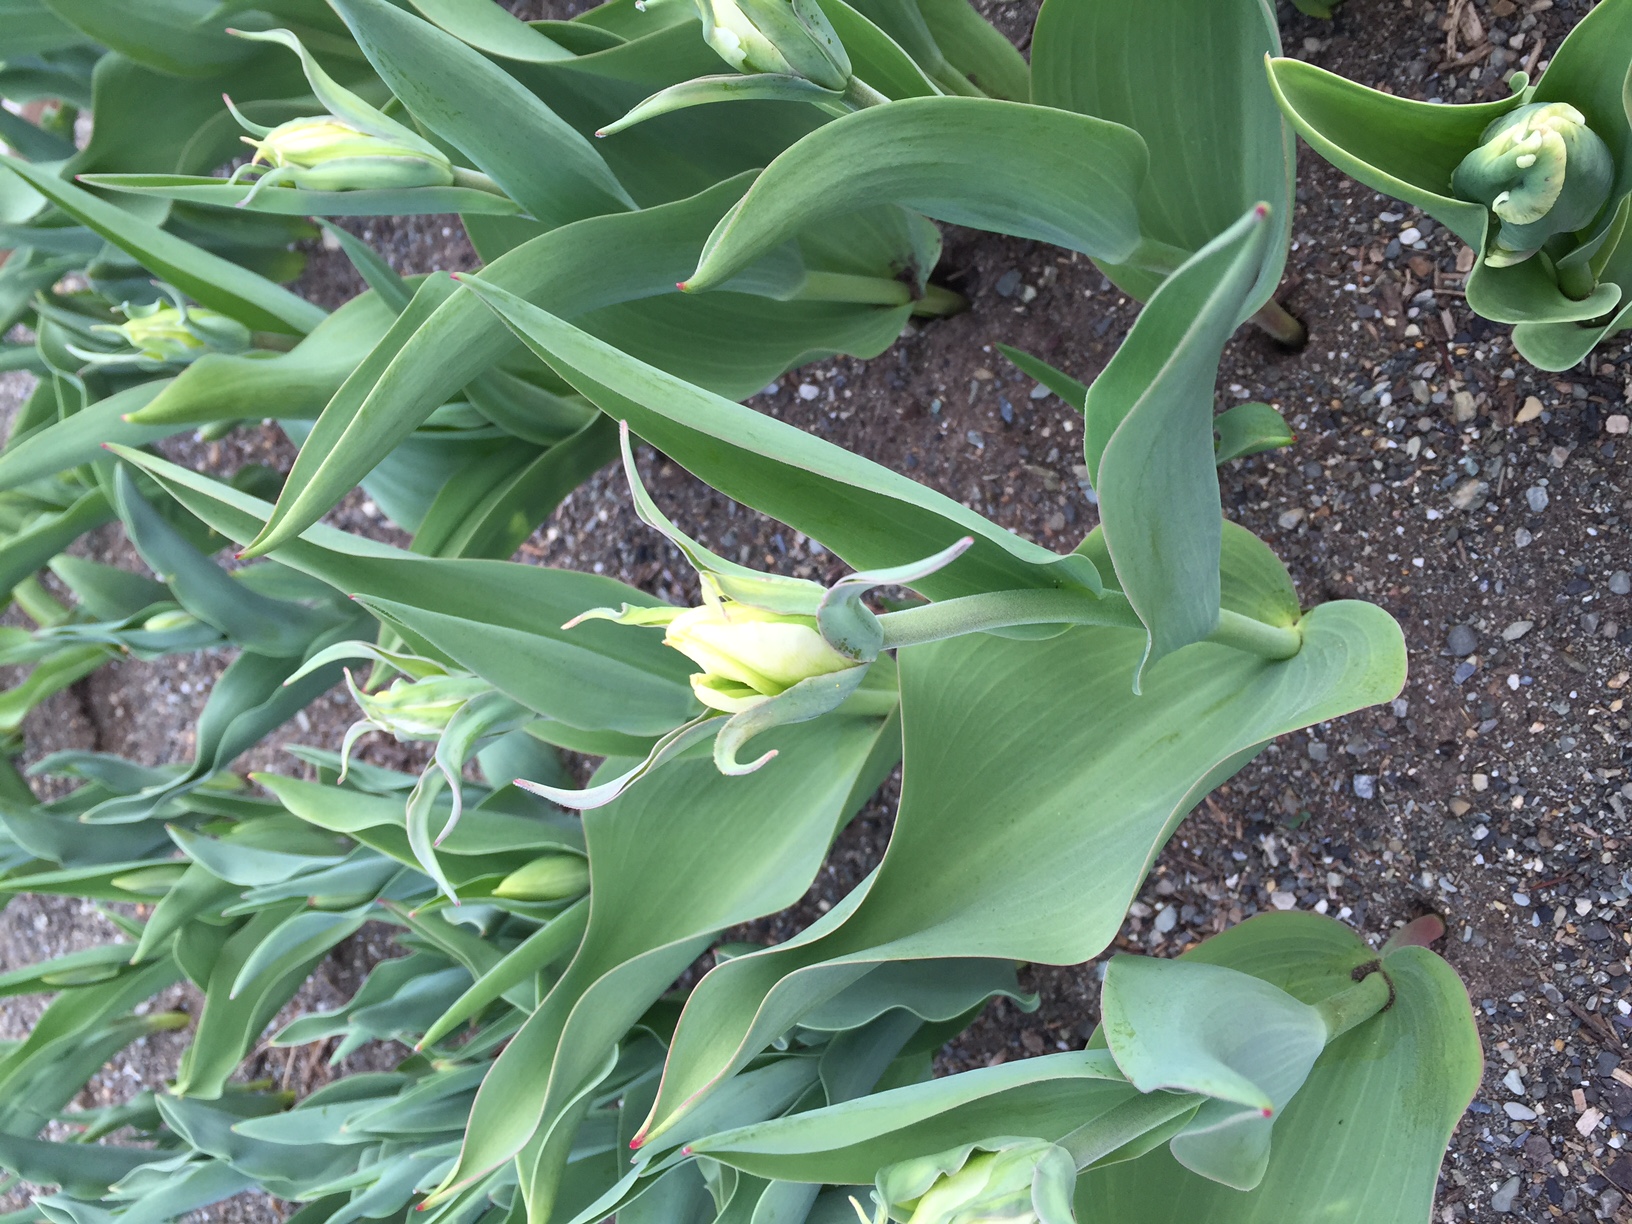
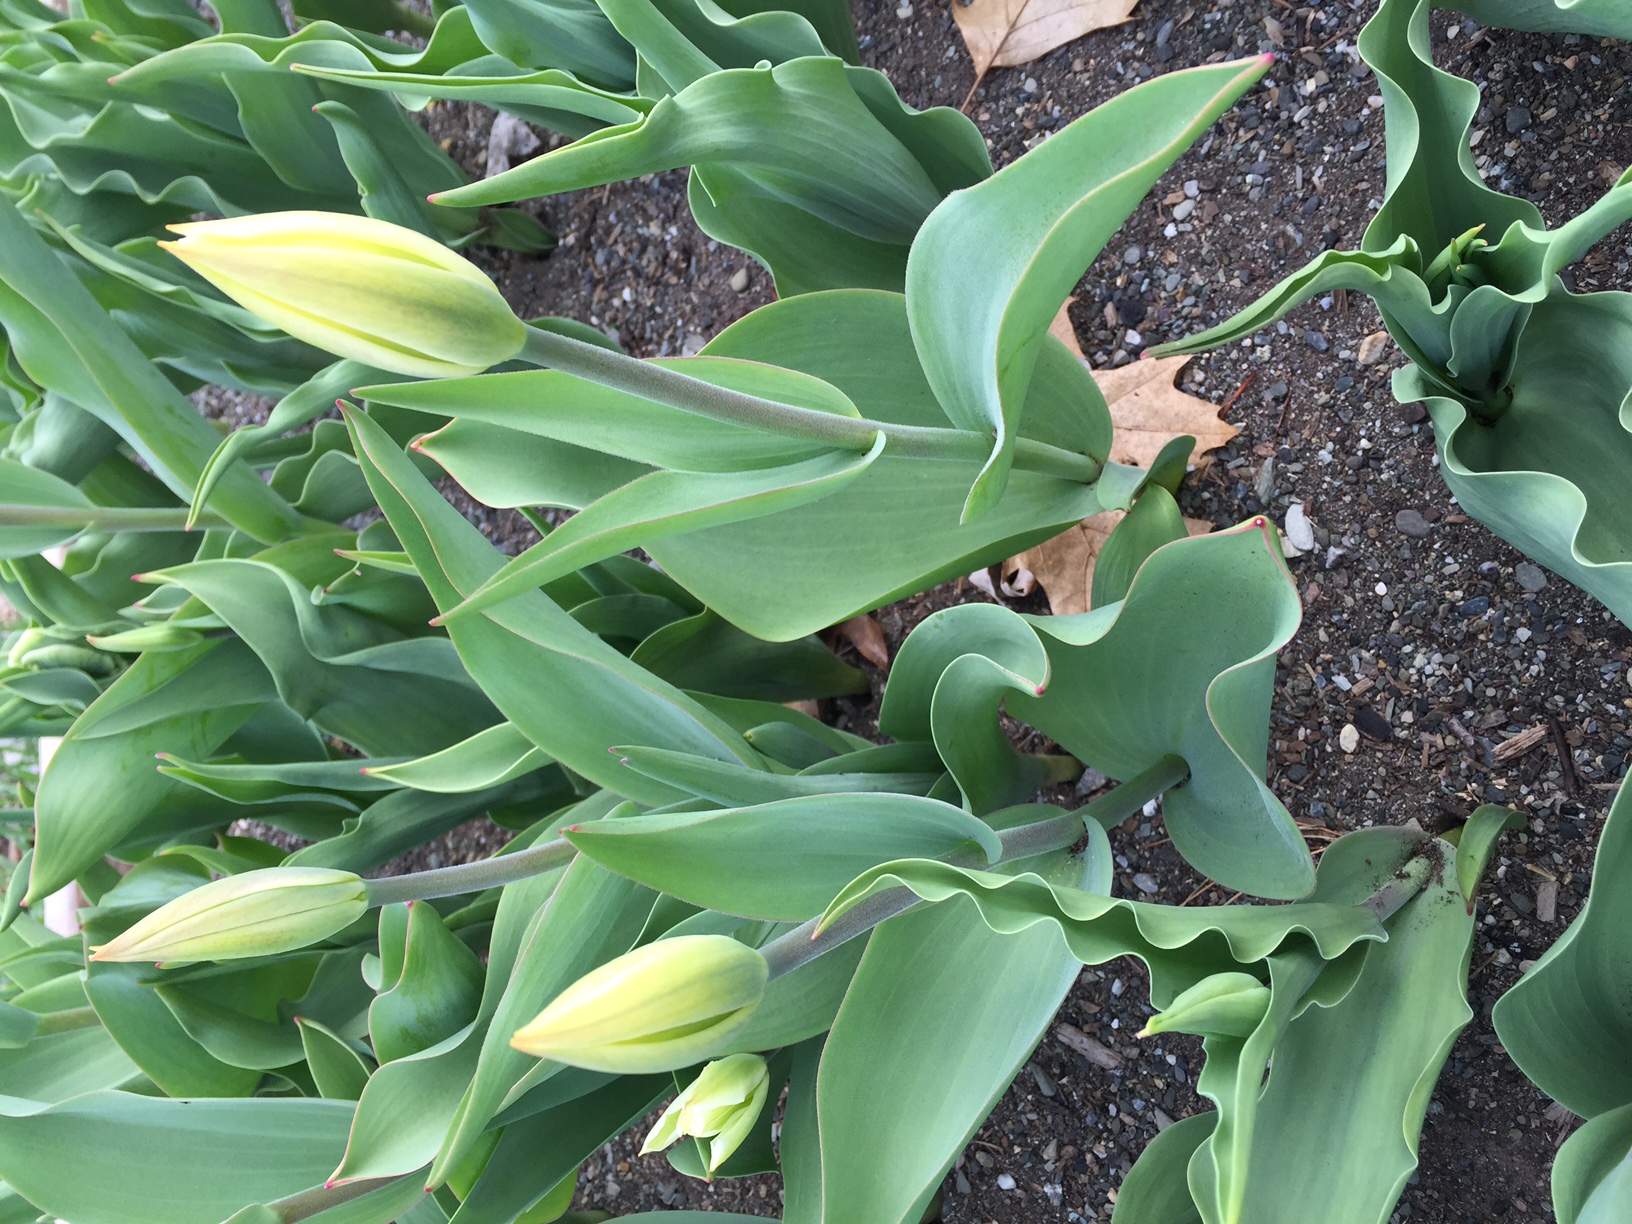
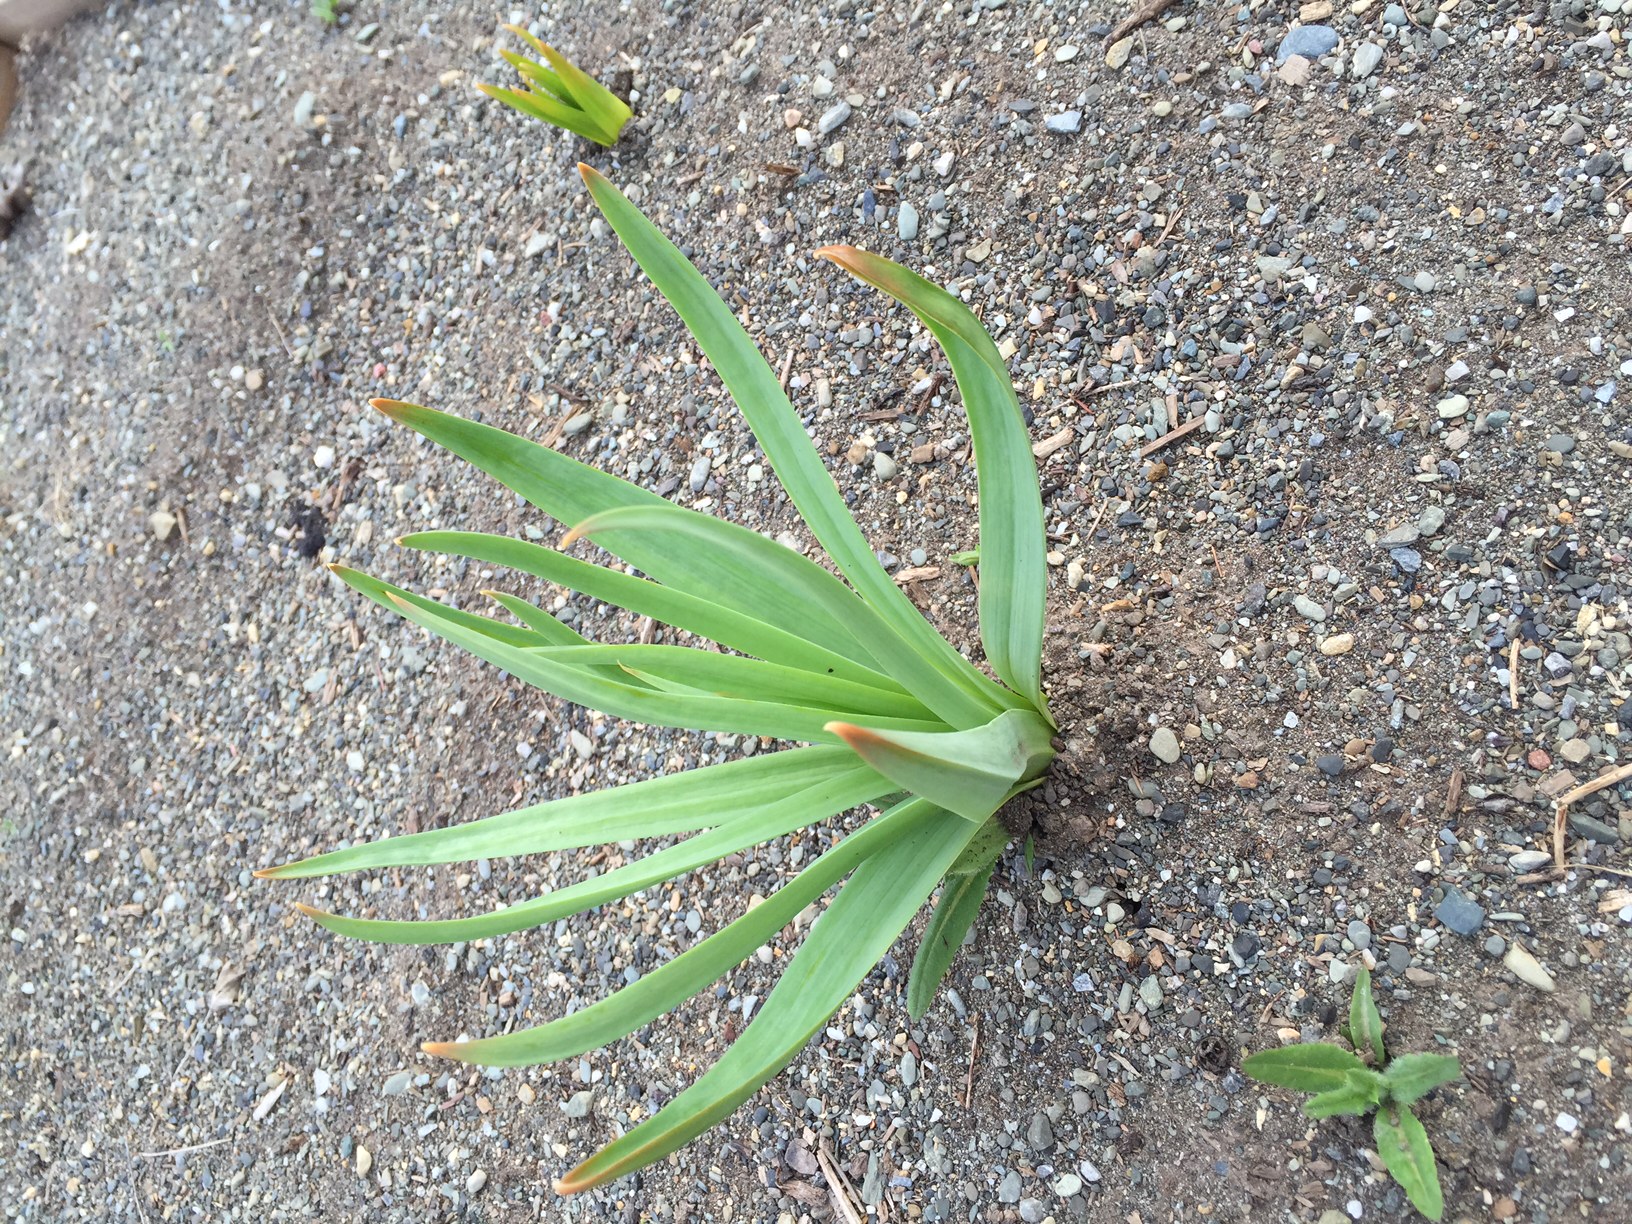
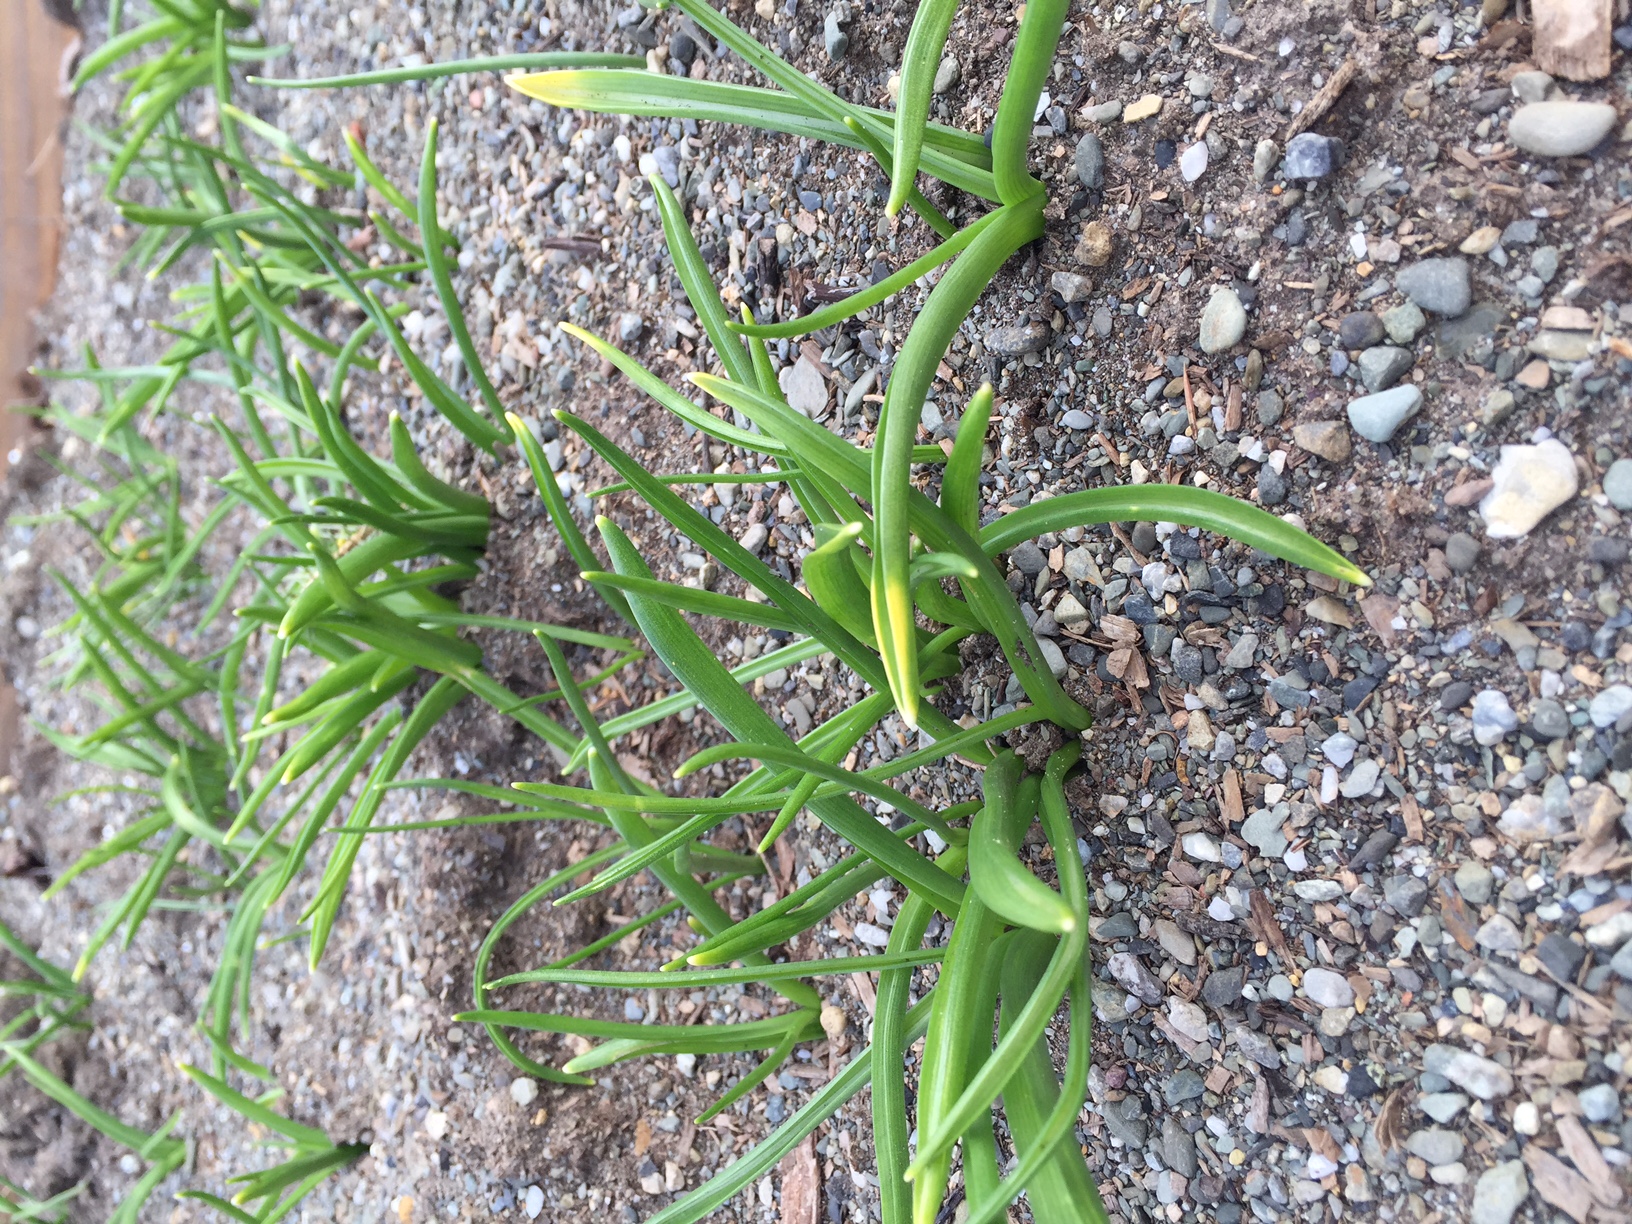
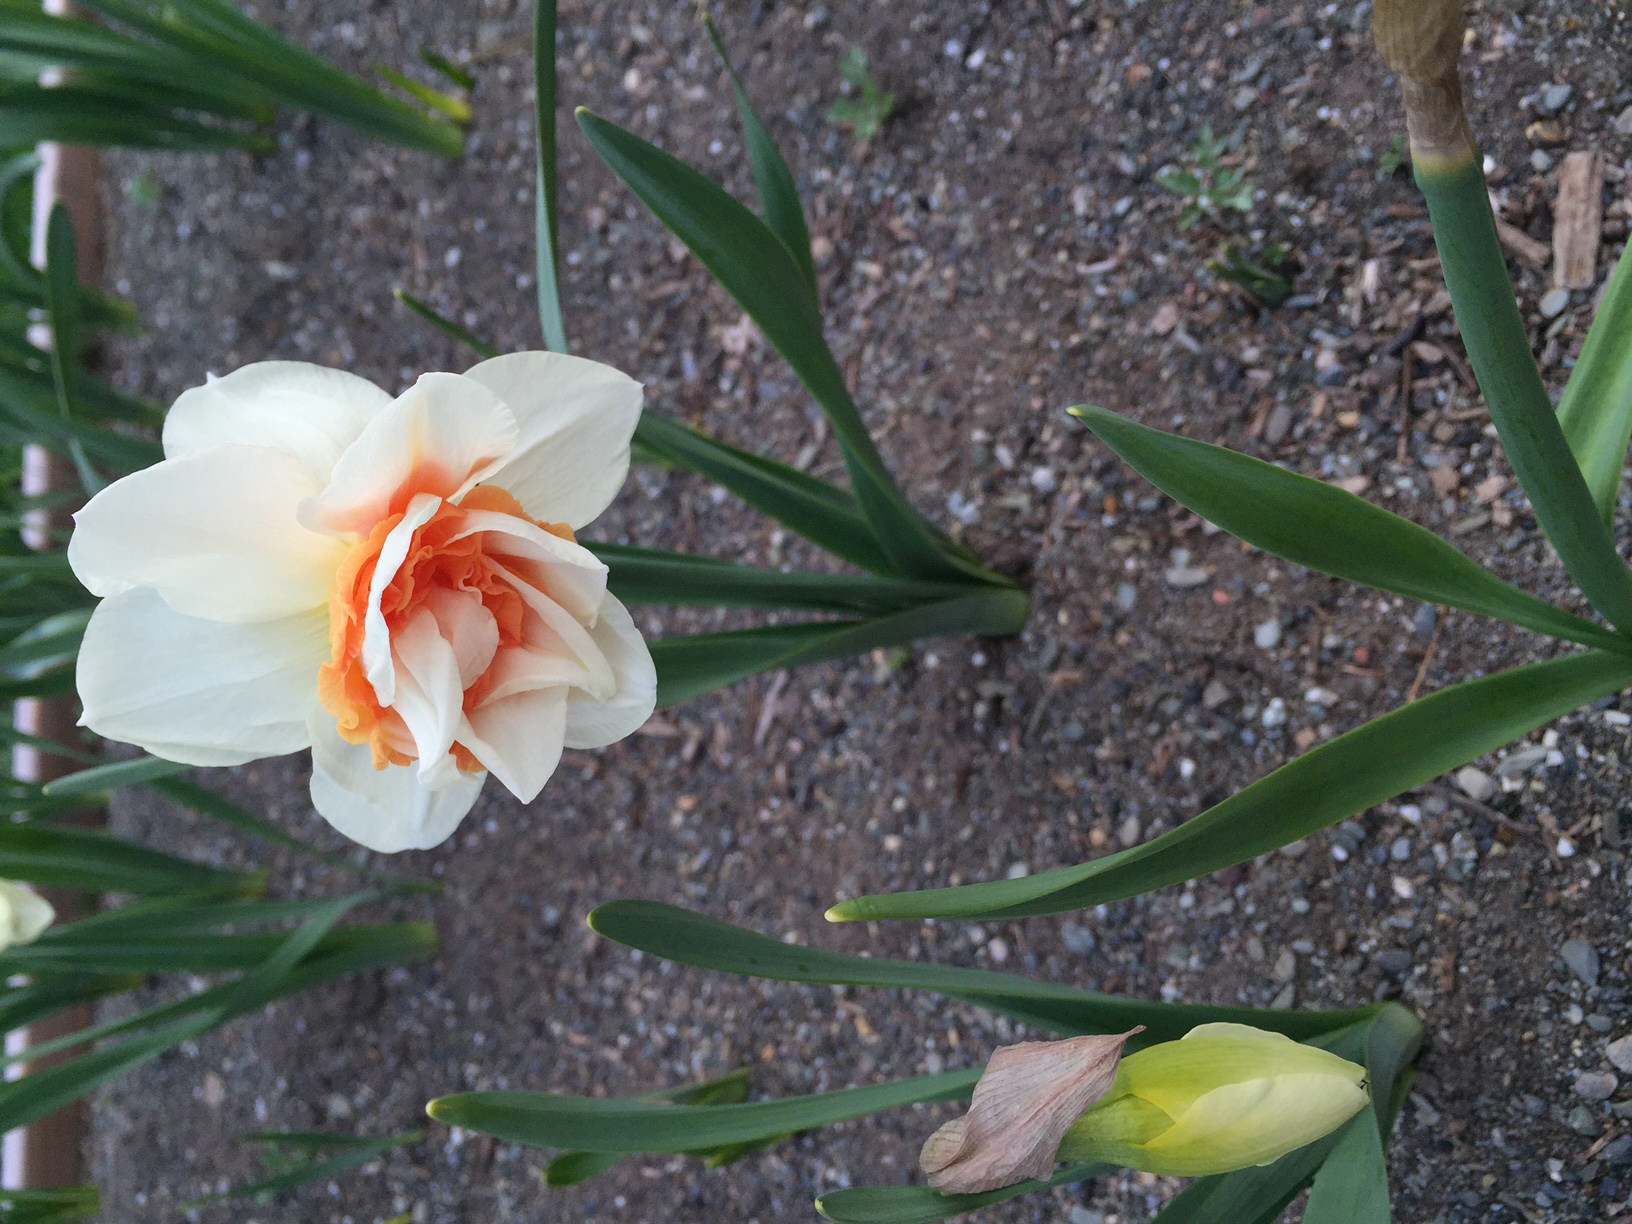
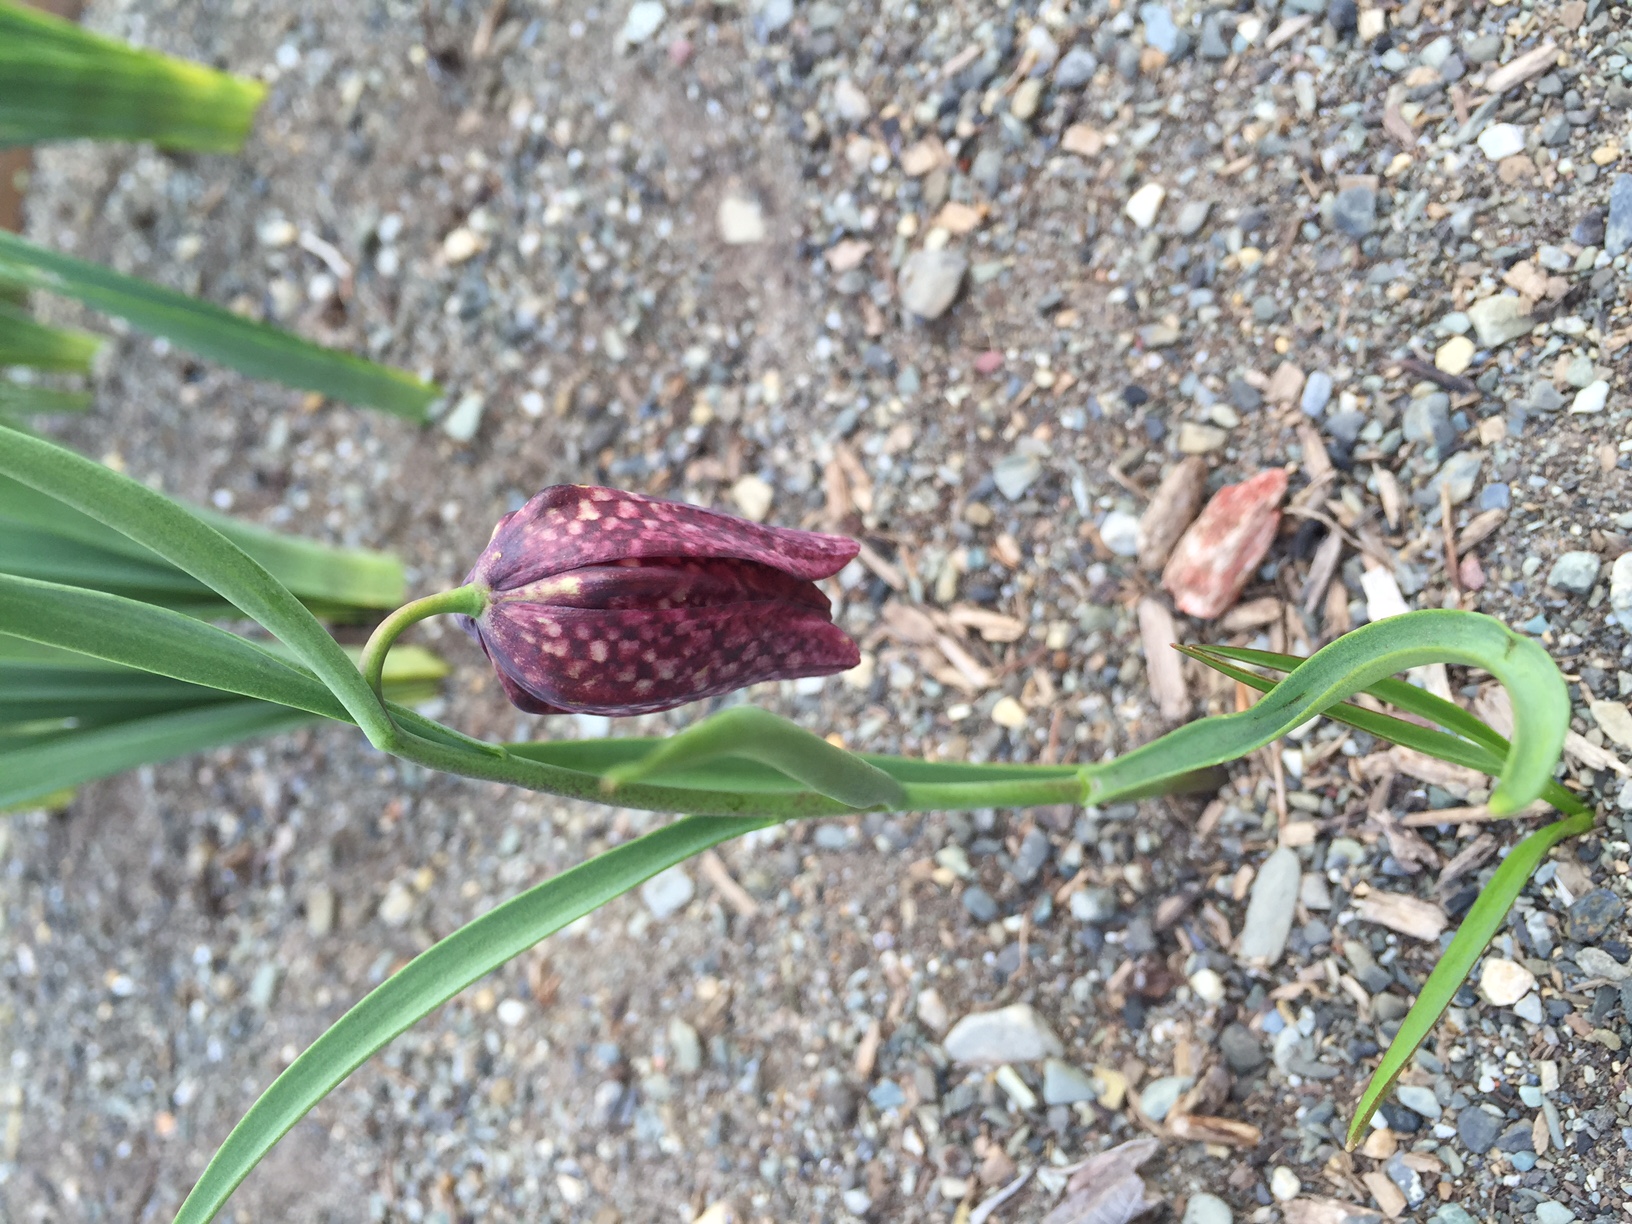
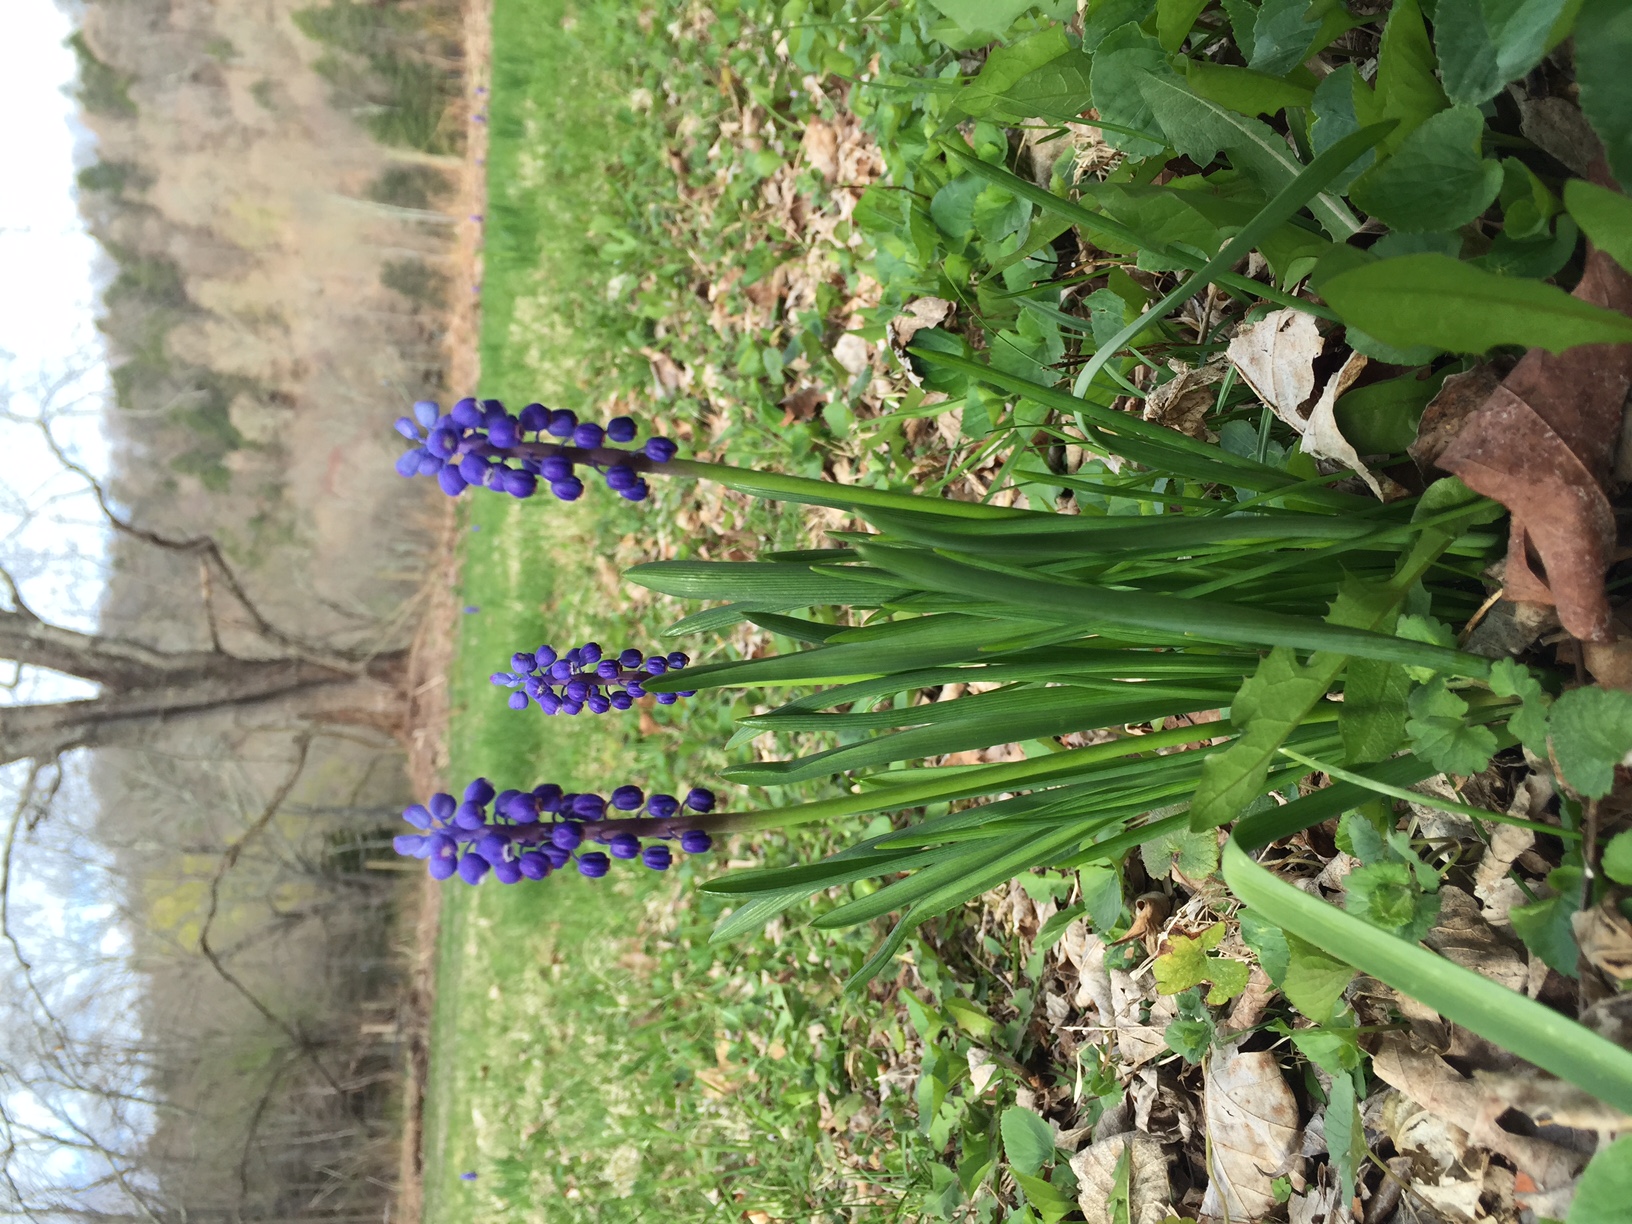
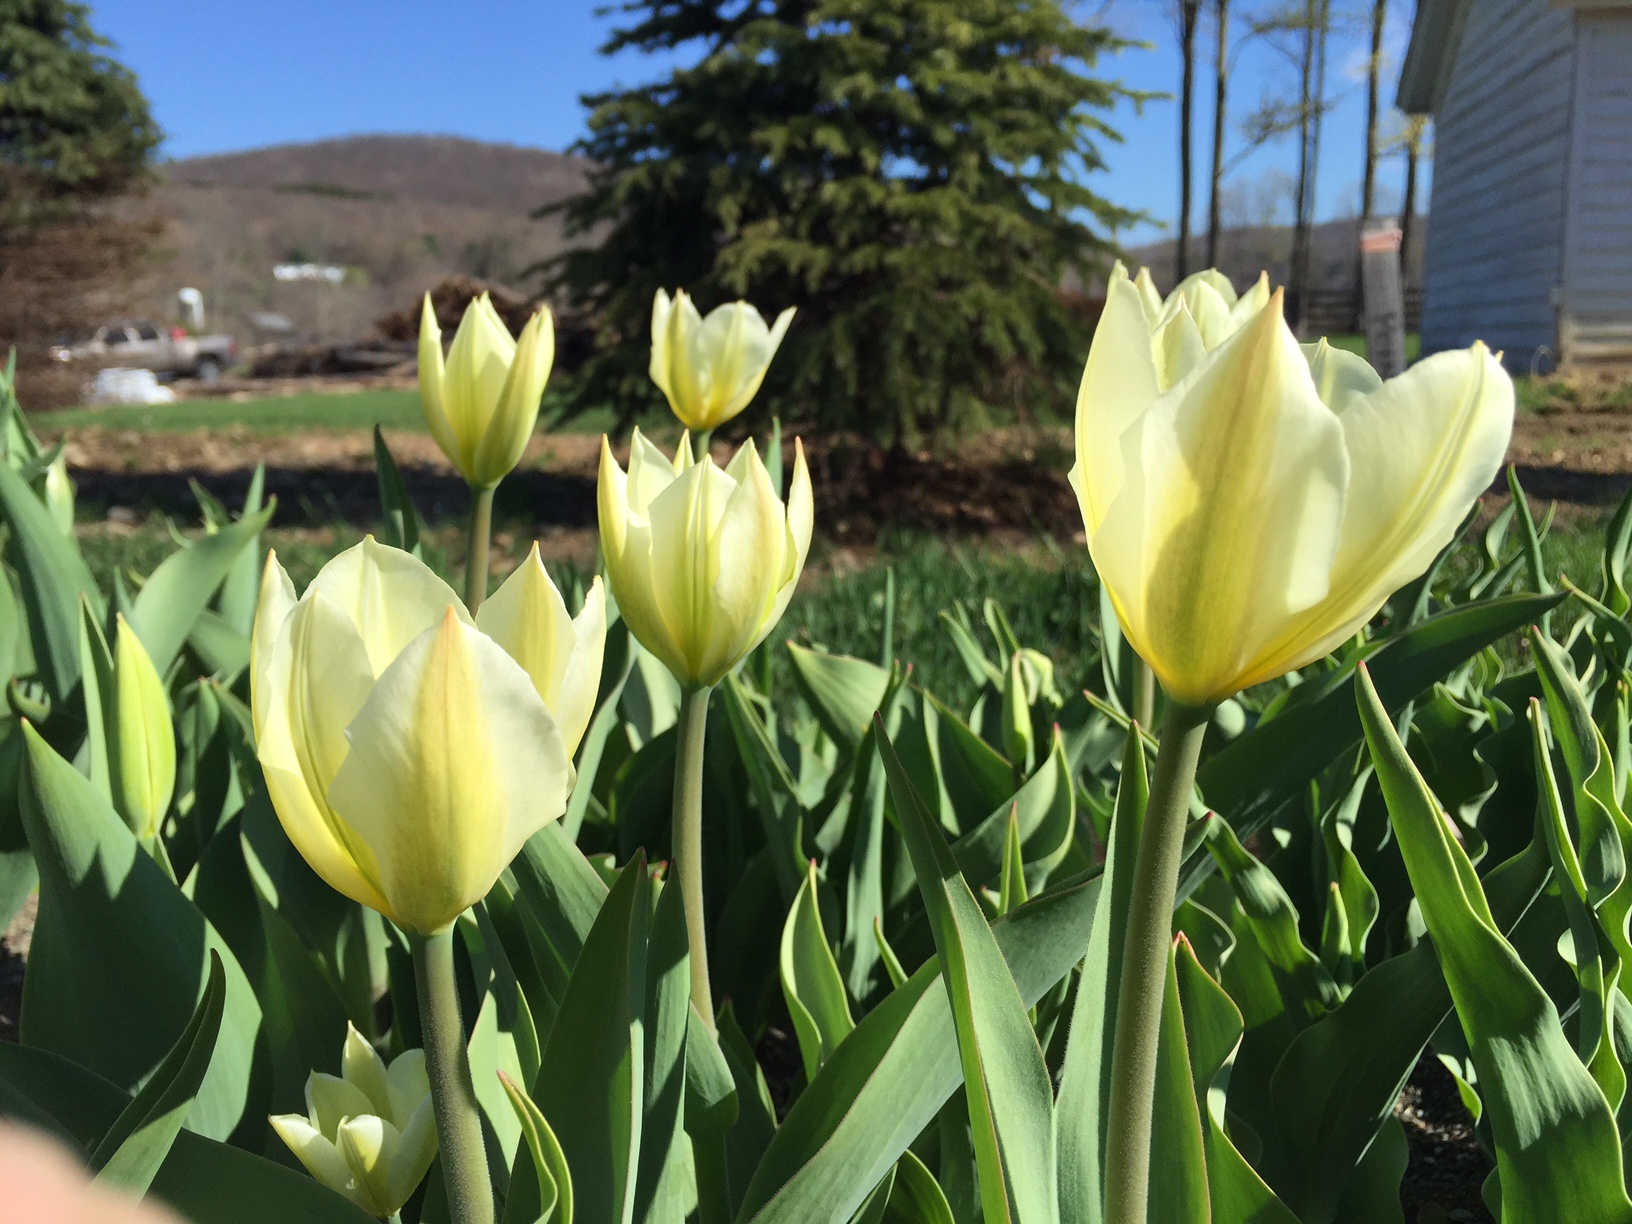
Spring is here in full force and it seems like any direction you turn there is a feast for the eyes. Now, please keep in mind that this is our first year in the flower farm ramp up so we are still looking a bit floral anemic but progress is progress and the perennials we plant this year will make spring next year that much more impressive.
 

And let us not forget our indoor tropical beauties.....
 

UPDATE - Raised Beds

Last November, prior to snowmageddon, snowpacalypse, snow in general, we planted our raised beds. Now, we are happy to share the first update on how they faired. It's still early in the season yet, but we are seeing distinct signs of life from the majority of the species planted.

Tulips are up and looking very healthy. Ermerus (foxtail lilly), one has sprouted, it looks like a plant version of a squid mouth...that analogy may be lost on those of you who have not made calamari. Lilies are sprouting in quantity, as are the aliums, fritillaries, and narcissus. Of the Iris so far only two are showing, in truth we left them in their shipping containers too long last year so we suspected losses would be a sure thing from that bed. We will continue to keep you posted and of course, here are some pictures:
 

Helping Hands

It was hard to admit, but my better half was right when she said I had not built enough raised beds for the bulbs ordered. So...back to it. Luckily I had extra hands this weekend in the form of Oren, Emily, Naomi and Asaf, hard working and very generous friends. With their help we were able to knock out two more beds and get top soil in them in just a couple hours. 

That's Oren using a nail gun for the first time, he got the hang of it pretty quick. 

One lesson learned from this was that we need another wheelbarrow. Preferably a bigger one, so that we can size the tool to the task, things would have gone even faster with two going back and forth. The six yards of topsoil are finally starting to dwindle, but we probably have another bed or two worth. 

Twilight is settling in and we are just about done on this bed. Testing out the concept of leaving wire mesh on top of the beds to see if it helps deter deer from digging for bulbs. 

Meanwhile, while the guys were tackling raised beds and throwing old lumber out of one of the attics, the very industrious ladies were demo'ing the back room (future solarium).

Que 80's montage music....

Efficient, organized and fun, those girls make one hell of a construction crew. 

End of the day tally: Girls, one broken window. Guys, one broken window - tie game. 

Anyways, thanks go out to Oren, Emily, Asaf and Naomi for taking a precious weekend day to come play on the farm. 

Planting Bulbs and Building Raised Beds

So when we first embarked on this renovation project we knew we would want to make the land carry it's own weight so there are lots of plans in place for various agricultural pursuits. With that in mind we checked the USDA National Resources Conservation Service soil maps for the area and to our delight our farmhouse falls in what is designated as Copake gravelly silt loam, or in simple terms.."prime farmland". We naively had daydreams of being able to dig a small hole, reach in elbow deep through light fluffy organic soil and have perfect results no matter what we planted. The reality is that, yes, the soil is good and has great drainage, but it varies from point to point and has a fair amount of clay in some areas and is highly compacted/neglected in others. Being lovers of the classic European country gardens which utilize raised beds and also being aware of the benefits that raised beds provide we concluded that the bulk of our planting areas should be built in that manner. On paper that was an easy choice, in reality it's a lot of backbreaking work (especially when the 6 yards of topsoil are dumped 150' from where they are supposed to be).

The first step in this project was to check the compass and run the beds along an East/West axis. From there we pounded grade stakes in and measured off 4' bed widths and 3' walking path widths. One the stakes were in we strung lines along them to create the guides for tilling.

Once we had the rows marked we ran a mower through the area to knock the weeds and growth down and create a little extra mulch. Now, it should be noted that here that #1, we should have mowed before marking and #2, many people would advise to cut the sod out first in order to prevent weeds from getting mixed in. We are not so worried about the grass since it will be tilled deep and then an additional 6+" of soil put on top. These particular beds are set to be for perennial flower bulbs so they will most likely get various nitrogen fixing cover crops going forward which will choke out any attempted weed growth. Normally Ermela would do this next part, but she was at her real job so it was left to me (Graham) to play with the heavy (by our standards) machinery....the tiller. We use a Reardon Briggs  tiller with a Honda motor, so far it has handled everything we have thrown at it with flying colors. It takes three passes on each depth setting for each 4' row. There are four depth settings and three rows, it's a lot of walking back and forth.  

Walking back and forth, back and forth and all the while fighting the machine as it bucks when it hits rocks and then having to bend down and pick up said rocks. In the above picture you can see just a few of the rocks after the 2nd pass, the real big rocks came later. Time passes though and even the most tedious tasks are done. 

Time to start adding soil amendments! We keep this simple, a liberal helping of high quality top soil (mixture of soil, compost and leaf mulch) and this season's leaves to add air and hummus over time. If this were a vegetable bed we would add a lot more manure and compost. The next step...more tilling, but this time Ermela is around to take over and mix that soil up. She always claims to be the better driver. 

With the soil beds thoroughly mixed and aerated it's time for the construction bit. We are using basic 2" x 6"  lumber for this, not pressure treated, we don't want the chemicals in the soil. This will result in us having to replace them from time to time, but that's a small price to pay for peace of mind.  

These are 16' long, they look so short when in place, we are going to need a lot of lumber. One of the things we have been toying with is using some of the lumber form the trees we had to take down to make raised beds, but that's a whole different project. 

Either we messed up our math or the lumber company forgot one of our boards so we had to scrounge through our debris piles to find a few more end boards. Then it was time for my favorite new tool, a Porter Cable compressor with a Bostitch framing nailer...it's a beast! Hand nailing these beds would have taken three or four times as long and probably resulted in a few bruised thumbs/fingers. 

With the beds put together it was time to start planting bulbs. We figured it would be easiest to layout the bulbs, slightly pressed into the tilled soil and then just cover with the top soil to fill the beds. Graham got a little carried away and fell in love with the pictures in Brent & Becky's and McClure & Zimmerman's and ordered a couple thousand bulbs. It was an aha moment when the boxes were opened and it became apparent that more beds would be needed. 

These are just a little over half the tulips. They are planted closer than what would be used for long term naturalization plantings since using them for cut flower production will wear them out after a season or two in all likelihood. Before covering them in topsoil we scatter pest repellent granules over them to discourage voles, moles and deer. We shall see how well it works, if it is not repellent enough we may have to put a layer of metal wire over the beds to discourage critters from digging. 

Two thirds done. At this point the sky had started spitting rain and the wind was picking up and Graham wouldn't stop whining about his back hurting after about 30 wheelbarrow loads of dirt. We put a thing cover of topsoil over the second bed to protect the bulbs and put off starting the third. In an attempt to keep track of what is where we stapled the tags or bag labels to the sides of the beds. We still have several hundred bulbs to plant. The mixture at the end of the day will be tulips, daffodils, aliums, lilies, iris's and all kinds of exotic rarities. Our cut flower production will focus on white, green and black flowers. According to our garden master plan.. three down, about 50 to go.