Star

We love our Garland range. It has a great commercial look, two ovens, six burners, and a grill. But those are all aesthetics for the most part, what makes a great stove great is how it cooks. 

See that unusual flame shape? Not a basic ring, but a star, that is what makes this stove so special. It distributes the heat evenly across the bottom of the pan/pot, coupled with fine controls this allows the chef to have a perfect simmer, or just all out high power fast boiling heat. So there you have it, we love our Garland and look forward to it's many years of service. 

Sugaring Two

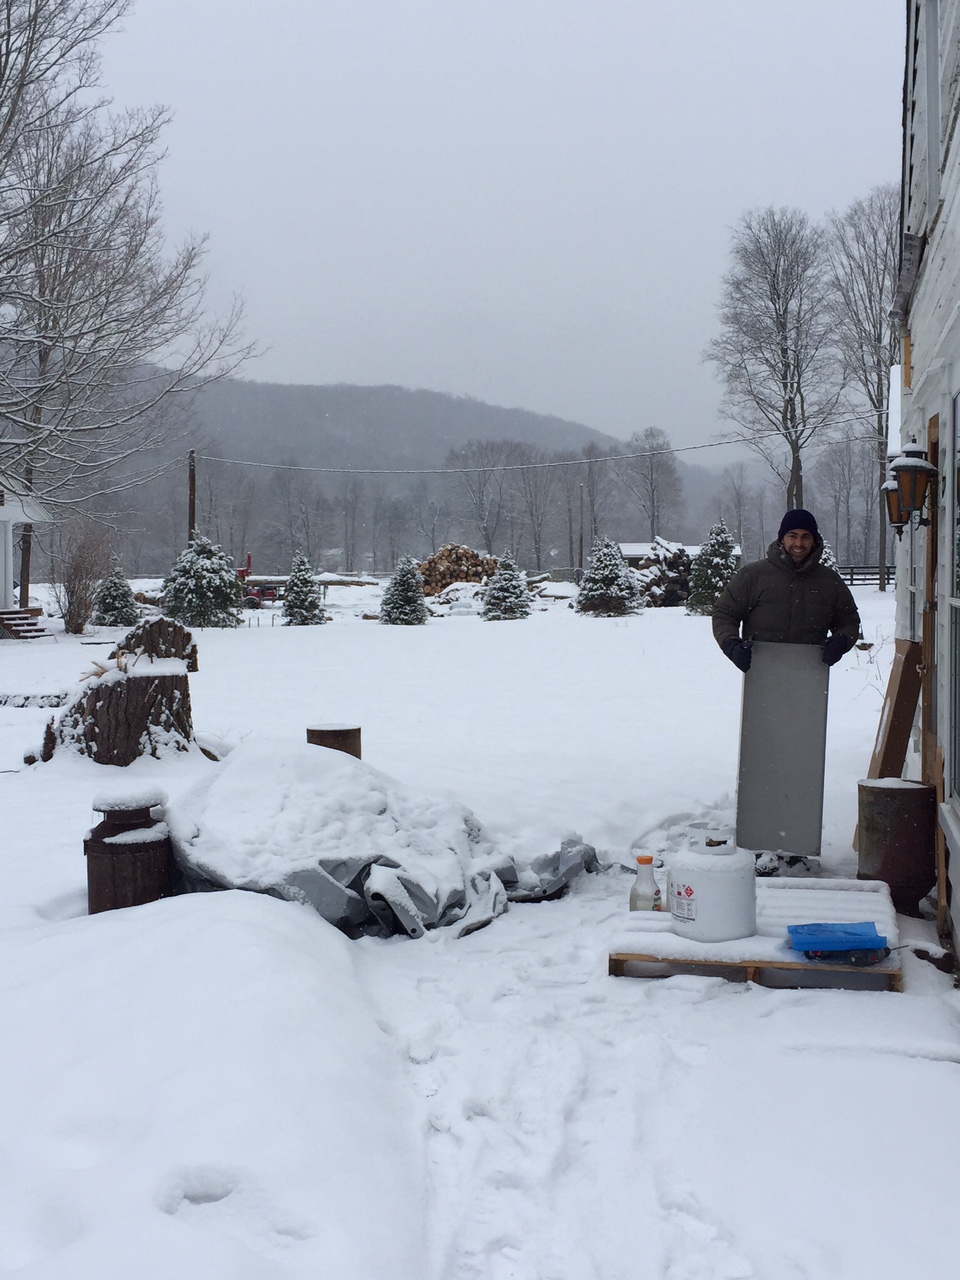
Well, it as been a busy month, lots of seed planting, drywalling, planning and tiling.. but we did manage to get away for almost an entire week to get a little pre-summer color. That did not slow down progress though, if anything, it made us work extra hard out of some misguided vacation guilt syndrome.

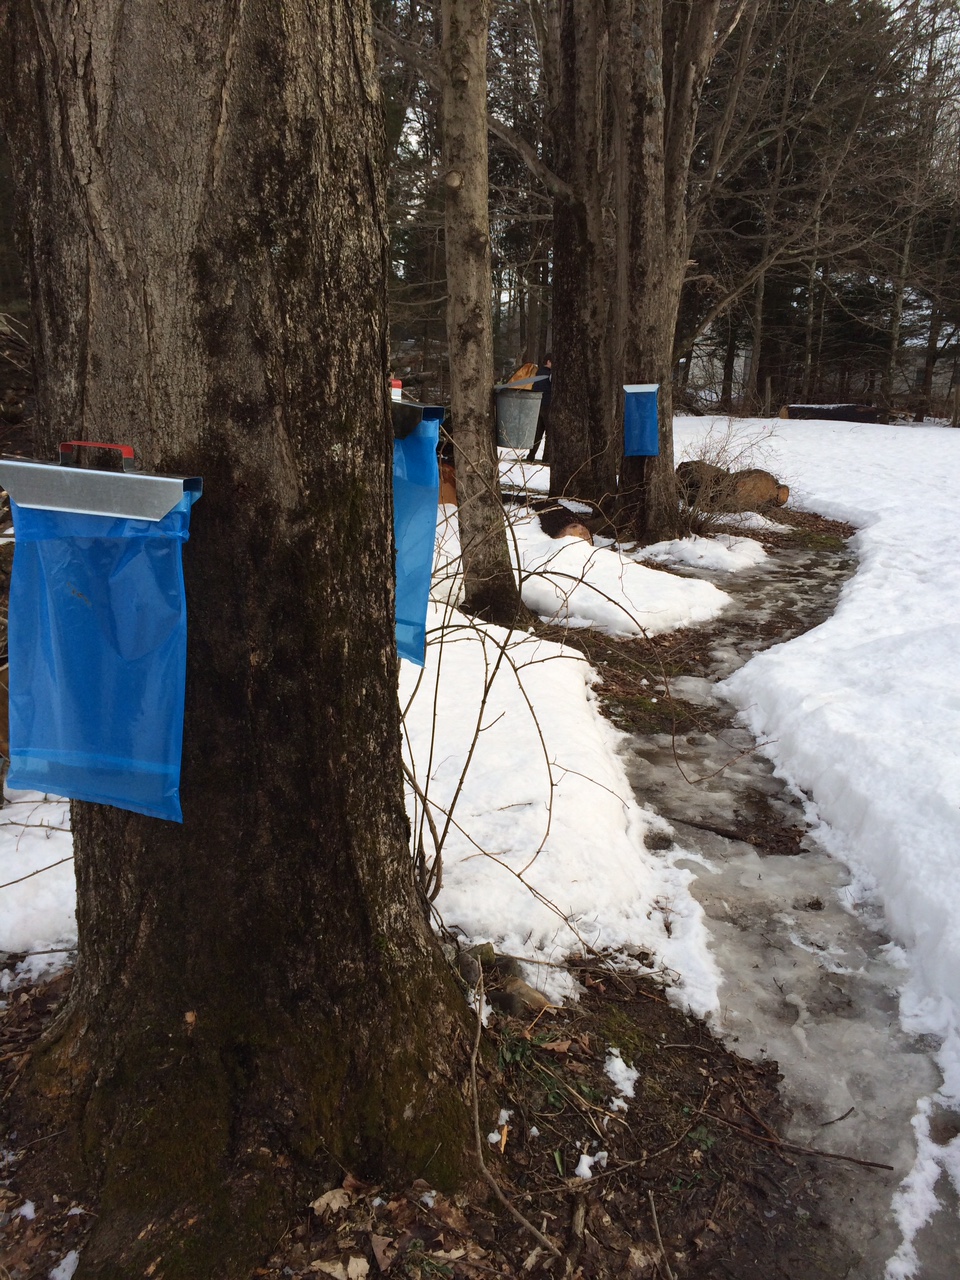
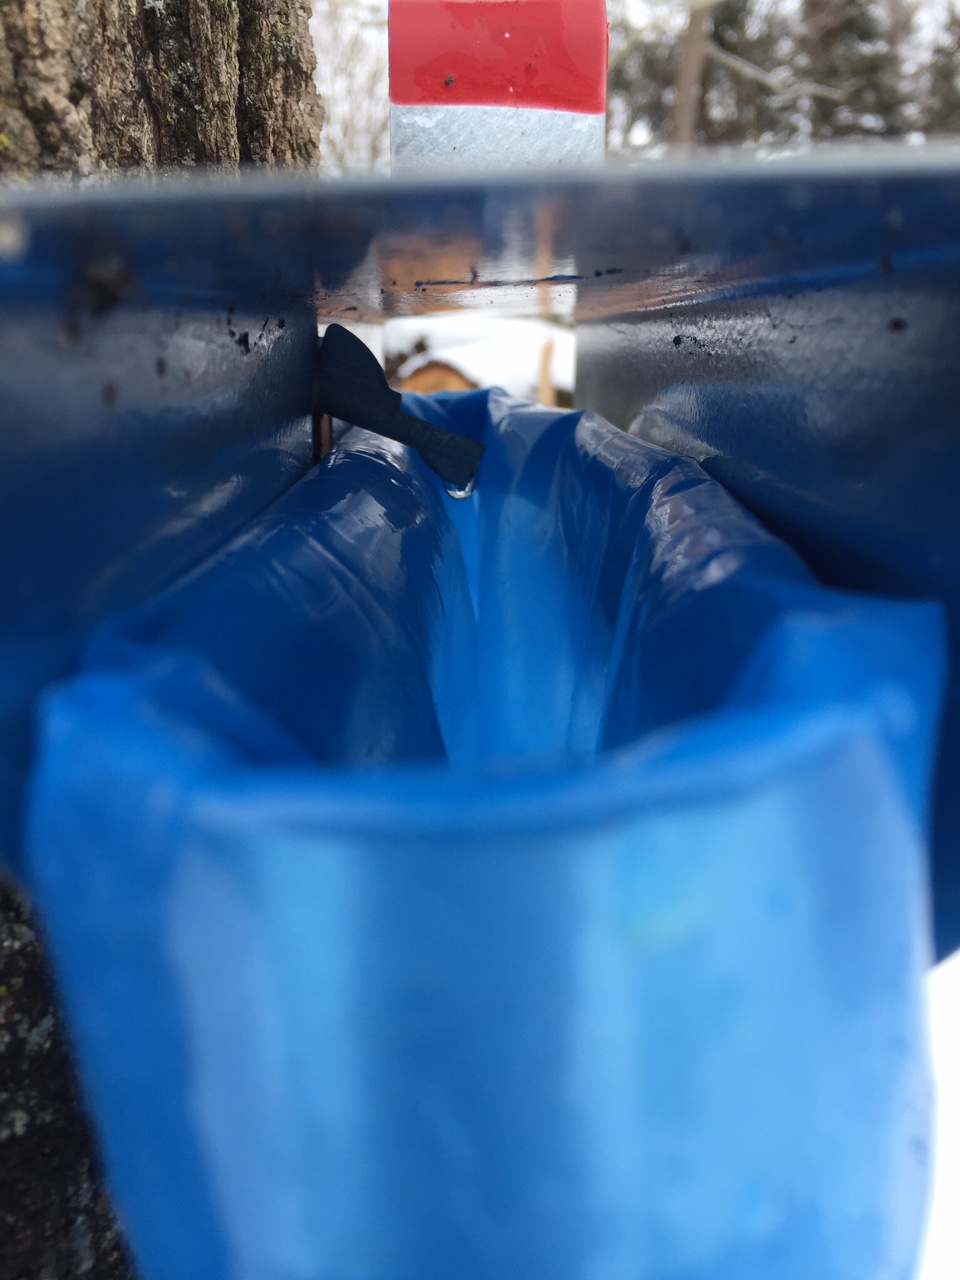
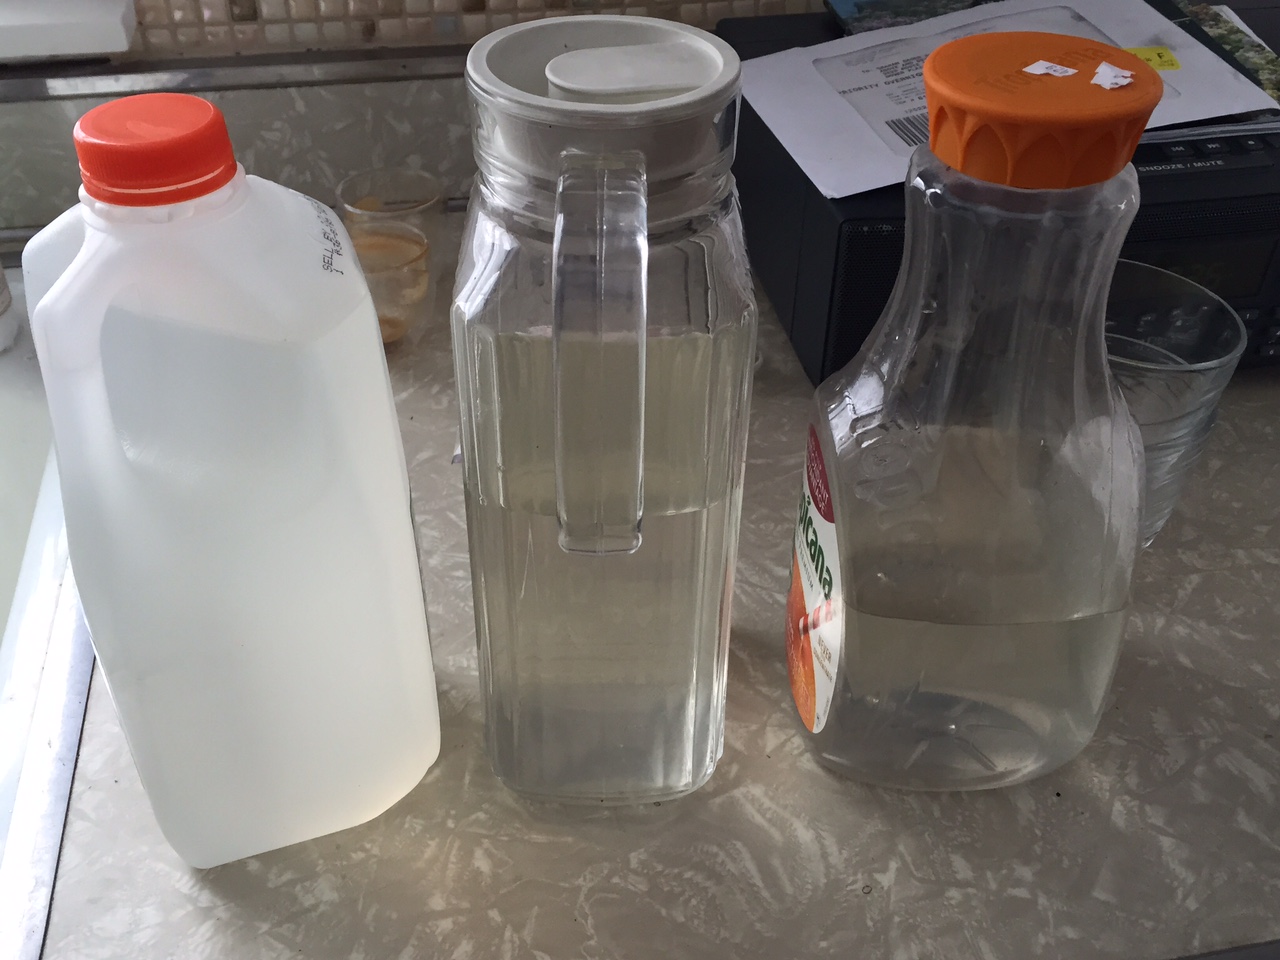
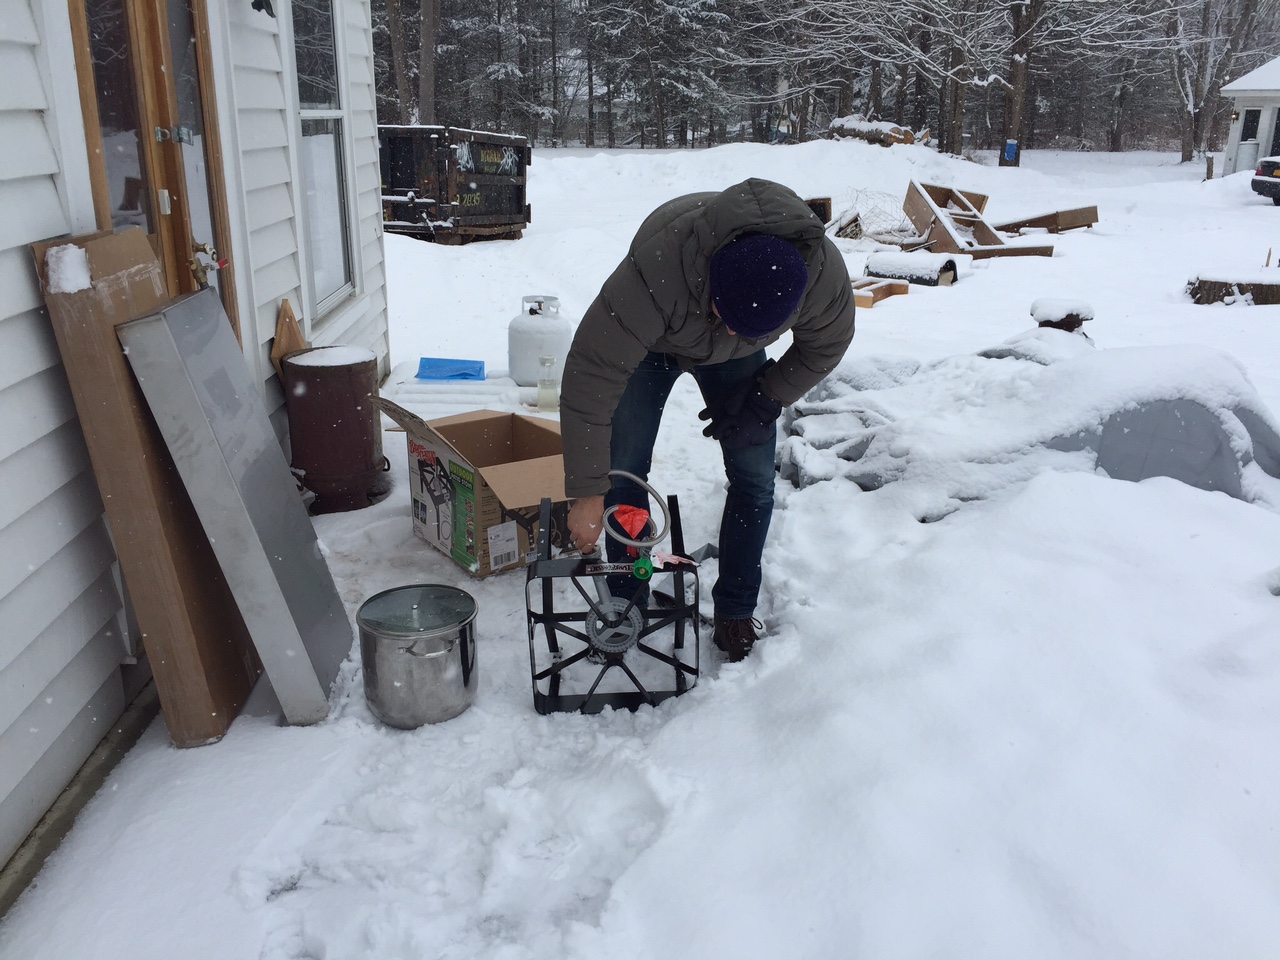
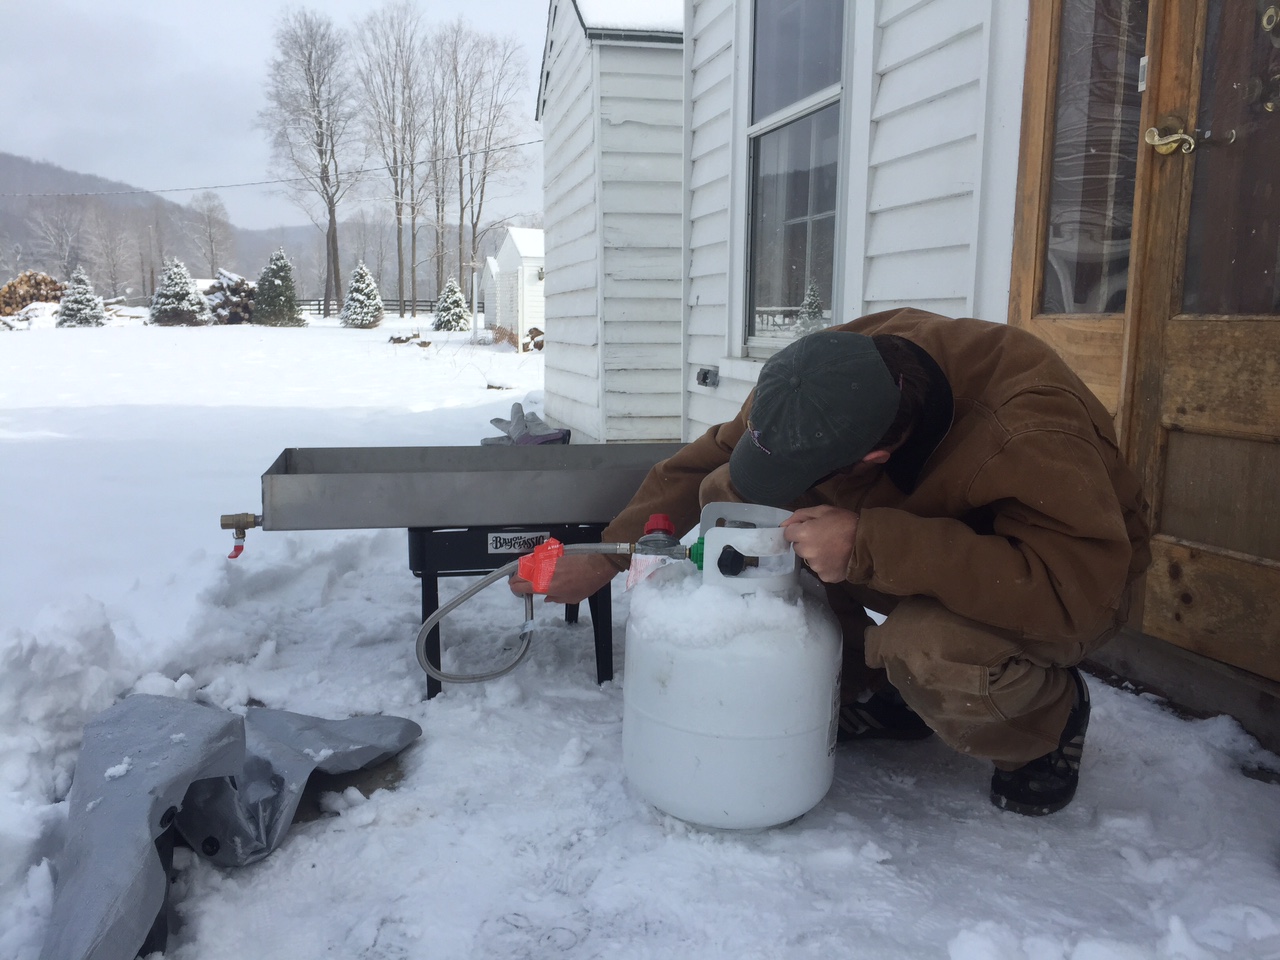
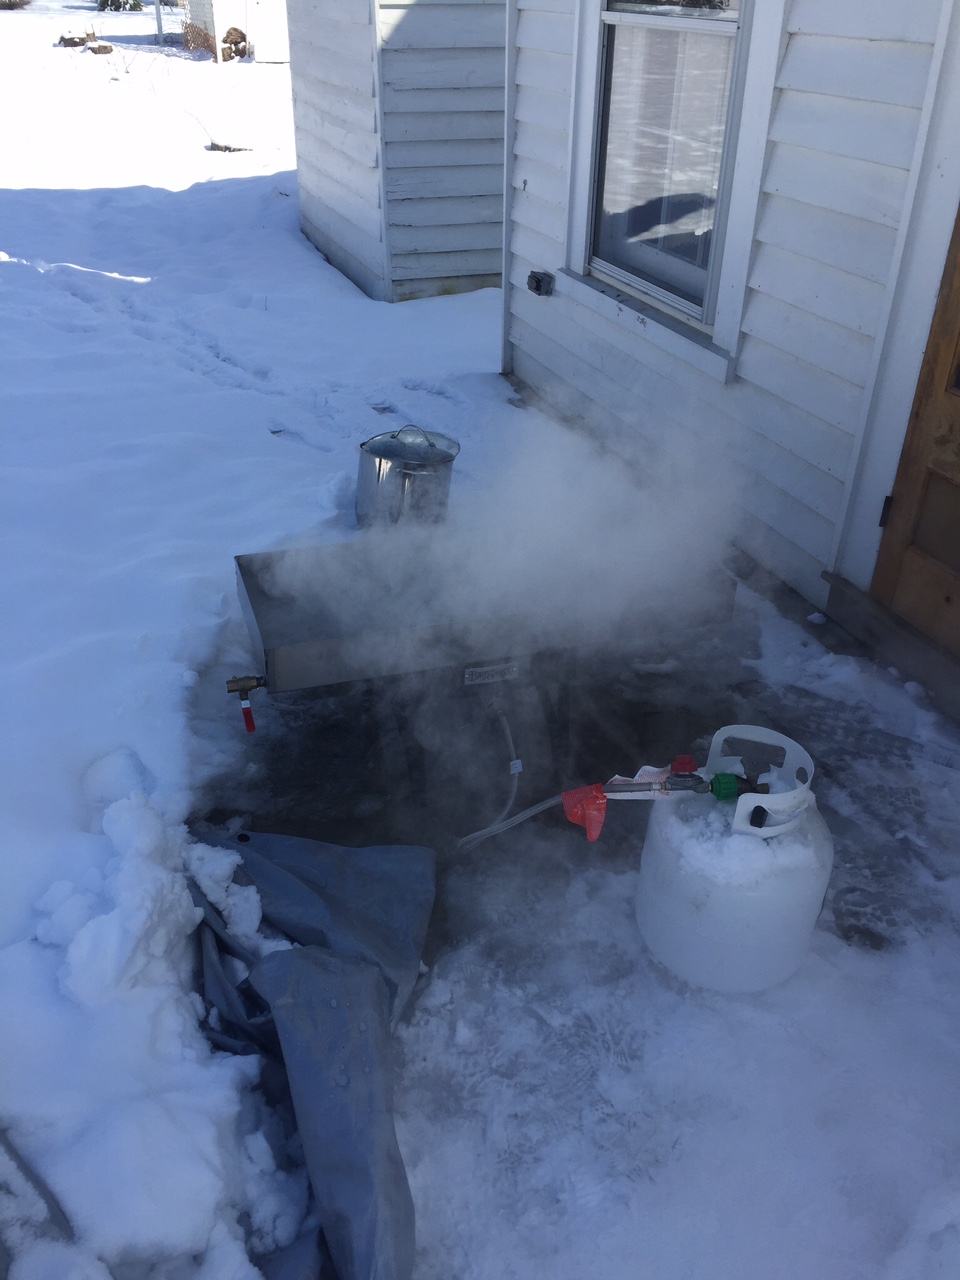
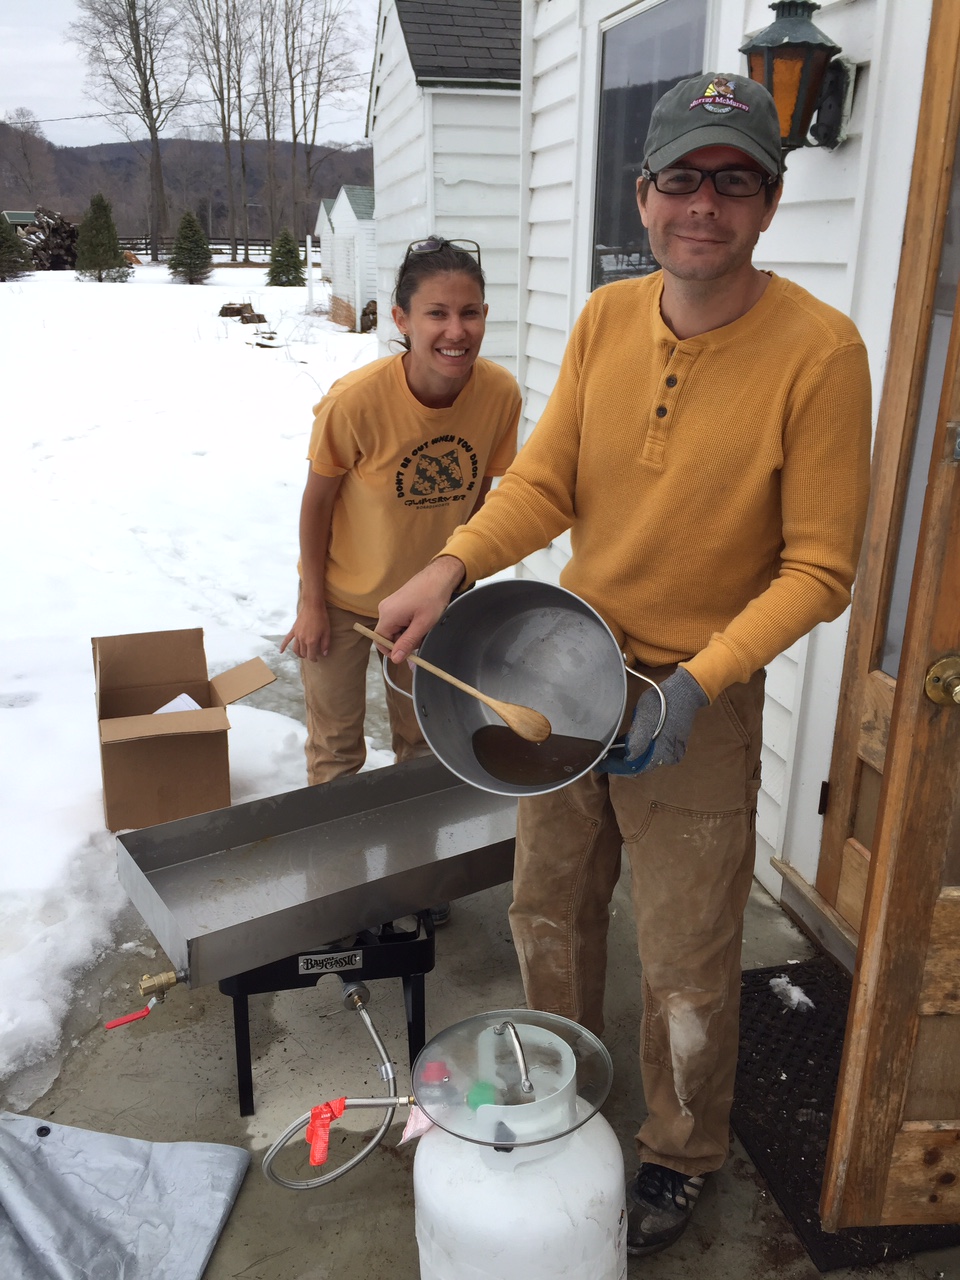
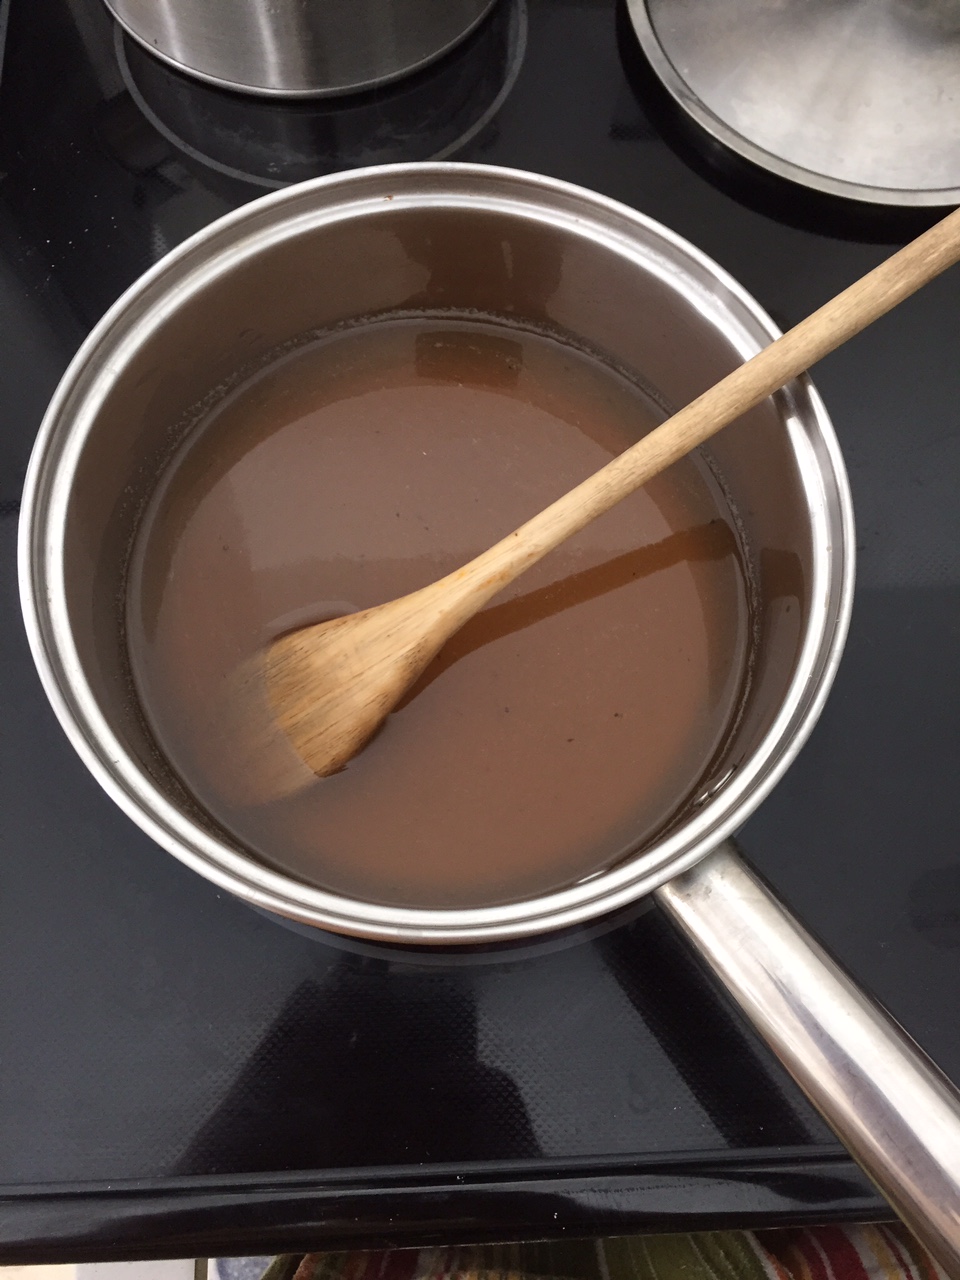
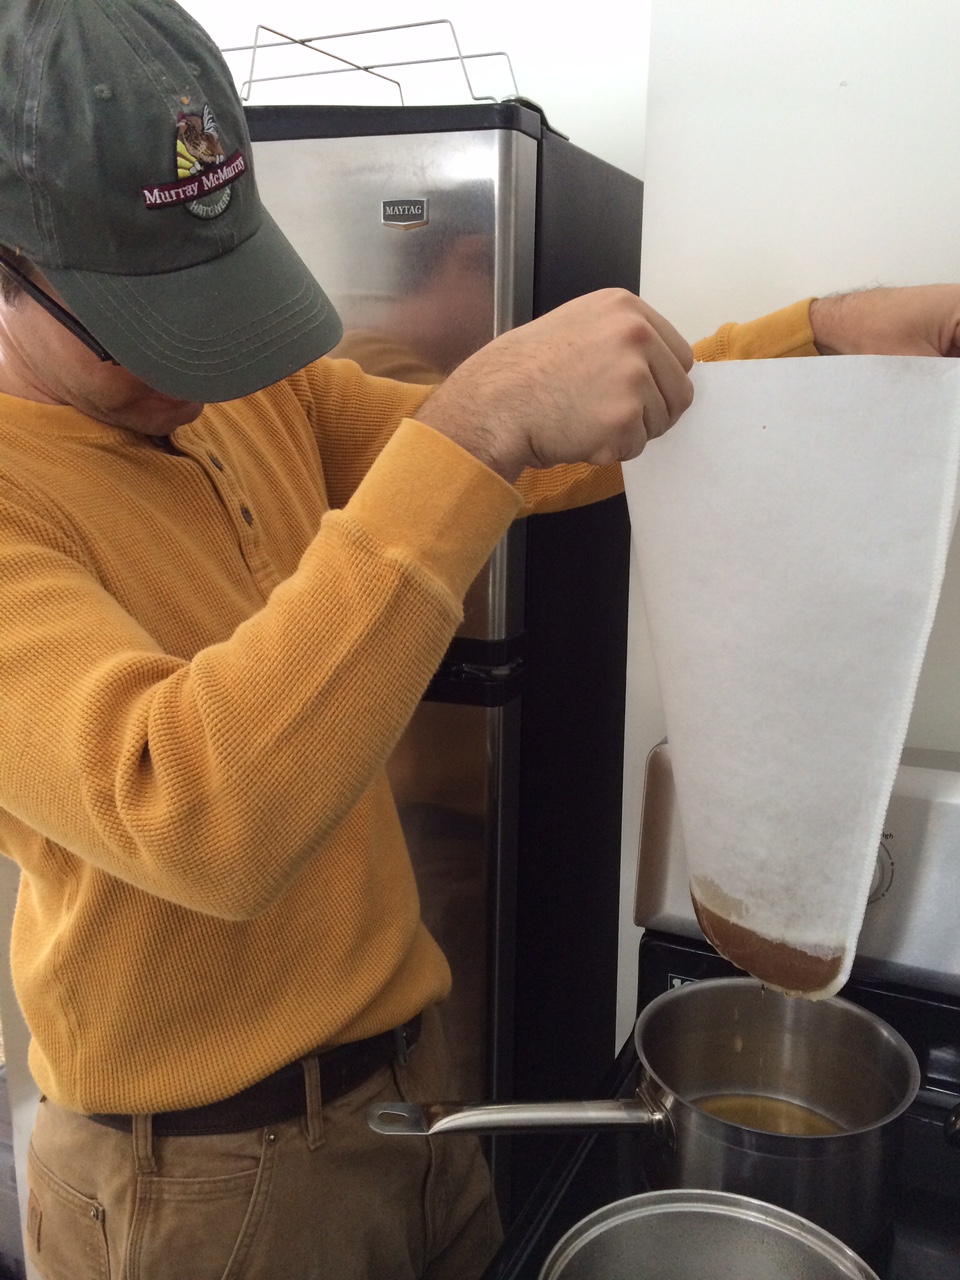
At first the weather looked like it would be perfect for the maples to run sap, but then each day saw drops in temperature and wind chills and overcast days. Such as it was we managed to get a couple days of decent sap runs to use for our inaugural sap cooking attempt. For those of you new to making maple syrup (can't imagine that is many of you) the goal is to have freezing nights and above freezing days. The warm days pull the sap from the roots up into the branches to nourish the future leaves and growth, while the cold nights cause the sap to rush back down to the roots, the tree taps catch the sap on the way up and down. We had imagined the sap would be dark like the syrup, but in reality it is clear like water and has very little taste. We have to collect 40 gallons of sap for every gallon of syrup, for this first attempt we only had a few gallons.
 

It was pretty cool to see the sap dripping in a constant drip, drip, drip on the warmest day. With the sap collected it was time to setup the cooking apparatus. Apparatus might be too fancy a term for a open flame turkey fryer burner and an oversized stainless pan, but that's what it was! (Graham's emphasis) Fortunately our friend Oren was up from the city so he helped all weekend, his enthusiasm kept us going when all we wanted to do was curl up and drink the syrup in front of a House of Cards episode. Anyways, with the pan on the burner and the tank hooked up we poured the sap in and lit the flame. The sap cooked for hours, the reason you use a big flat pan is because the amount of surface area directly relates to the evaporation rate I.E. a round deep pot takes a lot longer than a shallow pan. We kept an eye on it, Oren did so with such enthusiasm that he would run out after each sheet of drywall was put up. Once the sap cooked down a bit it started to turn a light tan color with hints of sugar, then a darker slower moving light brown, at this point it was hard not to put your finger in to taste it. It was amazing to see how little was left at this point, sad too. We opened the valve on the end of the pan and poured the brown syrup into a pot to take inside for the final cooking and fine tuning. The goal is to get a Brix level of 66, Brix is a measure of sugar content, it comes up in winemaking too (a future project). With a level of 66 there is enough sugar to prevent spoiling. It is worth pointing out that the syrup is much lighter and has a wonderful flavor at a lower sugar level, but it would not last as long and would need to be refrigerated from the get-go. Once the proper sugar level has been hit you have to filter the syrup, carefully reheat it to 180 degrees and then bottle it. Something we learned in this process is that every time real maple syrup is brought to a boil it will precipitate small granules called maple sand... something to keep in mind when cooking if you want to keep that nice smooth texture while cooking.

We ended up with a half pint, and oh how good it is, can't wait for the next batch, our goal is to have a few pints stored away for the coming year and so that we have enough to give away to friends.