Drywalling

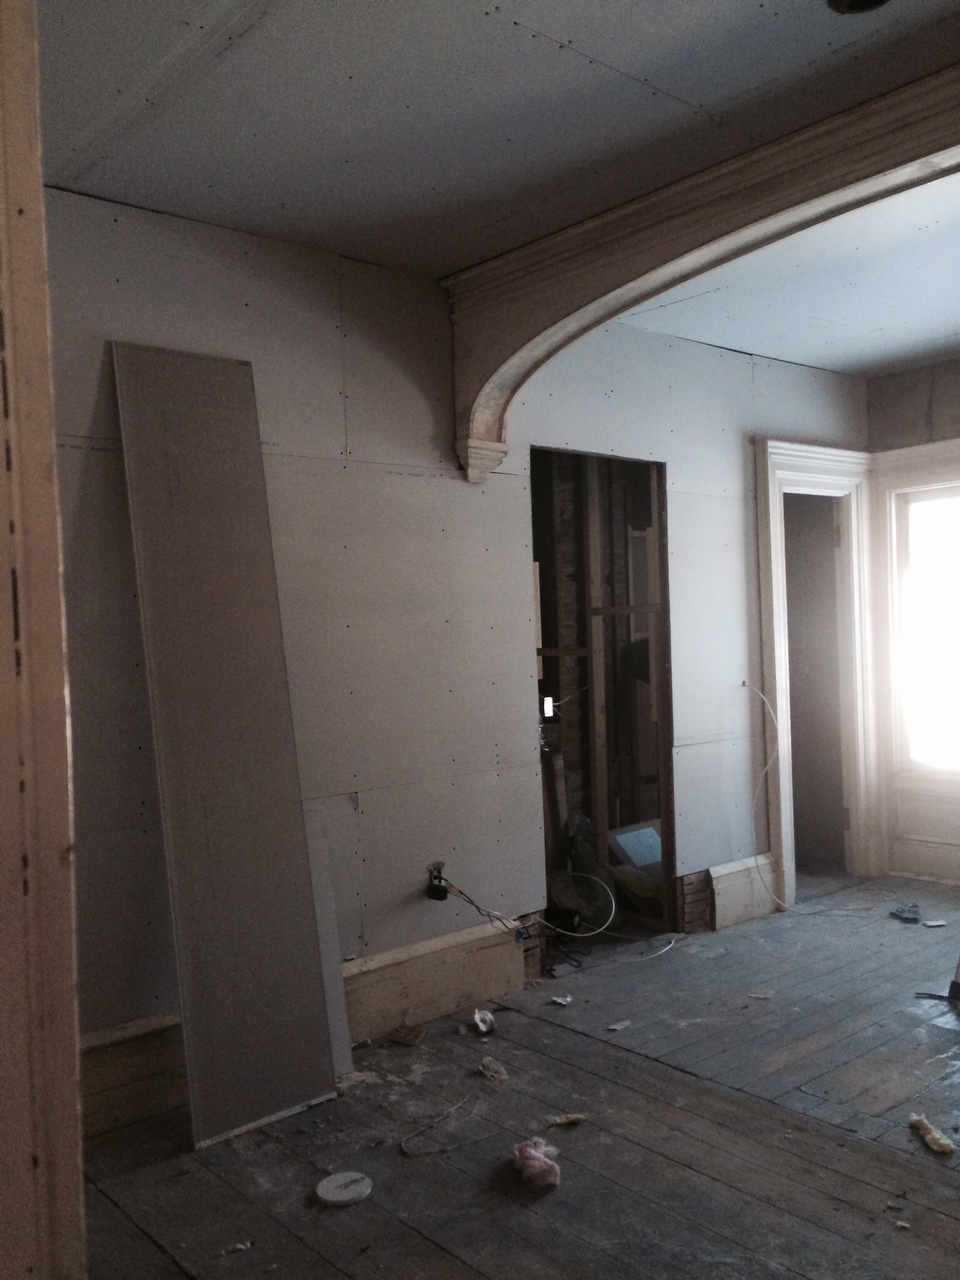
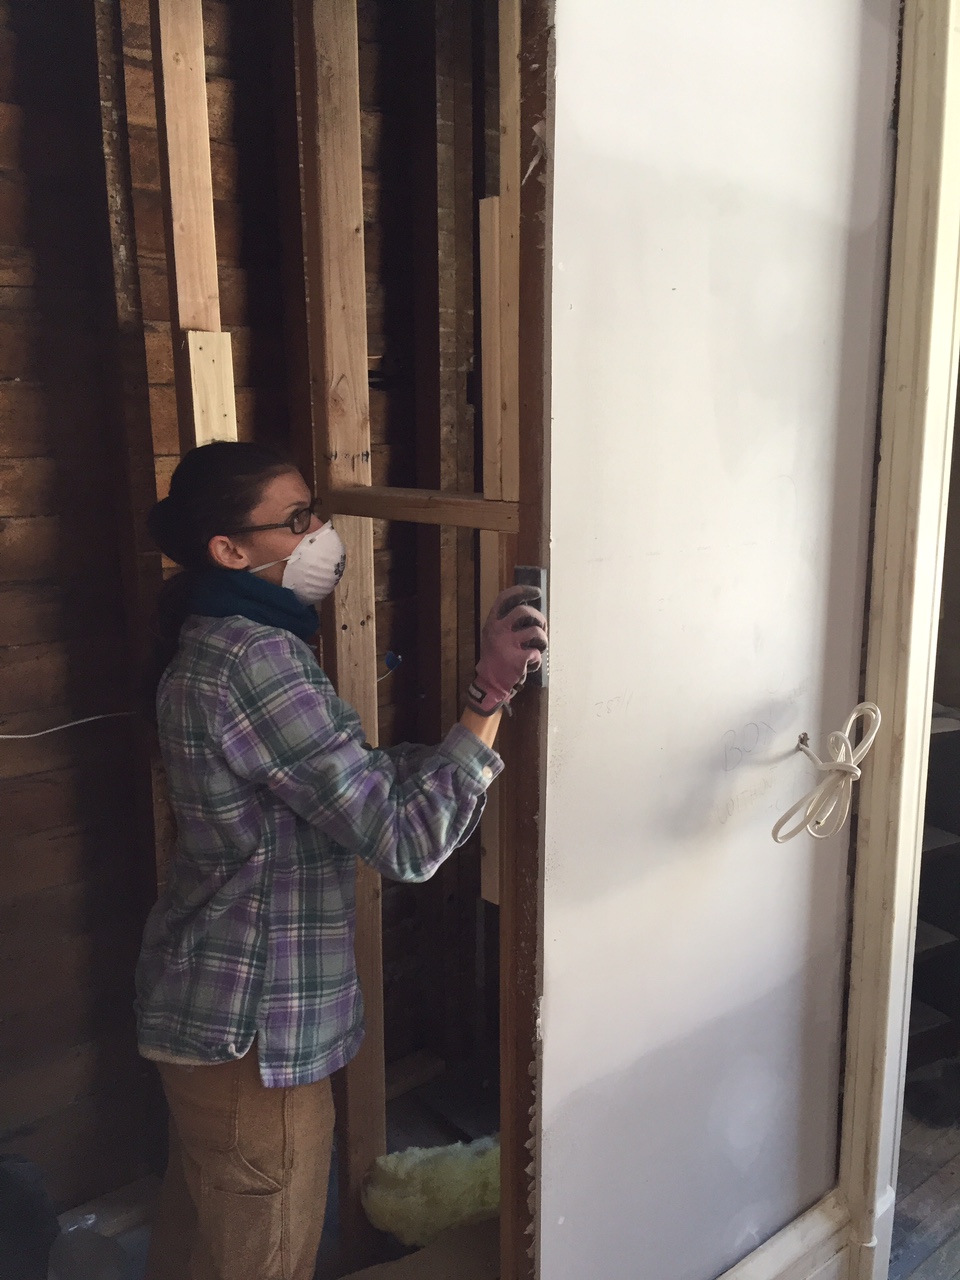
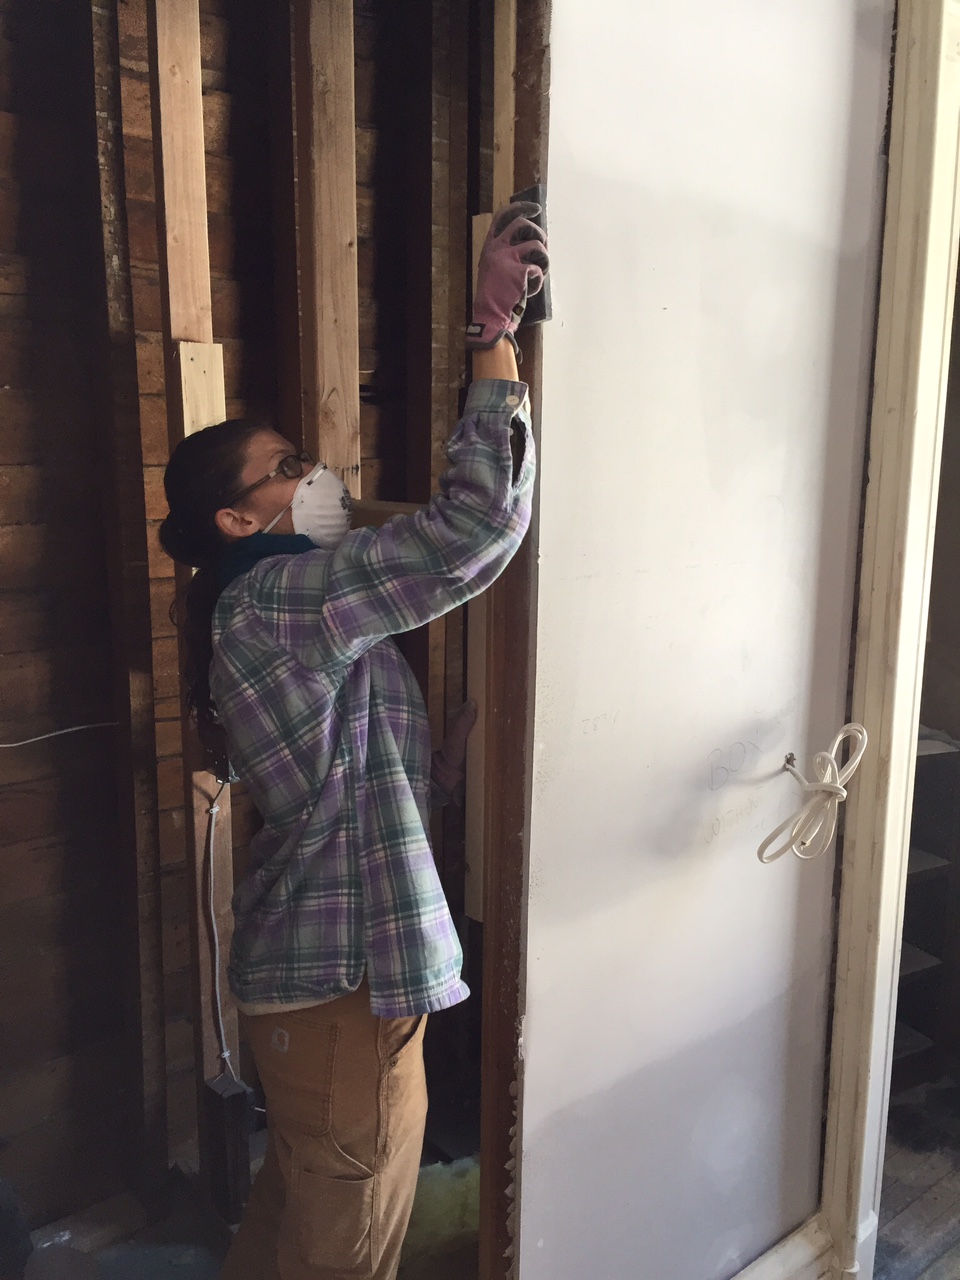
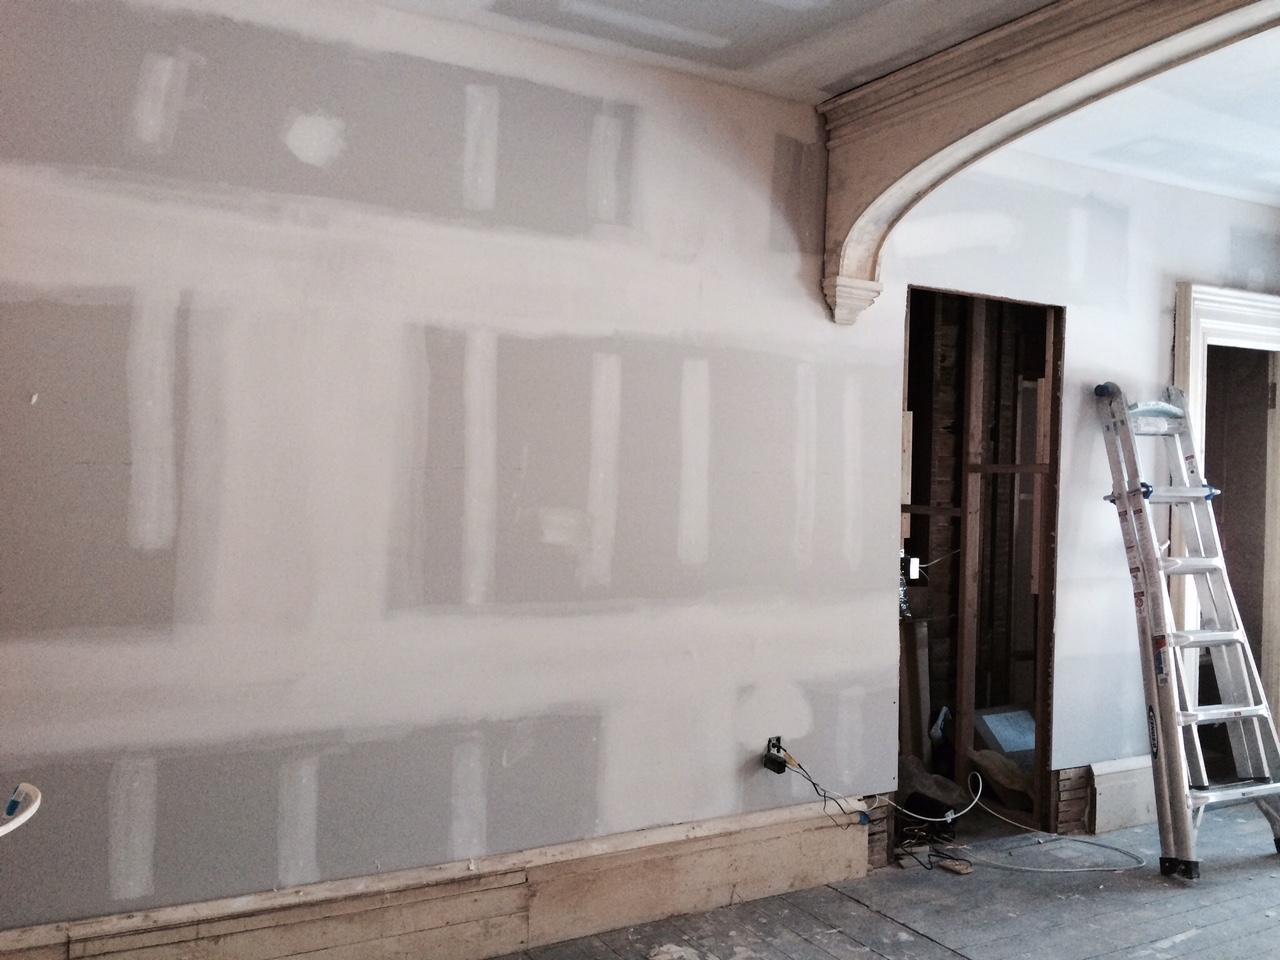
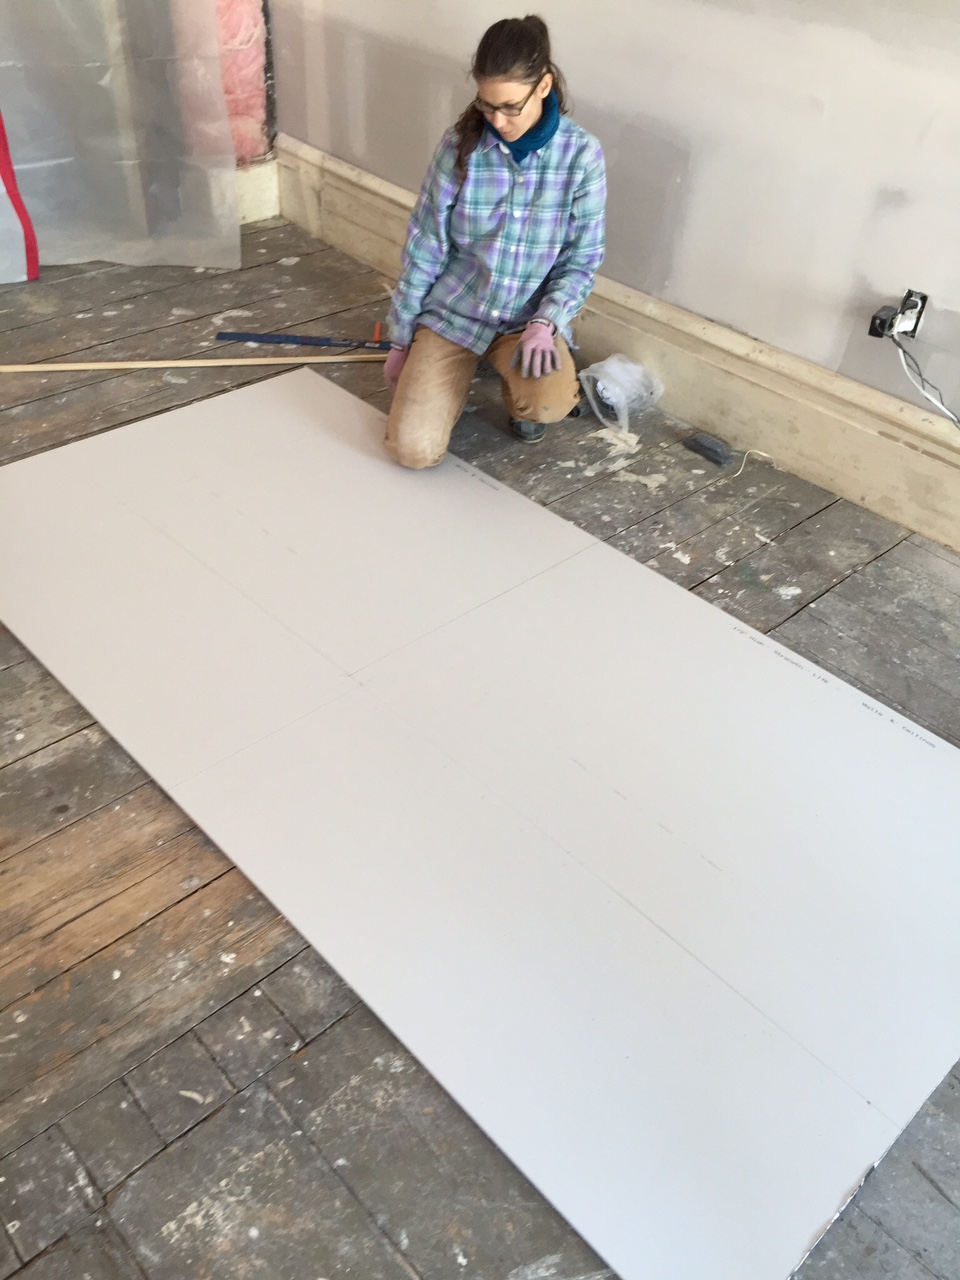
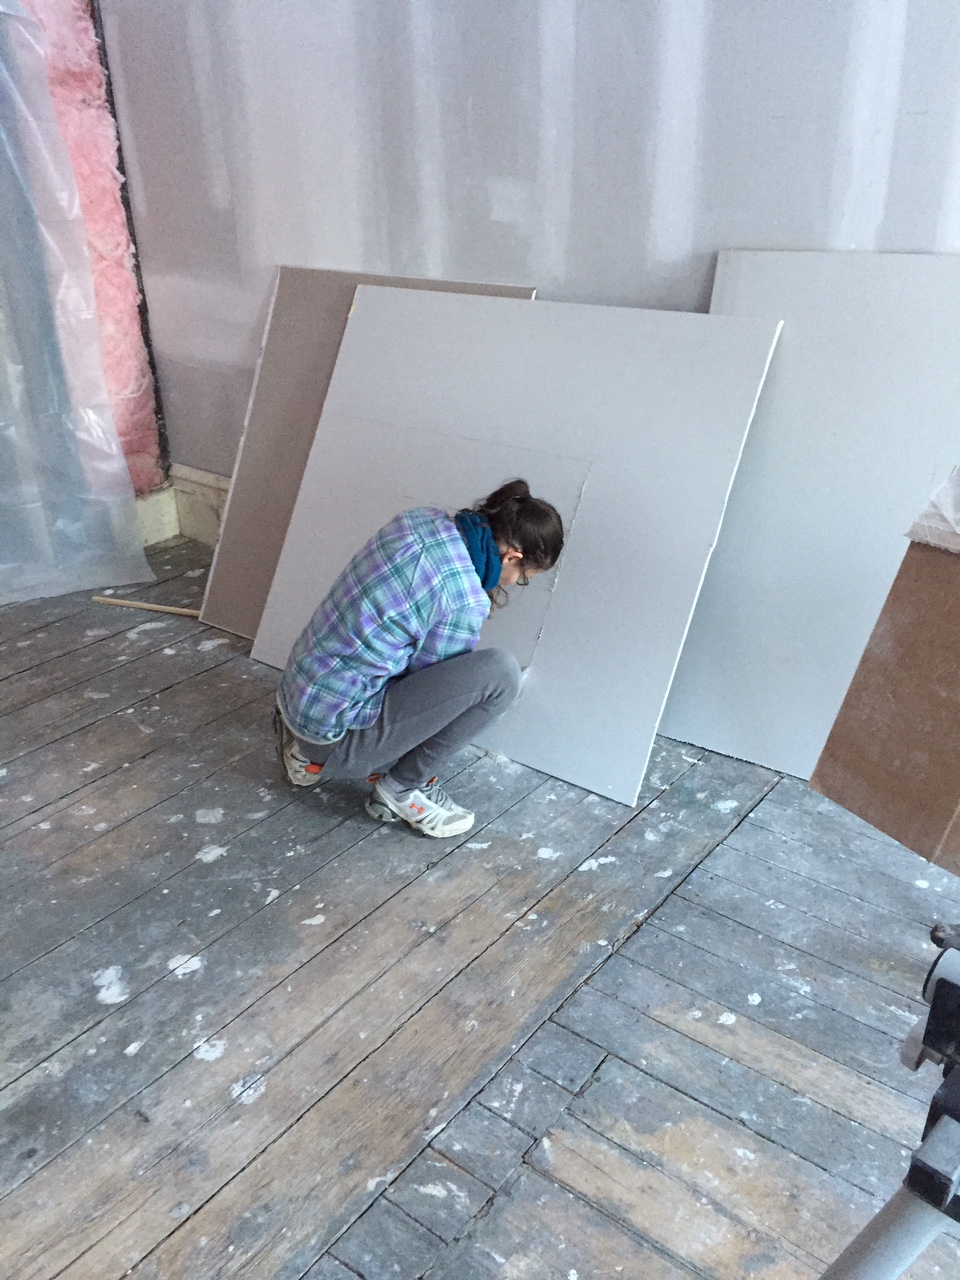
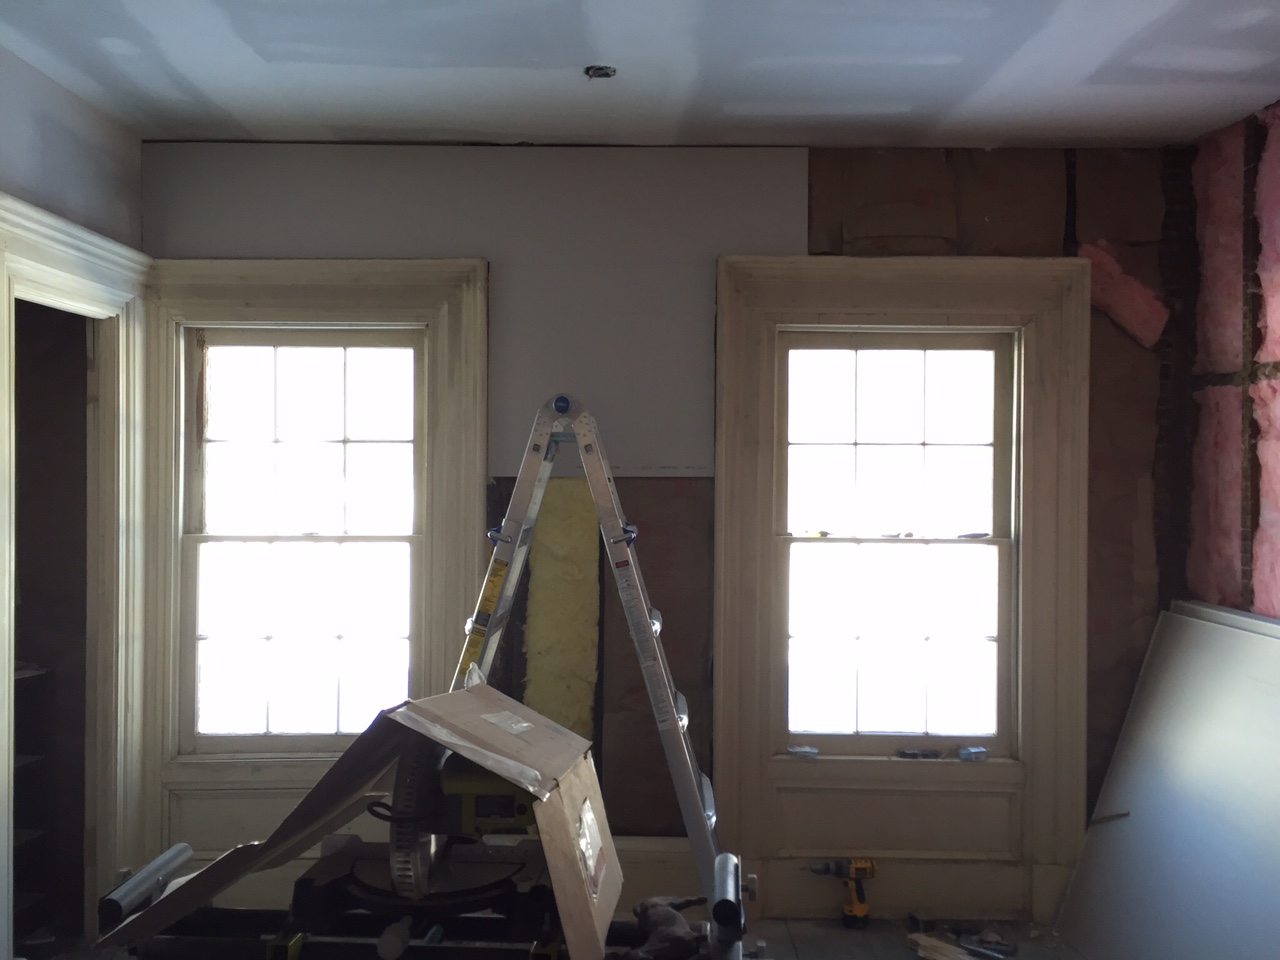
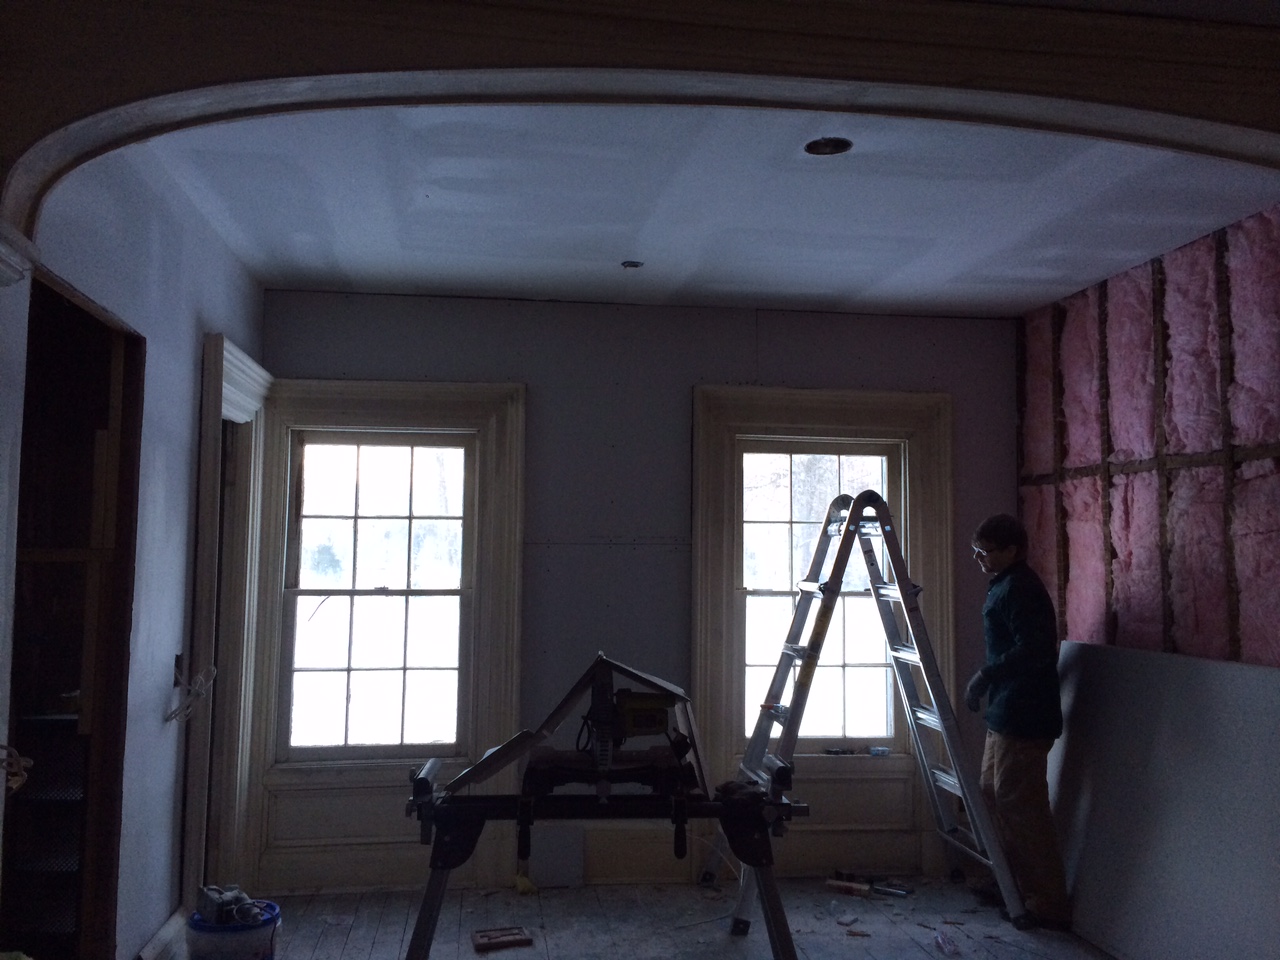
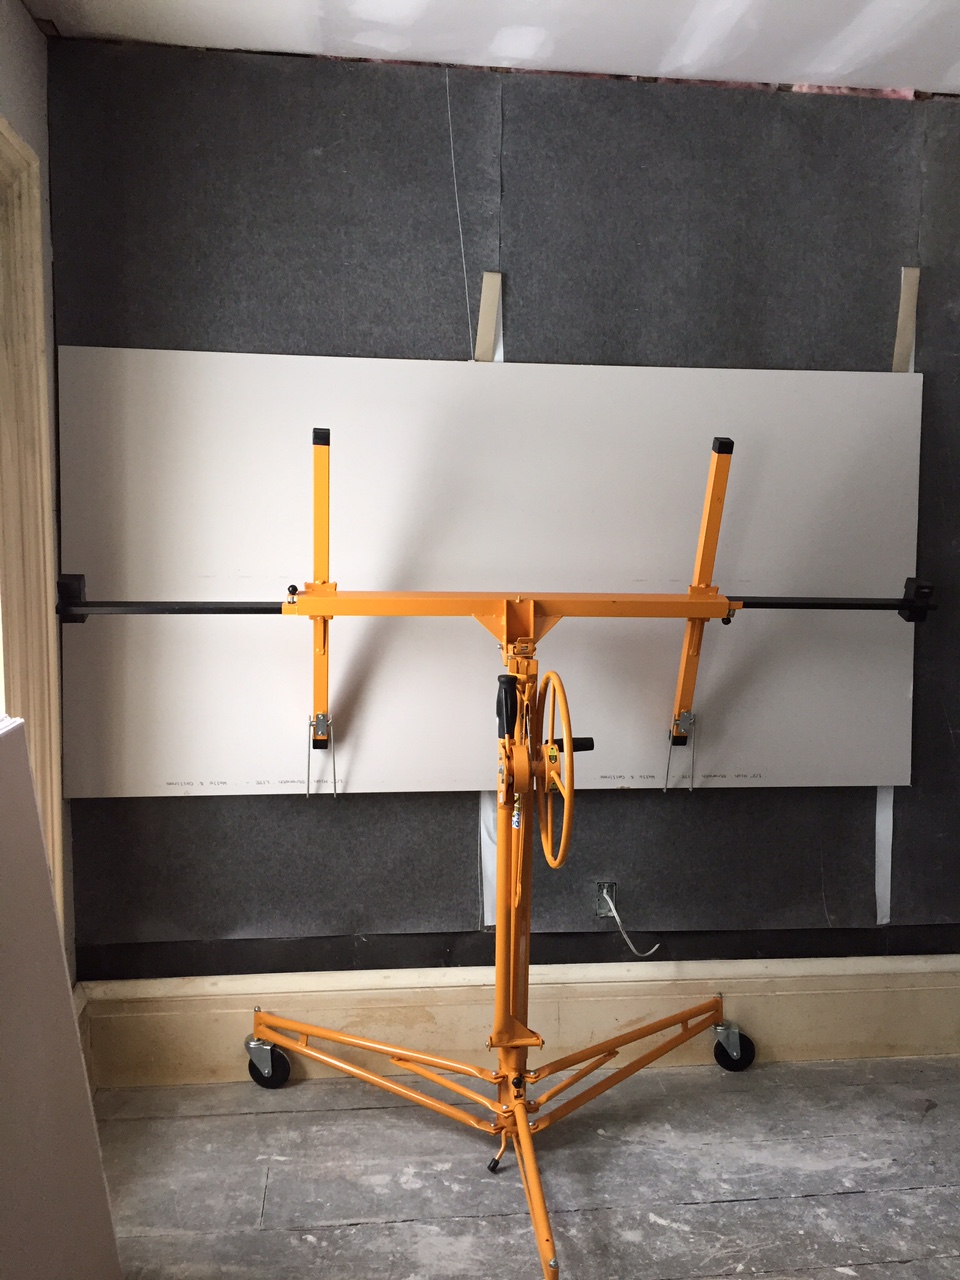
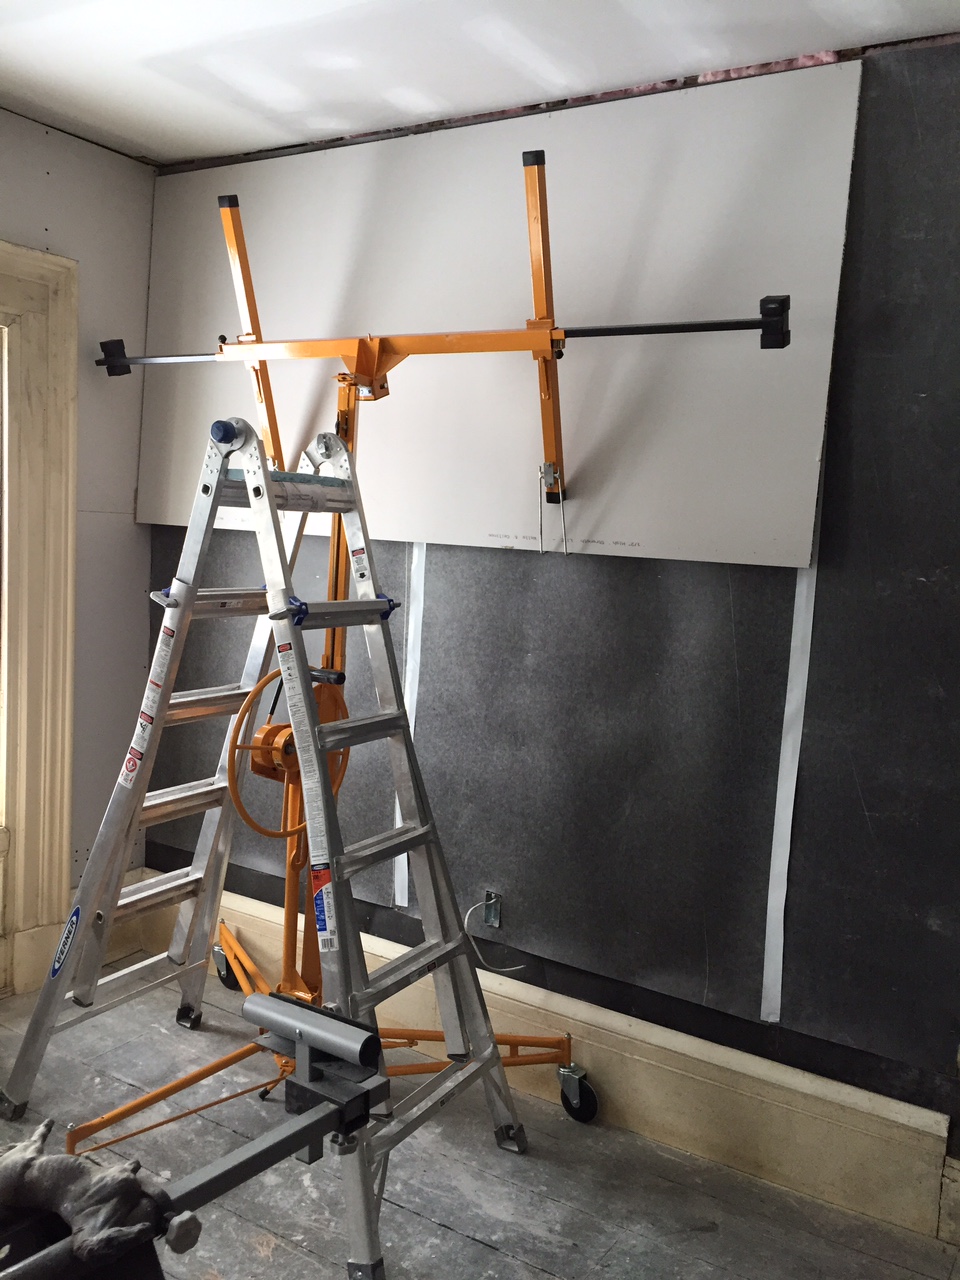
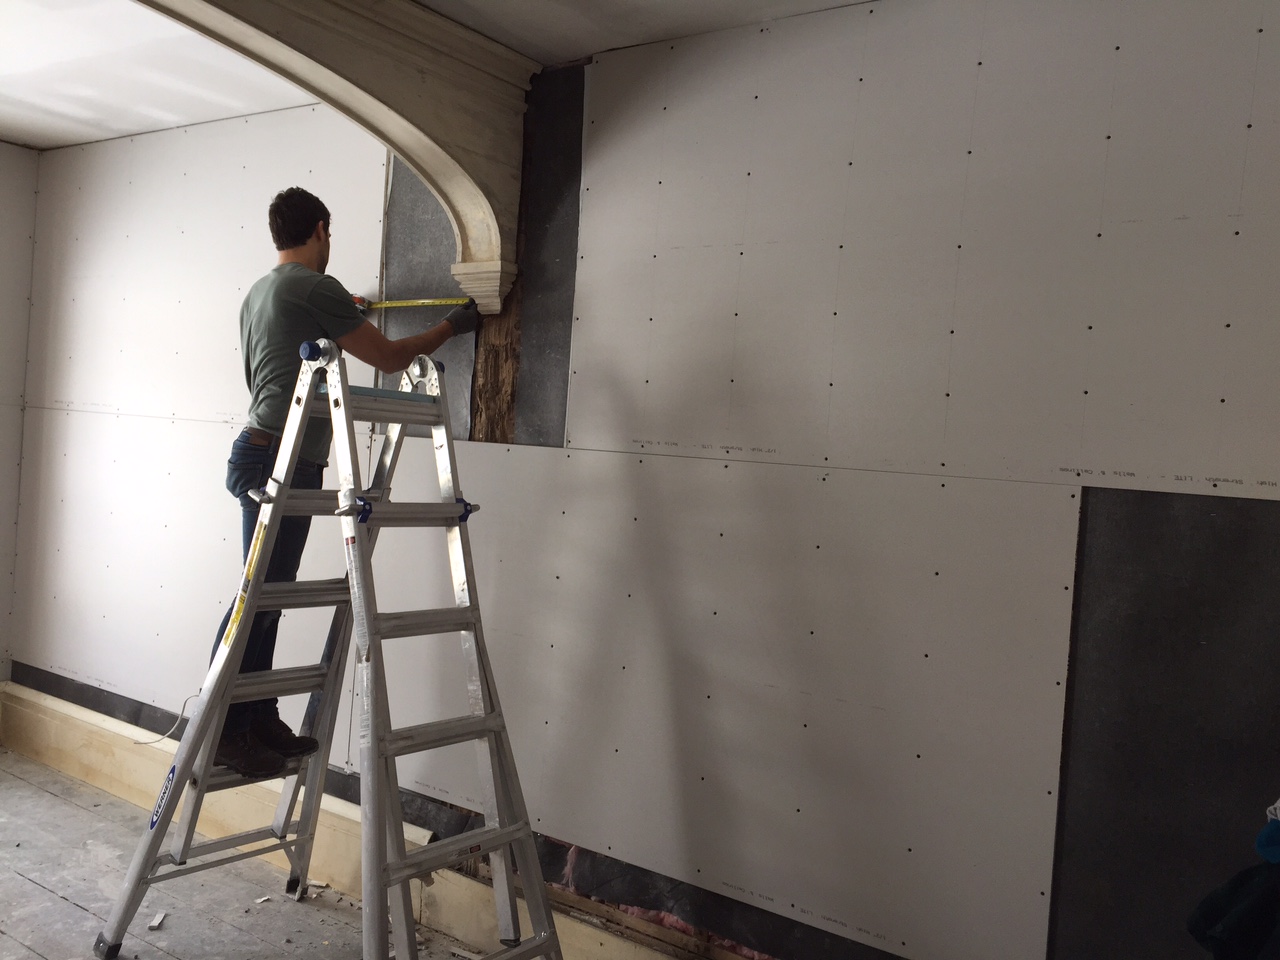
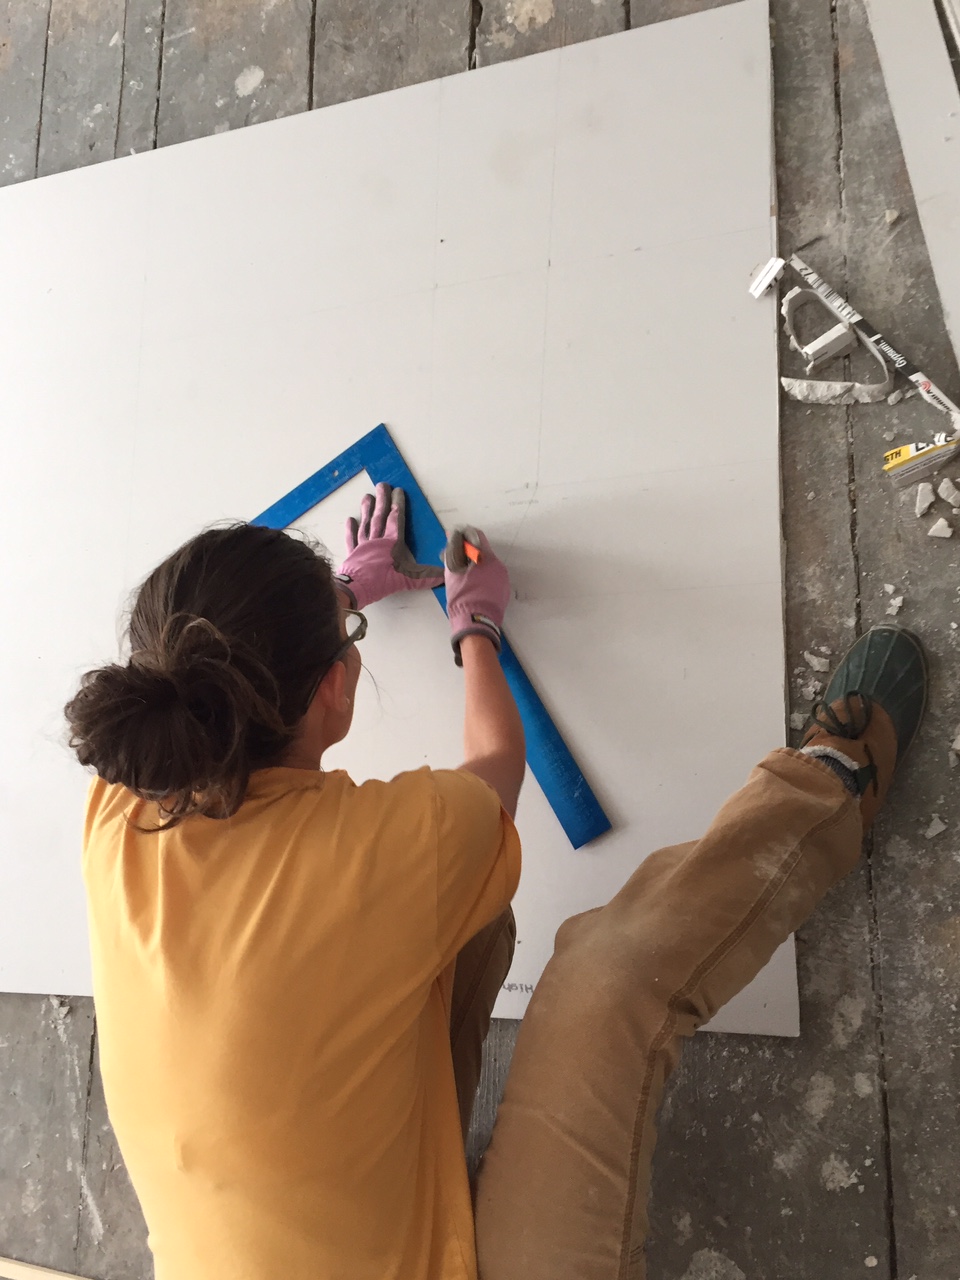
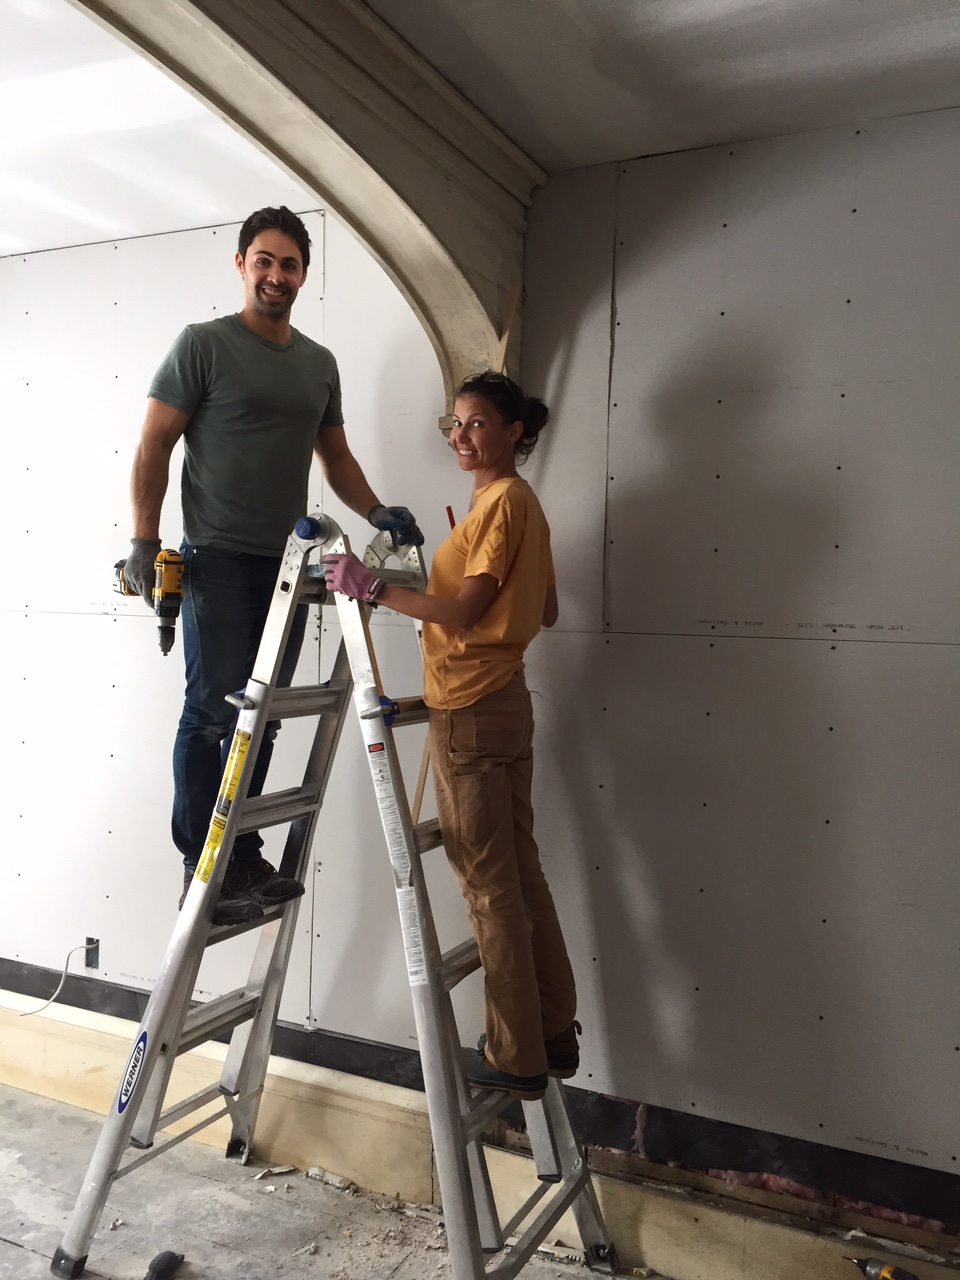
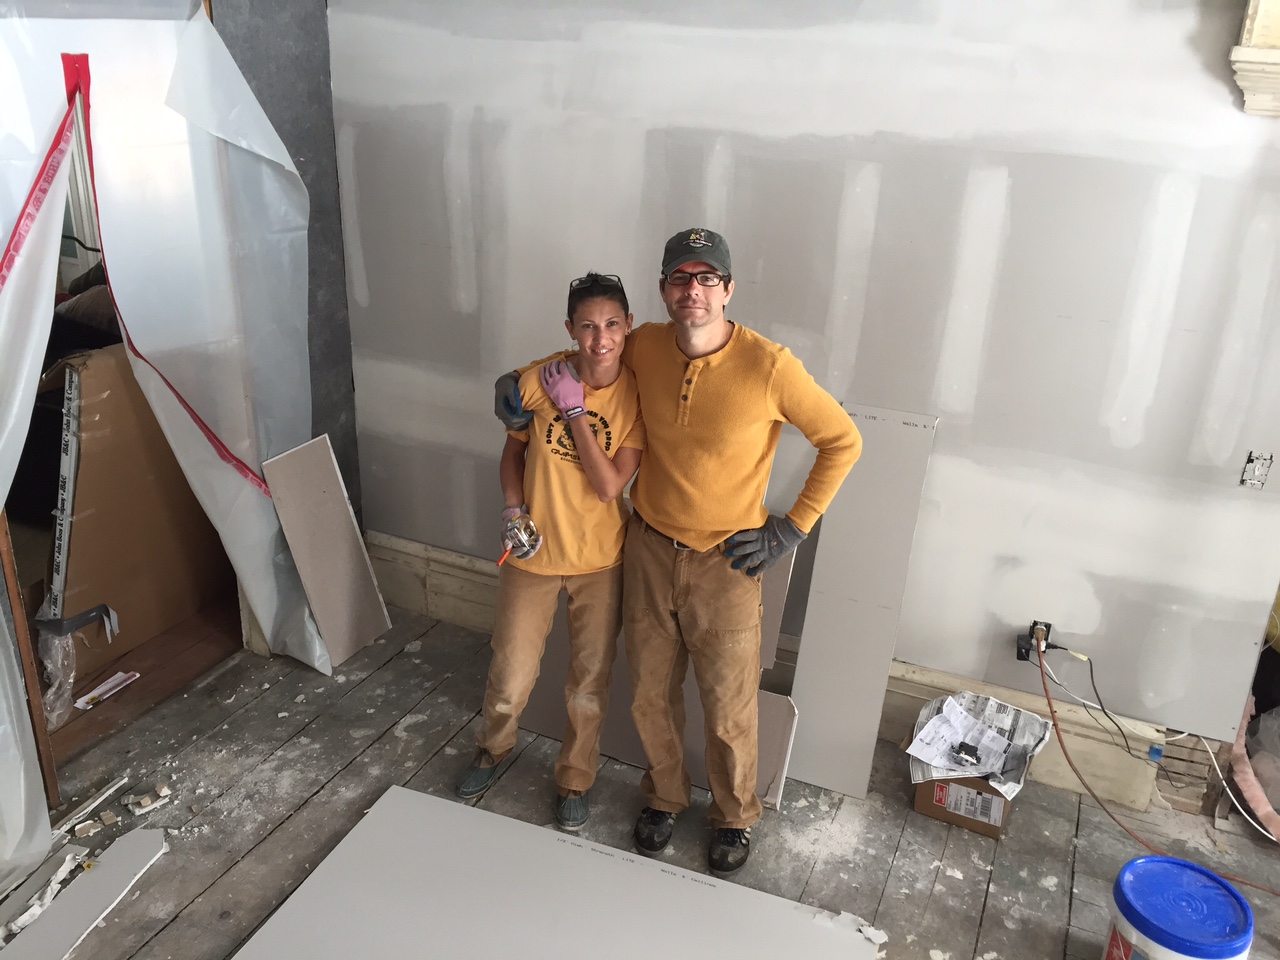
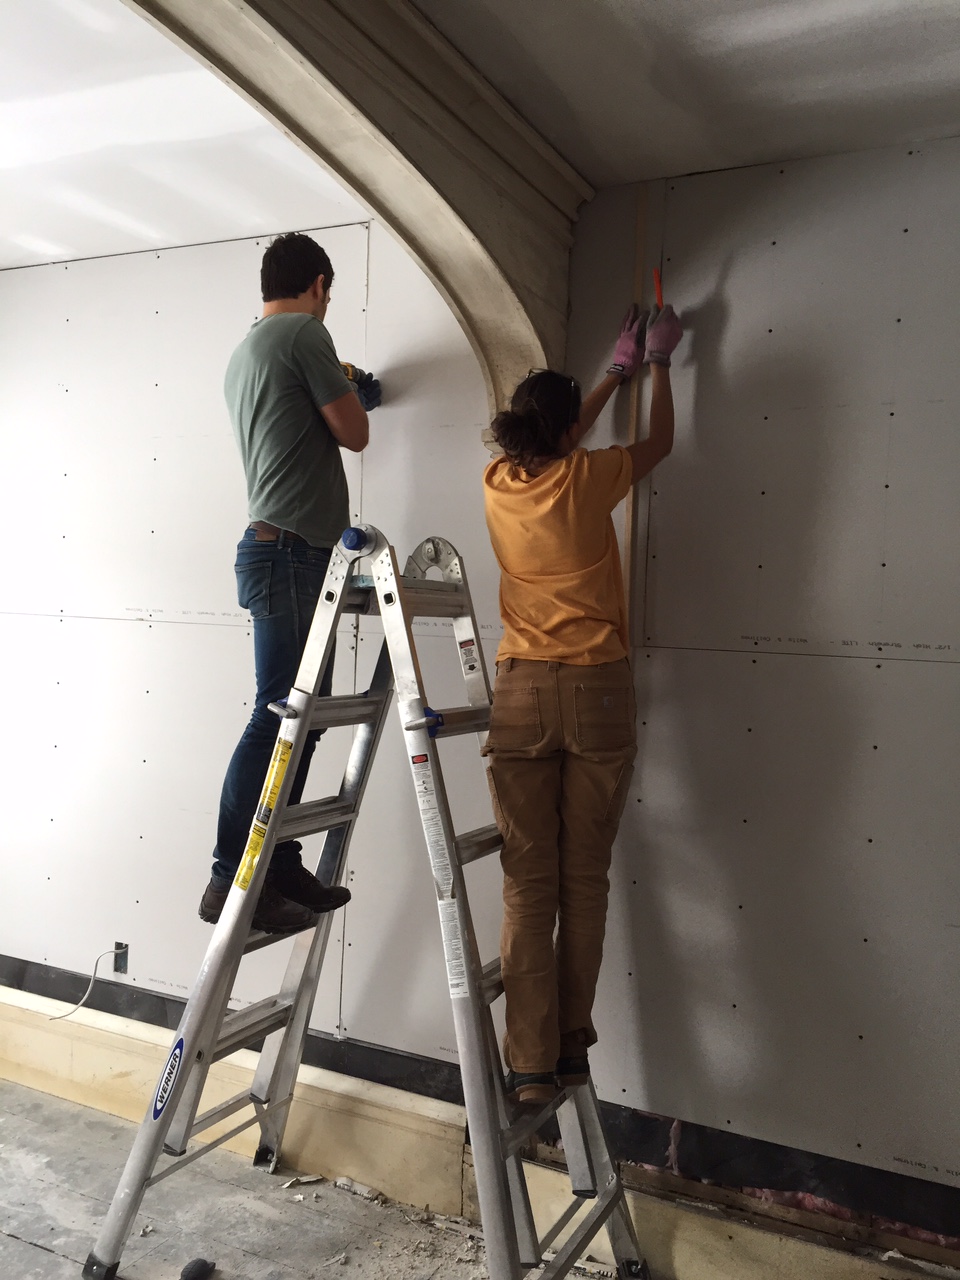
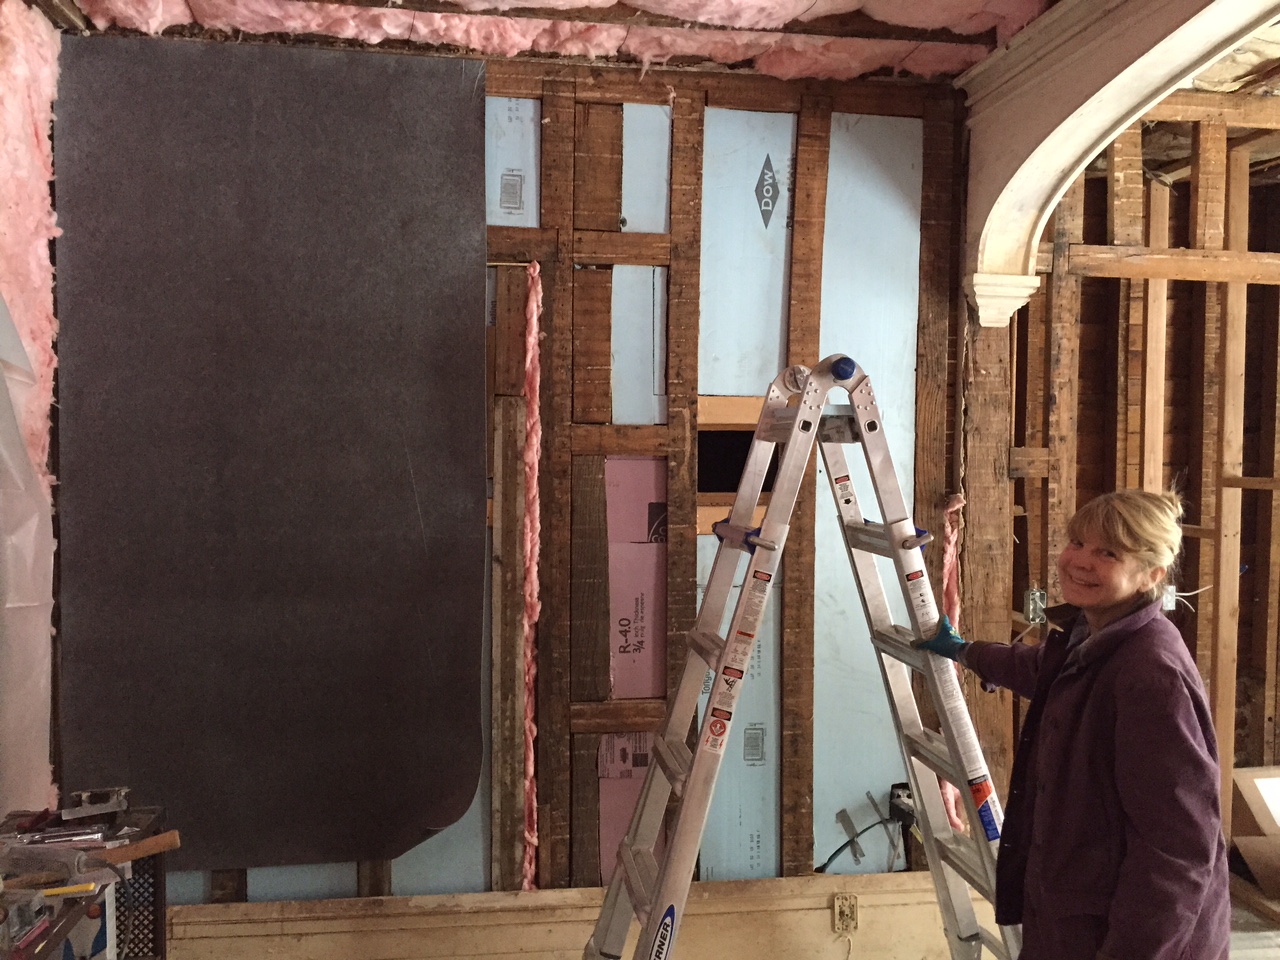
In our slow march towards TV room completion we tackled drywall most recently. Fortunately we had three things going for us. #1, Ermela is a very quick study and after a day she had the measuring and cutting down. Not an easy task in this room since we kept as much trim in place as possible; including the wonderful arch right in the middle of the room. #2, Graham got a new toy (shocking) in the form of a drywall hoist, truly a gift from the heavens. #3, our friend Oren was up and threw himself enthusiastically into the project with Ermela as his sheetrock instructor. By the end of the weekend they were a team to be reckoned with; working in tandem to put some very intricate pieces up.  
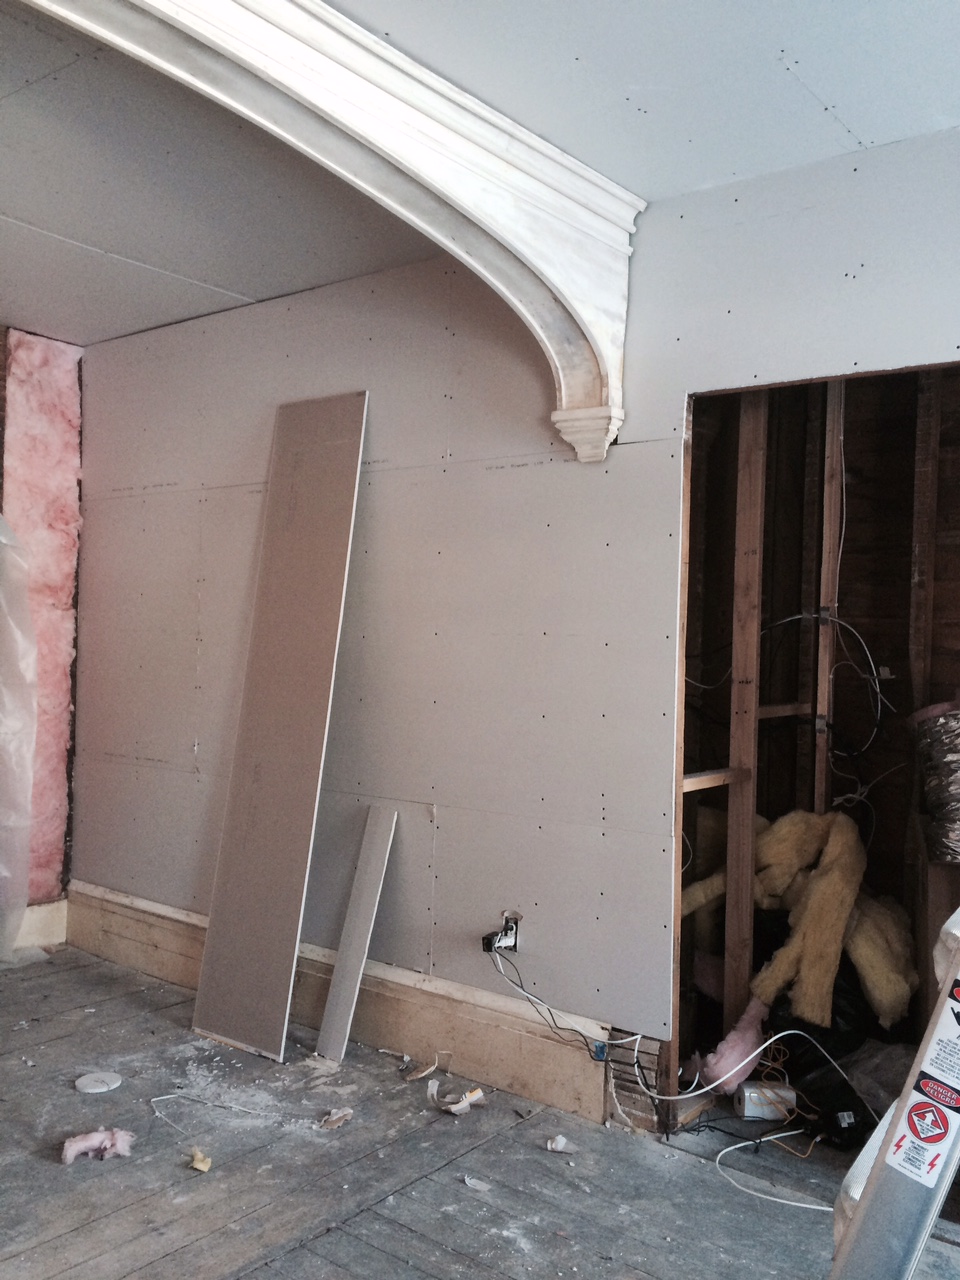
 

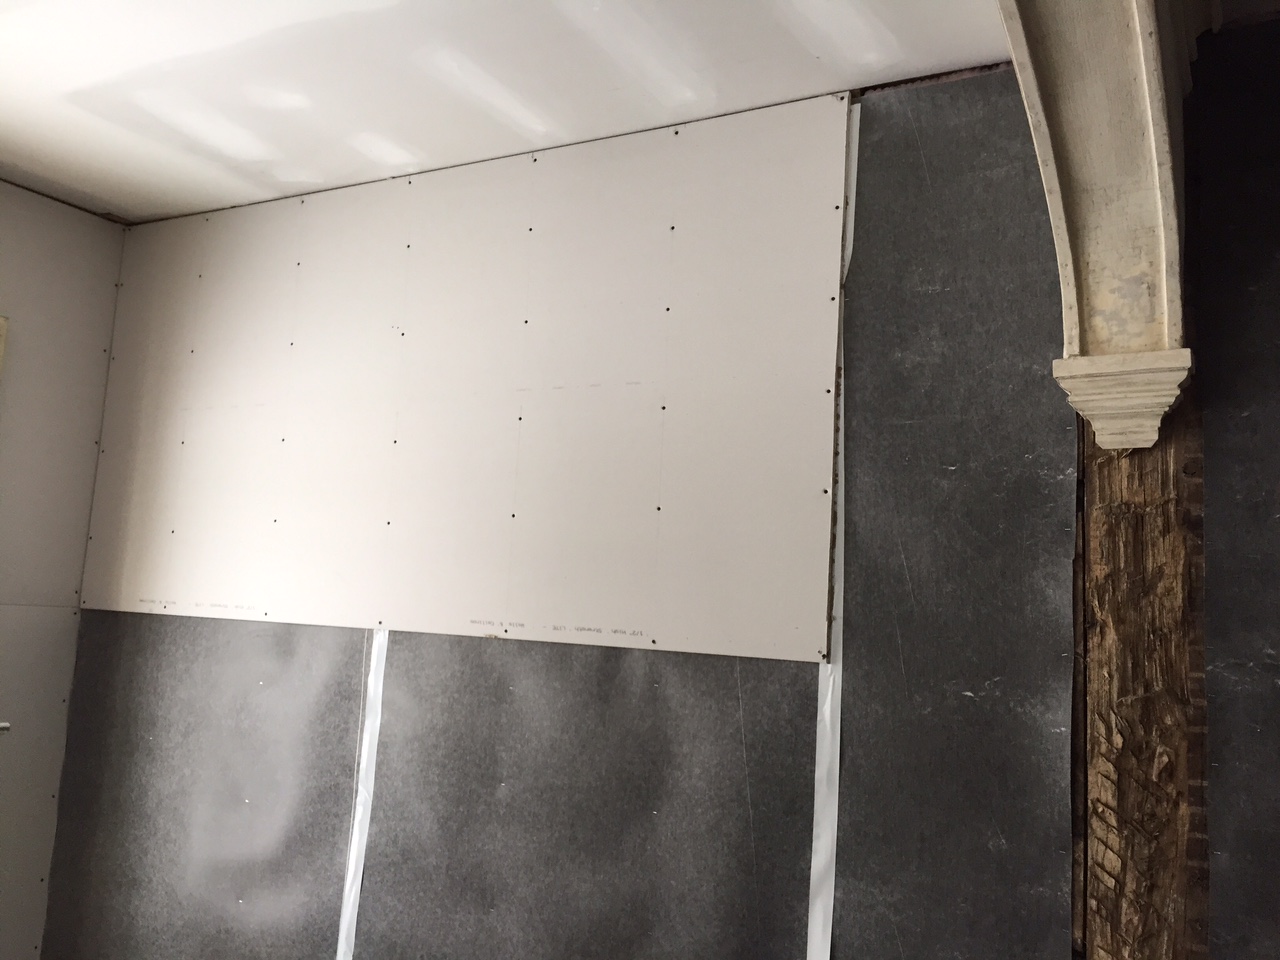
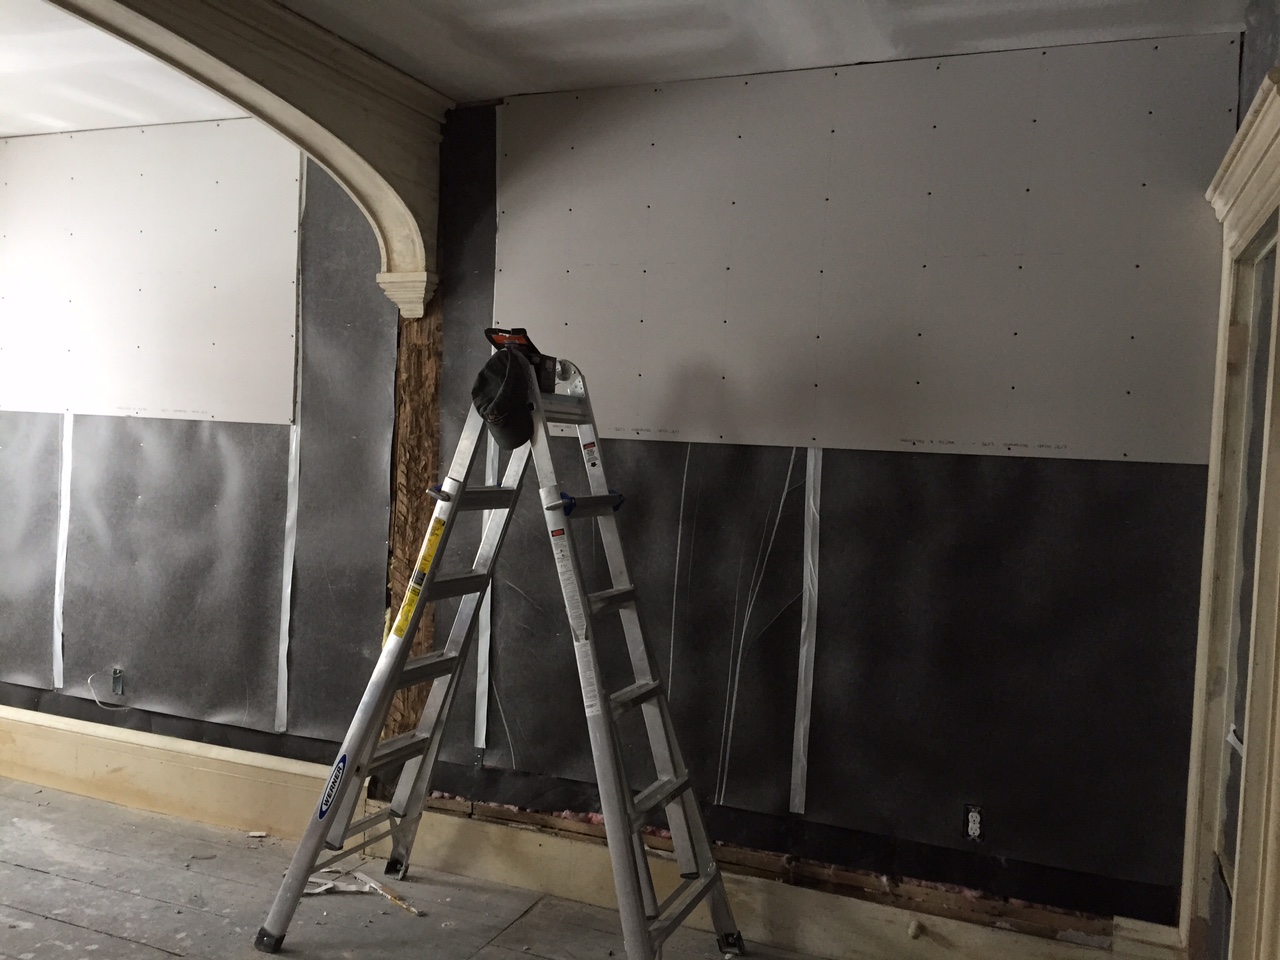
Overall drywall is really about learning rules and being able to keep a flexible mind. Most mistakes seem to be in reversing measurements from the floor to the wall, and in not planning ahead. With this house one of our biggest hurdles is that the blocking in the walls was set up for plaster, which is very different in application to drywall so we occasionally ad to add extra blocking in the walls to have something to attach the sheets to. The other headache is that the drywall is thinner than the plaster that used to be there so we will have to go around all the trim in the room and add a layer of wood to blend it all in.

With the drywall in and the walls sealed up and insulated this is now the warmest room in the house, it's really amazing considering it is the north side of the house and only has one heat register. Proof that some demolition headaches are worth it, at least that is what we will tell ourselves while watching movies curled on the couch this coming winter.
 

The Making of a TV Room

A TV room....what makes a TV room? The obvious answer would be "a TV" but here at the farm we take our small modern pleasures seriously. So, what makes OUR tv room a tv room? The answer is... copious amounts of thermal insulation to make it warm and cozy, huge sheets of rubber acoustic insulation to make it quiet, enough data cables and lines to make it look like we have a nest of skinny snakes in the walls and of course, a free standing popcorn maker. We may have jumped the gun on the popcorn maker, but seeing it's box offers incentive to finish the room. The TV room has been one of the most complicated spaces for us because it has lots of architectural detail to work around, and with the walls and ceiling open it provided opportunity to upgrade and run wiring, heat ducts and plumbing lines to several areas.... Never fail to take advantage of an open wall or ceiling. This past weekend as the snow was falling outside and the car was getting harder and harder to see under the drifts, we decided it was time to start closing things back up.    
 

The view from the TV room while we were working. Our mini orchard will probably go in this area in the spring.
 

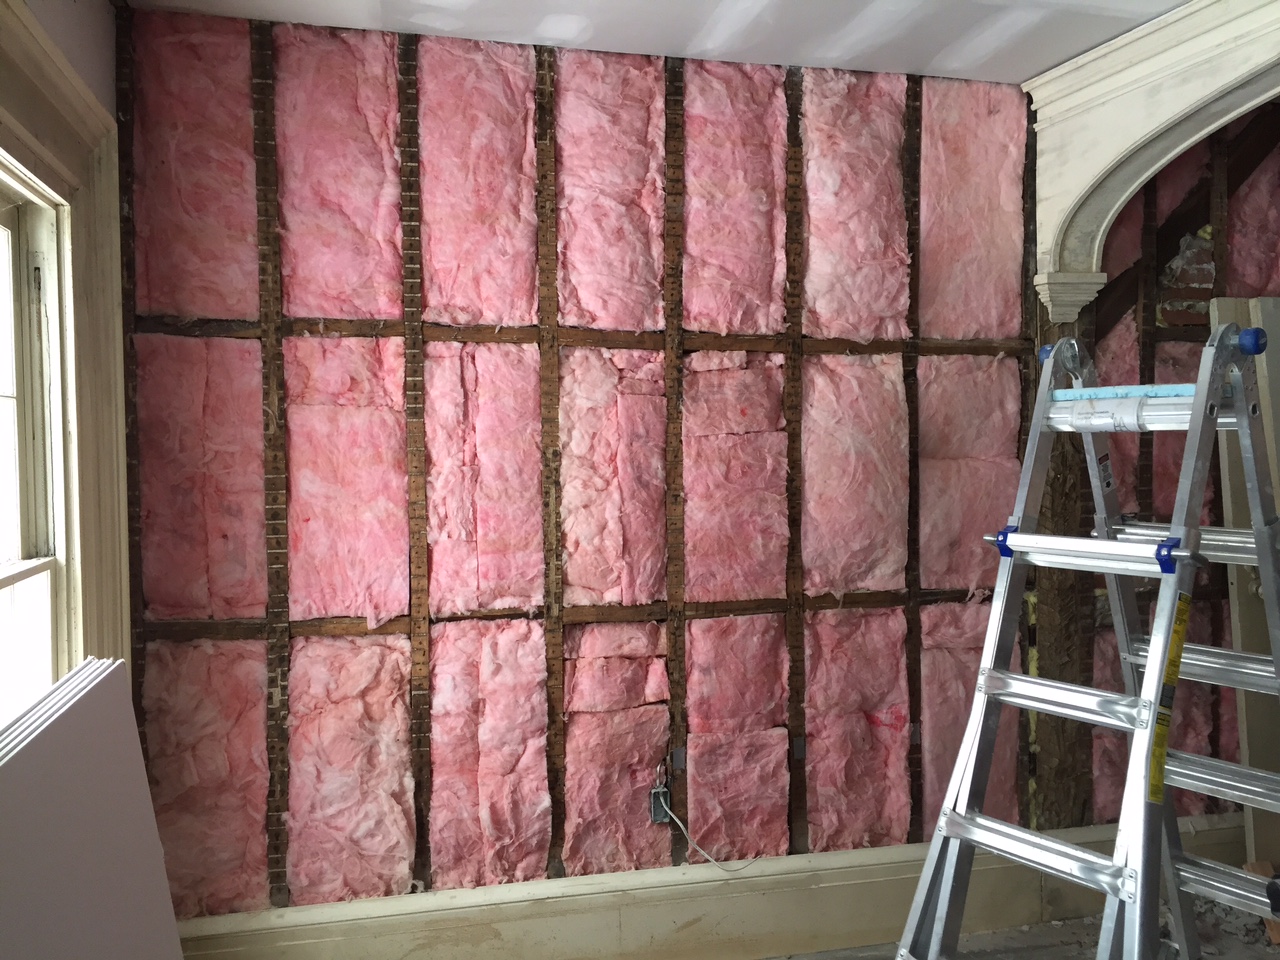
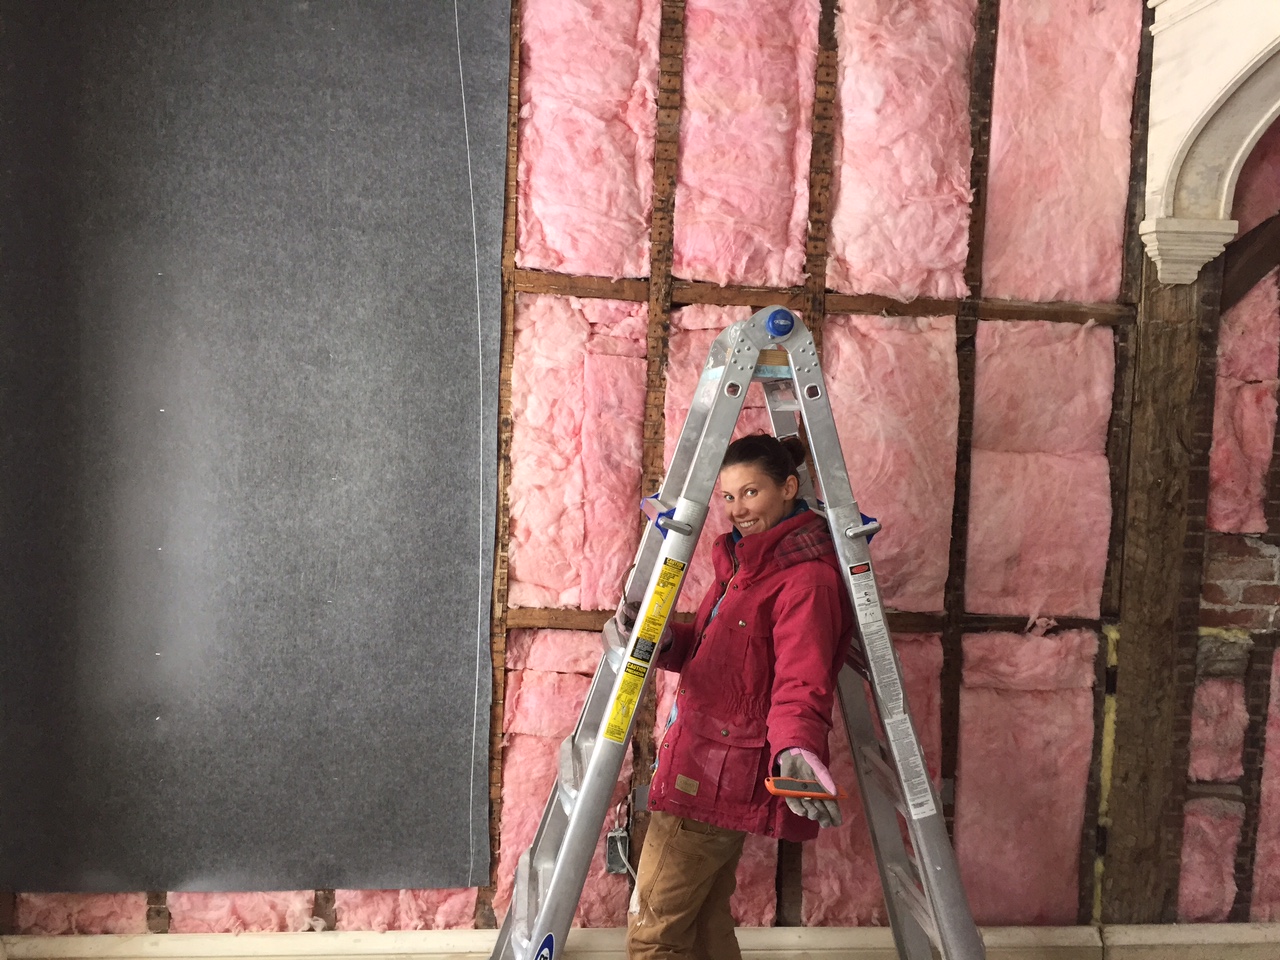
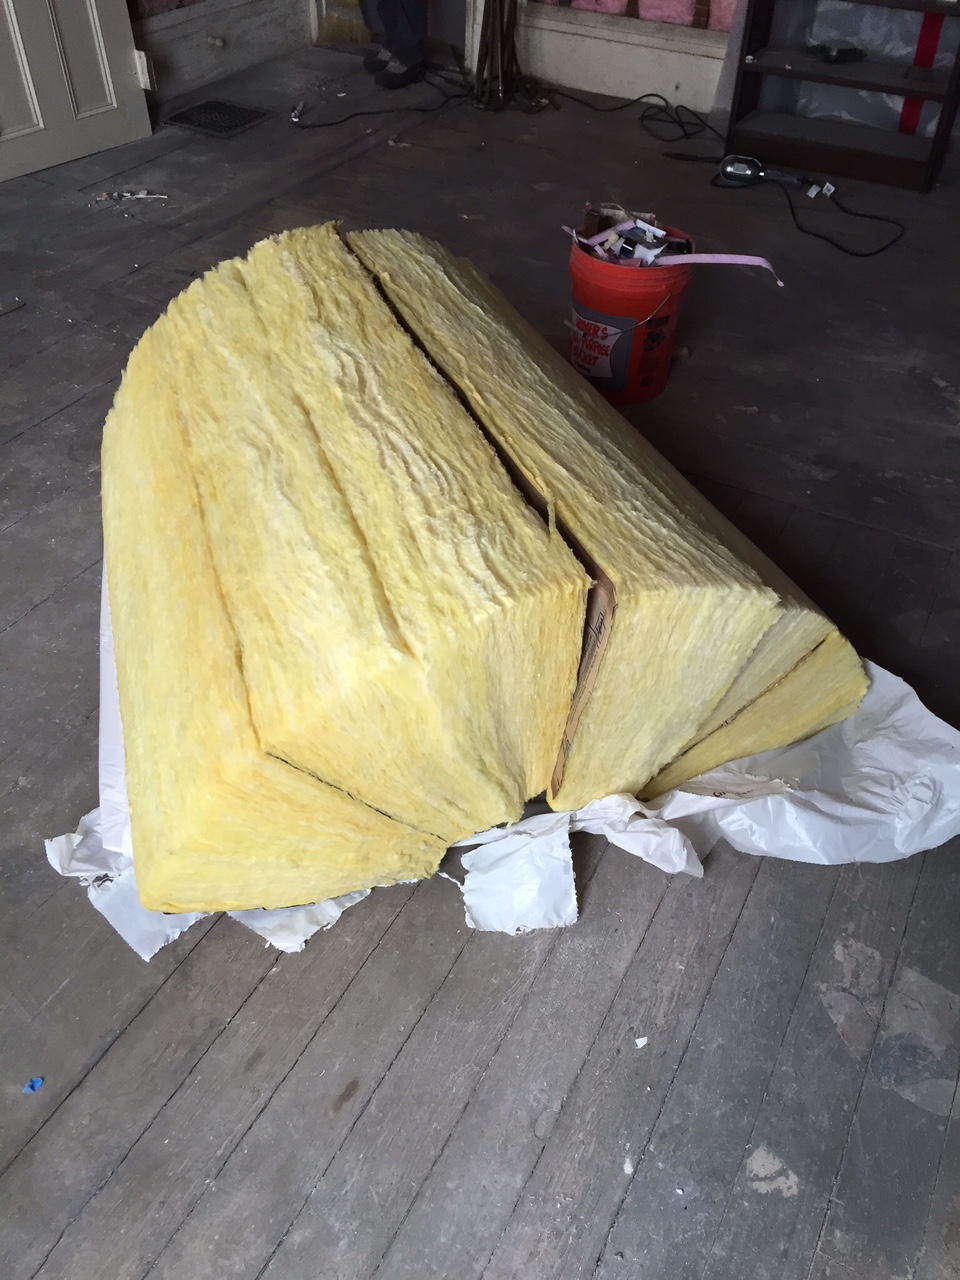
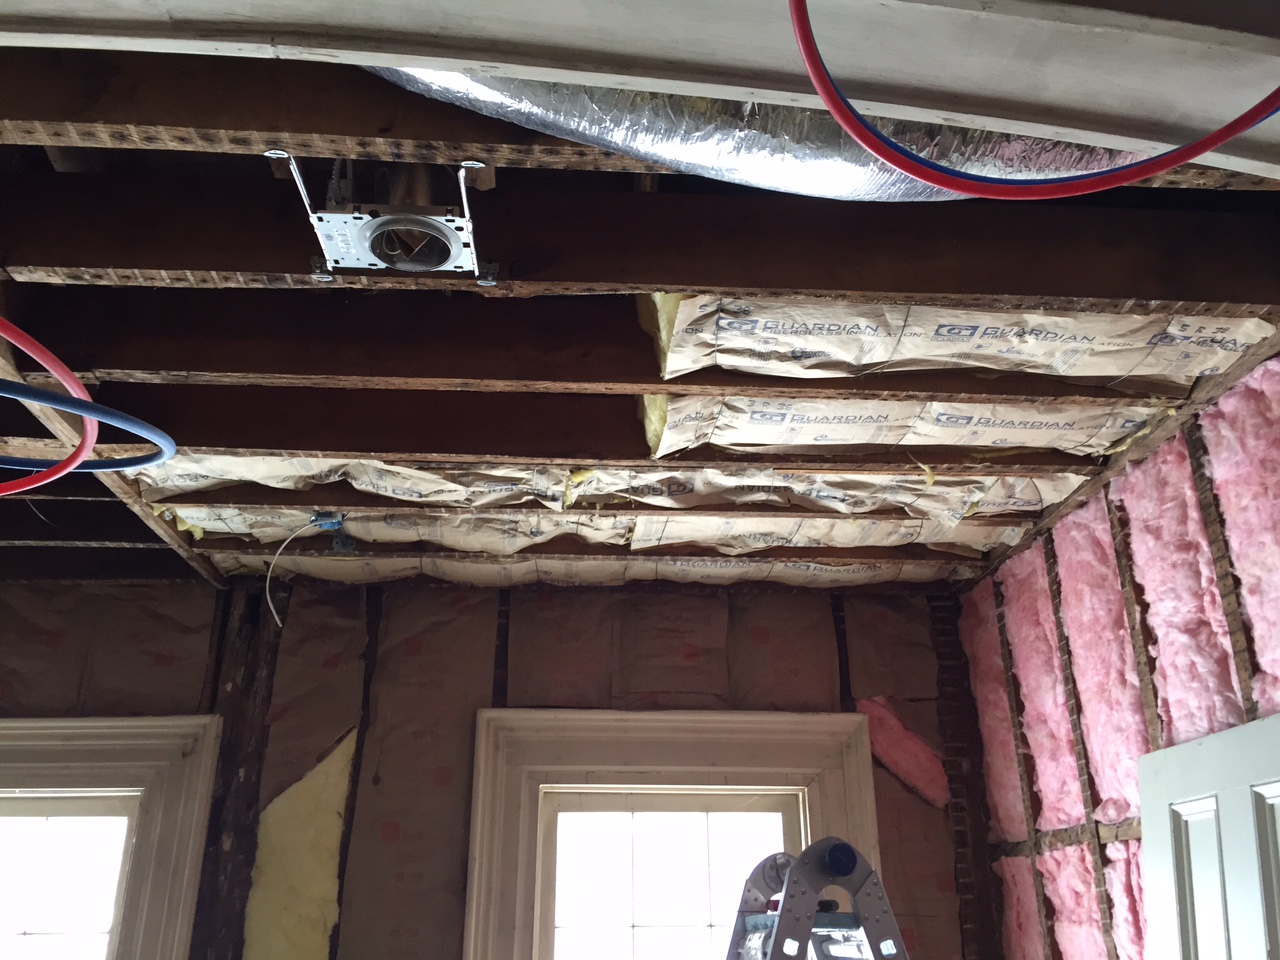
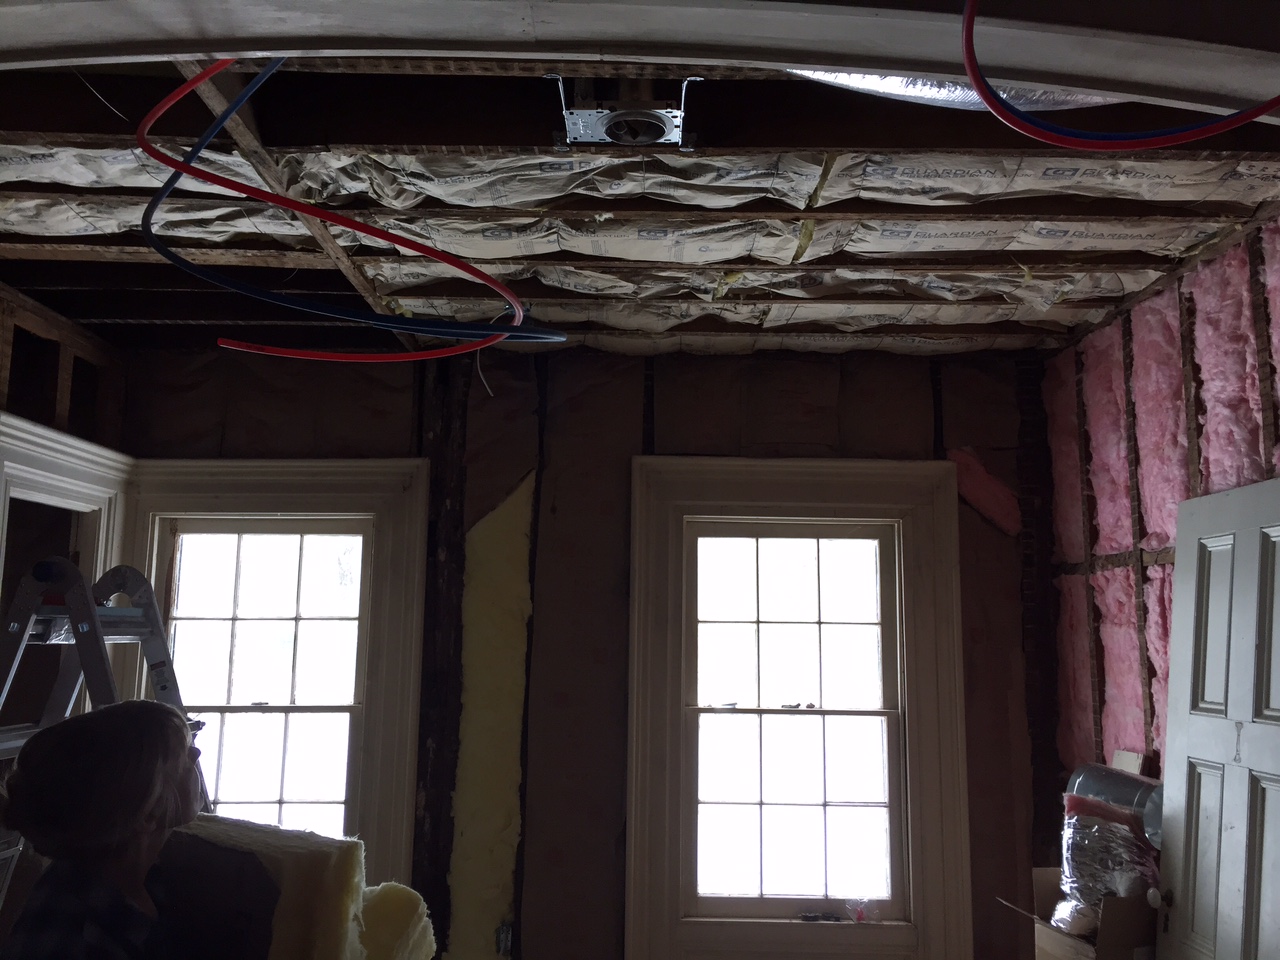
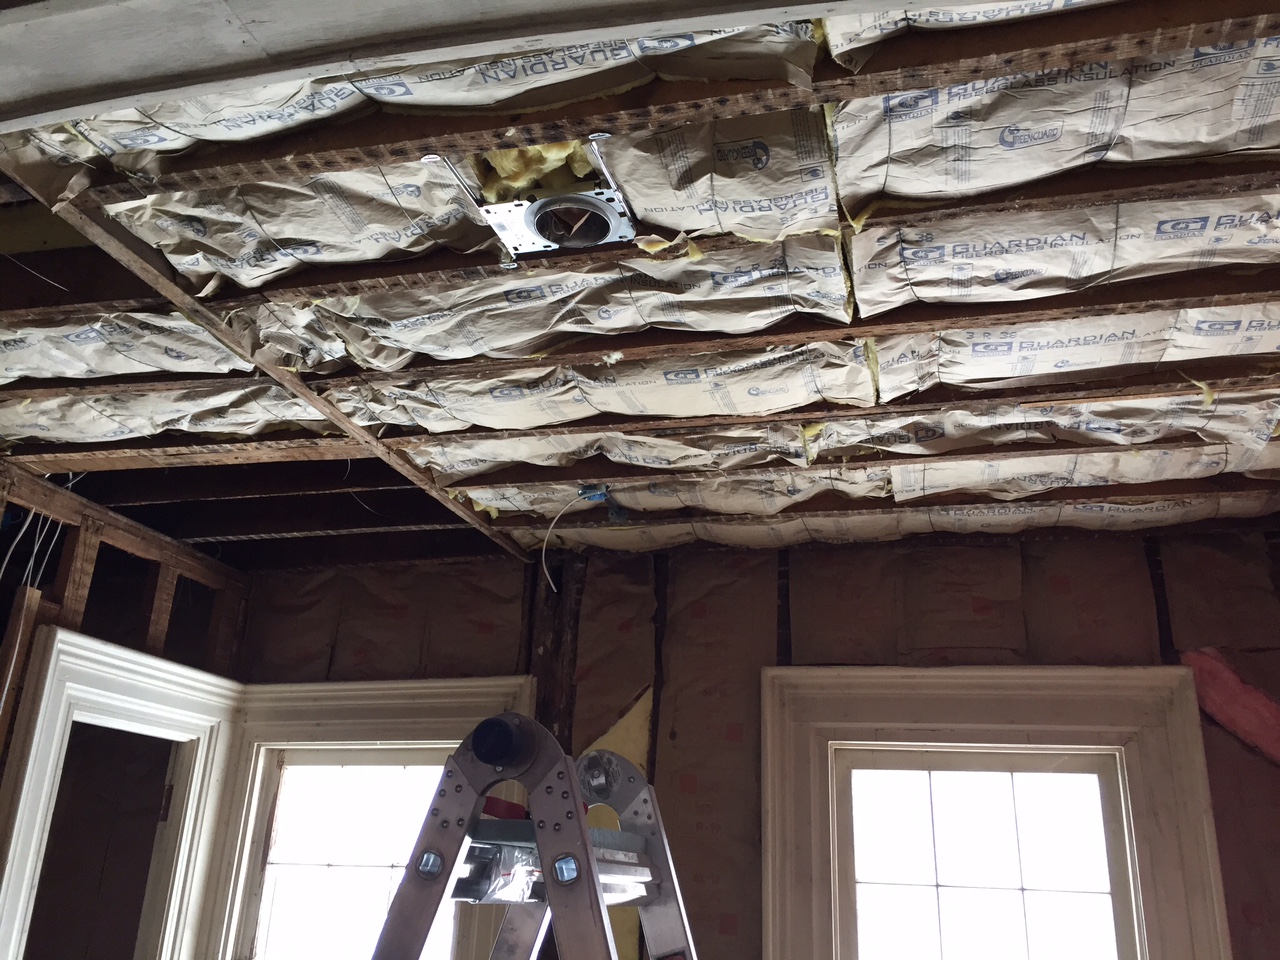
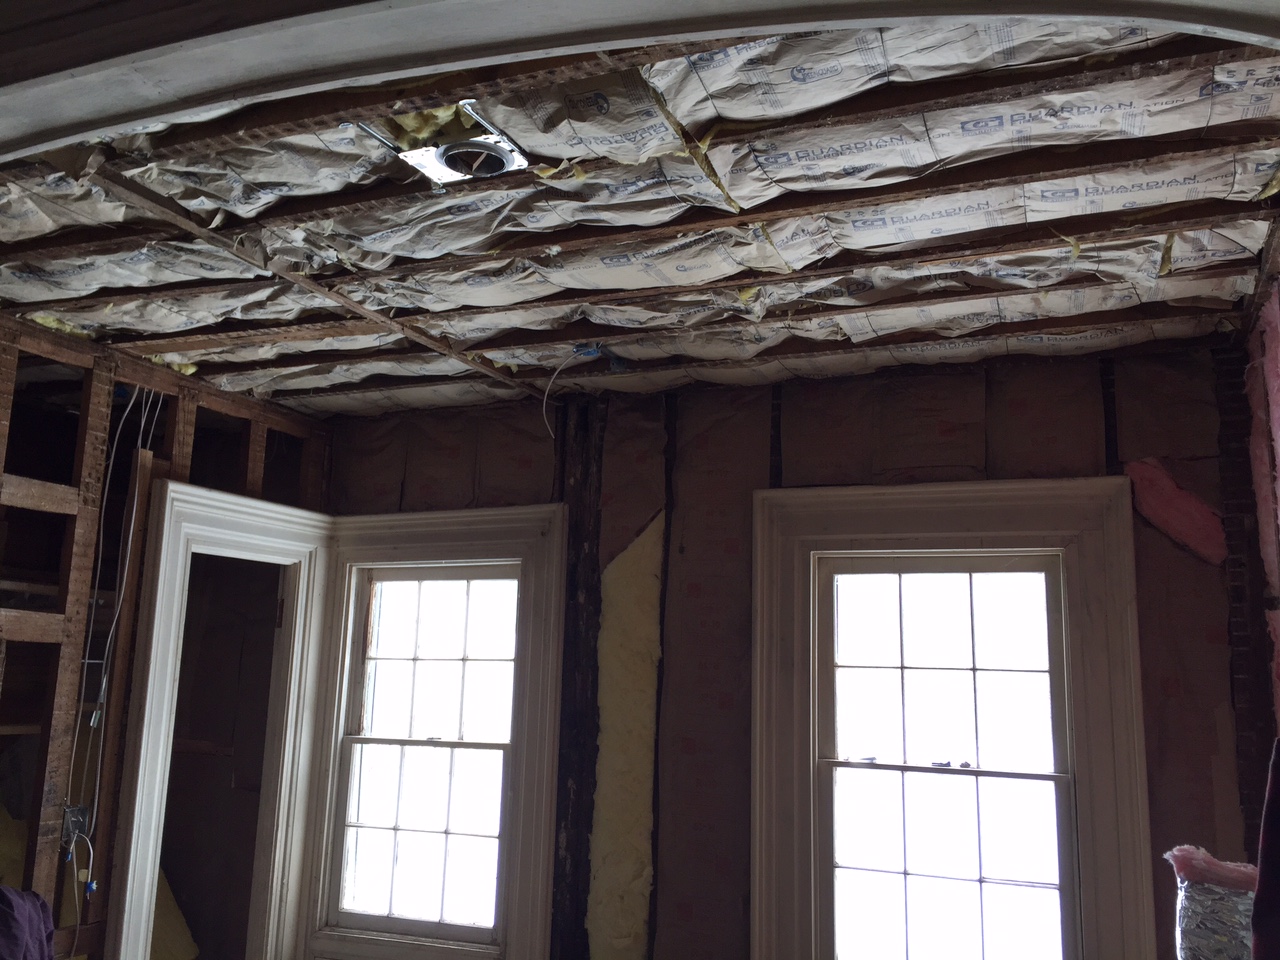
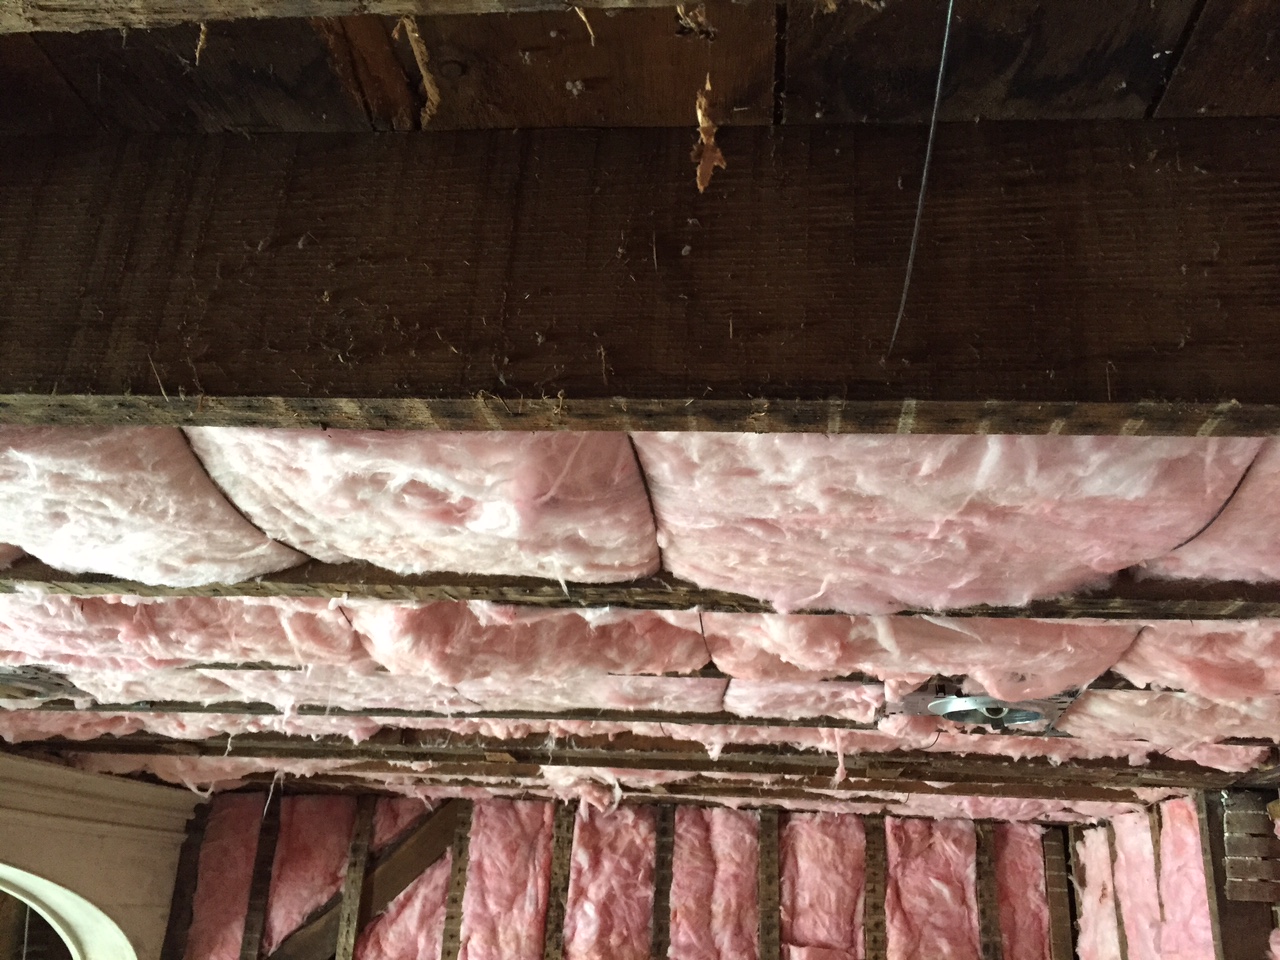
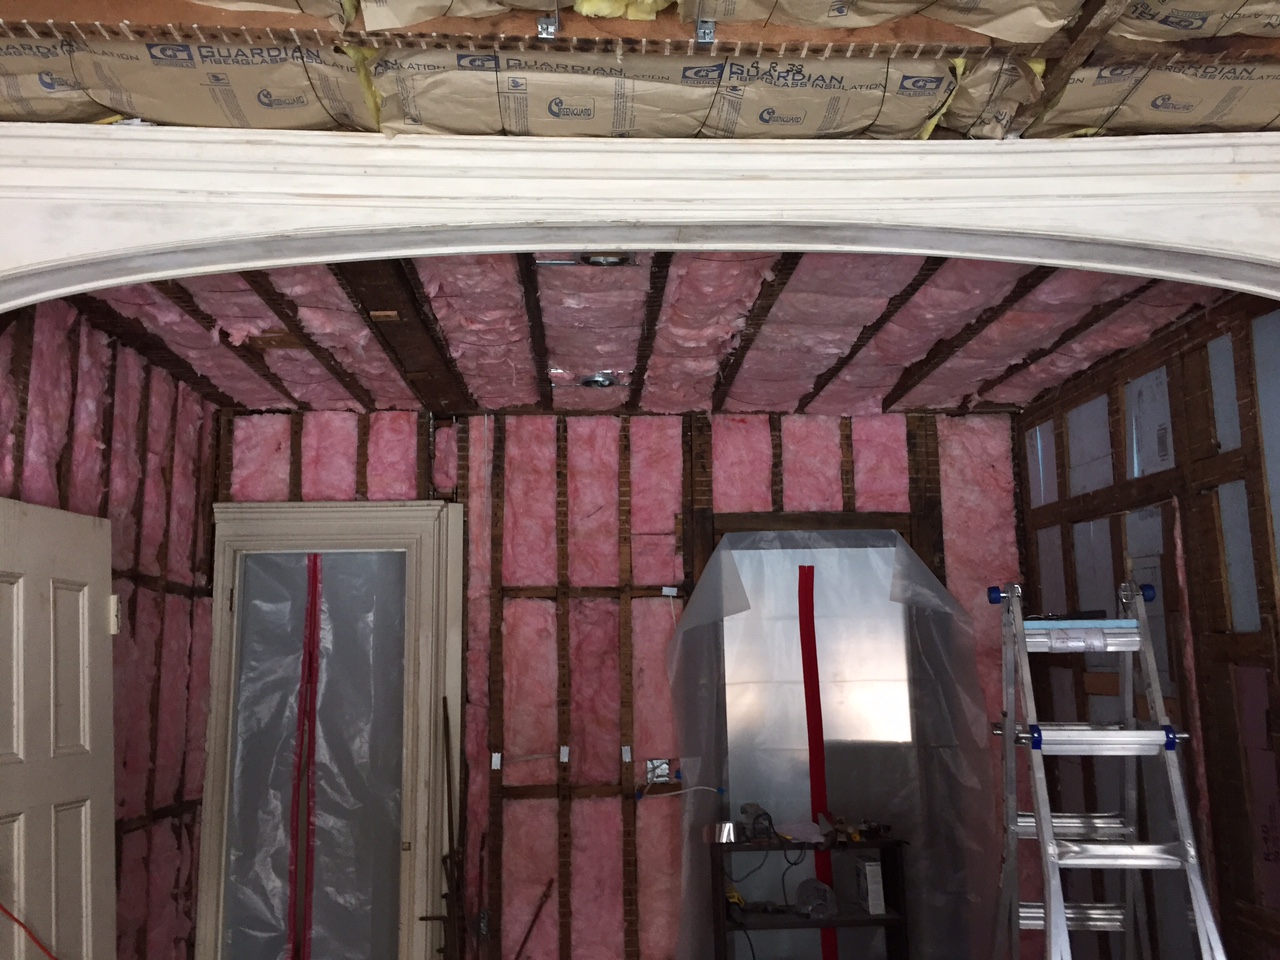
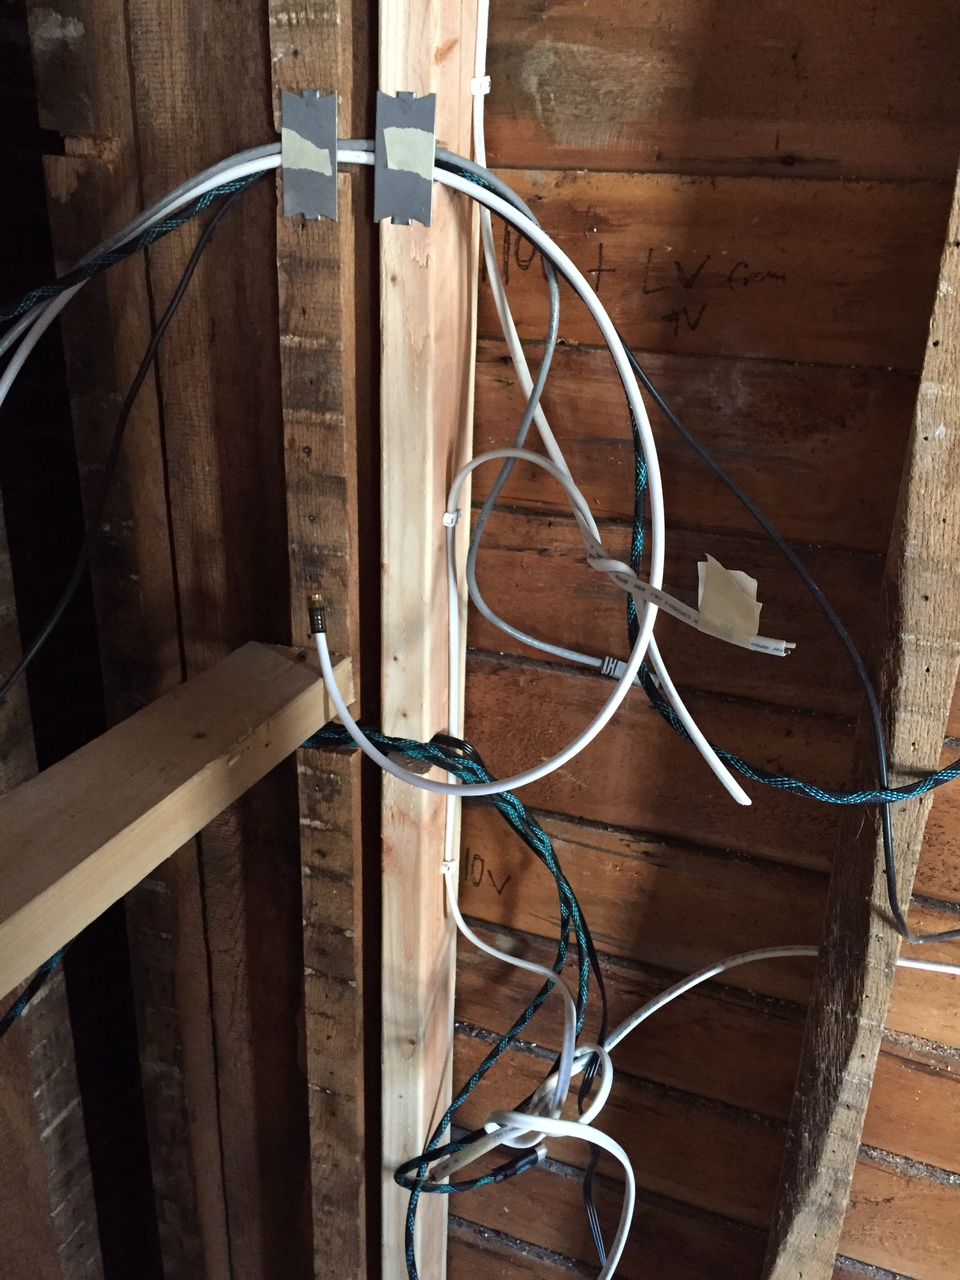
So while mother nature provided ample incentive to stay indoors, we got to work. The first thing to do was make sure all the wiring was clearly labeled so that once the drywall is in we will still know what goes to what. With that done we got down to insulation. Normally when insulating a ceiling the joist spacing is standard and you can just use pre-cut wires that spring in between the joists and hold the insulation up. Our framing is anything but standard so we had to custom cut every single wire, (think thick hard to cut wire) about 200 of them. So the room is split by a beautiful old arch, the outside side of the arch has roof above it, so requires insulation similar to an attic. The inside side of the arch has the second floor above it so requires an interior level of insulation. We used an R-38 fiberglass batt with vapor barrier for the exterior exposed side and an R-13 without vapor barrier for the interior side. We cut the batts to fit snugly (Carol does this with scissors and affords each batt the same level of attention as she would were she making a dress). Graham pretty much stood on the ladder cursing most of the day, not unusual behavior for him. The trick with insulation batts is to get a tight fit so that air cant pass around them, but not to compress them so that they lose insulating ability... not hard, just time consuming, and if you are using the yellow contractor grade stuff, make sure you wear a mask and glasses.  
 

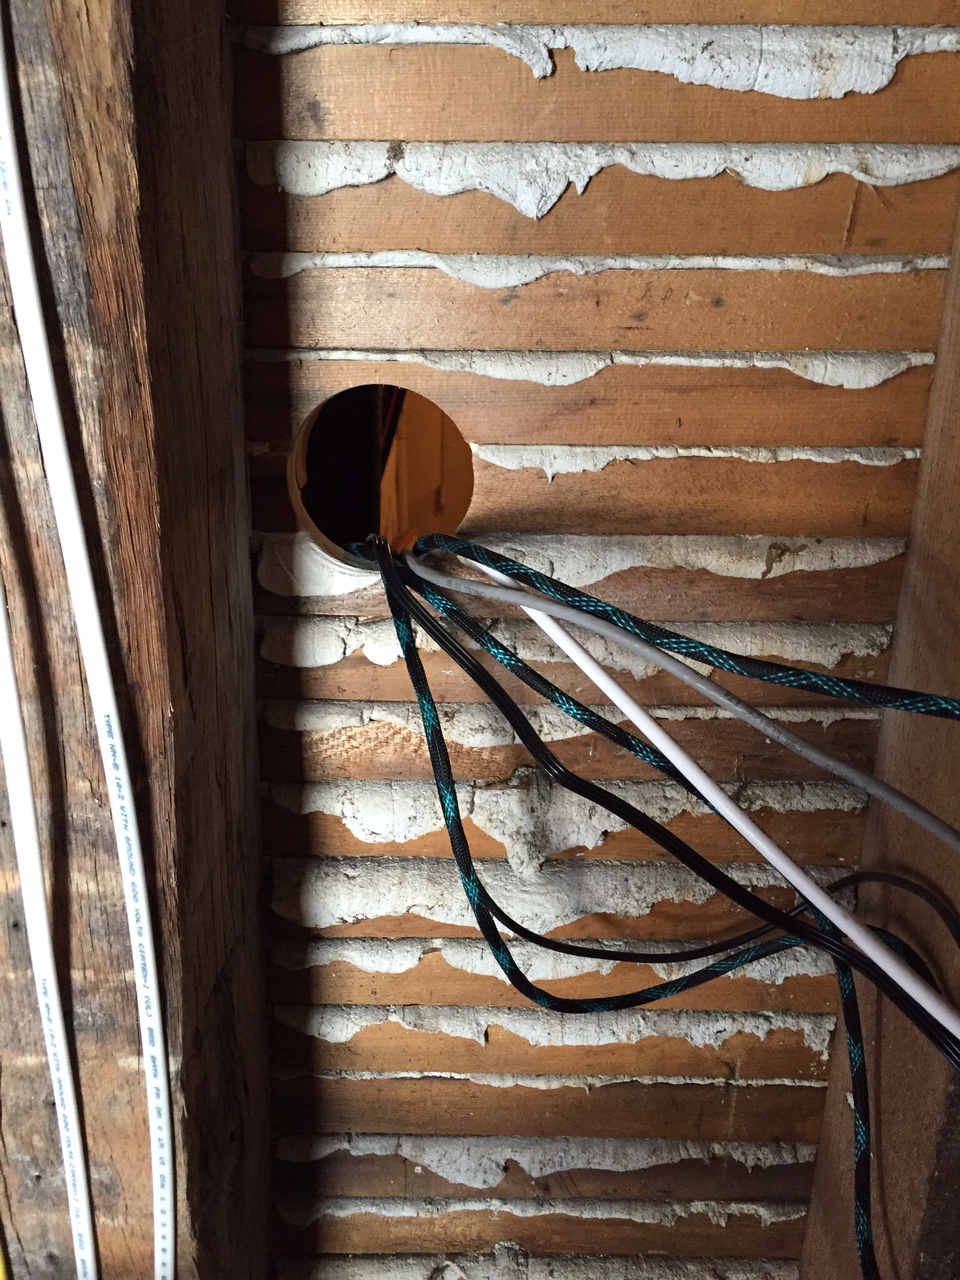
If you look closely at the pics you can see some of the IC rated high hats, they will provide even lighting, but the intent is to put them on a dimmer so that we can get that little theatre experience of the lights going down before the show. With the room insulated and immediately warmer and more comfortable to work in, it was time to run the data lines. Things are moving more and more wireless, but we still wanted to have enough HDMI/composite/Cat6/optical cables to be able to put things in the tech closet and not have to have visible wires hanging down from the TV. It was not too hard, just a matter of ordering a bunch of 10' cables and running them through the wall so that eventually they can be hooked to boxes which will be behind the TV and behind the cabinet where the electronics will be stored. A little planning here should (fingers crossed) save us trouble down the road.

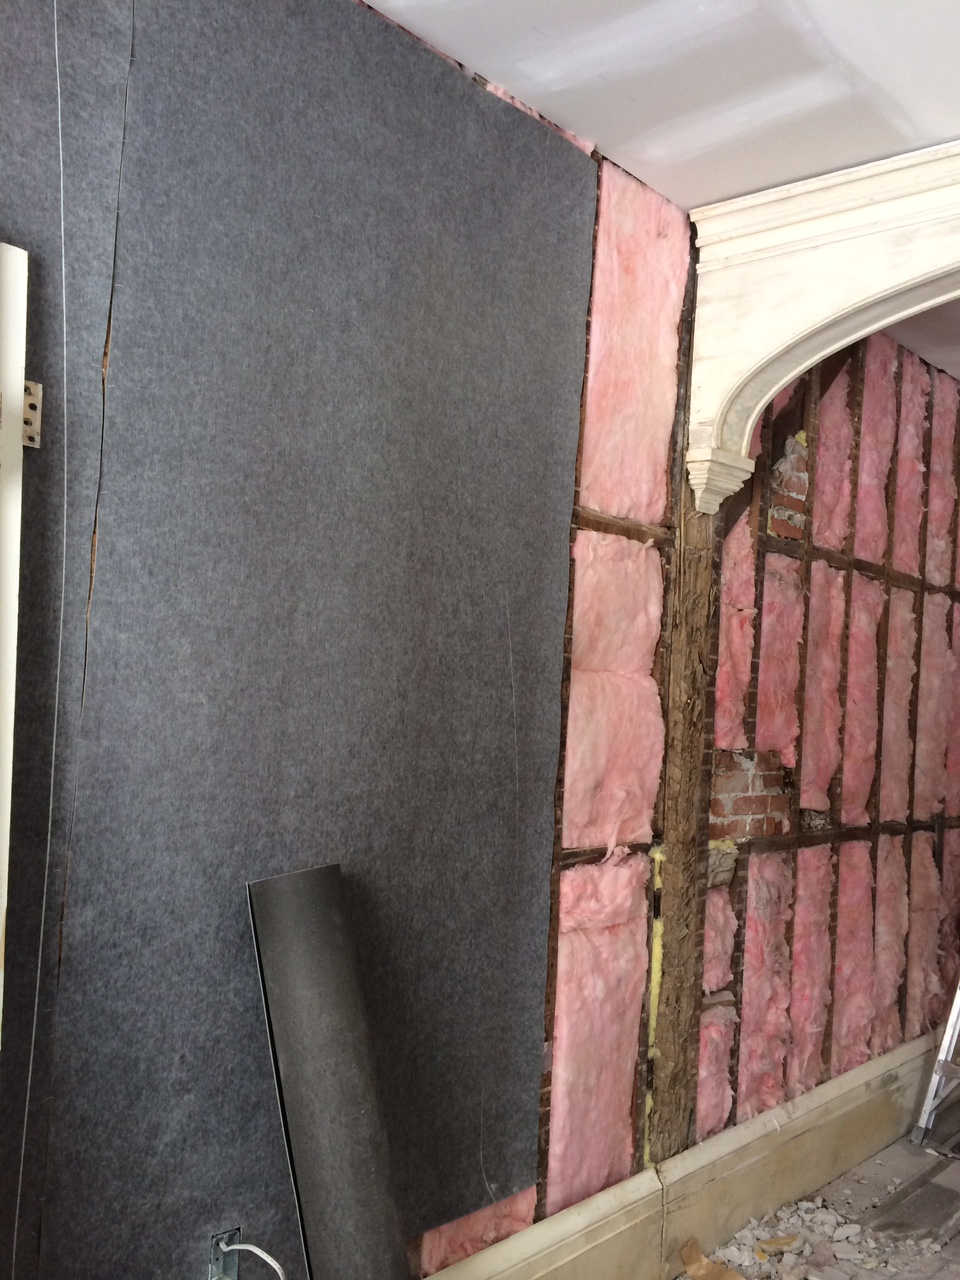
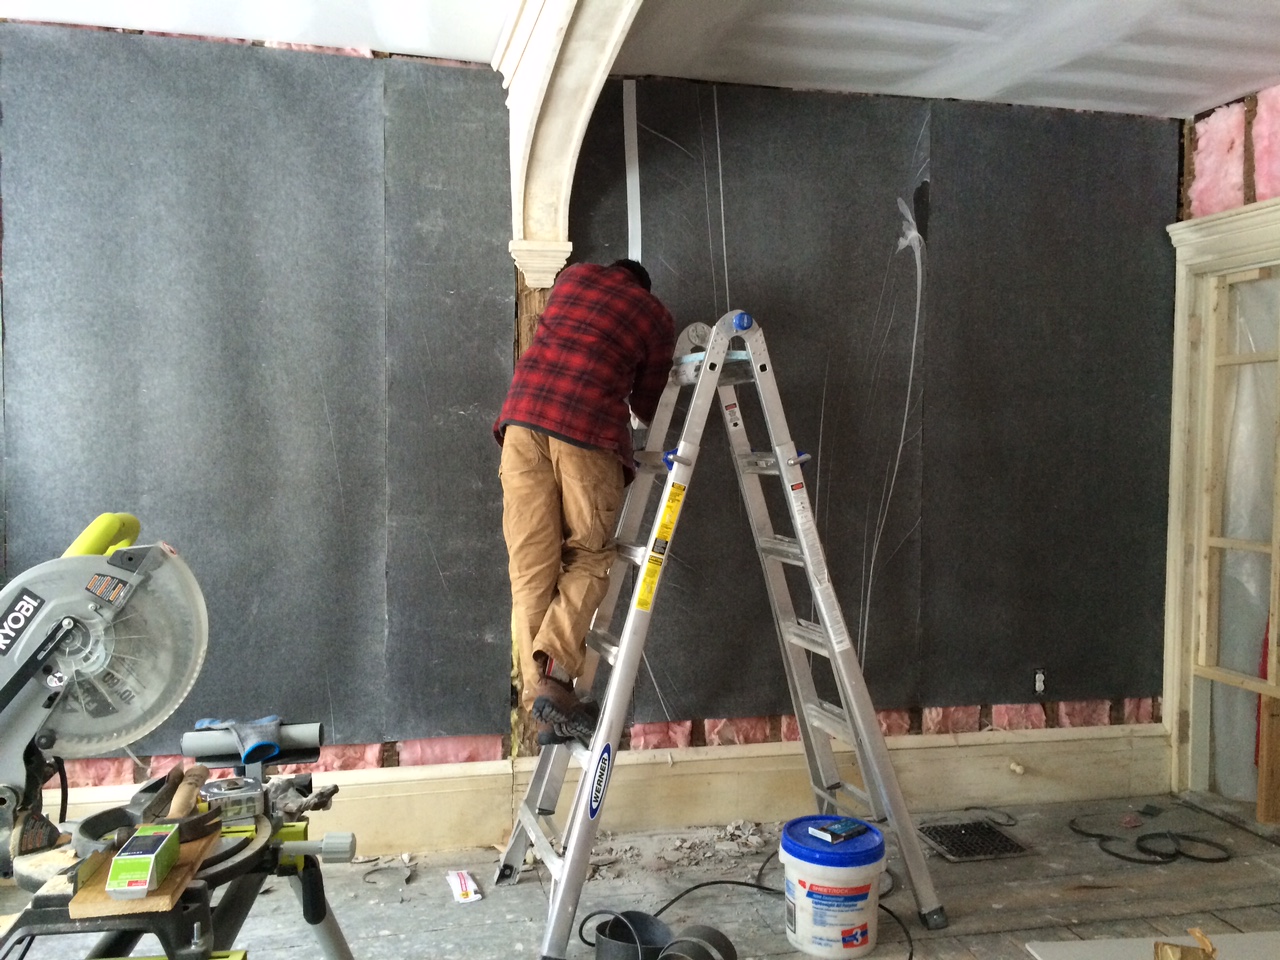
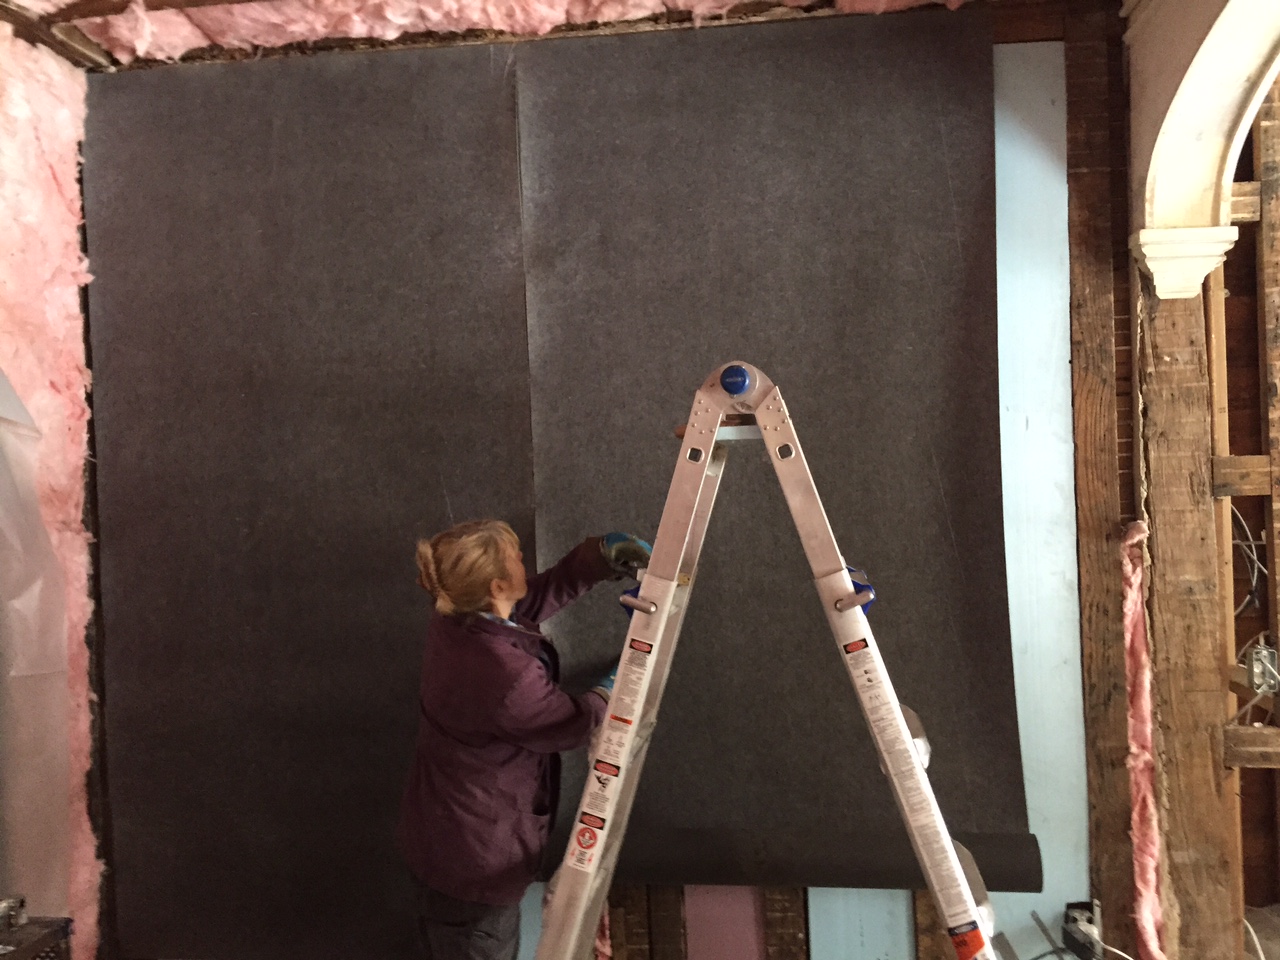
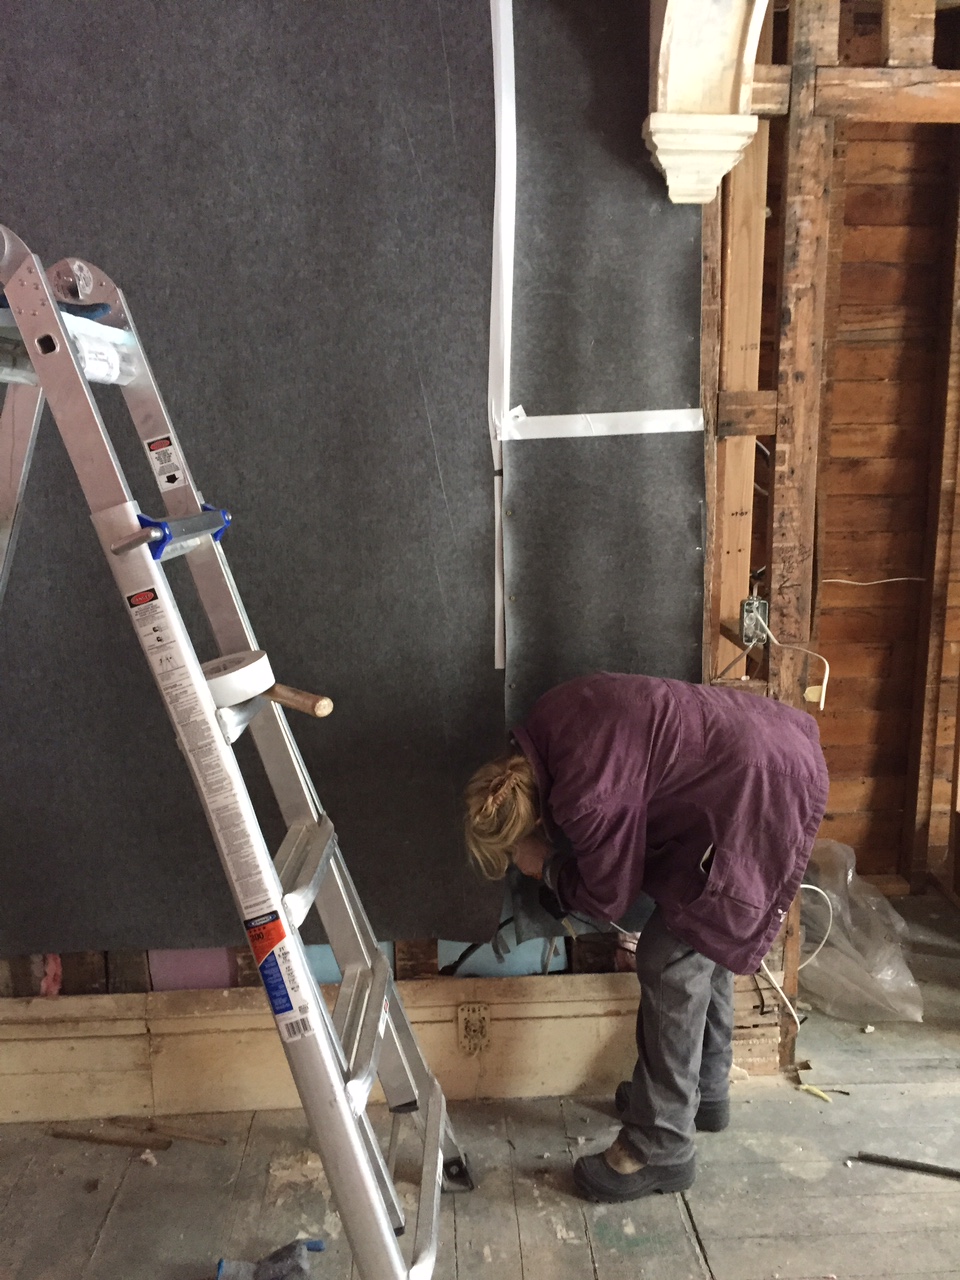
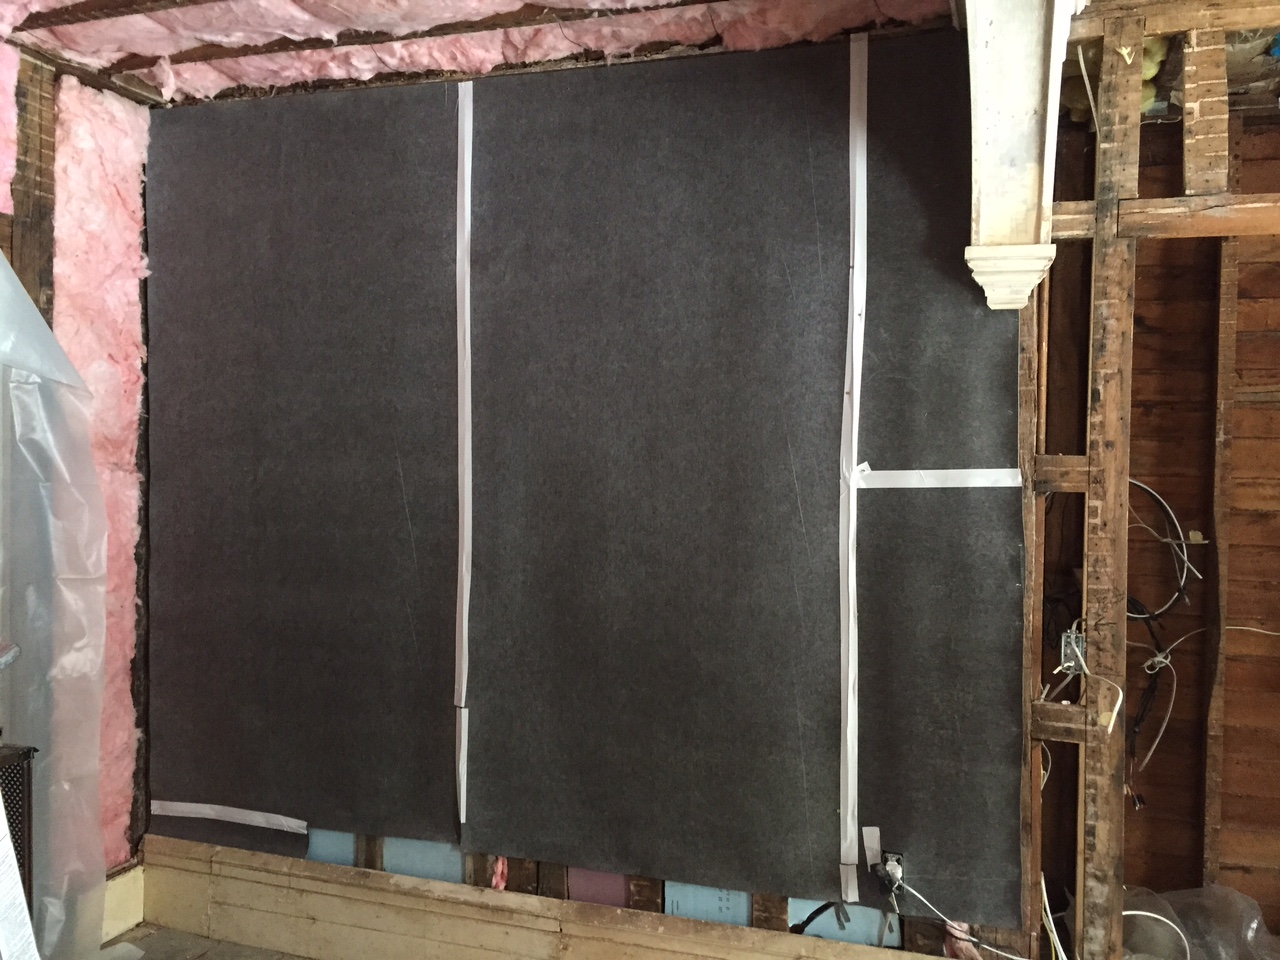
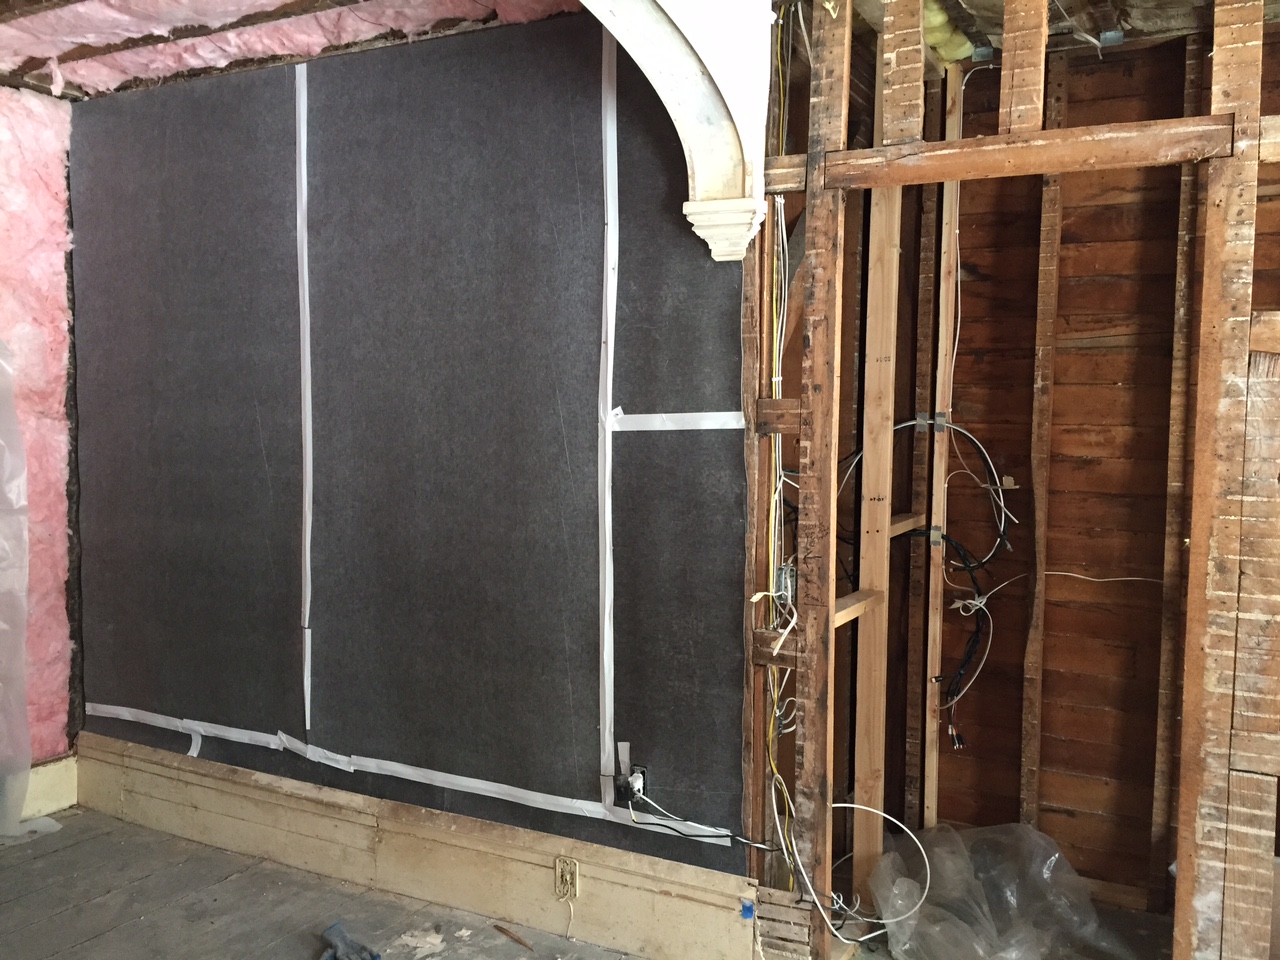
Now for the fun part, the acoustic matting. This stuff is dense, and heavy and it does not want to unroll. It really just takes some practice, and thankfully it cuts easily. Our system was to unroll it up the wall and staple the top edge and then work our way down. We used 1/2" staples, anything shorter just ripped out under the weight. Once the matts were up we went over the seems with high quality duct tape. The drywall will go right over it just like a normal installation.
 

So, what makes a tv room a tv room??? A whole lot of advance planning. Can't wait till we can kick back and watch a movie in here.

Future TV Room Demolition

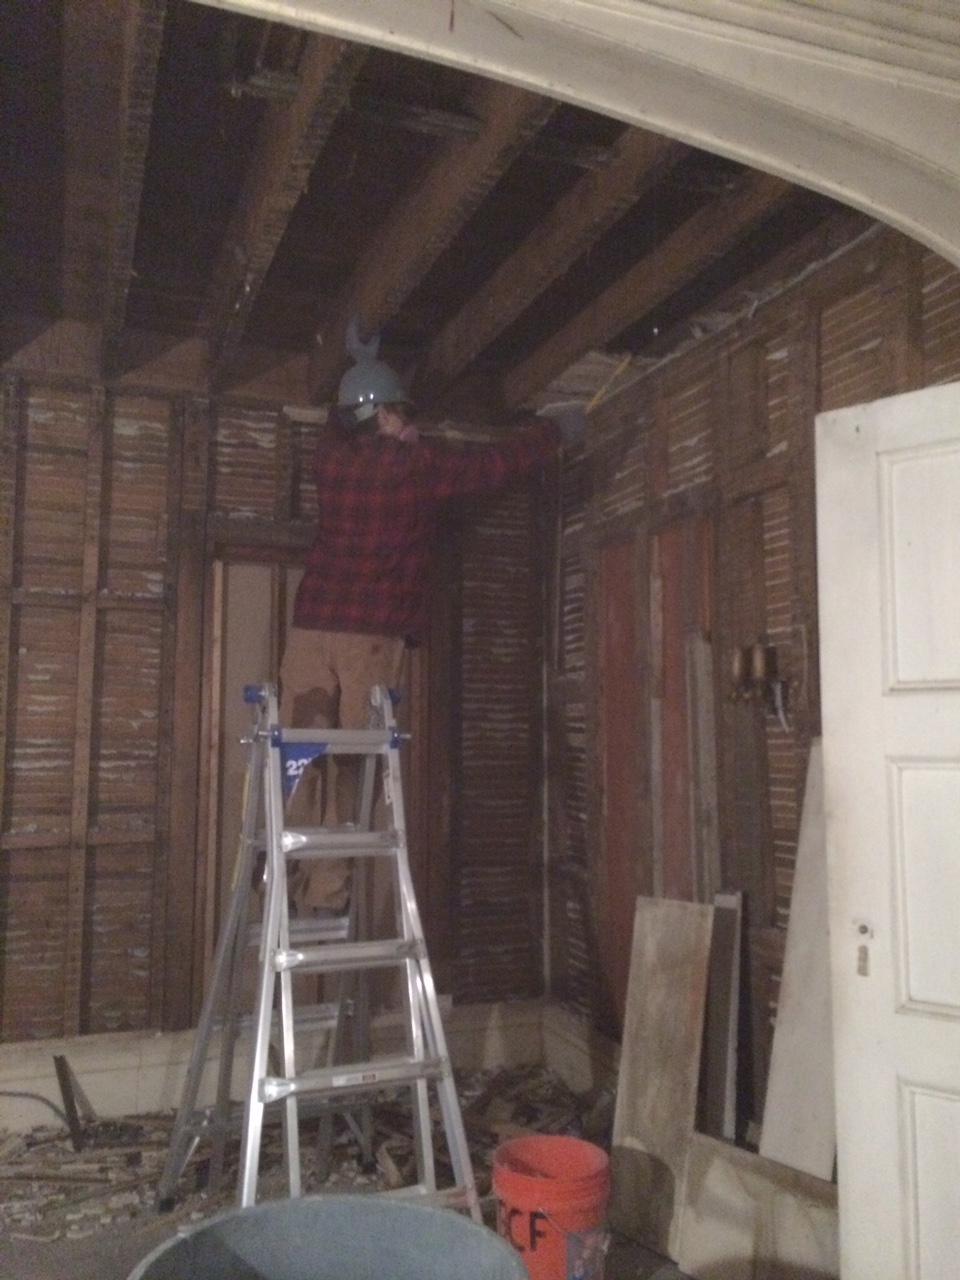
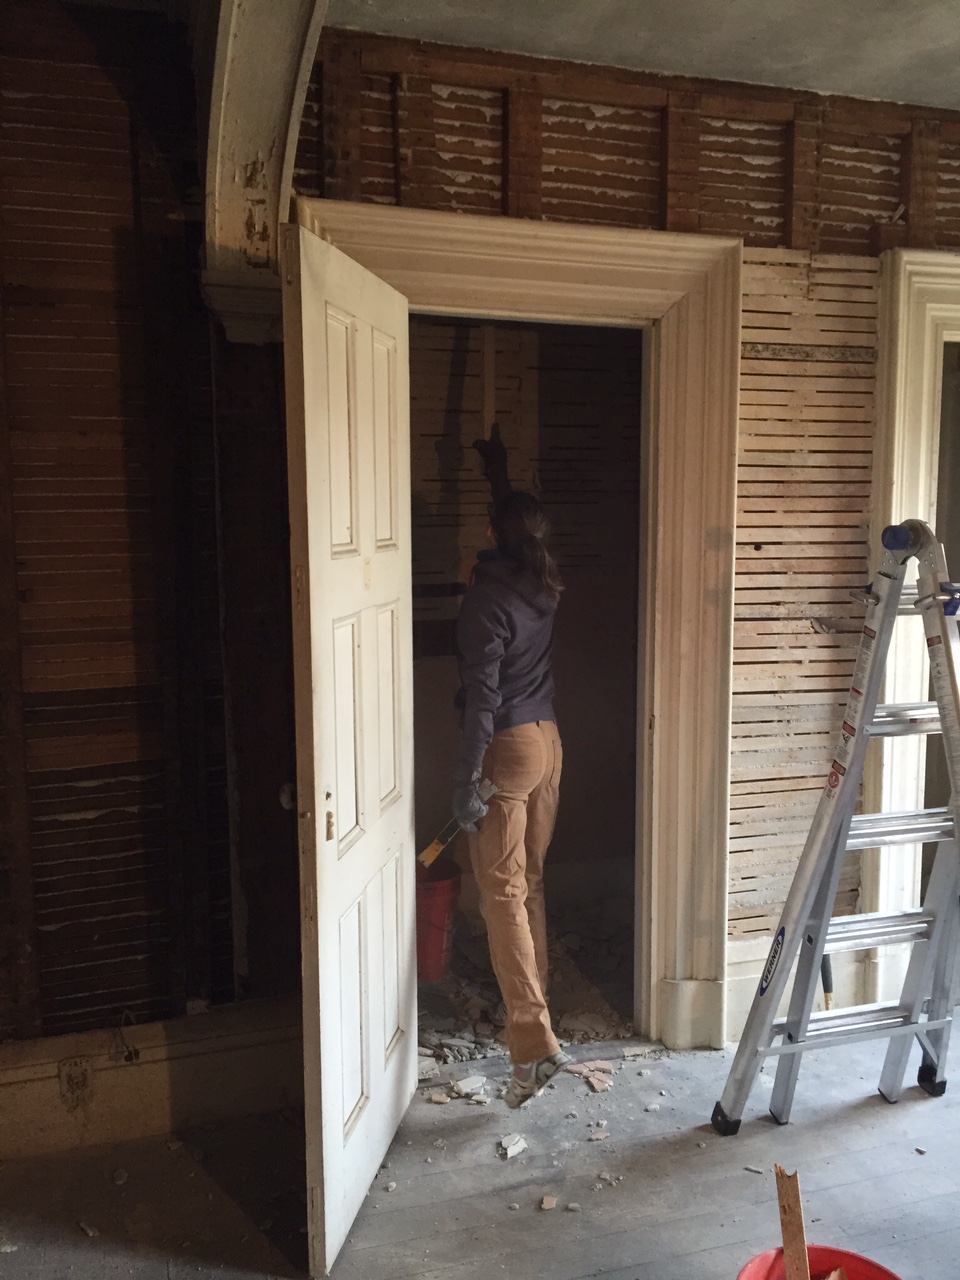
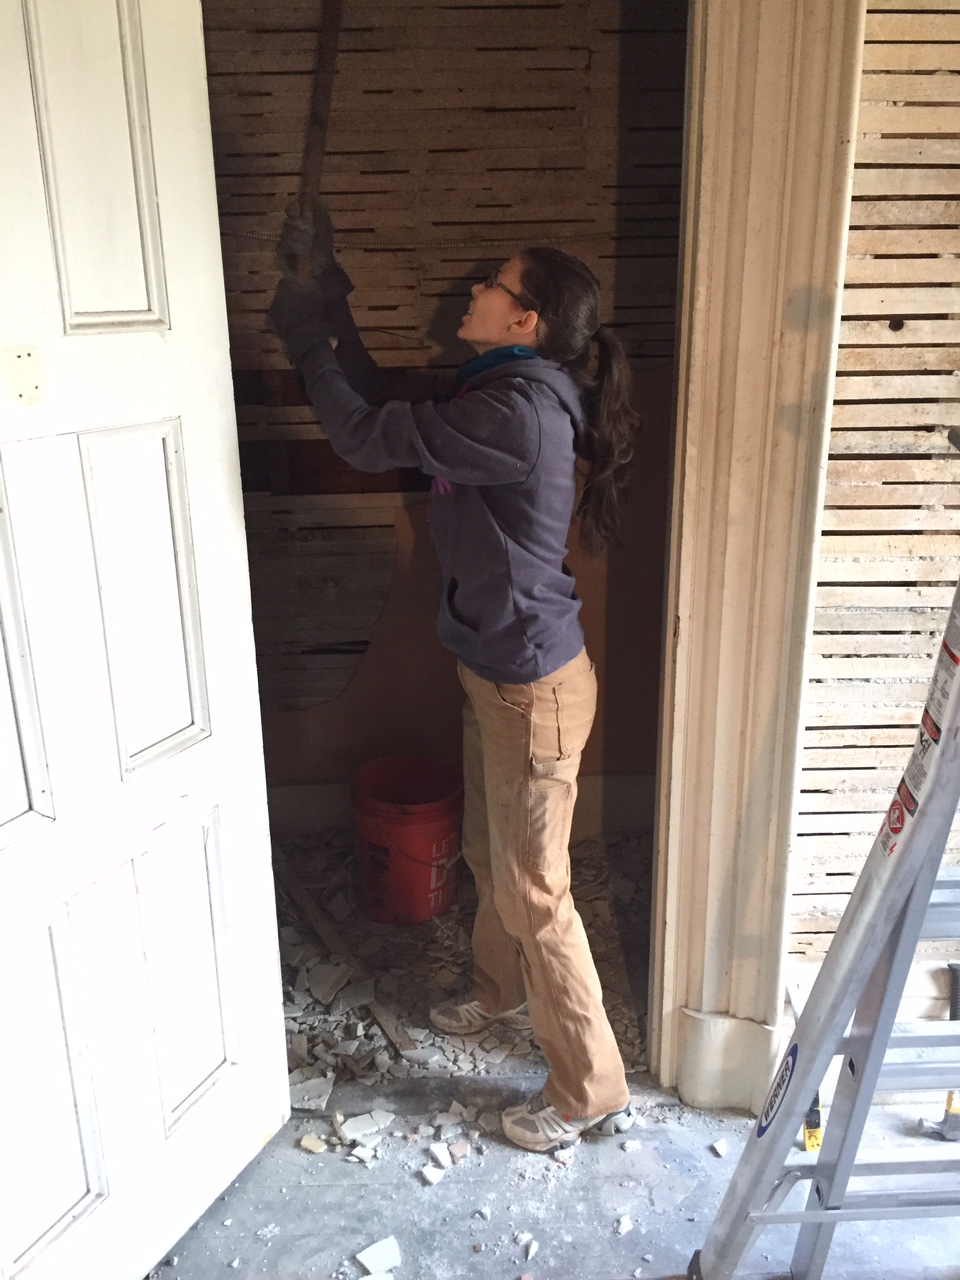
Removing plaster and lath is fun, oh so much fun. The future TV room has not been used in a decade by our best estimate. Unlike the rest of the house the floors still sport a thick coat of paint and the walls are done in a very thick layer of a color that has not been in vogue during our lifetimes. The demolition is pretty straightforward, break, pull, break, pull, clean up, start again. Despite respirators being a real annoyance we found that when dealing with plaster dust they really are a must use item. Also, don't be fooled into thinking that all crowbars are the same, we used three different styles on this room and each had a particular place to shine (a cat's paw is indispensable for the removal of little stuff around the edges).
 

Every room has its surprises and this one was no different. We found two old chimney thimbles that have not been in use in decades, a galvanized metal duct which does not go anywhere and was apparently never attached to anything, many chipmunk nests, clapboard siding which marks the west wall as having been exterior at some point and a door that used to go to the hidden room. Before we can close the walls back up we need to address the plumbing to the pink bathroom above, duct work to provide heat to the upstairs north east bedroom, wiring to that same bedroom and insulation to the space above Ermela's room which is accessible via a small crawl space near the chimney. We also need to set this room up for TV use which means sound insulation and special wiring for speakers and electronics....so though it is gutted, it will be a while before we can put it back together and start enjoying it.