Those in Glass Houses....

NO throwing stones in our new glasshouse!! That's the rule for our new to us Lord & Burnham glasshouse...this was one of those craigslist folleys. Graham looking at who knows what in the used greenhouse section stumbled across a listing for a dismantled classic Lord & Burnham lean to. Now for those of you who don't know the company, Lord & Burnham was a NY based conservatory company that built huge beautiful conservatories and greenhouses of the botanical garden palm house variety (think the Enid Haupt pavilion at NYBG for reference). Anyways, Graham found this thing, got really excited about the potential for a nice lean to attached to the south side of the garage and next thing you know a box truck is in the driveway unloading box after unmarked box of bits and pieces and no directions but with the vague assurance that everything we needed would be there. Fast forward two years (yes two) and we finally have it up and enclosed and despite a couple hurdles like putting the foundation in the wrong spot and breaking some glass and not fully understanding some components it is actually up and pretty awesome. The awesome factor is based on it being 80+ degrees inside on a sunny day while only 20 degrees outside. We suspect this might pose an issue in the summer but hope to have the very complicated venting system sorted by then. The space is 35' long x 13' deep x 12' high inside. We expect to be able to do all of our starts as well as some protected crops and all our hanging basket production inside, and have room for a bistro table and chairs for some mid winter mood improvement.

We will spare you all the grisly details and just let the pictures do the talking, can't wait to get things growing in here!

Orchids are an Addiction

It's true, not sure if a 12 step program exists for this particular affliction, but it is a real problem. Take our greenhouse as an example, once upon a time it was slated for seed starting and growing hanging baskets.... fast forward a season and it has been consumed by the slow and inexorable creep of additional epiphytes and exotics. Oh well, it looks better for it and has spurred completion of the second orchid, we mean propagation greenhouse. 

As a reminder, greenhouse #1 started as a shed with a glass wall and stone floor. It had electricity and a water supply line, a drain line that goes....somewhere and a separate tool storage section running it's entire length. It appears to have been built in two phases, once a much smaller building that had grown and continues to grow. This summer we finished installing double wall poly on the west roof pitch and south and west walls. We also added misting systems, heat, insulation and lots of benches. This is very much a work in progress but it is coming together and and we look forward to sharing pictures as it progresses.

Arctic Descends

According to the Times, Bloomberg, NPR and the venerable Weather Channel we have just experienced record setting lows...temps so cold that we are of a mind to start our own Super PAC with the goal of getting the jet stream back where it is supposed to be. We didn't need any of those news outlets because the minute we stepped outside every bit of exposed skin let out a cry for help and then abruptly froze.

Naturally our deep seated basic instincts said find a warm cave and crawl inside; we obeyed in the modern sense. A warm place and a fire were a good start but the icing on the cake was a full rack of ribs slow cooked to perfection. The next morning we awoke to one of those crisp blue mornings, the kind where the beauty belies the comfort. Checking the chickens, walking the dog, inspecting the plants in the greenhouse those things are normal; doing them at "feels like -29" that's a truly visceral and memorable experience, made more so by seeing the sun come up through the trees. Just goes to show, even when farm life is downright uncomfortable, there is still beauty to be found. 


Getting Traction

The farm had a great driveway probably about 150 years ago, that's not meant to be a joke, seriously the last evidence of this placing having a good driveway is a sepia tone photograph of folks in period dress, a guy in a rocking chair and a horse n' buggy. Gravel had been put down from time to time over the years so the basic foundation of a driveway existed but it was very muddy and washed out. Based on that old photograph and the way the grass grew in we could see that the drive used to curve around the front and then go back along the side of the house. We could not replicate the exact front circle because a couple 100' pines grew in the way over the last century, but we created an amoeba like approximation which really ended up looking good. There are right and proper ways to make a driveway and there are less proper ways and then there are hybrid versions like we opted for. Purists will tell you that a base coarse needs to be put down then weed fabric then various grading and edging. Those purists probably don't have to deal with driveways that are over 1000' long very often, we opted for the more old fashioned way, put down gravel and then drive on it a lot and regrade from time to time. Eventually we will put in belgian block edging but at a cost of about $5 a foot times over 2,000' of edging, well, you do the math. Ermela came up with the great idea of using thin cinder blocks as the temporary edging, at a cost of less than a $1 a foot and capable of holding plants in the holes (we will be planting trailing thyme in each and every hole - three holes per block, you do the math) they turned out to be perfect. They do break if hit with a plow or backed over by a heavy truck, but we think they will tide us over until we win the lottery.

What follows is really just a lot of pictures of the whole family pitching in to bring this project together. In short, we used a trencher to cut the channels and the driveway shape. We then put the cinder blocks in the channel, back filled and brought in gravel. Sounds easy right? Wrong, it was a bloody nightmare, especially because Graham thought he could move the 220 tons of gravel on his own..by hand. You heard that right, genius over there tried to move 4 million pounds of gravel, it didn't happen. The gravel company owner watched for about 2 hours with a little smile on his face until Graham and Donald could barely move and then he drove his dozer over and moved the rest of the stone in no time.

A big thank you to the whole family that came out over the holidays to pitch in and help, this was hard, heavy work. And a word to the wise, if you try this yourself, practice with the trencher a bit and try to find one that is capable of making turns.


Birthday

Two wonderful ladies threw a big birthday for me (Graham) this past weekend. It was great to finally put the house through its paces and break the kitchen in a bit. A huge thanks to my wonderful wife Ermela and my talented mom Carol for putting this event together! And now, the pictures can do the talking:

Harvest

There is nothing quite like reaping the rewards of your labors. That's not to say that the actual harvesting isn't work in and of its self, but something about it is a wee bit more enjoyable than the digging, slogging, planting part of the year. This year Graham was slightly more restrained than last year in his potato planting and the harvest was spread out over several weeks. We were fortunate to have our good friend Henry visit with his family to help disinter the brown, purple and yellow nuggets of starchy goodness. There is something about digging in the soil and finding a perfect potato that really delights. 

Some other edibles were far easier to harvest and we are thrilled to finally have eggs! Of course our bird brain chickens keep laying them randomly in the straw on the ground instead of in their beautiful nests. 

And then of course there were the bees..we were hoping to have gallons of honey to harvest but alas the bees were just too busy setting up shop and getting established. We do enjoy suiting up and checking in on them though. 

Oh how we can't wait for the orchards to factor into harvest season. 

Harvestin'

Things are crazy here, the flowers are growing fast, blooming fast, and fading fast...we are learning as we go and trying to make the most of it all. There have been some real learning moments in regards to plant spacing, crop supports and marketing strategies, but we are taking it all in and already looking towards next year. We still have to finish this one though so for now we will just keep picking, planting and selling. Here are a few recent harvesting moments:
 

Quick Hoops - Invention of the Century???

We think yes. For those of you unfamiliar with Quick Hoops, you are missing out, at least in our somewhat humble opinions. Last year our eggplants were decimated by Japanese Beatles (we hate Japanese Beatles, they are stupid stupid stupid{literally, they fly straight into things all the time}). Aside from being less than intelligent they are also extremely destructive. As adults they eat leaves, something they are currently doing in the orchard with wild abandon but their real damage is inflicted when they lay eggs on plants which pupate and the grubs eat their hosts down to little nubs, really terrible manners on their part. Point being, last year between Japanese Beatles and Flea Beatles, are you familiar with Flea Beatles? They area really really annoying, they hop on young leaves and eat little holes and sap the energy from the small plants... right so beatles in general really ruined our eggplant crop last year, we planted 60 plants and got two actual little eggplants! This year we opted to try row cover fabric from Agribon and Quick Hoops from Johnny's Selected Seeds (a good Maine company). The Agribon is pretty standard stuff, comes in various widths and lengths and keeps bugs off your crop, it will also keep pollinators off your crop so make sure you take the fabric off once you see flowers; its used across the country and the gently moving white tunnels of it are sort of the modern equivalent of scare crows. Quick Hoops on the other hand are a do it yourself brilliant invention from the folks over at Johnny's that allow people to make hoops for low row tunnels out of inexpensive electrical conduit. The conduit costs very little and holds up to the elements with no issues, the system is also totally modular and works with any kind of row covering: agribon, plastic, insect screen etc.. You want pictures right? Good, because we can't figure out a good way to explain this.
 

The Quick Hoops bender is the double pipe arched shape that we bolted to an old stump (you can also use a picnic table or the truck hitch adaptor they sell). In less than a minute you can bend a straight pipe into the perfect size for a 4' wide raised bed, then it's just a matter of pounding them into the ground or slipping them over short rebar lengths like we did and then covering with your preferred material and anchoring the sides so that it doesn't blow off. This will keep our plants safe from pesky beatles (did we mention how much they annoy us) and will also create a bit of a sheltered mini climate for our peppers and eggplants to mature in. When compared to purchasing hoops from a vendor this little invention pays for itself in no time (we may be a bit over enthusiastic as images of eggplants are dancing in our minds). They also make a bigger version for full size gothic arch high tunnels, but that project might have to wait a bit.
 

When Chickens Escape: Deux

So it was fairly surprising when Graham heard our rooster crow for the first time (given that he was on the roof and he has a habit of falling off those we count ourselves fortunate he was not too too surprised). Sure enough the free chick that Murray McMurray threw in the box with our order turned out to be a male. A male going through puberty it would seem since his "crows" sound like a balloon slowly deflating. Anyways, since we don't want fertilized eggs we took him away from the girls and put him in a separate fenced enclosure...which he promptly and rather impressively flew out of. Now we have a rooster running around the yard, making awkward sounds and waiting outside of any door he has seen us recently use. Overall he makes an excellent addition to the atmosphere; we are keeping our fingers crossed for his health and survival!
 

What's Bloomin' today

More tulips, the dark dark tall stemmed variety is totally getting planted for next year. Also, our old lilac tree is showing some love as are our very old rhododendrons (need to identify what species they are). The white double almost Peony looking tulips are also beautiful, but their stems are far too short to use in bouquets....they will be sacrificed to the compost gods unless they put some effort in.  
 

What's Bloomin' Today

Spring is here in full force and it seems like any direction you turn there is a feast for the eyes. Now, please keep in mind that this is our first year in the flower farm ramp up so we are still looking a bit floral anemic but progress is progress and the perennials we plant this year will make spring next year that much more impressive.
 

And let us not forget our indoor tropical beauties.....
 

We Have A Well

Yes... to say a rural farmhouse has a well is not exactly a groundbreaking (pardon the pun) statement, but this is an unexpected well. The house has a fairly new well with a new pump, but we had assumed the old wells were gone and forgotten. Then, Paul (our tree guy) asked if we wanted to see the well he found.... naturally we ran over.
 

In the course of tree removal he came across a cement well cap. Not a small chunk of cement by any means, but he had a nice handy skid steer and so picked the cap off and we looked down about 30' into our very own artesian well!. This is probably over 150 years old and is very well constructed. If we wanted to use it we would probably have to go down and dredge the bottom out a bit as it has silted in a bit. All in all a very exciting discovery and good to know that when the zombie apocalypse comes we will still have fresh drinking water. We put the cap back on it for now, but will eventually put a hand pump on top so we can pose in front of it like in old timey pictures.
 

The Orchard

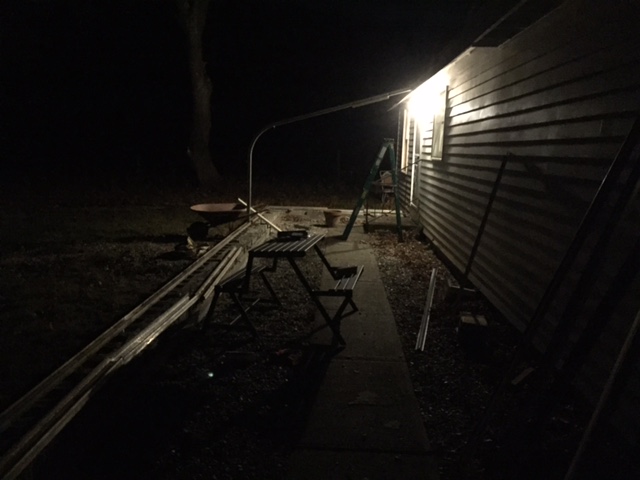
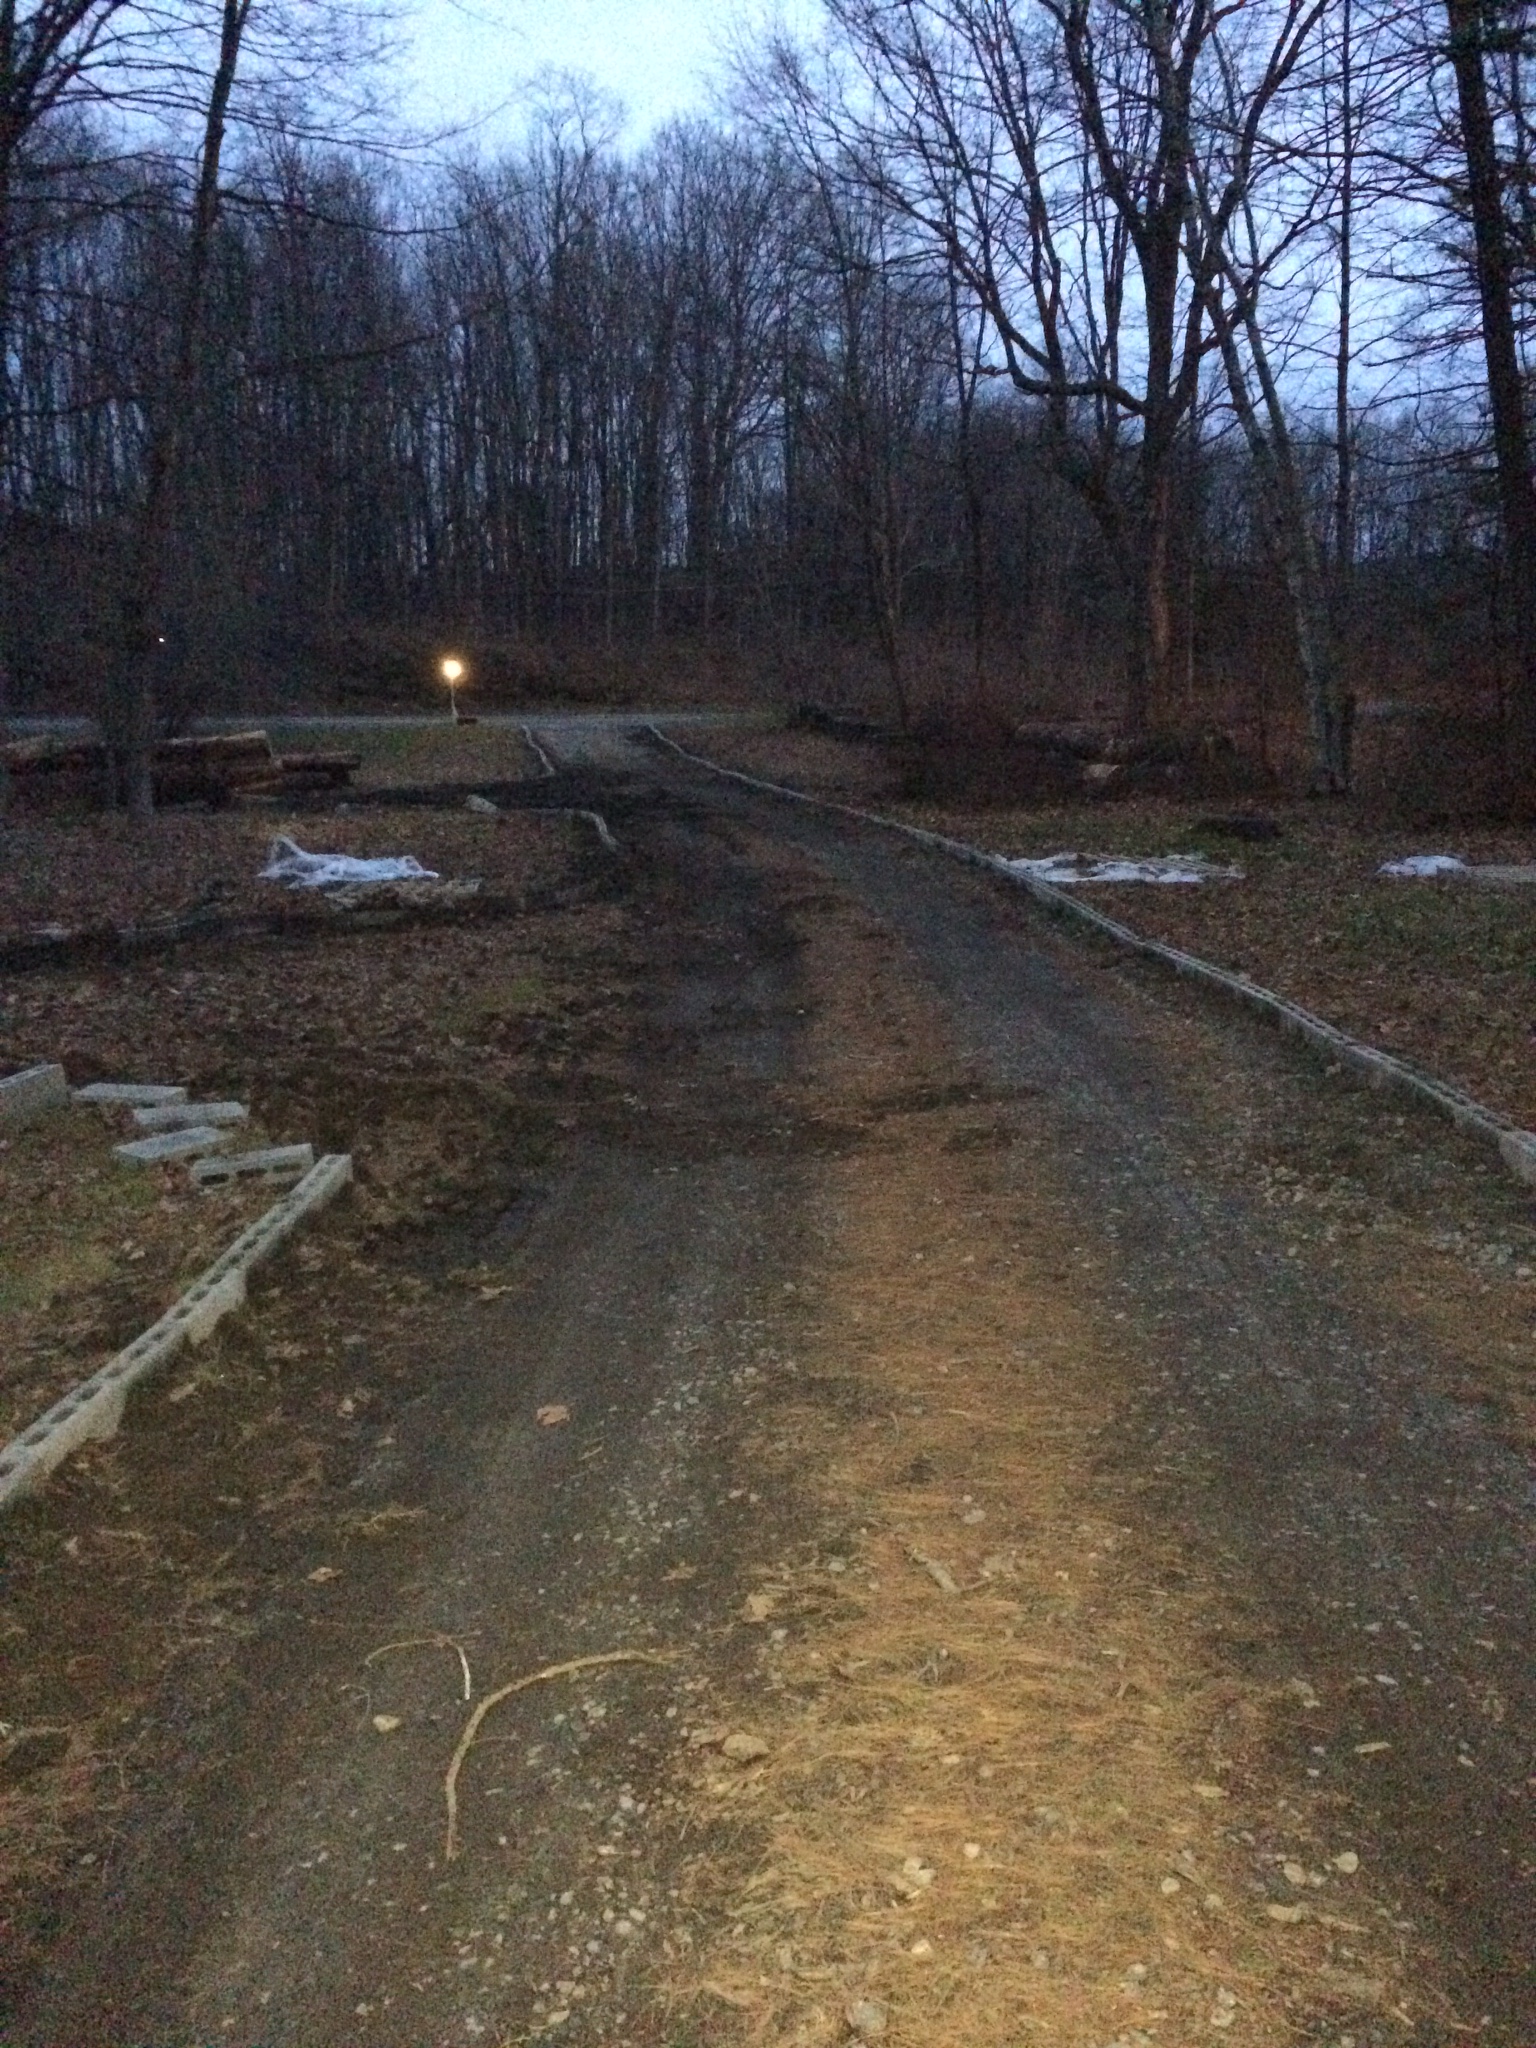
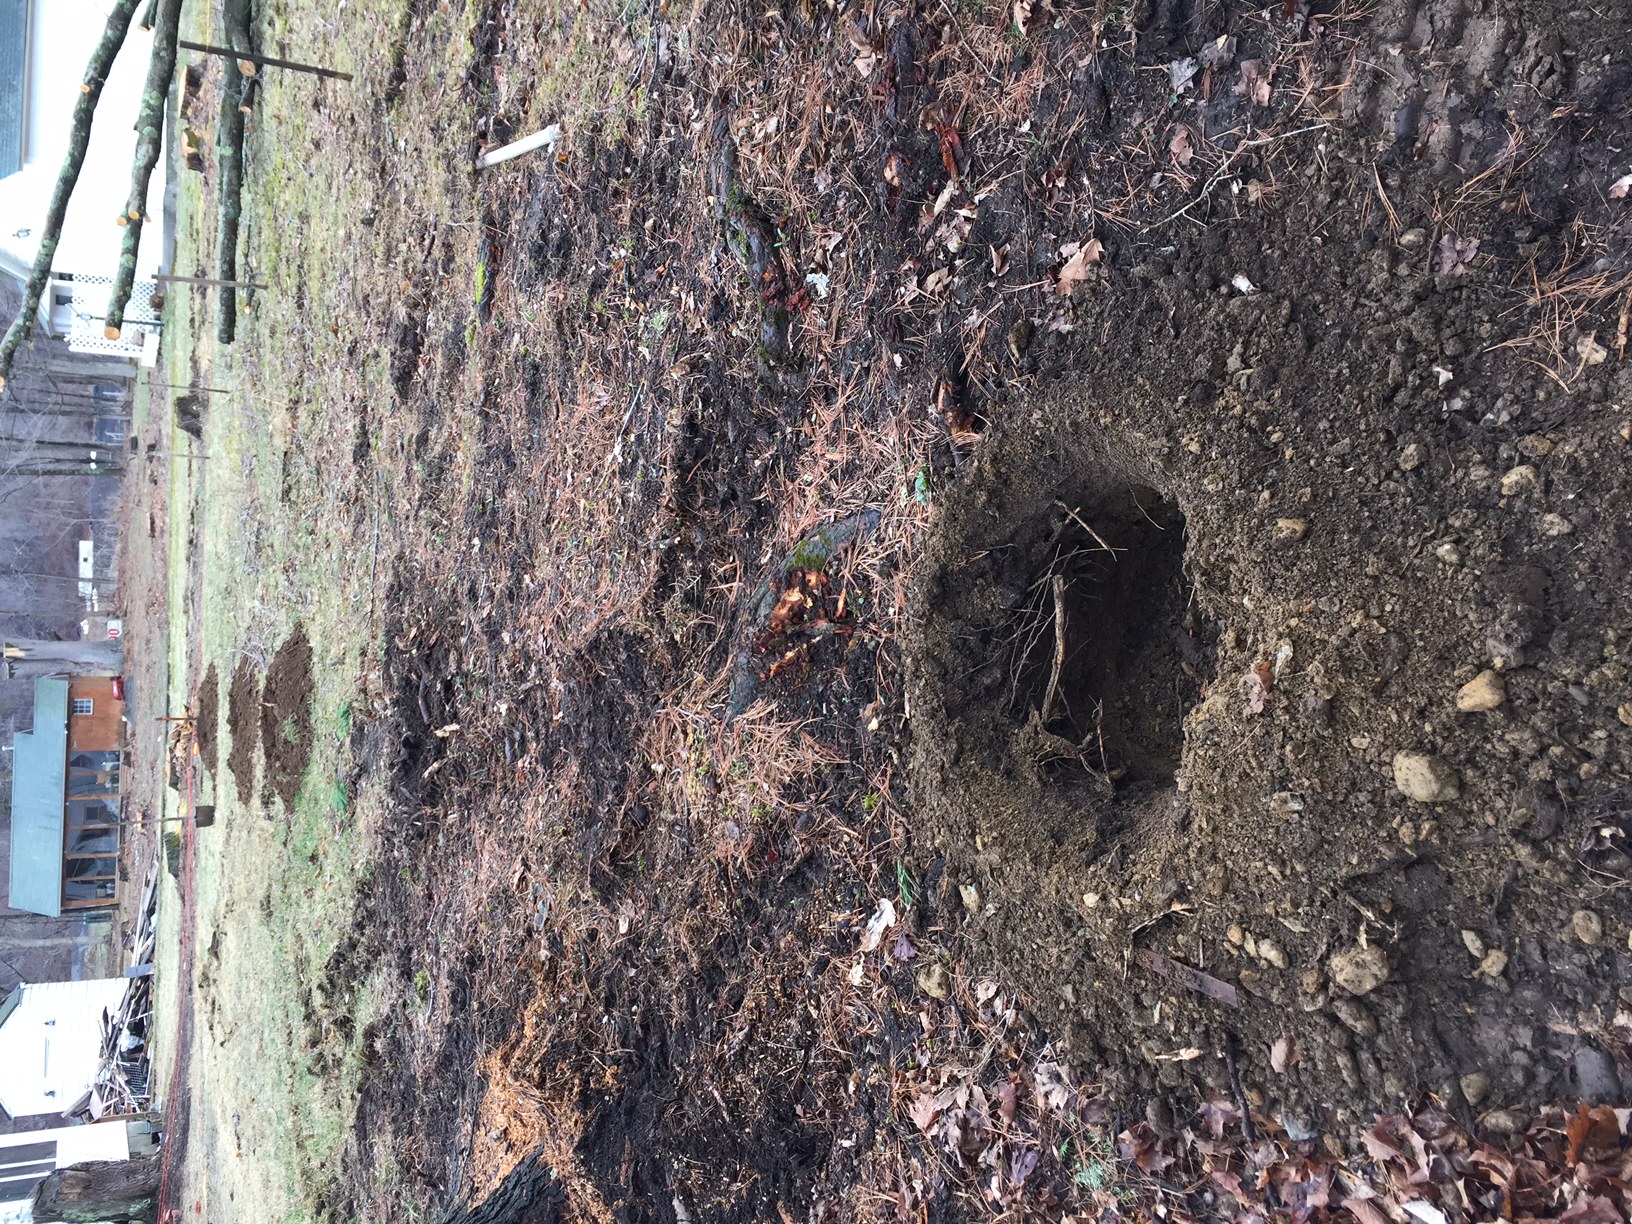
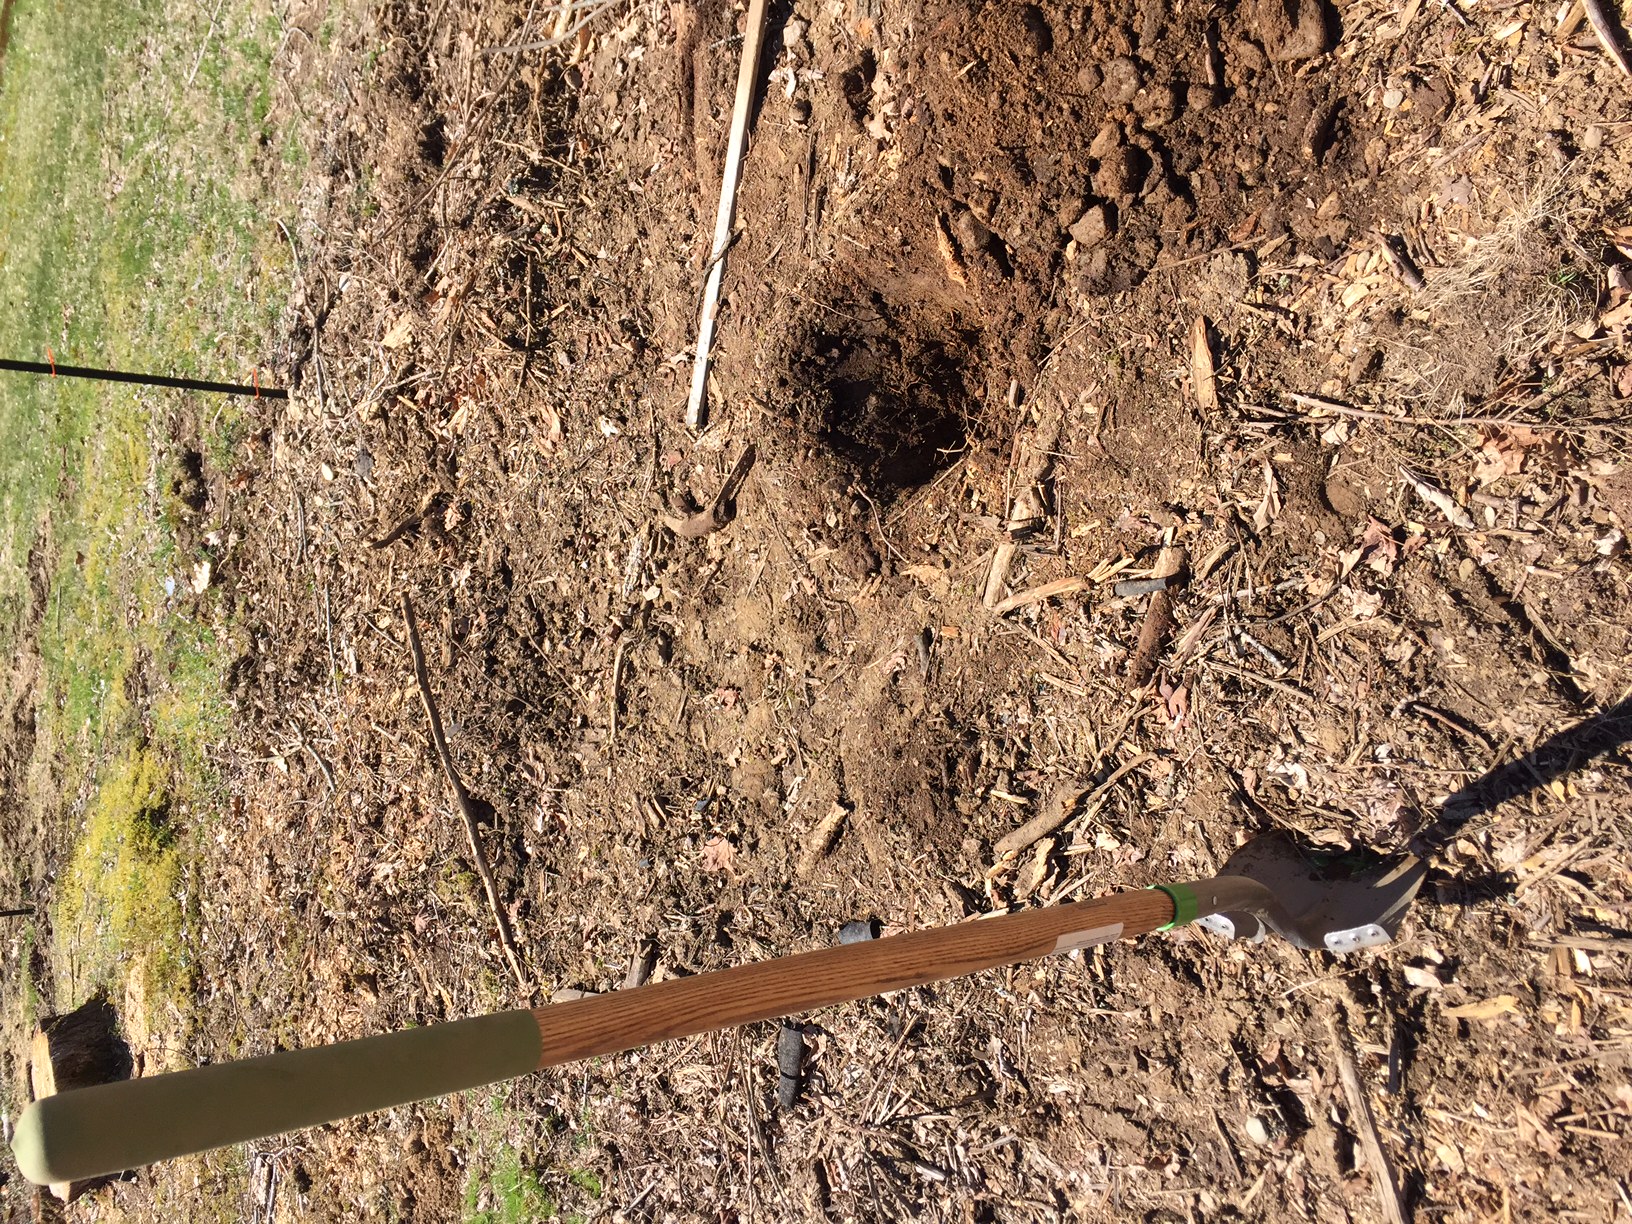
It's taken us a couple weeks to recover from the planting ordeal and be able to mentally re-live the experience in order to put this post together. You may be thinking, ok, so you had to dig some holes and plant some trees big flippin' deal. No, oh no, aside from the fact that Graham fell into one of his own tree holes while trying to plant trees by the light of our truck's headlights it was also like a nightmare "I told you so" from middle school geometry. When are we ever going to need to know the Pythagorean theorem or inverse angles???? We'll tell you when, when you are trying to plant 100+ trees in proper offset rows running at right angles to a house that does not fall on a proper East/West axis, That's When!!! OK, now that that vent has been opened... We shall continue in a more productive tone.

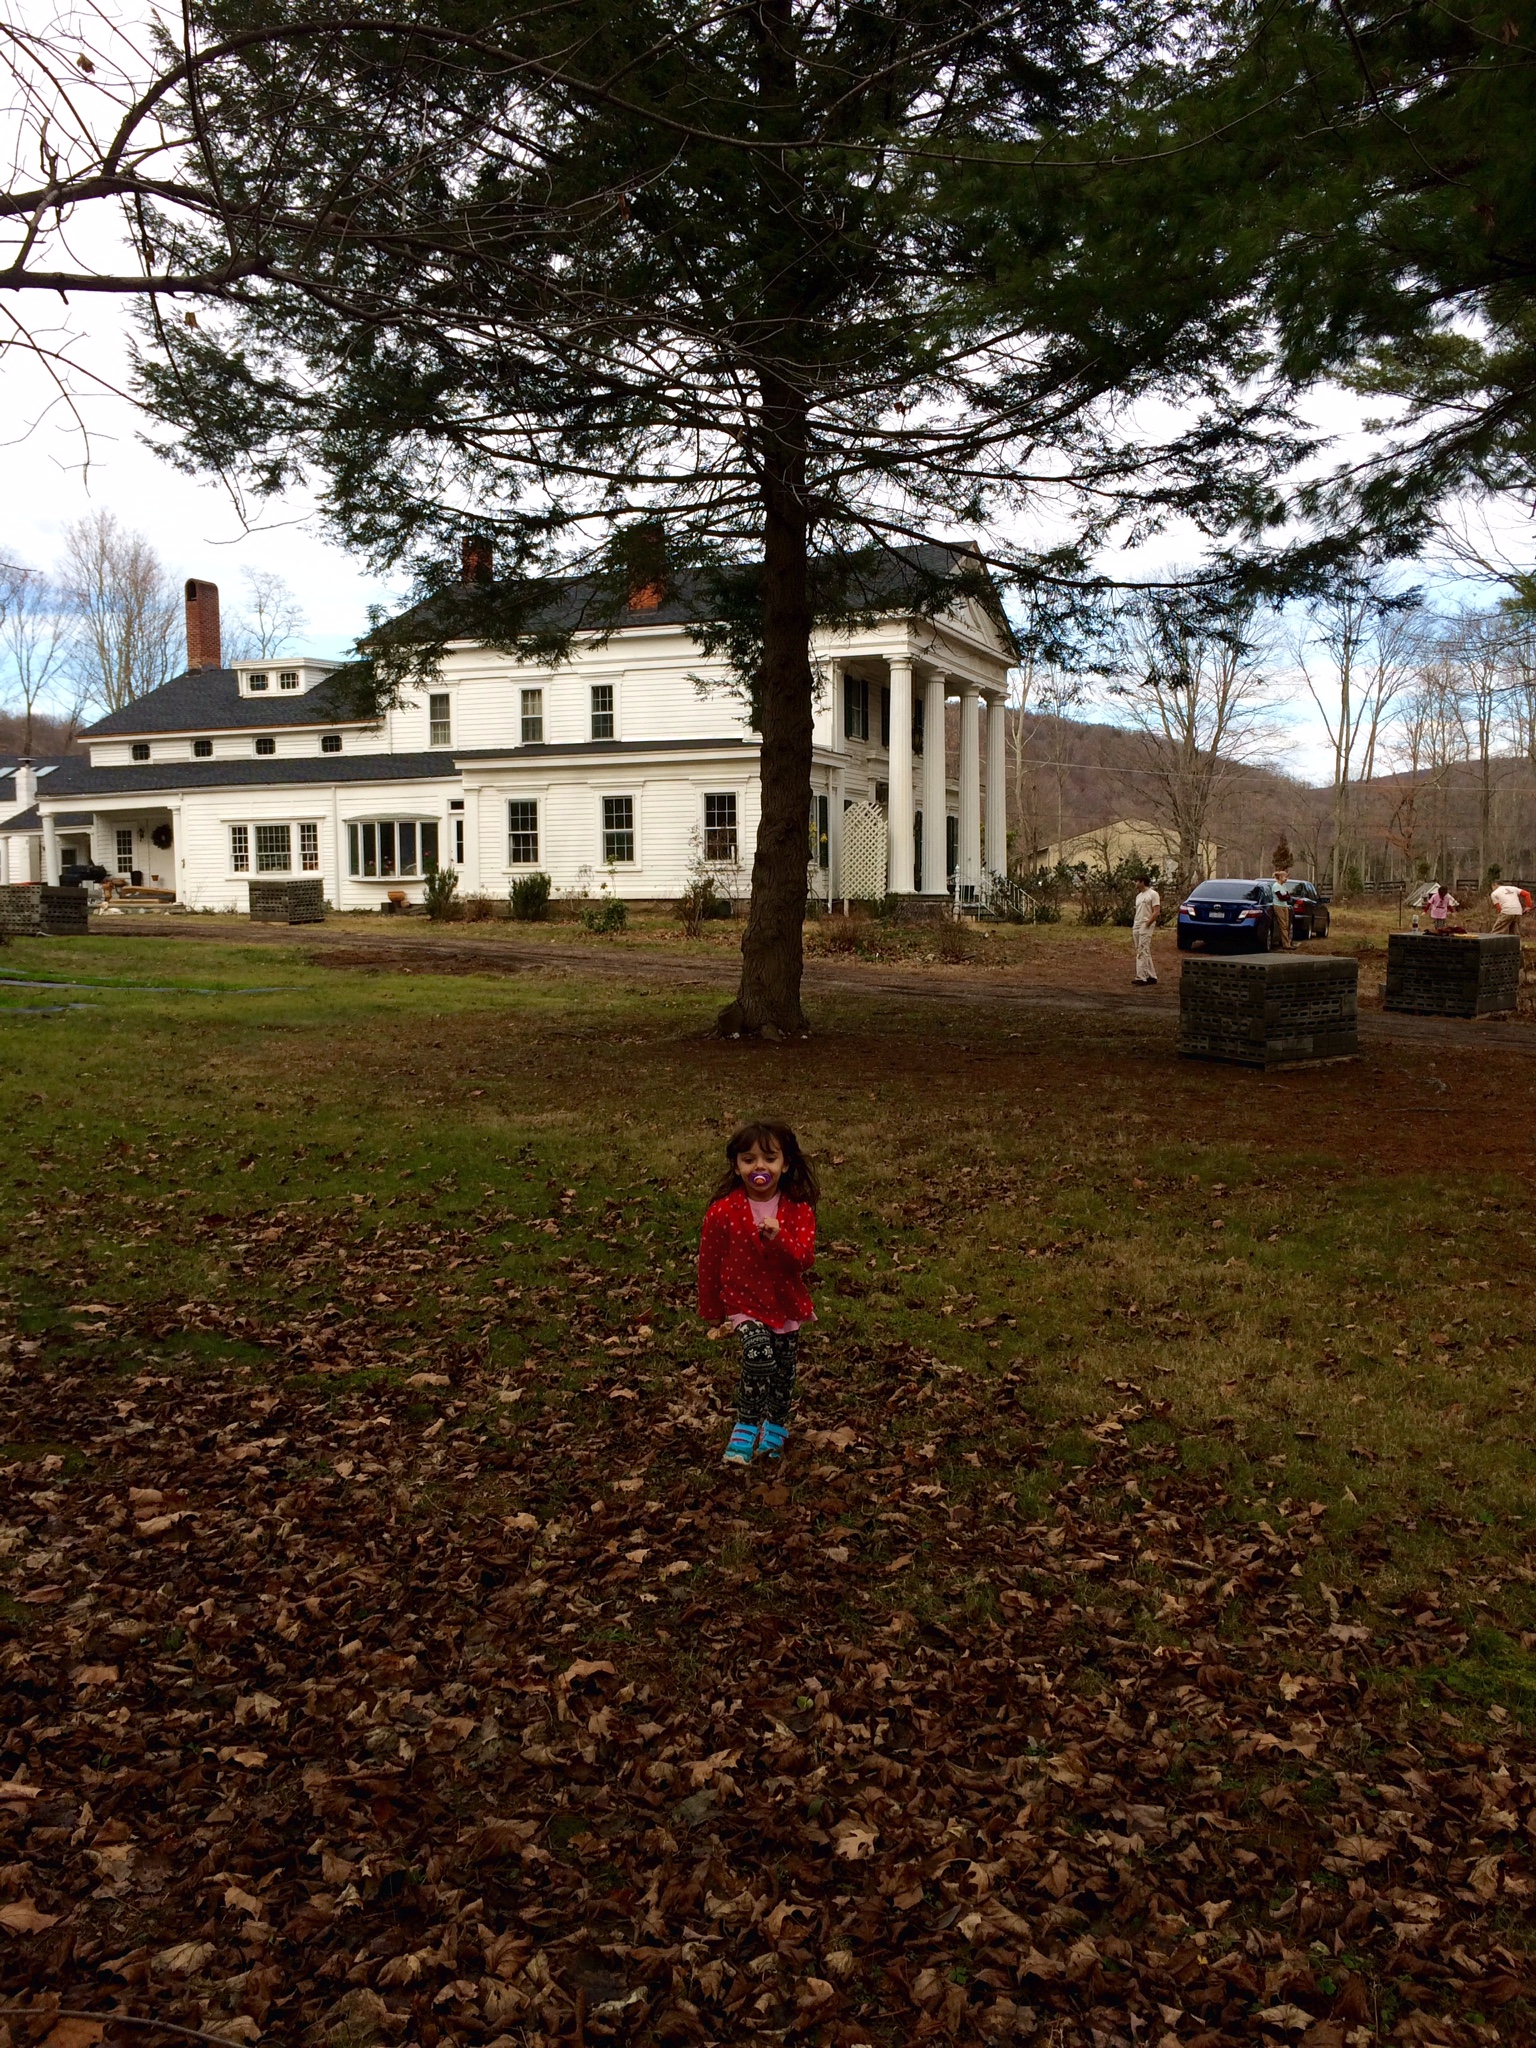
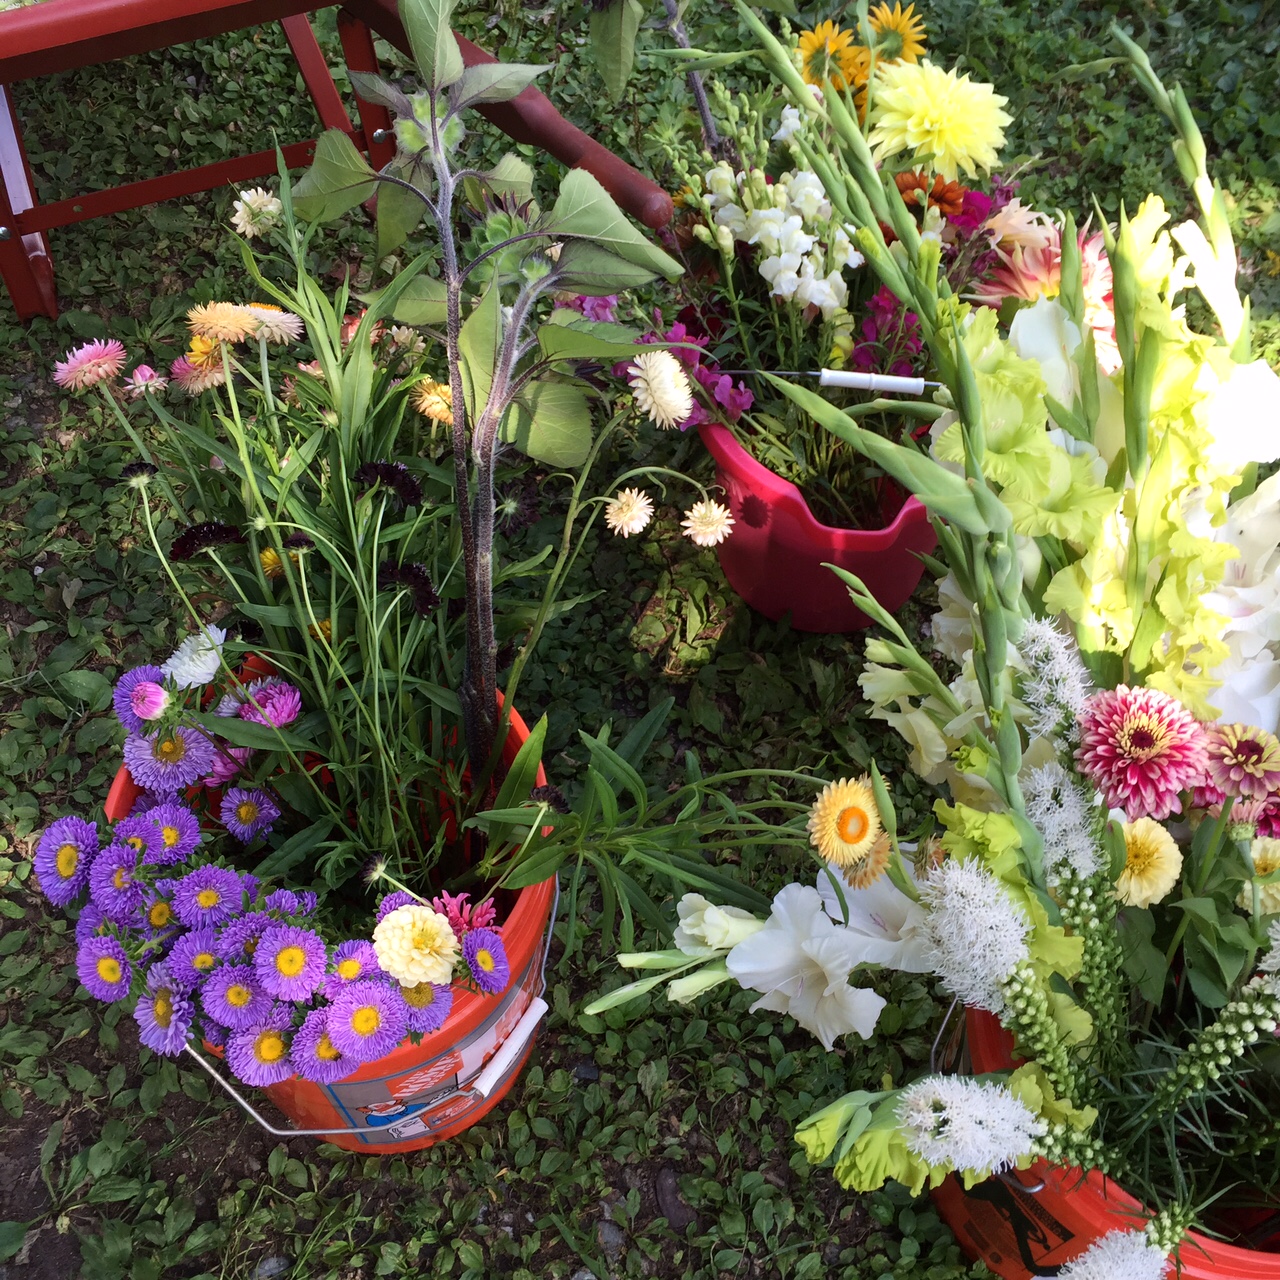
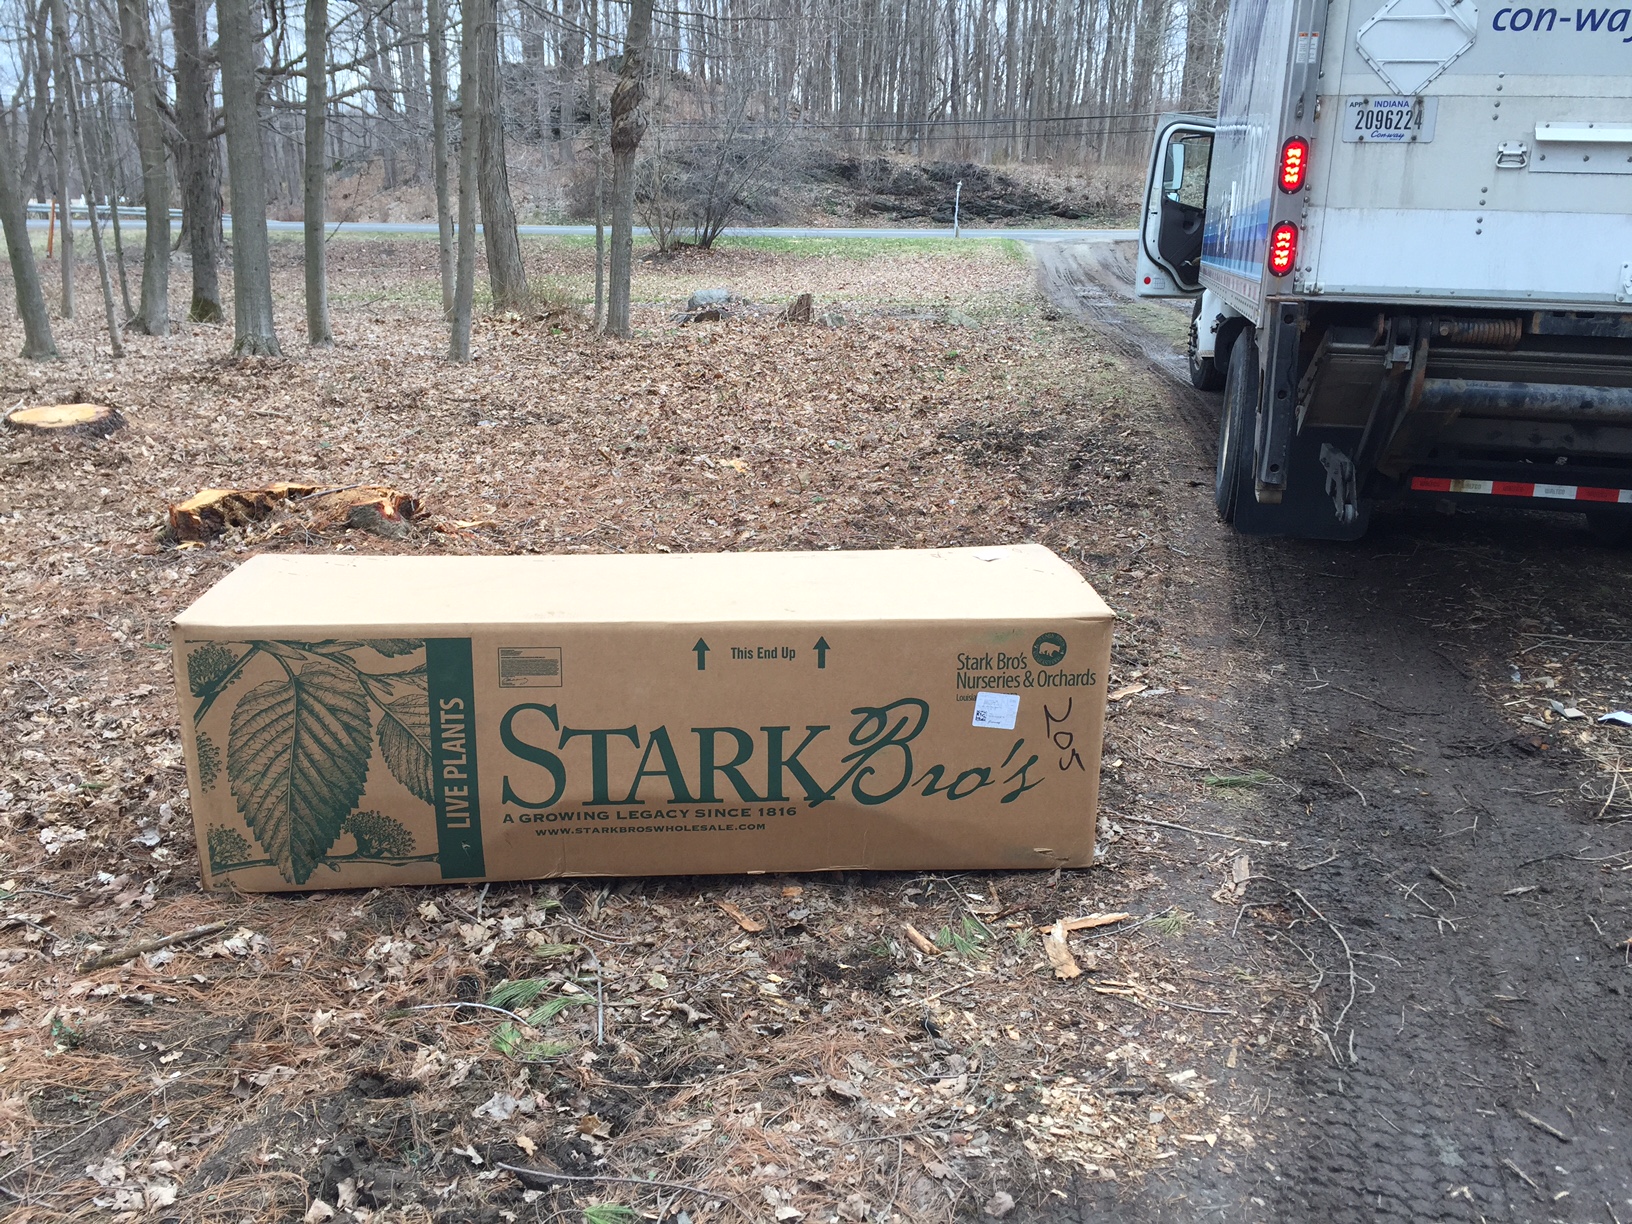
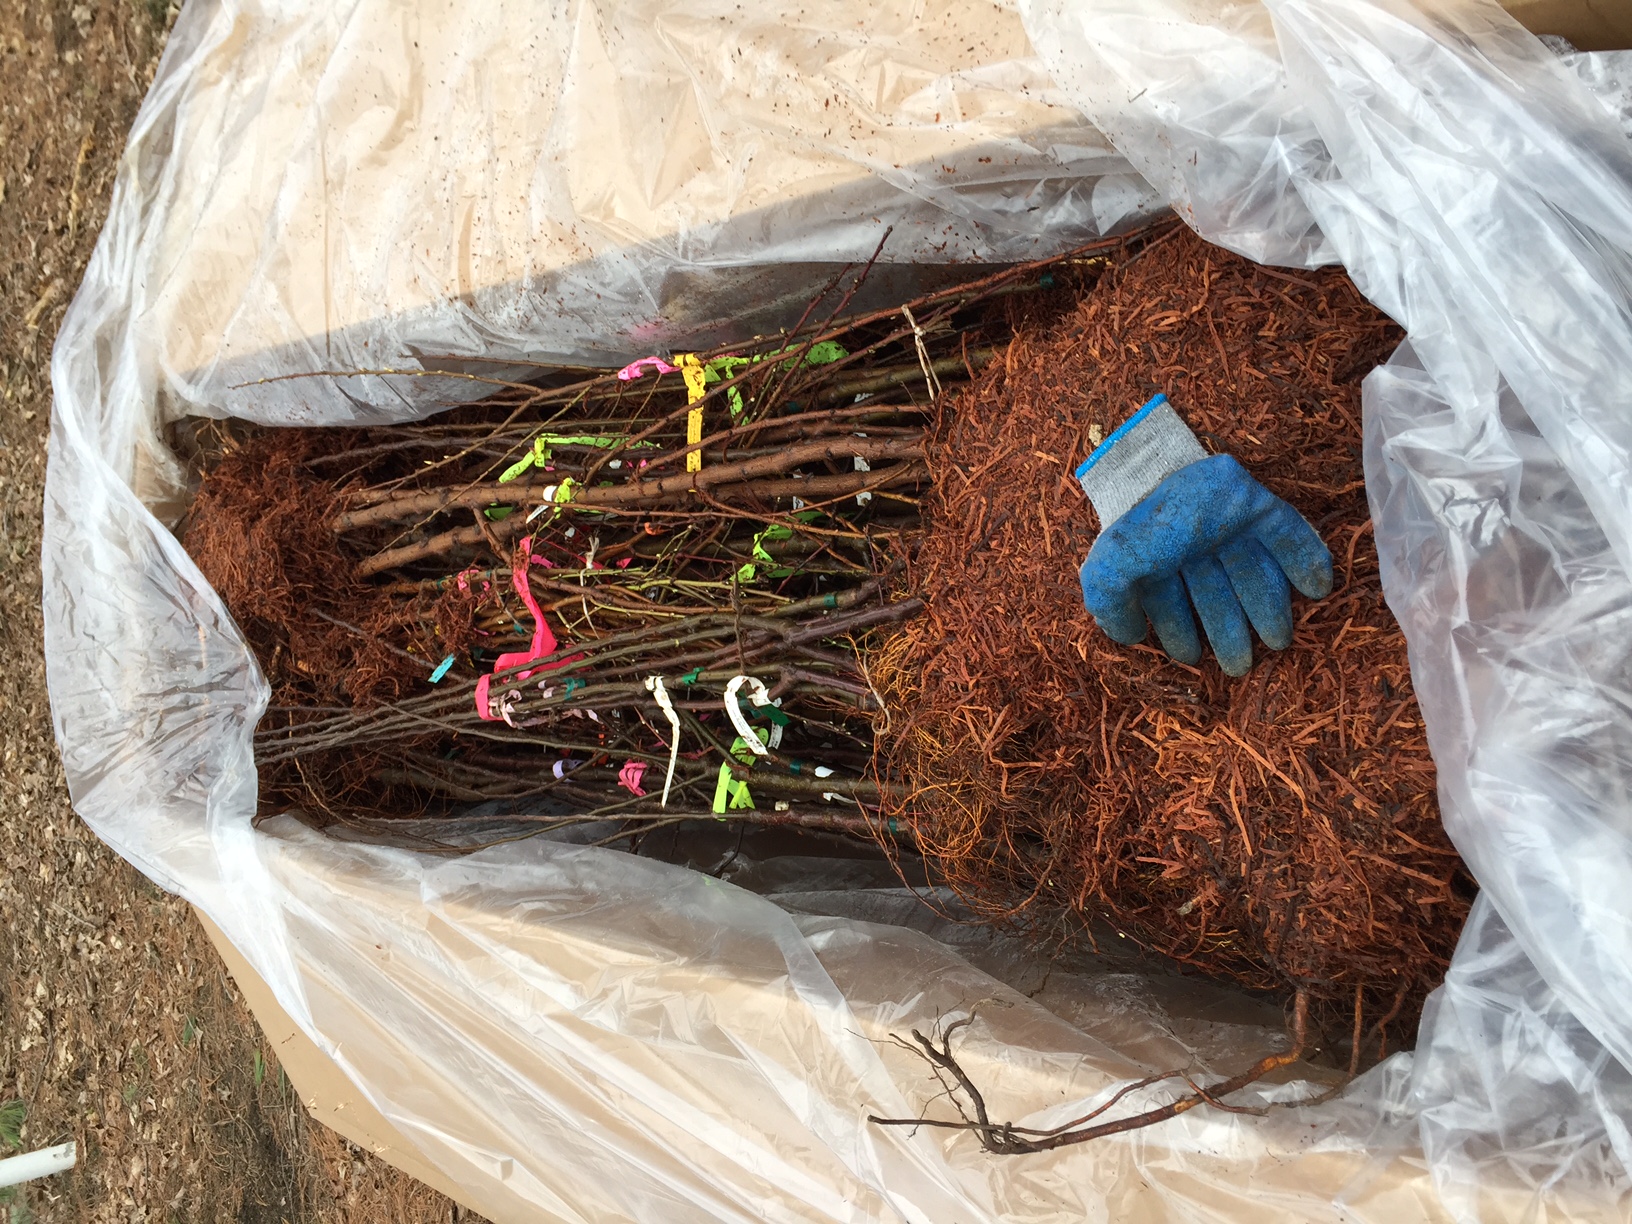
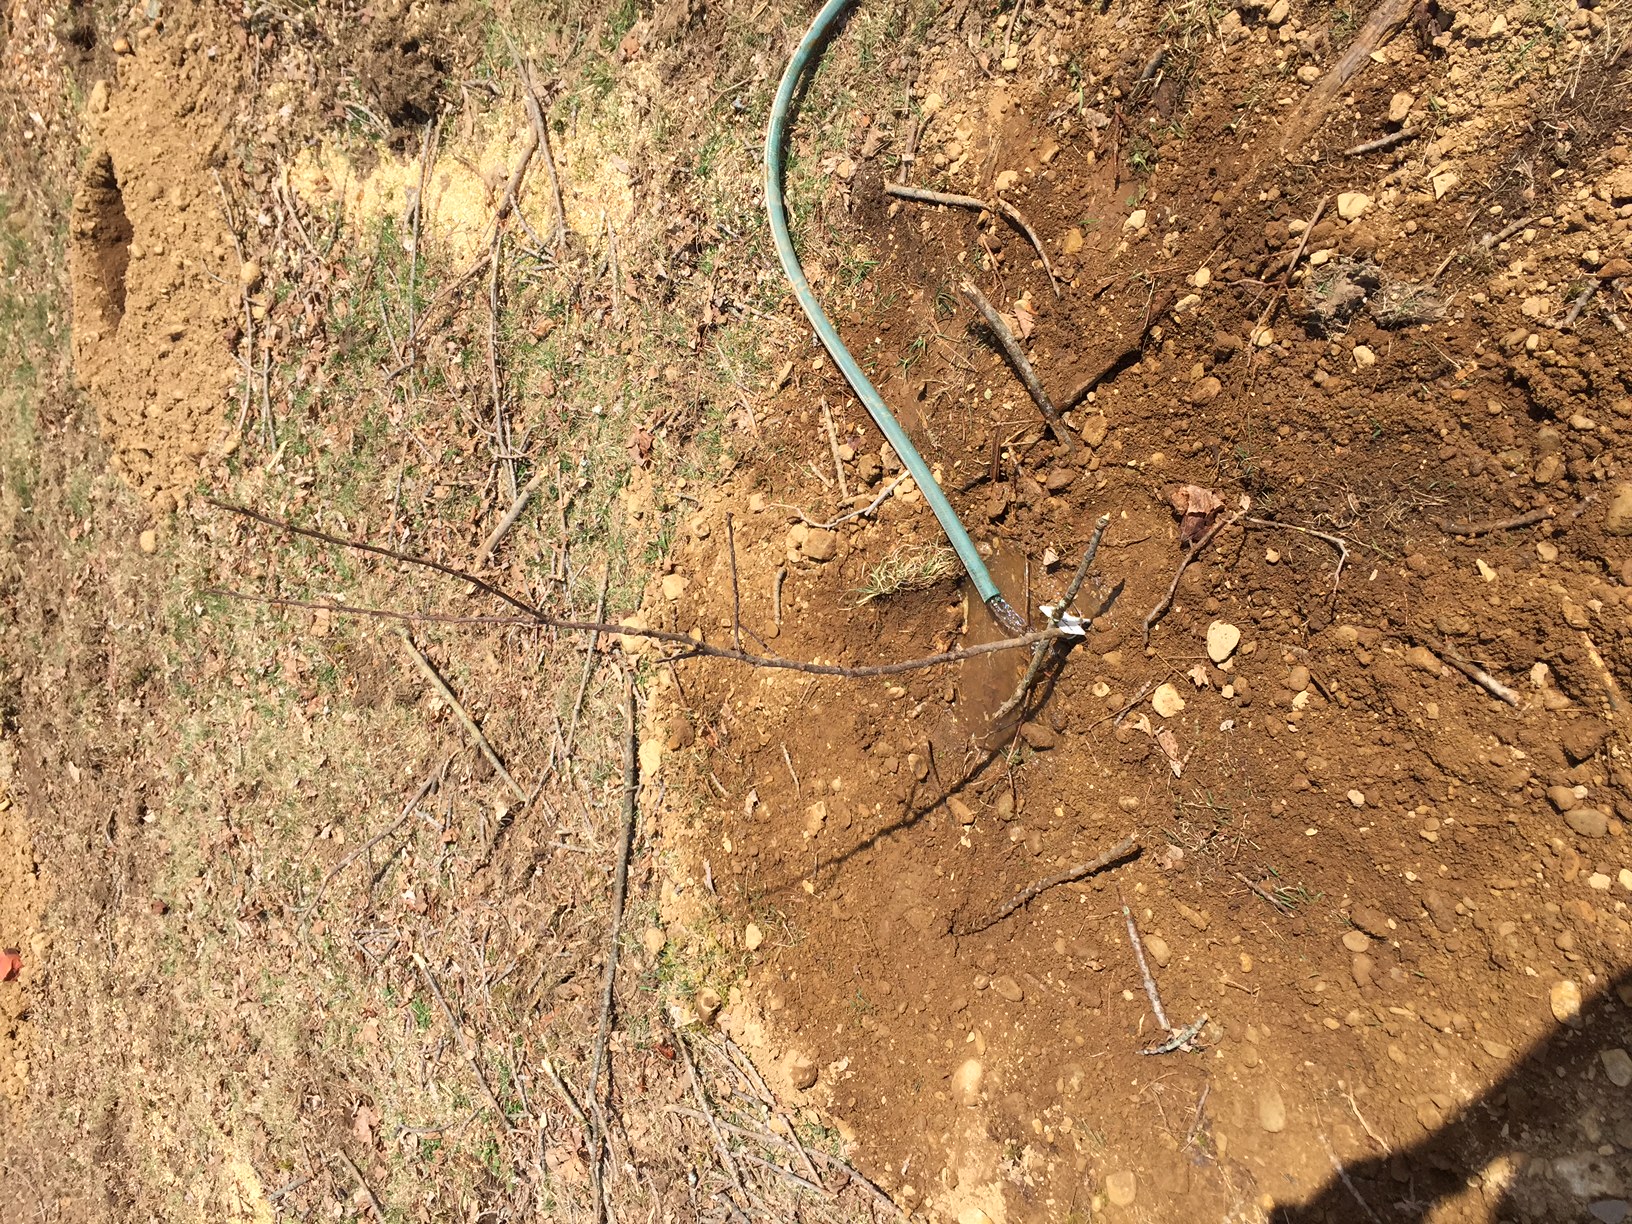
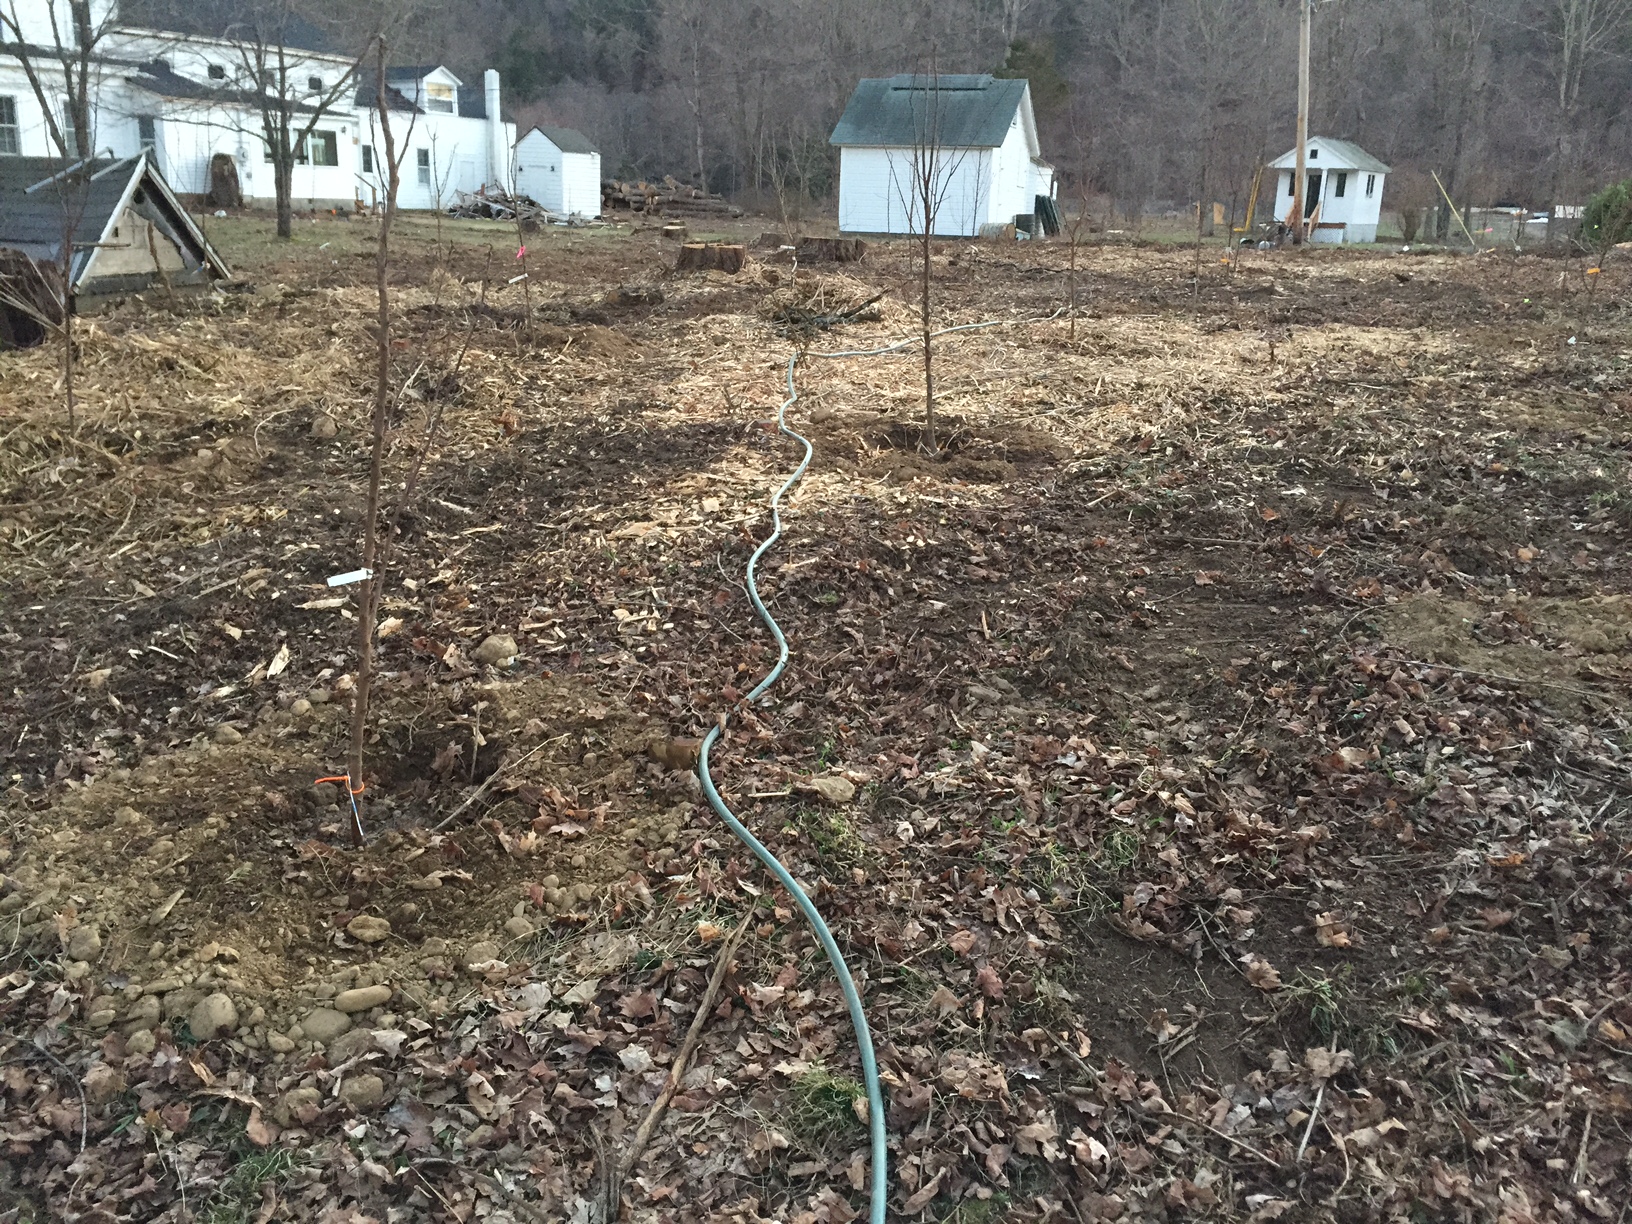
The orchard, as it is envisioned will be about 120 trees in an offset grid pattern with 12' spacing between the trees. The pattern will be slightly offset again on the outer two rows to create a dead end when looking down the angled rows from the house. We ordered our trees from Stark Bros Wholesale. The commercial option saved a huge amount of money but created restrictions in terms of variety since you have to order minimum quantities of each variety and sizes range from almost fruiting ready to wee little things that will yield a few years out. To augment this we ordered a few trees from our wish list from their retail operation, those trees were more consistent in size and were pruned before delivery which is a nice touch. The trees were all delivered bare root and very well packaged with moist sawdust to keep them happy. The idea behind this orchard is to have more than enough fruit for ourselves, our friends and family and for various projects that Graham will inevitably come up with. With that in mind and since you have to plant trees years before you get to enjoy them, we figured it would be best to really mix it up now and hedge our bets that we will have exactly what we want in the future. We opted for a mixture of modern and antique hybrids and mixed in crabapples for pollination and cut flower use. Also, they will flower and look glorious.

Apples: Liberty, Macoun, Northern Spy, Calville Blanc, Ben Davis, Cox's Orange Pippin Antique, Enterprise, Granny Smith, Honey Crisp, Pristine, Wolf River

Crabapples: Manchurian, Whitney, Snowdrift

Apricots: Goldcot, Harcot, Harglow, Wilson Delicious

Sweet Cherries: Emperor Francis, Stella, Stark Gold

Sour Cherries (for pies): Suda Hardy

Peaches: Carolina Belle, Contender, Early Redhaven

Nectarines: Hardired, Stark Sunglo

Plums: Methley, Green Gage, Shiro, Santa Rosa, Spring Satin Plumcot (hybrid)

Pears: Anjou, Comice, Red Sensation, Seckel, Chojuro Asian

Quince: Orange

Of course, more will be added in future years and we still need to find a home for some figs, Arctic Kiwis, grapes, hazelnuts and persimmons.

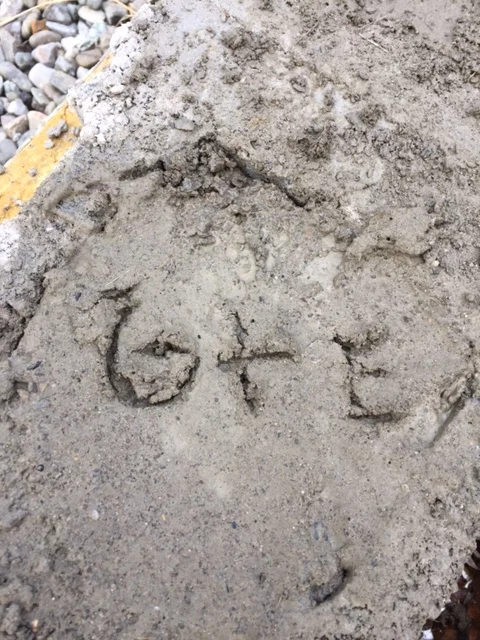
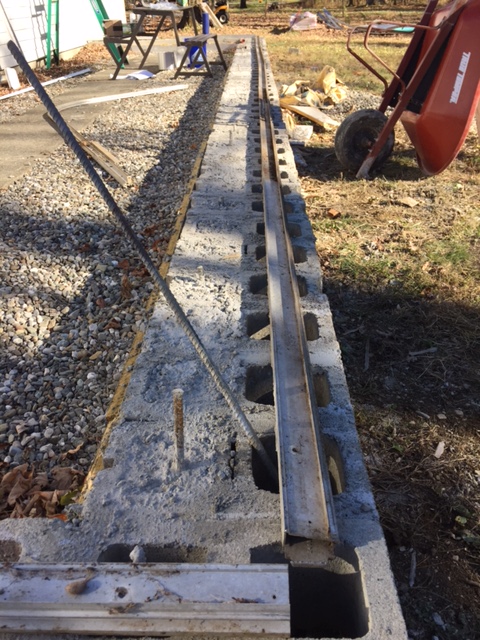
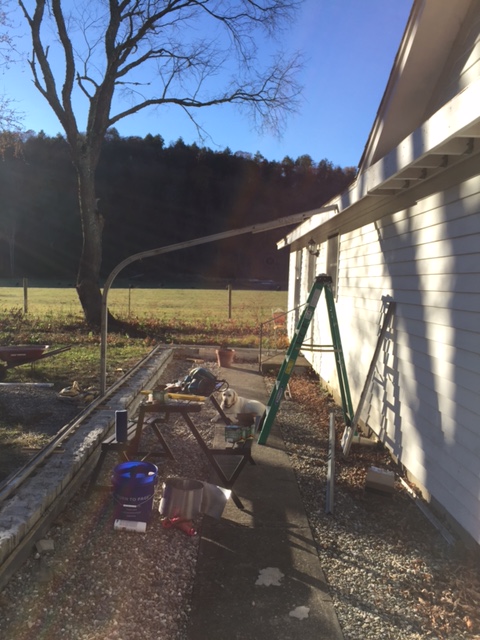
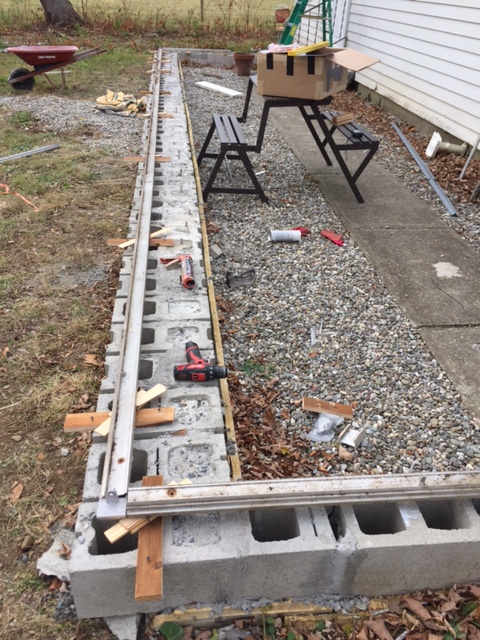
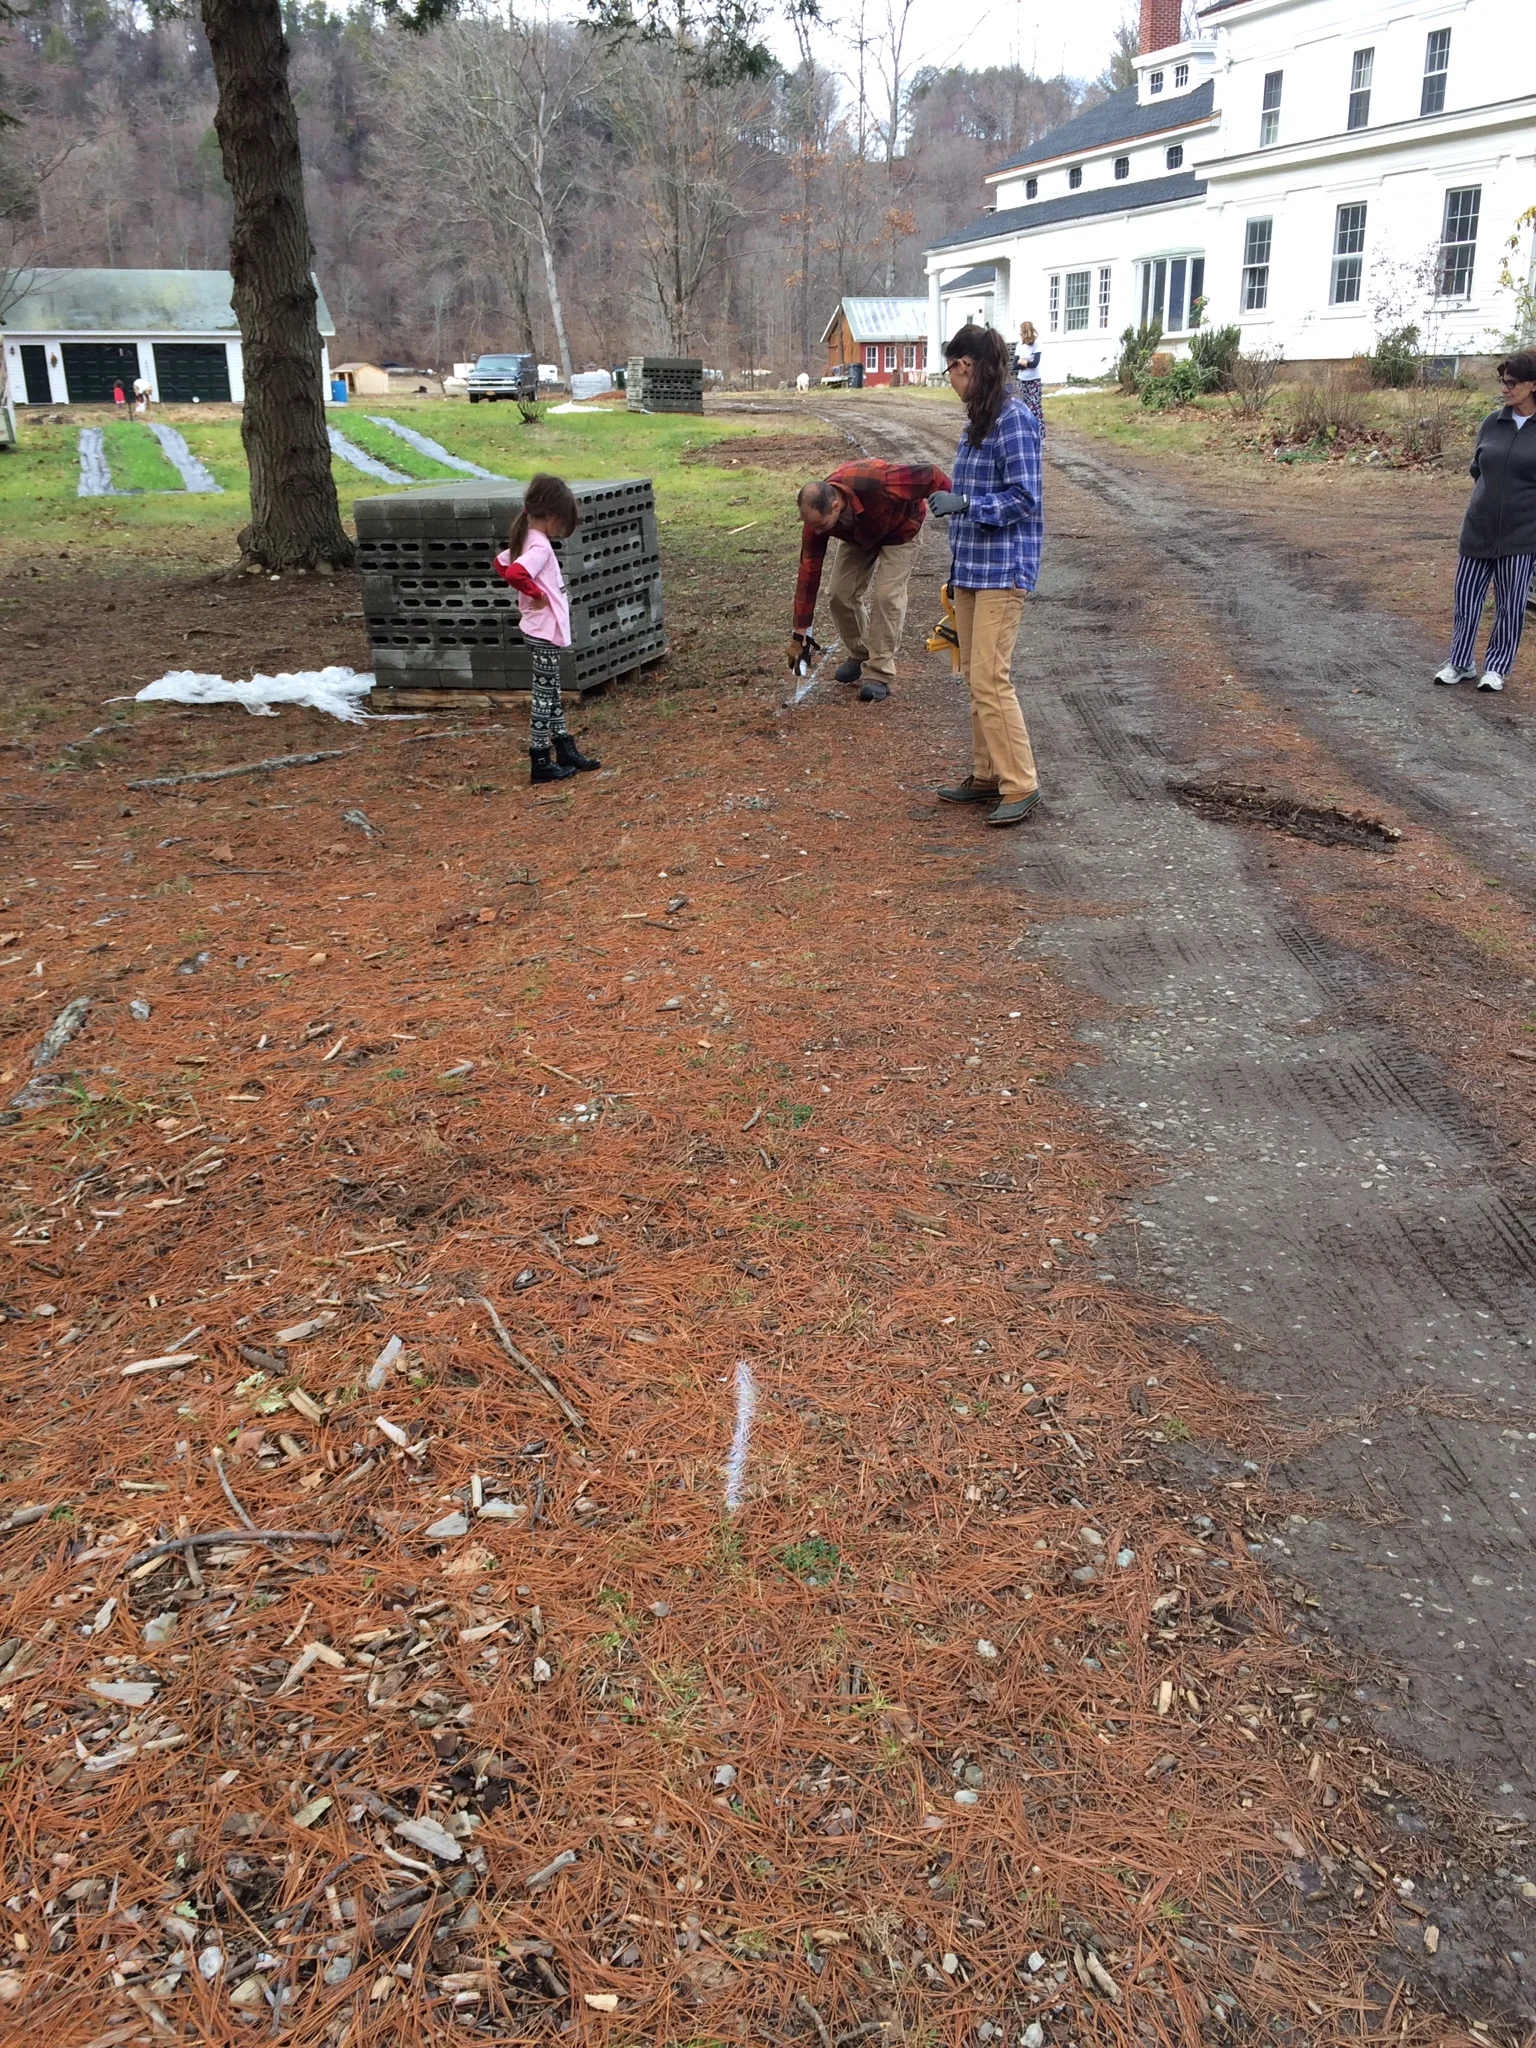
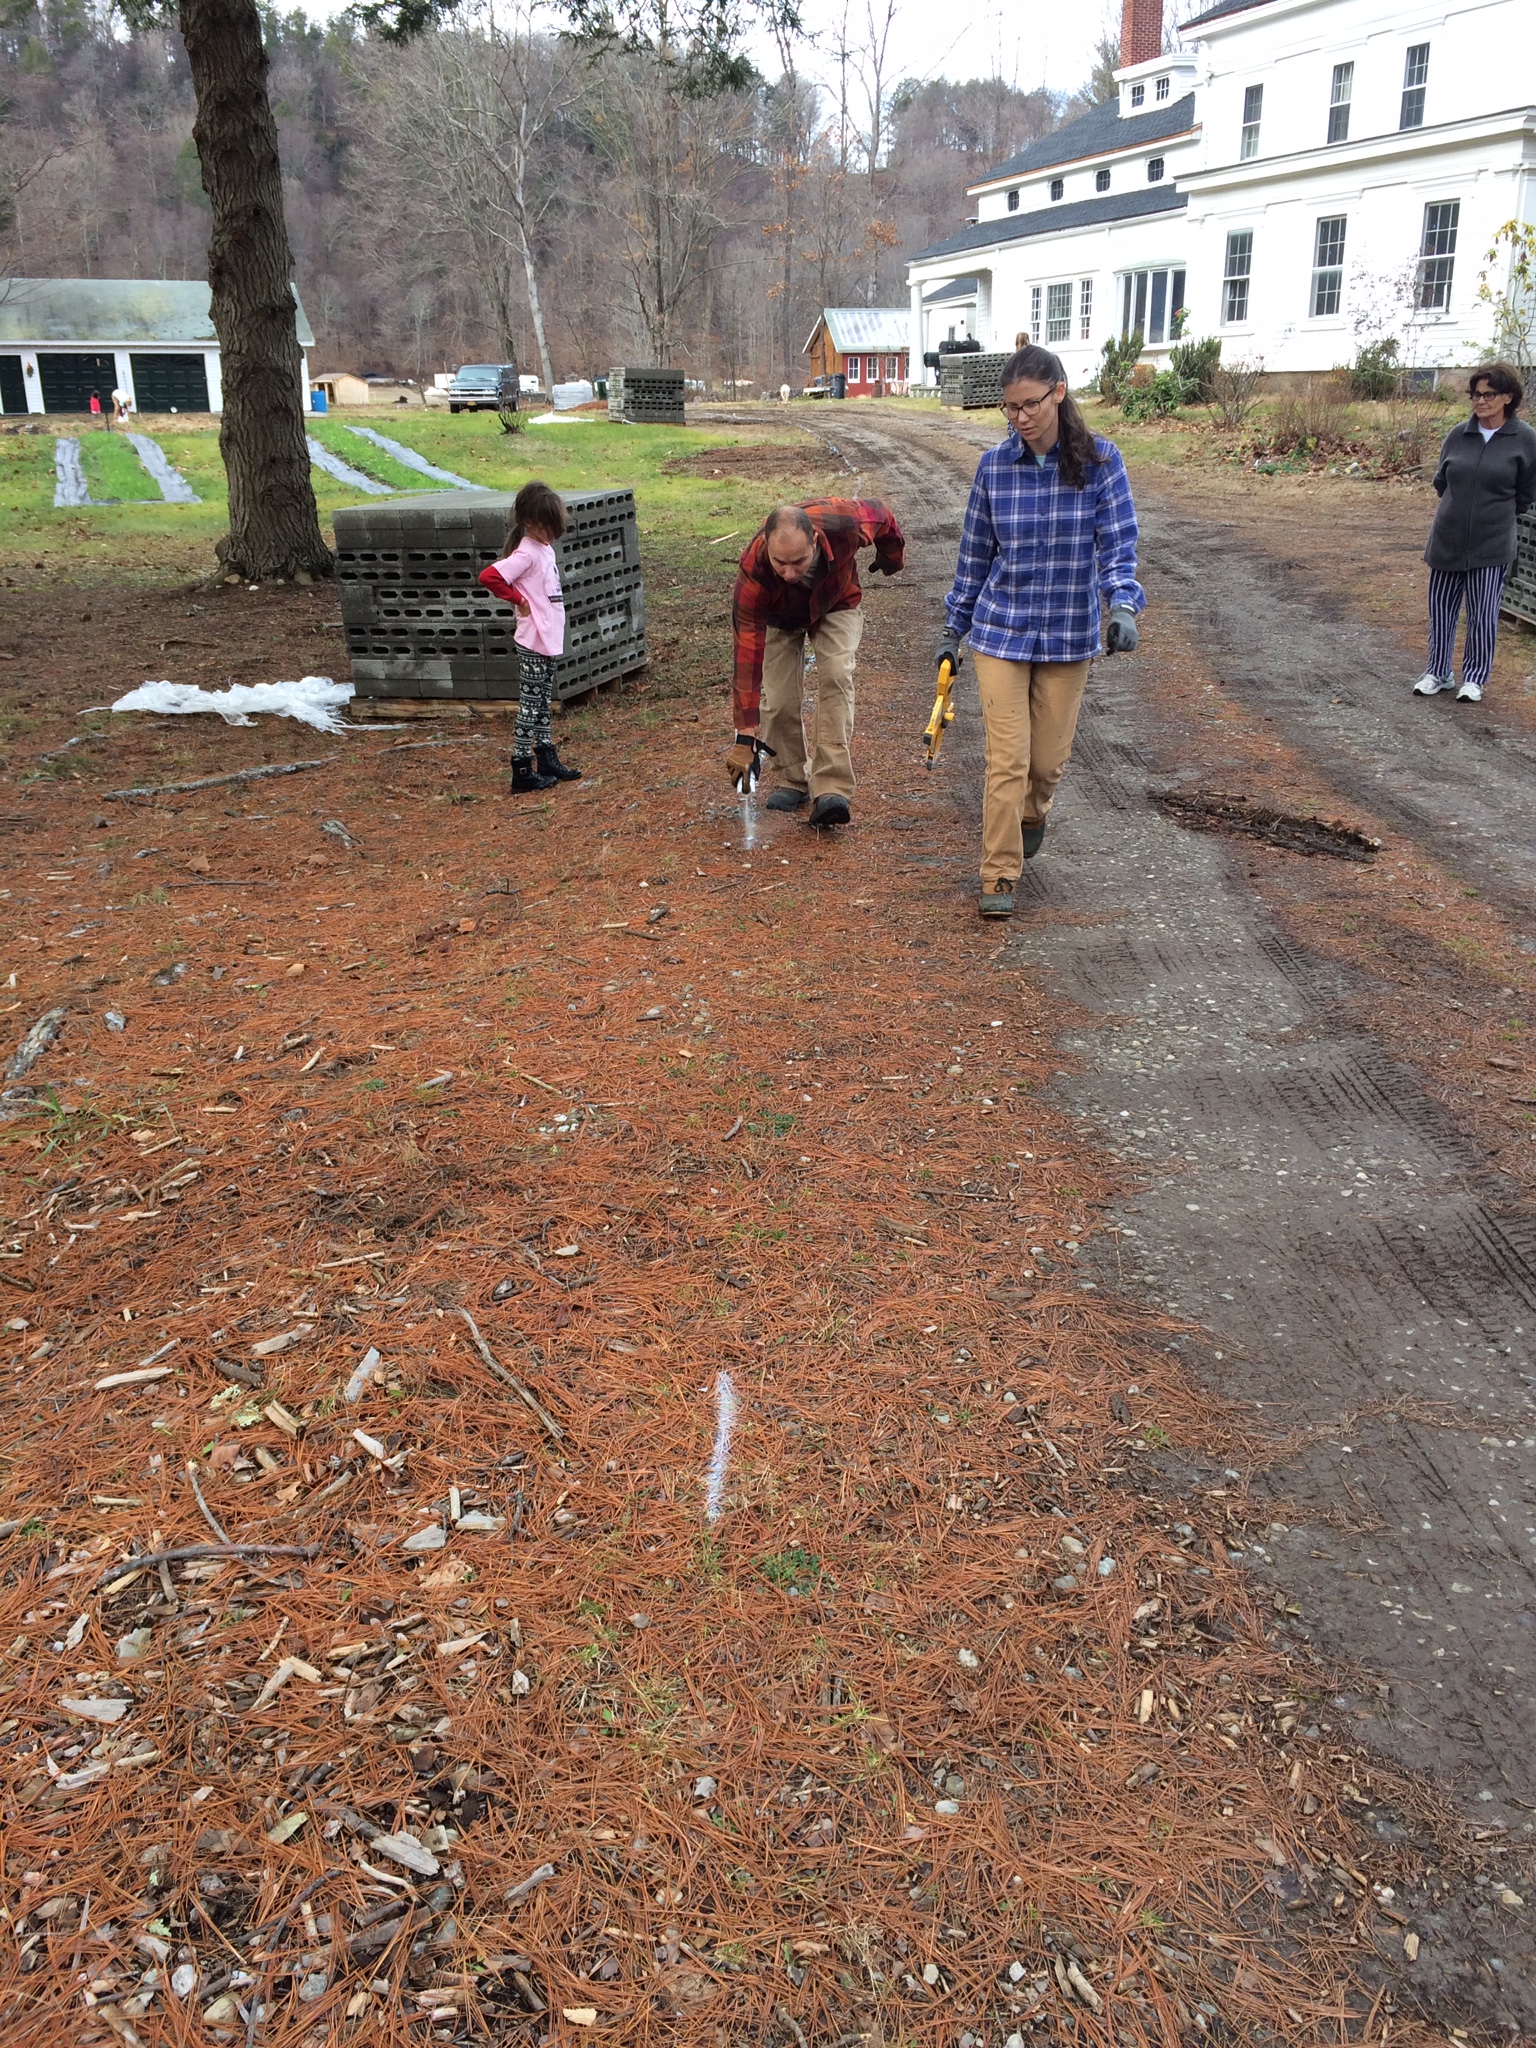
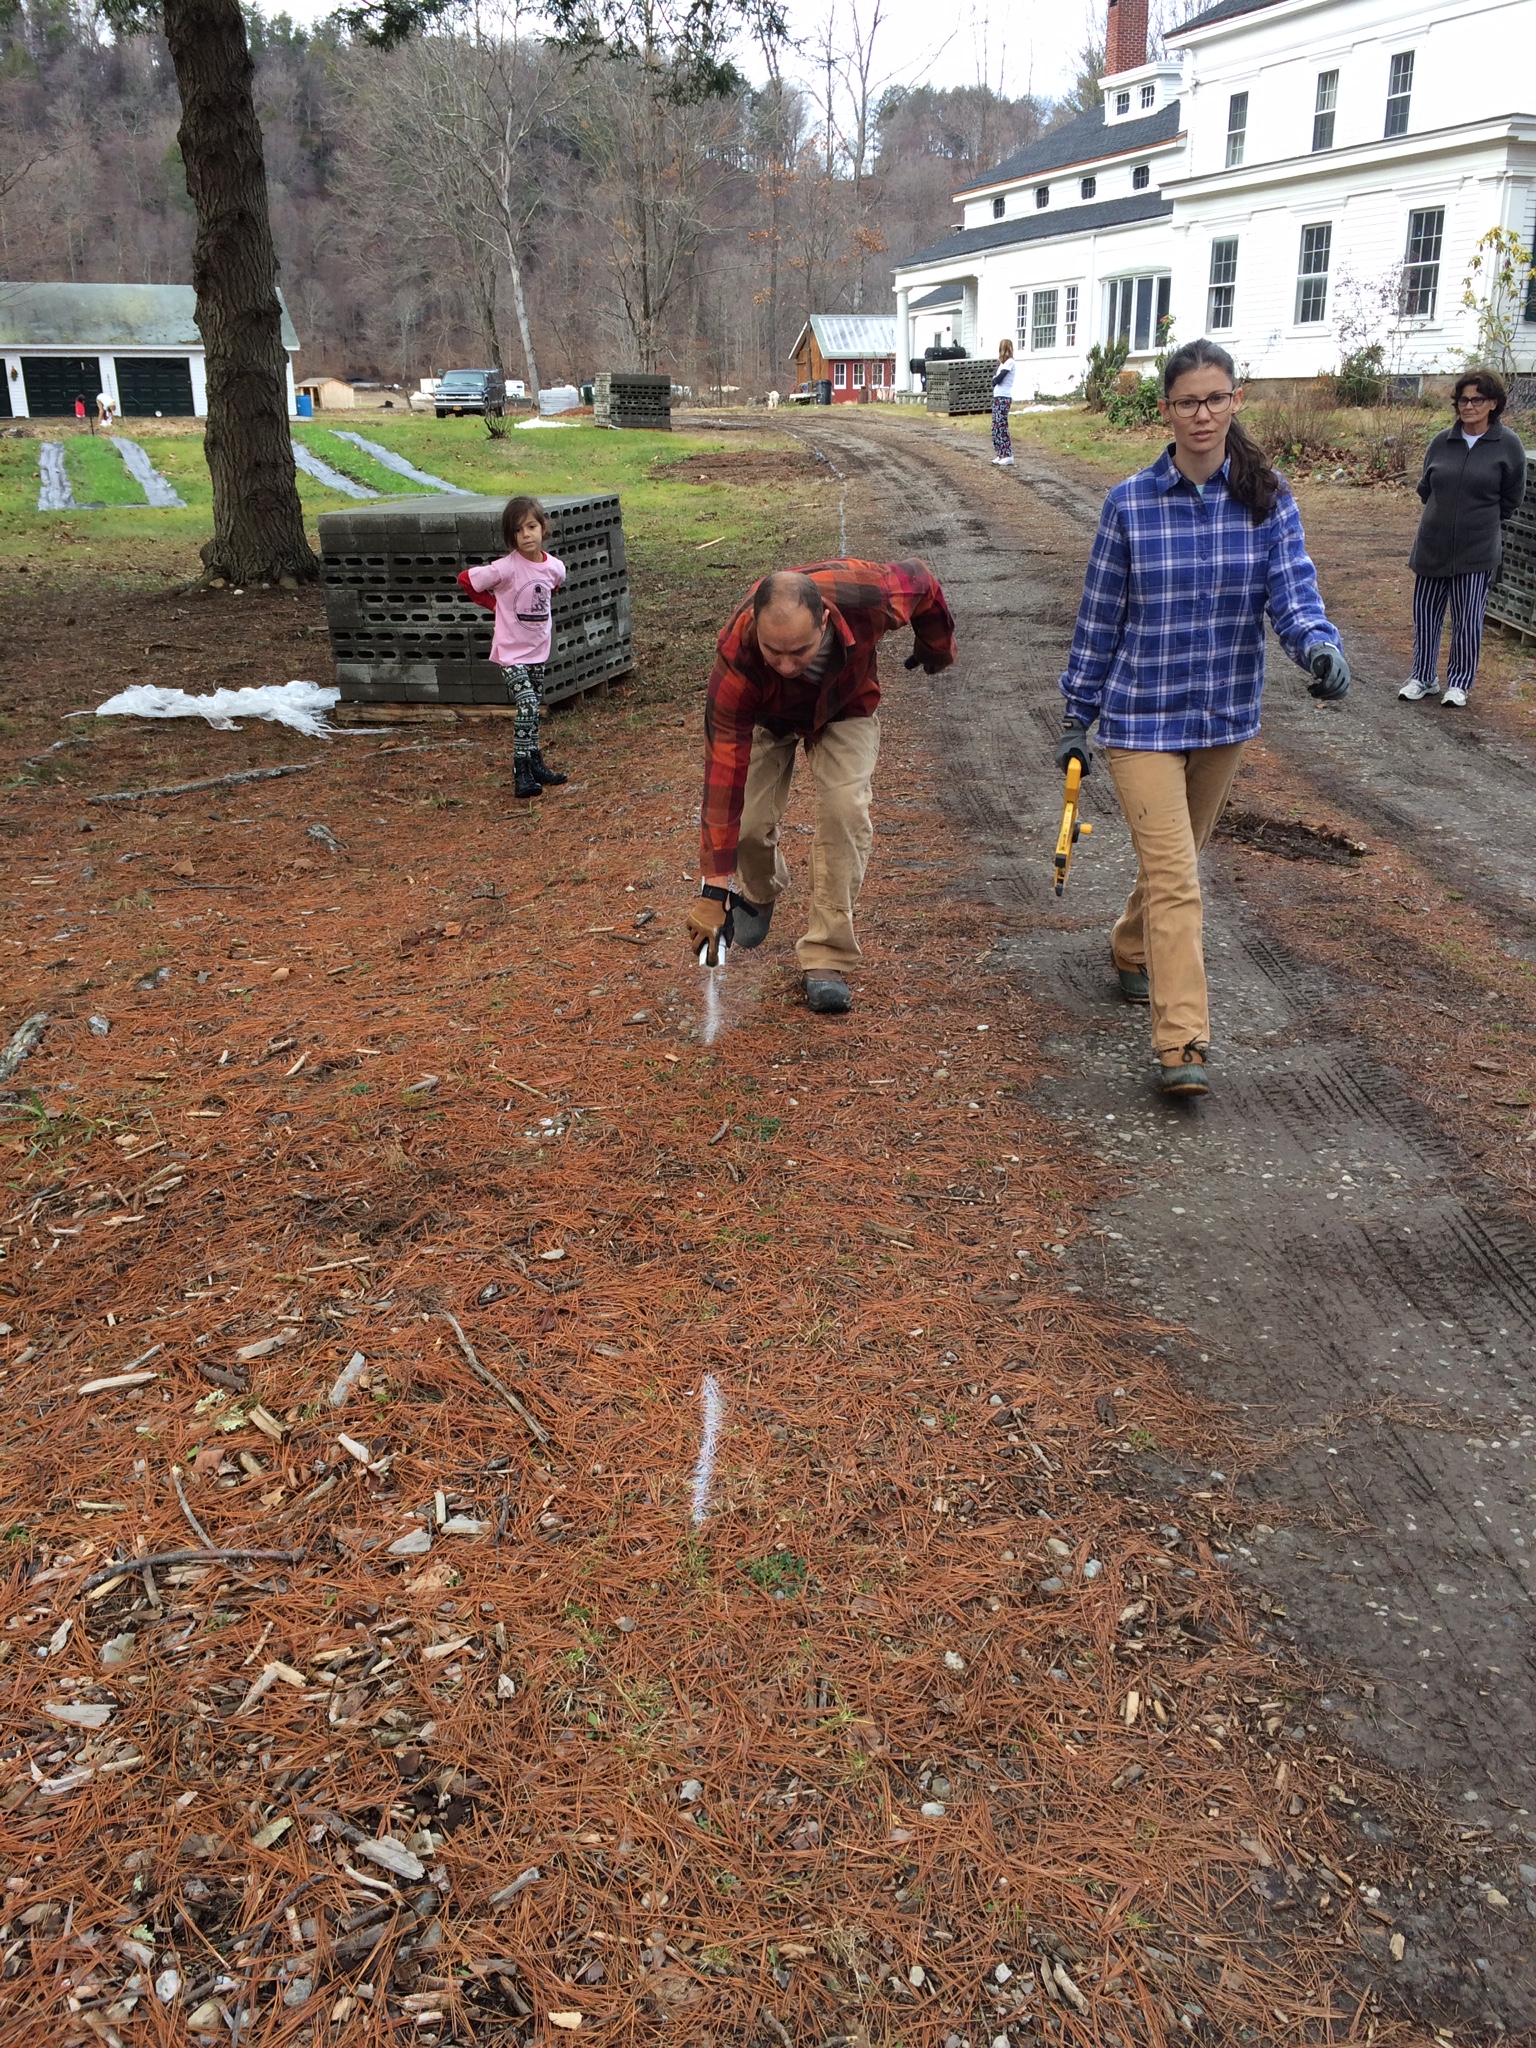
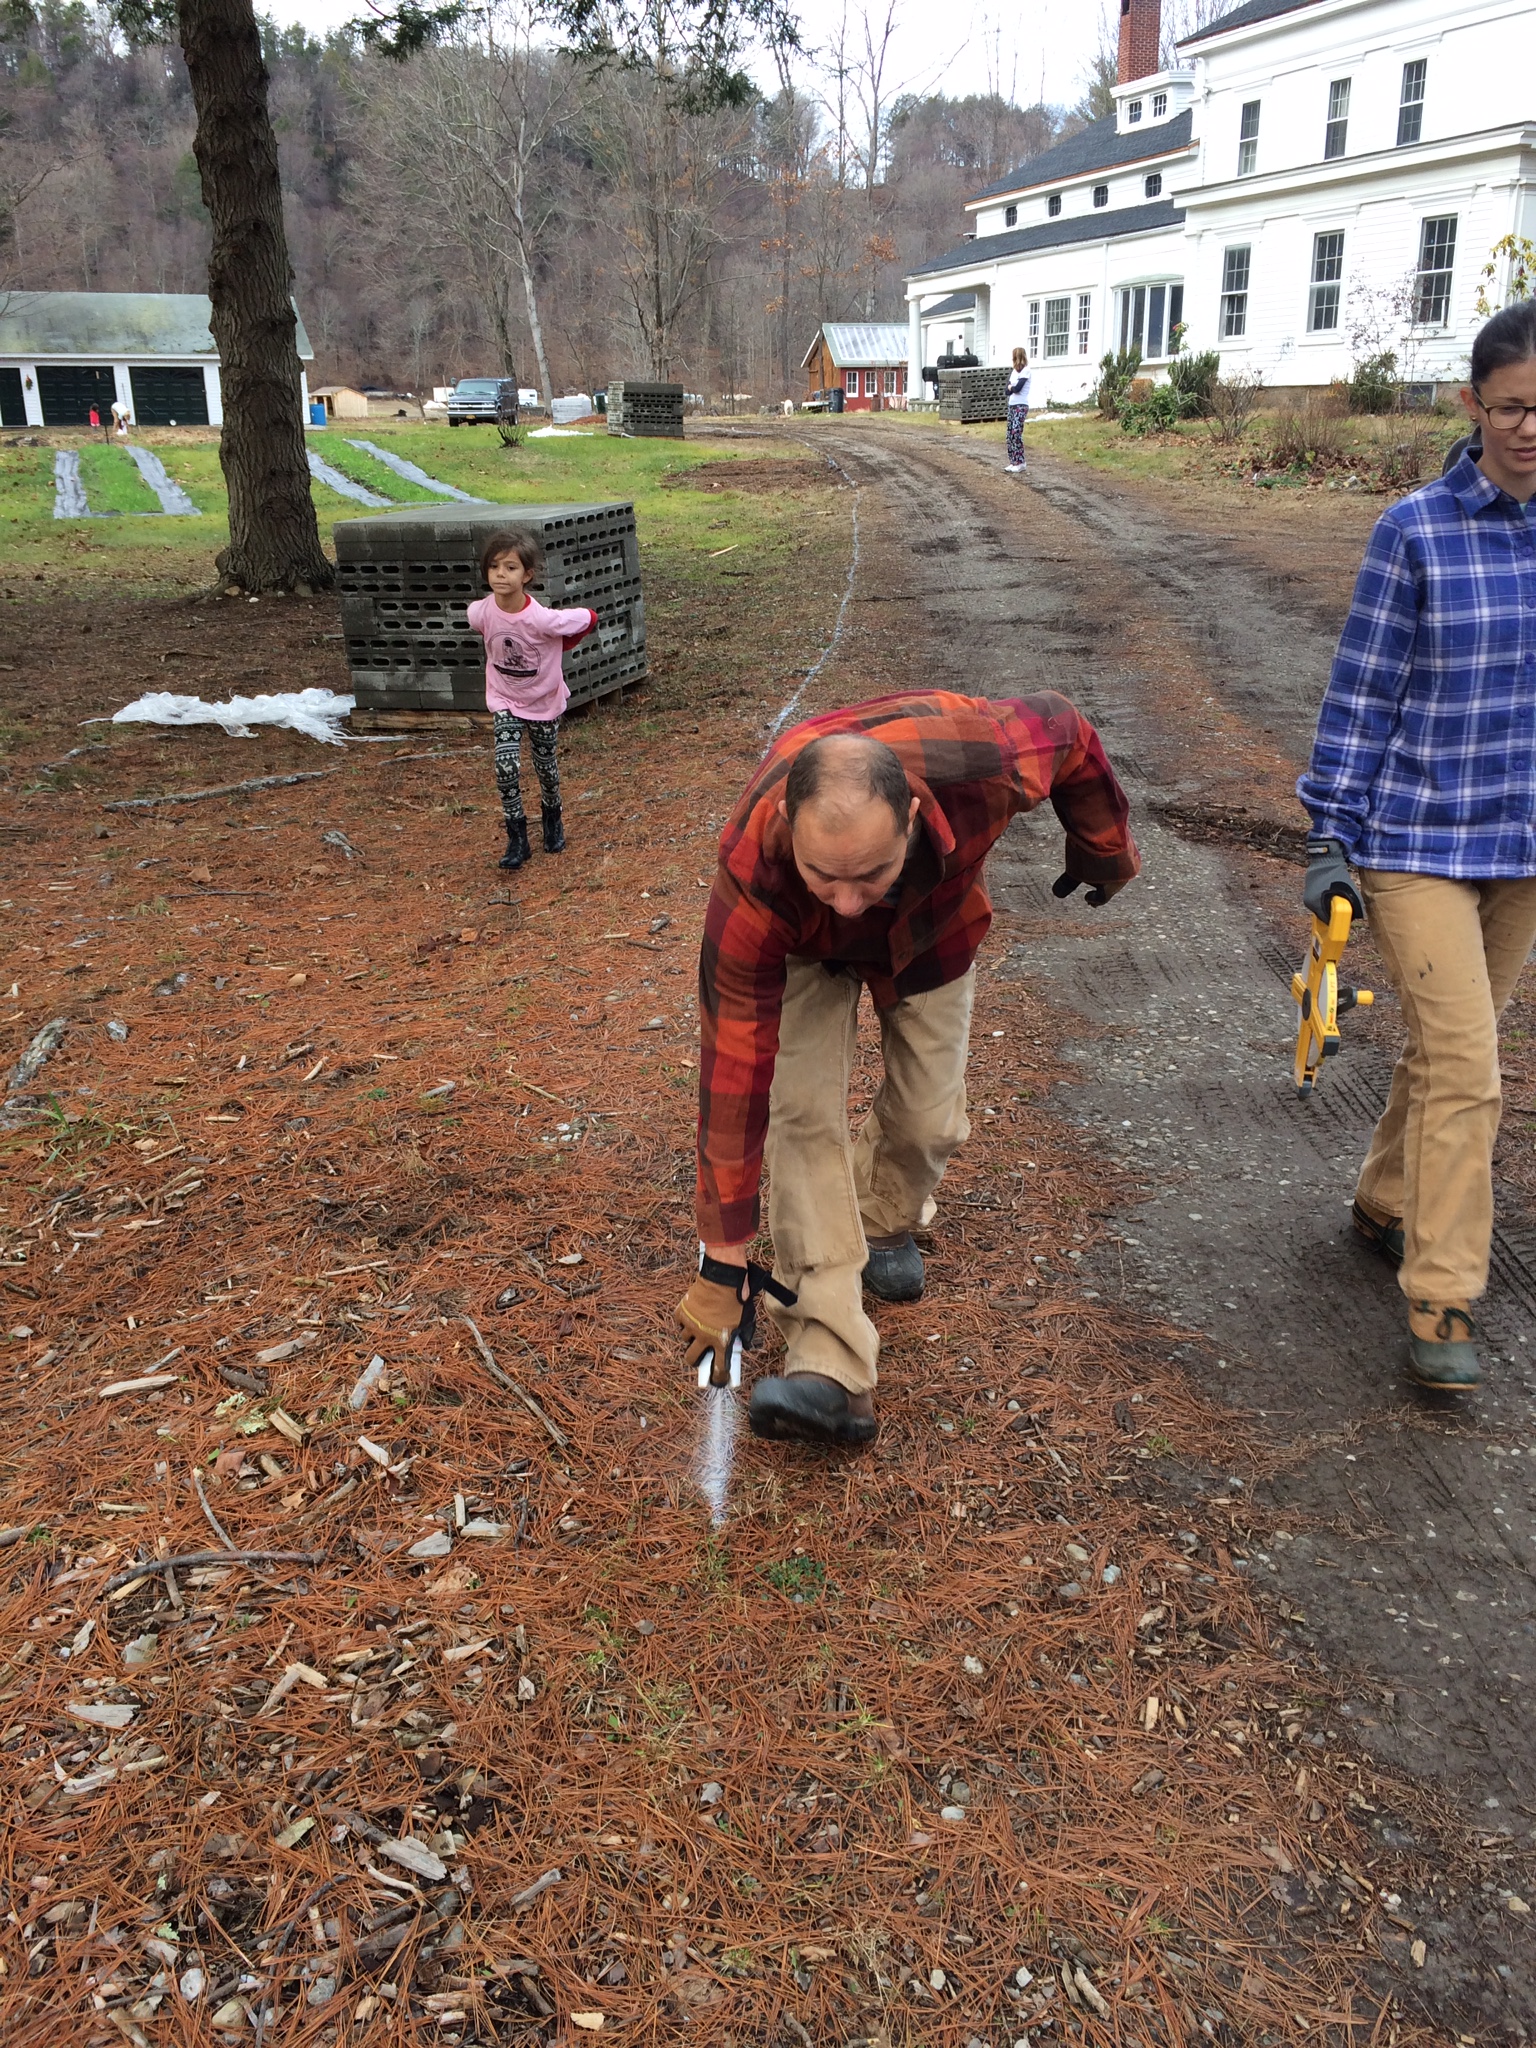
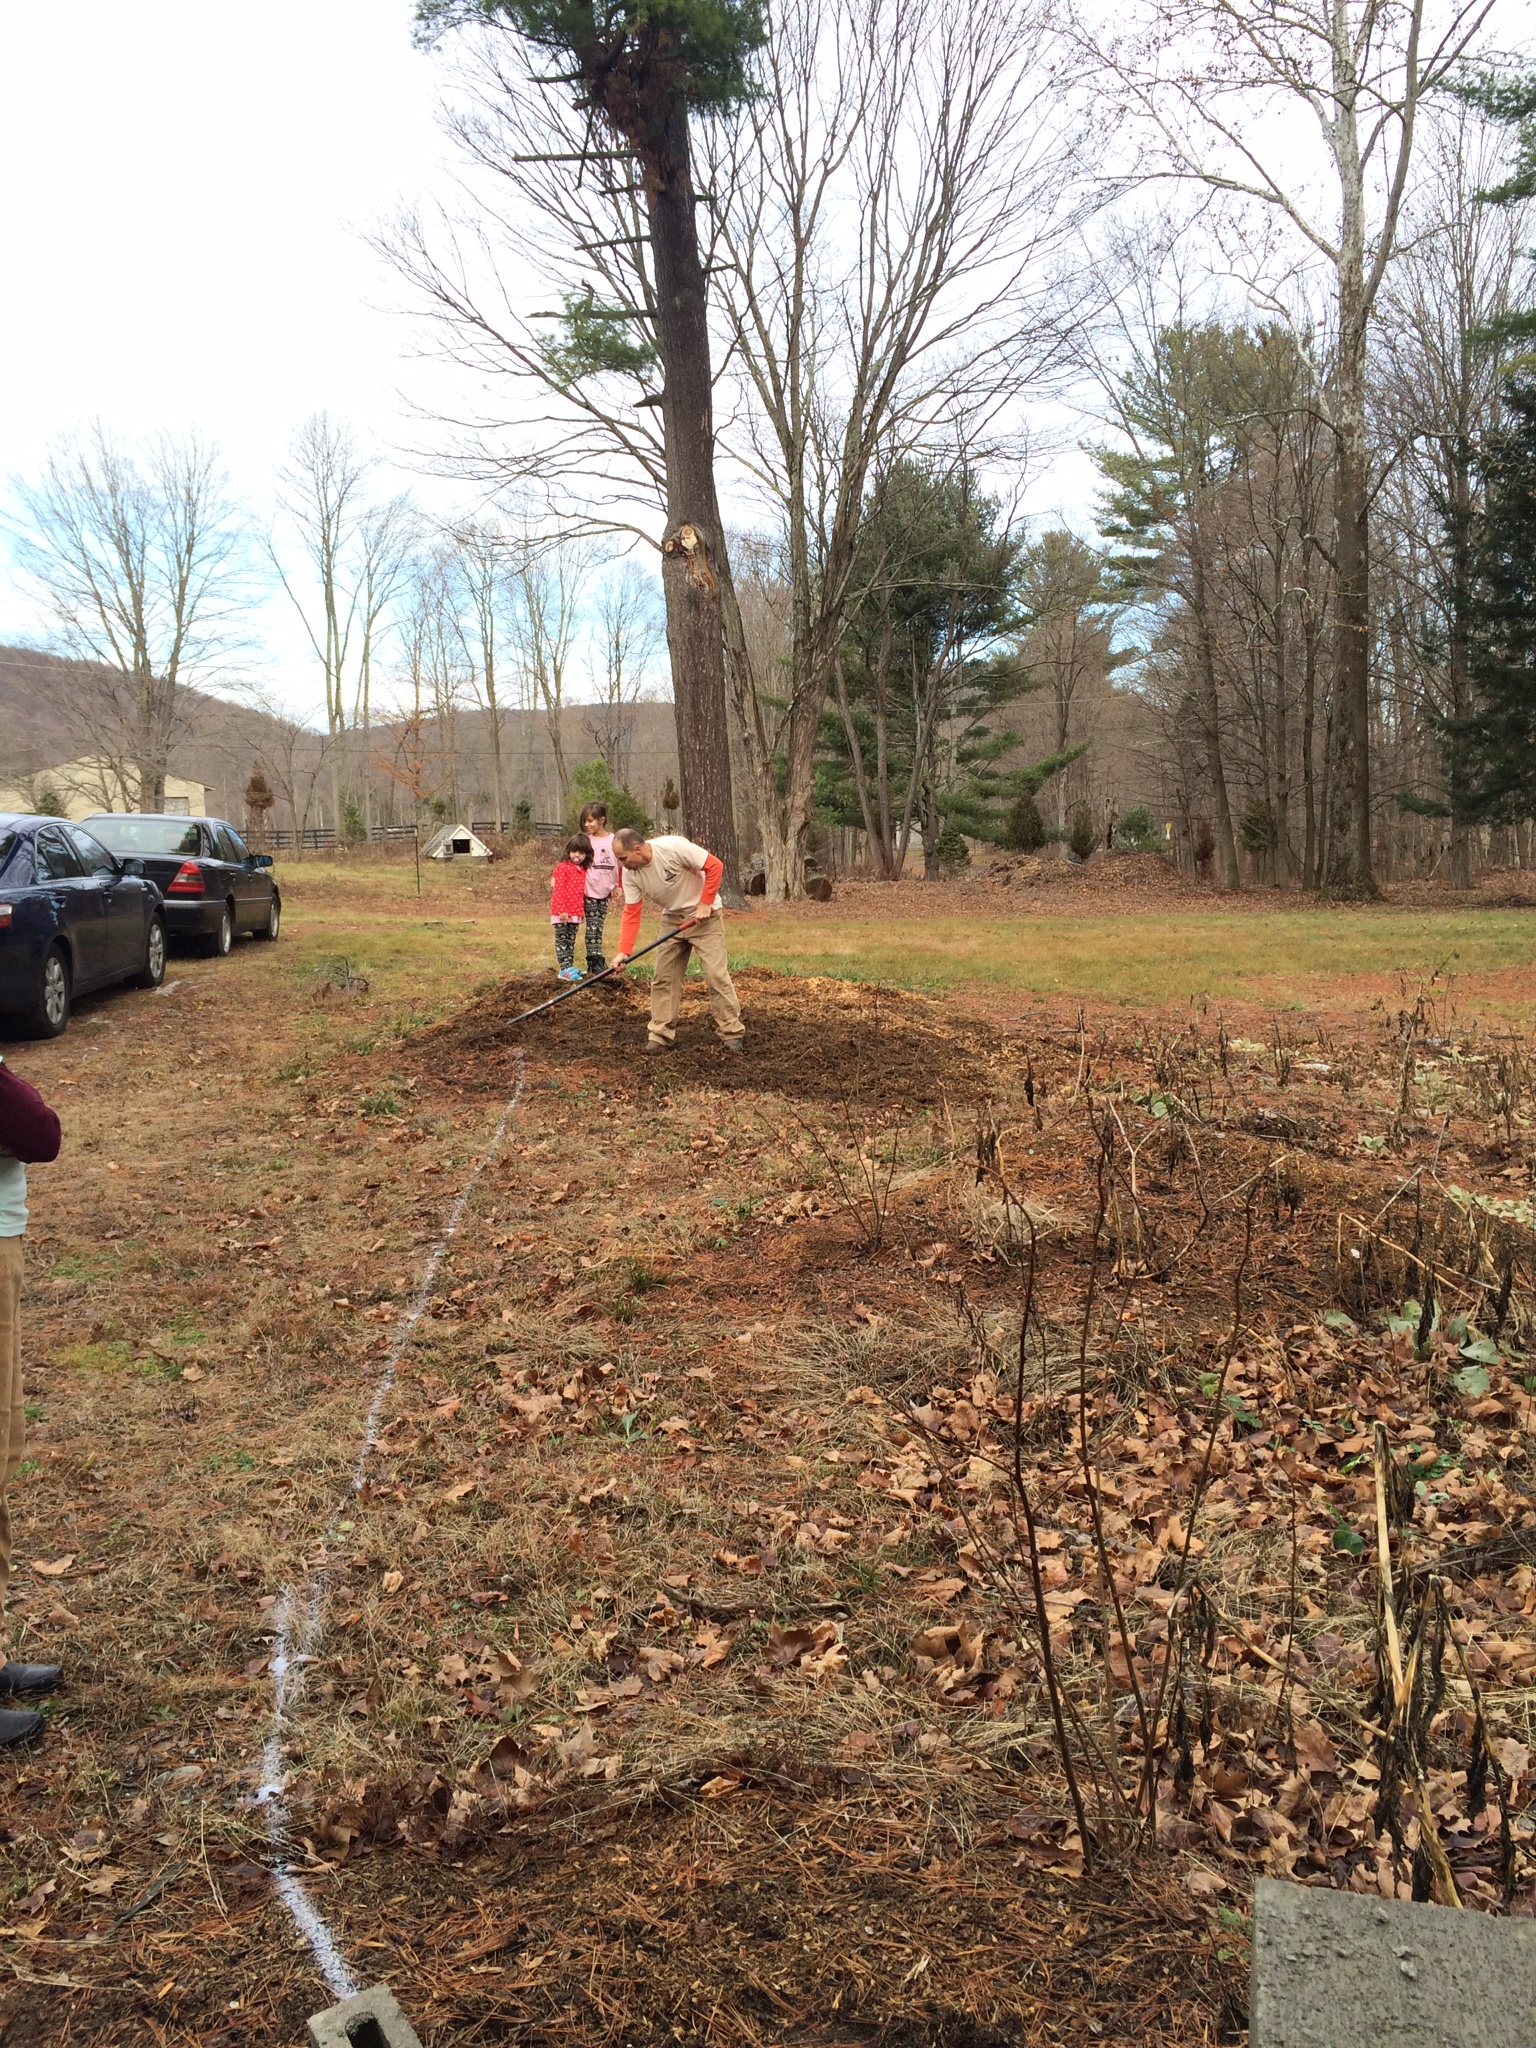
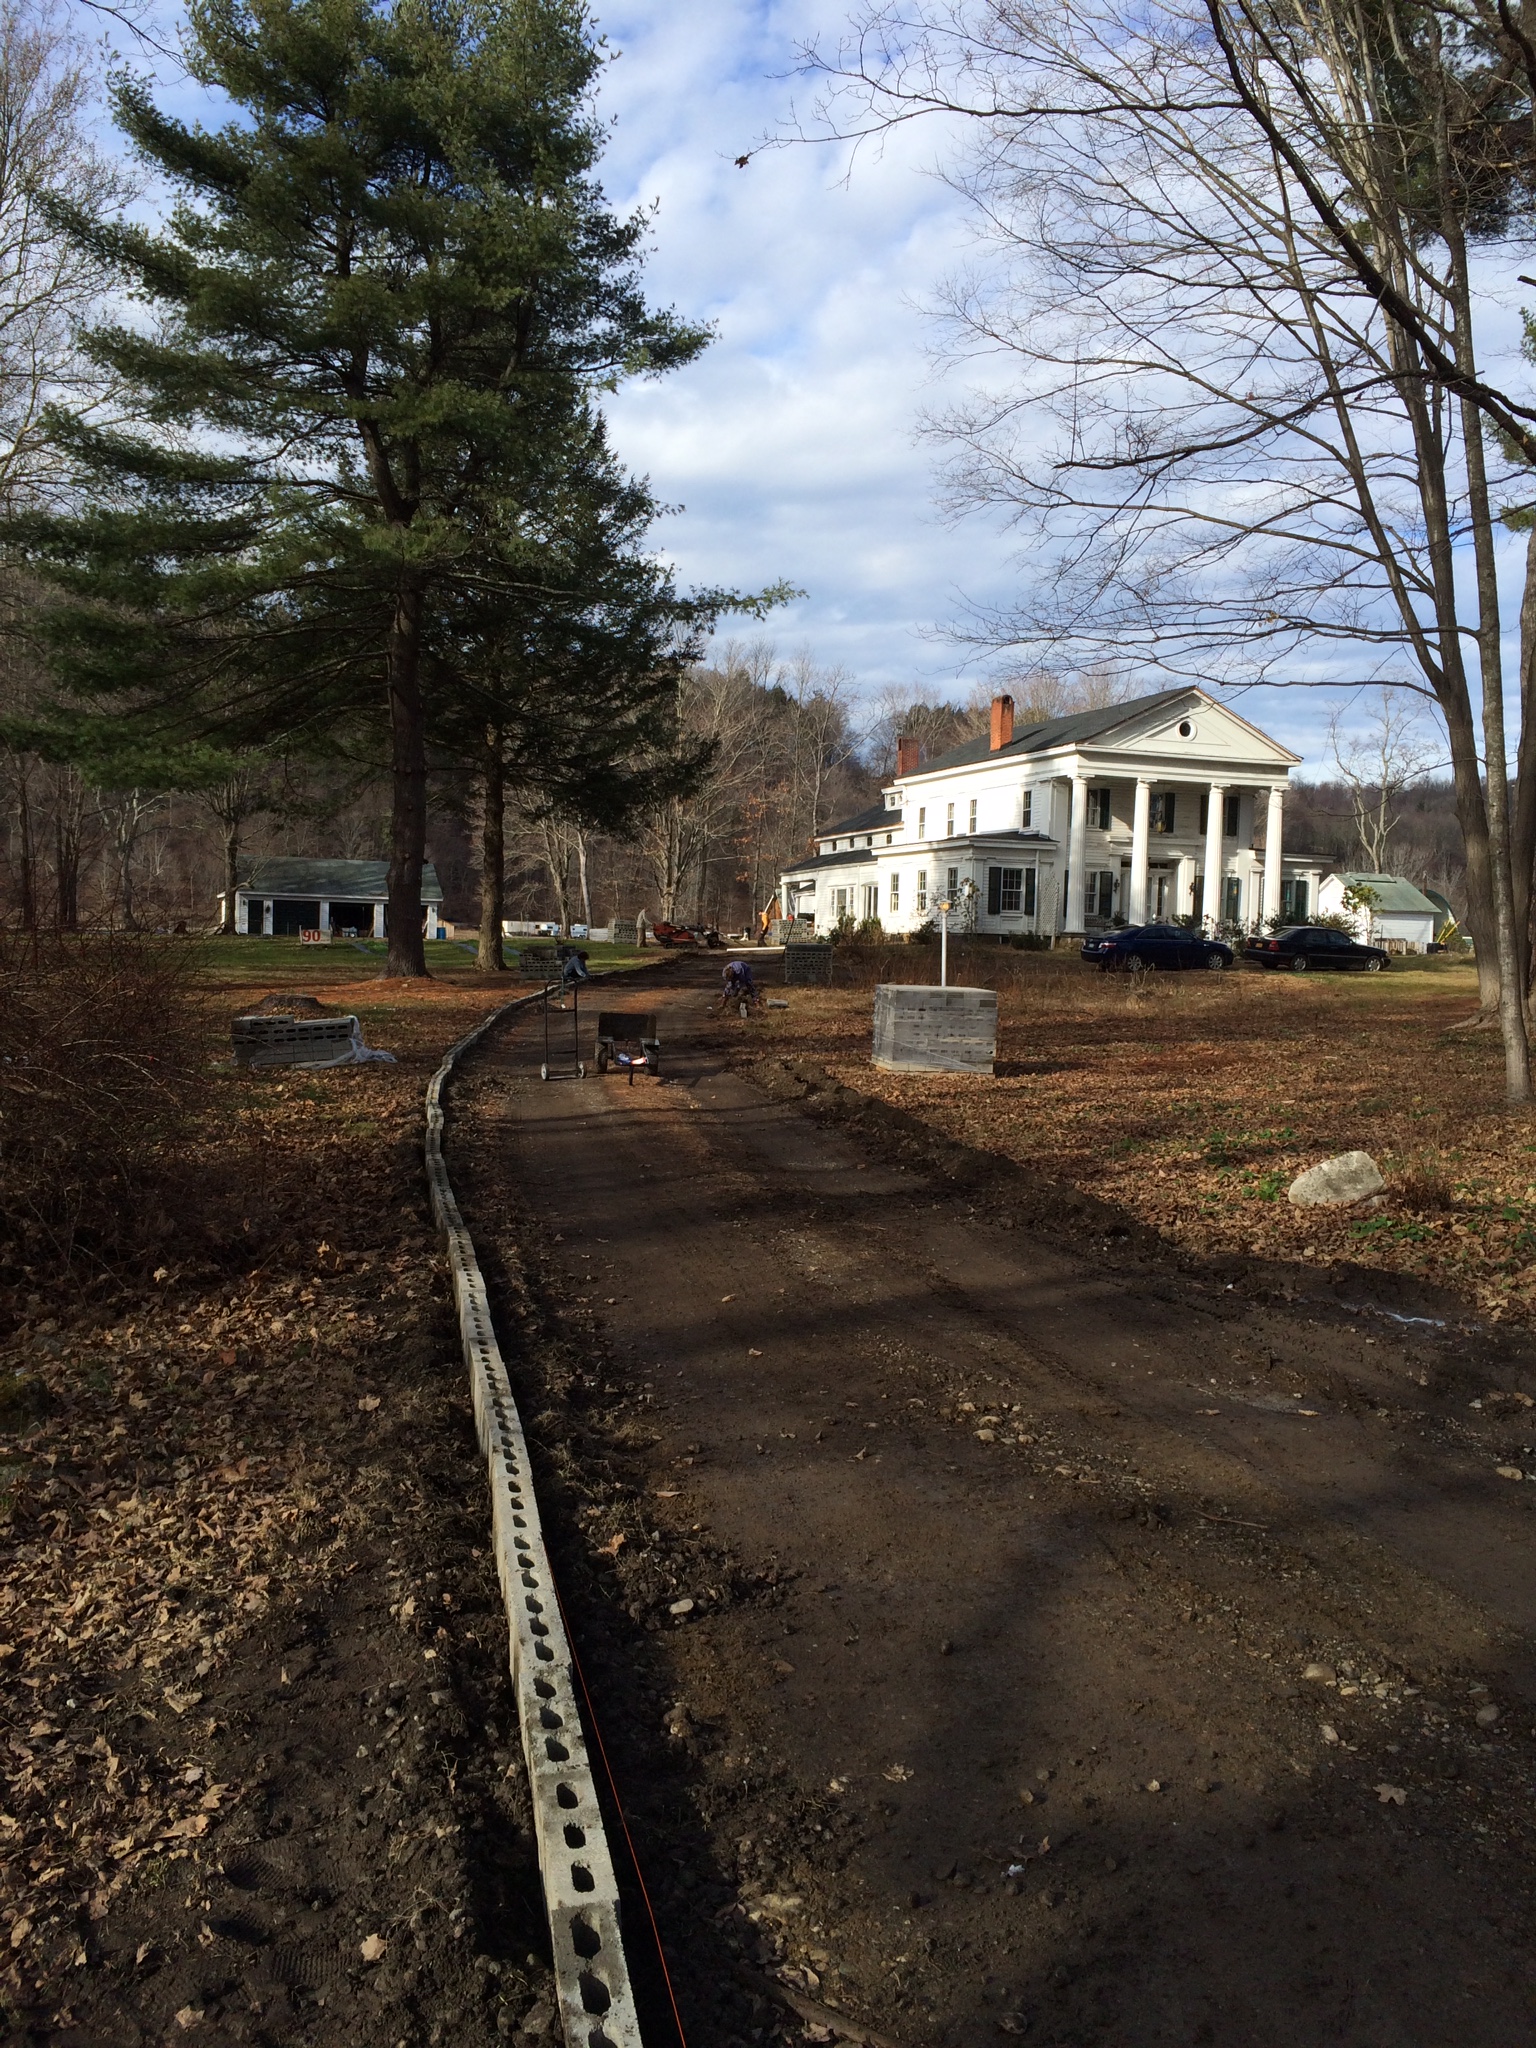
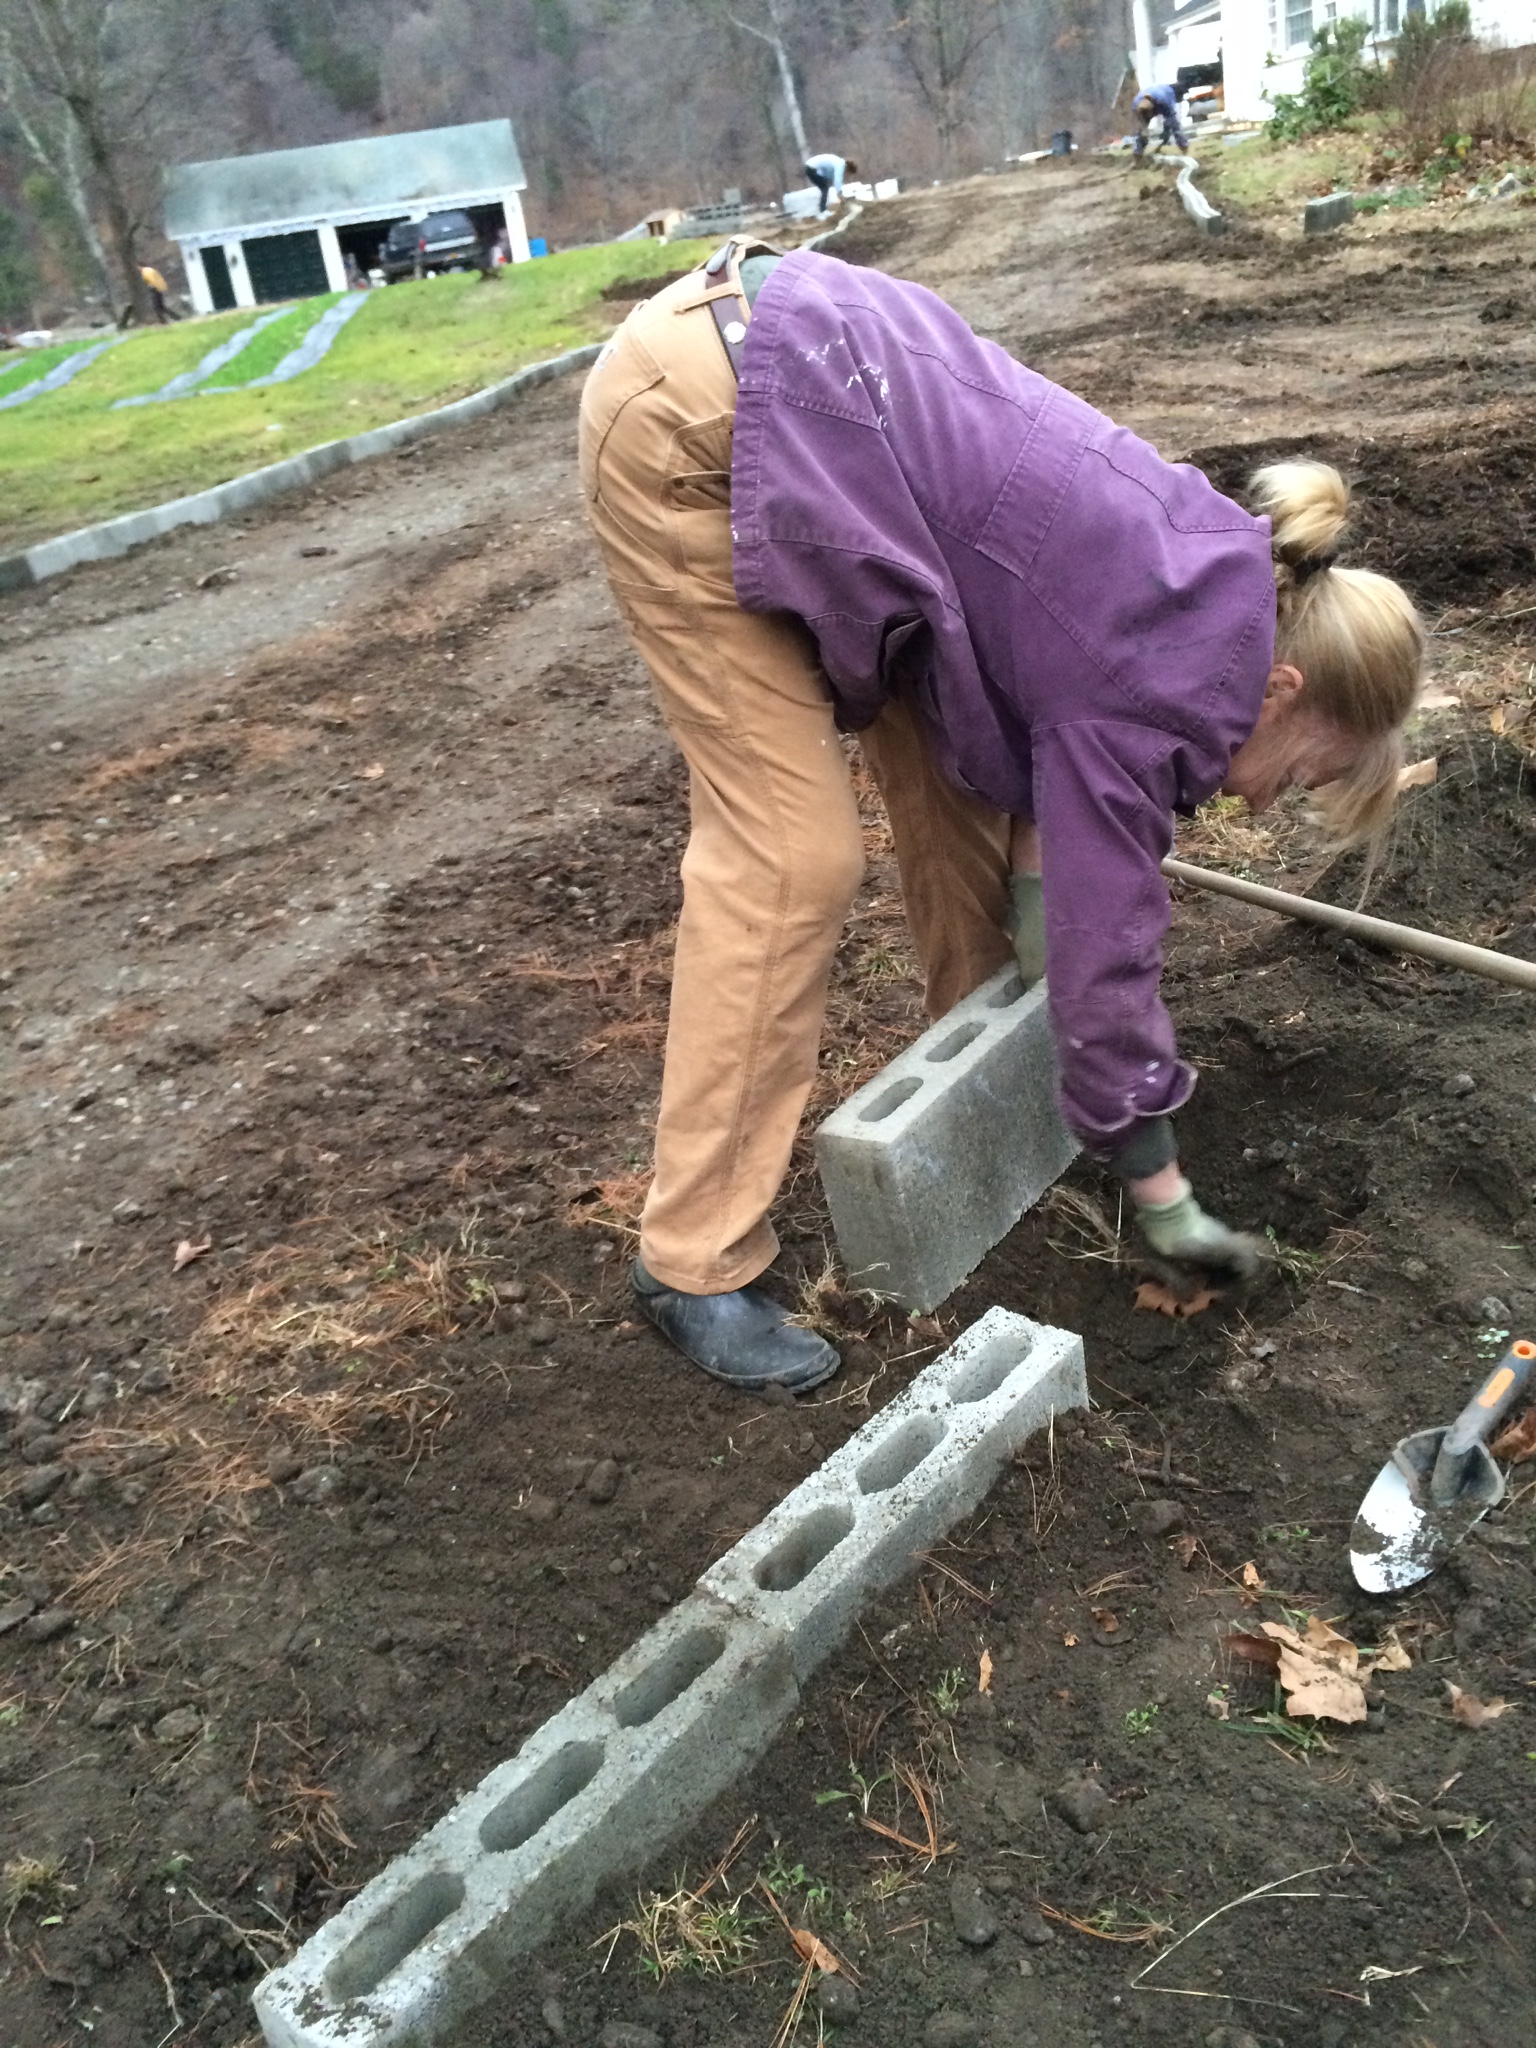
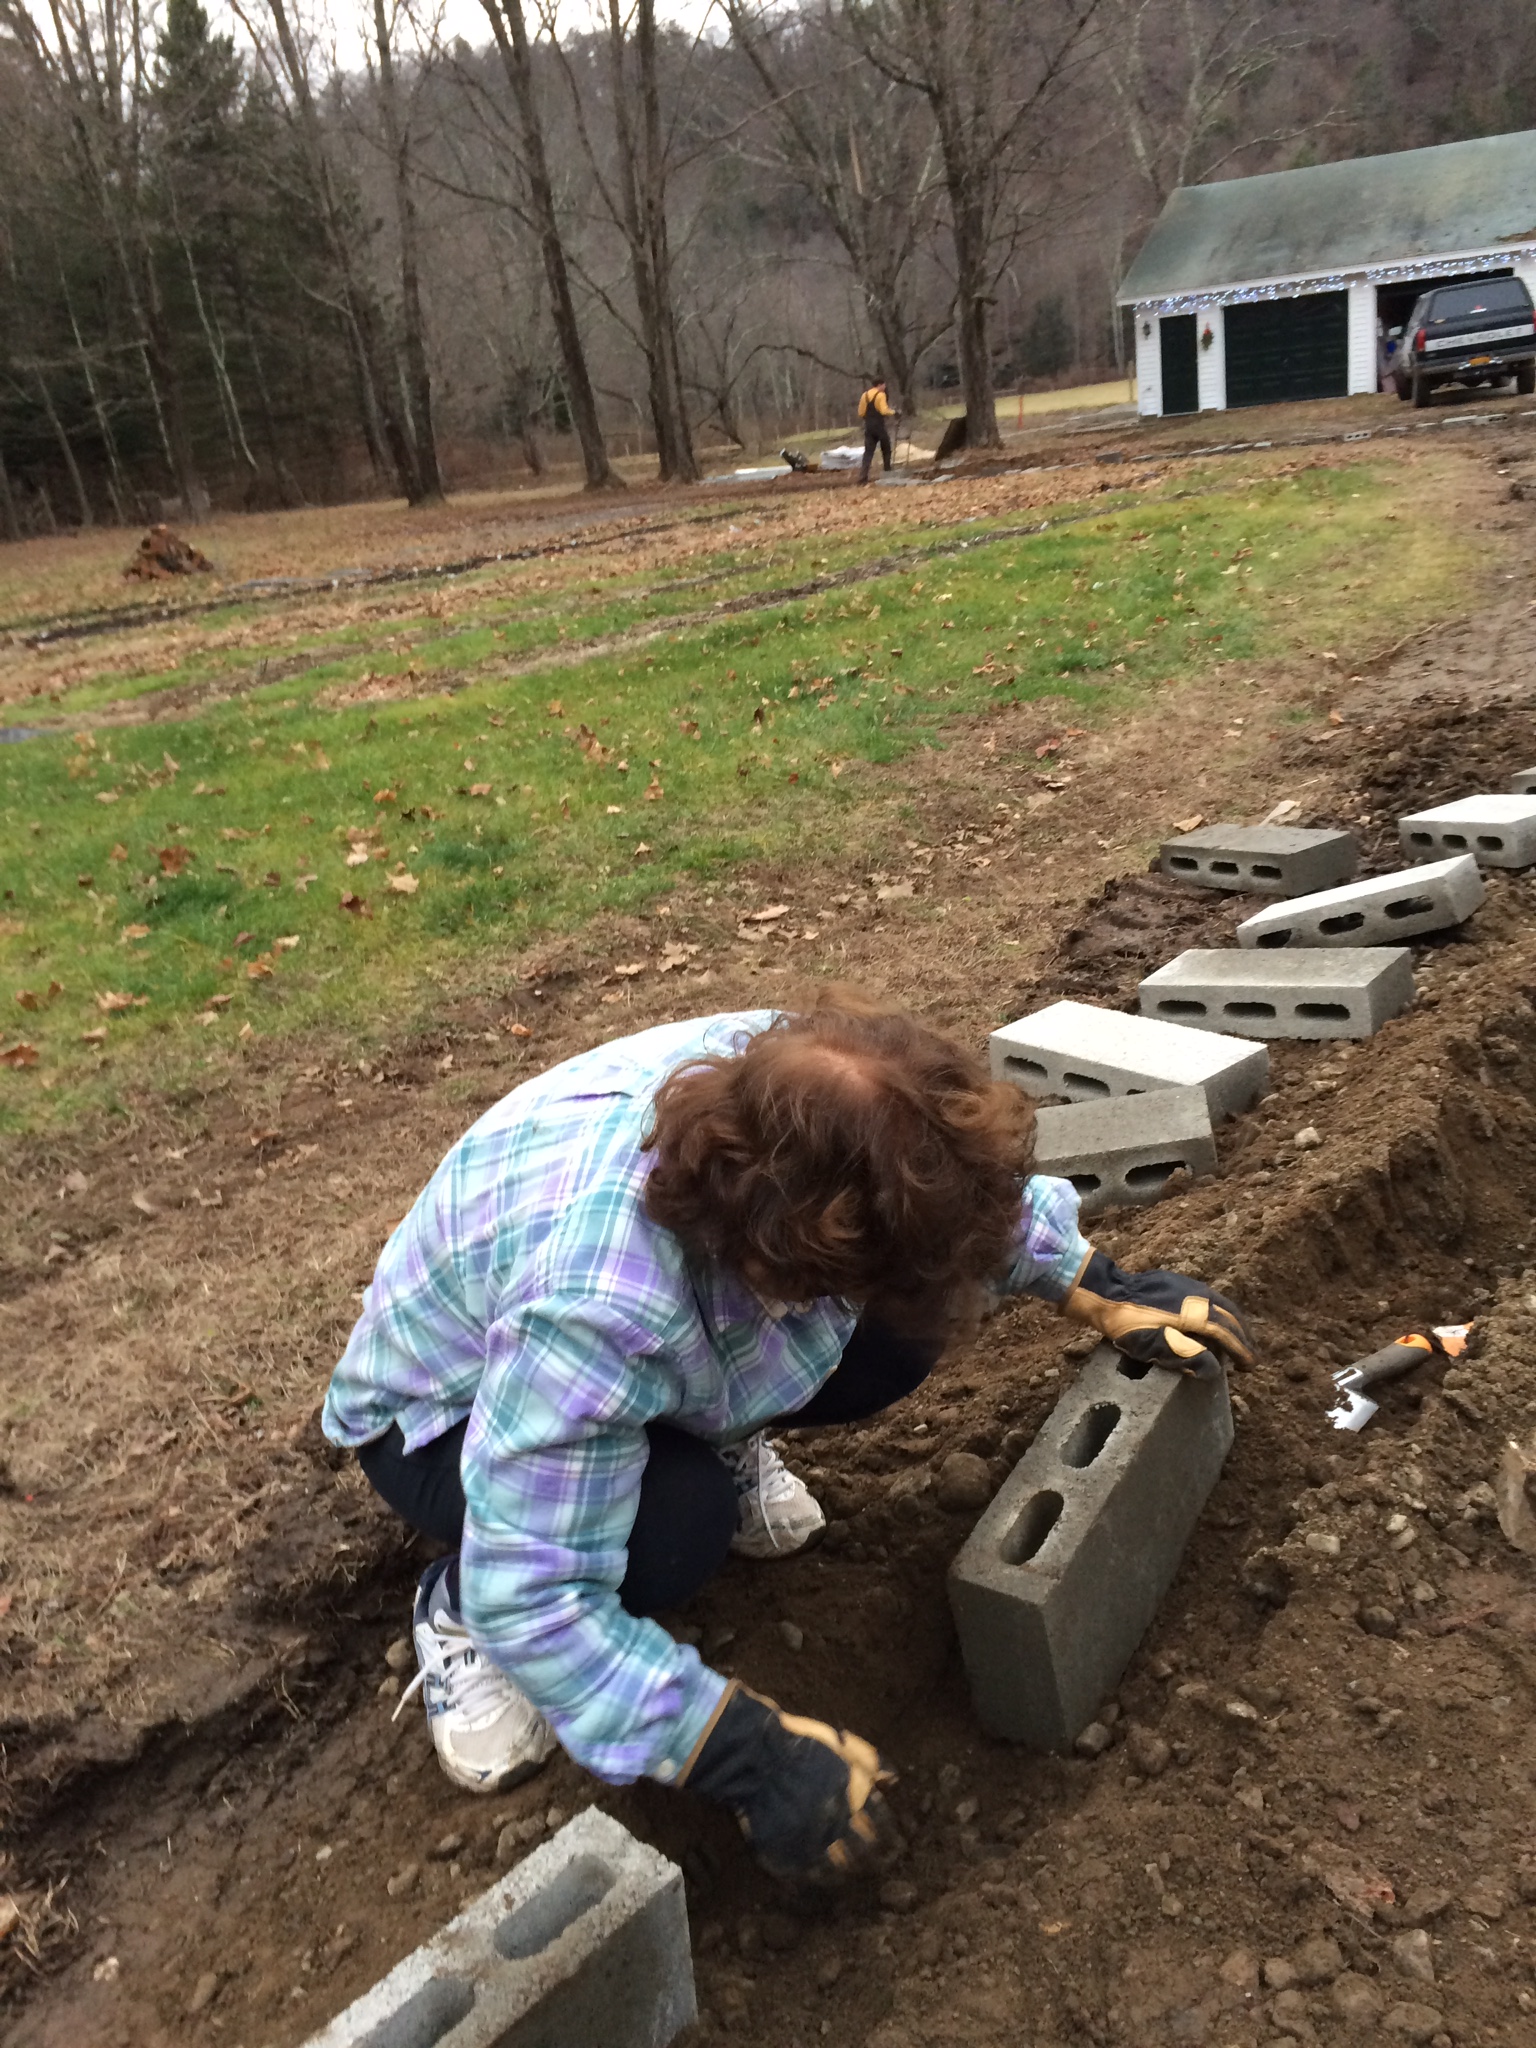
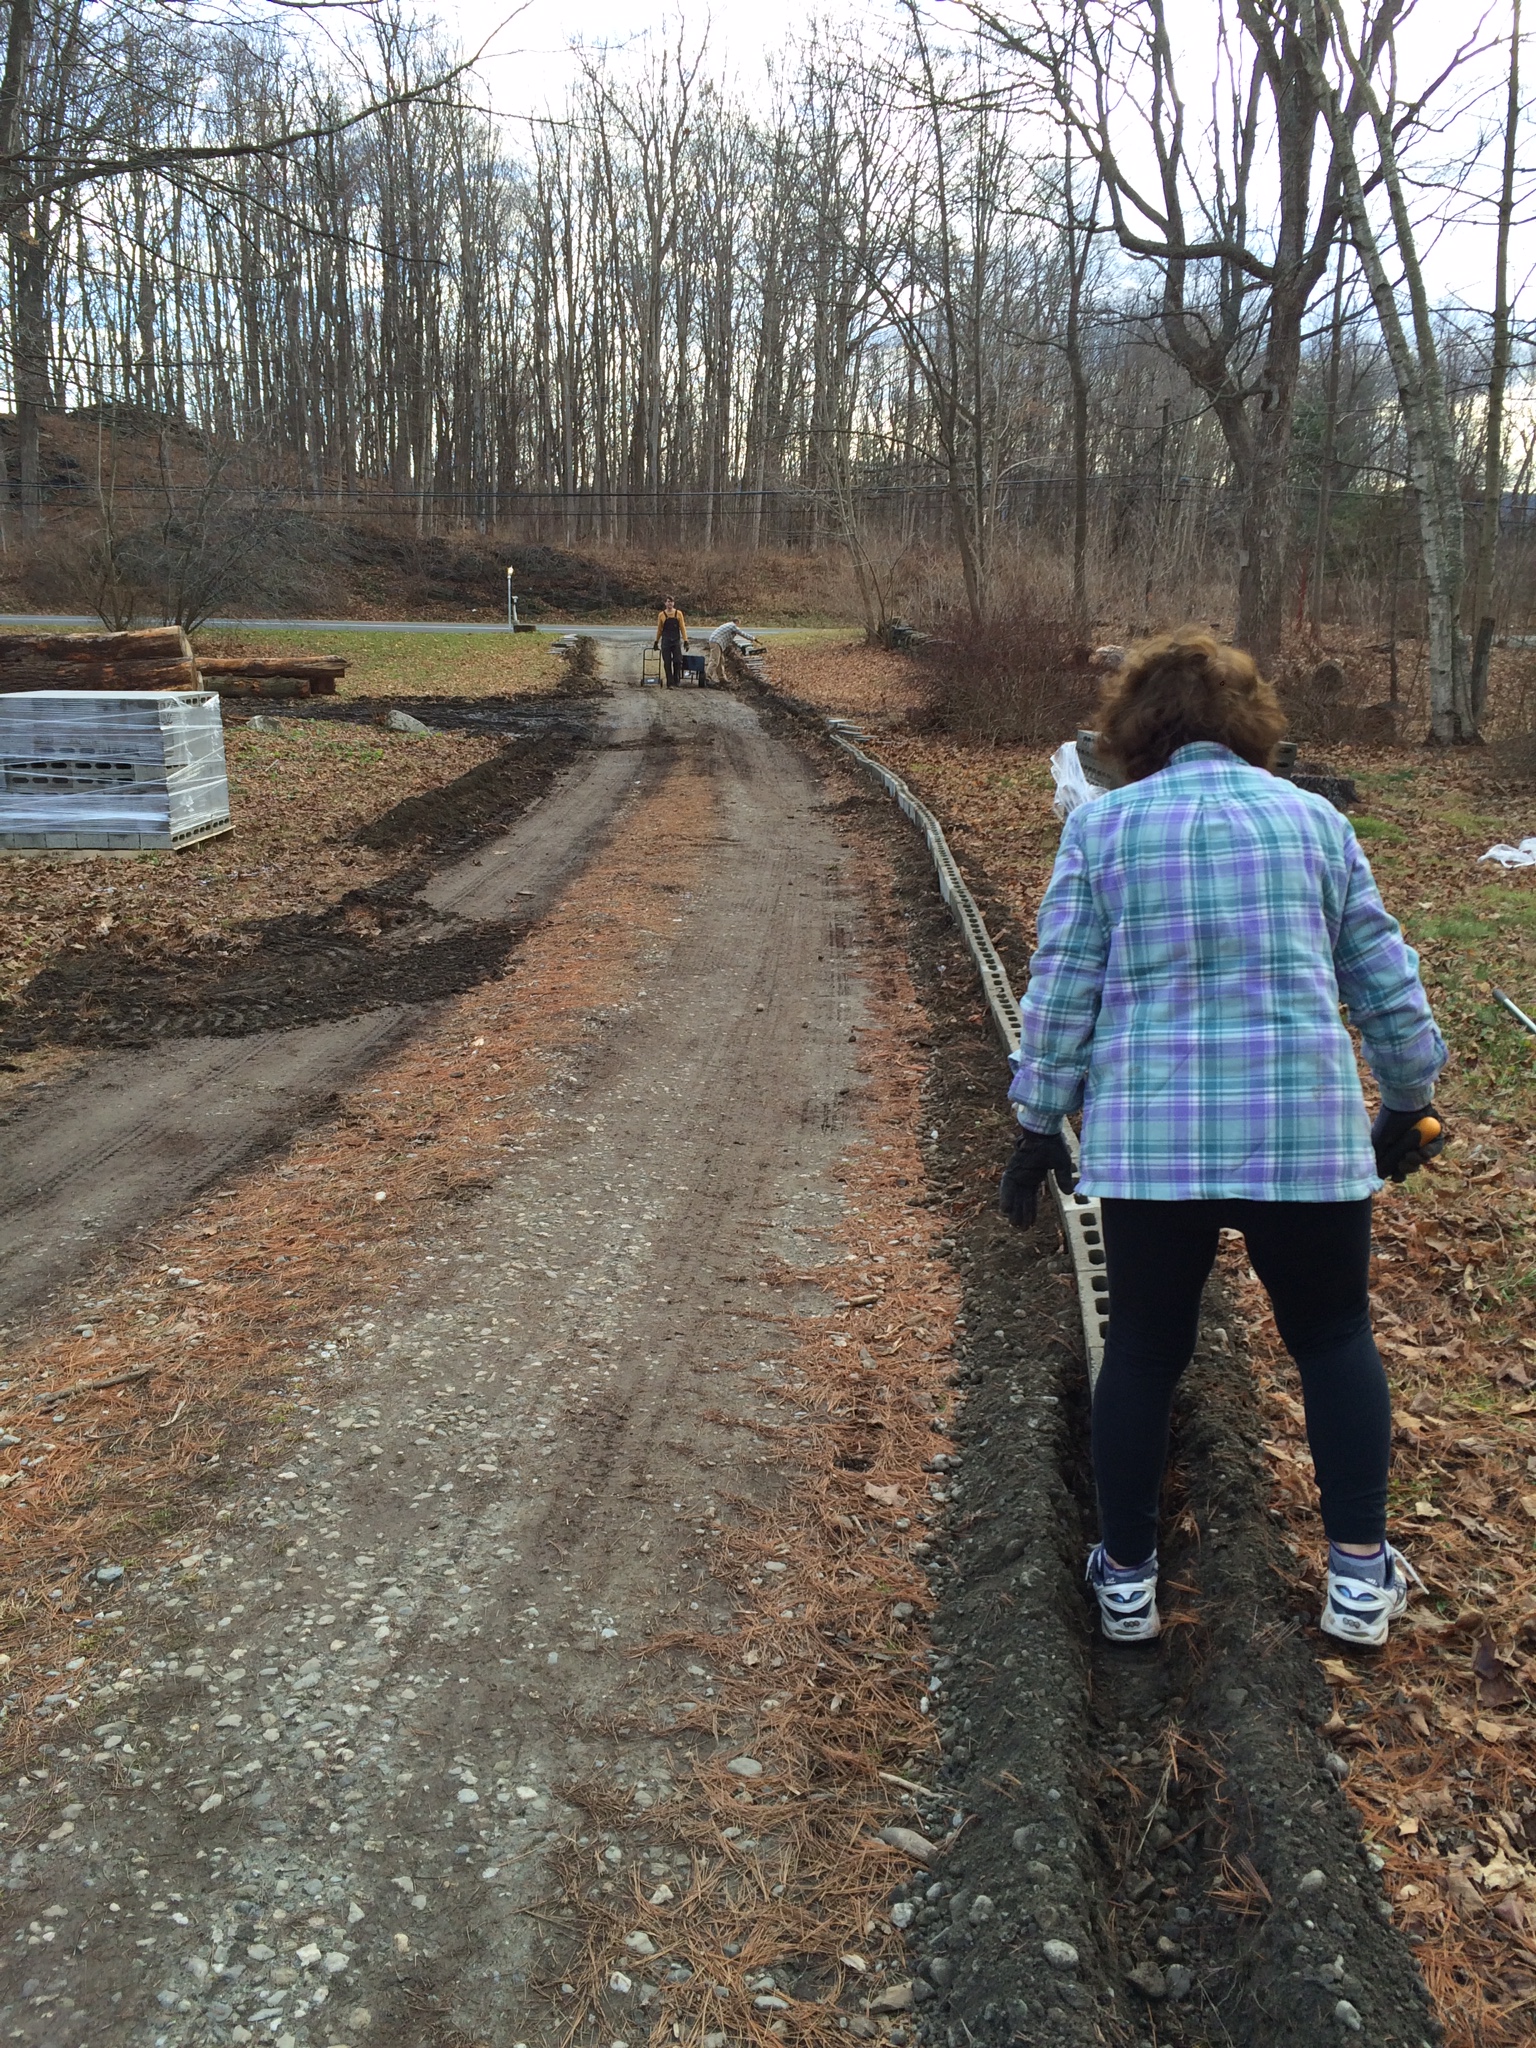
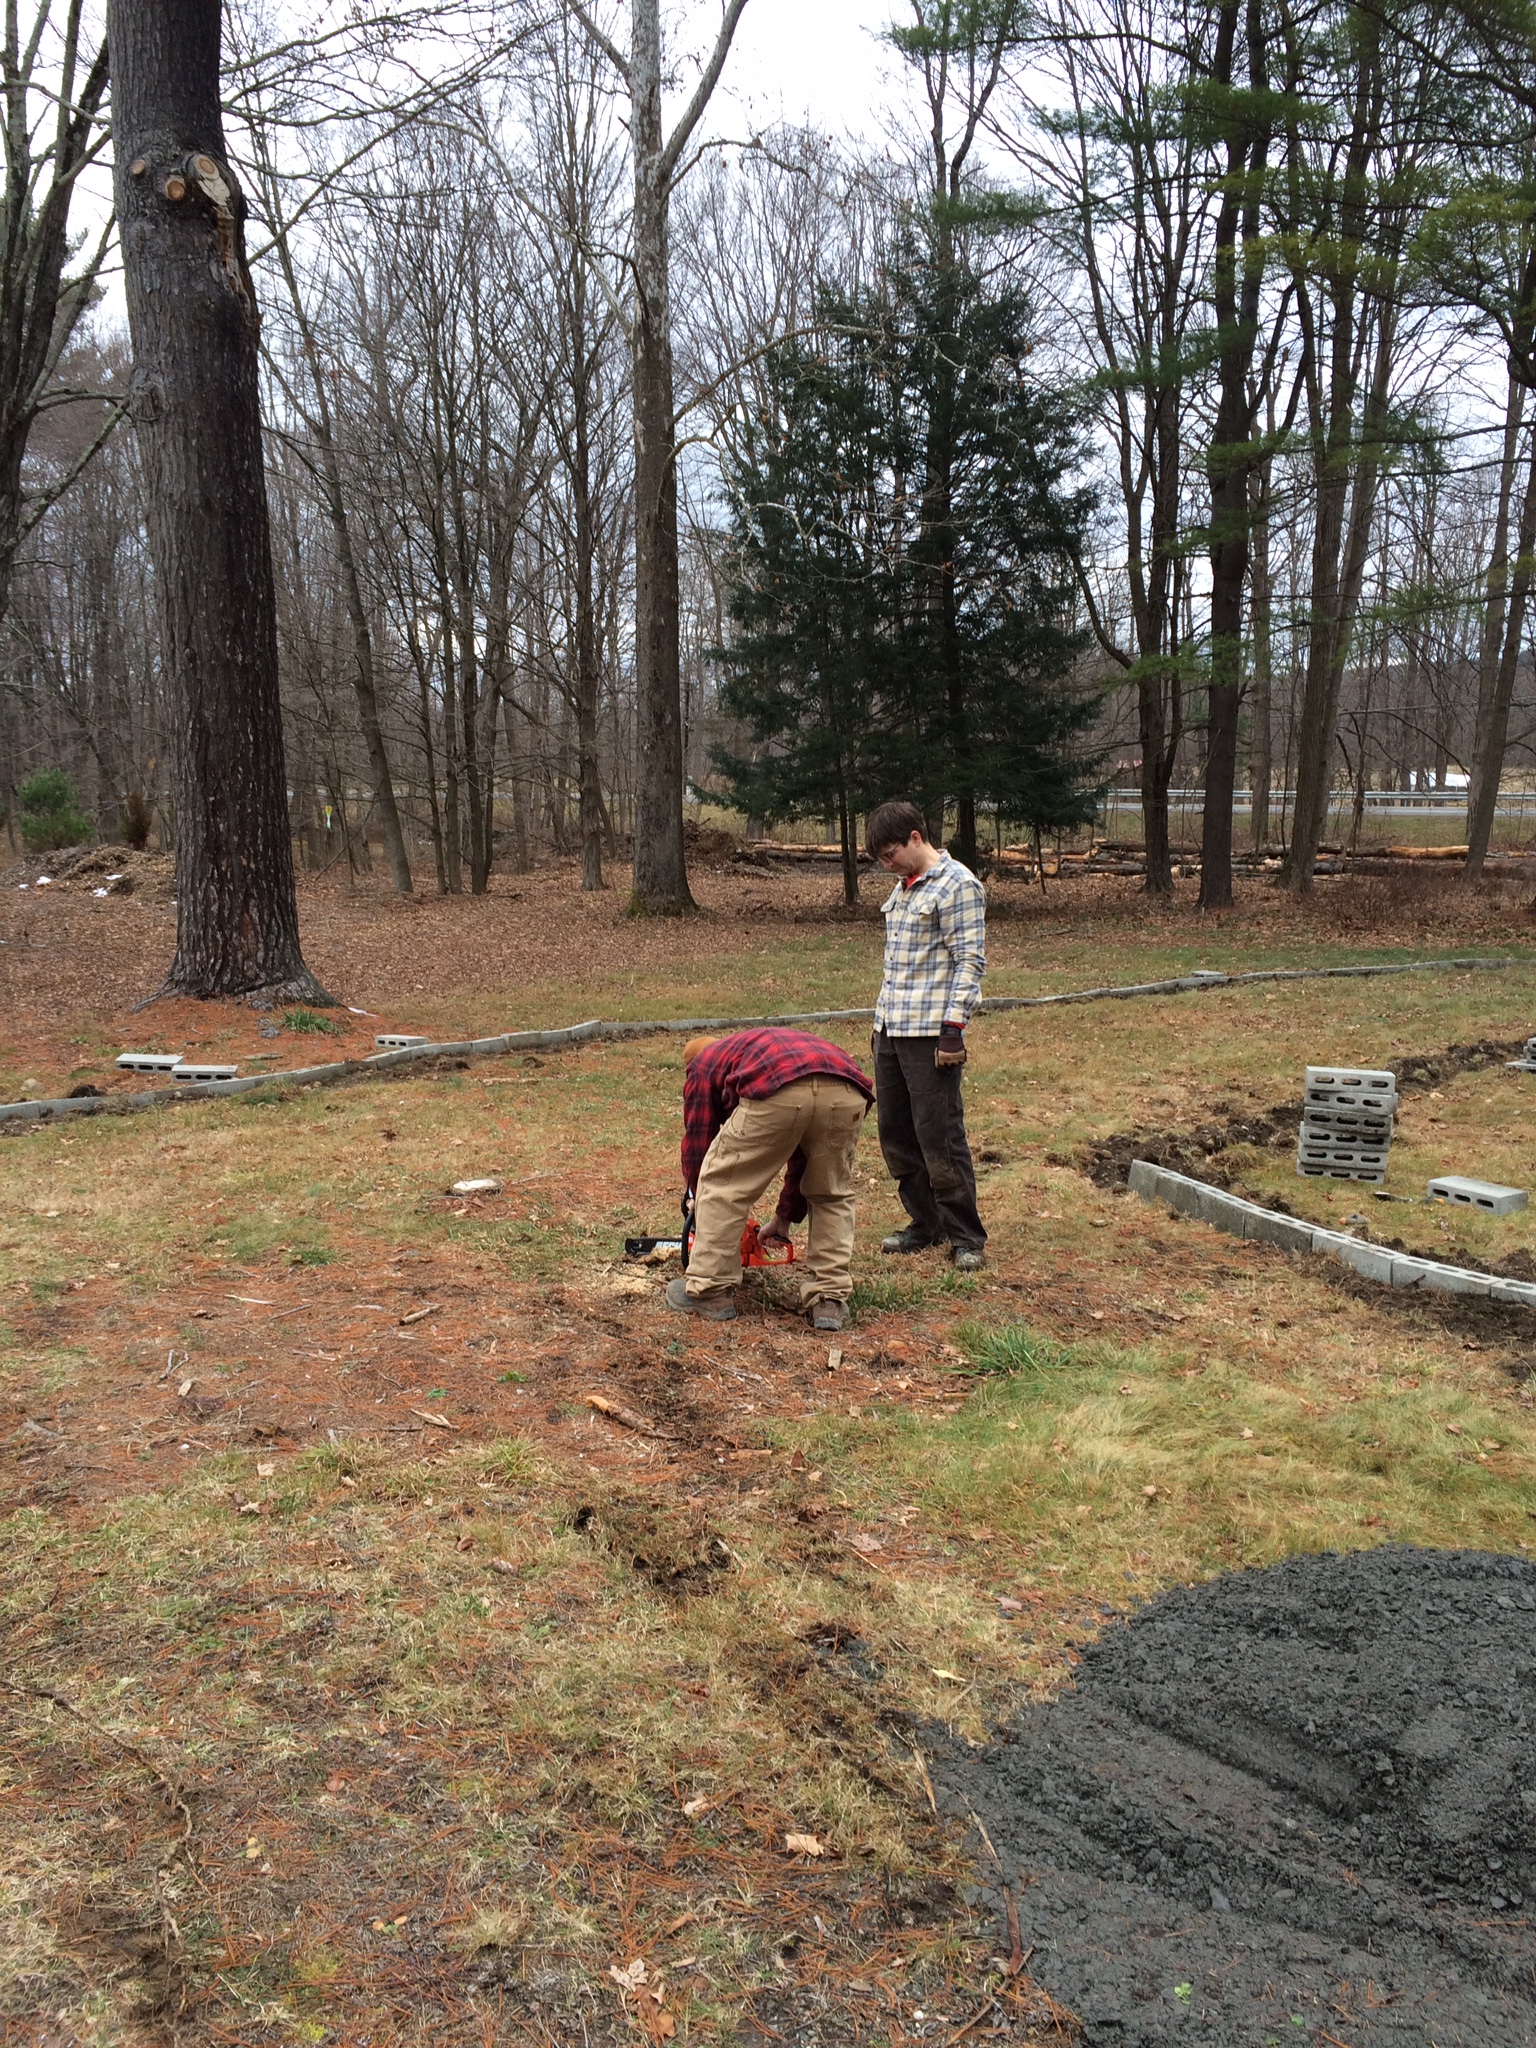
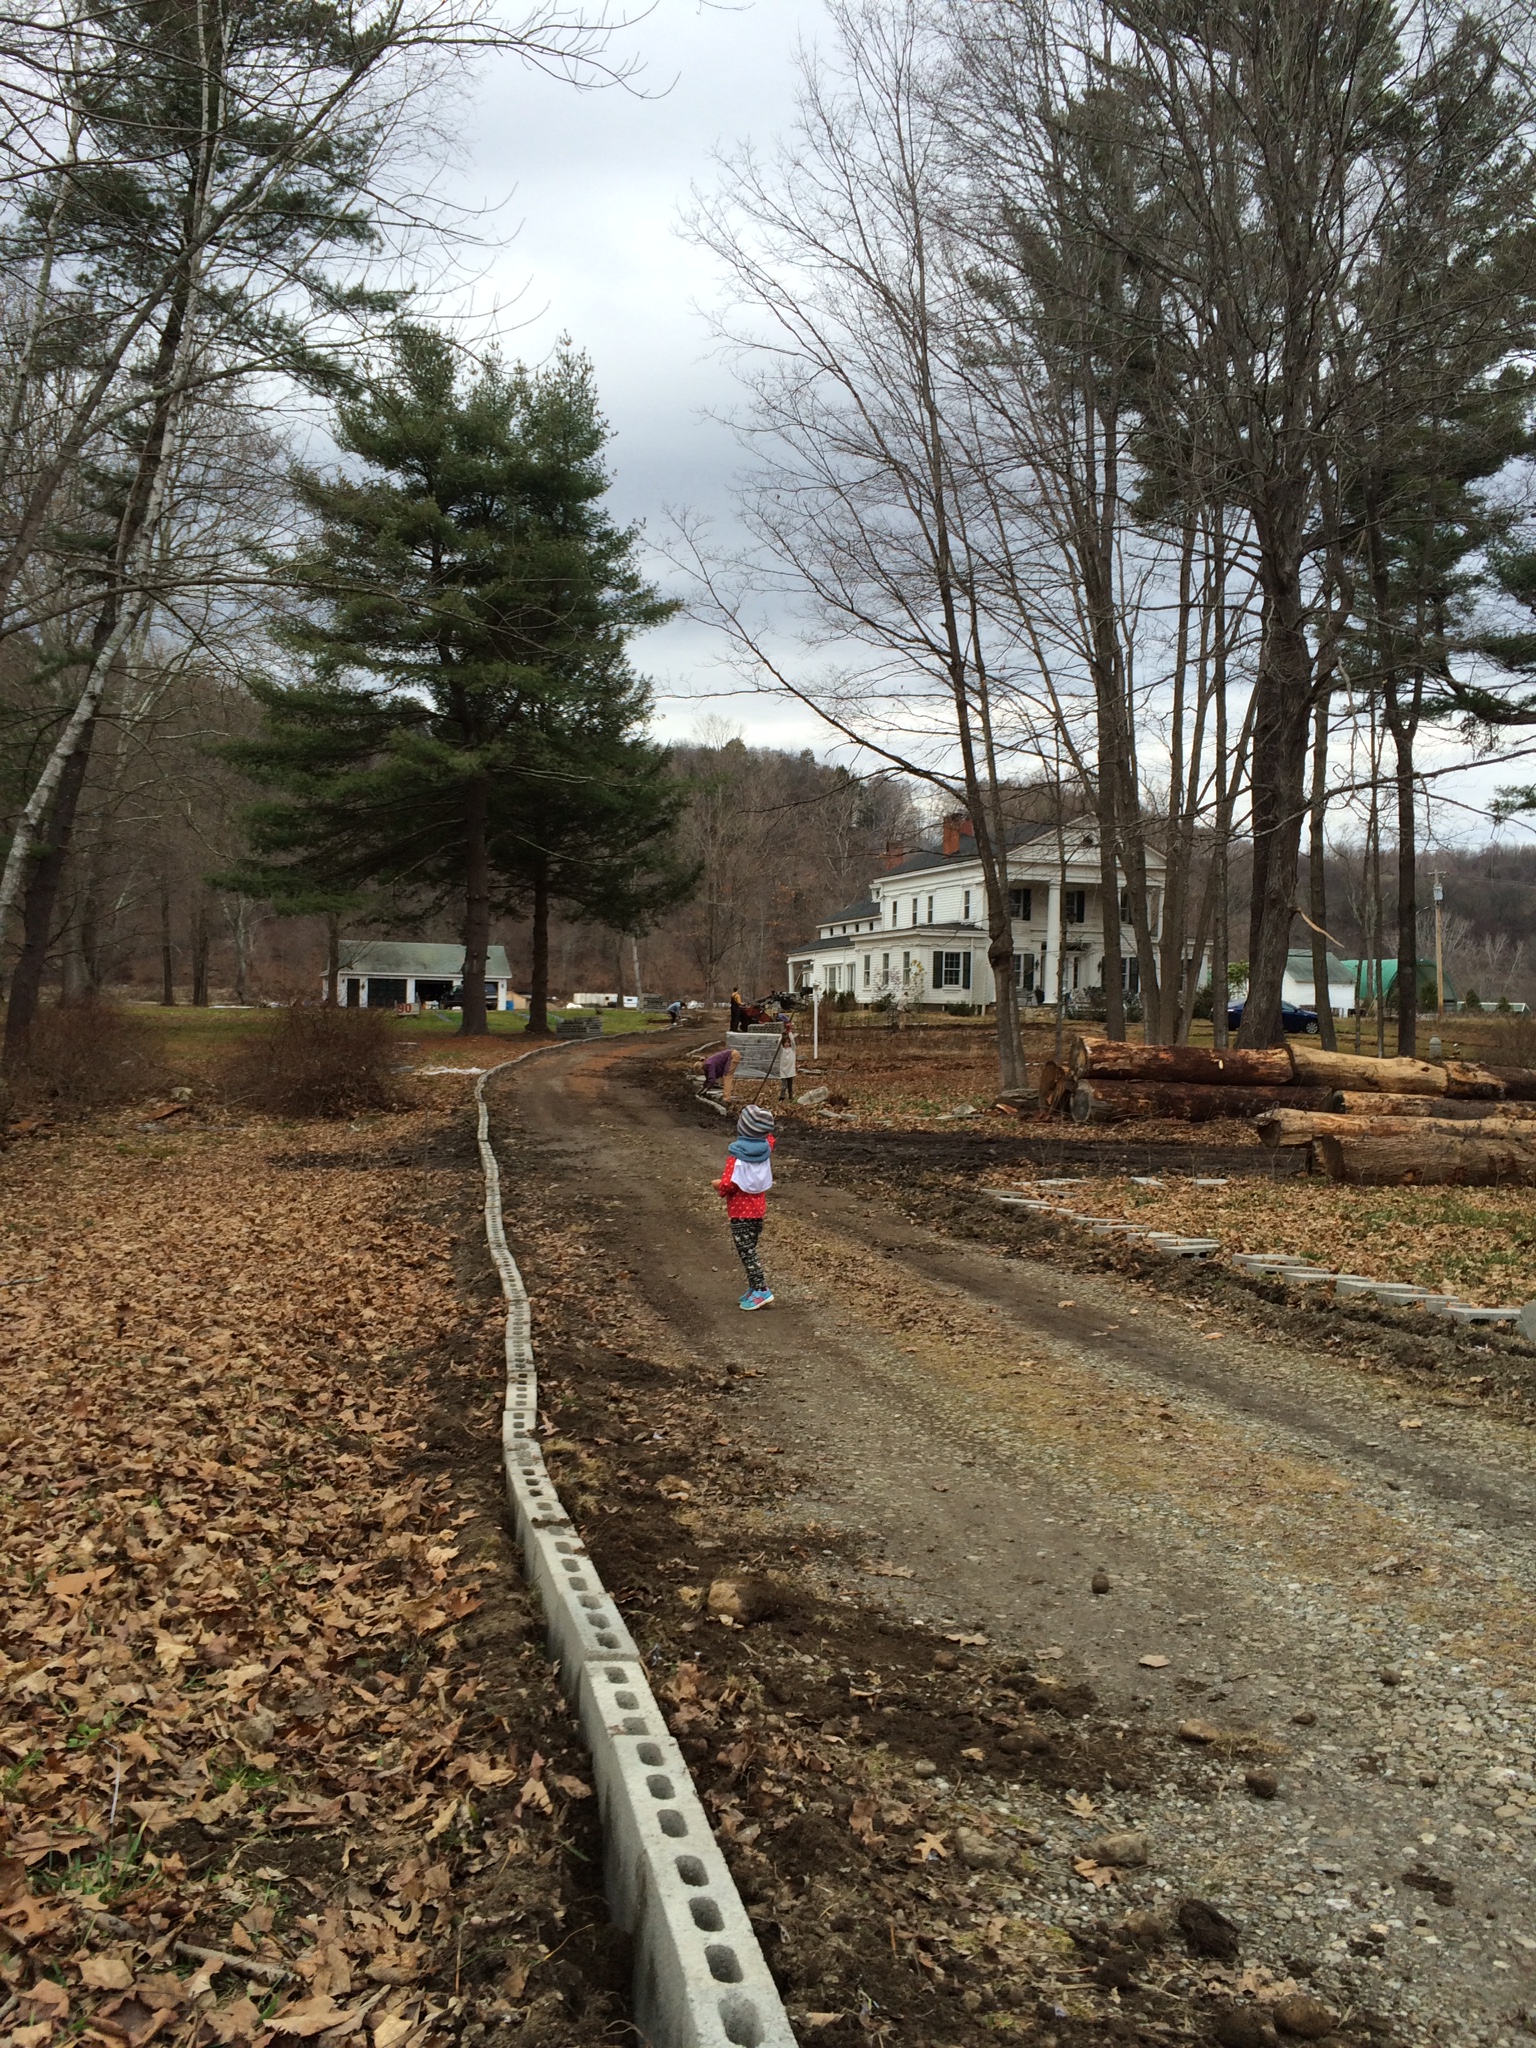
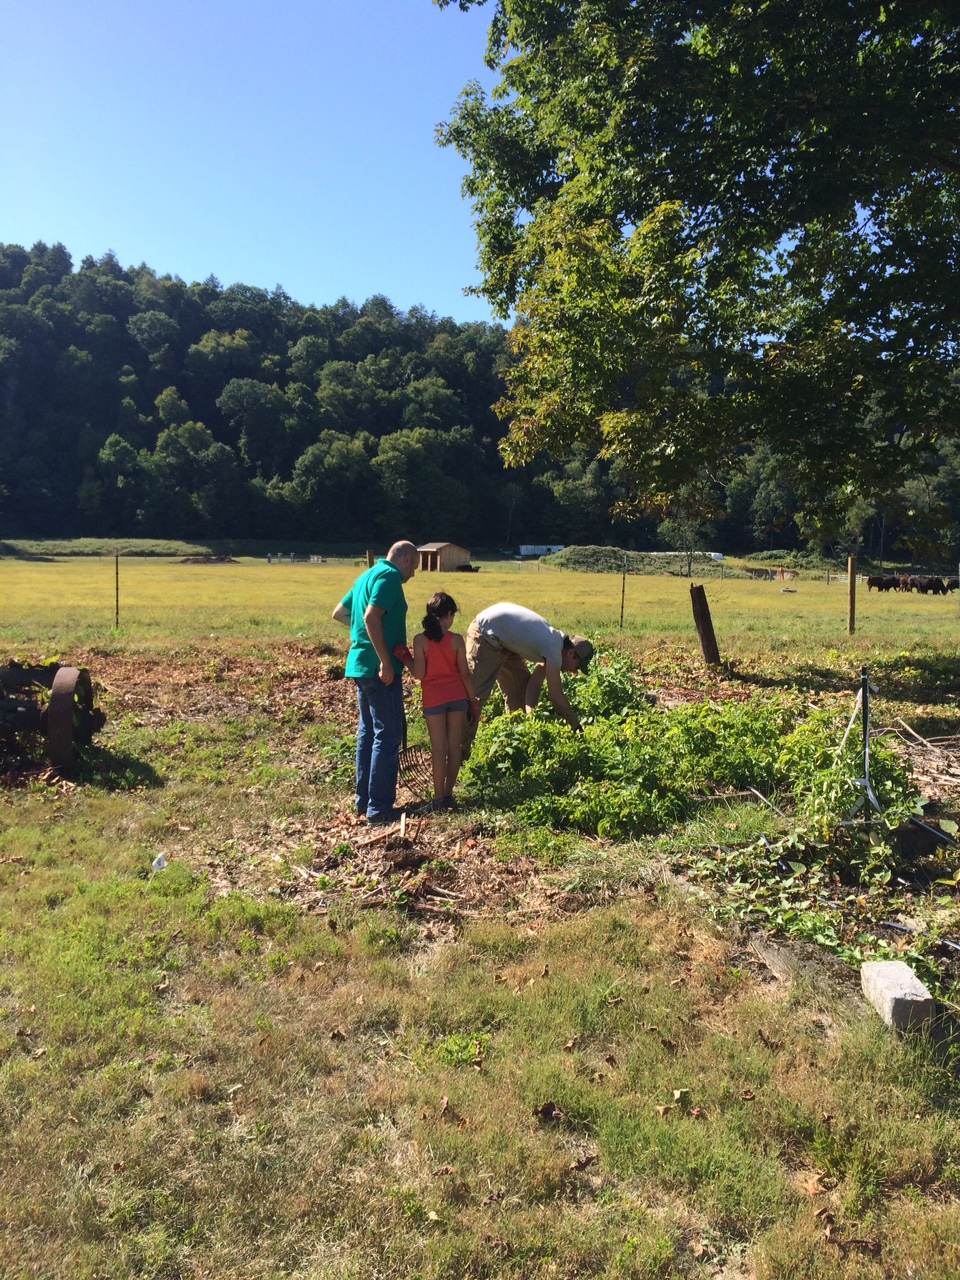
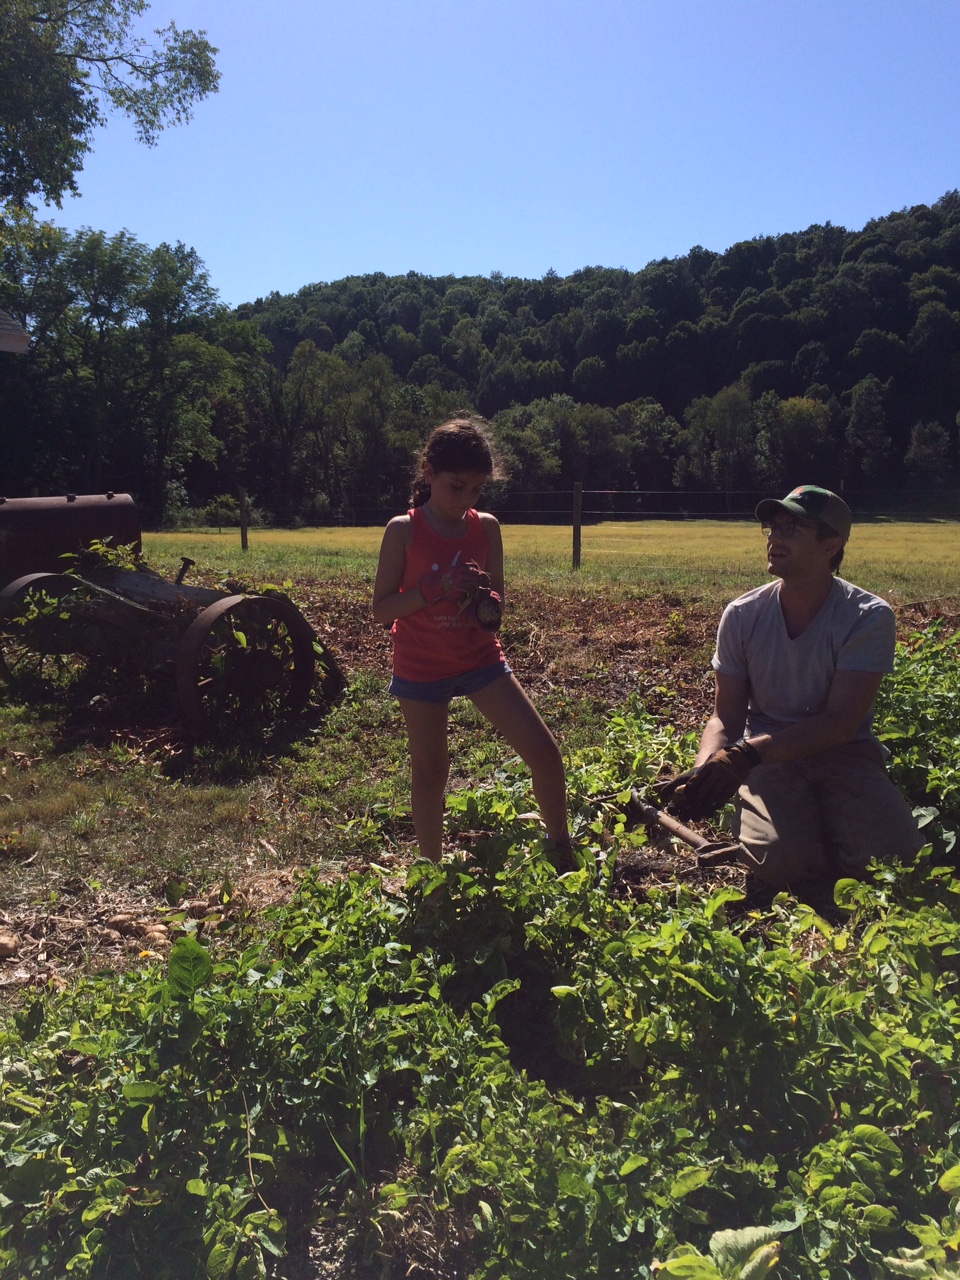
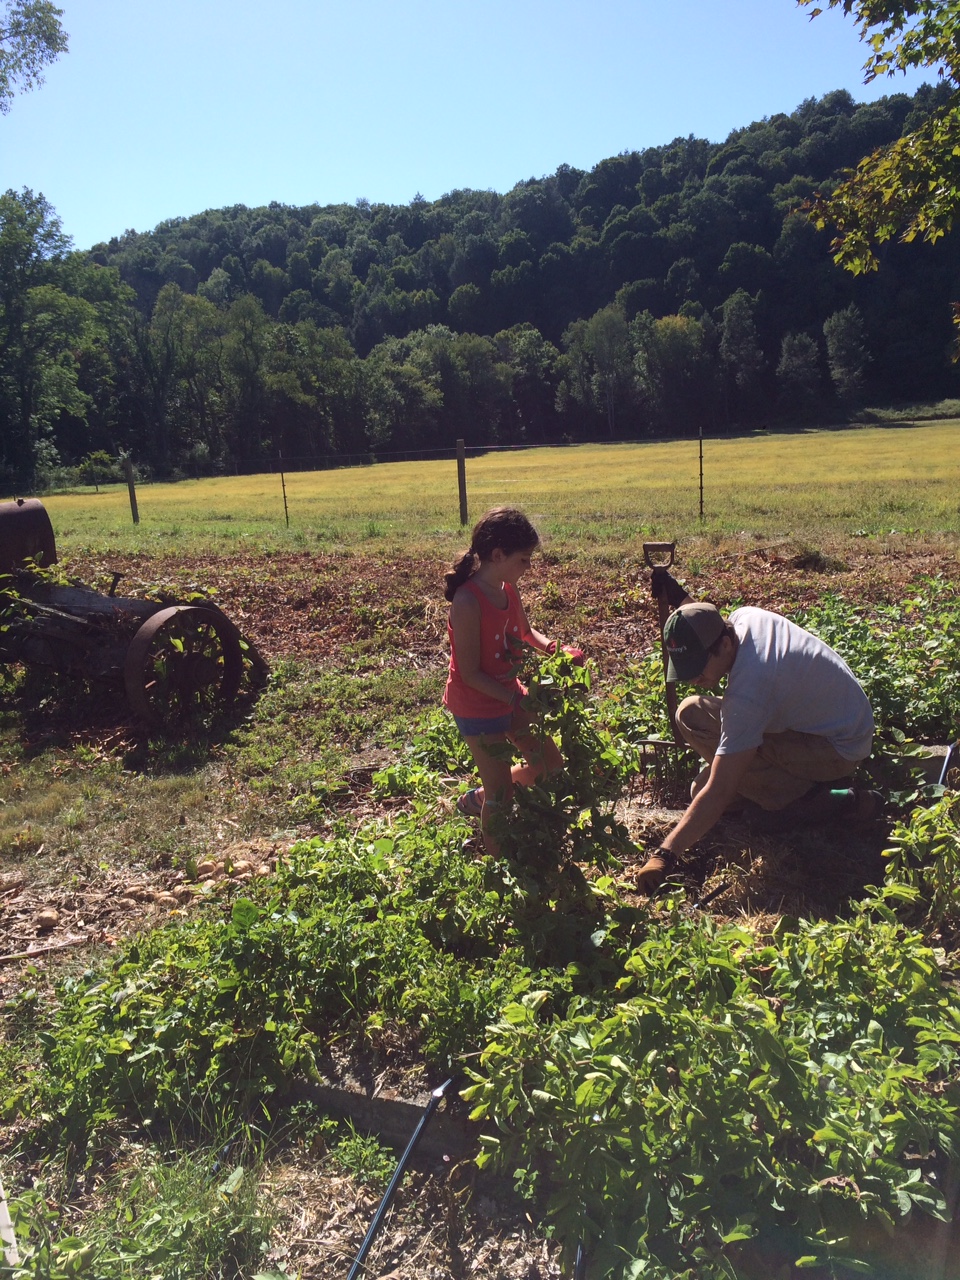
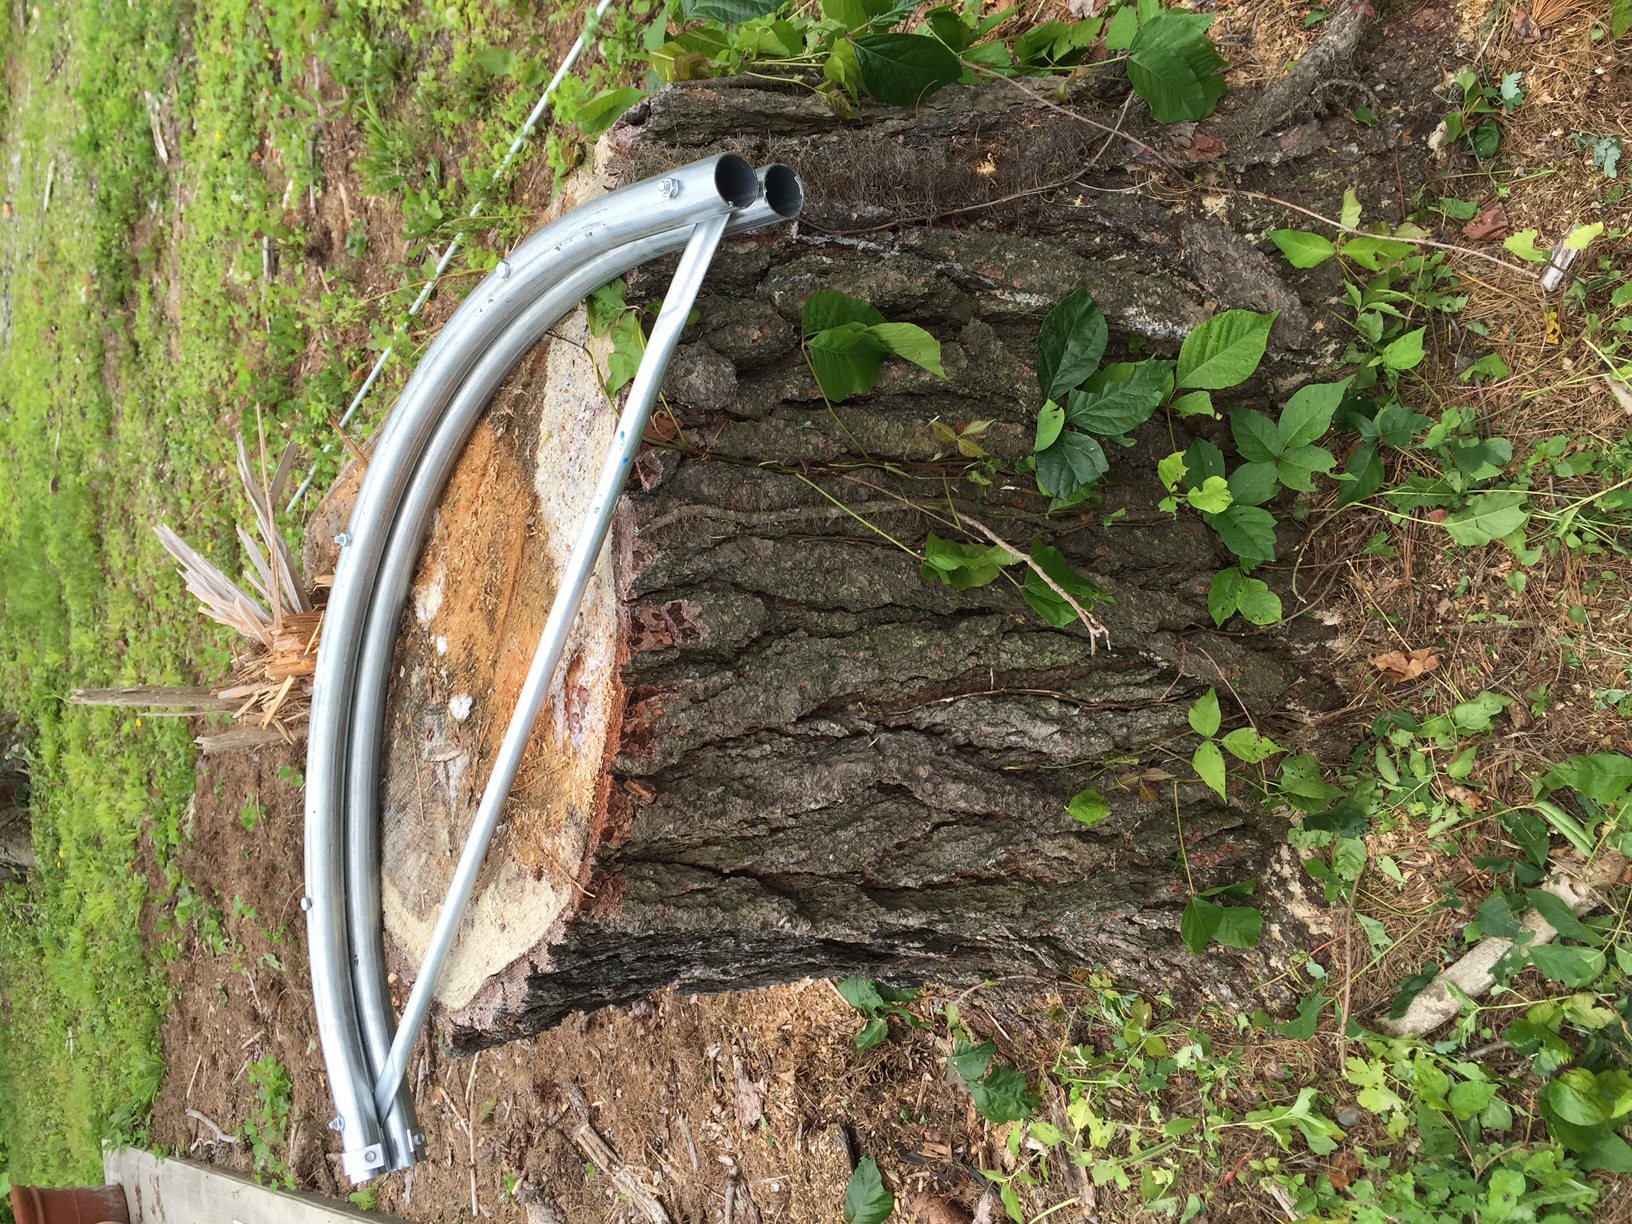
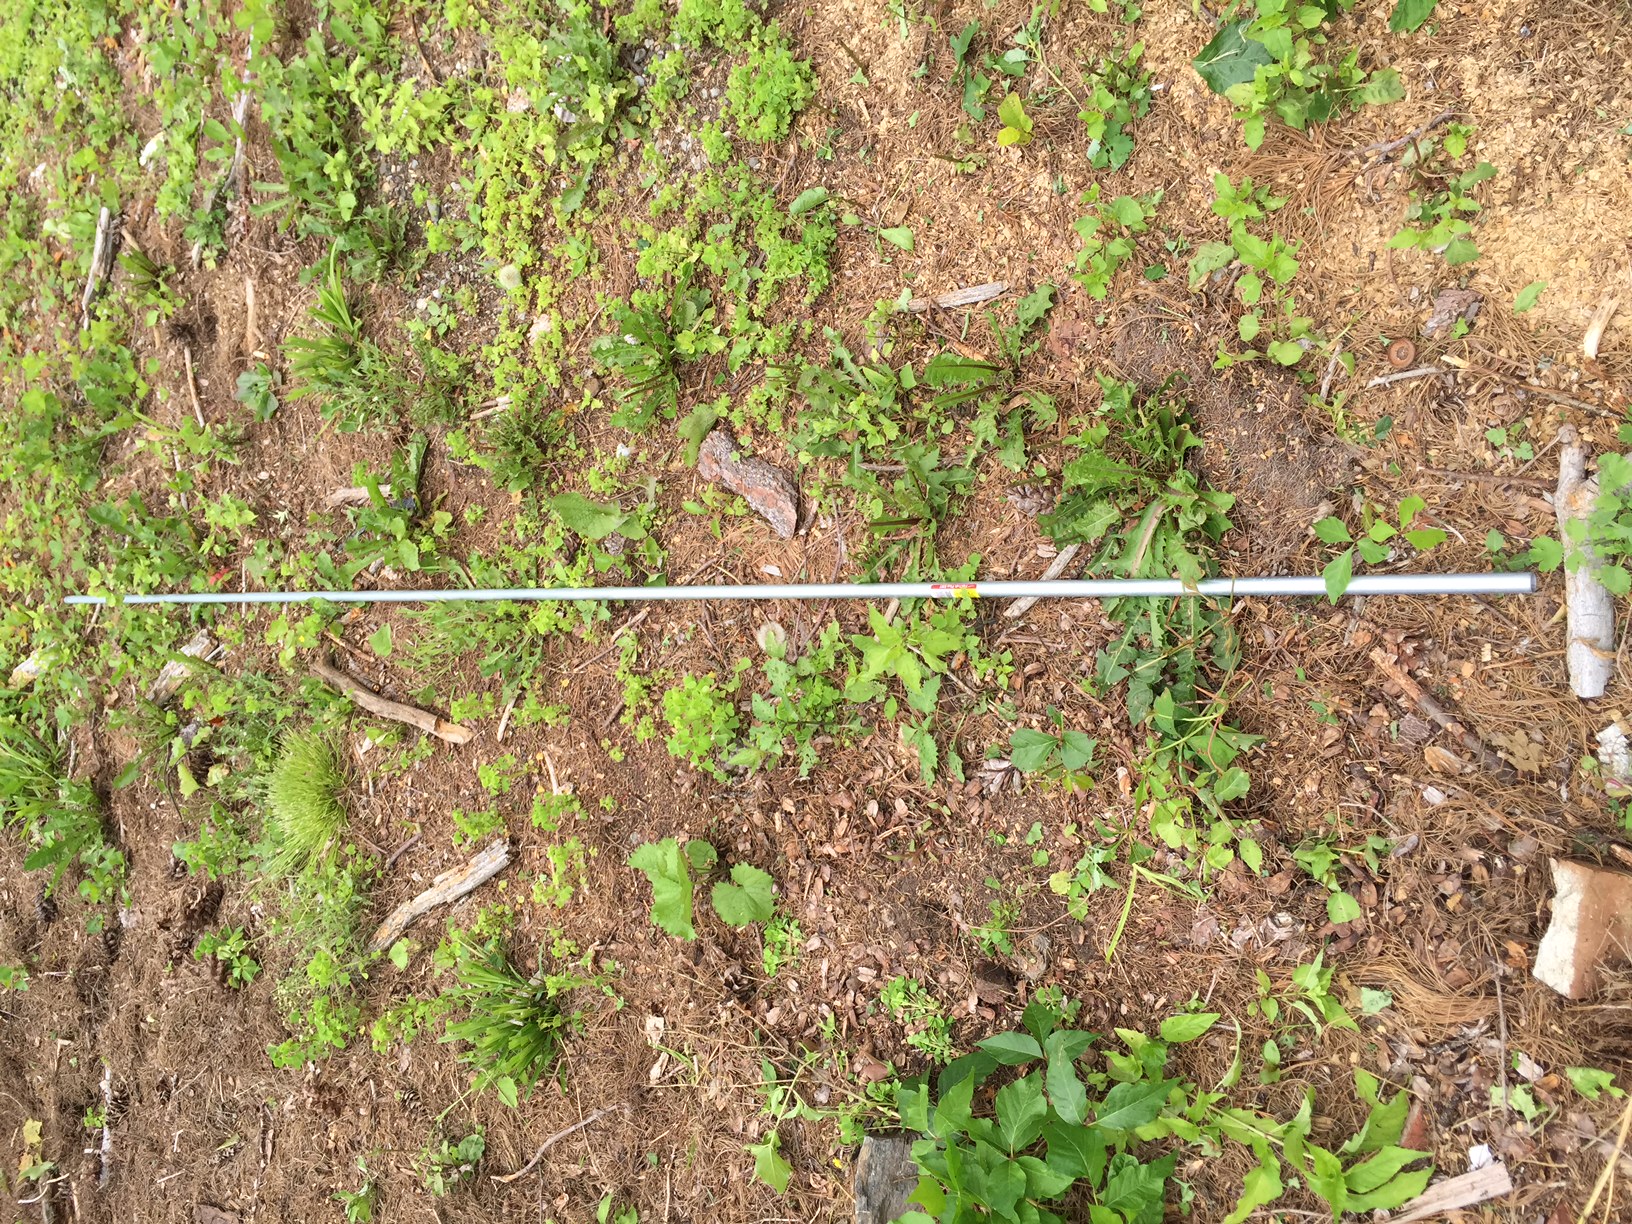
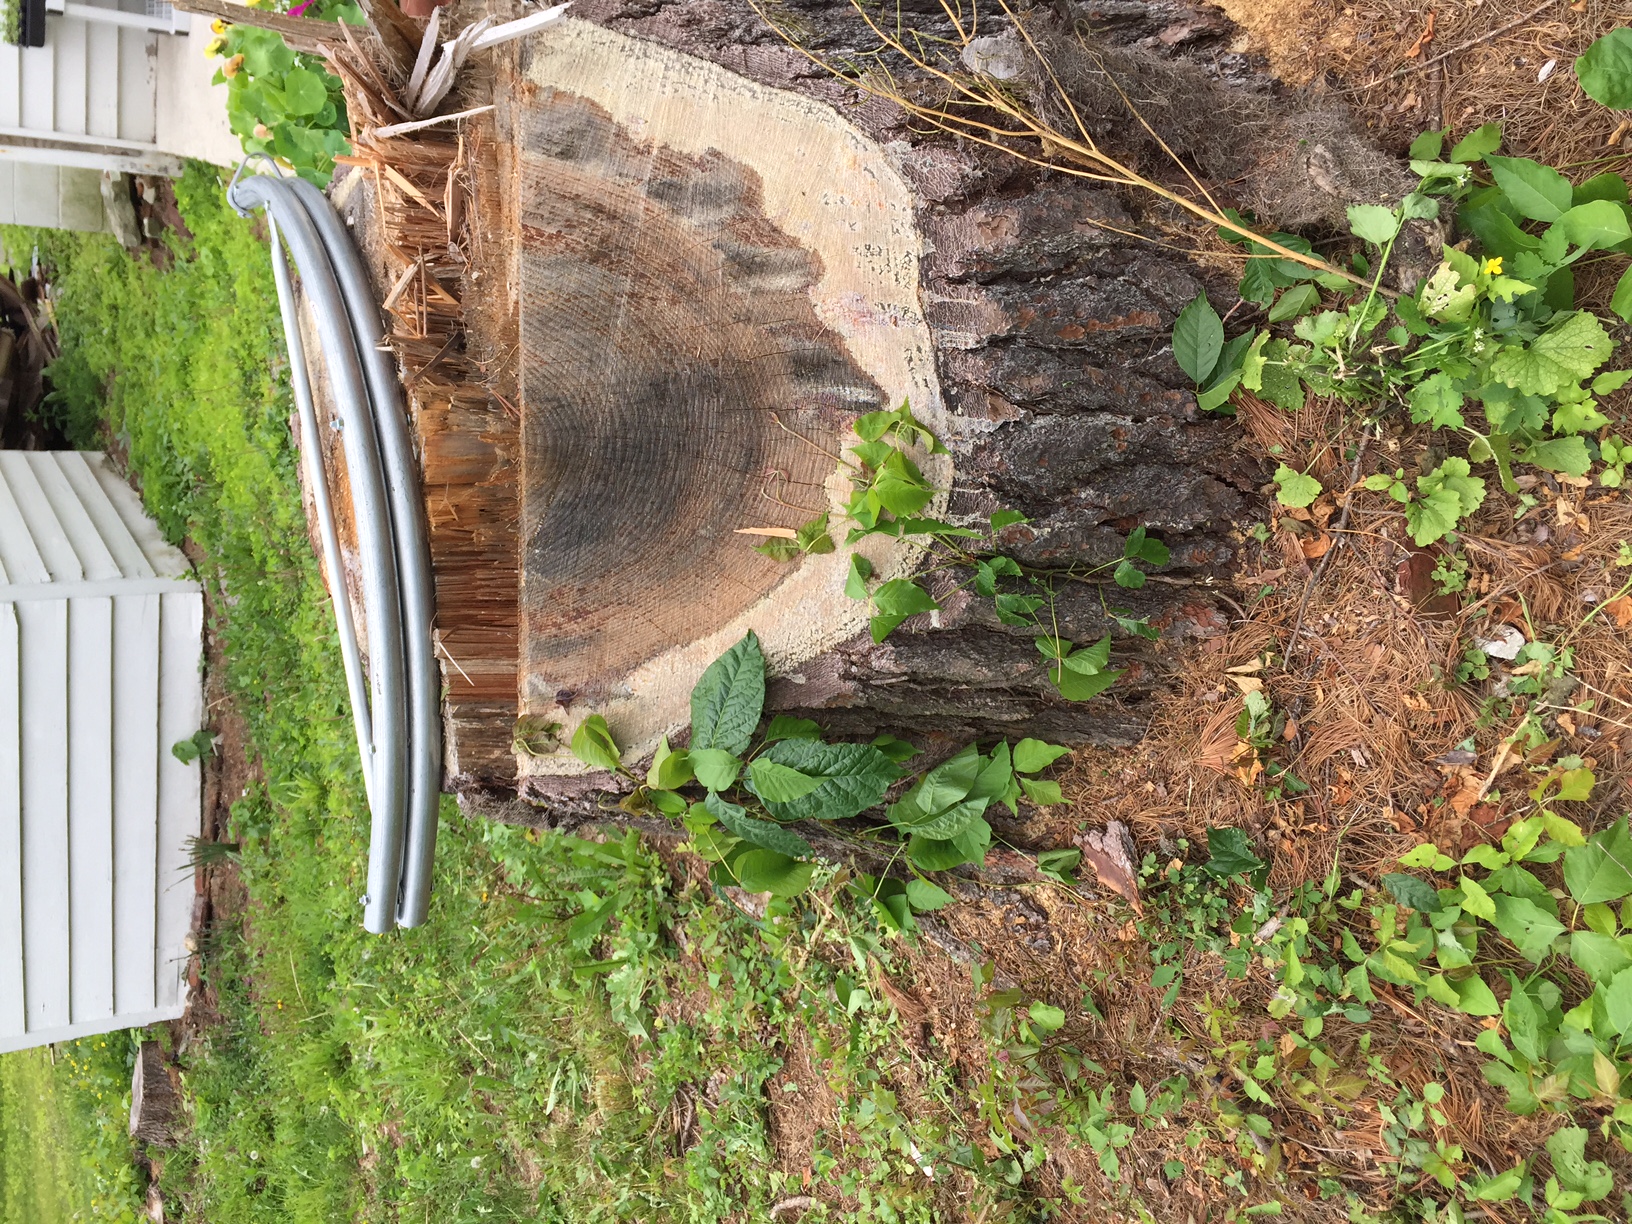
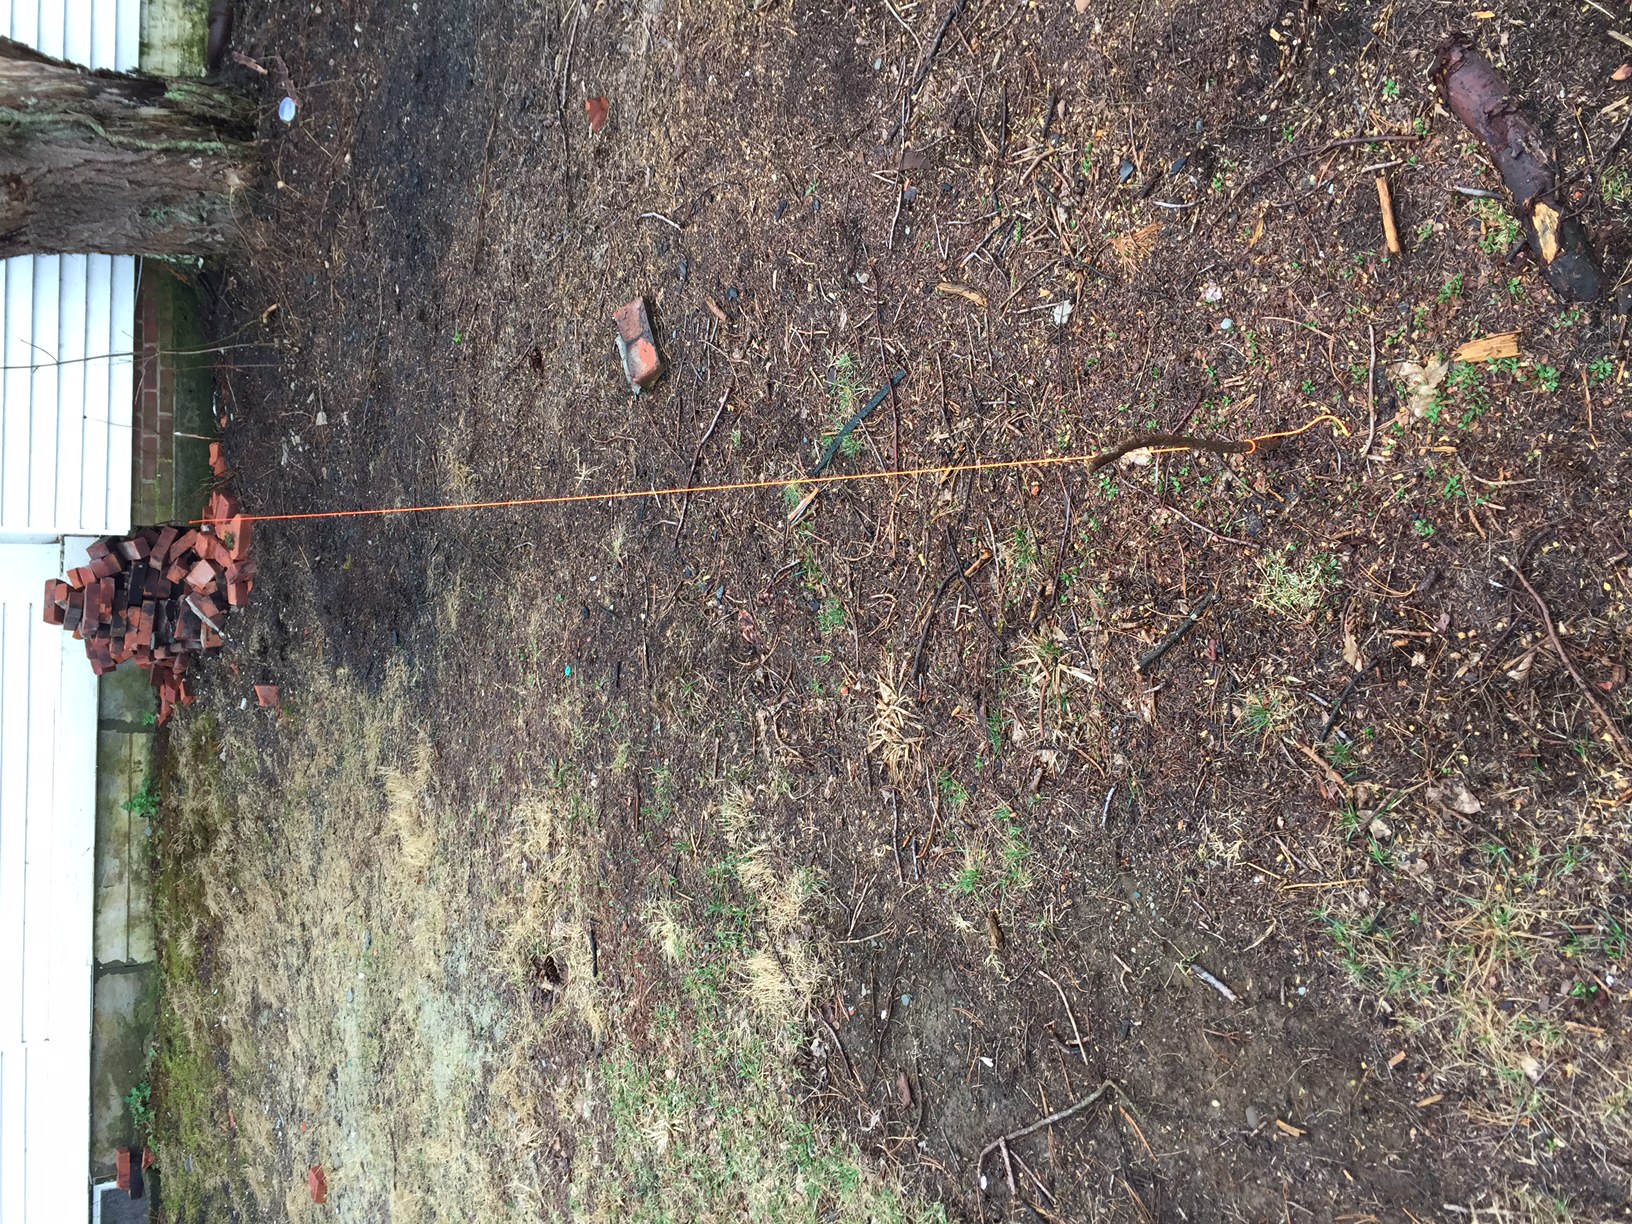
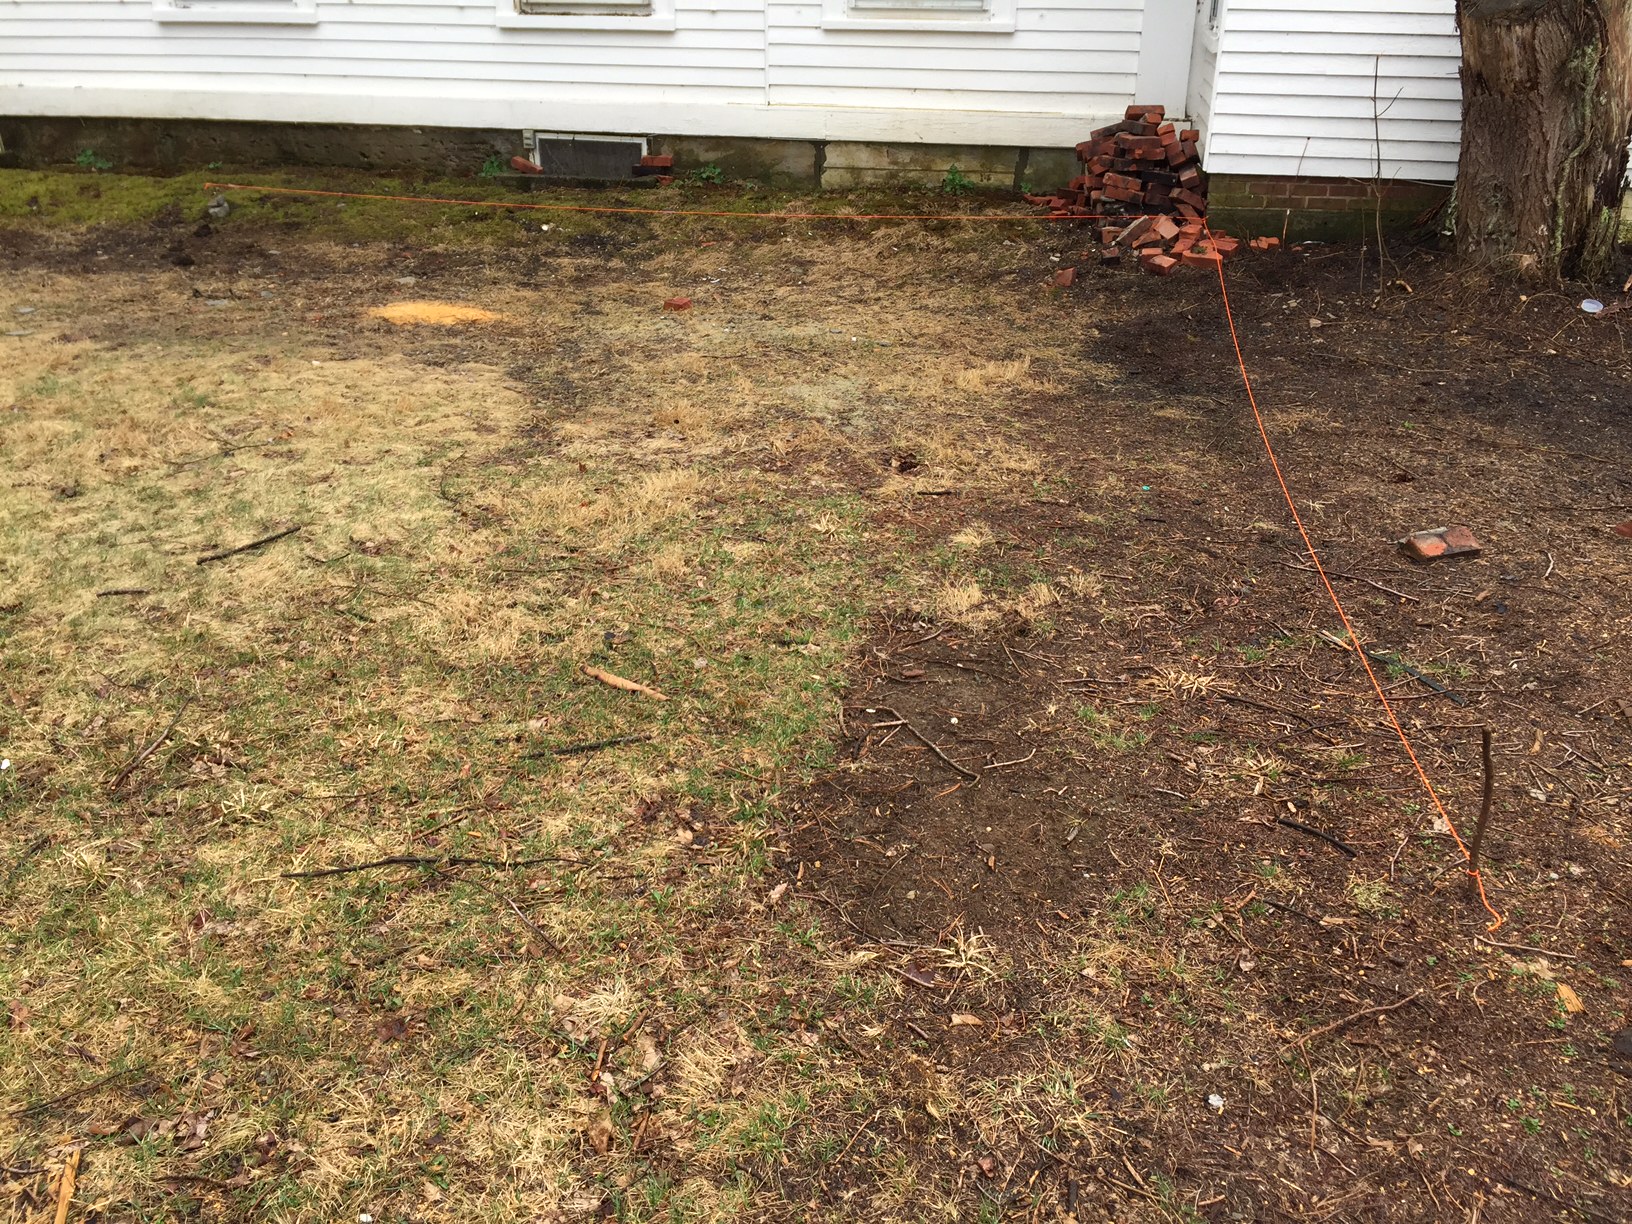
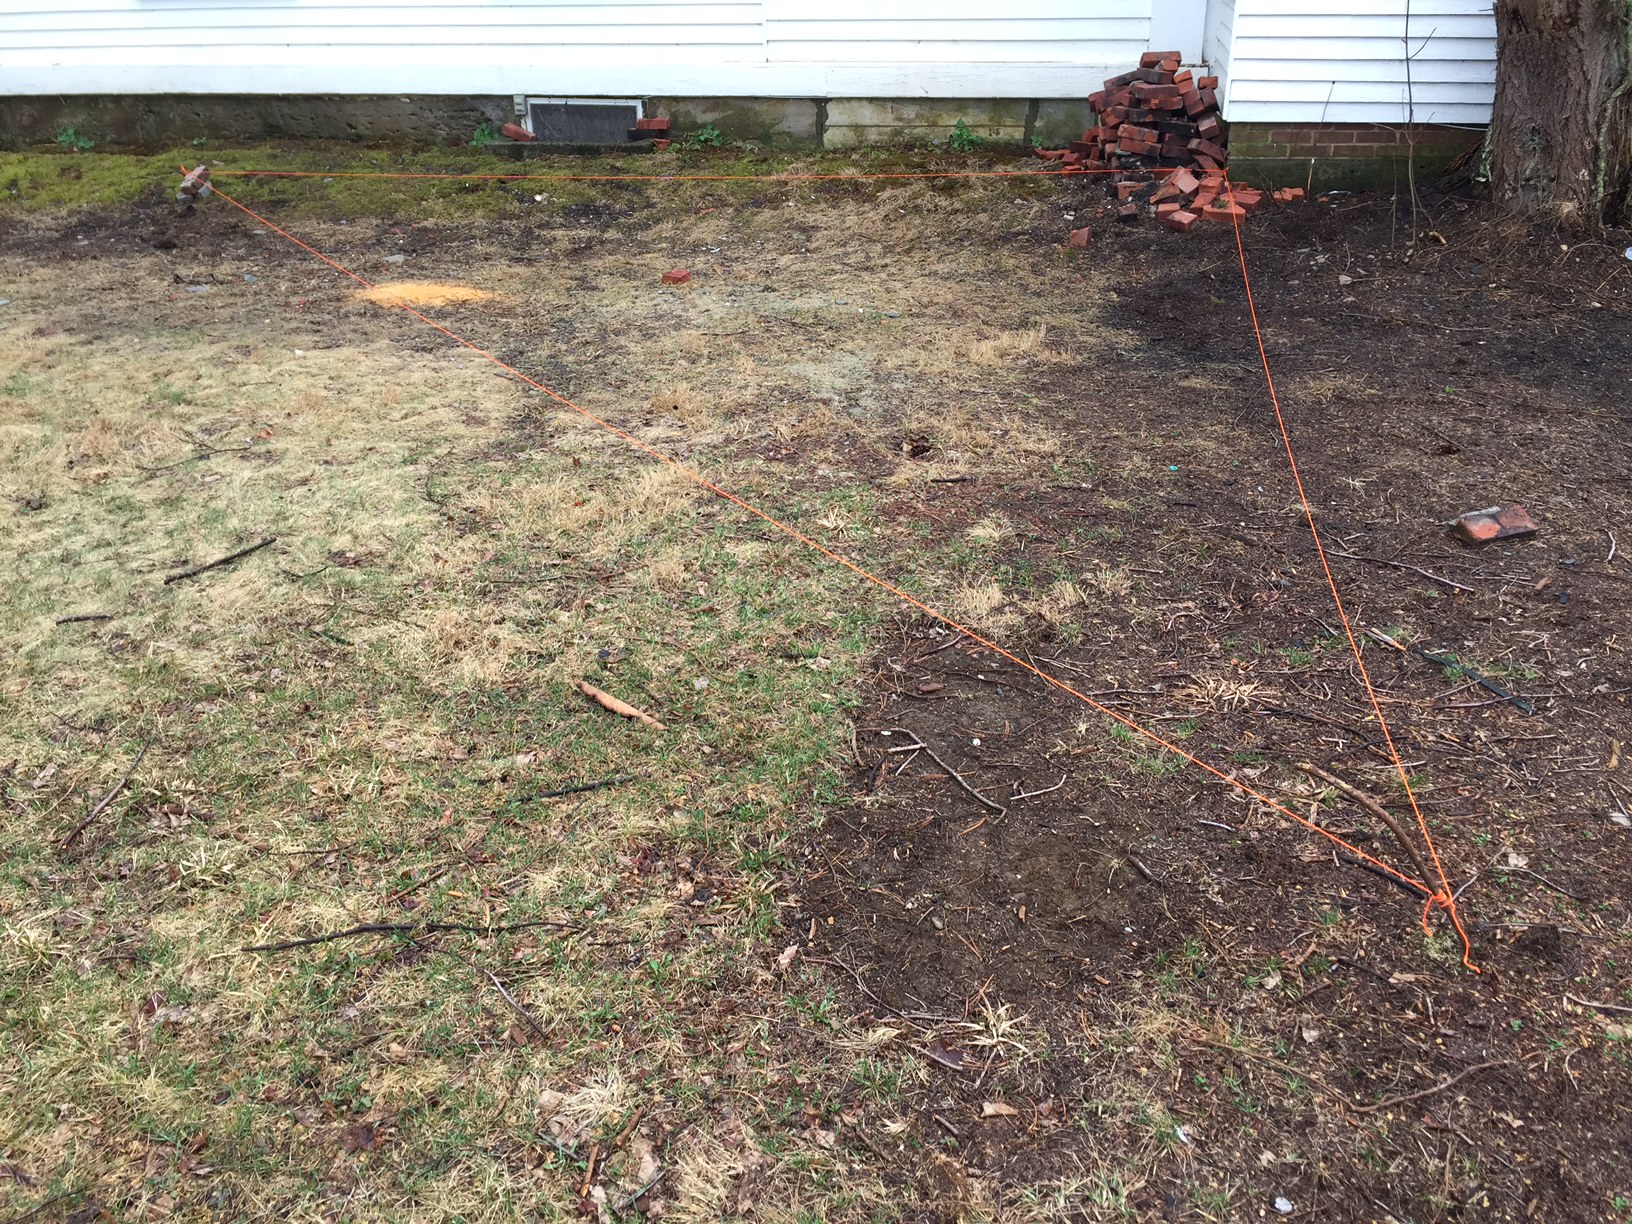
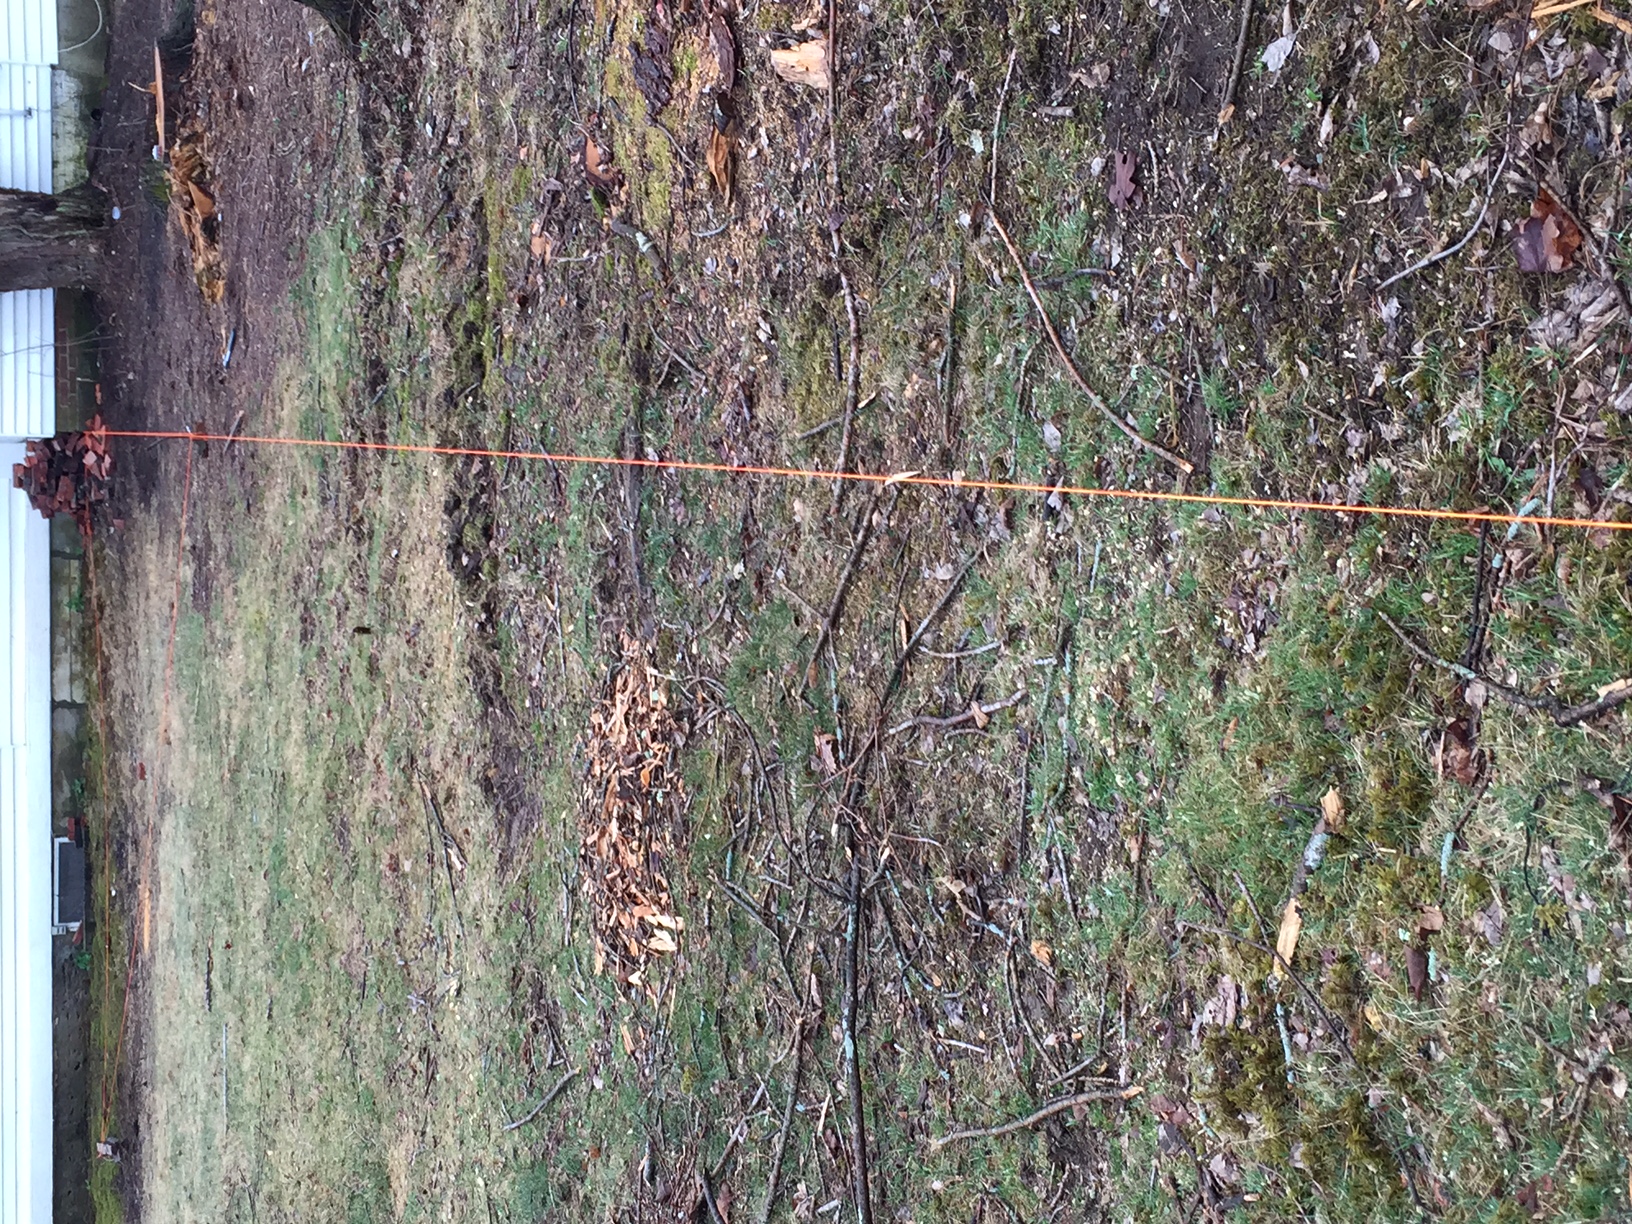
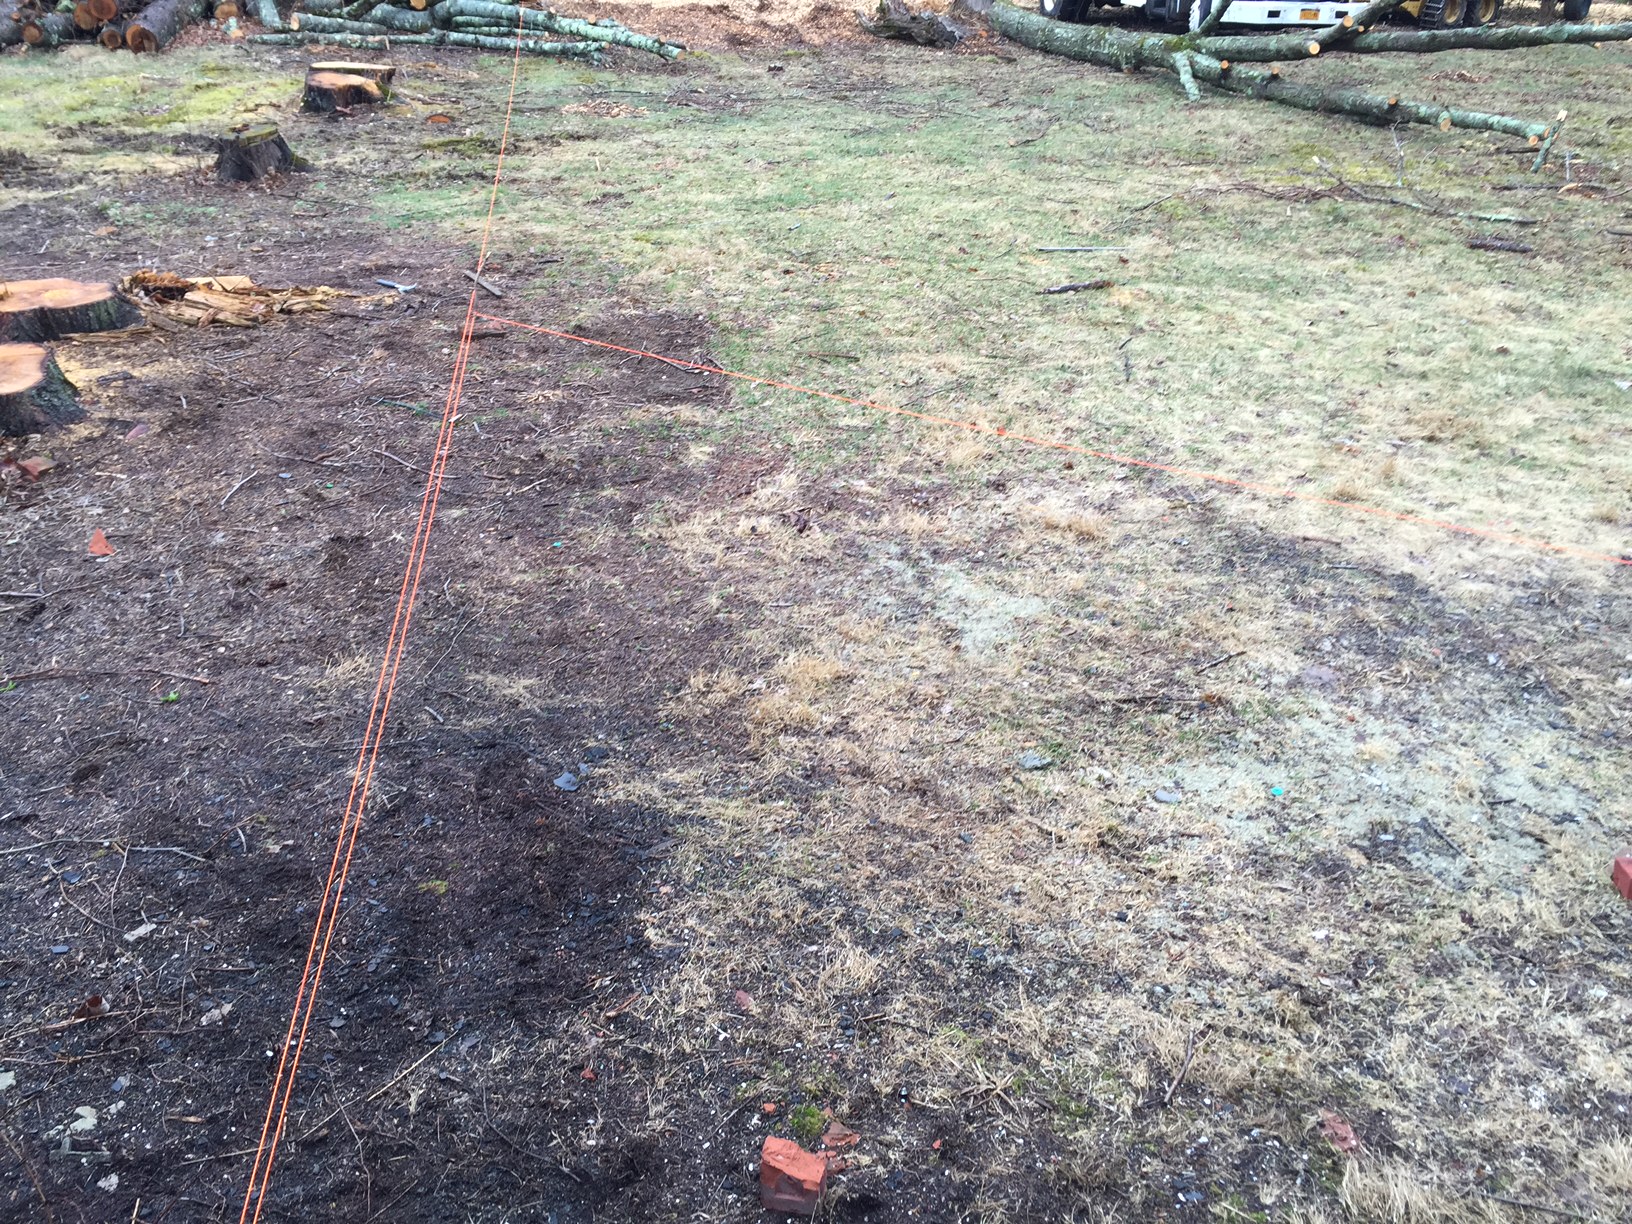
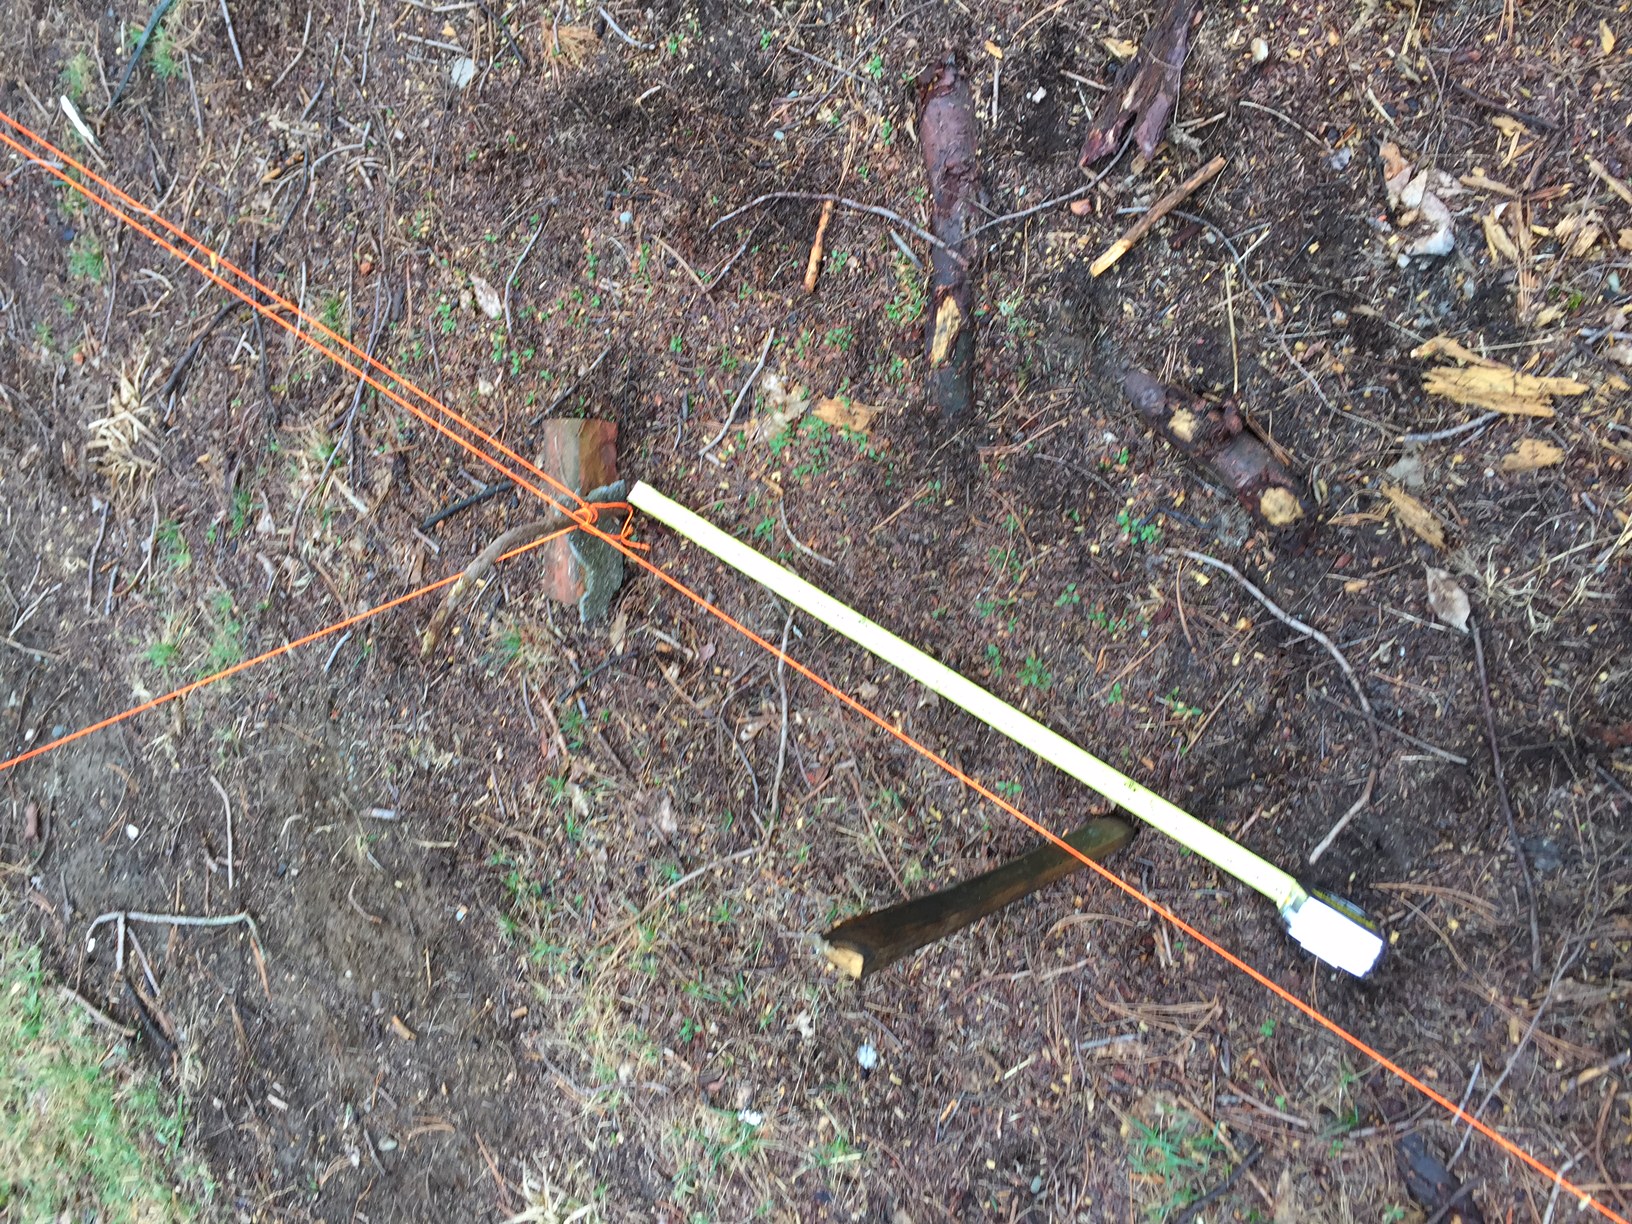
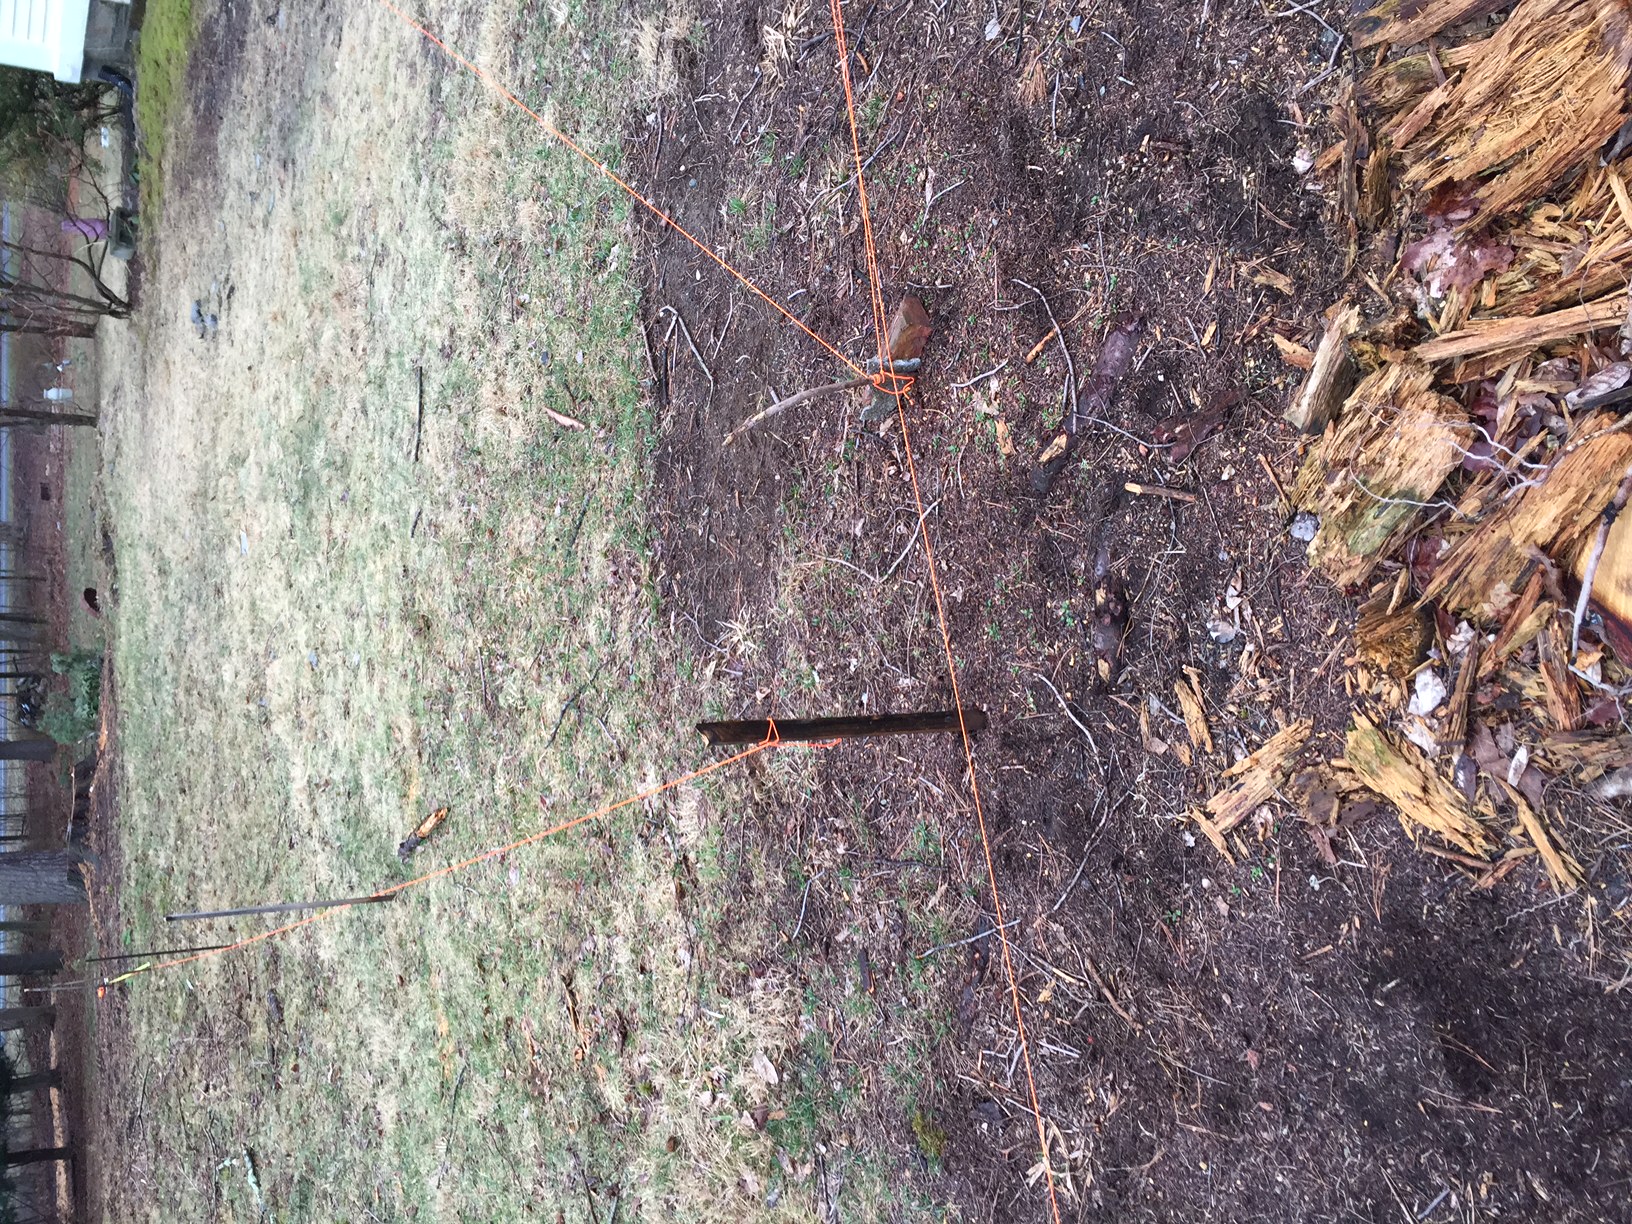
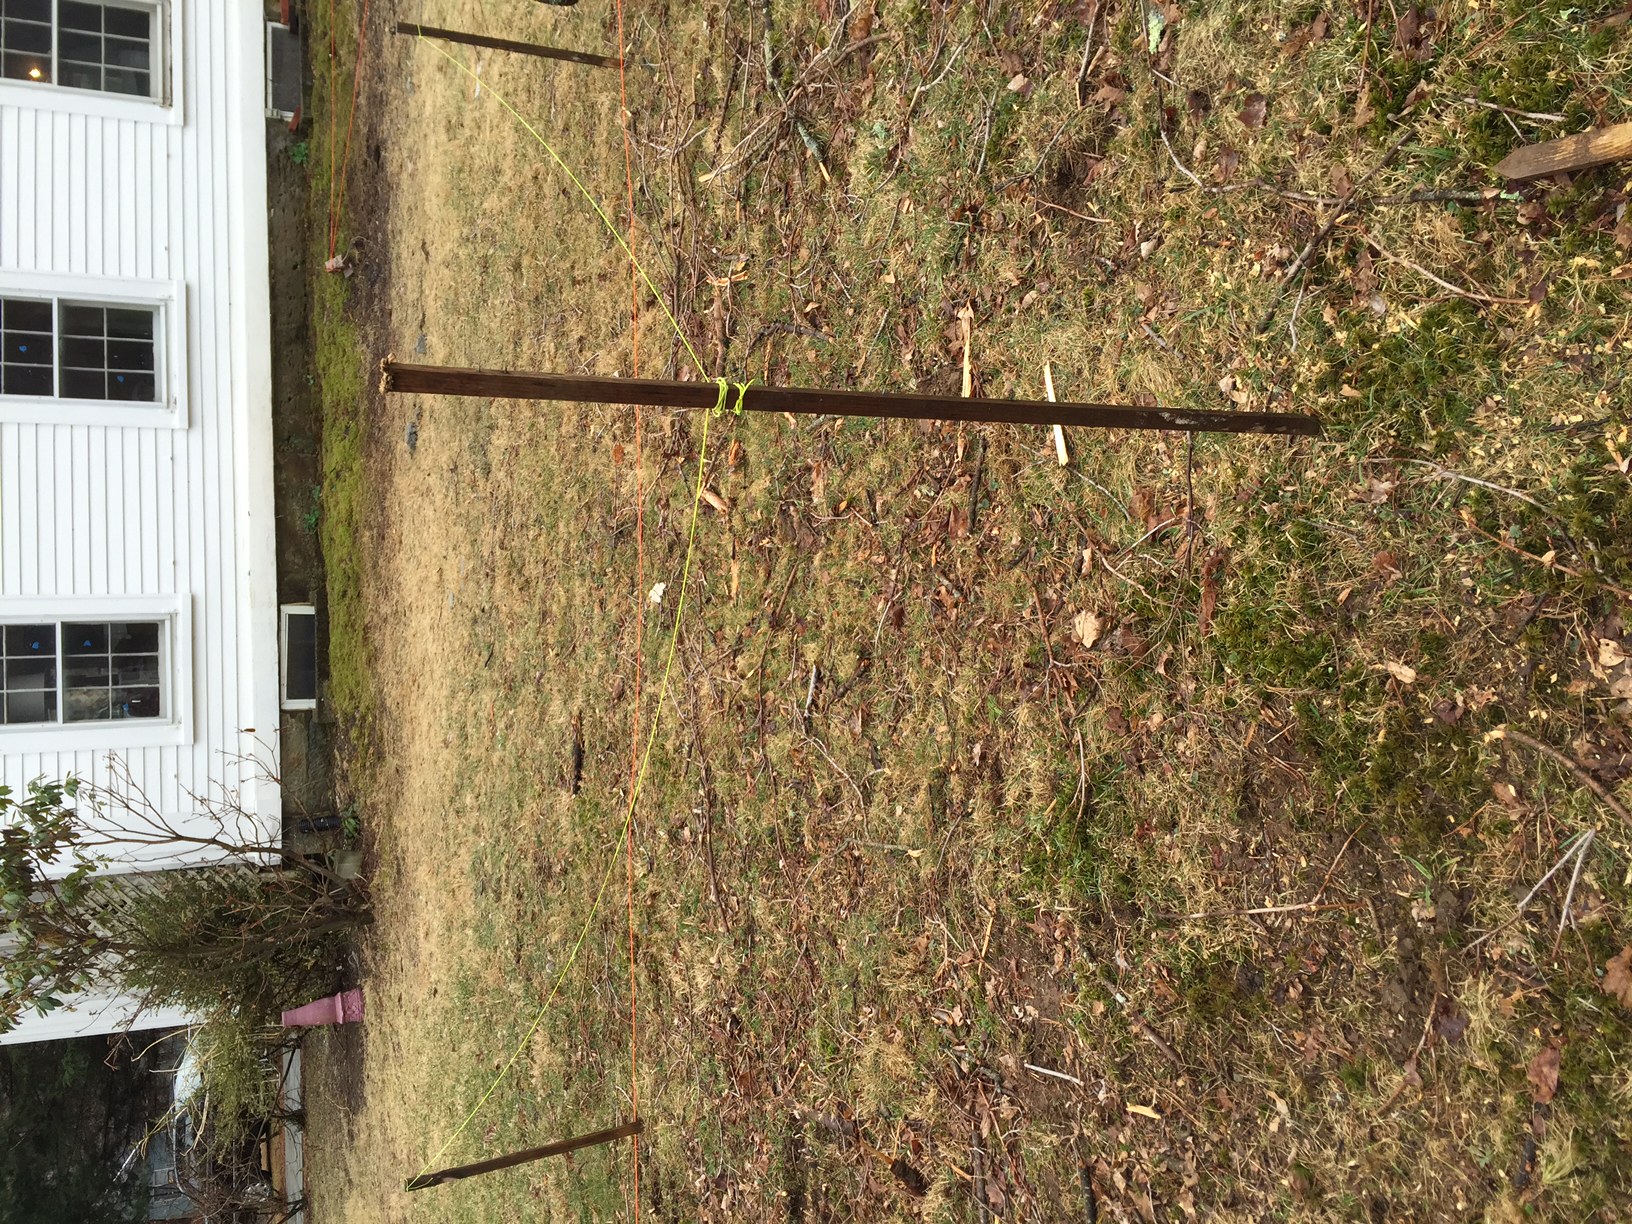
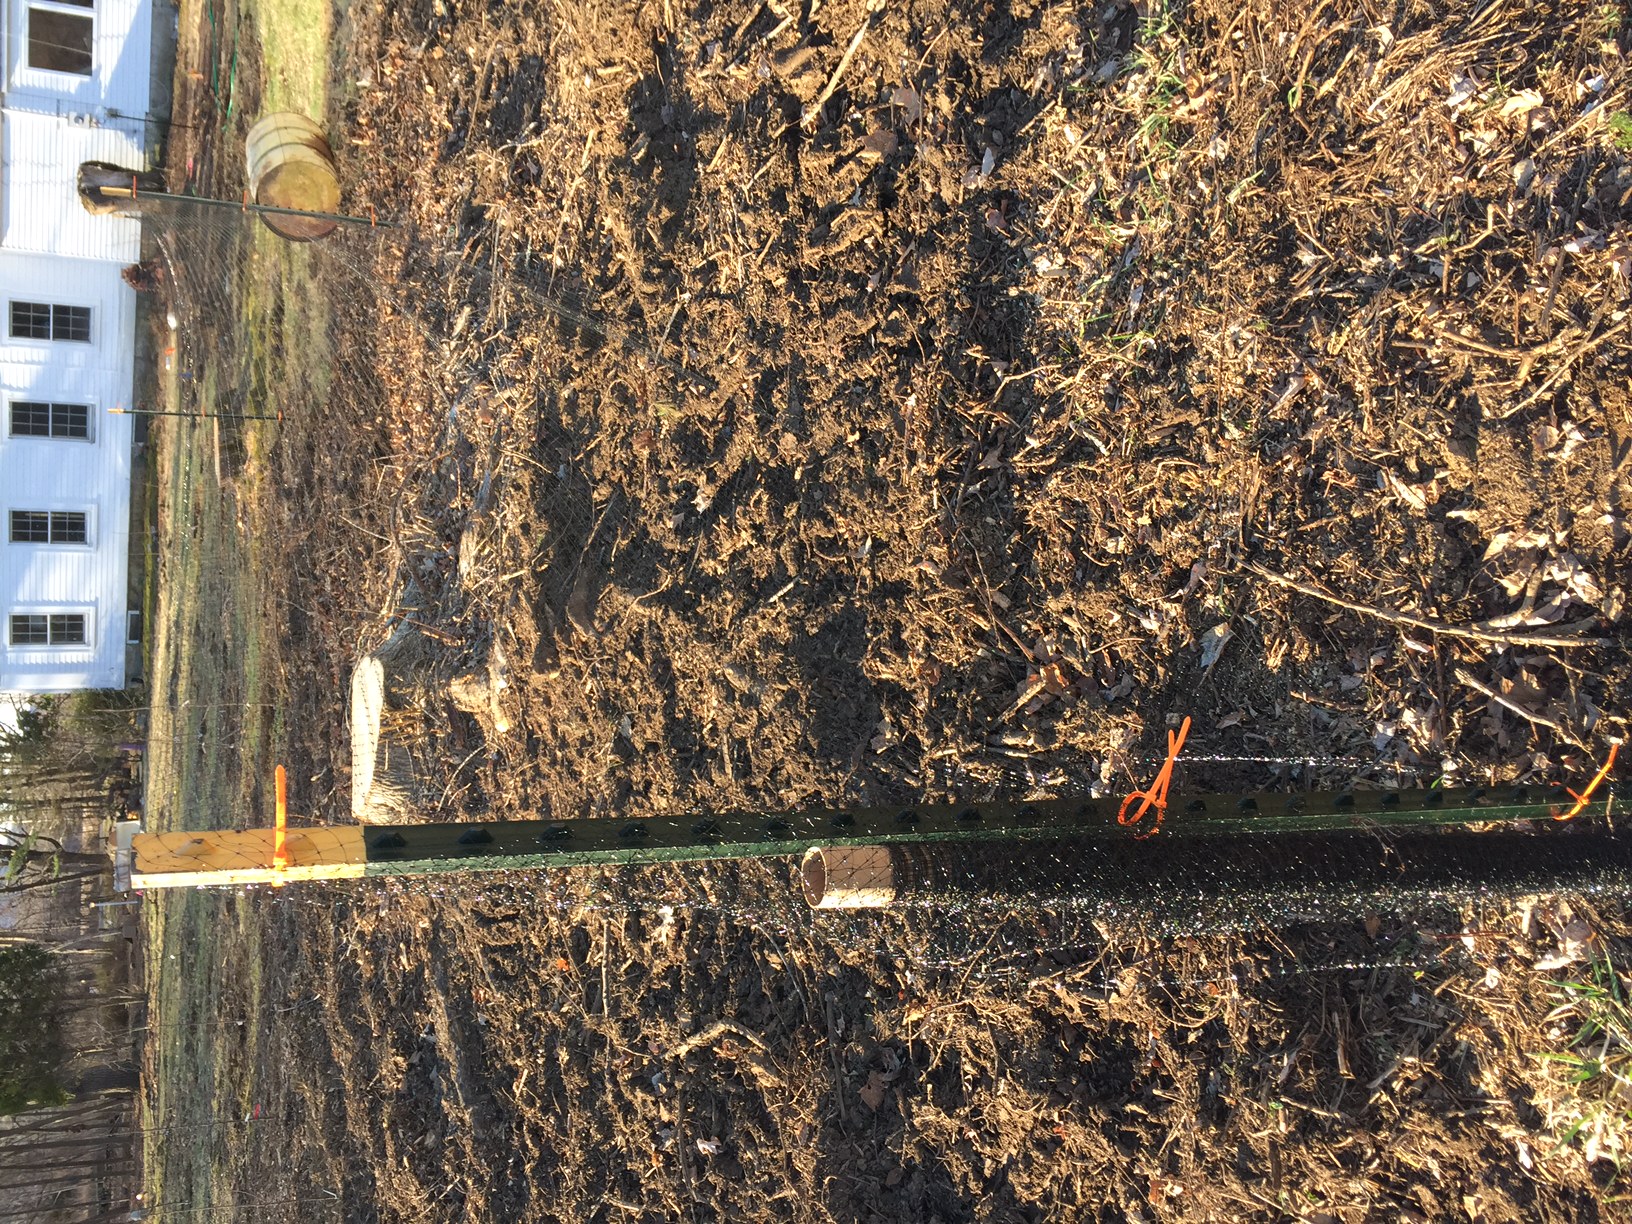
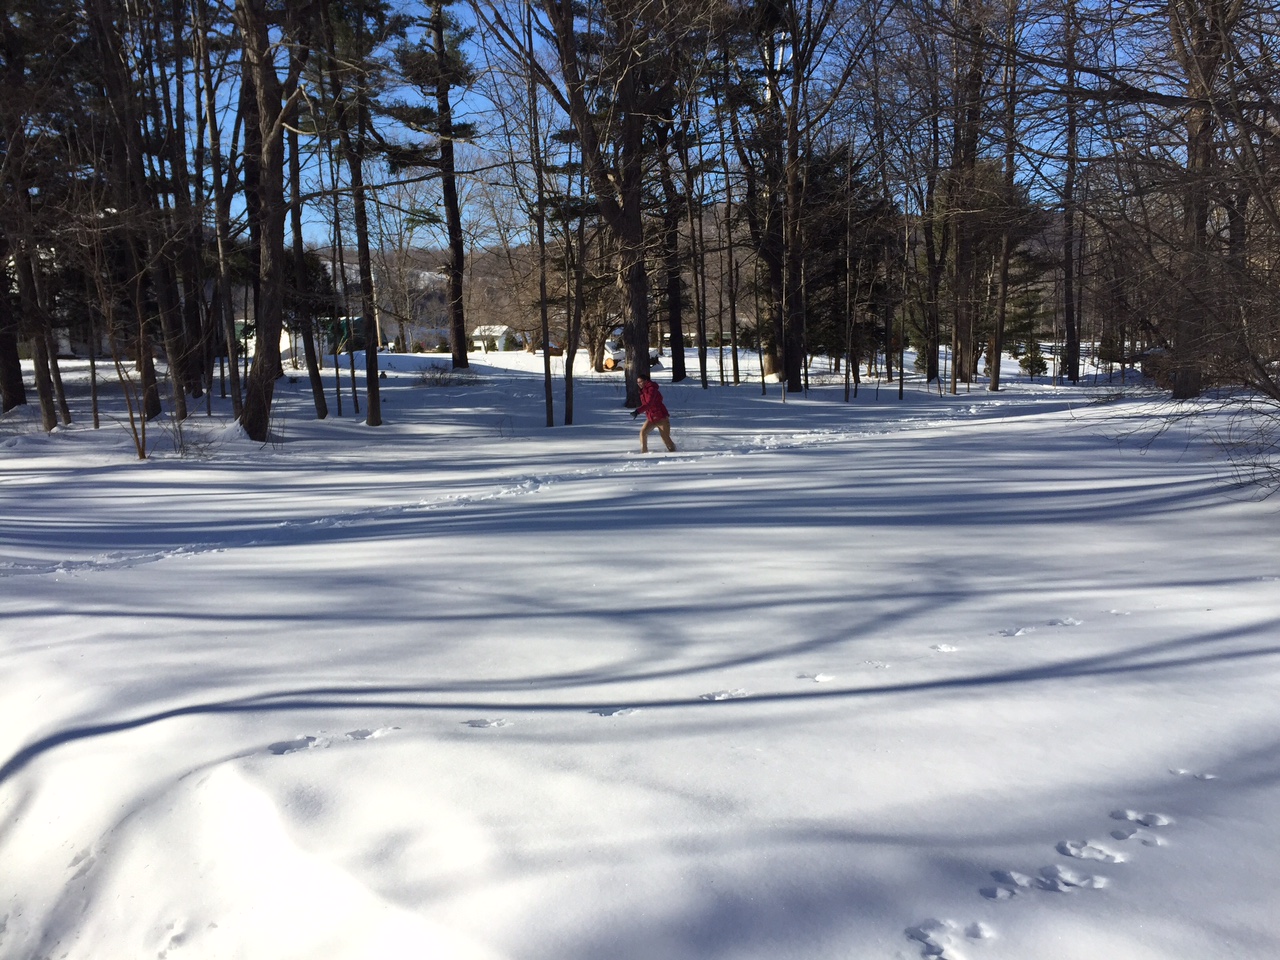
The process for actually laying out the grid was tricky, we tried lasers at first, but they were no good during the daylight and right angles were too short, in the end we had to resort to strings and math. We took a 20' length of string and laid it next to the house foundation and measured 4' off the side of the house to create a consistent distance. Then we took another 20' length and tied it to a stick at the starting point of the other string. The internet came in handy next as we used a Pythagorean right angle web calculator to find the length of side "C" so to speak (the long side) and tied that to the stick at the other end of the line 4' off the side of the house. The way the theorem goes, we will get a right angle to the house once the end of the long piece meets the end of the 2nd 20' string leading away from the house. We know, this sucks and is annoying to read about, try actually doing it. As usual, Graham got tangled in the string multiple times and was on the verge of a fit. These pictures might make more sense than the verbage.

Once we had a true right angle line we extended it out to the far edge of the orchard area and marked that point. Then we took a still with two 12' strings attached to it and marked the locations for each tree with stakes. Because the trees are planted with equal 12' spacing, once we had two tree locations we could use the stick with the two strings attached to it to find the third location quite easily and consistently, we worked our way around the area with the stick, strings, and stakes and ended up with a very reliable spacing (adjusted for obstacles and pre-existing ornamental trees of course).

That was the boring part, the fun part came with the Ditchwitch and the 18" auger bit. This machine went through our soil and most roots/rocks without any trouble. We dug the holes excessively deep at first but got the hang of it after a while.
 

With the holes dig it was a "simple" matter of placing the trees, planting them and then watering. Unfortunately Graham was on his own for this and time got away from him. The planting went till about 11pm and finished by the light of our truck. Towards the end it was impossible to find the hose, see the bobbex (dear repellent) that was being sprayed on and avoid the unfilled holes.


 It was pretty fantastic to wake up the next morning and look down on our future orchard (currently a forest of sticks)... deer fence is the next project, but we will take a breather before getting to that.


Hosebib Numero Uno

Water water everywhere but not a drop where we needed it, in this case, outdoors. Yup, this house was blessed with multiple acres and no way to water them. Sure sure, years ago prior to frozen pipes there were ways, but not since we have been here. So it is with great pride that we show off our very first exterior hosebib.
 

This is located right next to the orchard, which is a vast improvement over last weeks 5 connected hoses with lots of running back and forth attempt at watering the newly planted trees. We will get around to showing that ordeal, but for now Graham is still getting over the trauma of falling in one of his own tree holes.

This hosebib is no ordinary hosebib, it is a frostfree sillcock. yeah we don't know what that means either, but the end result is that it wont freeze over winter, a big plus. The plumbing for this required a whole lot of cutting out old pipes that snaked across the basement ceiling. Many of which were insulated with horse hair and rags (not fun to stand under and cut) we are talking a ton of pipes mind you, and then the running of a single new pex line, a dream of simplicity and modernity by comparison. Then some crimping connections and opening the valves, super easy and oh so convenient. Tune back for lots of pictures this summer of us using this bad boy!
 

UPDATE - Raised Beds

Last November, prior to snowmageddon, snowpacalypse, snow in general, we planted our raised beds. Now, we are happy to share the first update on how they faired. It's still early in the season yet, but we are seeing distinct signs of life from the majority of the species planted.

Tulips are up and looking very healthy. Ermerus (foxtail lilly), one has sprouted, it looks like a plant version of a squid mouth...that analogy may be lost on those of you who have not made calamari. Lilies are sprouting in quantity, as are the aliums, fritillaries, and narcissus. Of the Iris so far only two are showing, in truth we left them in their shipping containers too long last year so we suspected losses would be a sure thing from that bed. We will continue to keep you posted and of course, here are some pictures:
 

Organic'ish

So if you are like us you probably go to the market and look for organic food and assume it is better because it probably comes from a smaller producer who cares about the earth and the environment. If that is the case then you will probably be disenchanted to learn that big agriculture has essentially adjusted/appropriated the playing field to benefit them in the realm of "organic" certification. We are not going to go into a long winded rant, if you are interested you can do a little research on the topic and probably learn more by doing than by being lectured at. In short though, the certification process to be organic is so expensive that many small growers/producers can't swing it and in the end the produce doesn't actually have to be organic in the year that you are consuming, just as long as a number of previous years were organic. For that reason a lot of small growers (us included) have and will adopt varying descriptions of their growing practices that do not violate the labeling rules (because it takes years to be officially certified and we are new) but that get the message across. For us, it will probably be "grown with organic practices" or something along those lines. We wholeheartedly believe in maintaining the environment and staying away from chemical fertilizers and pesticides and will stand behind all of our produce, but you wont be seeing a "certified organic" label for at least 5 years (the certification period) despite the fact that all our fertilizer and soil amendments come from the big mother (earth). We are especially excited to be using all Neptune's Harvest amendments this year. Kelp meal, crab shell, fish gurry and various humic based potions. We expect our veggies and flowers to be beautiful and productive while not adding to the environmental problems the world faces. Because organic practices are at their best as a additive system, each year's produce will become mulch and compost for the following year's produce, thus improving the soil structure and quality with each passing season; the polar opposite of what happens in a chemical fertilizer/pesticide based growing practice. So, it is with no small measure of pride that we present the 2015 season organic helpers:

Some of the smaller goodies are not shown. The drum is full of fish gurry, white bags are crab shell and the brown and green bags are kelp meal.


Sugaring Two

Well, it as been a busy month, lots of seed planting, drywalling, planning and tiling.. but we did manage to get away for almost an entire week to get a little pre-summer color. That did not slow down progress though, if anything, it made us work extra hard out of some misguided vacation guilt syndrome.

At first the weather looked like it would be perfect for the maples to run sap, but then each day saw drops in temperature and wind chills and overcast days. Such as it was we managed to get a couple days of decent sap runs to use for our inaugural sap cooking attempt. For those of you new to making maple syrup (can't imagine that is many of you) the goal is to have freezing nights and above freezing days. The warm days pull the sap from the roots up into the branches to nourish the future leaves and growth, while the cold nights cause the sap to rush back down to the roots, the tree taps catch the sap on the way up and down. We had imagined the sap would be dark like the syrup, but in reality it is clear like water and has very little taste. We have to collect 40 gallons of sap for every gallon of syrup, for this first attempt we only had a few gallons.
 

It was pretty cool to see the sap dripping in a constant drip, drip, drip on the warmest day. With the sap collected it was time to setup the cooking apparatus. Apparatus might be too fancy a term for a open flame turkey fryer burner and an oversized stainless pan, but that's what it was! (Graham's emphasis) Fortunately our friend Oren was up from the city so he helped all weekend, his enthusiasm kept us going when all we wanted to do was curl up and drink the syrup in front of a House of Cards episode. Anyways, with the pan on the burner and the tank hooked up we poured the sap in and lit the flame. The sap cooked for hours, the reason you use a big flat pan is because the amount of surface area directly relates to the evaporation rate I.E. a round deep pot takes a lot longer than a shallow pan. We kept an eye on it, Oren did so with such enthusiasm that he would run out after each sheet of drywall was put up. Once the sap cooked down a bit it started to turn a light tan color with hints of sugar, then a darker slower moving light brown, at this point it was hard not to put your finger in to taste it. It was amazing to see how little was left at this point, sad too. We opened the valve on the end of the pan and poured the brown syrup into a pot to take inside for the final cooking and fine tuning. The goal is to get a Brix level of 66, Brix is a measure of sugar content, it comes up in winemaking too (a future project). With a level of 66 there is enough sugar to prevent spoiling. It is worth pointing out that the syrup is much lighter and has a wonderful flavor at a lower sugar level, but it would not last as long and would need to be refrigerated from the get-go. Once the proper sugar level has been hit you have to filter the syrup, carefully reheat it to 180 degrees and then bottle it. Something we learned in this process is that every time real maple syrup is brought to a boil it will precipitate small granules called maple sand... something to keep in mind when cooking if you want to keep that nice smooth texture while cooking.

We ended up with a half pint, and oh how good it is, can't wait for the next batch, our goal is to have a few pints stored away for the coming year and so that we have enough to give away to friends.

Sugaring

We have maple trees, lots of maple trees in fact, so it seems a natural progression that we should tap those trees and harvest our own maple syrup. Graham was so enthusiastic about this plan that he spent a good part of this last Saturday digging paths in the snow from one tree to another so that we could collect the sap. Essentially there is a 40:1 ratio, 40 gallons of tree sap equals 1 gallon of maple syrup. Graham felt that we should be collect about 80 gallons of sap to satisfy our yearly waffle, pancake, and french toast needs. The process is really quite easy, you drill a small hole in the tree, insert a tap and then hang a bucket or bag from it. The bags are more modern and less expensive, but the buckets have more of that New England feel. We opted to try both and see if there is any difference in performance.

Step one is done, now we just need some days over freezing with nights below freezing to get the sap moving.


Walking the Line

After a couple days of being stuck inside putting up drywall, cleaning and removing old plaster we had to get out and play in the snow for a bit. Given the property is blanketed under 24" of snow drifts we figured it was high time we take out the L.L. Bean snowshoes and put them through their paces. It was a great chance to see things from a different perspective, without the other season's leaves in the way.
 

Bzzzzzzzzzzzzzzzzzzzzzz

Bees, yup, we are getting bees, partially to ensure good harvests in the orchard and veggy garden but really so we can have real artisanal honey. Bees are not as easy as one would think though, they take a lot of setup and maintenance, their rewards are worth it though so this week Carol spent hours and hours assembling their future homes. Supers, frames, hives etc.. it all came in pieces and had to be put together nail by nail. She did a great job and we think the bees will be very happy come May when we pick them up and move them in!