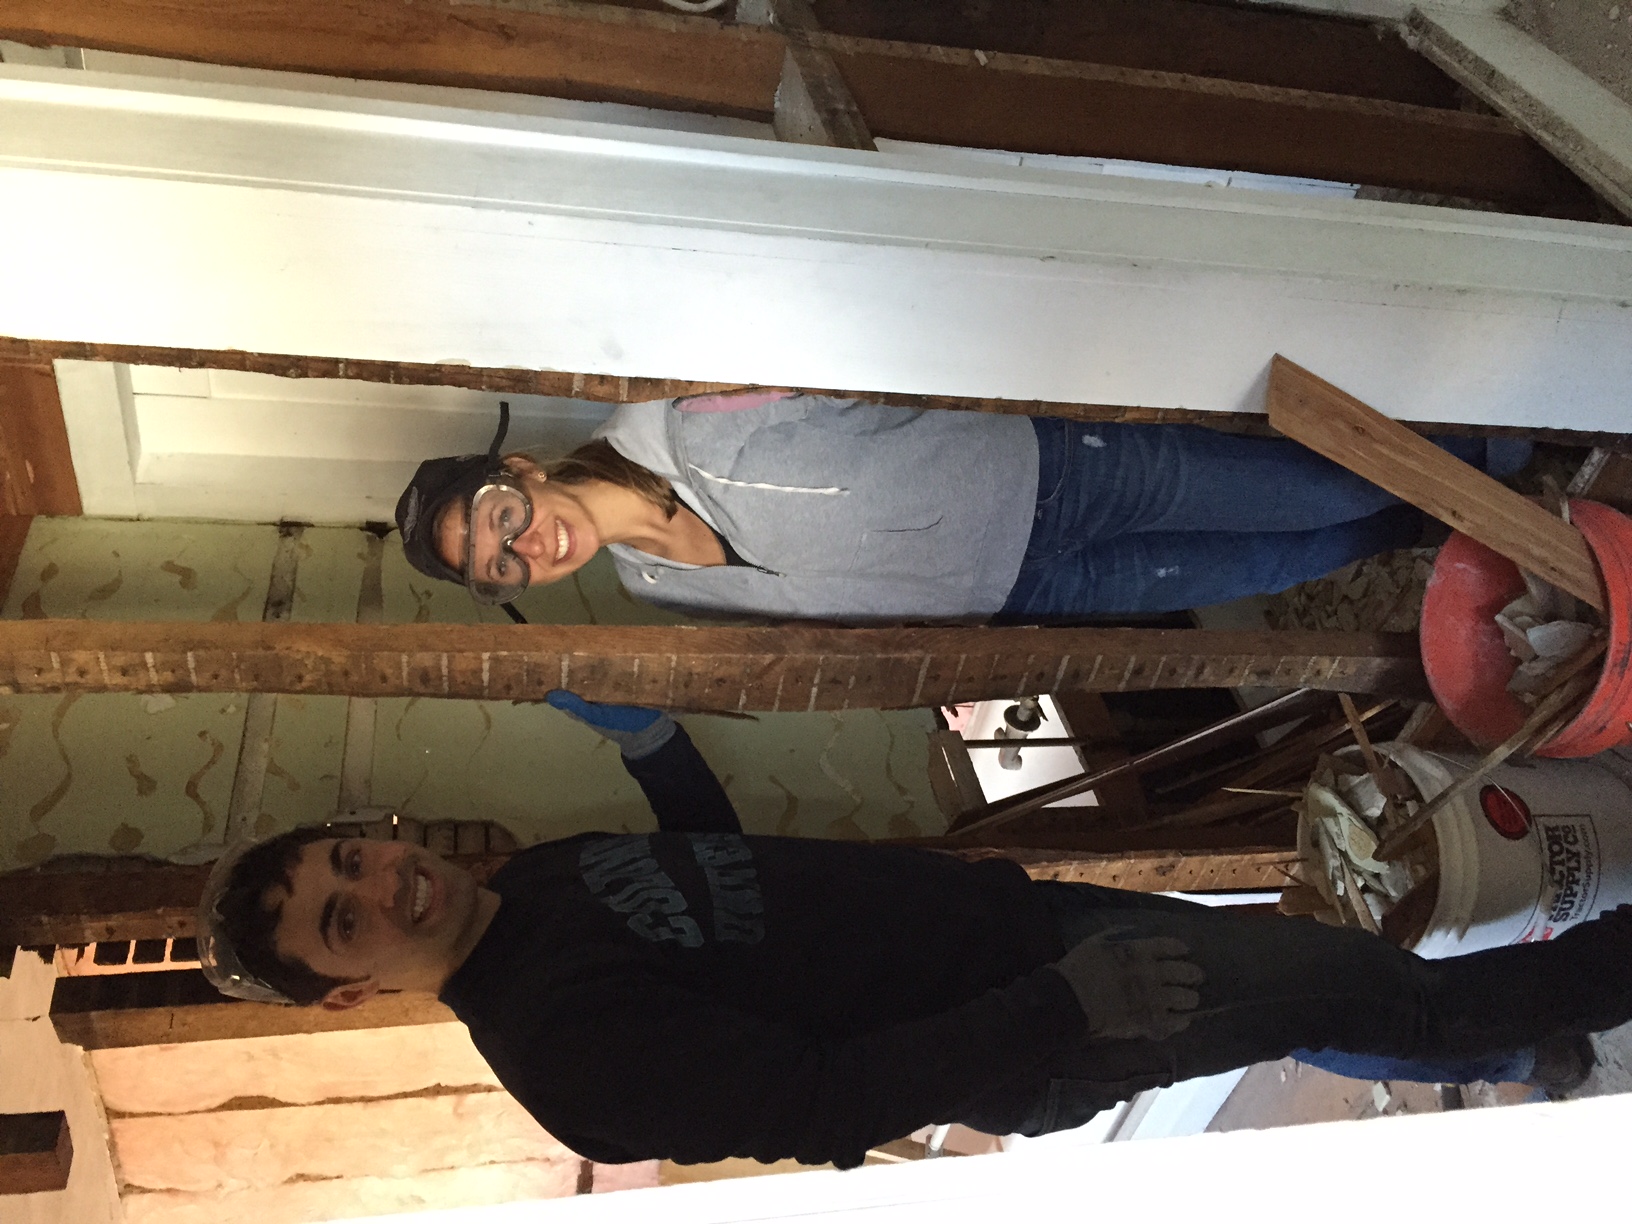
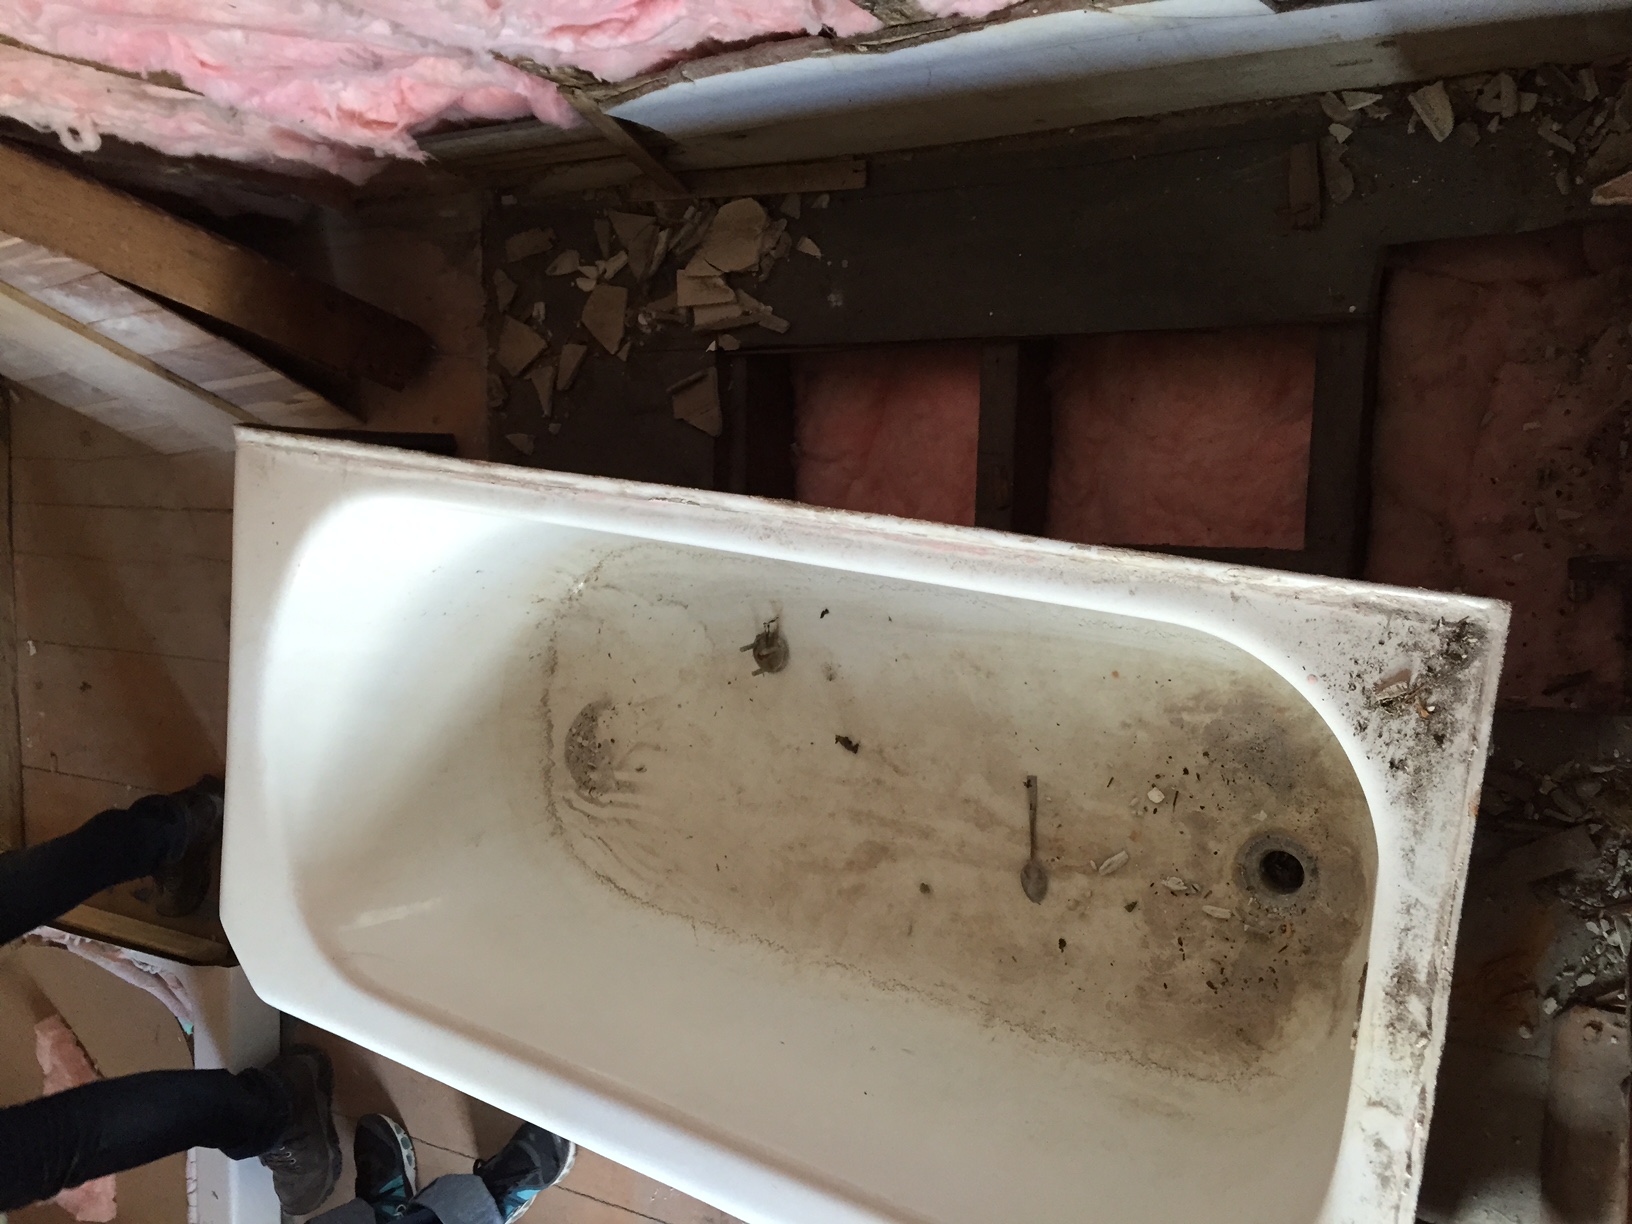
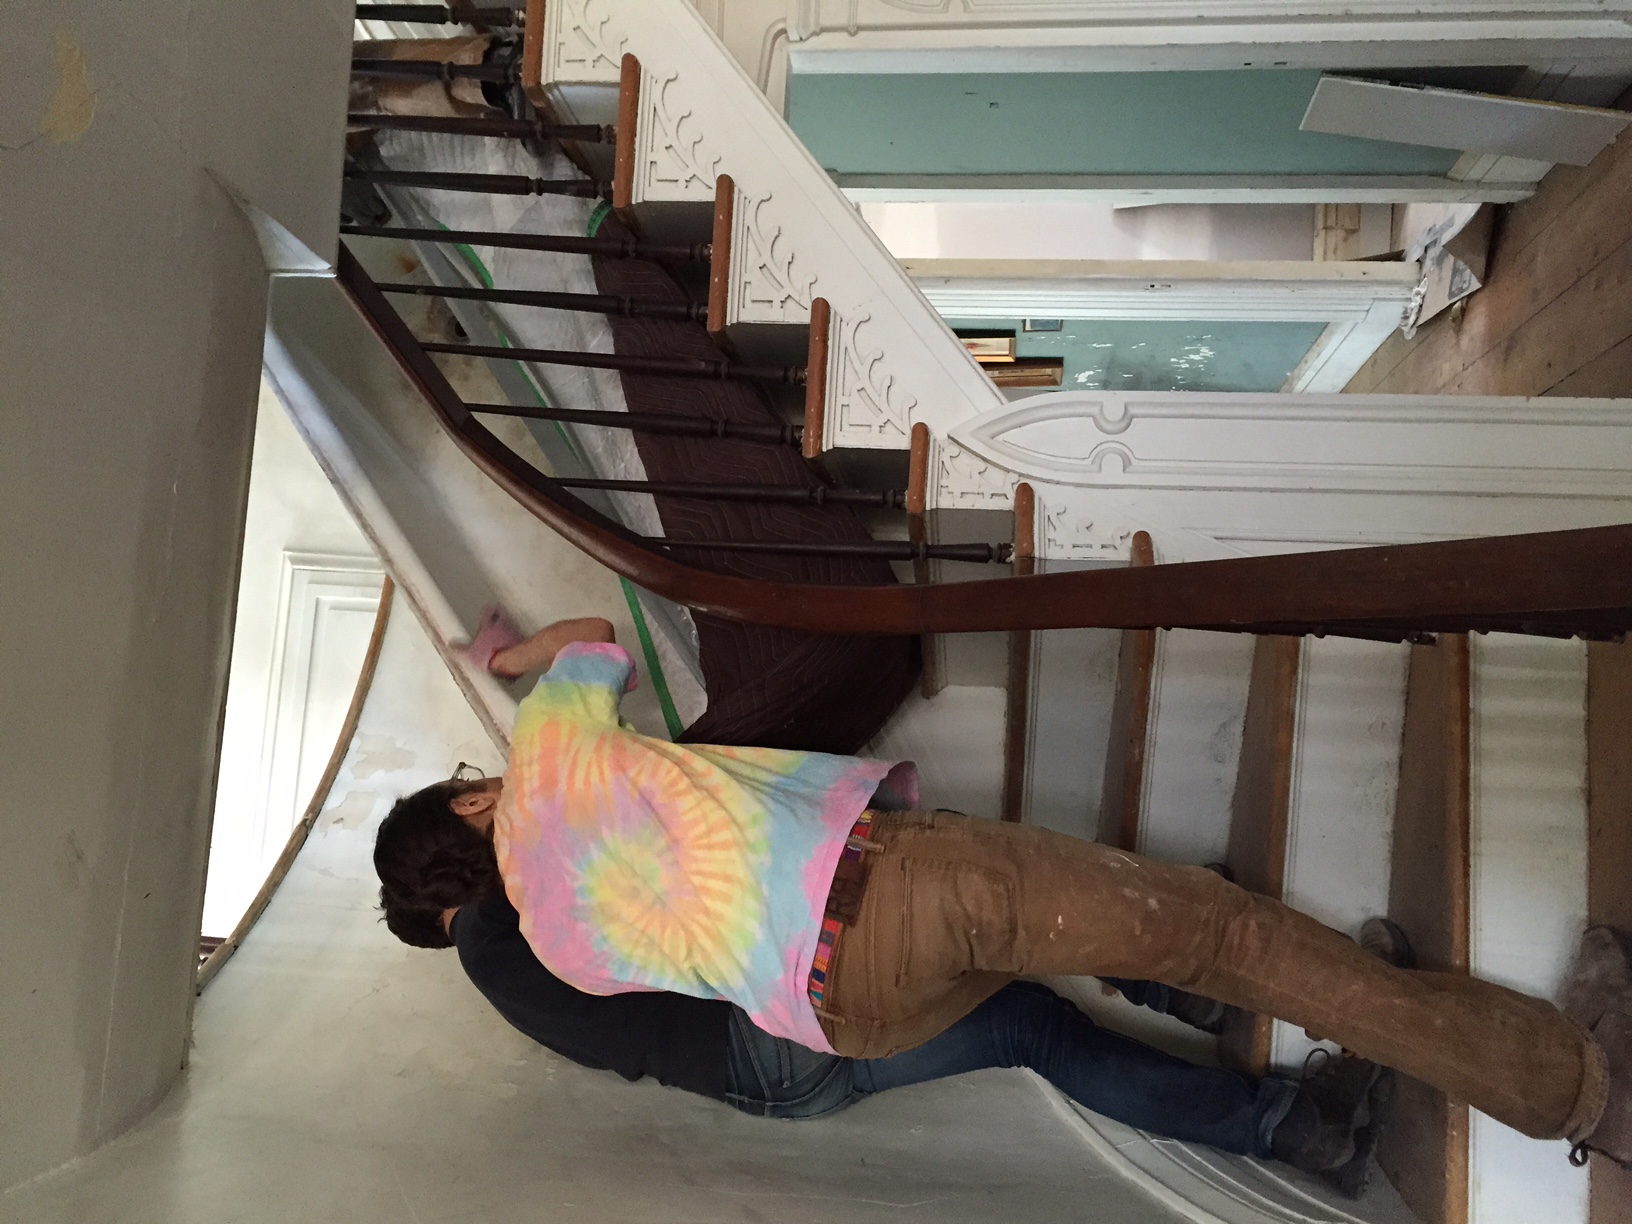
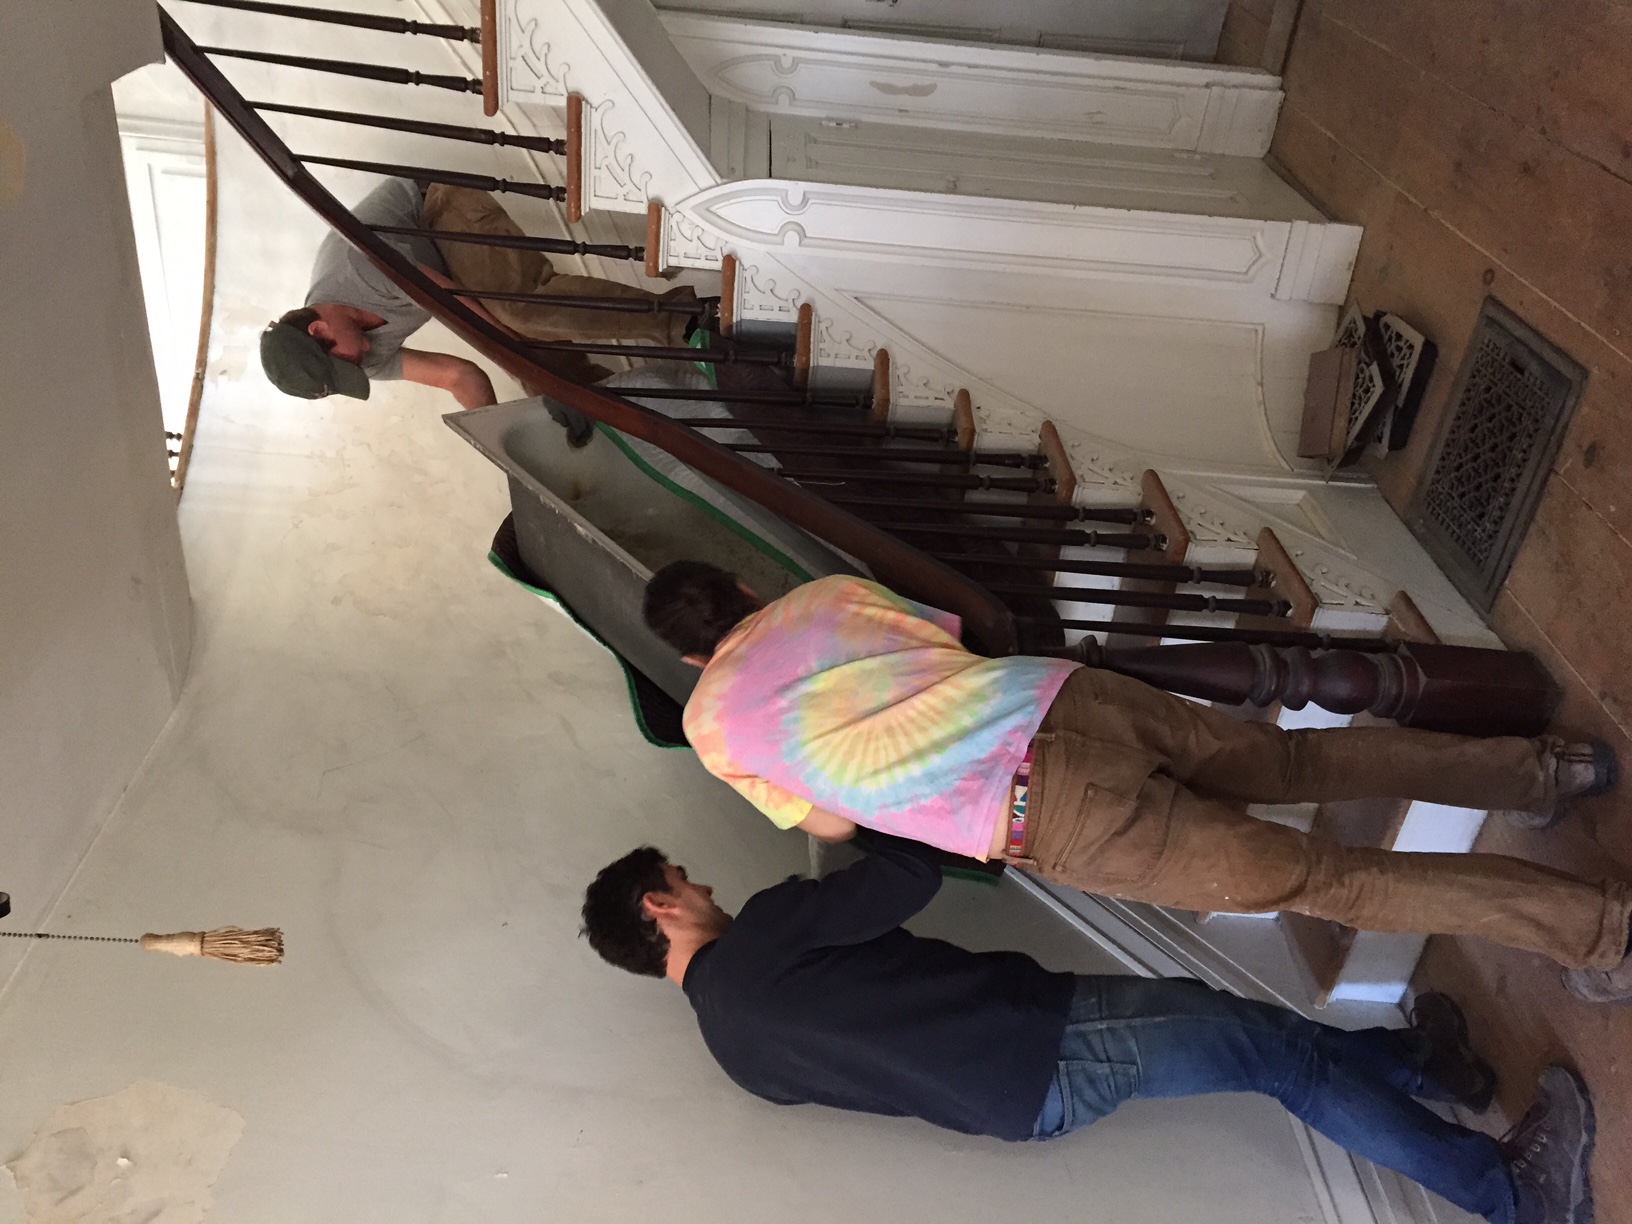
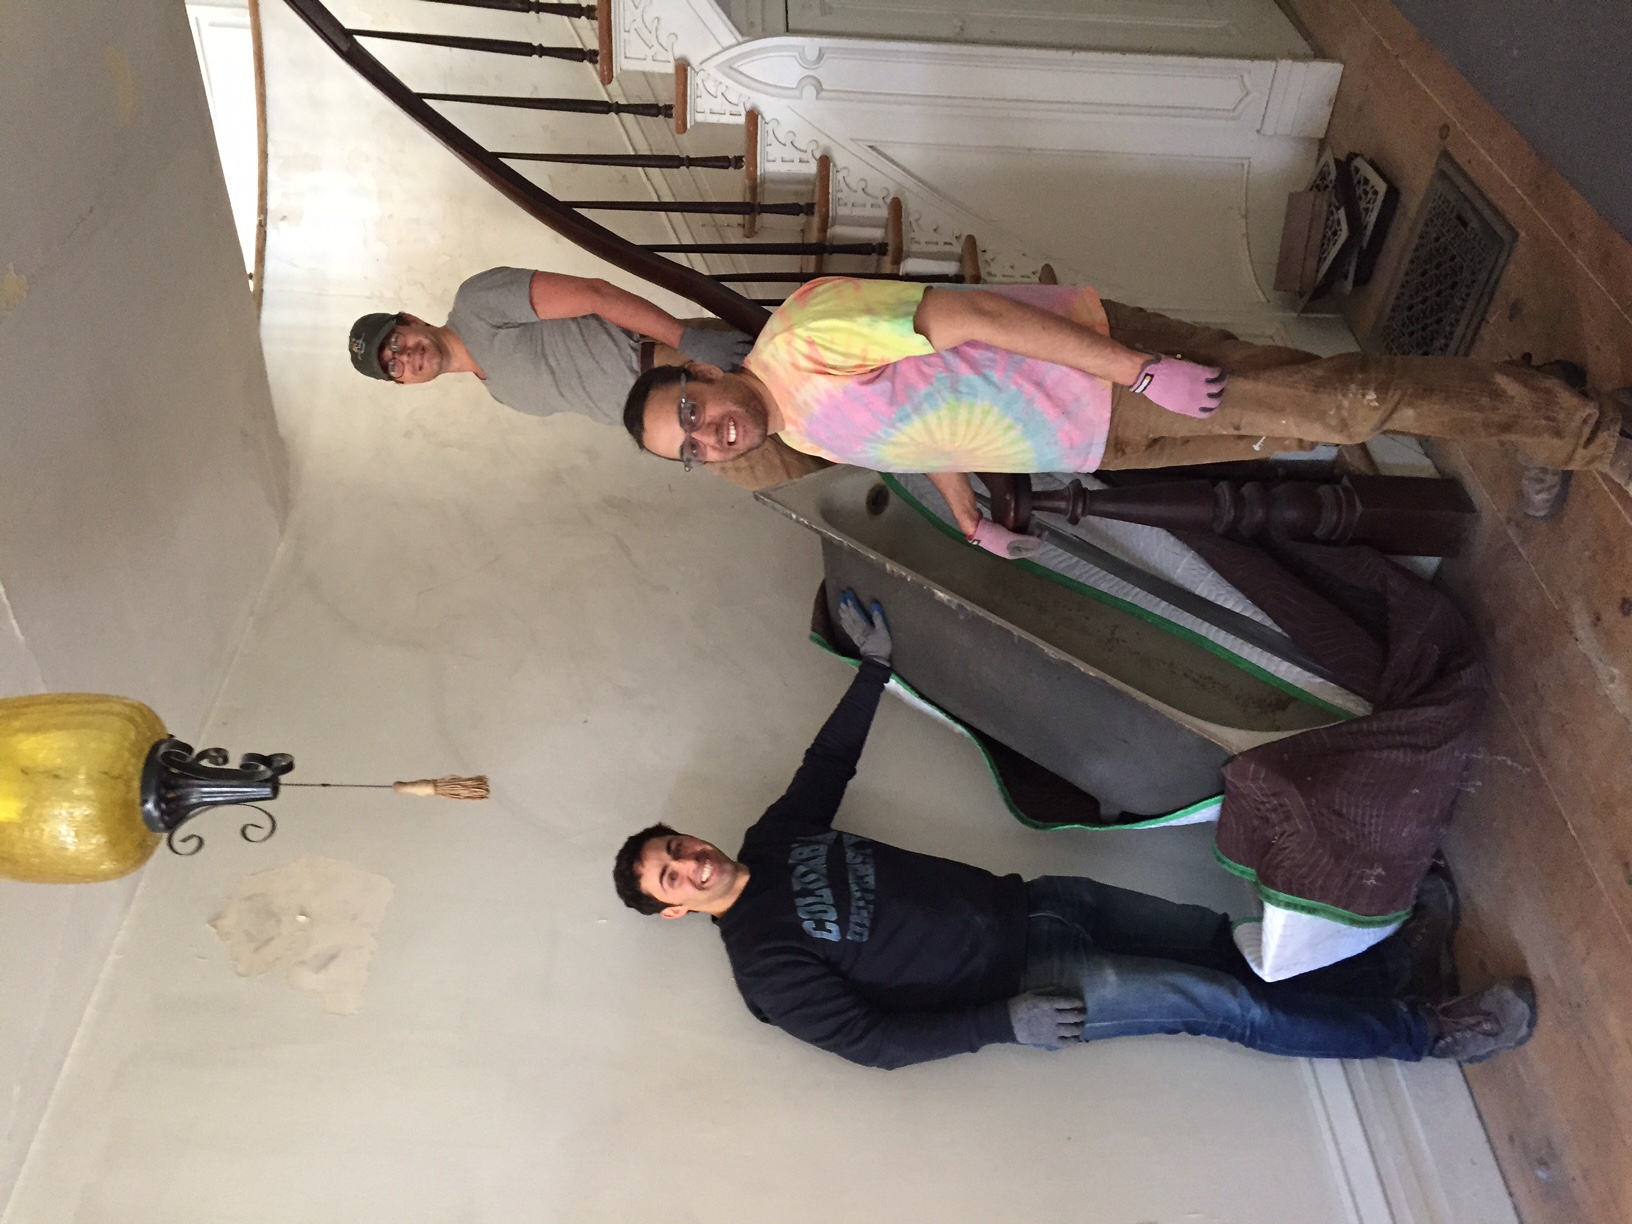
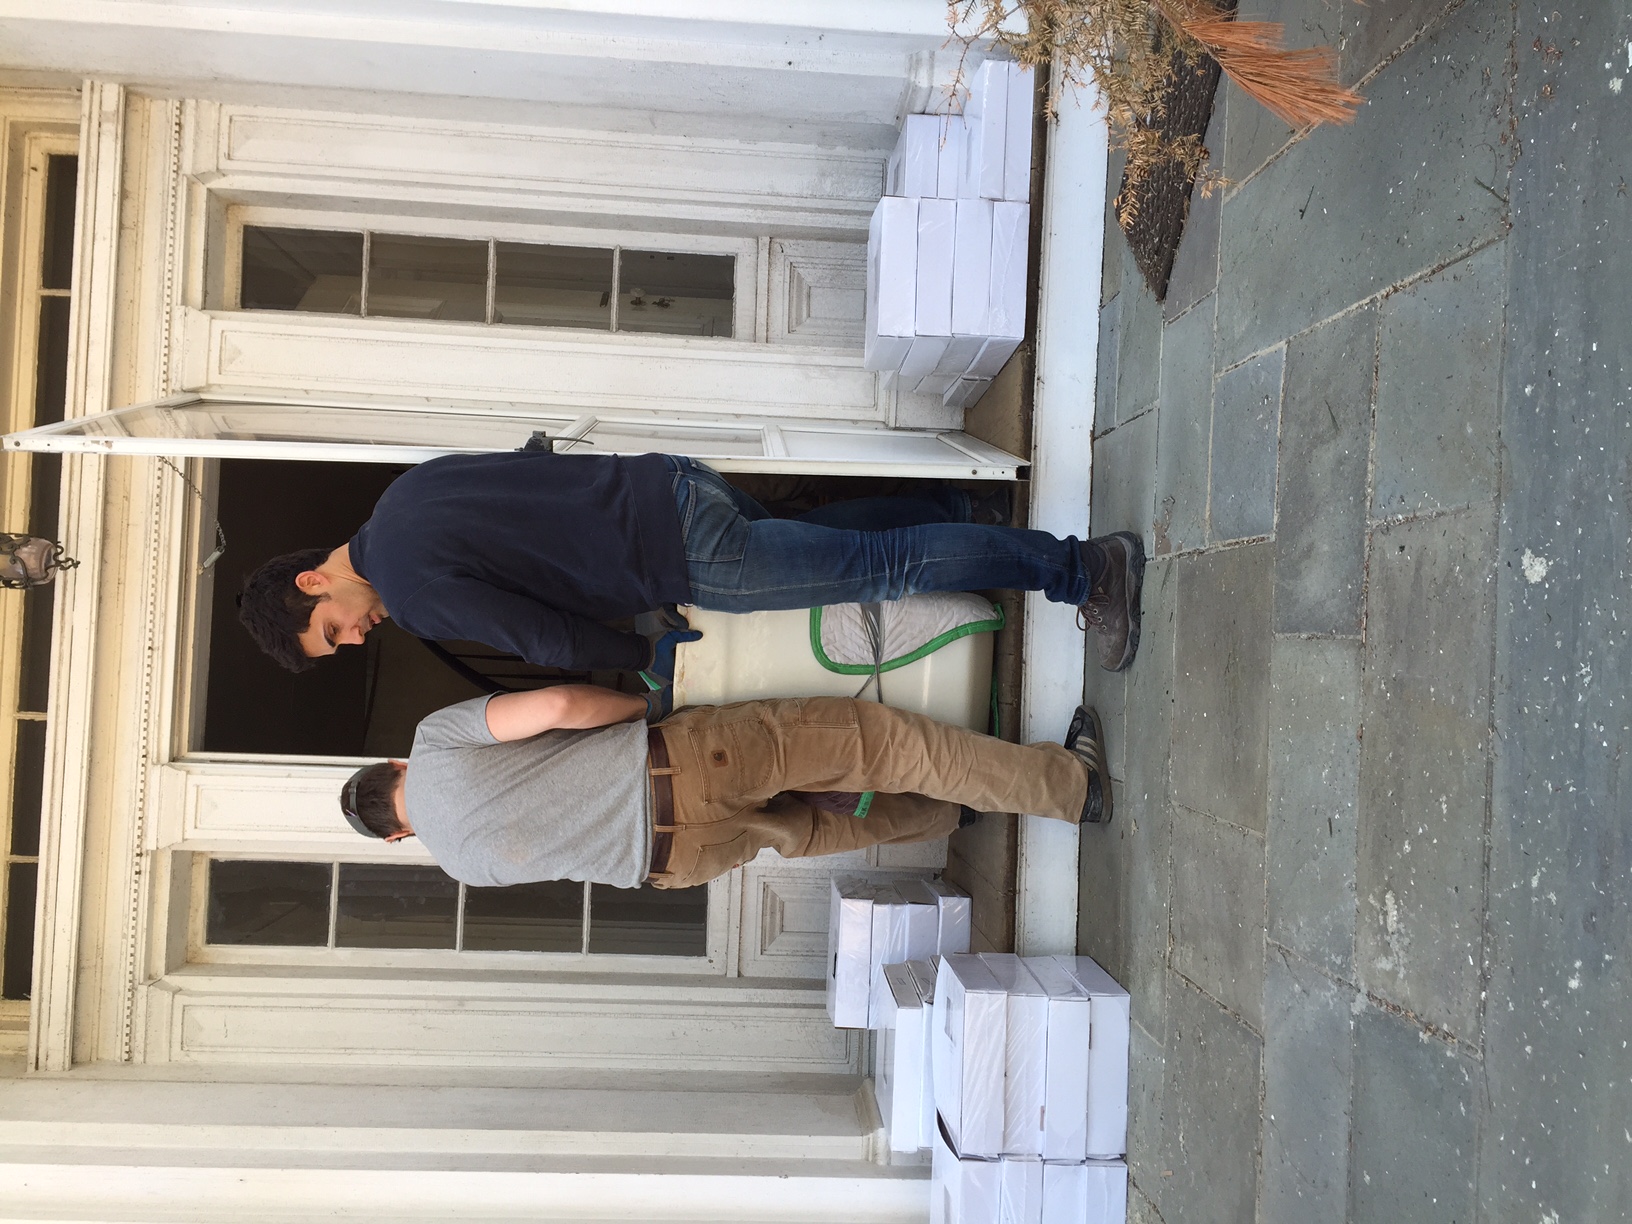
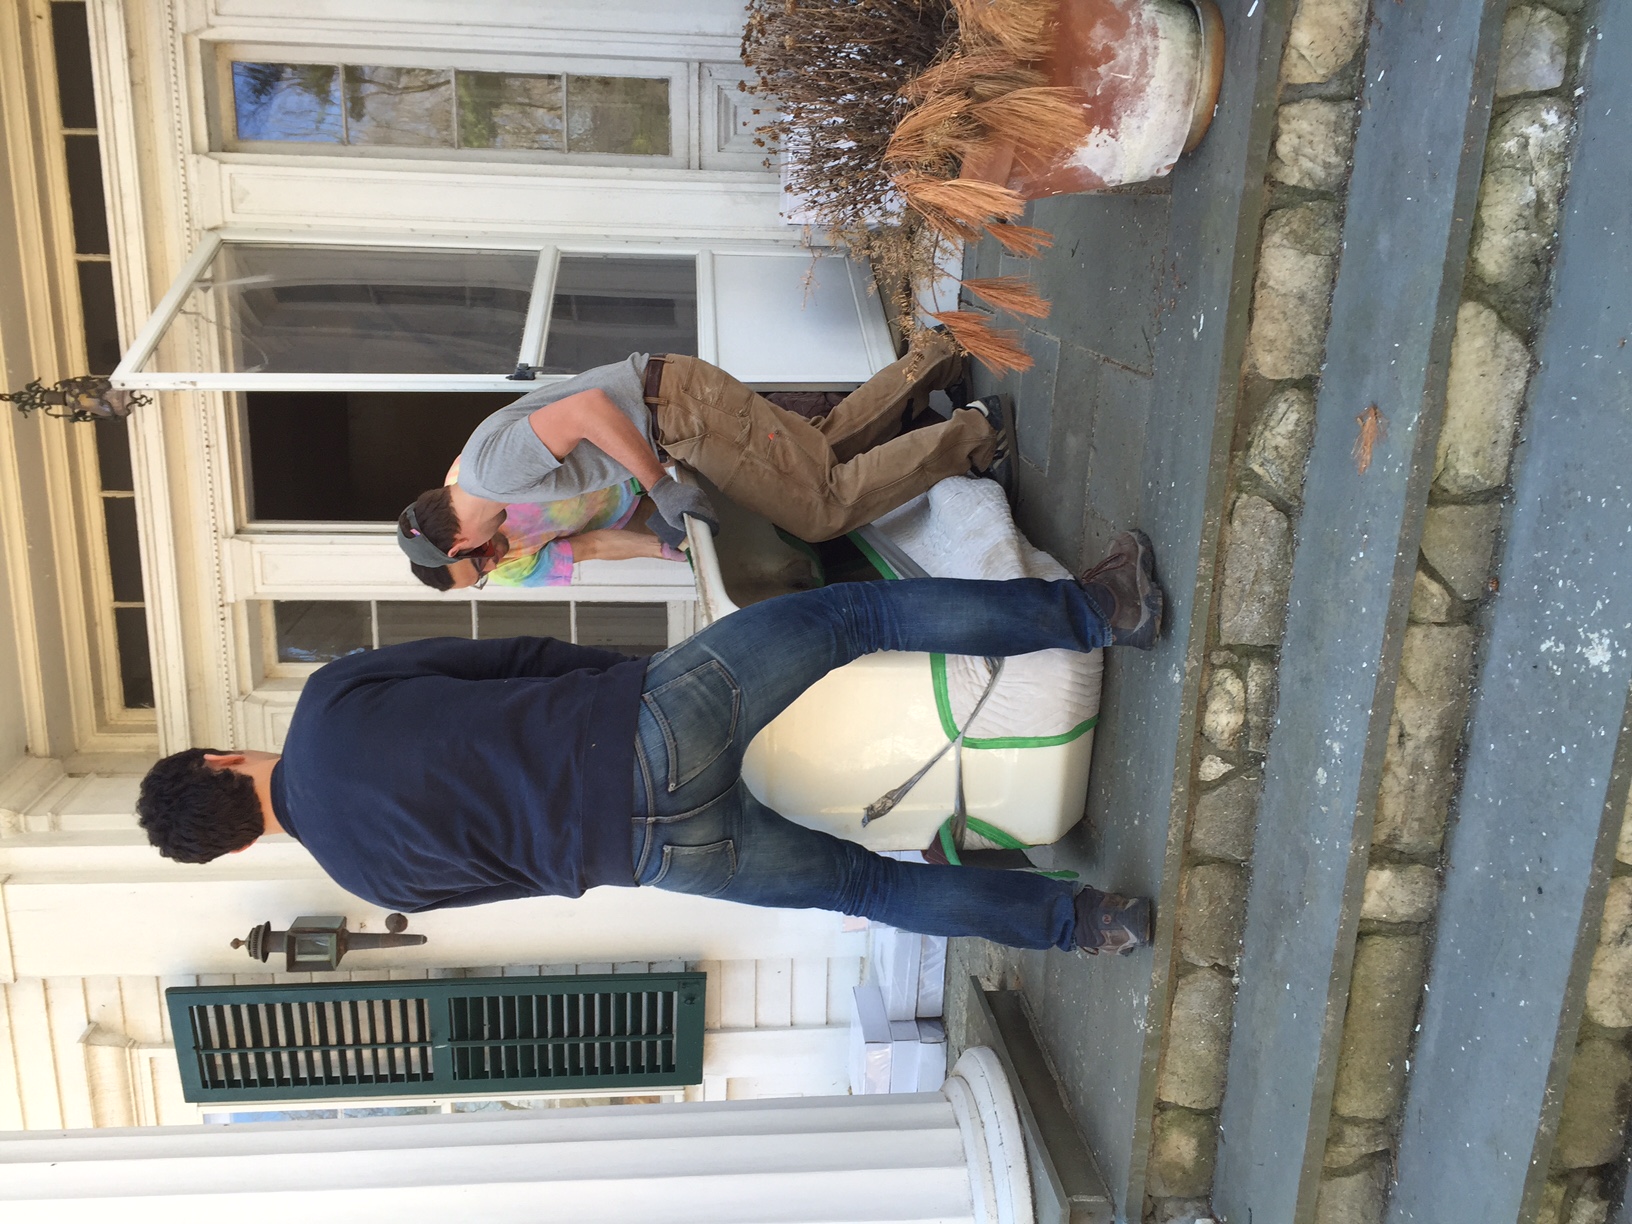
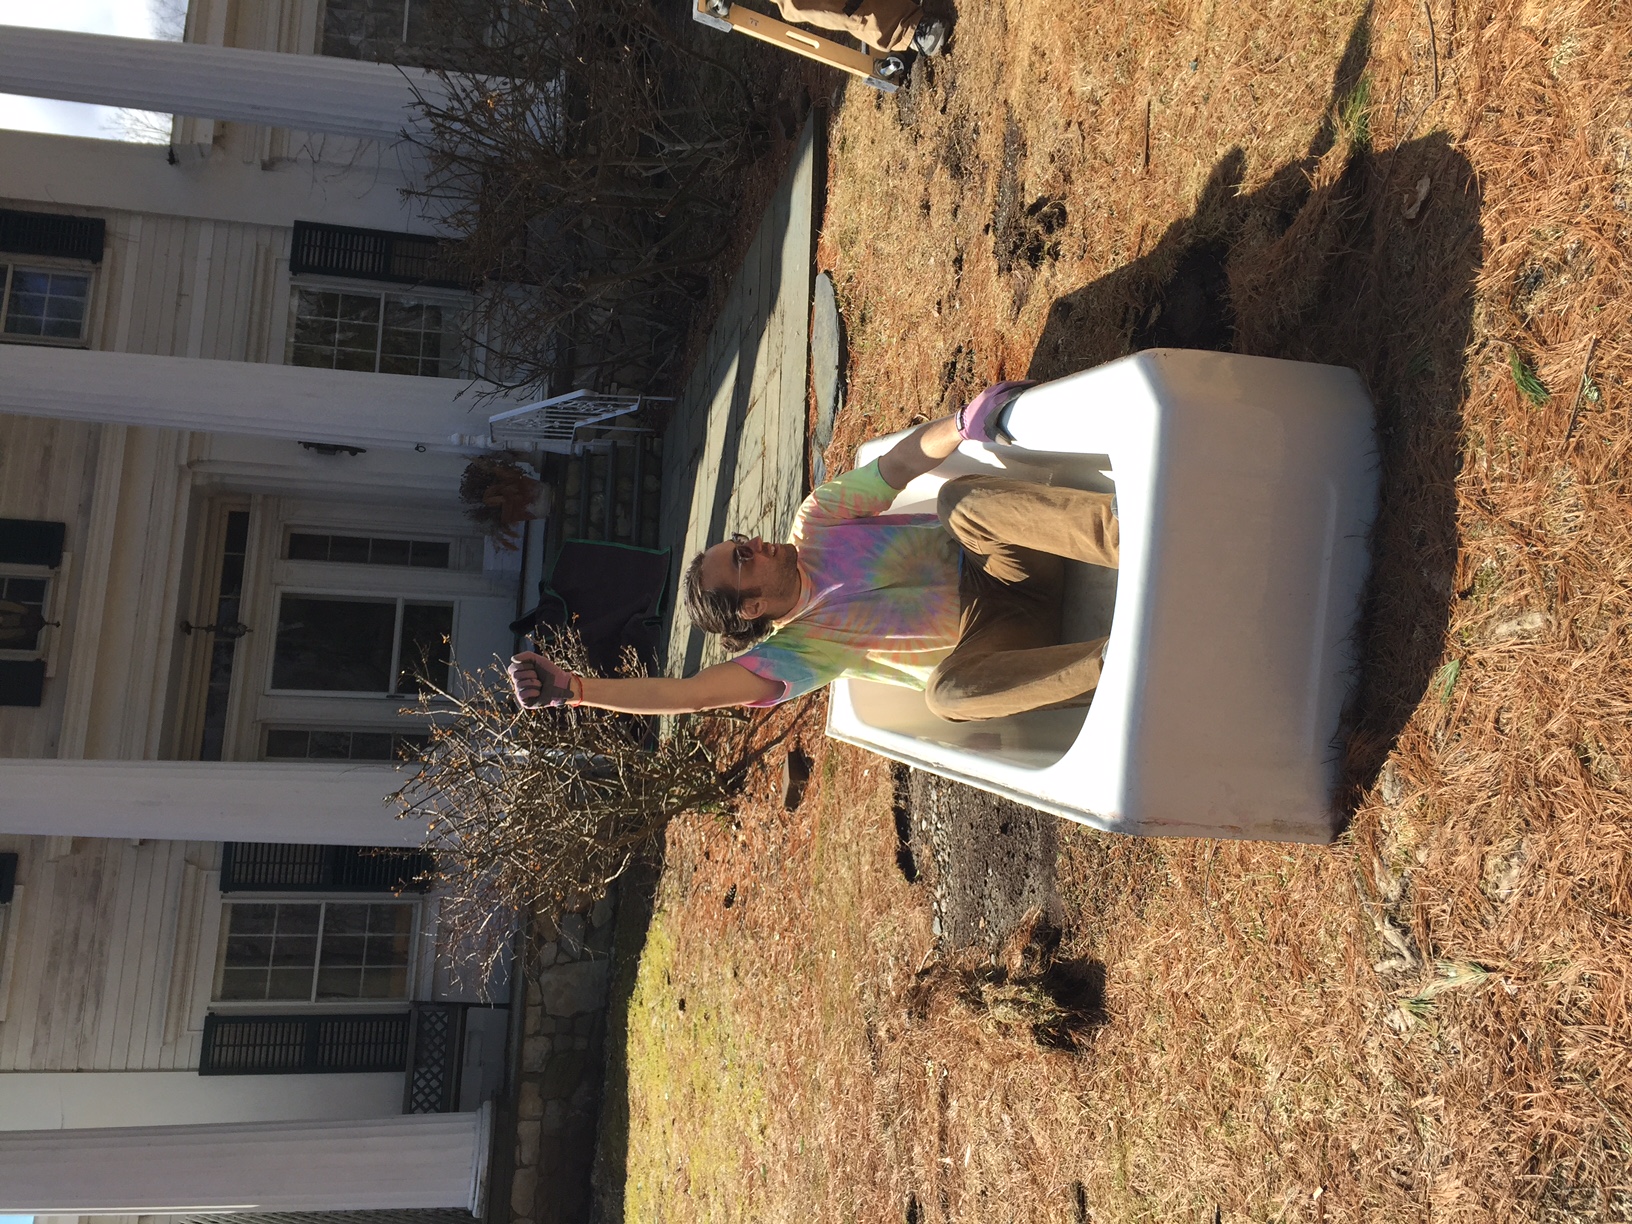
Amenia Bobsled Team

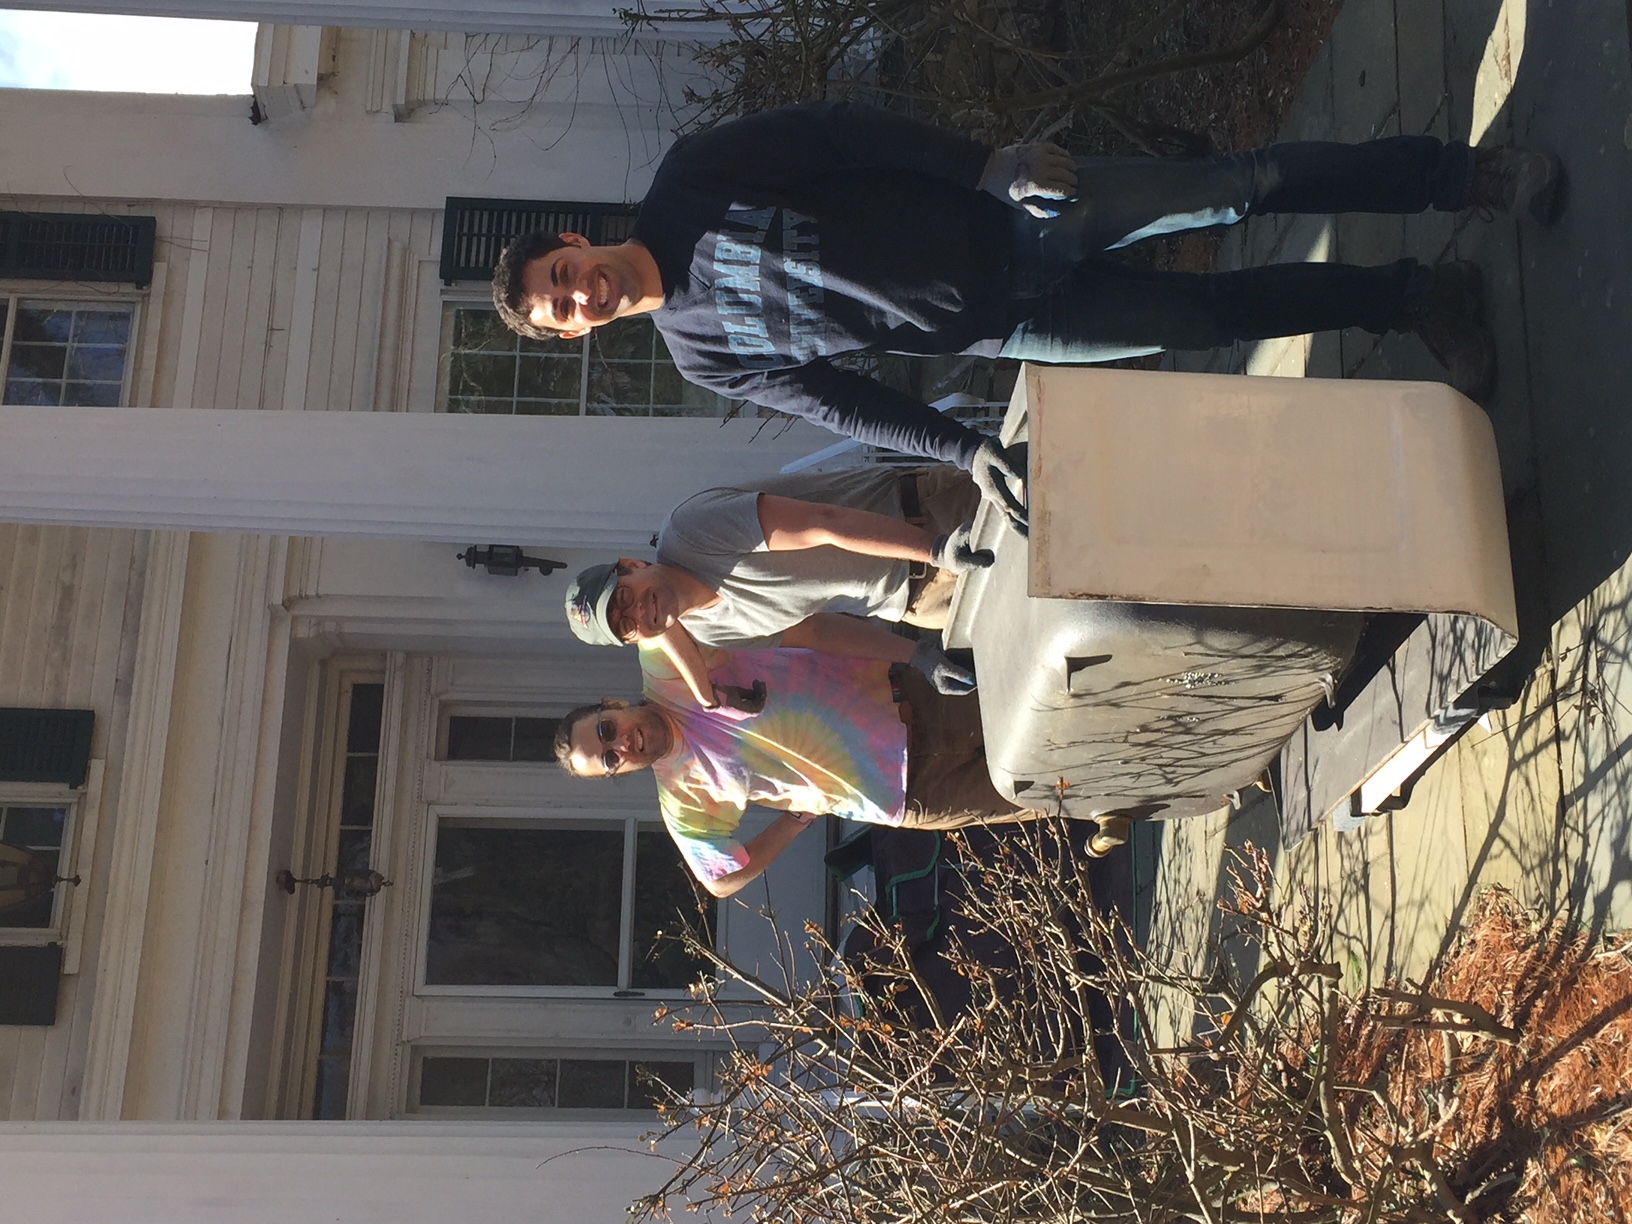
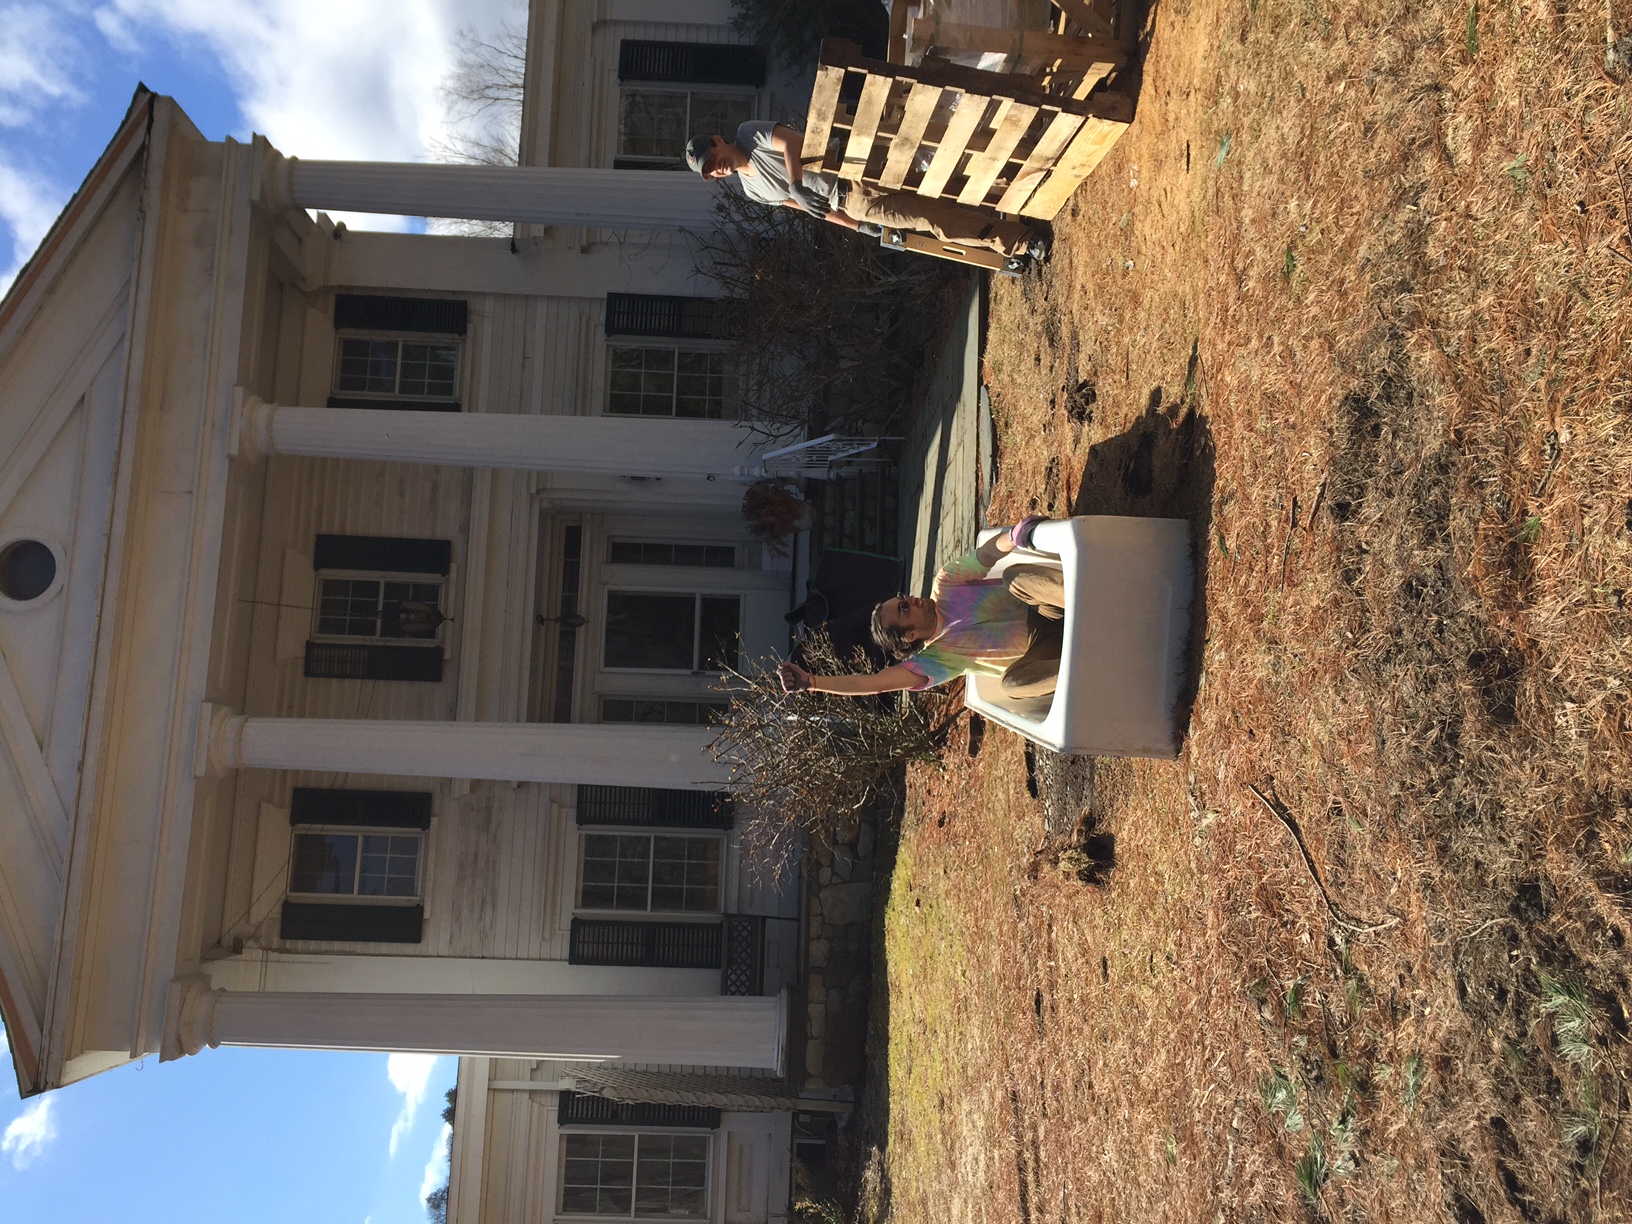
That's the name for our tub removal crew, a big thanks to Dustin Barzell, and Oren Petranker for helping to haul the old castiron beast out of the upstairs hallway. It actually was in the pink bathroom, but the spot it graced for near on 100 years will become a hallway and thus improve the flow immeasurably.  Now, we don't know the exact weight on the tub, but Oren and Graham have hauled ovens, coal stoves, butcher blocks etc.. with nary a grunt, but this thing damn near killed the team. Not only was it heavy, it also had to come down a curved staircase without damaging the plaster or railing, not an easy task.

Behold....
 

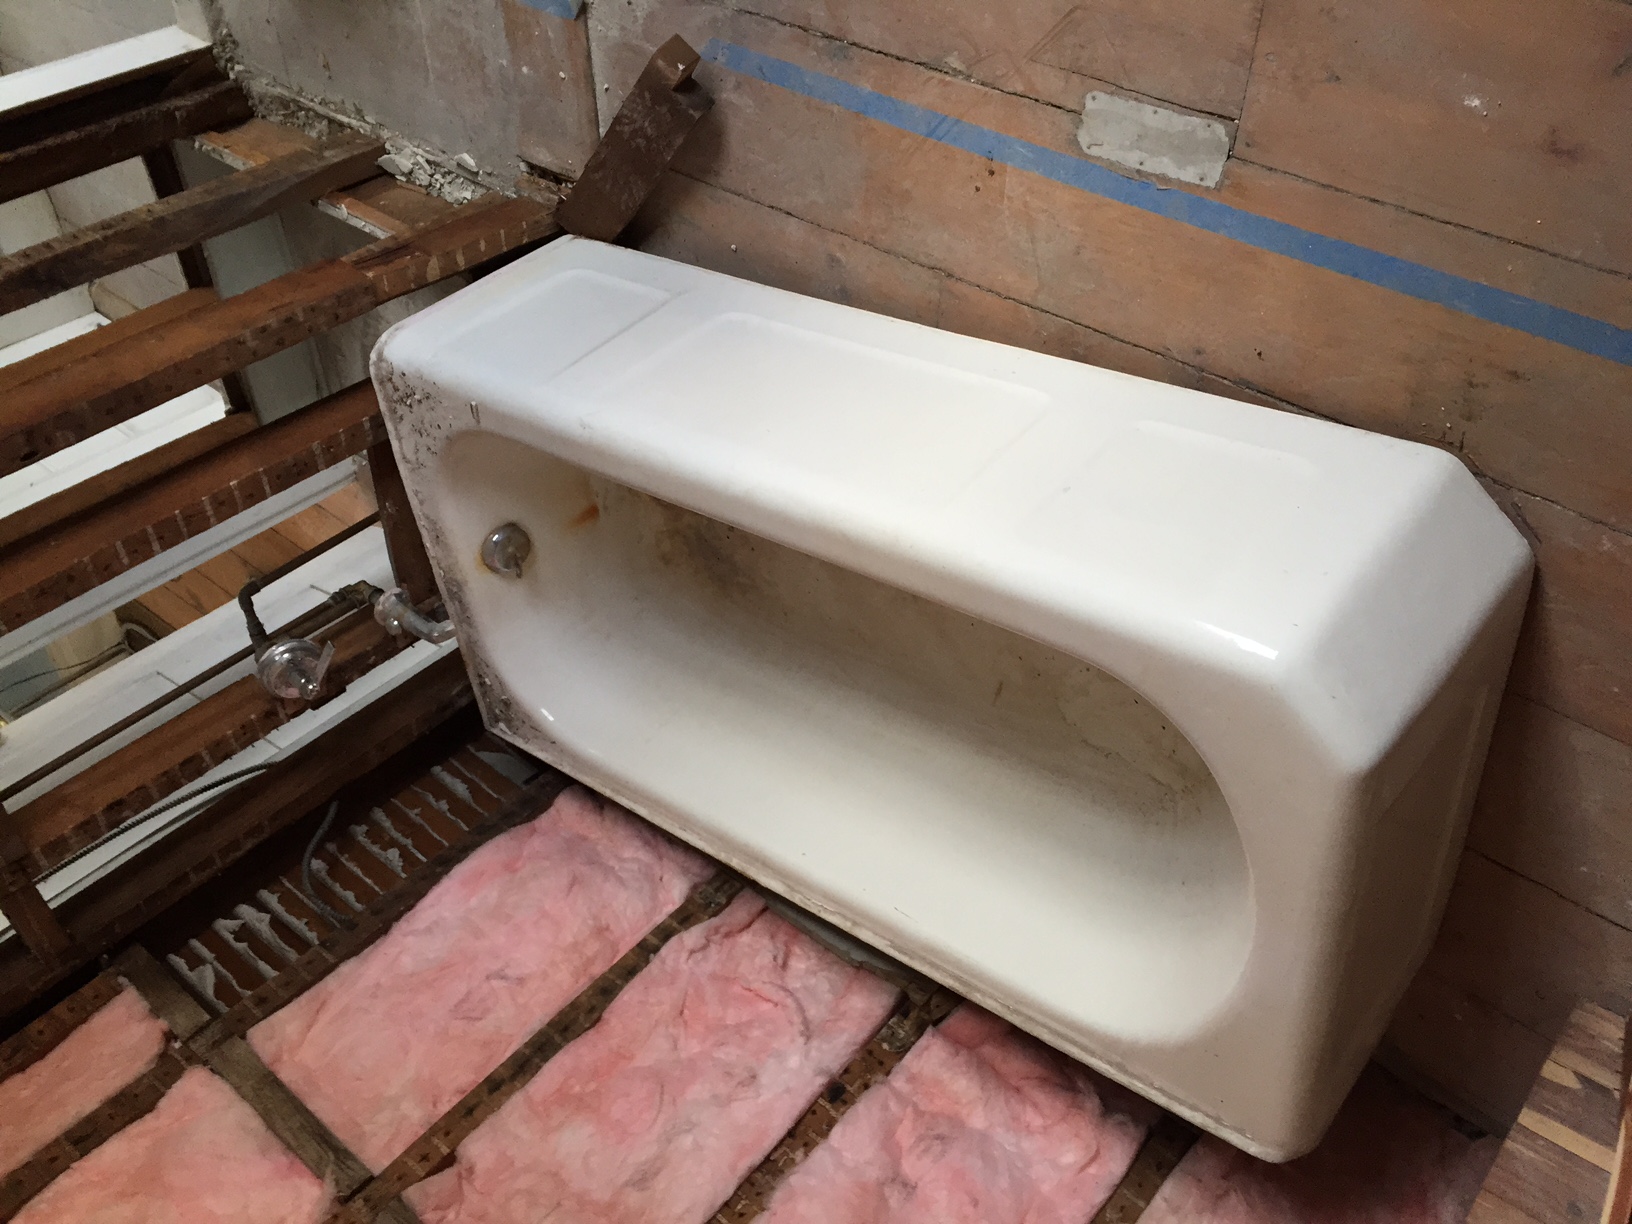
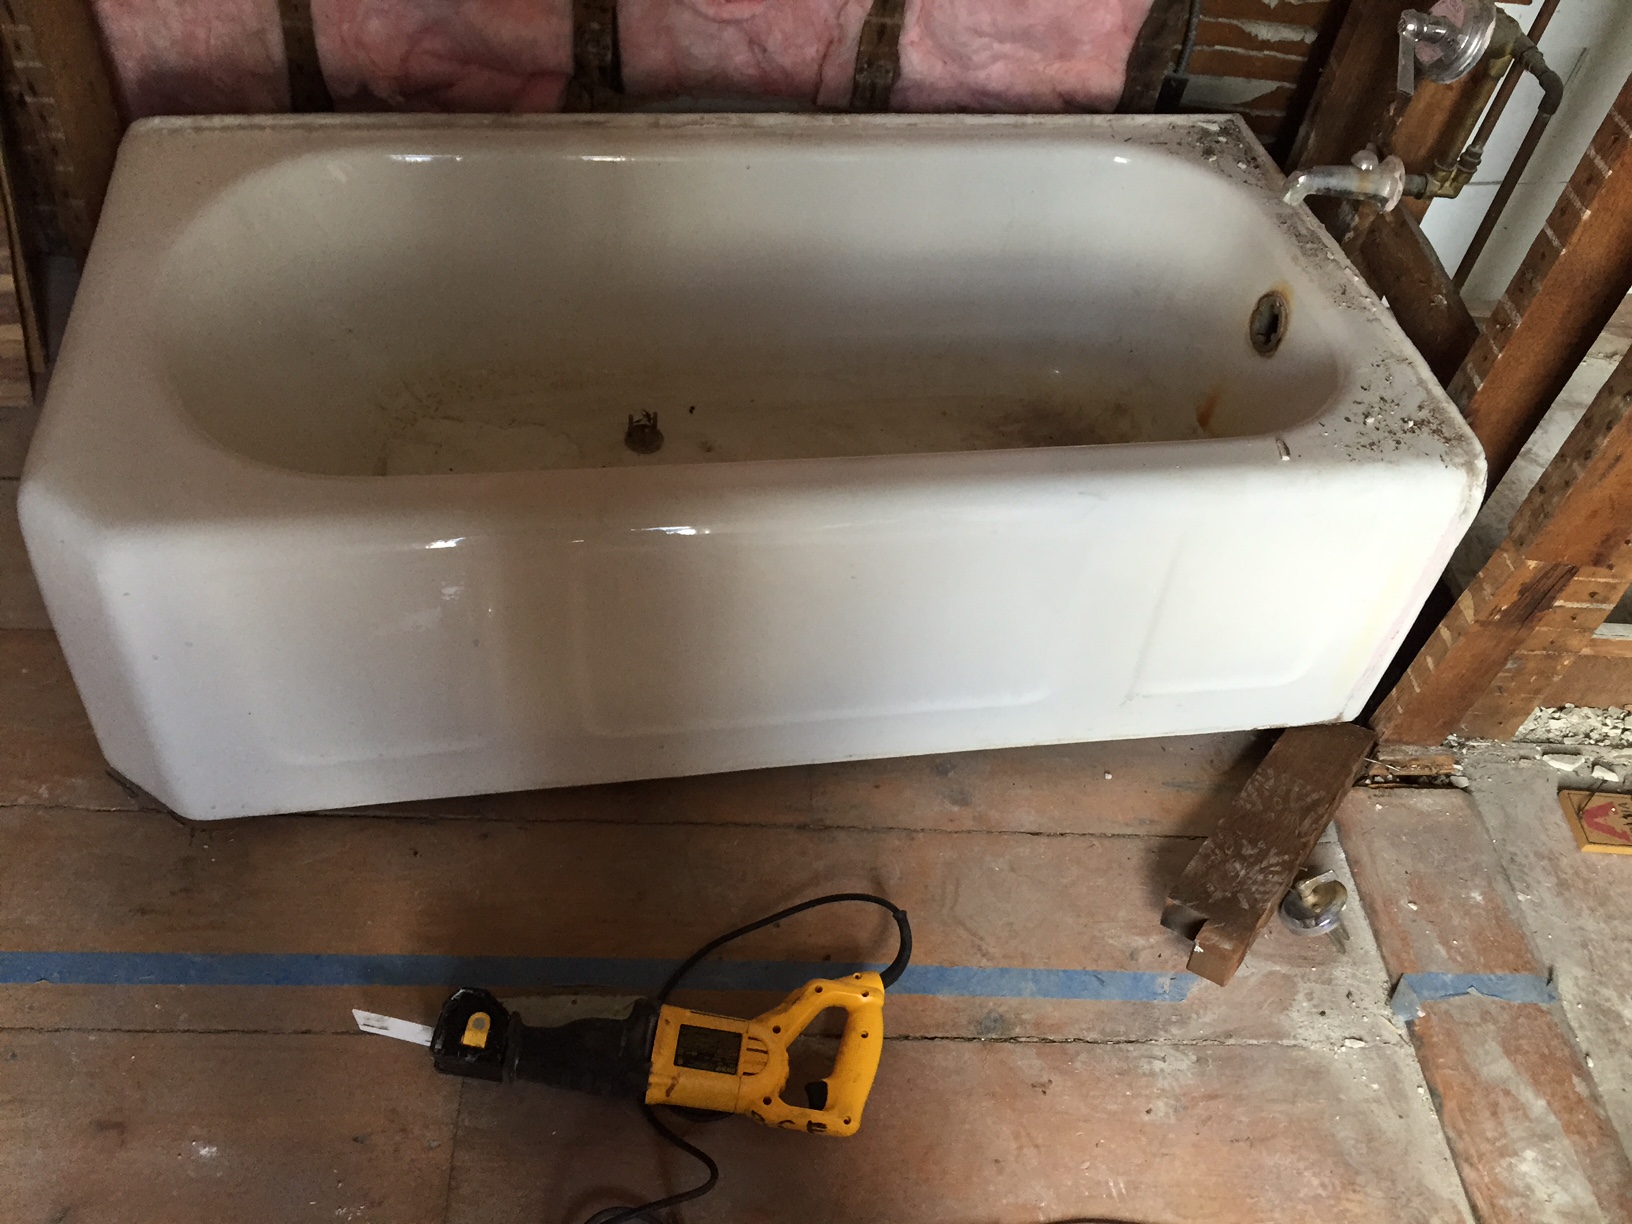
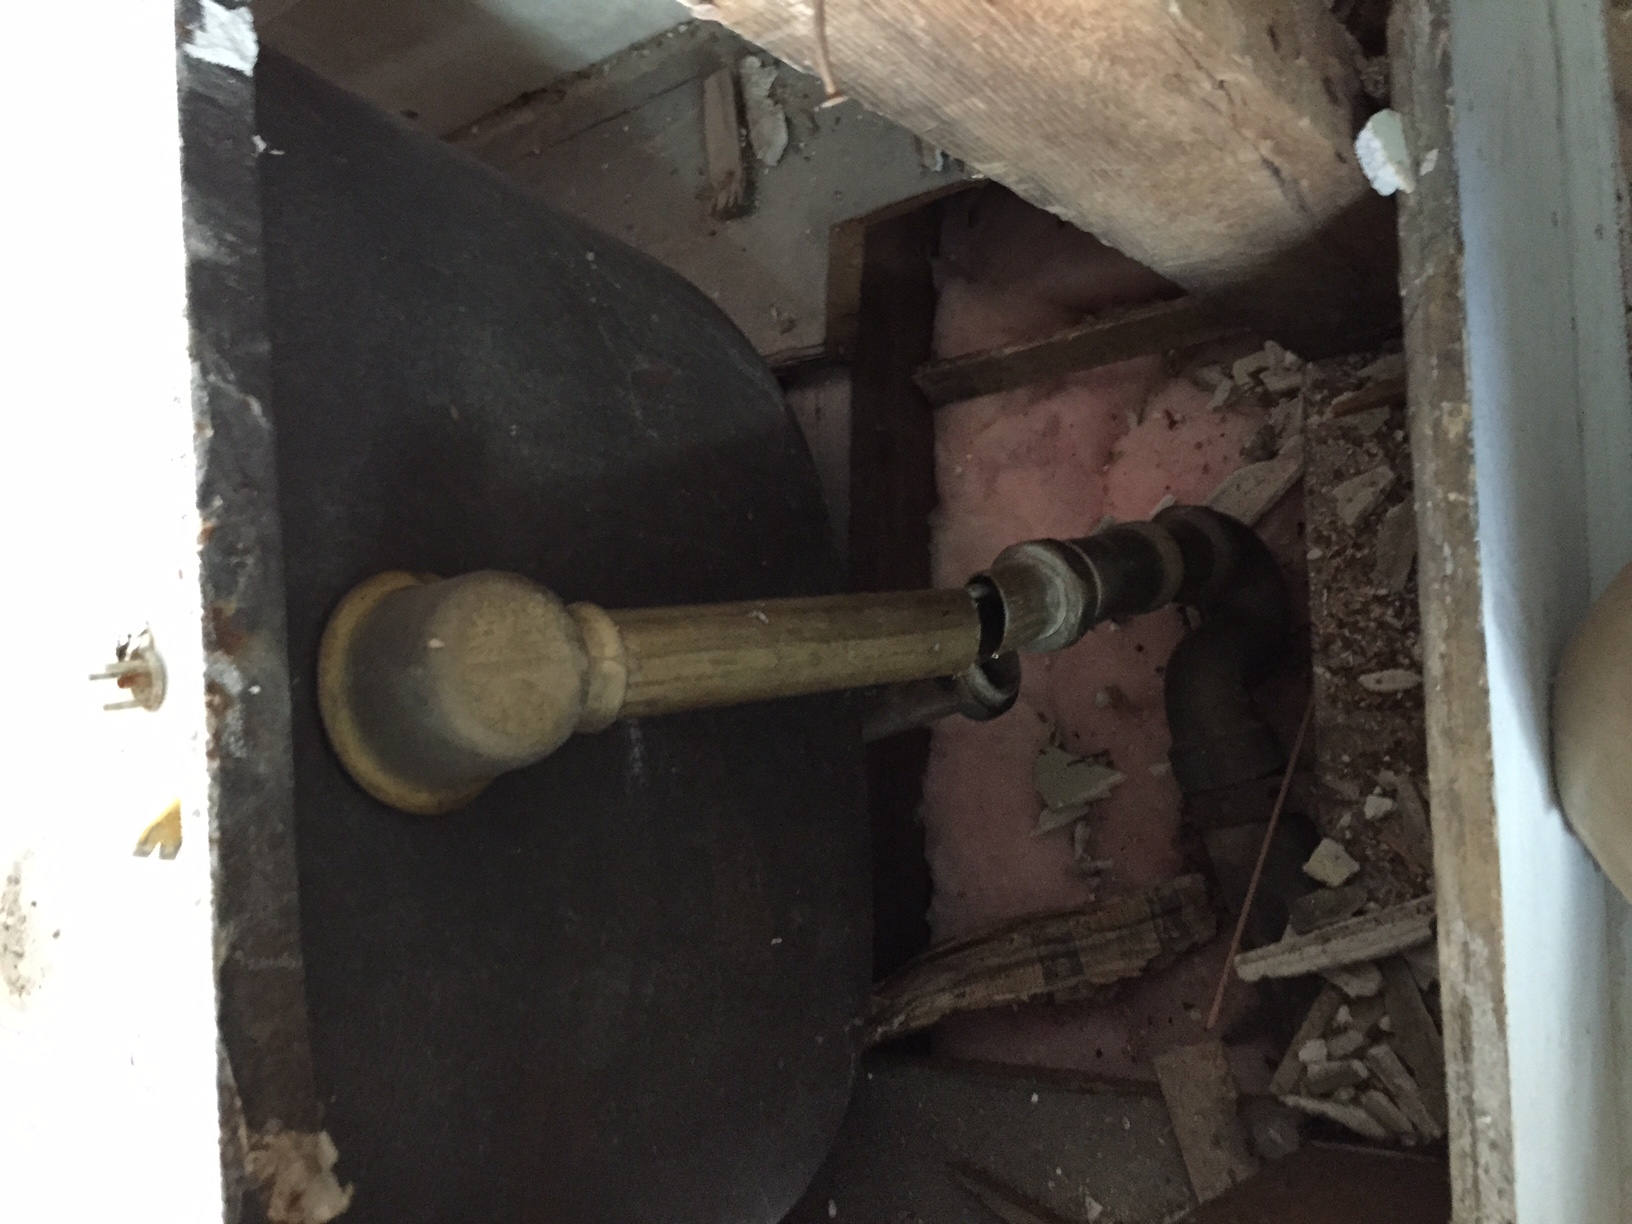
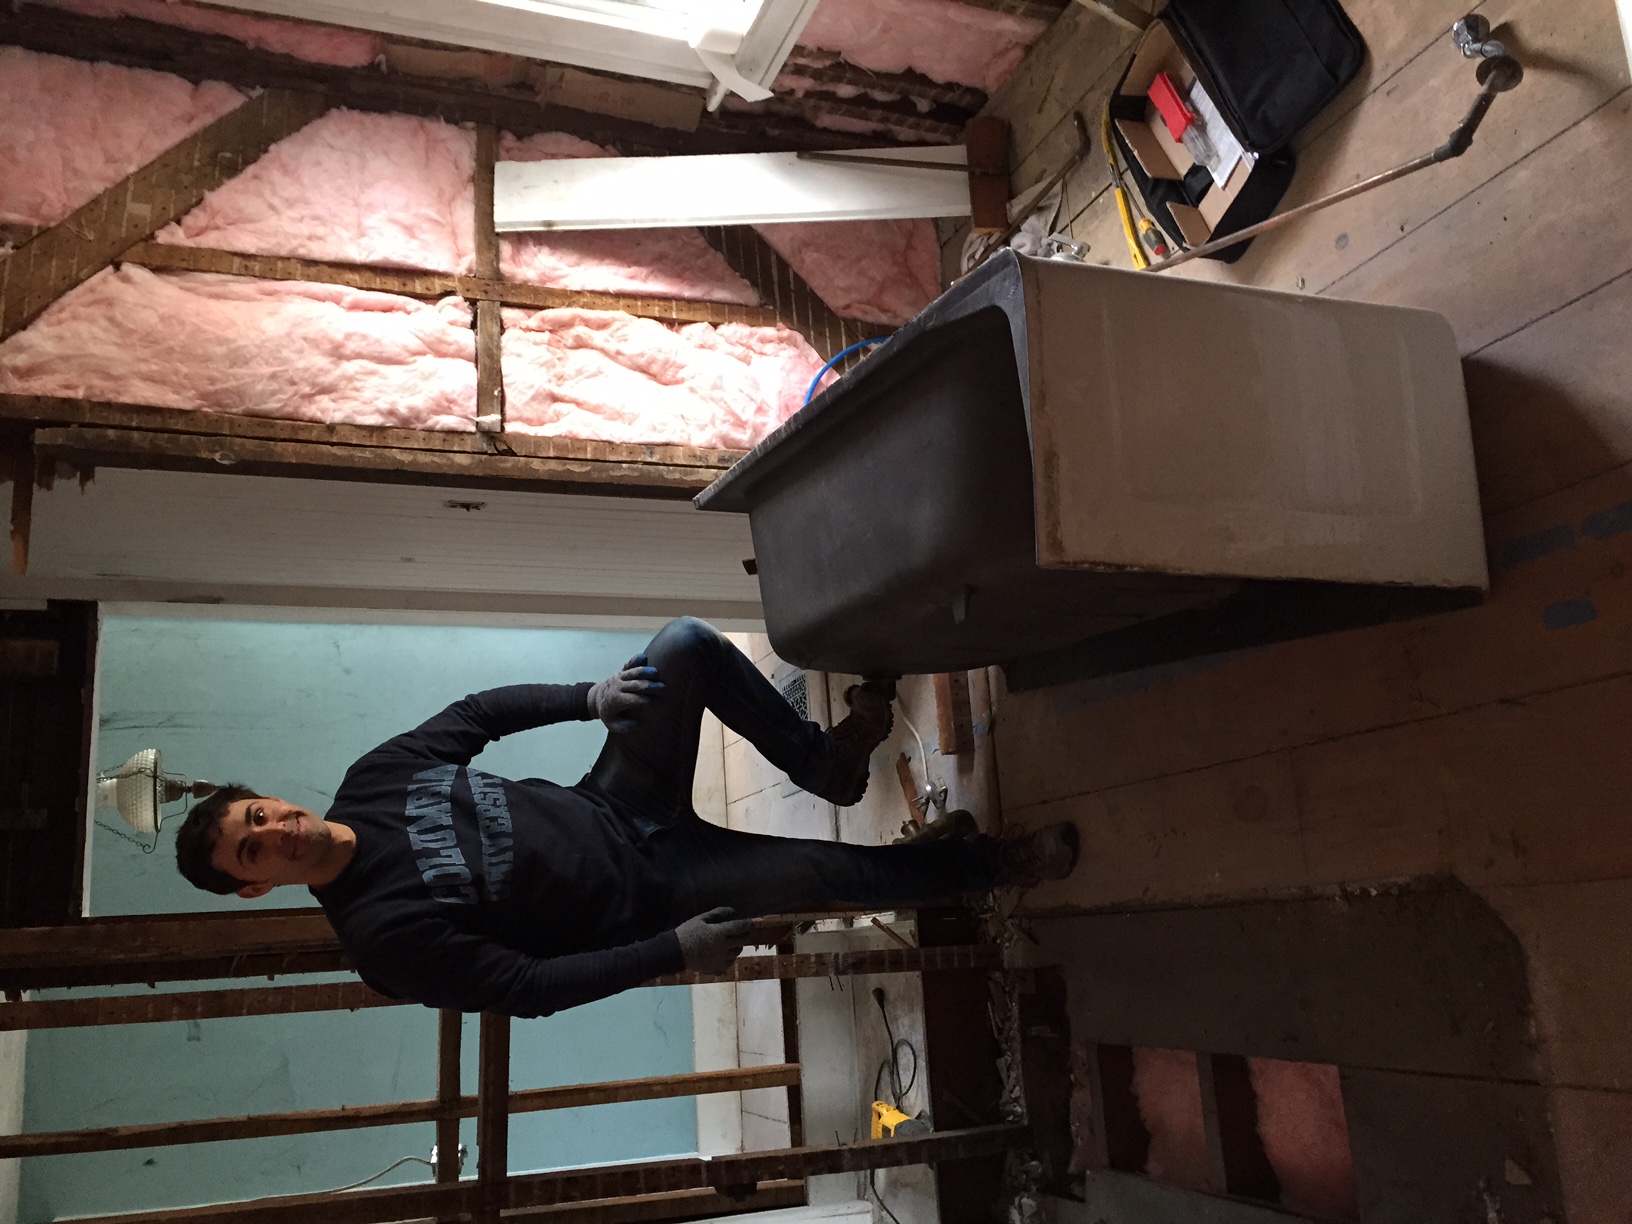
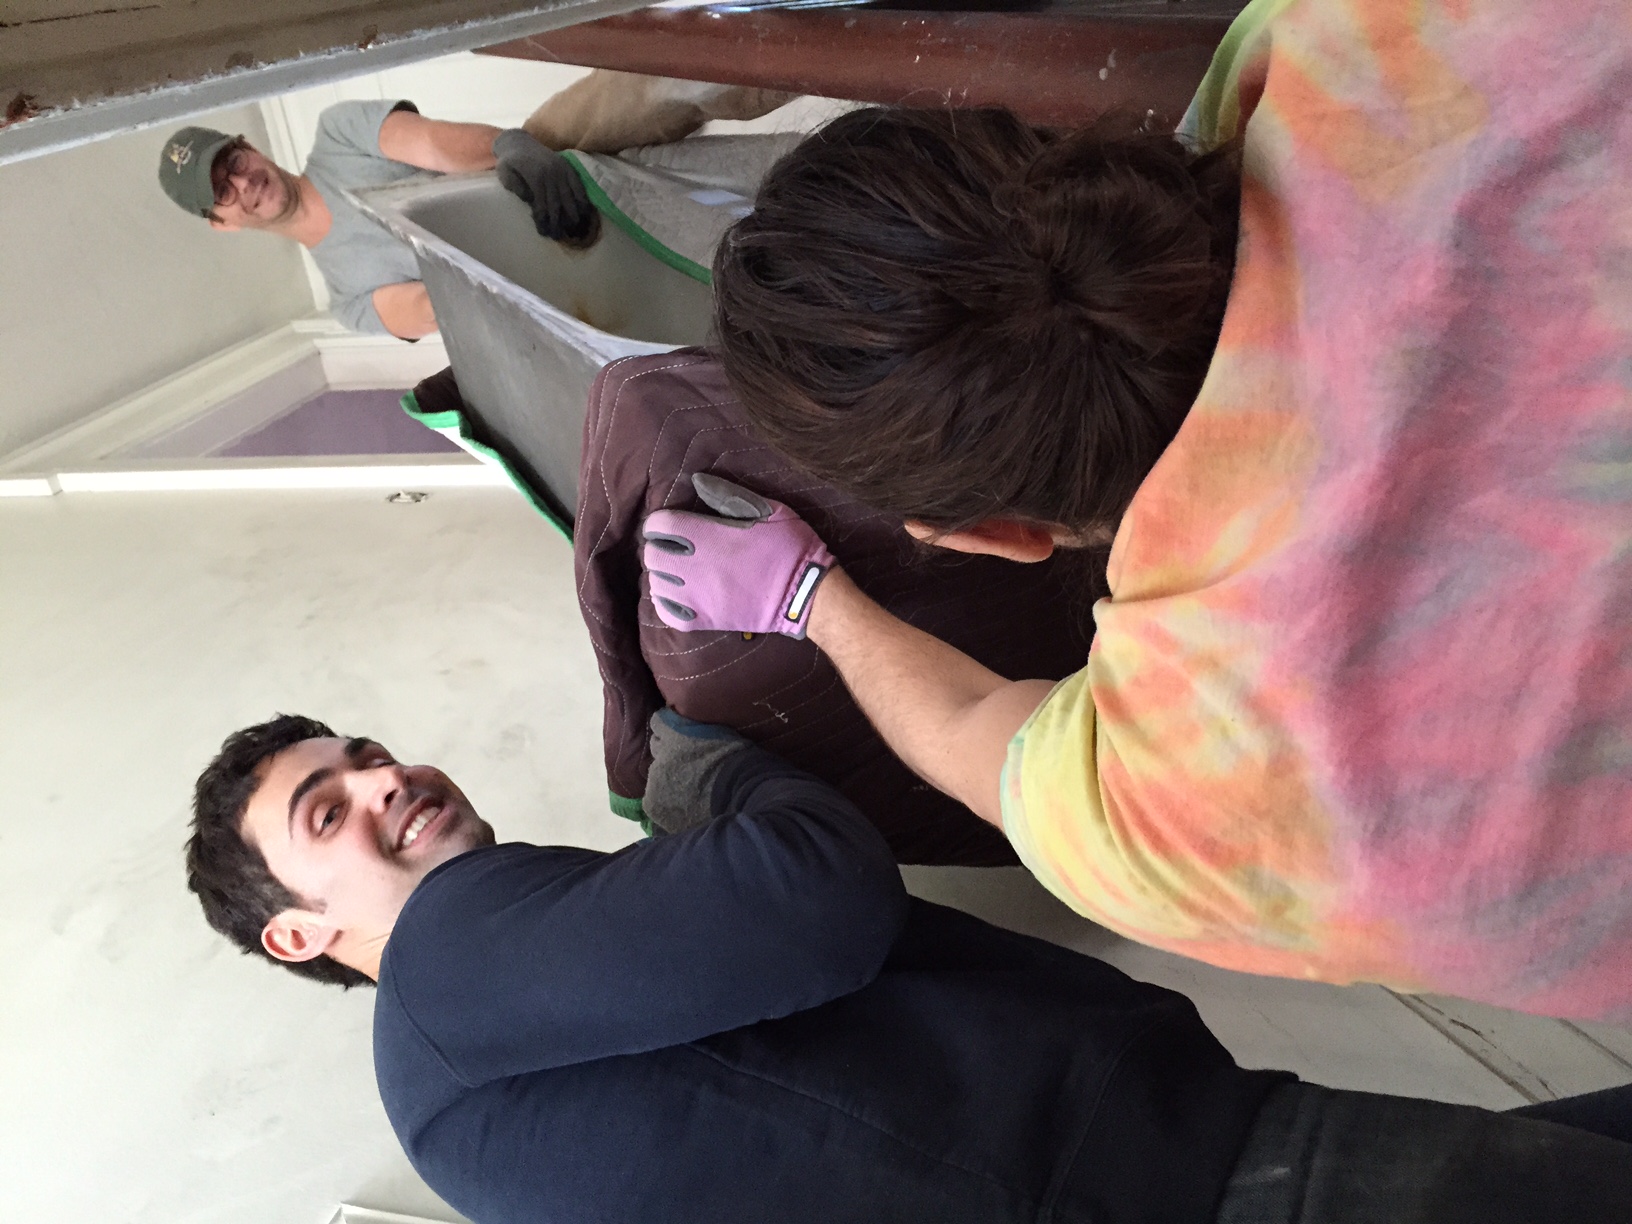
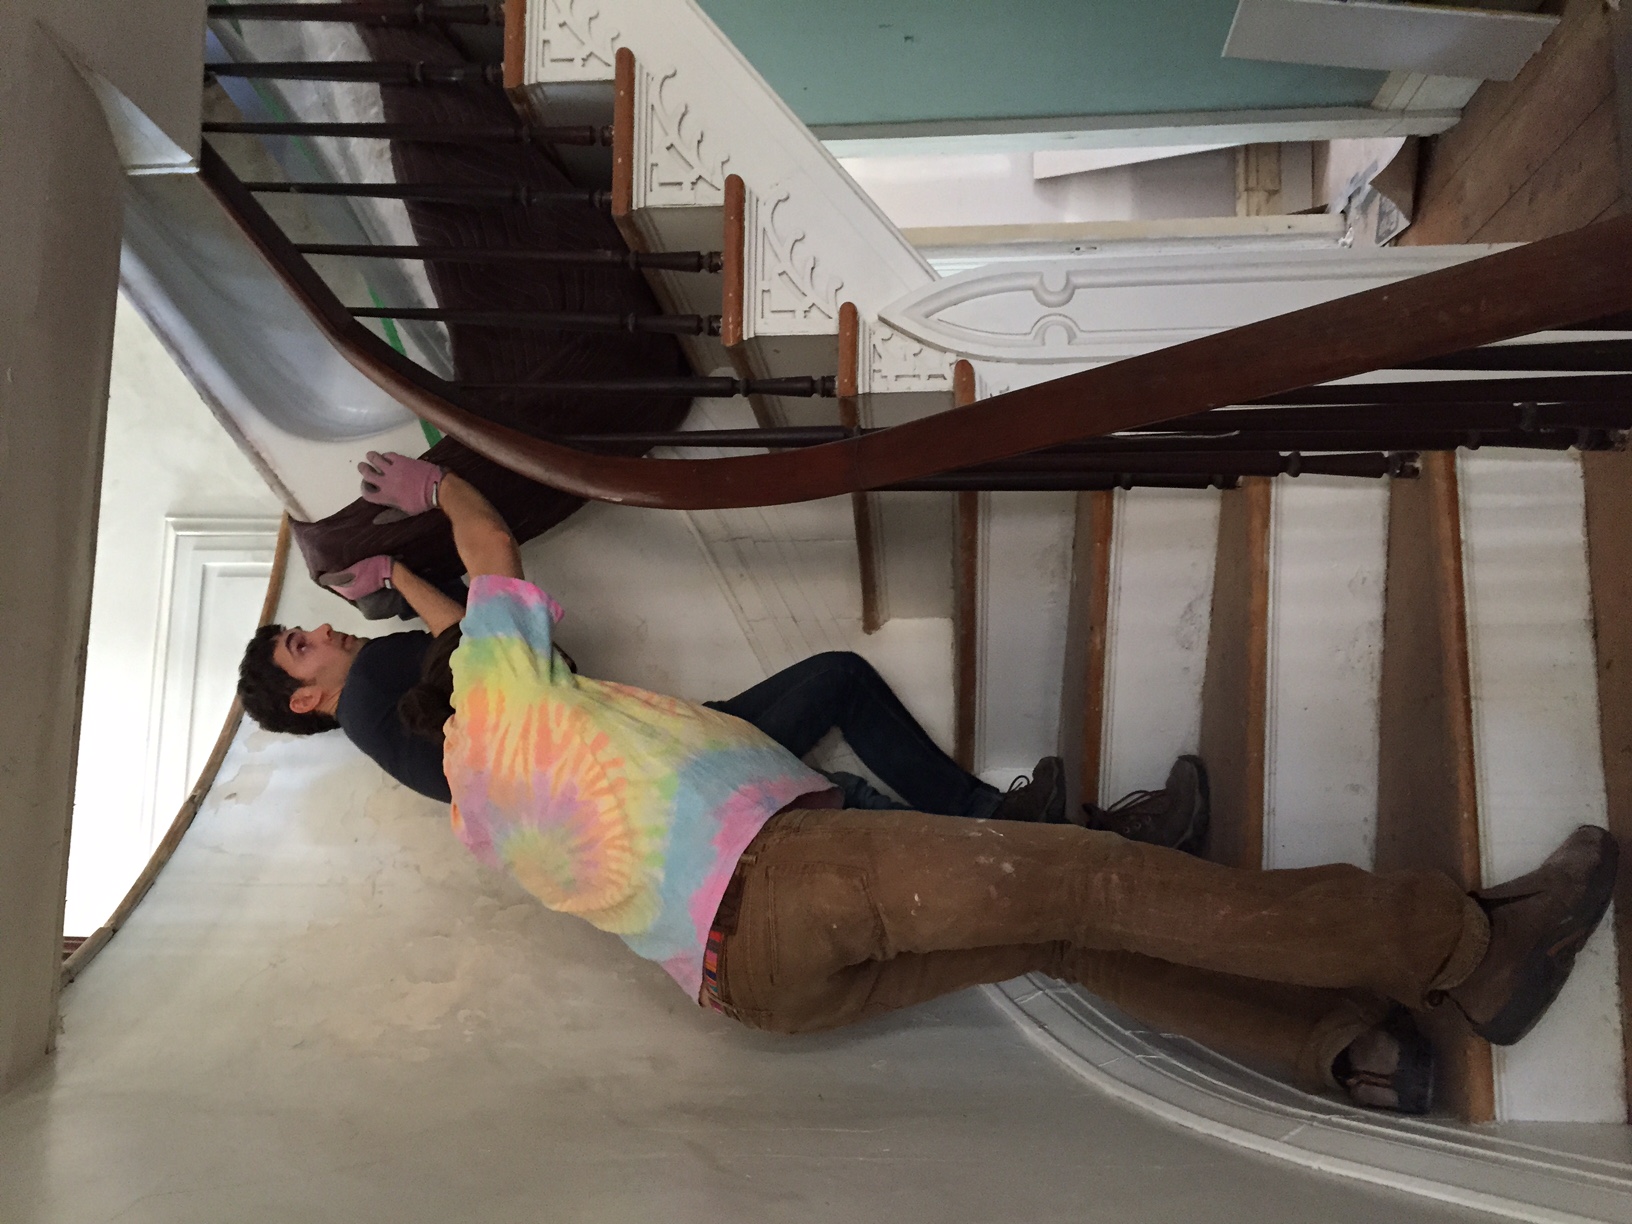
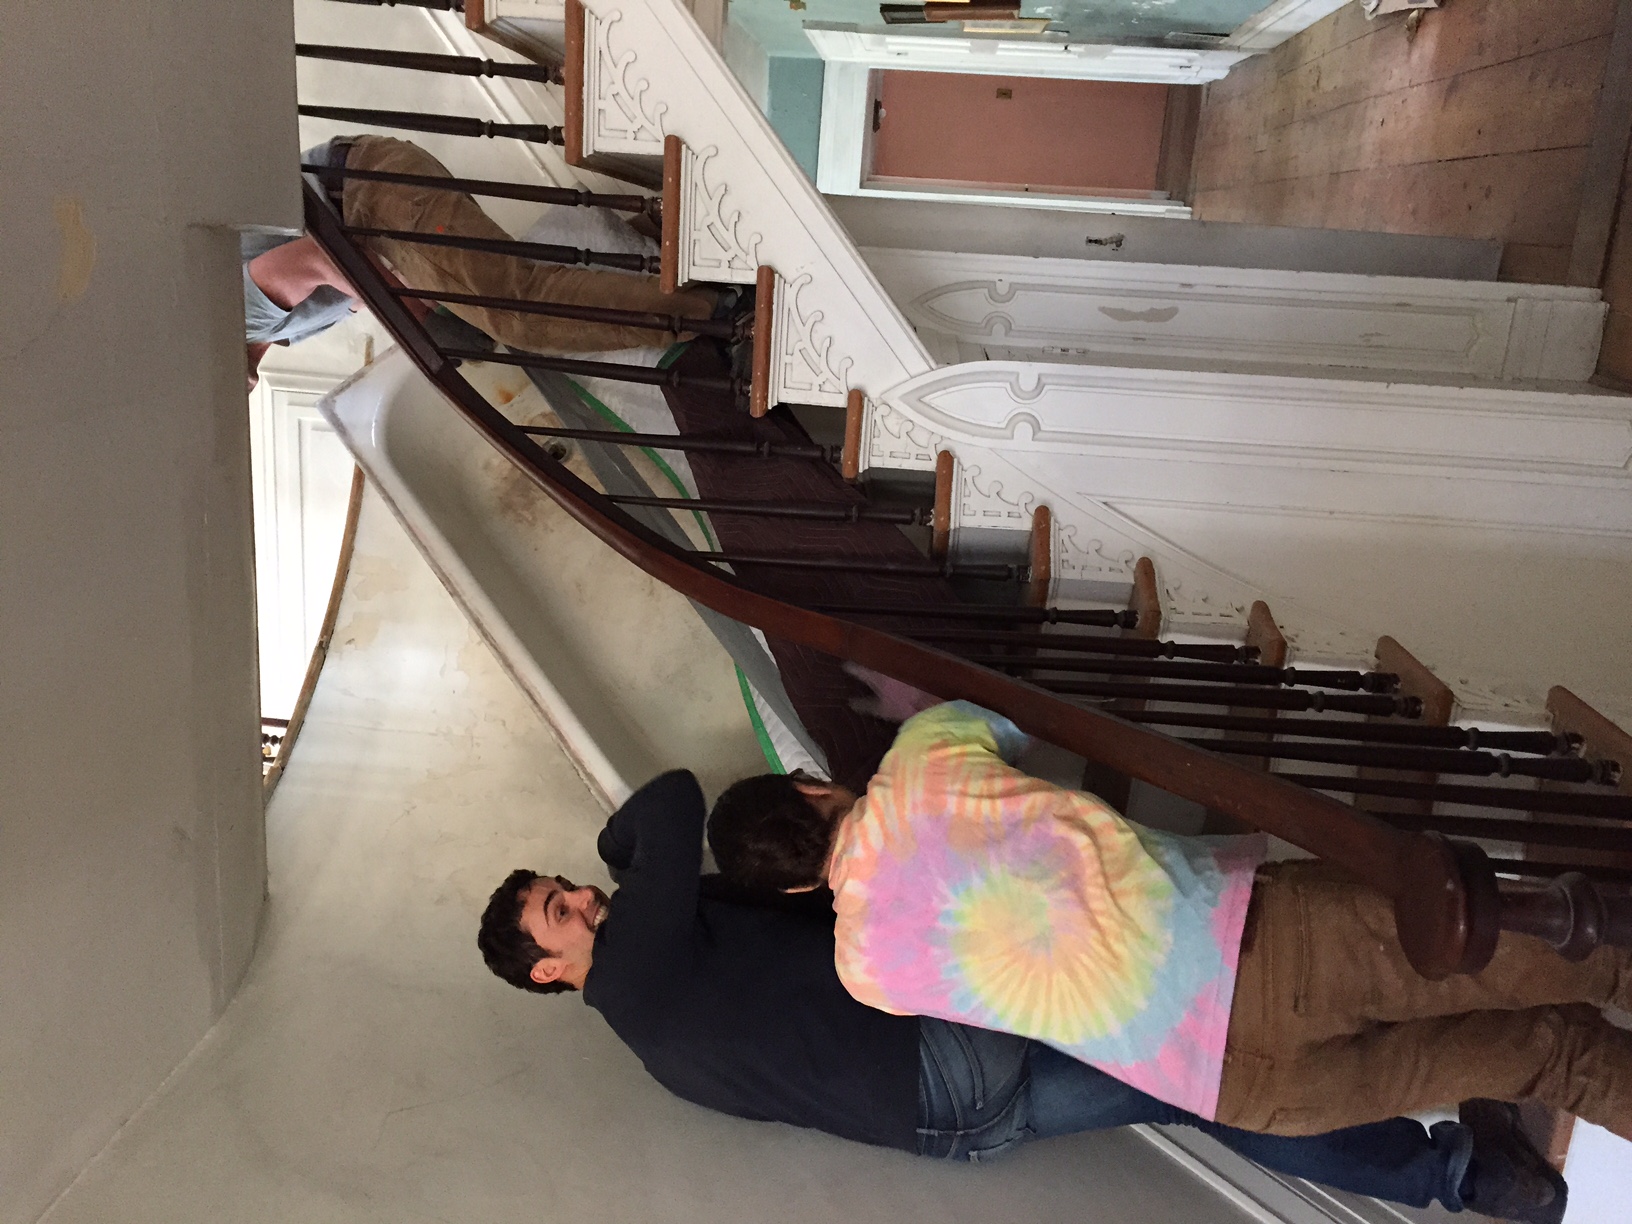
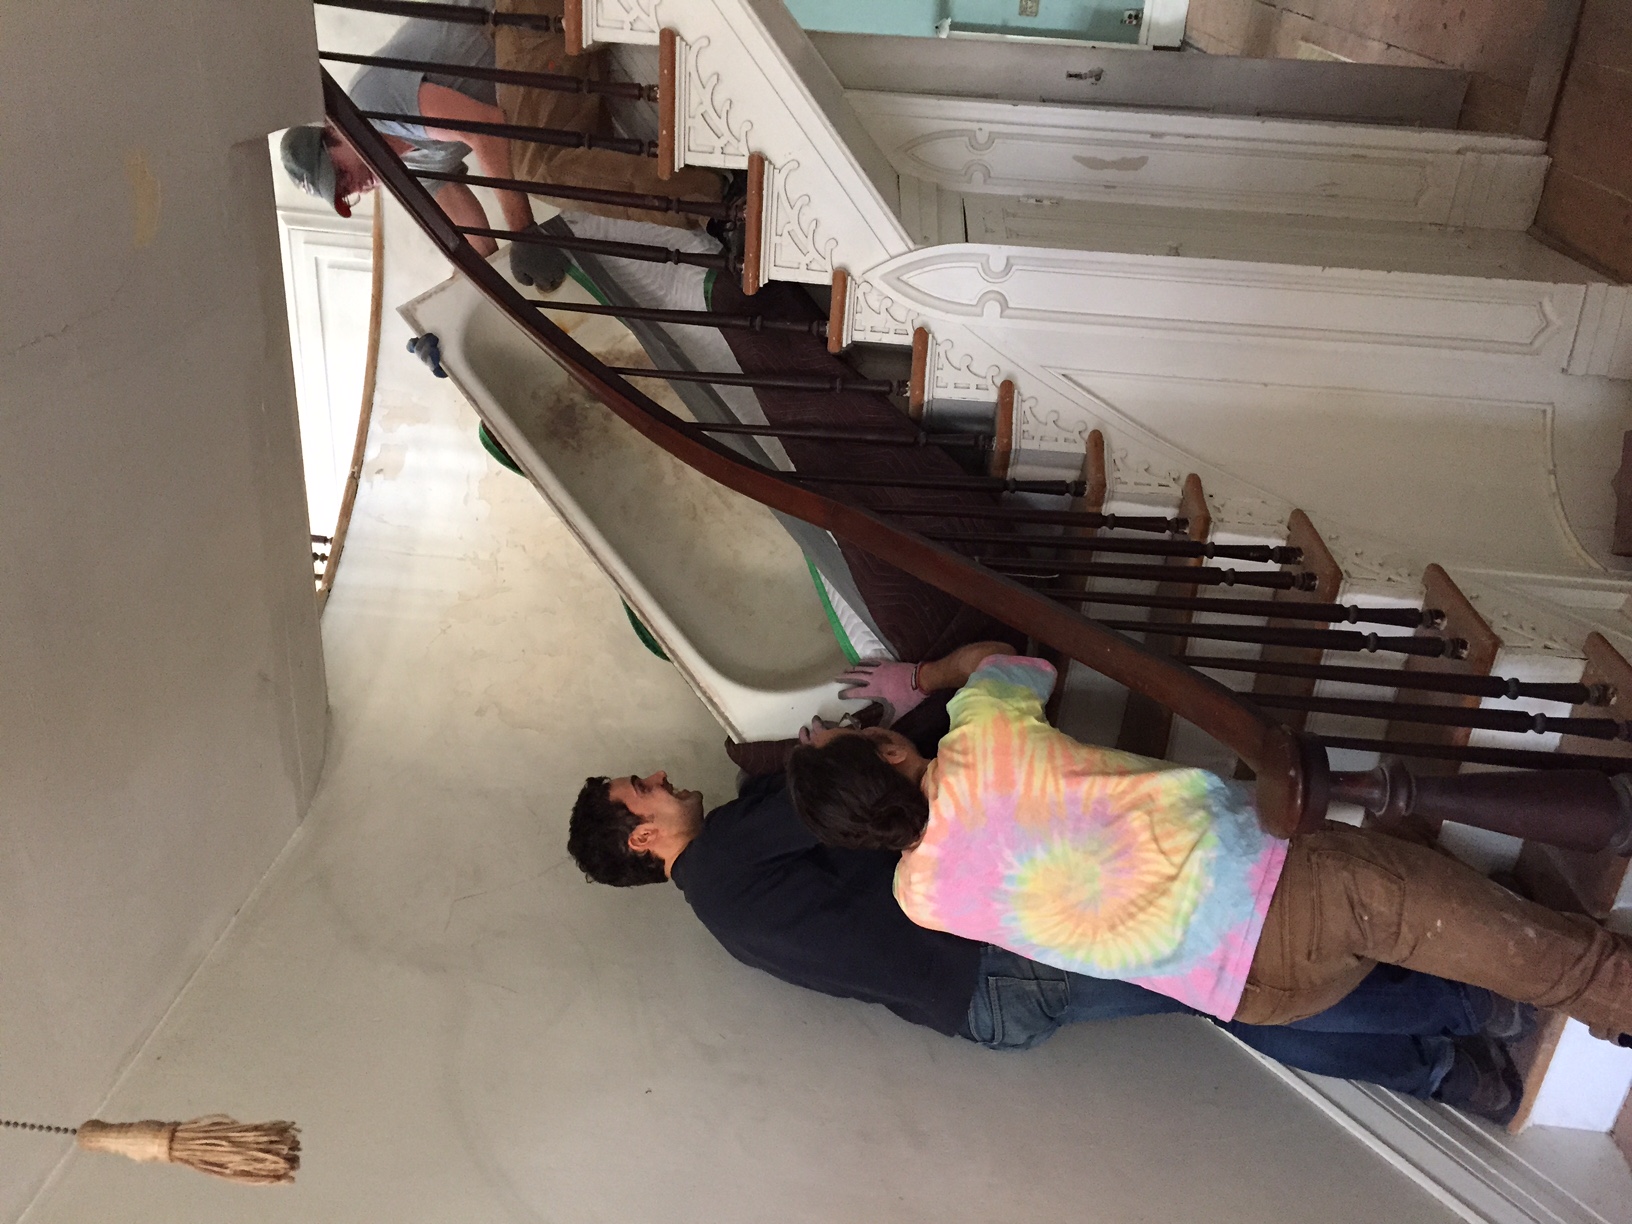
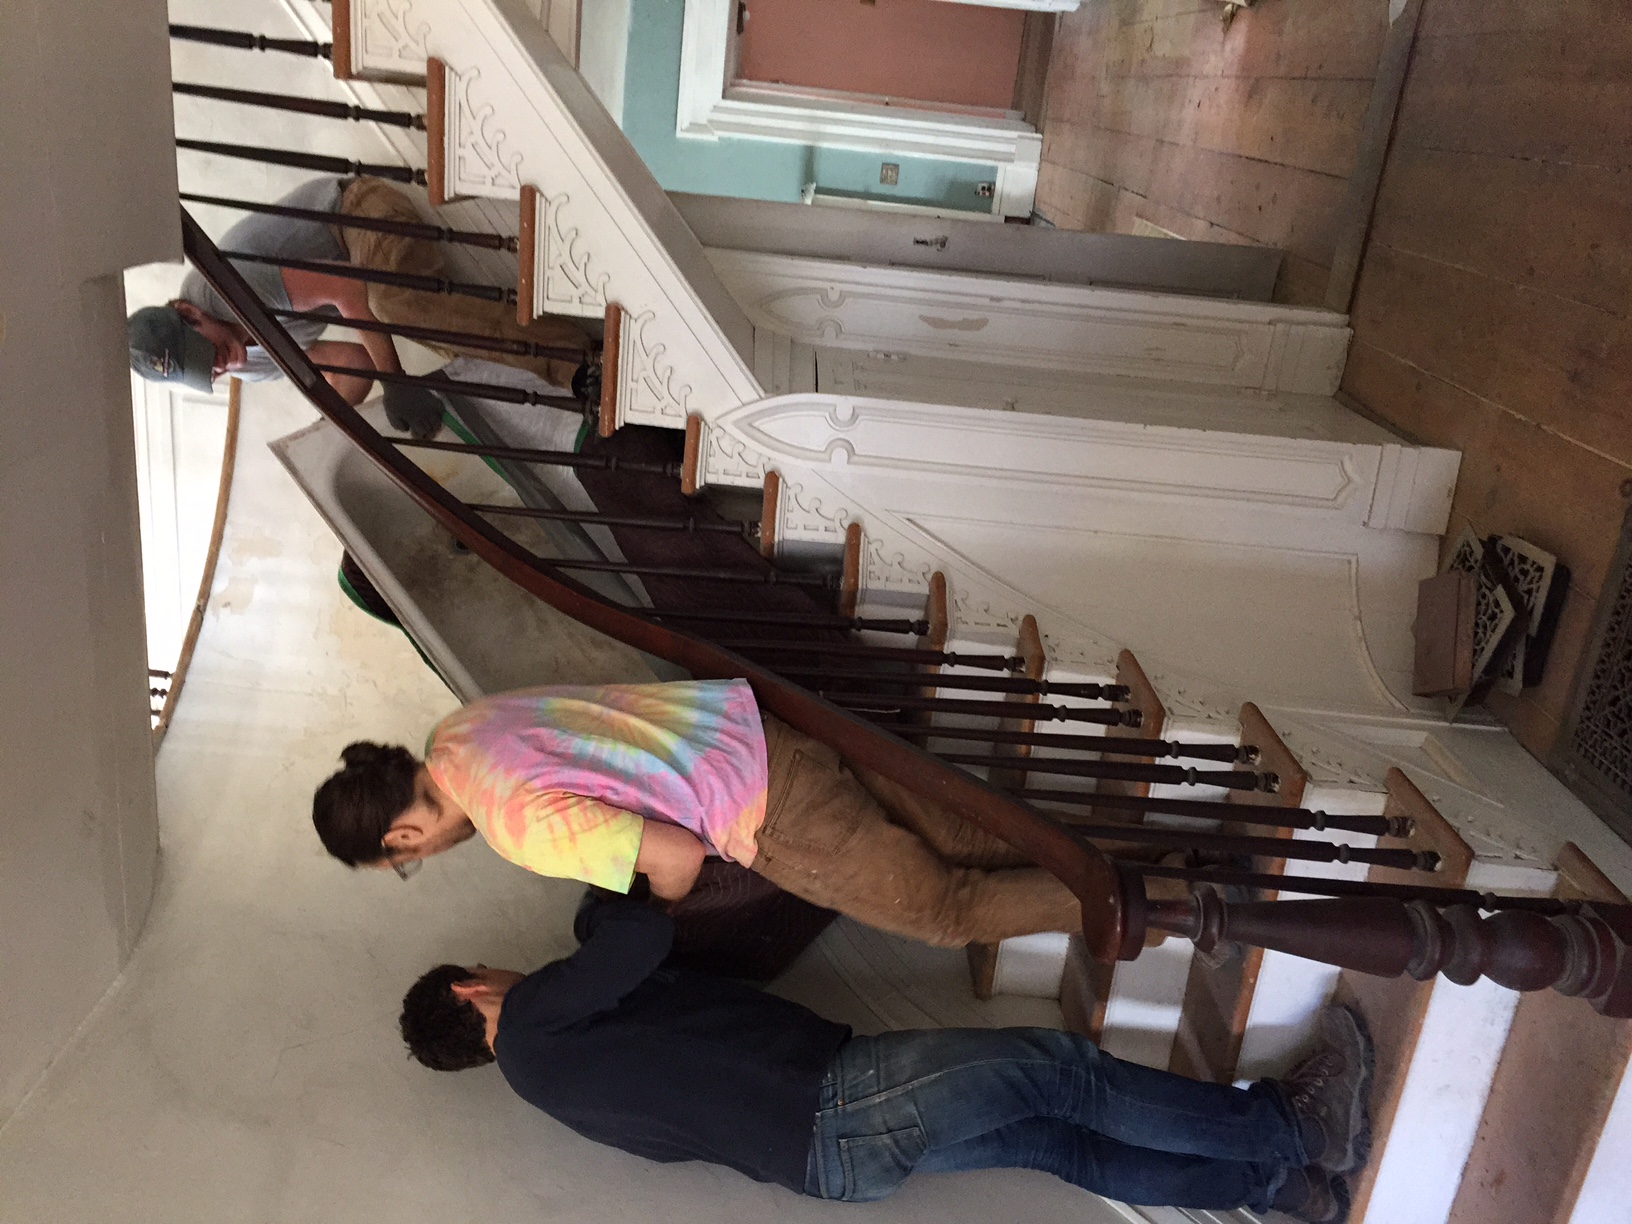
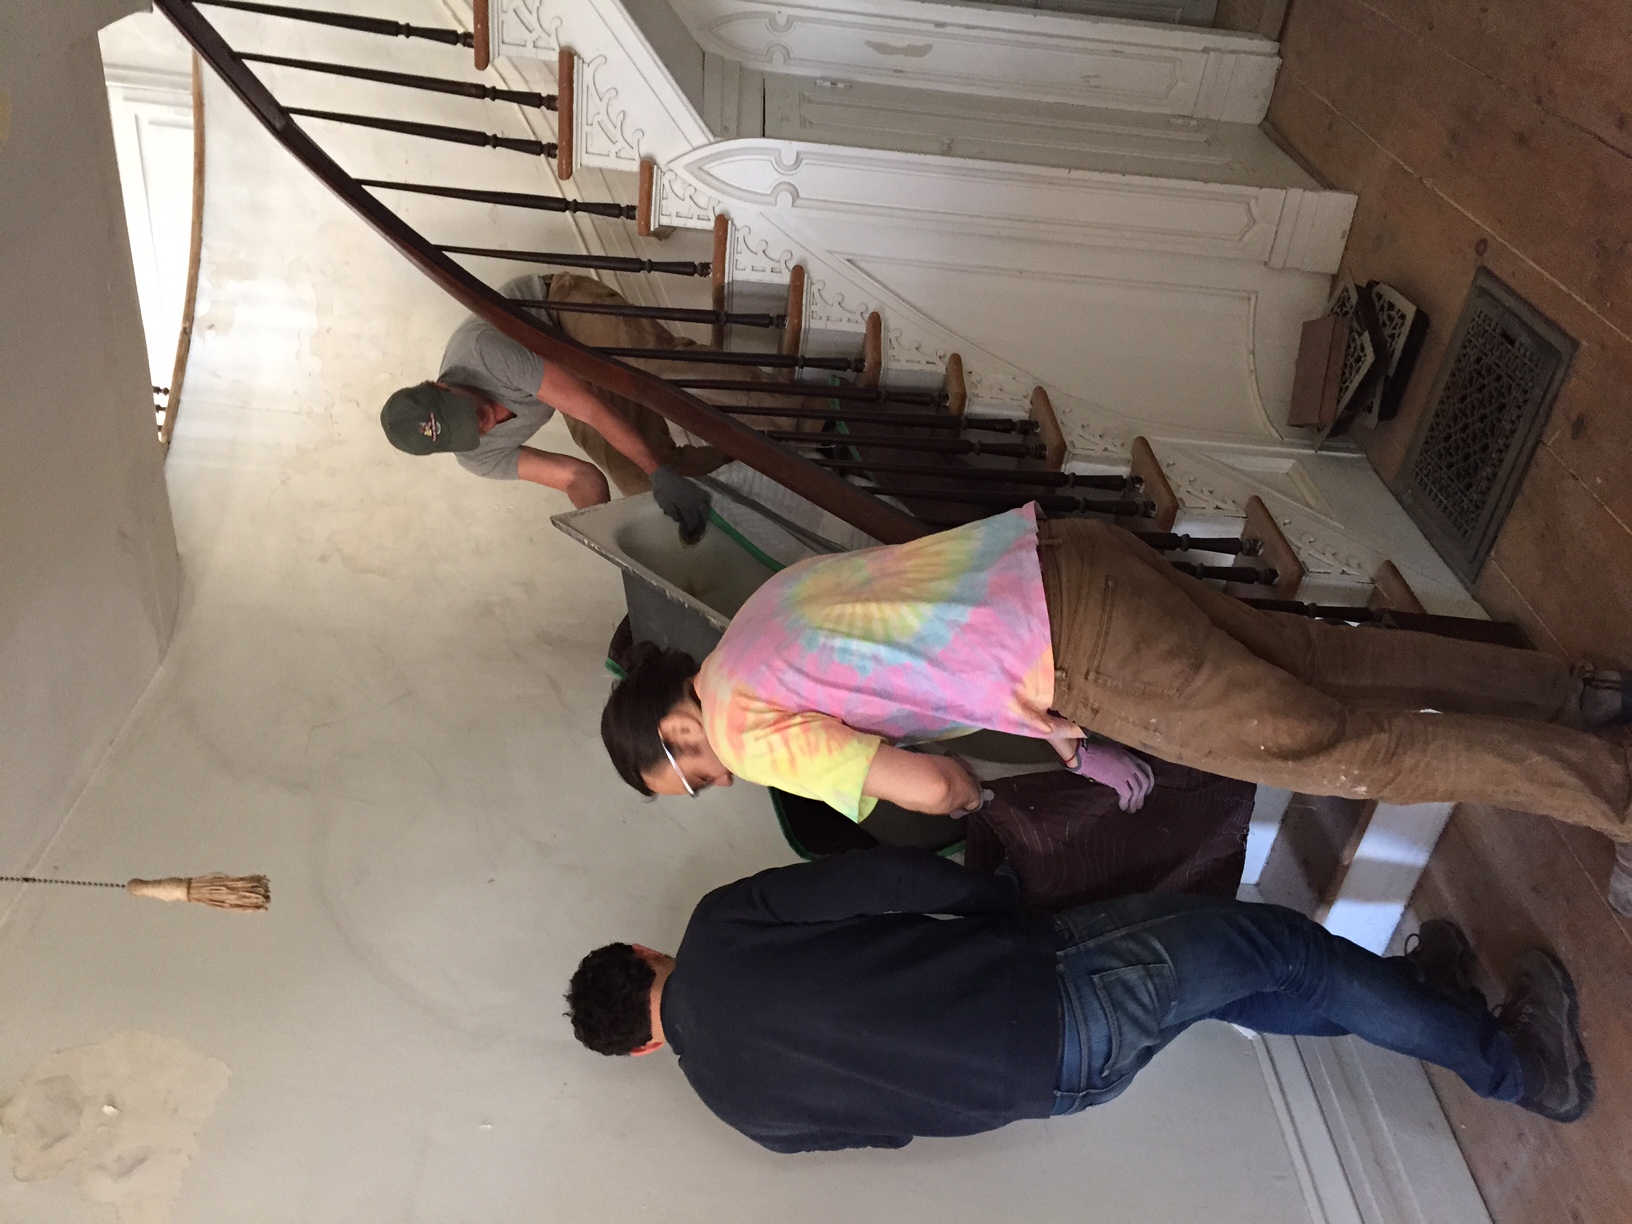
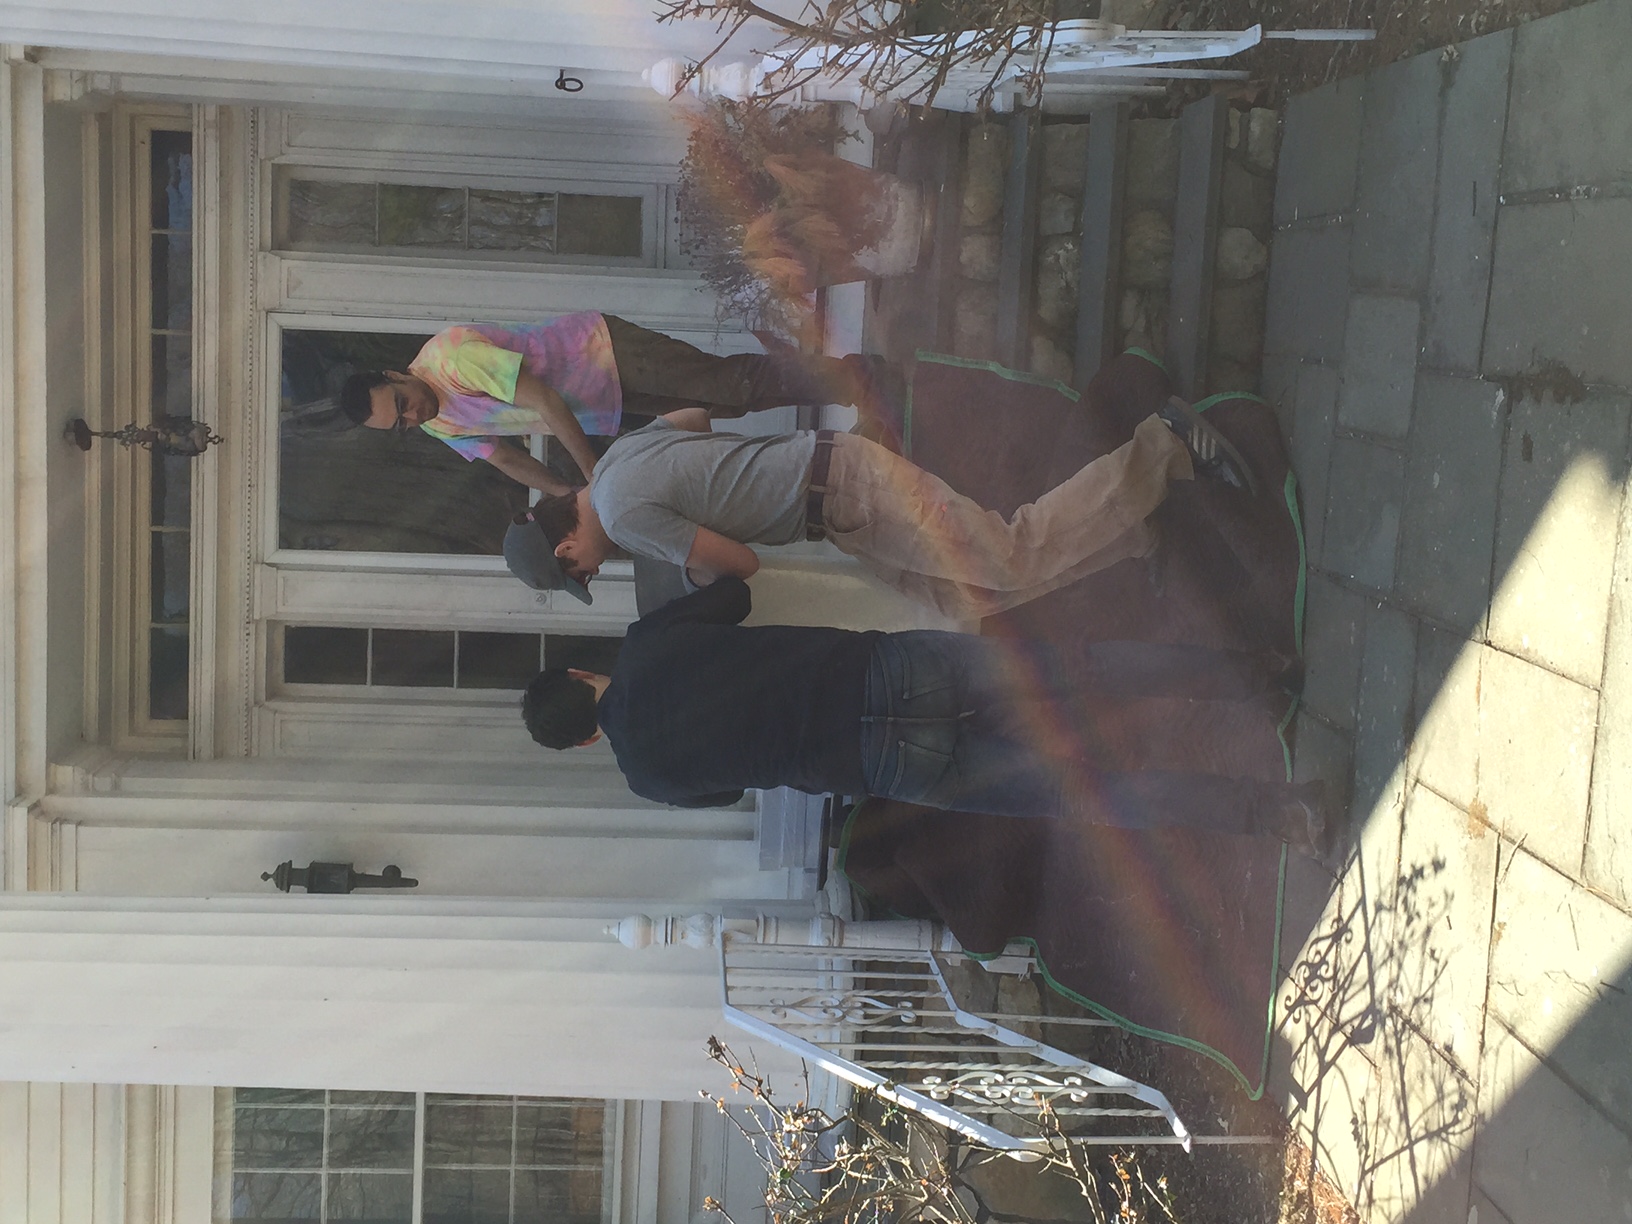
It got much easier to move once we realized that the slip nuts on the plumbing had not released, so out came the sawzall and it cut just like buttah'. A special thanks to Julie for documenting the process and doing some solid pre tub removal demolition. Go to our instagram page for a fun video of the final push @brokenchimneyfarm
 

Turning a Window into a Door

The space formerly known as "Ugly Wallpaper Bath" is being reconfigured to allow direct access to the downstairs bedroom, to do this we had to cut a door. Fortunately for us, when they added the new room the previous owner covered over a window that used to be in that external wall. All of this is very exciting because it means we get to use the sawzall! 

First step: get the electricity turned off to that outlet in the middle, easier said than done considering the mess of wiring in this old place. After 20 minutes of flipping breakers and yelling back and forth we managed to get the power turned off. 

With the power off we removed the outlet, capped the wires and got ready to turn the saw on.

Woohoo! This is one of those moments where hours of prep allows for a few brief moments of obvious progress. Cherish these moments, they are what keep you going. 

The door starts to take shape, revealing a beautiful view of our old powder blue toilet...a true classic, perhaps collectors item?? 

This is where the versatility of the Dewalt reciprocal saw really comes into play. Notice how the handle is facing up? The blade can be inserted four different ways to allow for all kinds of different cutting positions; in this one we needed to cut down and end flush with the floor. At this point we are cutting below the window sill of the old window so the original exterior wood siding is partially exposed, you can see the many layers of siding and drywall that were built on top of each other.

Notice the not covered floor vent? That is not due to negligence, the vent is getting replaced with a wood one and the useless flex vent supplying it will also come out and be replaced with a nice efficient oval sheet metal duct. The flex ducts tend to kink and not actually supply much air, a big drawback which outweighs their ease of installation benefit. 

Once the door was open we looked at it for a while and realized it was suitable for a skinny hobbit, so back out with the saw to do some more cutting back. Originally we were going to use the inside of the window frame dimensions, but after walking though it a couple times opted to cut back to the outside of the window frame instead. 

Ermela turned out to be the best with this piece of equipment, Graham cut like he drives, a little random and Mama C was very unpredictable. Well, now the opening is cut, width is 31" and height is 6'6", perfectly comfortable for our purposes. Next step will be to frame the actual door and see if we have any old doors that might fit the pace. Because we stayed within the original window framing we didn't to deal with new headers or king posts, all in all a very easy modification, and one that did not require any kind of structural considerations. 

Ugly Wallpaper Bath No More

So the ugly wallpaper bath was named for what originally appeared to be just that. Once we started demolishing it though we learned that it was actually decorated using shelf liner/contact paper (ingenious). Under the contact paper we found a rather nice old floral wallpaper and a green plaid wallpaper. 

Under the floral wallpaper we found odd thin strips of wood that were nailed to the wall vertically. Under that was a layer of generic building paper and under that was Kraft paper, the all purpose building wrap of the early 1900's. From there we expected plaster or raw studs…..

but that would make entirely too much sense. Instead we found horizontally laid wainscot over empty stud bays (hence the frozen pipes). We will continue tearing down to the wainscot level and see what surprises we come across. 

We also need to see about renting an insulation blower for the north exterior wall. Given that it took us two days to remove the loose fill fiberglass from the ceiling cavity above this bathroom we are a little hesitant to subject future generations to that form of insulation.

The goal for this bathroom is a claw foot tub, big shower, higher ceilings and plenty of storage… all pretty reasonable given it's 13'8" x 8'2" dimensions.